How to paint an interior door – a step-by-step guide
Refresh doors and update your space with our expert explainer
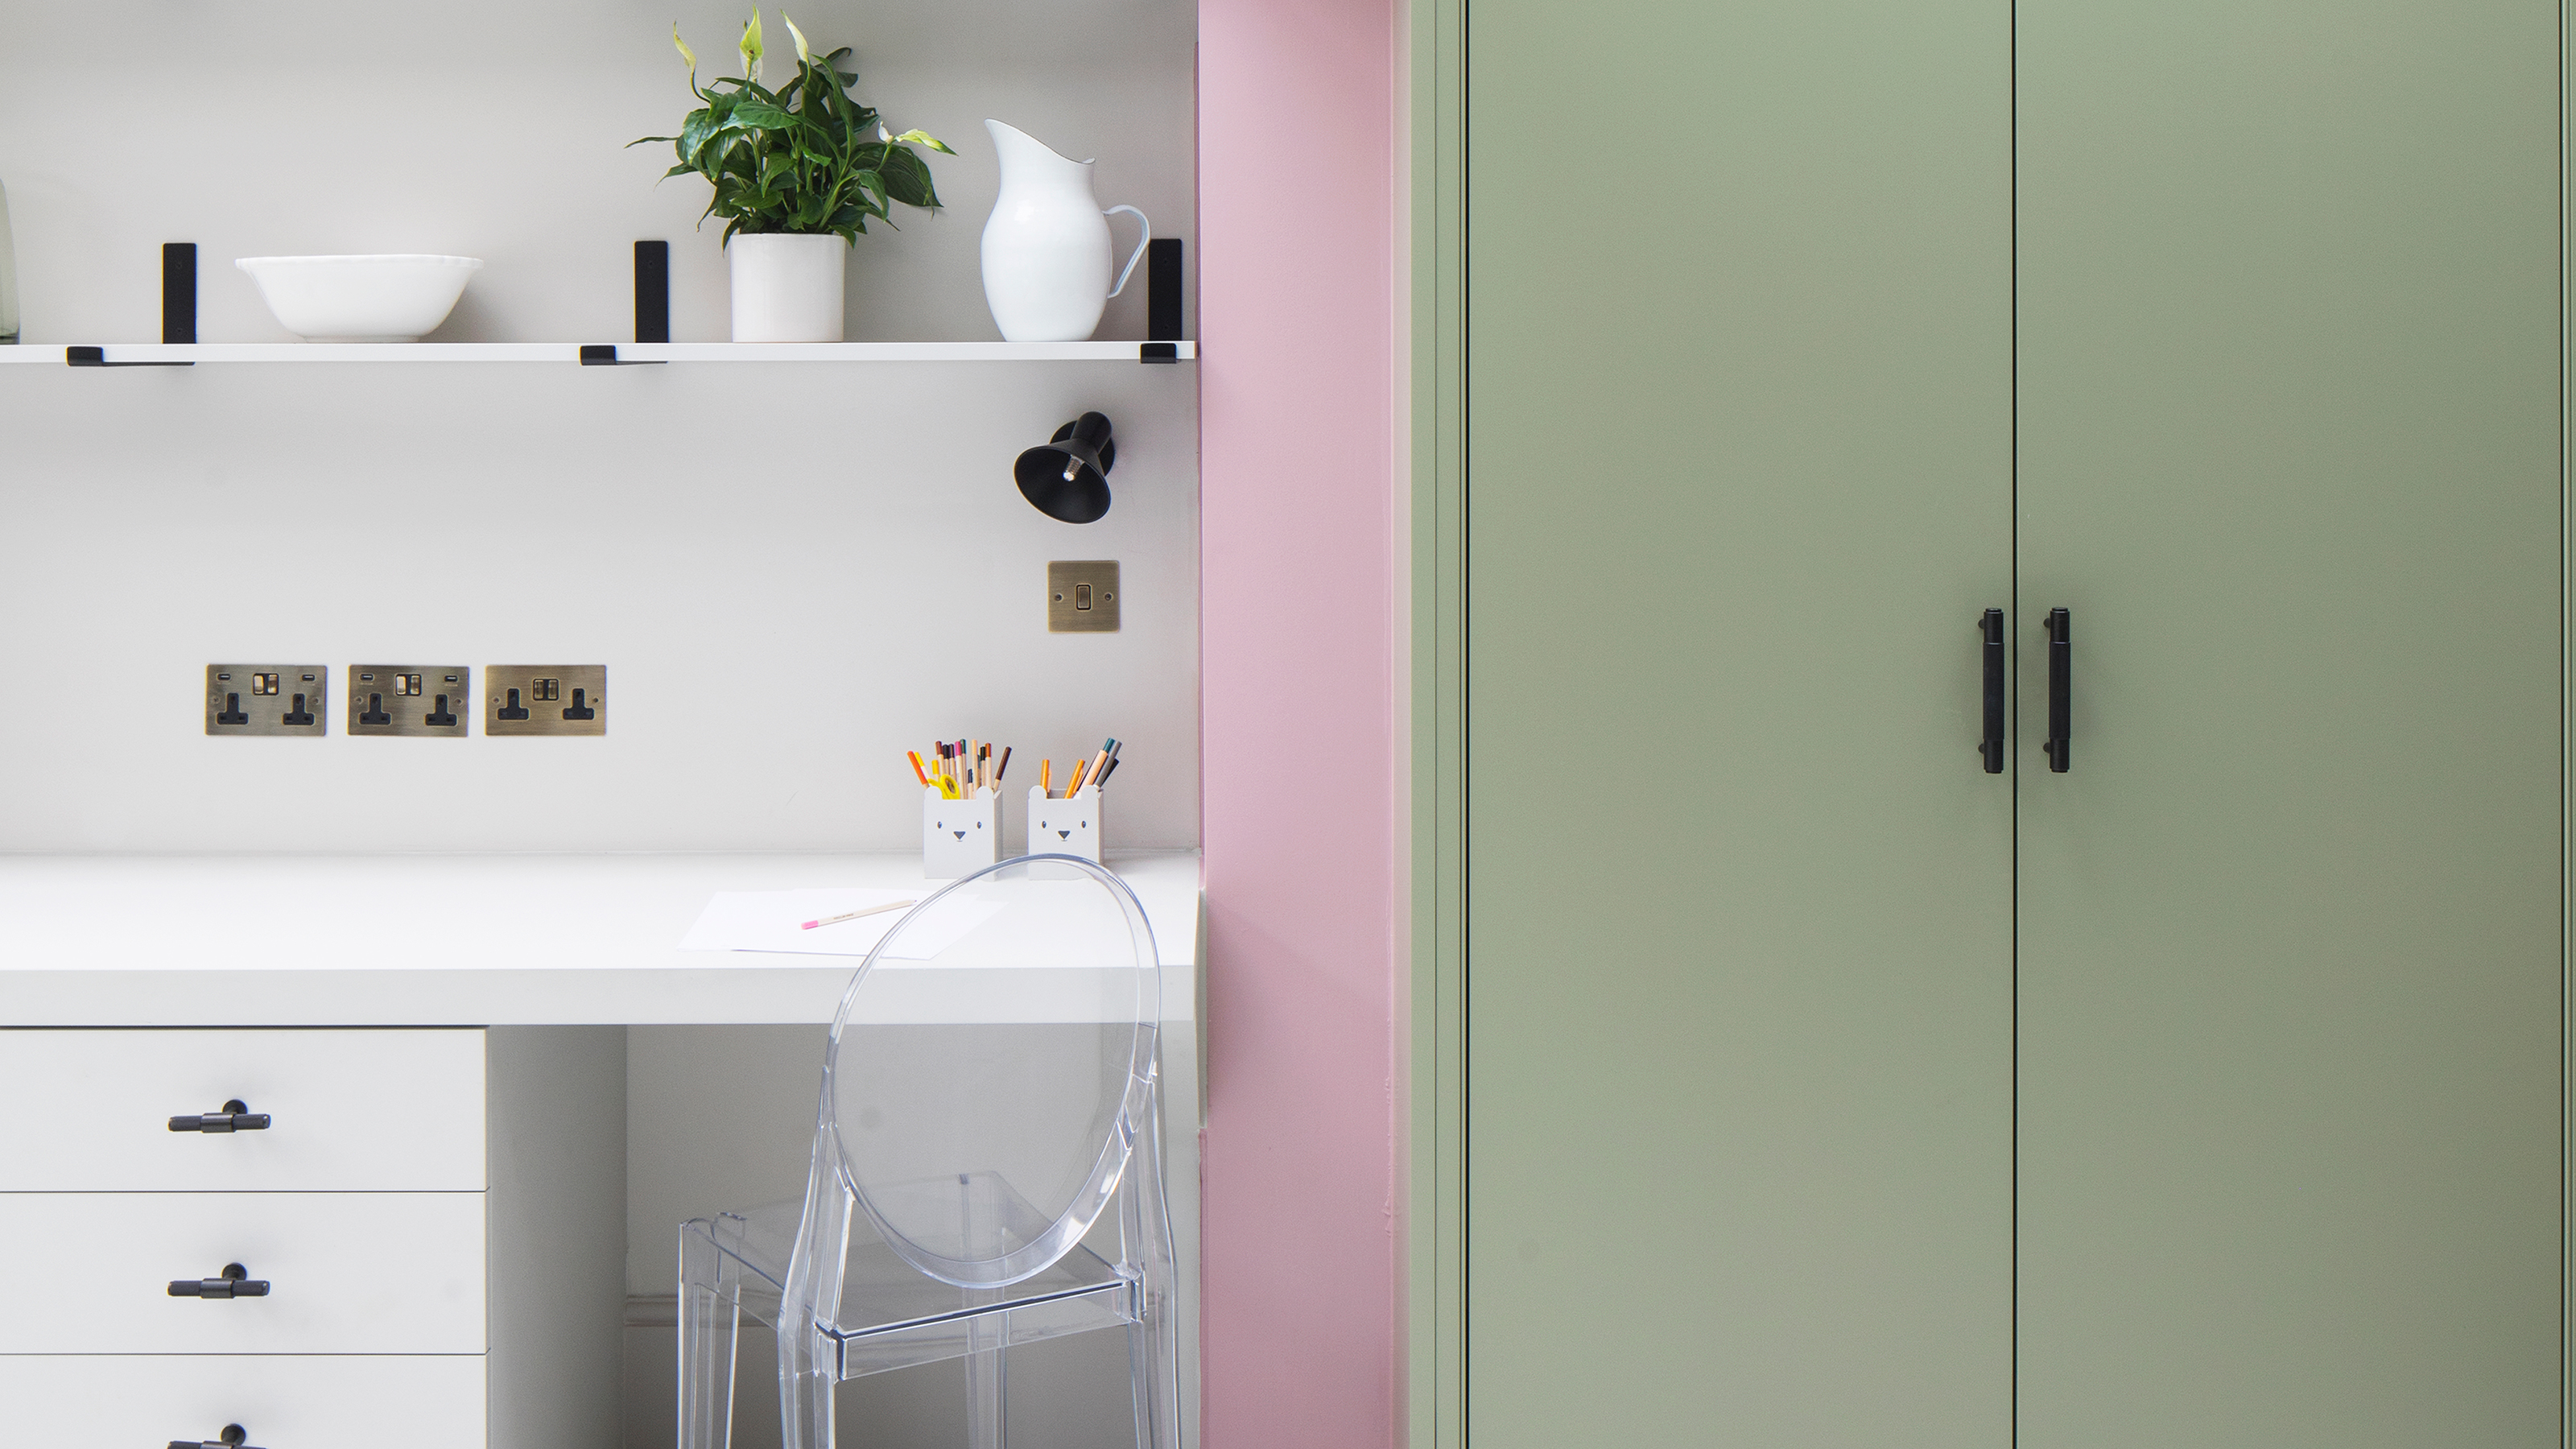

With so much focus being on decorating walls, it's good to know how to paint an interior door to help finish off the space and bring the whole look together. Plus, there are plenty of paint ideas to help you give interior doors a refresh – and it isn't as tricky as you may think.
Interior doors can take a bit of a battering day to day, with knocks and scrapes, you need a hard wearing paint finish to help keep them looking good.
If you've inherited beautiful period doors in your home, you might find they are caked with layer upon layer of paint, which can hide some of the beautiful detailing. If that's the case, it can be worth getting a specialist door stripping company to remove the paint for you. Not only does it save you hours of elbow grease, it will give you a lovely clean surface to paint or varnish when it's done.
For doors that are in good shape, they might just need some basic DIY with a quick sand and the odd hole filled in before you can get on with the job.
'While painting an interior door is a small update, a beautifully painted door or colour refresh can transform the look and feel of a room,' explains Nick Parsons, technical manager at Harris.
How to paint an interior door
To make the job easier for you, we've done the hard work and compiled all the information you need on how to paint an interior door.
What you'll need
- Screwdriver
- Sandpaper, 220 grit is advised so this set of 4 grits from Amazon will suit
- Wood filler (optional)
- Filling knife, there are plenty on Amazon
- Primer, try Ronseal, available at Wickes
- Eggshell or wood paint in your chosen colour
- Paintbrush, we love the Harris paintbrushes, available at B&Q
- Paint roller, there is a great range at Wood Finishes Direct
- Masking tape
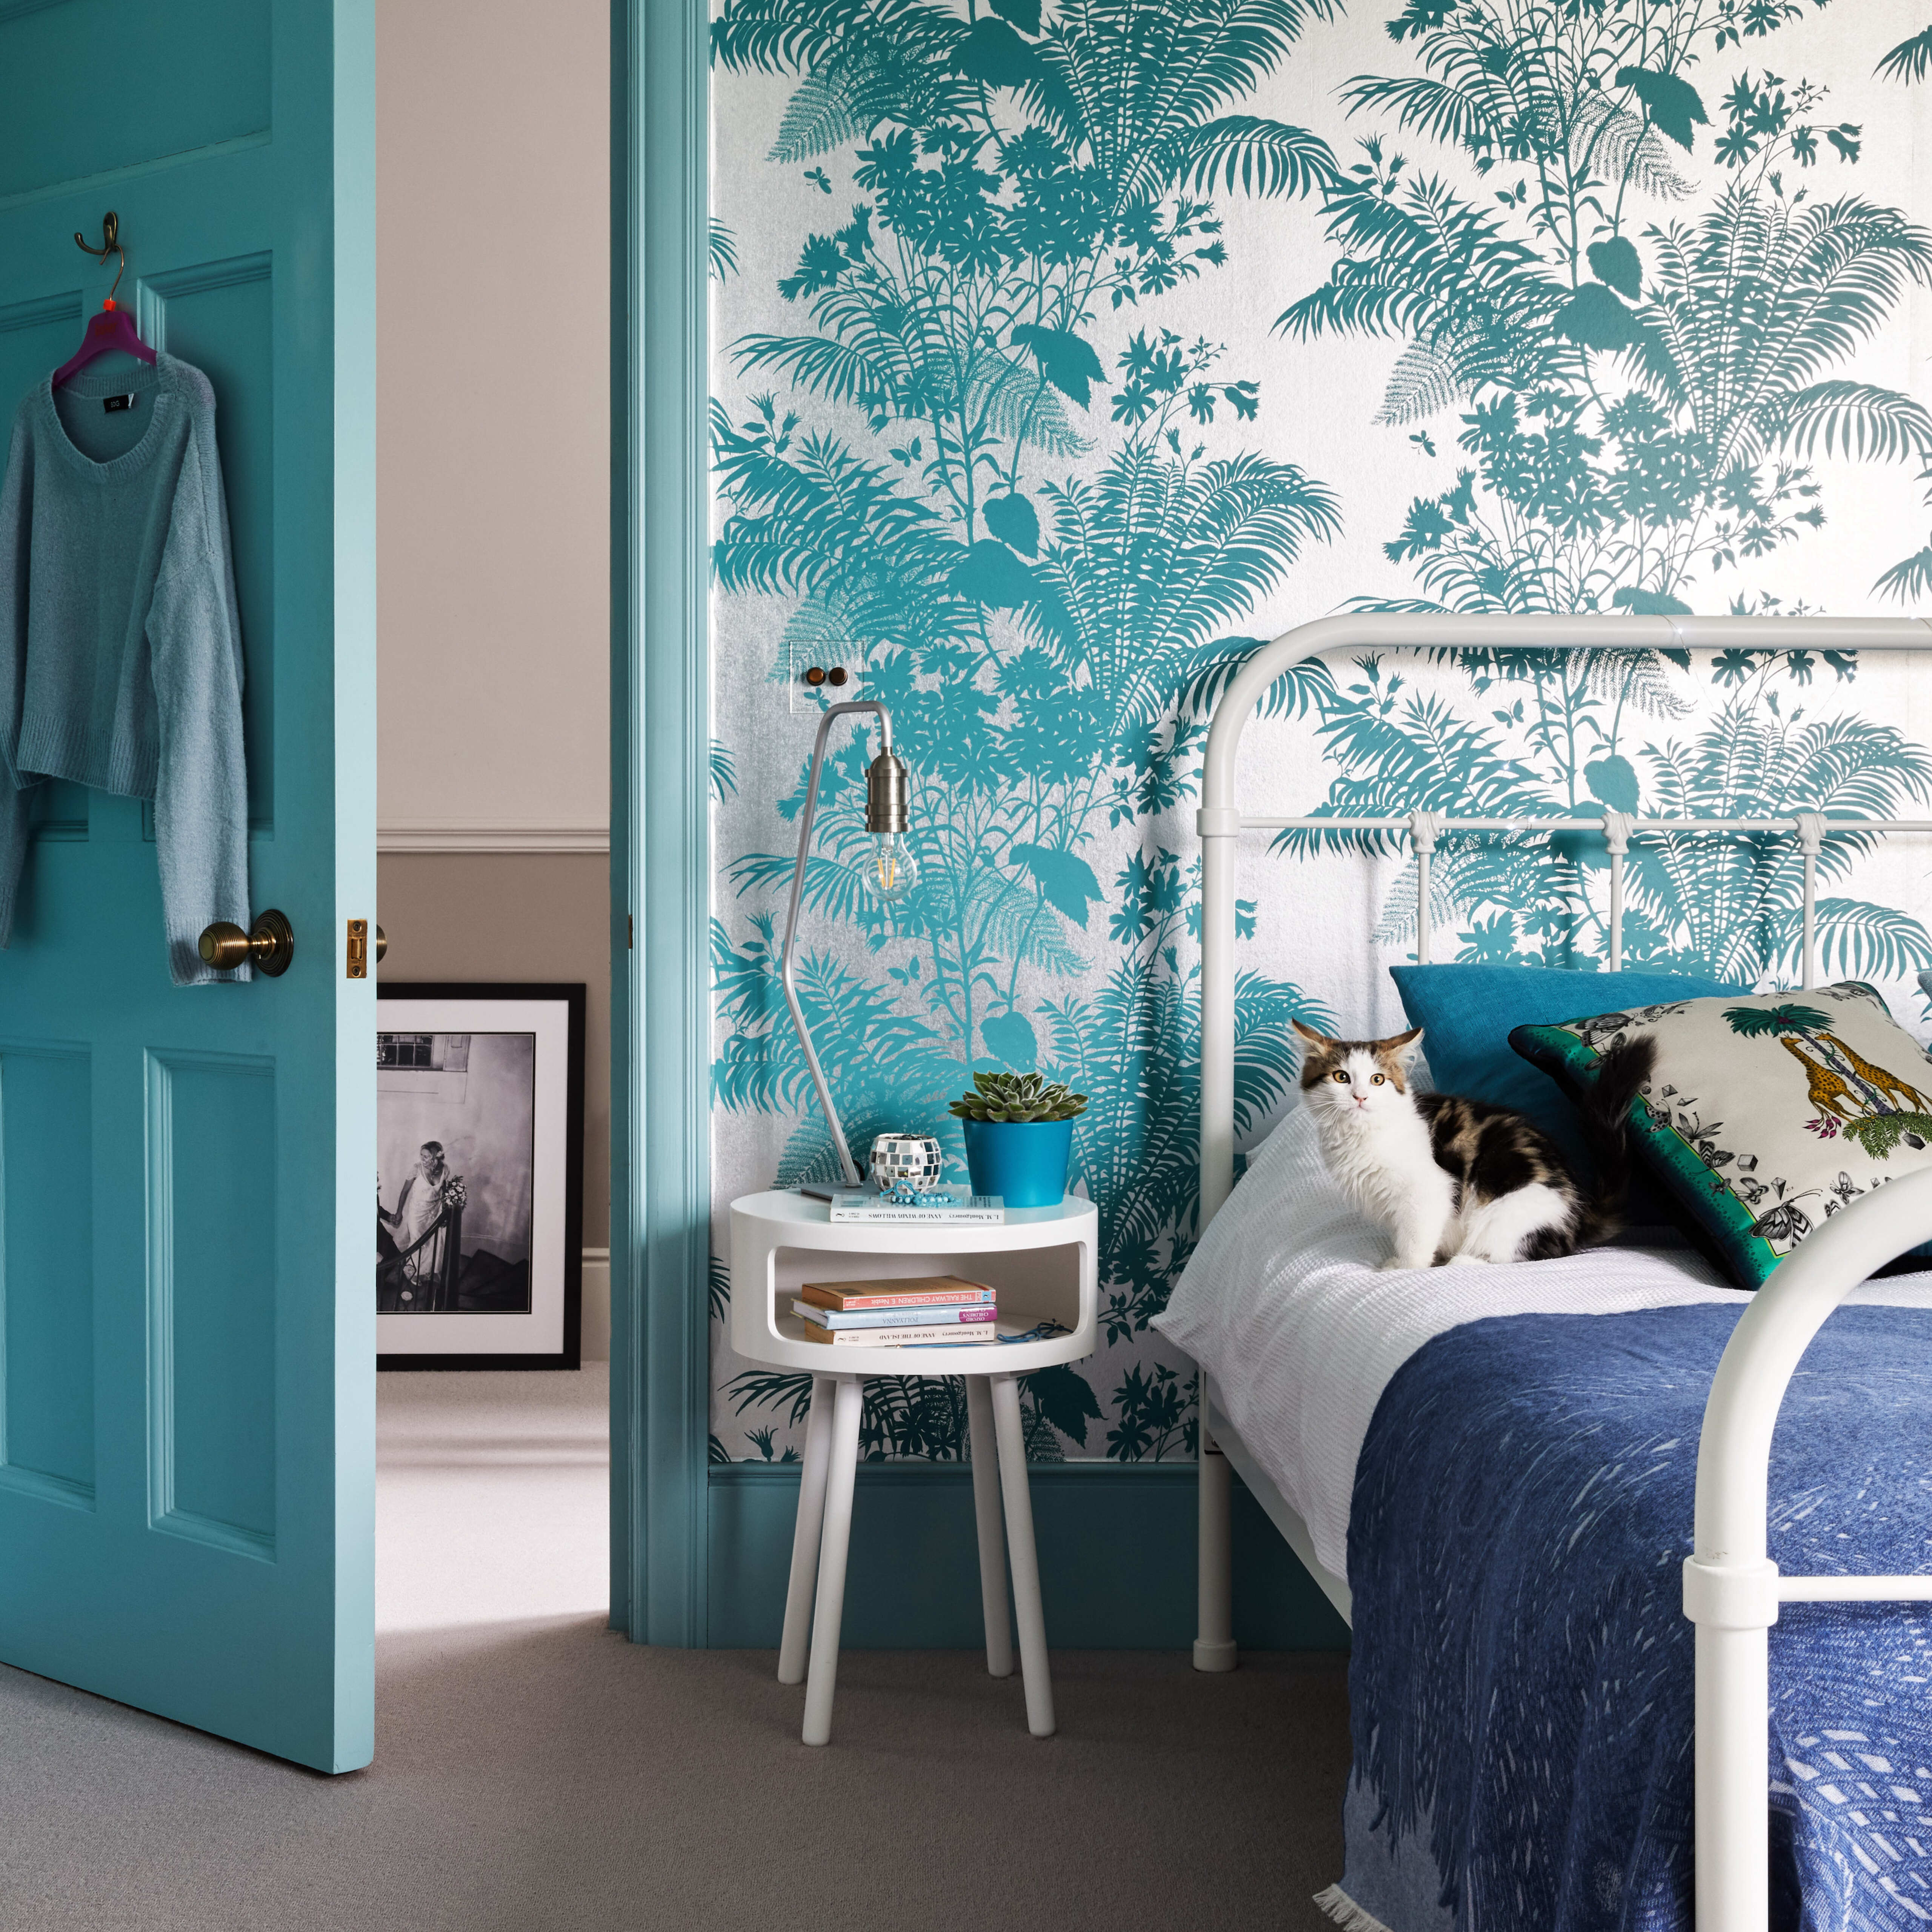
Step-by-step
1. Remove any hardware
It's a good idea to protect any hardware on your door before you start painting. 'Before you get to painting your interior door, use your screwdriver to remove the handles, doorknobs and locks,' advises Sarah Johnstone, a decorator for Graham & Brown.
Get the Ideal Home Newsletter
Sign up to our newsletter for style and decor inspiration, house makeovers, project advice and more.
'Then lay down some old newspaper or a dust sheet underneath the door. You don't have to worry about actually taking the door off its hinges in order to get painting.'
2. Prepare your door
If your door has been previously painted, sand the surface to make a key, which will help the paint to adhere properly. This is also a good time to fix any scratches or fill any holes and dents with wood filler, leave them to dry and sand them smooth.
'If you have any imperfections in the surface of the door such as dents and scratches, lightly sand it with a fine grit sandpaper (220-grit works well) to help smooth the surface and help the primer to stick better,' explains John Shaw, managing director at Climadoor.
Make sure you give your door a thorough clean next. 'After sanding back, always thoroughly wipe the door down with a tack cloth to remove any dust created,' advises John. 'Any left behind could cause unsightly lumps and bumps in the new paintwork.'
If you have older wooden doors with cracks, it's important to mend them before painting, as painting and decorating expert Pat Gilham at MyJobQuote.co.uk explains. 'Older wooden doors have cracks and holes that need filling before you paint them.'
'A multi-purpose interior wood filler is fine for this, but take care to pick one that's suitable for sanding and painting. Ideally, you also want one that's resistant to cracking, so it can cope with the natural movement of the wood in the door.'
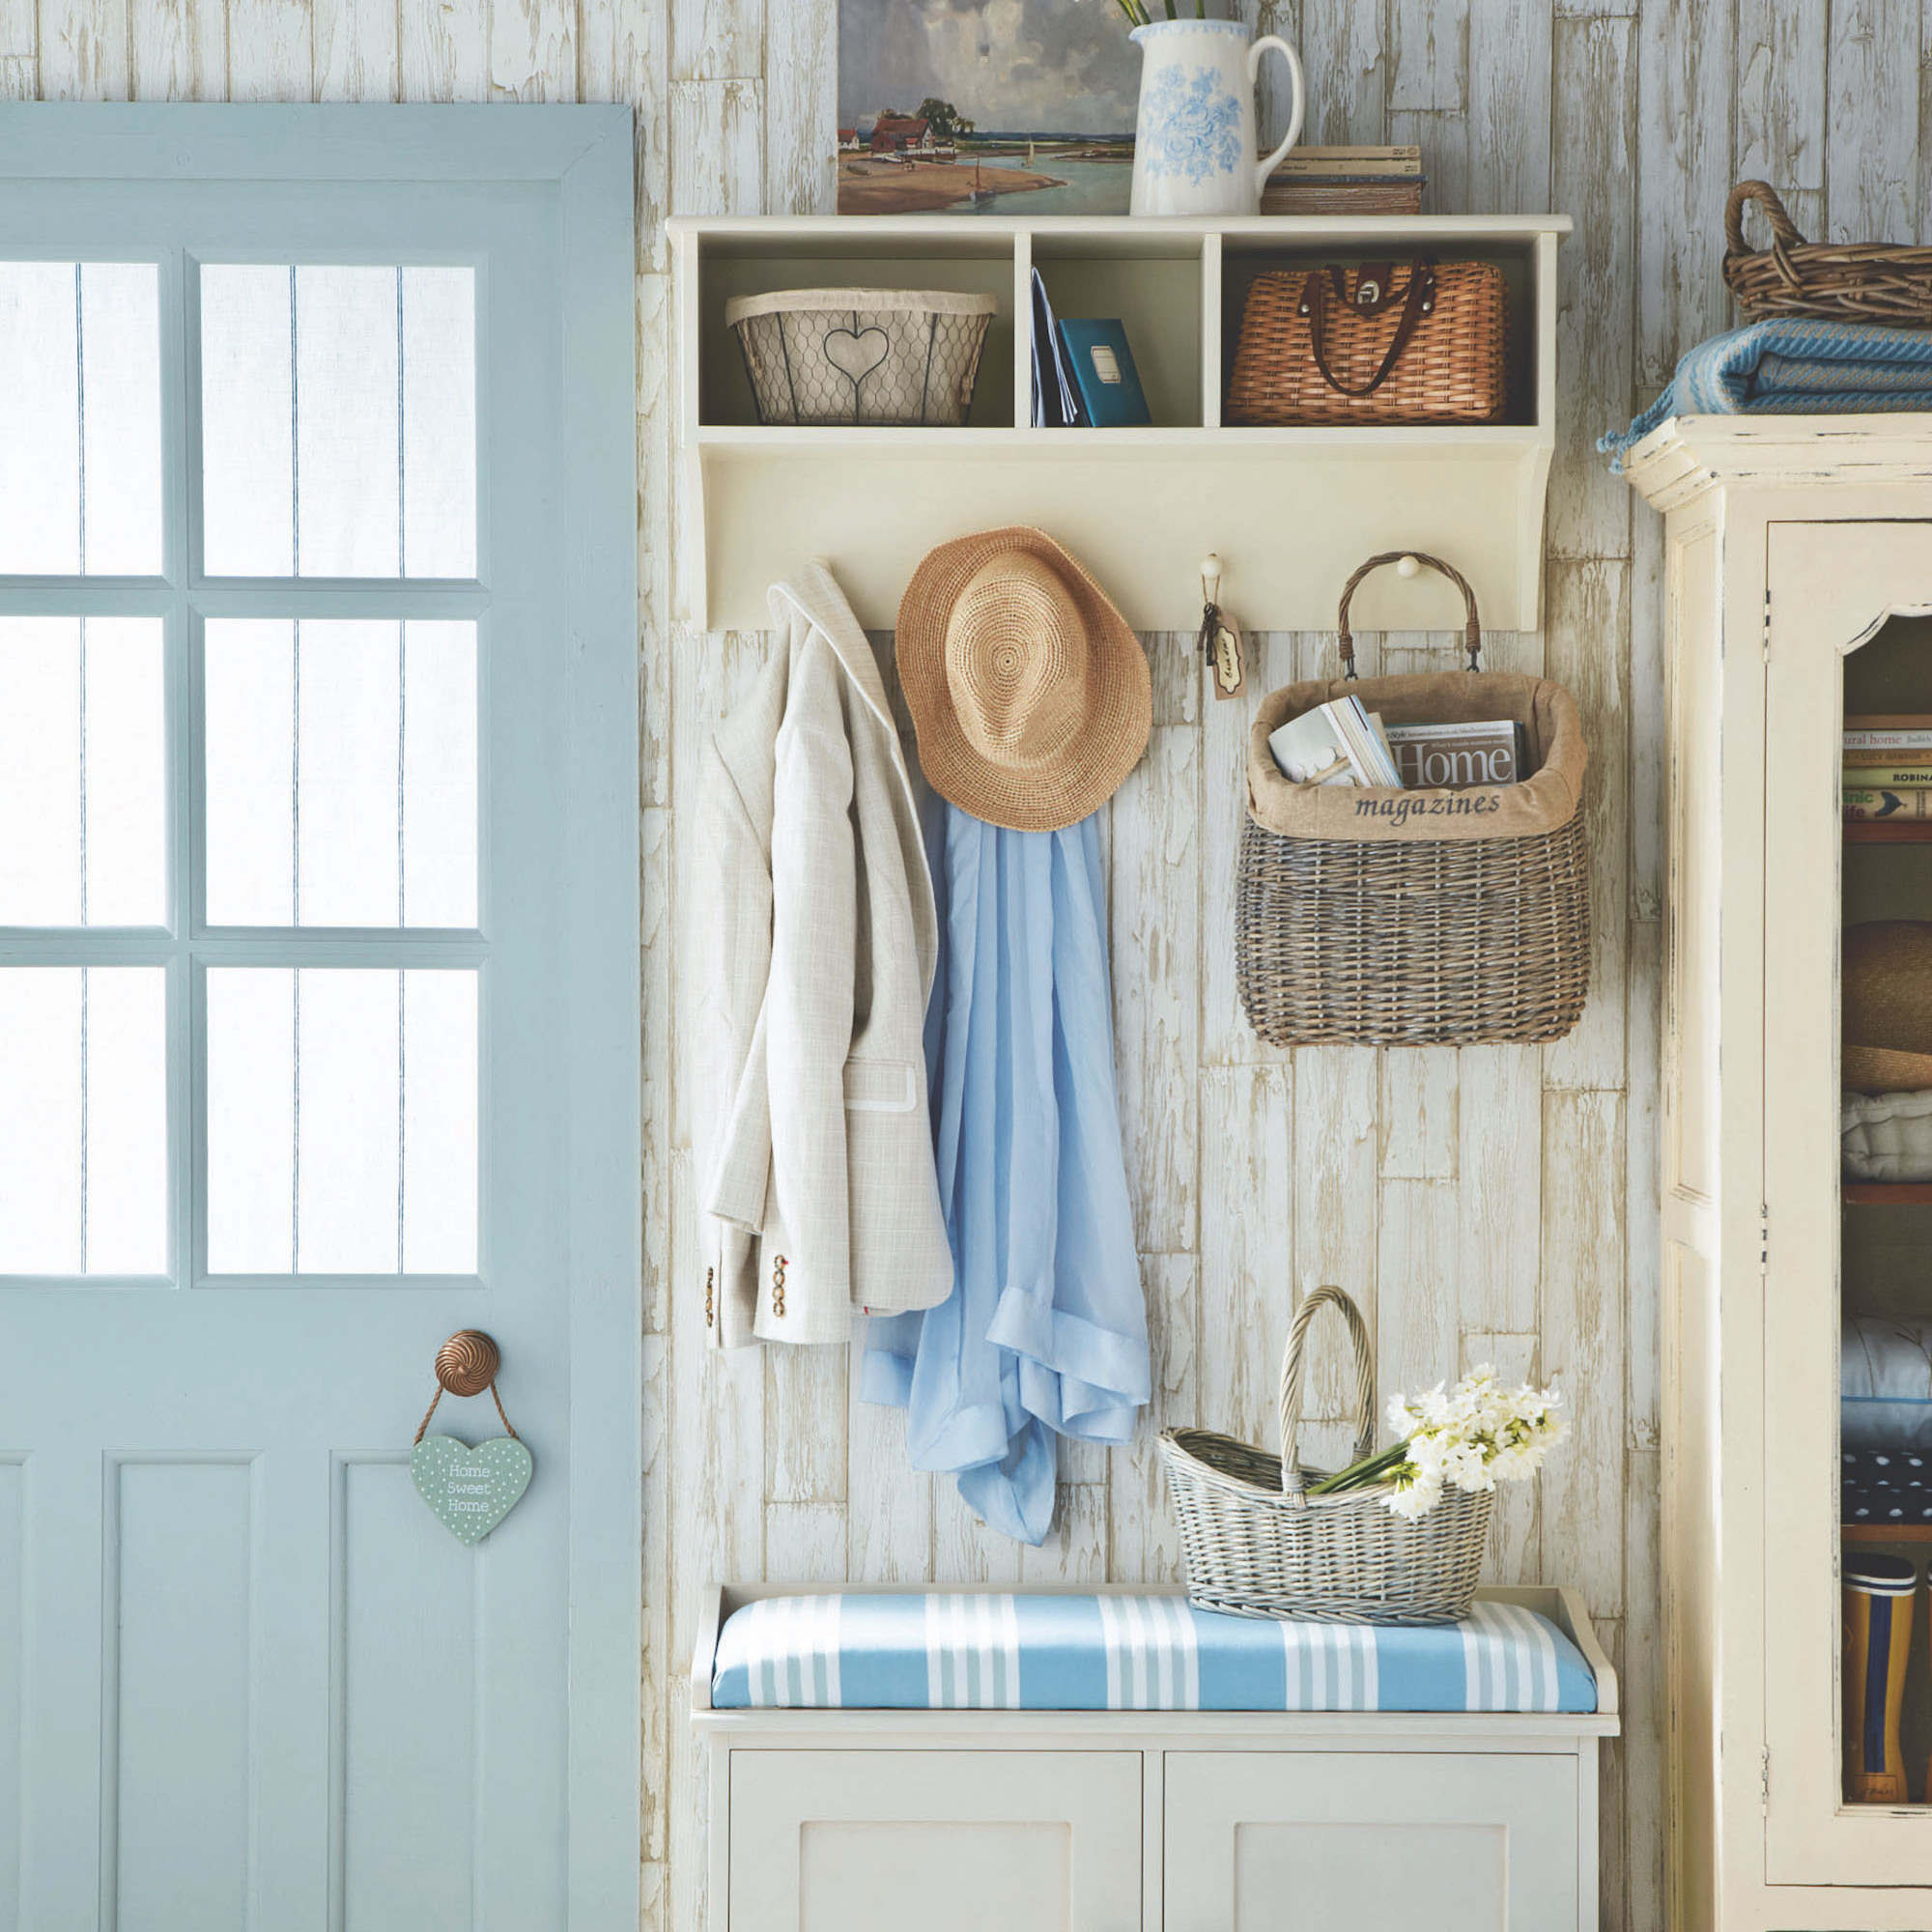
3. Apply a primer
It may feel like a laborious process, but with good preparation you'll get a better finish. Before you paint the door, sealing any knots and priming it will give better results.
'Before you start applying paint, it is important to prime the surface,' explains Nick. 'This prevents any stains from sap, wood knots, or other contaminants from coming through the wood or reappearing over time and ruining the topcoat.'
Once you've given it a coat of primer, leave it to dry.
After almost twelve years in corporate merchandising roles for both UK and International brands, Anna Hill relocated to Norfolk to join the family business. Five years in, she now heads up the running of the thriving, luxury, British independent paint brand, Fenwick & Tilbrook - the go-to for premium, pigment-rich paint.
4. Choose the right type of paint
While you might have a pot of emulsion leftover from painting your walls, you'll need something tough and more hard wearing for doors.
'For interior doors, an eggshell finish is recommended due to its durability,' advises Anna Hill, colour consultant at Fenwick & Tilbrook. 'You can choose a more matt finish (10% sheen interior eggshell) or a slightly higher sheen (20% exterior eggshell) depending on your personal preference.'
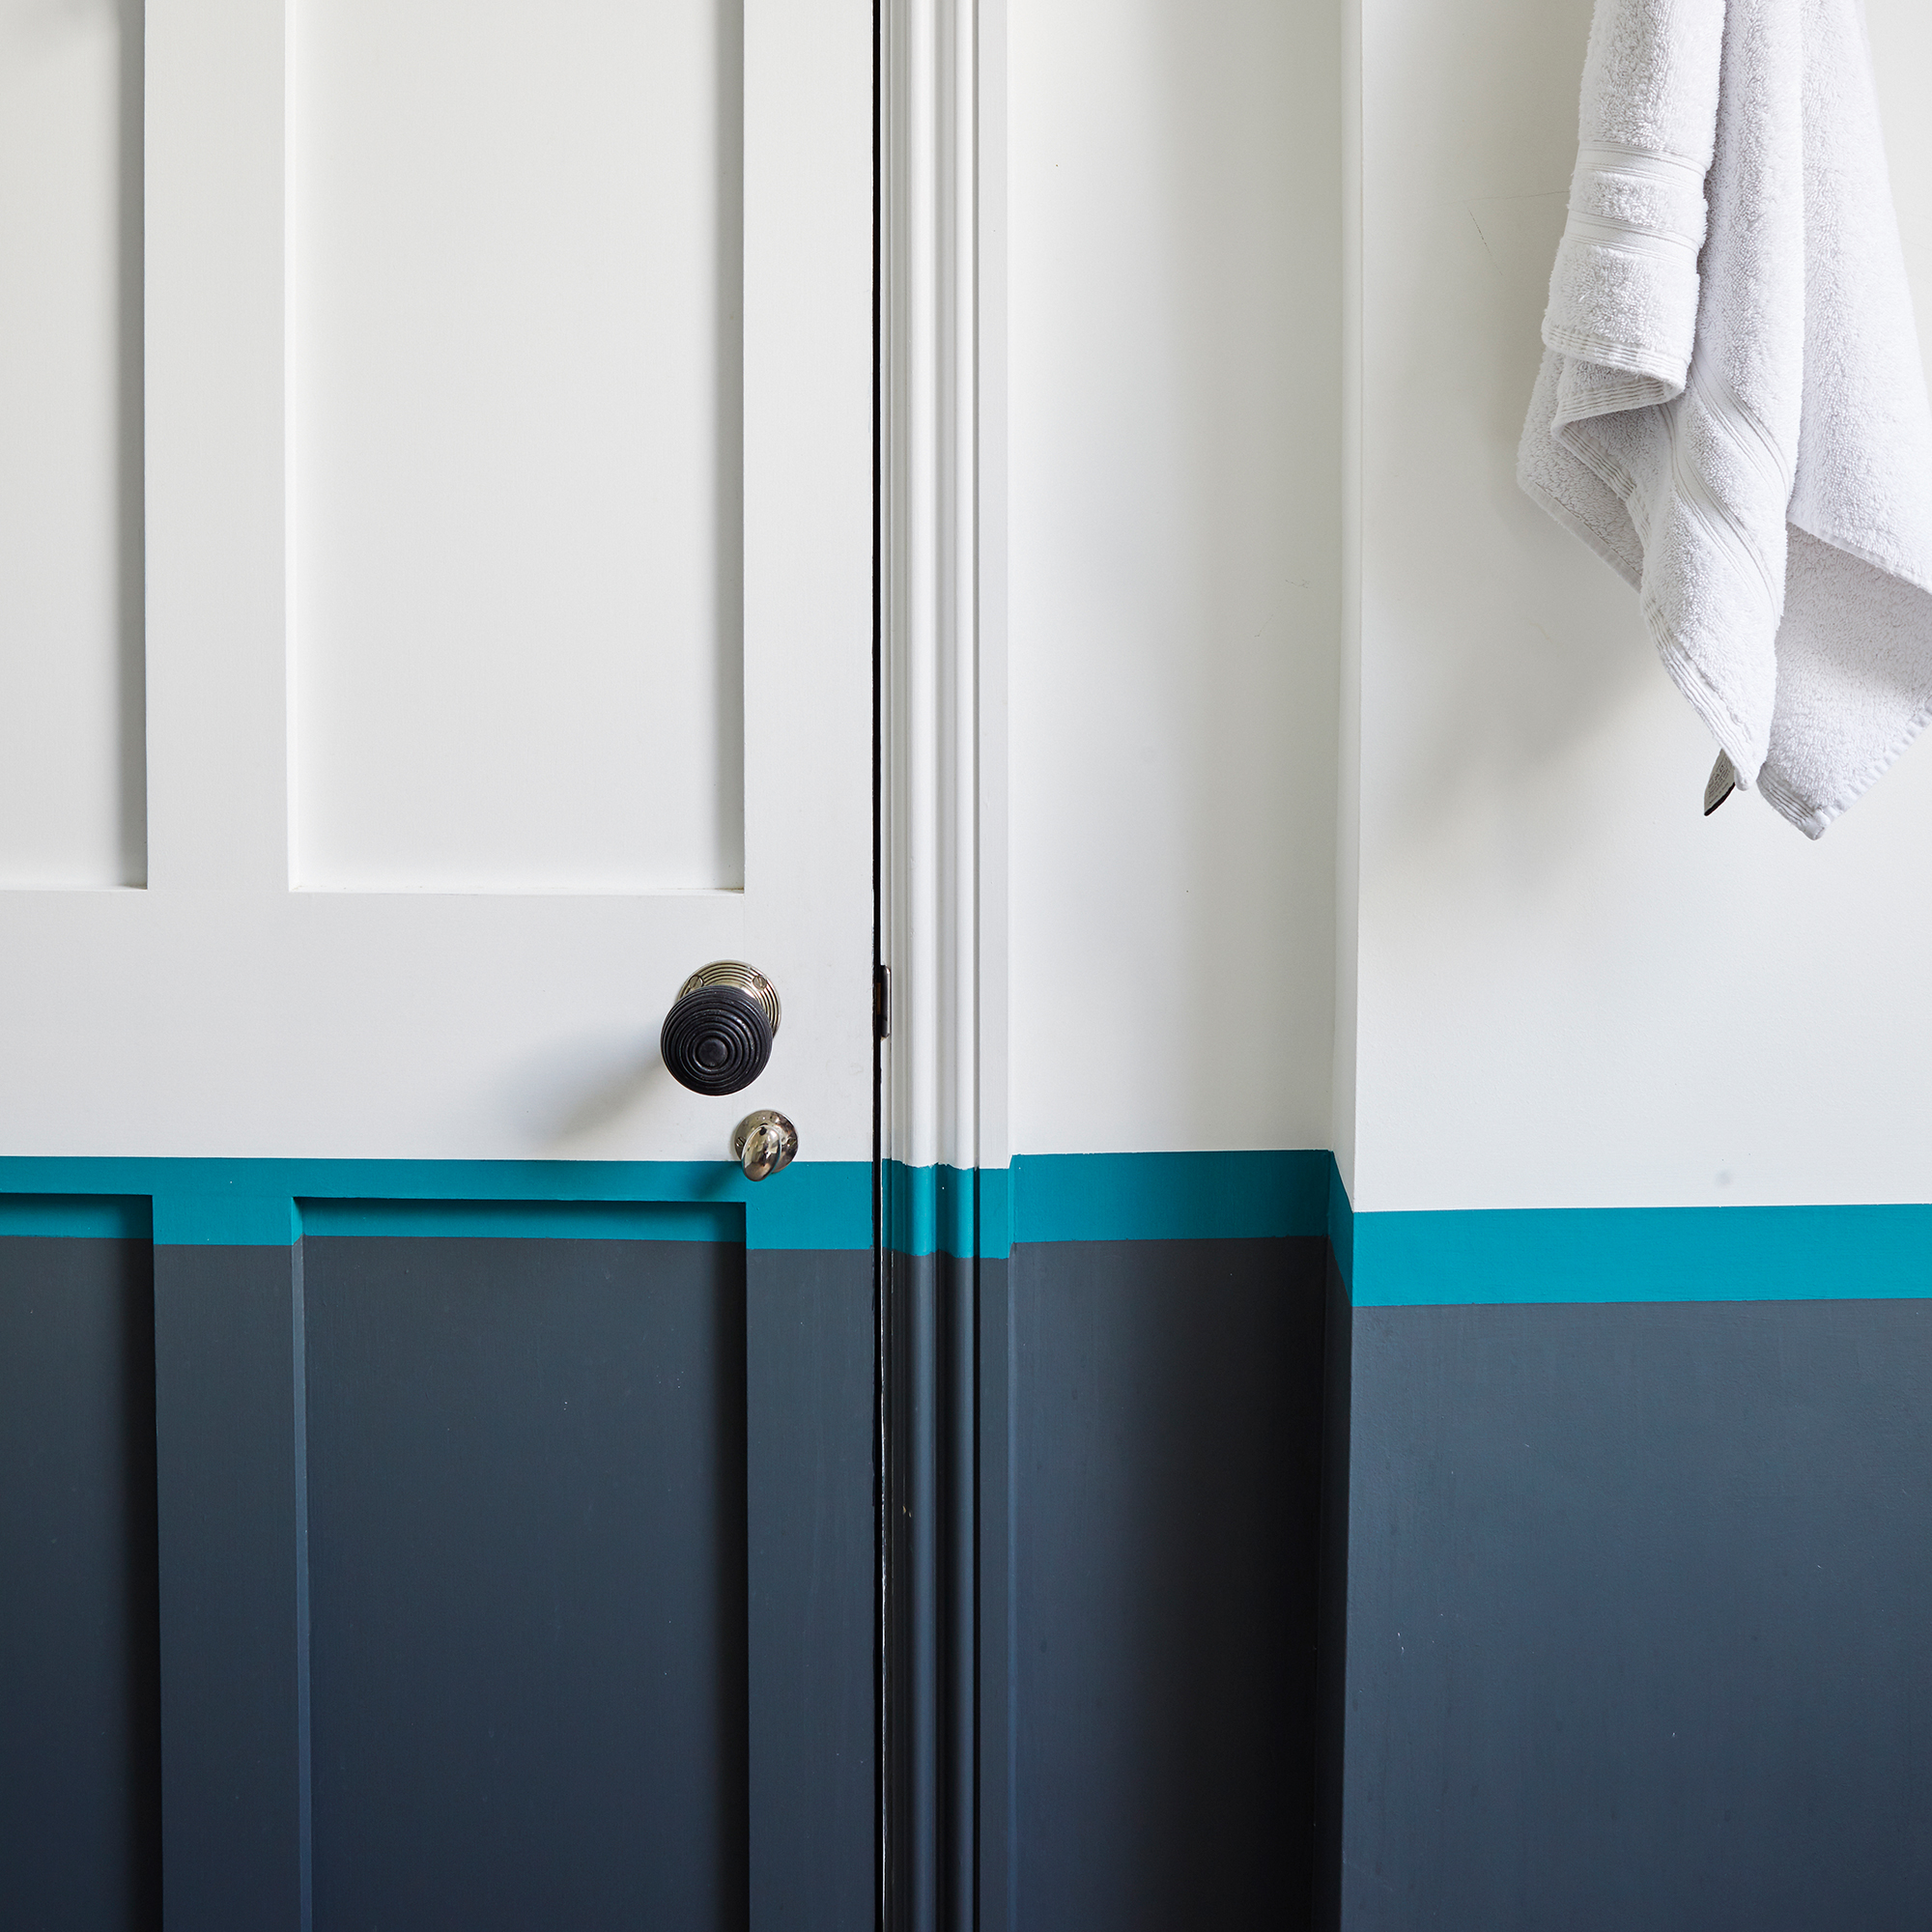
5. Add a coat of wood paint
Using a roller or paintbrush (or a mix of both), begin painting your door a little at a time.
'With any type of paint, building up multiple layers will always provide a better finish than one or two thick layers, so bear in mind when painting it's a marathon and not a sprint!' advises John.
To get a really smooth finish, Anna recommends using a roller first followed by a paintbrush.
'Immediately after rolling, use a slightly wider brush to "lay off" the paint,' advises Anna. 'This means gently stroking the brush down the length of the door to smooth out the paint and achieve a uniform, premium finish. Once painted, give the surface time to harden, especially in areas of heavy use such as kitchens. This can take four to seven days depending on drying conditions.'
When it comes to painting glazed doors, don't forget to tape around the edges before you start painting.
'If you have a glazed door, make sure you tape around the edges of the glazing unit before painting,' advises John. 'Not doing so could mean you're left with unsightly paint smears on the glass which can prove difficult to remove once dry, especially if it's an oil-based paint.'
Once the first coat is done, leave it to dry before applying a second.
6. Be careful when painting panelled doors
With doors that have more intricate designs and panelling, take a bit more care so the features stand out once painted.
'For panel doors, start by applying paint to the inner panels and surrounding mouldings from left to right before moving onto the central areas with a roller,' explains Nick. 'Additionally, when painting wooden doors, always paint in the direction of the grain of the wood in straight lines.'
Once you've finished painting the door, it can help to leave the paint to harden for a few days before replacing the hardware.
FAQs
Should I use a brush or roller to paint a door?
'With the majority of wood paints you can use a brush or a roller. We recommend using a high quality synthetic brush for the best results, or a roller with a short pile or foam sleeve,' advise the eco paint experts Thorndown.
'Make sure the width of your brush or roller matches the width of your surface to get the smoothest finish.'
What kind of paint do you use on interior doors?
'Wood paint is best to use for interior doors. These types of paint seal the door to create a waterproof barrier that prevents moisture from getting into the wood,' explains Jimmy Englezos, senior brand manager at Ronseal. 'They also provide a robust finish to minimise any scuffs and scratches.'
Tim Warren, DIY expert at Adkwik advises against using oil-based paints: 'You should avoid using oil-based paint if possible, especially if it's white, as the colour may yellow over time.'
'The pigments tend to fade and turn yellow over time, which can make the door look stained and dirty,' agrees Jimmy. 'This process can happen quicker when the door is starved of light.'

Amy Hodge has been working on interiors magazines for over 11 years. She's a freelance writer and sub editor who has worked for some of the UK's leading interiors magazines including Ideal Home, Style at Home and Country Homes & Interiors. She started at Style at Home just after it launched as food editor and is now chief sub editor for Ideal Home, Style at Home and Country Homes & Interiors.
-
 Zoe Ball's colourful kitchen island shows how easy it is to create a characterful cooking space - here's how she did it
Being brave with colour will reap huge rewards
By Holly Cockburn
-
 7 plants that will make your patio smell gorgeous - the top fragrant picks experts recommend potting up
From aromatic flowers to fragrant herbs
By Kayleigh Dray
-
 I won't gatekeep - Magimix's new small kitchen-friendly mini chopper is my secret to delicious lazy dinners
My homemade pesto pasta has never been better
By Holly Cockburn