How to paint behind a radiator - the secret to painting this tricky area like a pro
Get into all the nooks and crannies behind your radiator without removing it with this easy painting guide

Painting the walls of our home tends to be a task most of us feel competent enough to do . But not every paint job is the same as the next. Some are more tricky than others. Enter painting behind a radiator. A dreaded chore that tends to be endlessly put off, if not passed onto a hired professional. But if you’re looking to save your penny and you’re feeling like doing some DIY, then this easy-to-follow guide to how to paint behind a radiator will come in handy.
Our DIY and decorating experts have shared some invaluable tips and tricks, as well as the necessary (and optional) tools, to make this unpopular task as easy as possible. You’re going to be a pro at painting behind radiators by the end of this.
What you’ll need
The reason why everyone hates the idea of painting behind a radiator is because of the lack of space. It is a tight squeeze and some spots end up being inaccessible to a regular brush because of it or become very awkward to reach. That is why getting the right tools before you start doing anything else is the most important step.
- Painting dust sheet, like this GoodHome Large Dust sheet at B&Q
- Painting masking tape, like this Frog Multi Surface Painters Masking Tape at Amazon
- Angled paint brush, like this Amtech G4495 Long Reach Angled Paint Brush at Amazon
- Long reach mini roller, like this GoodHome Long reach 4" Medium pile Fixed Roller at B&Q
- Roller paint tray, like this GoodHome 4" Roller tray at B&Q
- Cutting-in paint brush, like this Harris Trade Short Handle Cutting-In 2" Paint brush at B&Q
- Heat-resistant paint, like these at Lick
- Sugar soap, like this Diall Concentrated Liquid Sugar soap, 0.5L at B&Q
How to paint behind a radiator
Now that you’ve got your tools in place, you can start tackling the actual radiator. But there are a few important steps before getting to any painting.
Prep before you do anything else
Firstly, you need to turn off the radiator and make sure it is completely cooled down.
Next up, knowing how to clean your radiator will come in handy as a thorough wipe-down of the radiator and the wall behind it is called for. You can use some sugar soap for this.
‘Start by giving the radiator and wall behind it a good clean,’ says Natalie White at Rated People. ‘You want to make sure it’s free of any dust, cobwebs or dirt to prevent these from mixing in with any paint you’re going to apply to the wall. Once it’s been dusted, make sure to give it a wipe down as best you can – to get the wall nice and clean.’
Get the Ideal Home Newsletter
Sign up to our newsletter for style and decor inspiration, house makeovers, project advice and more.
Then, protect the surfaces that you don’t want to get paint on. The floor can be covered with a painting dust sheet, a plastic sheet or newspapers. A painting masking tape should be applied ‘to cover all of the edges of the radiator and adjacent walls to prevent paint from splattering or running where you don’t want it,’ advises Vlad Pihlakas, tasker at Taskrabbit. Any nozzles and or pipes that could get in the way should also be covered with the tape.
Jess Steele, heating technology expert at online heating specialists BestHeating, has a trick up her sleeve to protect your radiator from getting paint splatters, which might be annoying especially if you’ve mastered the technique of how to paint a radiator and your heating has a sleek coat of paint.
‘It’s important to protect the radiator but avoid using a dust sheet as this will get in the way. Saran wrap is a perfect solution to prevent splashback that won’t hamper you whilst painting. Keep a wet cloth close to mop any specs or splodges as they happen and use painter’s tape to protect pipes and skirting boards.’
But wiping any unwanted splashes with a damp cloth should also do the trick of protecting your radiator.
Painting behind radiator hack
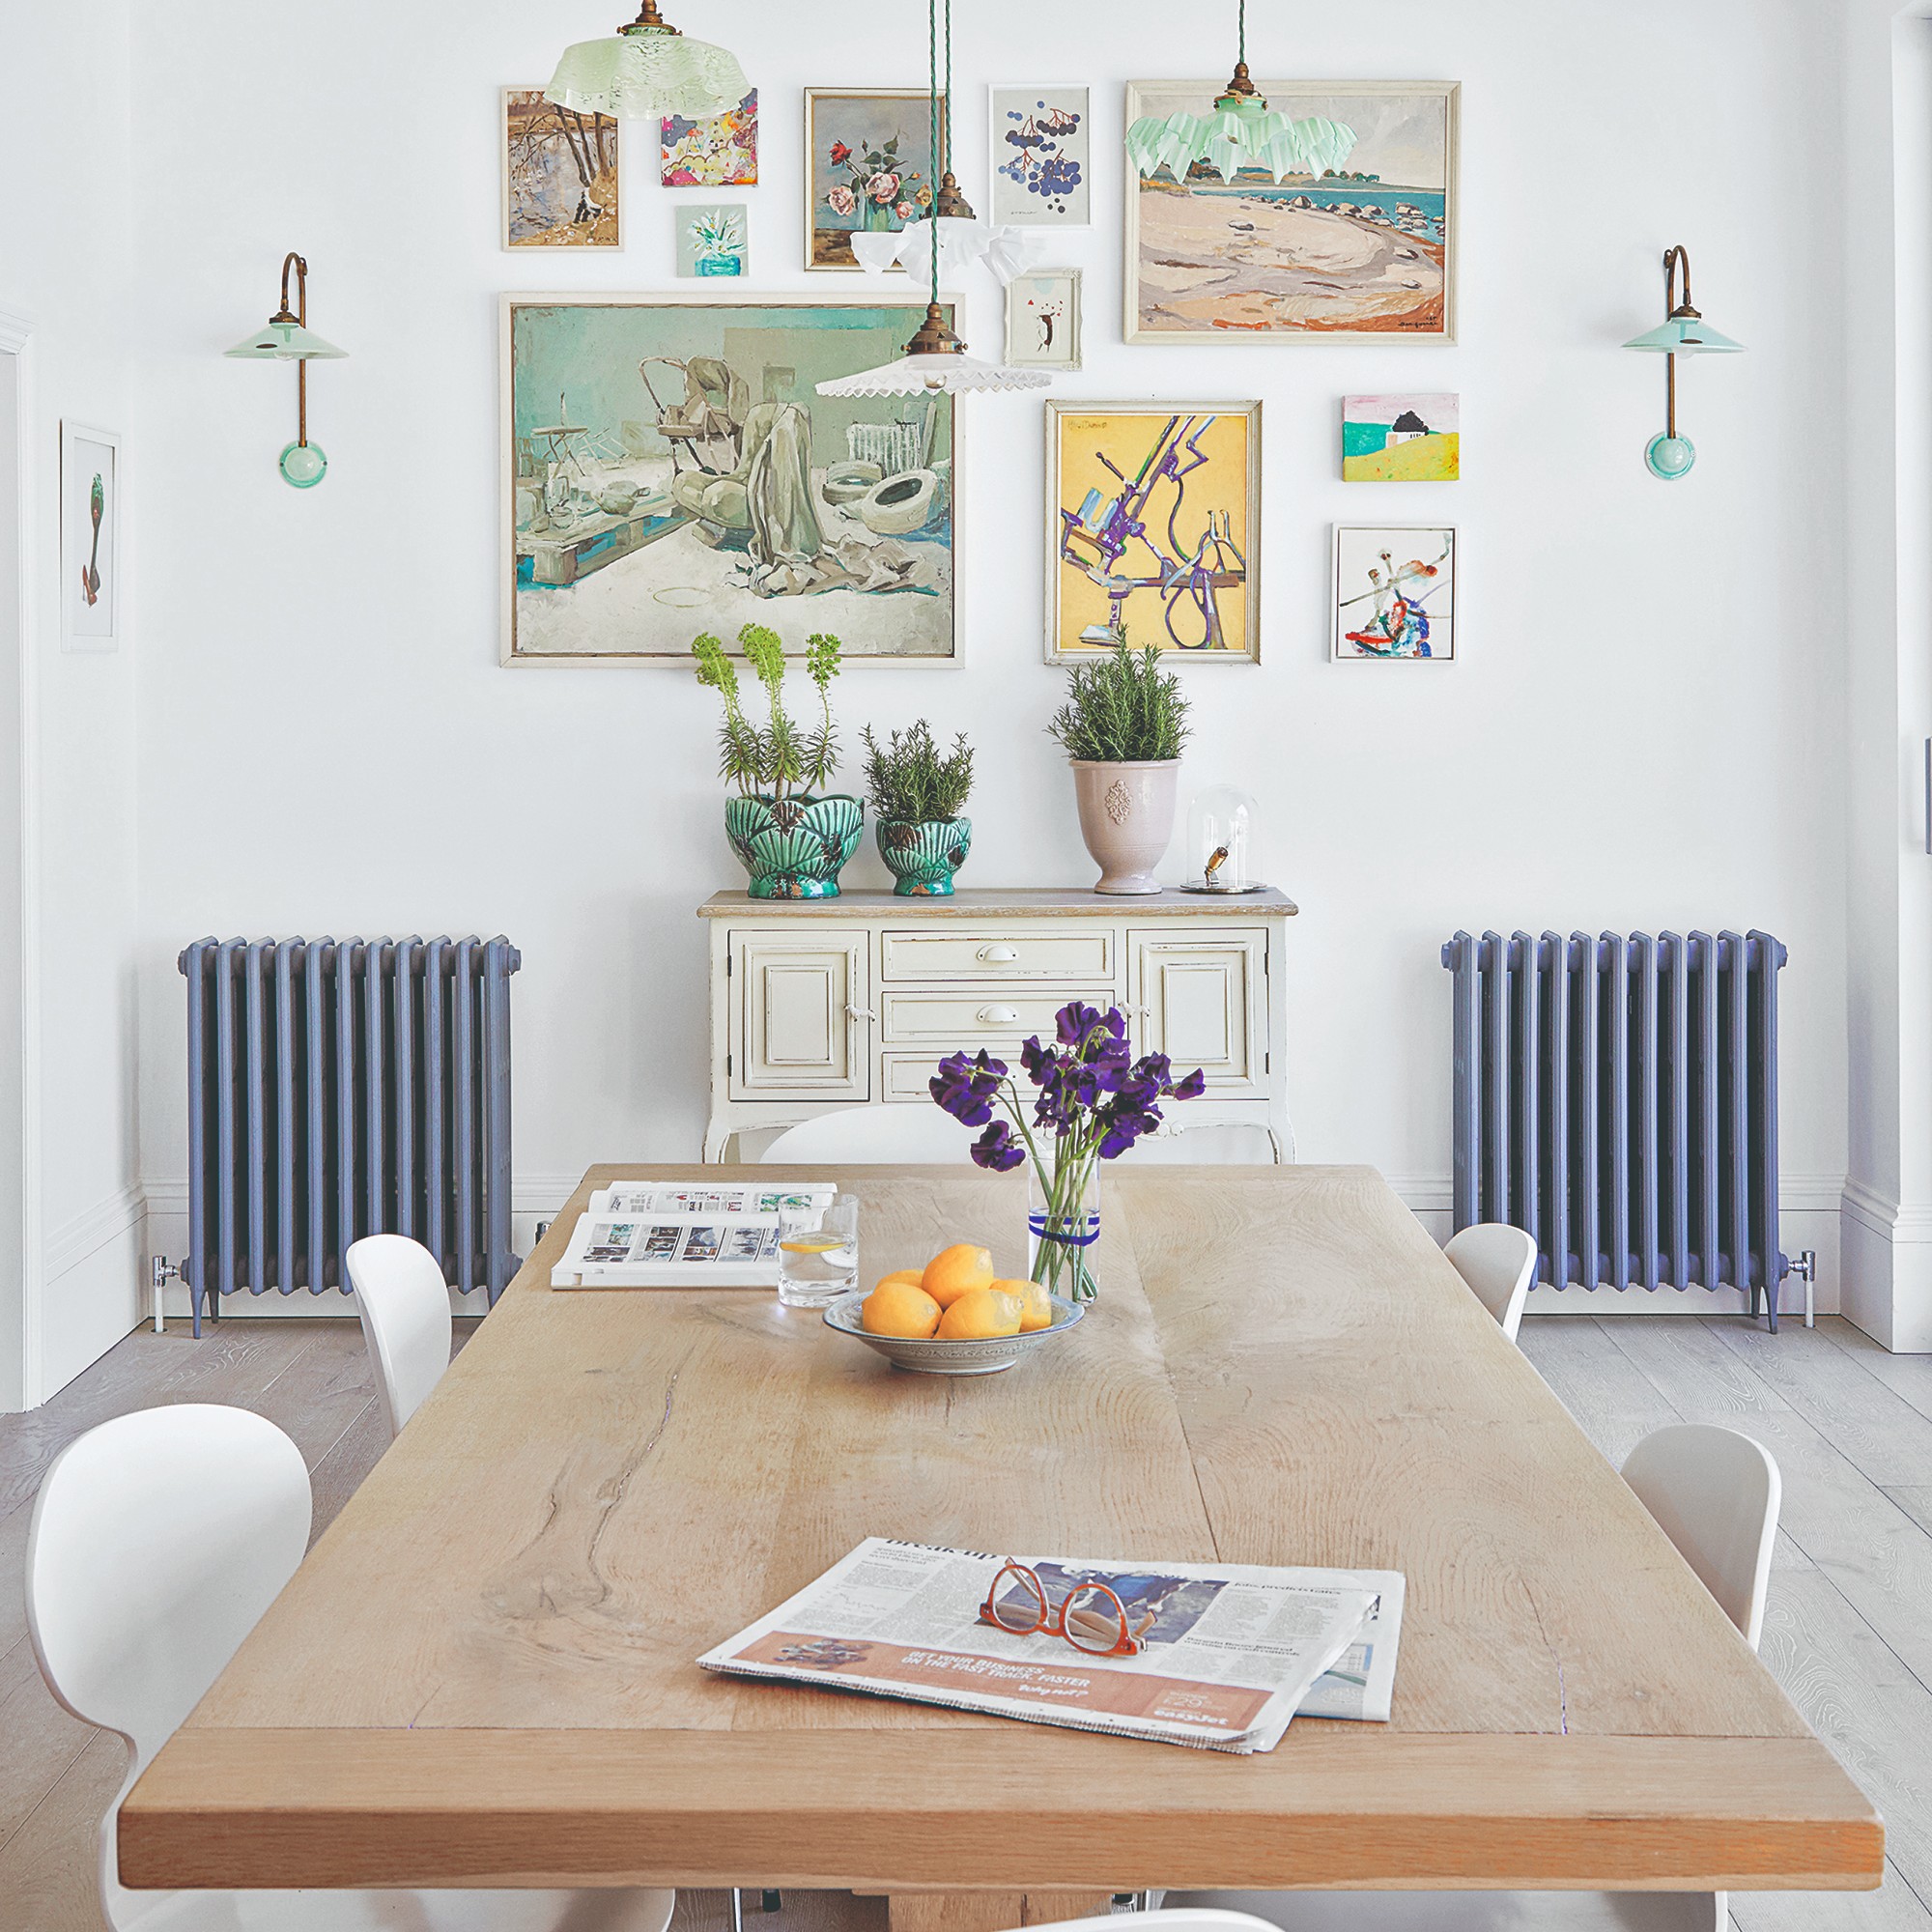
Now that everything’s set up, you can start painting behind the radiator. The hack to do that is using an angled paint brush or a mini paint roller with an extra long handle.
‘It’s best to utilise your small angled paint brush or radiator brush for this to meticulously paint the areas that are tough to reach,’ Vlad says. ‘If there’s enough space, you can also use your mini roller to paint behind the radiator. If you have one, this is where you can use a specially designed extra long paint roller to get in behind the radiator.’
Natalie continues, ‘You might find you’ll have to try different angles to reach all the tricky spots, but the roller should be able to get to them. You might need to apply a couple of coats of paint, depending on your colour of choice – so repeat the process as many times as you need to.’
‘If you have designer radiators that do not project far from the wall, to reach difficult areas, cover a flat pad with paint and slide it behind the radiator,’ Jess chimes in with an extra tip.
How to paint around a radiator
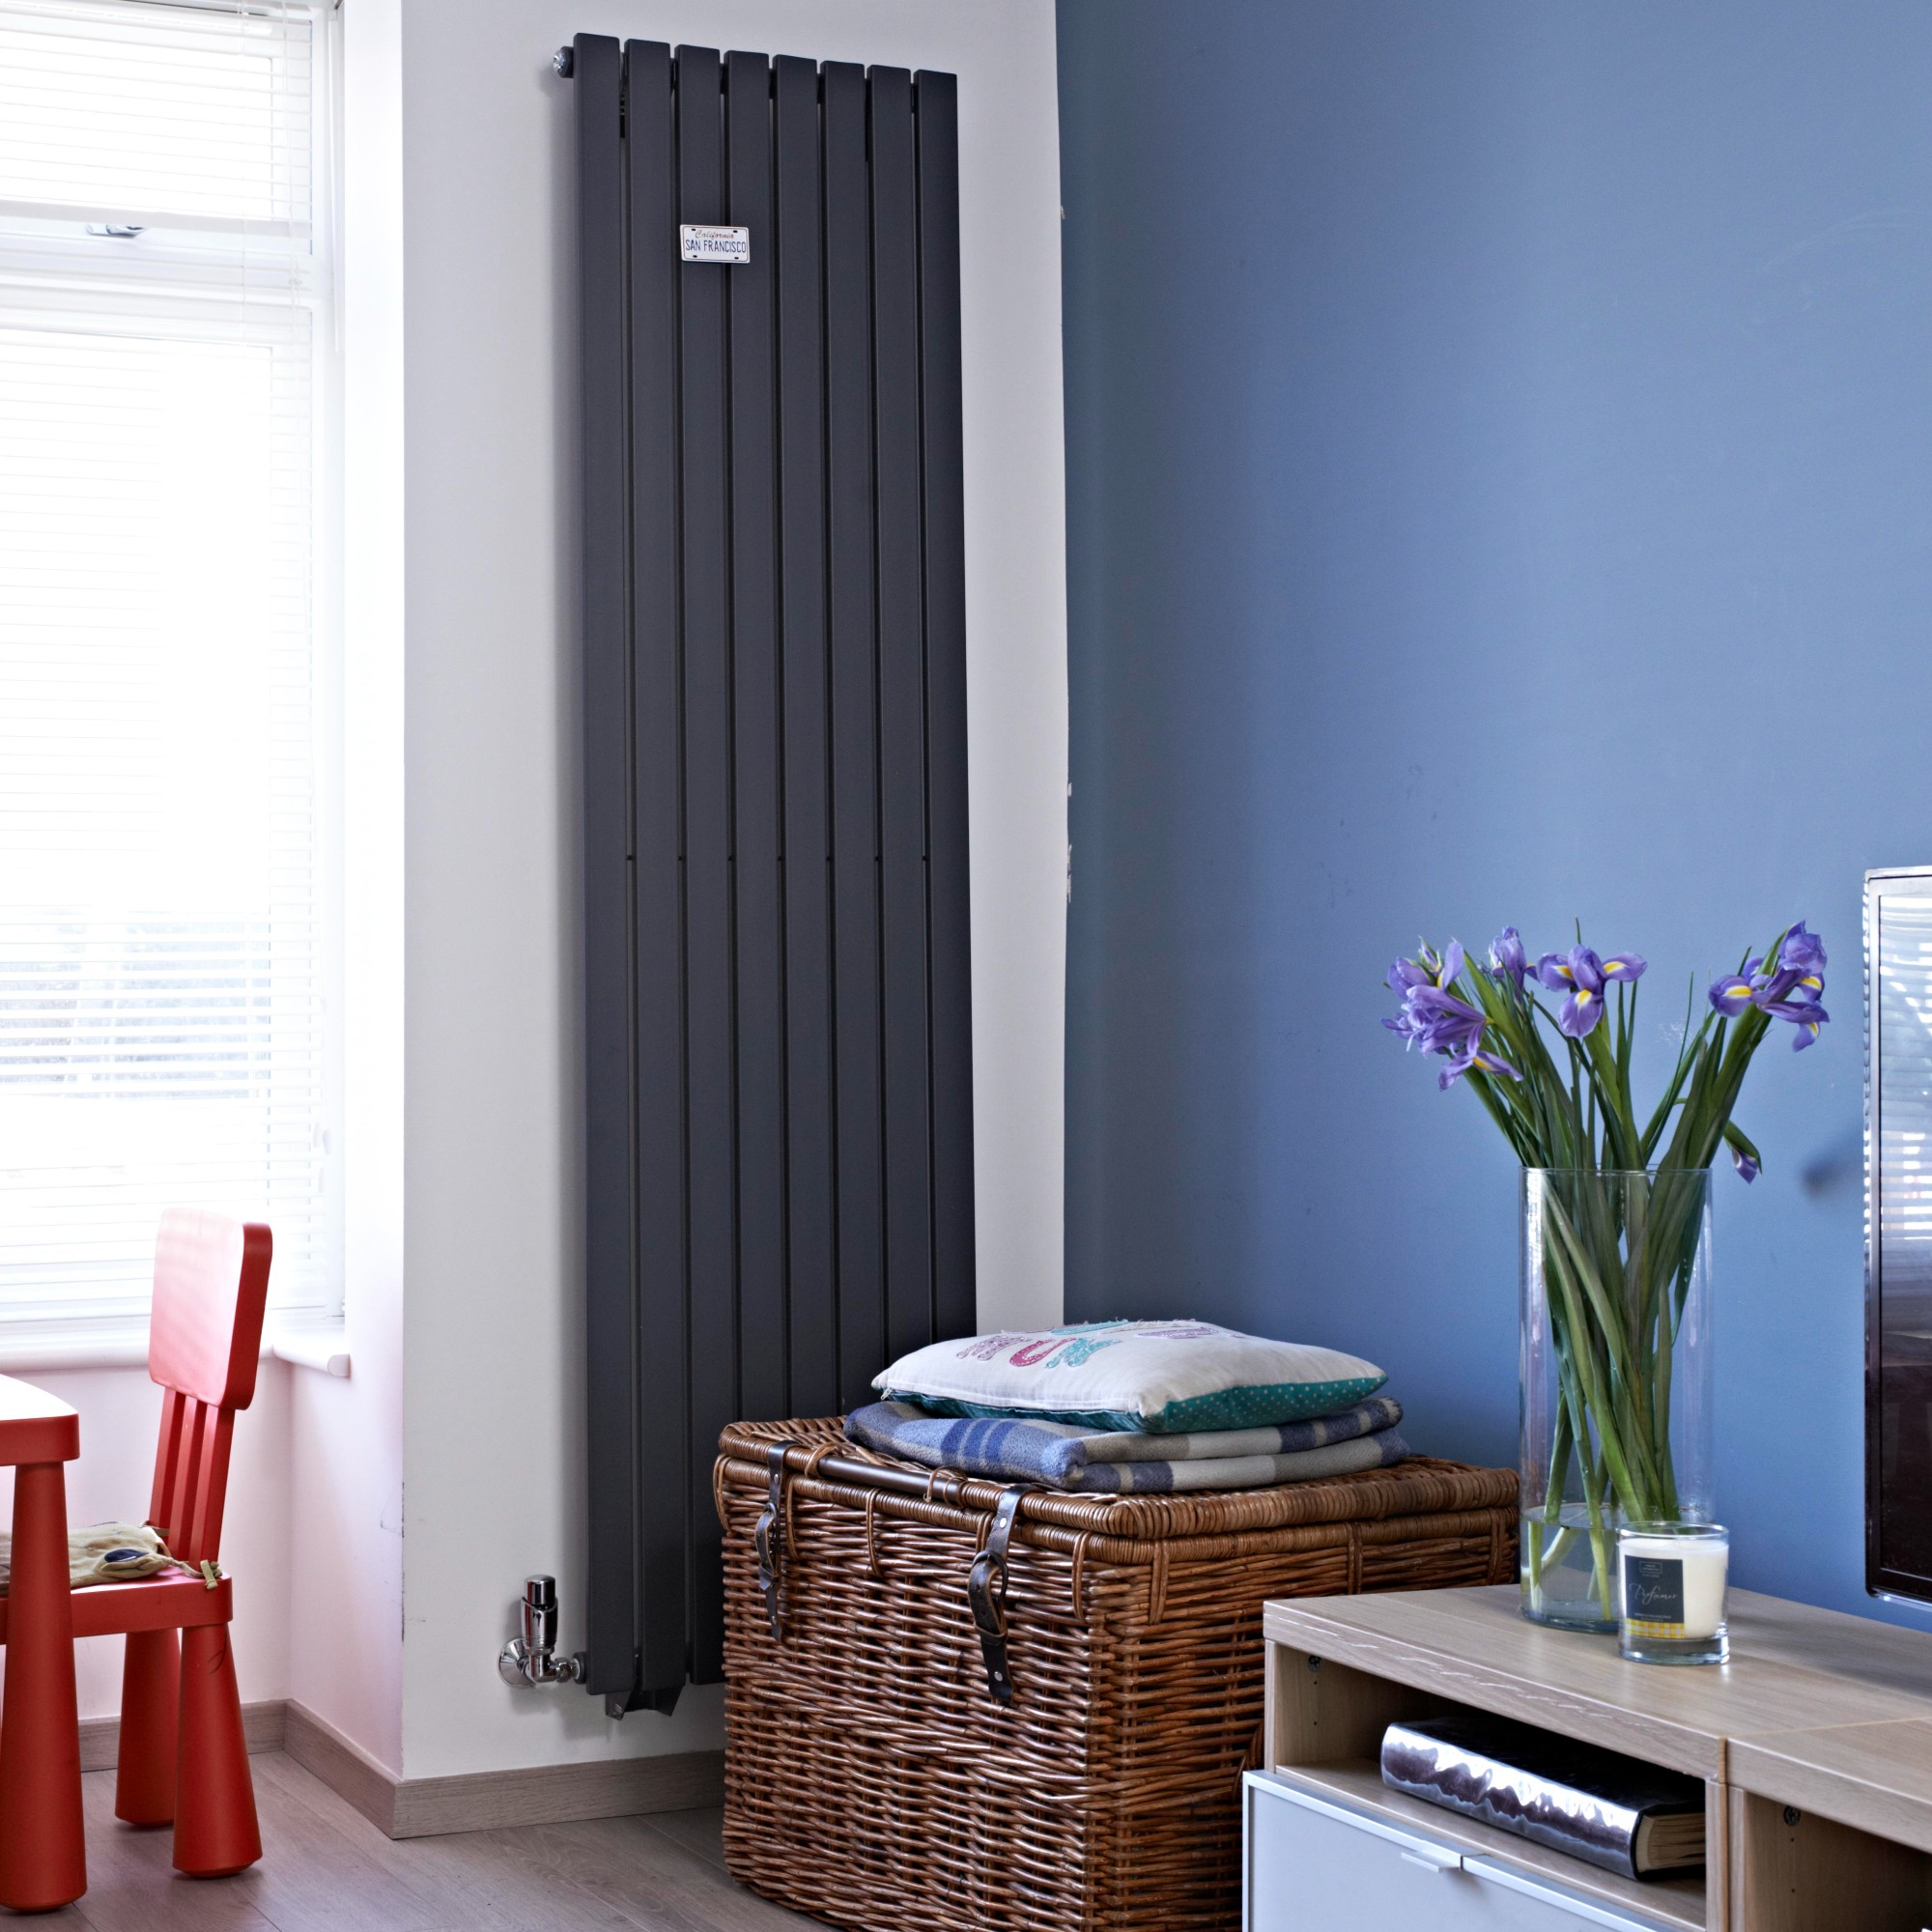
Once you’re done painting the surface behind the radiator with an angled brush or a roller, then you need to move onto carefully covering the spaces around the edges covered with the masking tape.
‘A slanted fitch brush and a pointed sash brush are handy for reaching around the pipes and cutting in neatly along the top of your skirting board,’ recommends Pat Gilham, painting and decorating expert at Myjobquote.co.uk.
‘It’s best to use a paint brush at first, as this is the best way to get the cutting in completed. Go slowly and carefully around the edges behind the radiator where it’s connected to the wall. It might take some peering in from different angles to ensure you’ve got it all,’ agrees Natalie.
Vlad of Taskrabbit recommends using long, even strokes and blending the new paint with the existing coat for a seamless finish.
When you’re finished, carefully remove the masking tape while the paint is still slightly wet resulting in cleaner edges.
Choosing your paint
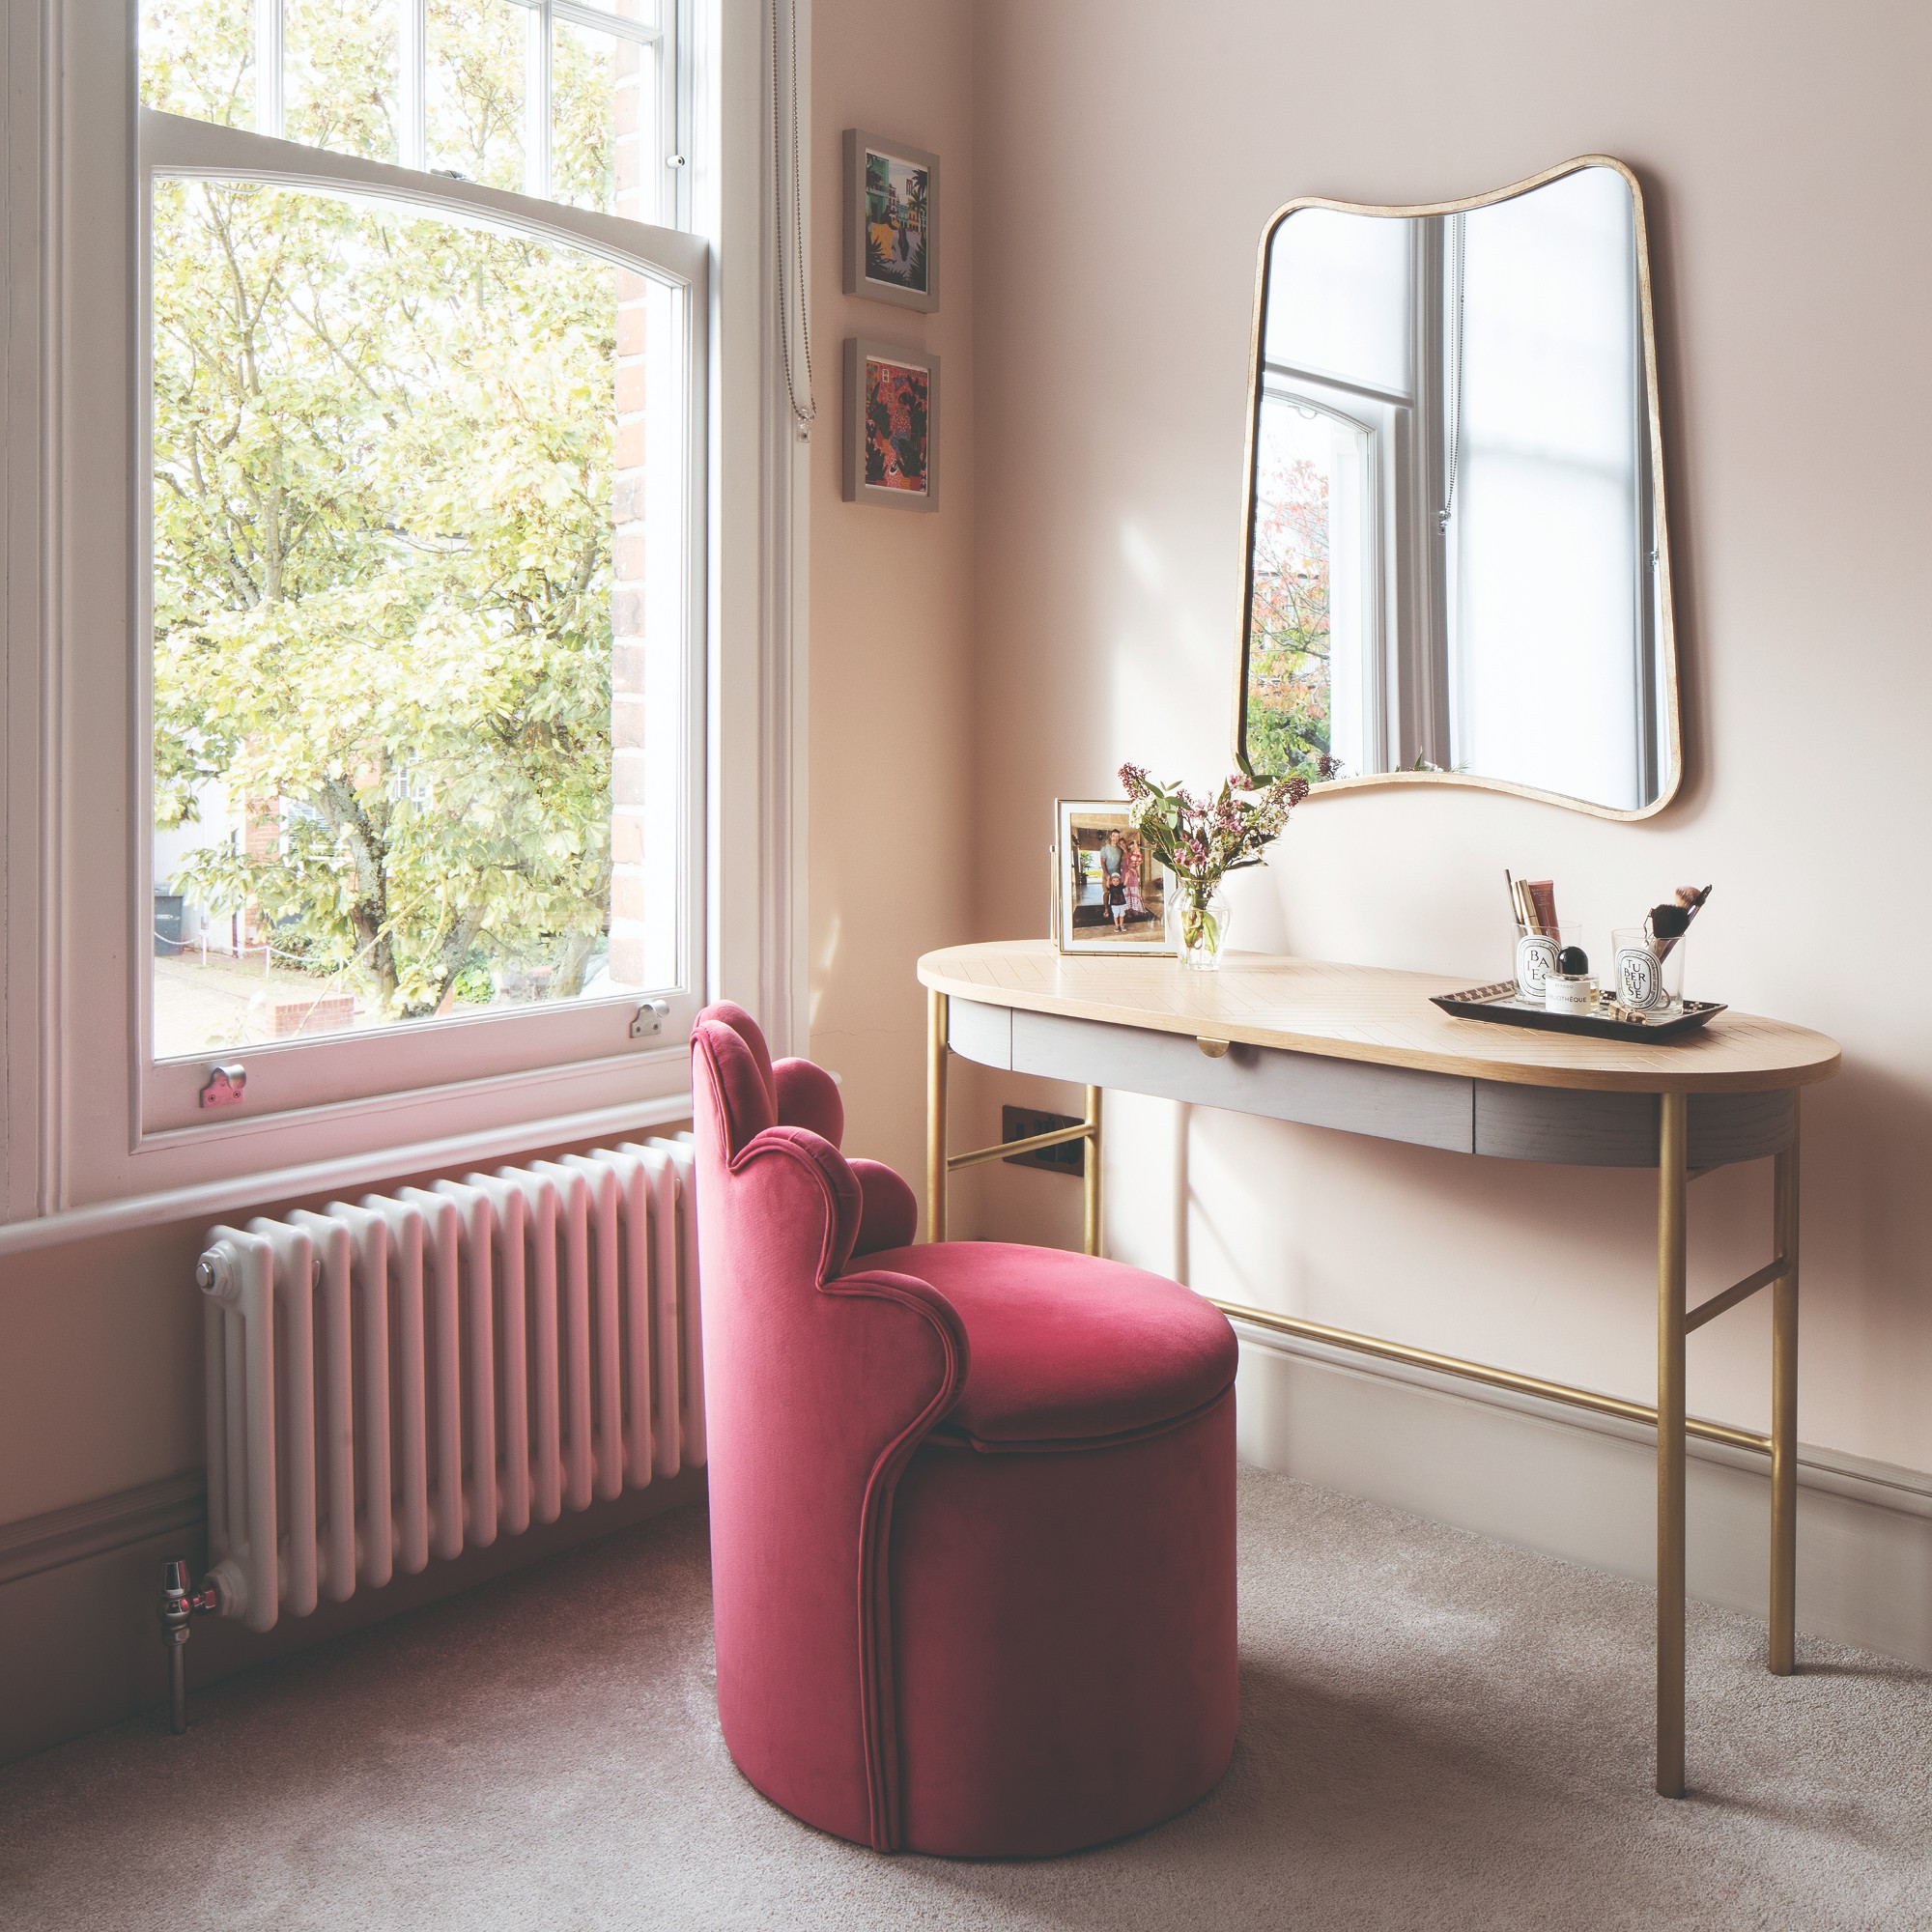
Equipped with plenty of paint ideas, let’s focus on the actual paint for a second. While you are painting a wall so regular paint should work fine, you might find that a heat-resistant type of paint is needed if the previous coat is peeling off.
‘If your radiator’s previous paint job is looking slightly damaged or peeling, it’s worth considering using heat-resistant paint to repaint it. It’s important this paint is designed for high-temperature applications. The paint will come with specific manufacturer instructions for application and drying times so make sure these are followed,’ Vlad explains.
To remove or not to remove
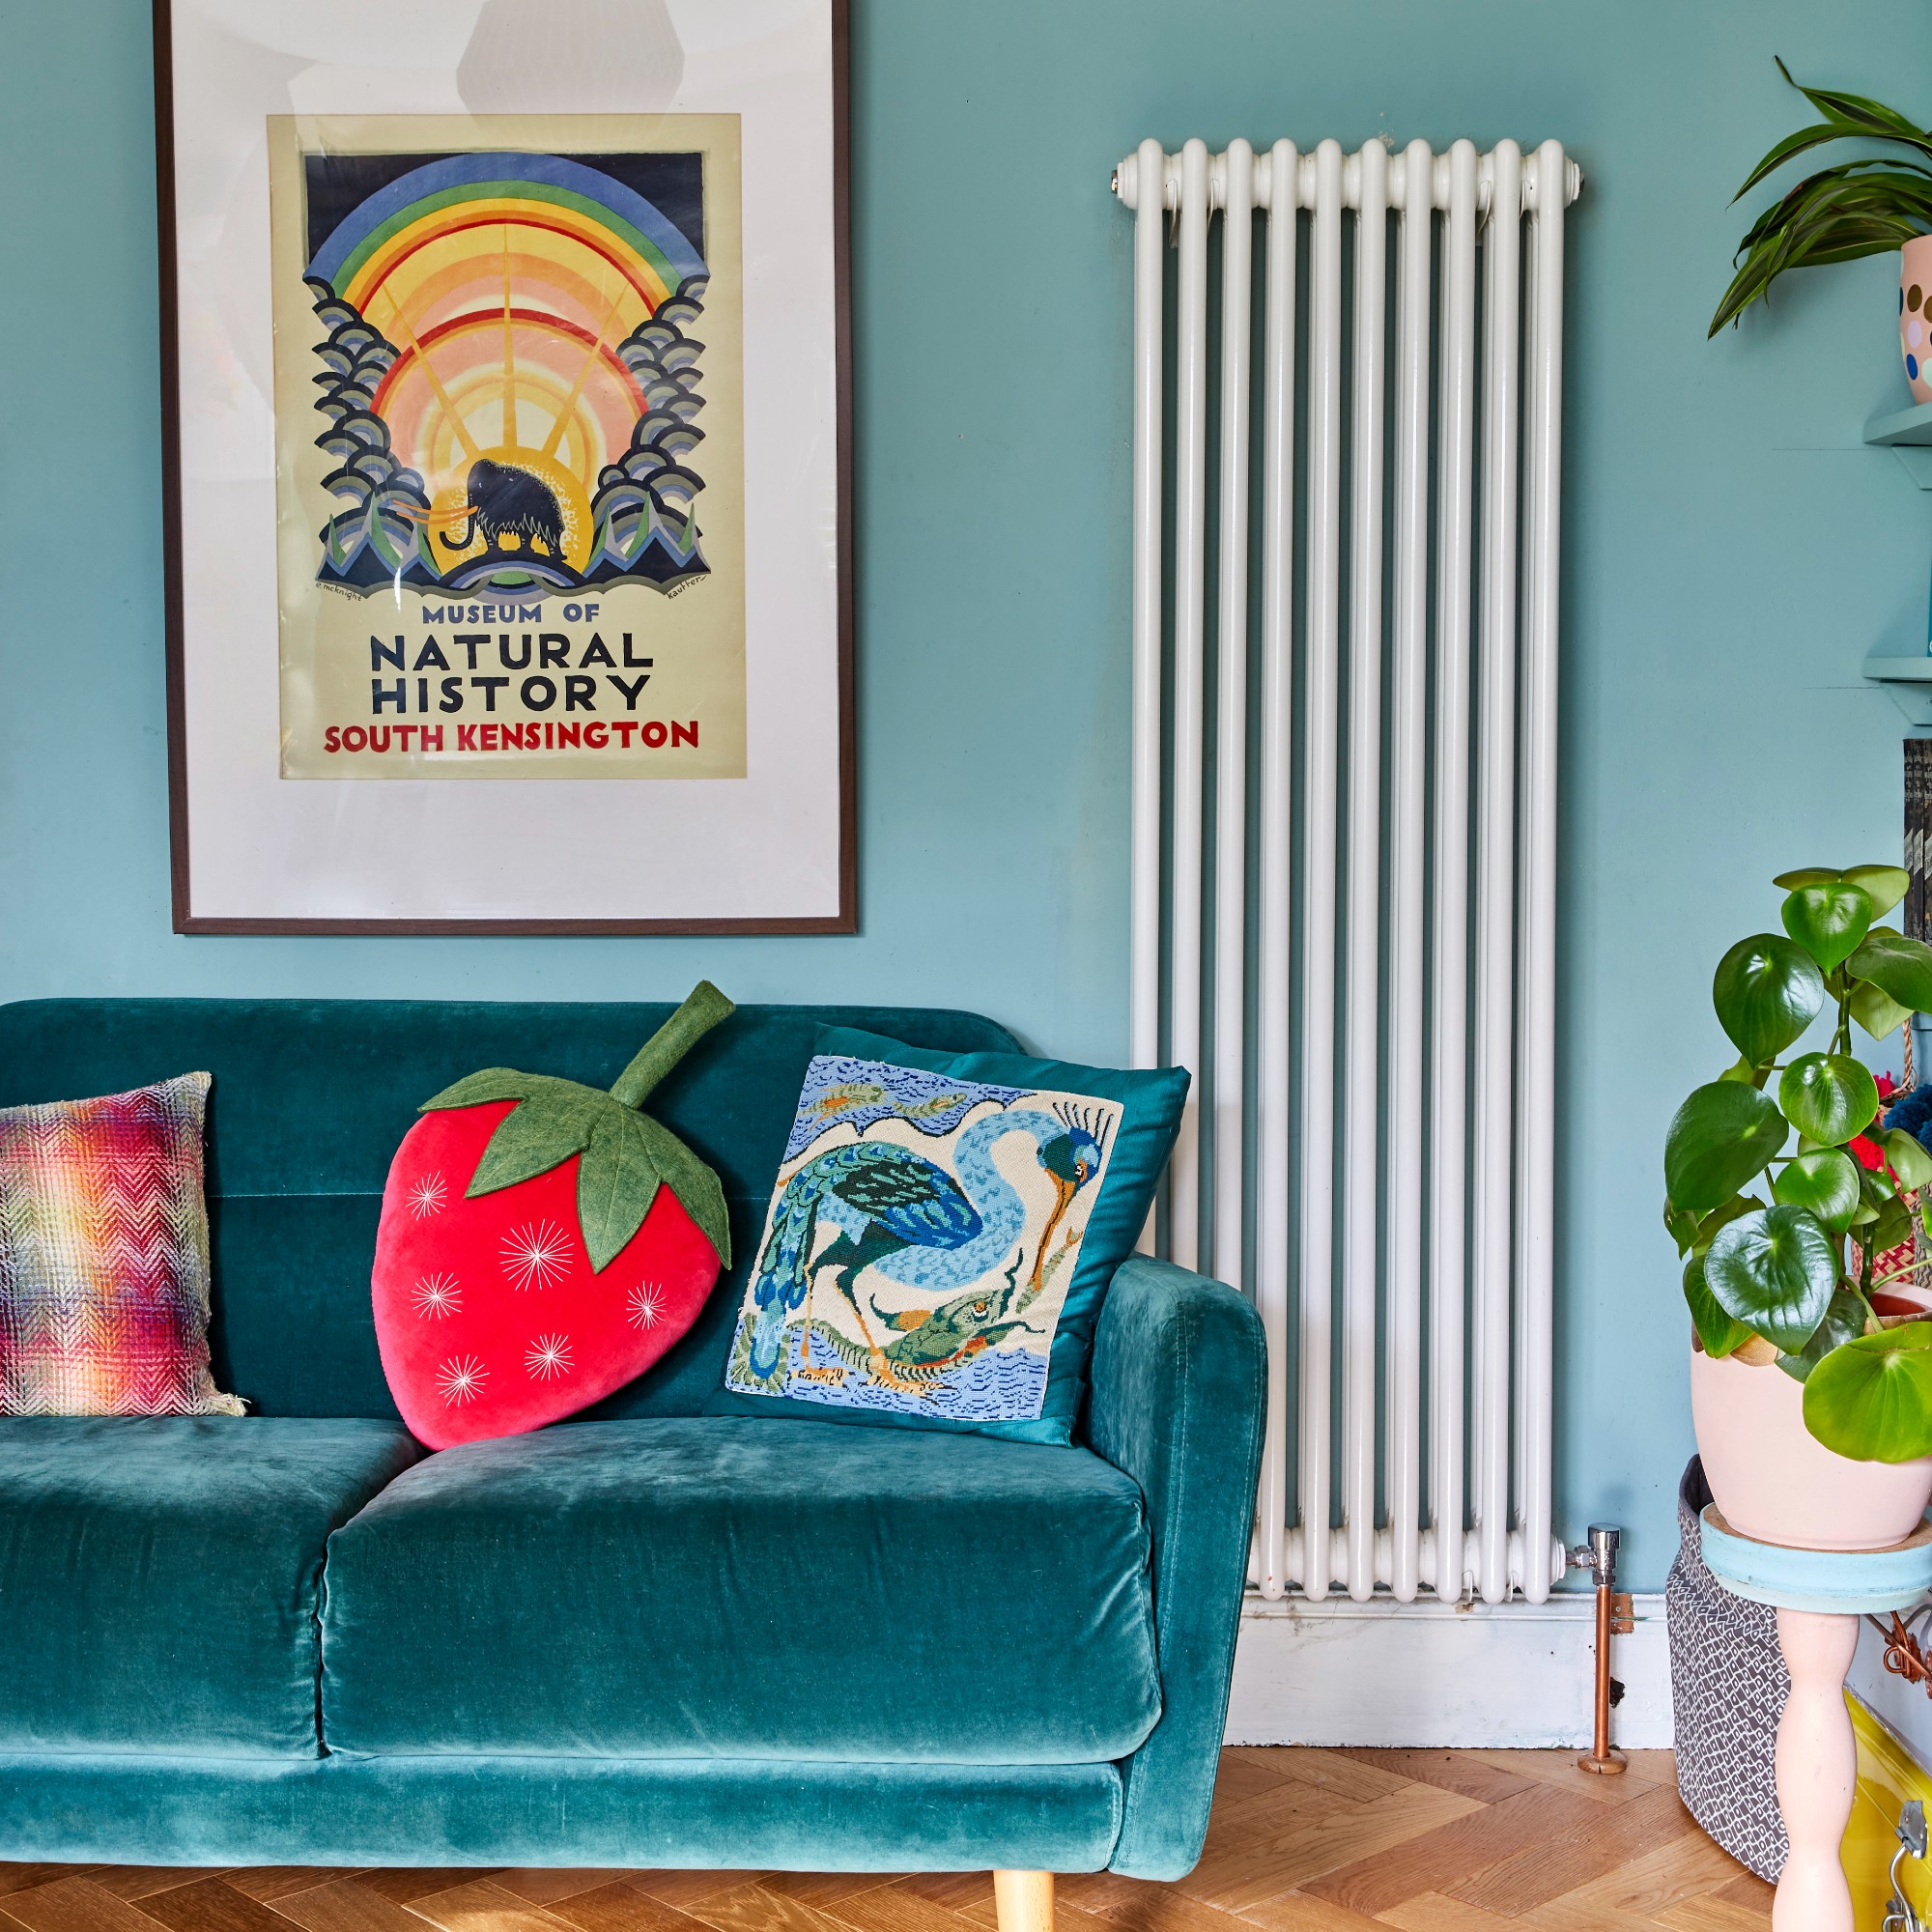
If you find it difficult to reach the wall behind your radiator, then you might consider removing the radiator for the duration of the task. While that is going to make the actual painting a lot easier, the actual removing and reinstalling is a lot of work that should not be underestimated.
‘Some think it would be better to remove the radiator to reach the wall, but whilst the painting would be easier, this would make the process much more difficult and can cause frustration. By removing a radiator you would need to note the pressure it works at, drain it and re-pressurise the system as well as remove and reattach it at the end,’ warns Jess of BestHeating.
Alternatively, Pat of Myjobquote.co.uk suggests at least removing the radiator cover. ‘If you don’t want to go to the trouble of removing your radiator, you make it easier to reach behind it by removing the cover. Typically, this can be unhooked by twisting out any plastic fixings first and then pushing the side panels up carefully. You can then take off the top grille. The thermostat knobs should also unscrew.’
Even though that still sounds like a whole lot of effort. We think we’ll stick to our angled brushes and extra long-handled rollers.

Sara Hesikova has been a Content Editor at Ideal Home since June 2024, starting at the title as a News Writer in July 2023. She is now also the Ideal Home Certified Expert in Training on Furniture, and so far has tested 80 different sofas.
Graduating from London College of Fashion with a bachelor’s degree in fashion journalism in 2016, she got her start in niche fashion and lifestyle magazines like Glass and Alvar as a writer and editor before making the leap into interiors, working with the likes of 91 Magazine and copywriting for luxury bed linen brand Yves Delorme among others.
-
 Zoe Ball's colourful kitchen island shows how easy it is to create a characterful cooking space - here's how she did it
Being brave with colour will reap huge rewards
By Holly Cockburn
-
 7 plants that will make your patio smell gorgeous - the top fragrant picks experts recommend potting up
From aromatic flowers to fragrant herbs
By Kayleigh Dray
-
 I won't gatekeep - Magimix's new small kitchen-friendly mini chopper is my secret to delicious lazy dinners
My homemade pesto pasta has never been better
By Holly Cockburn