How to press flowers – for pretty homemade decorations
Follow this step-by-step on how to press flowers by Jamjar Edit and extend your garden blooms into autumn
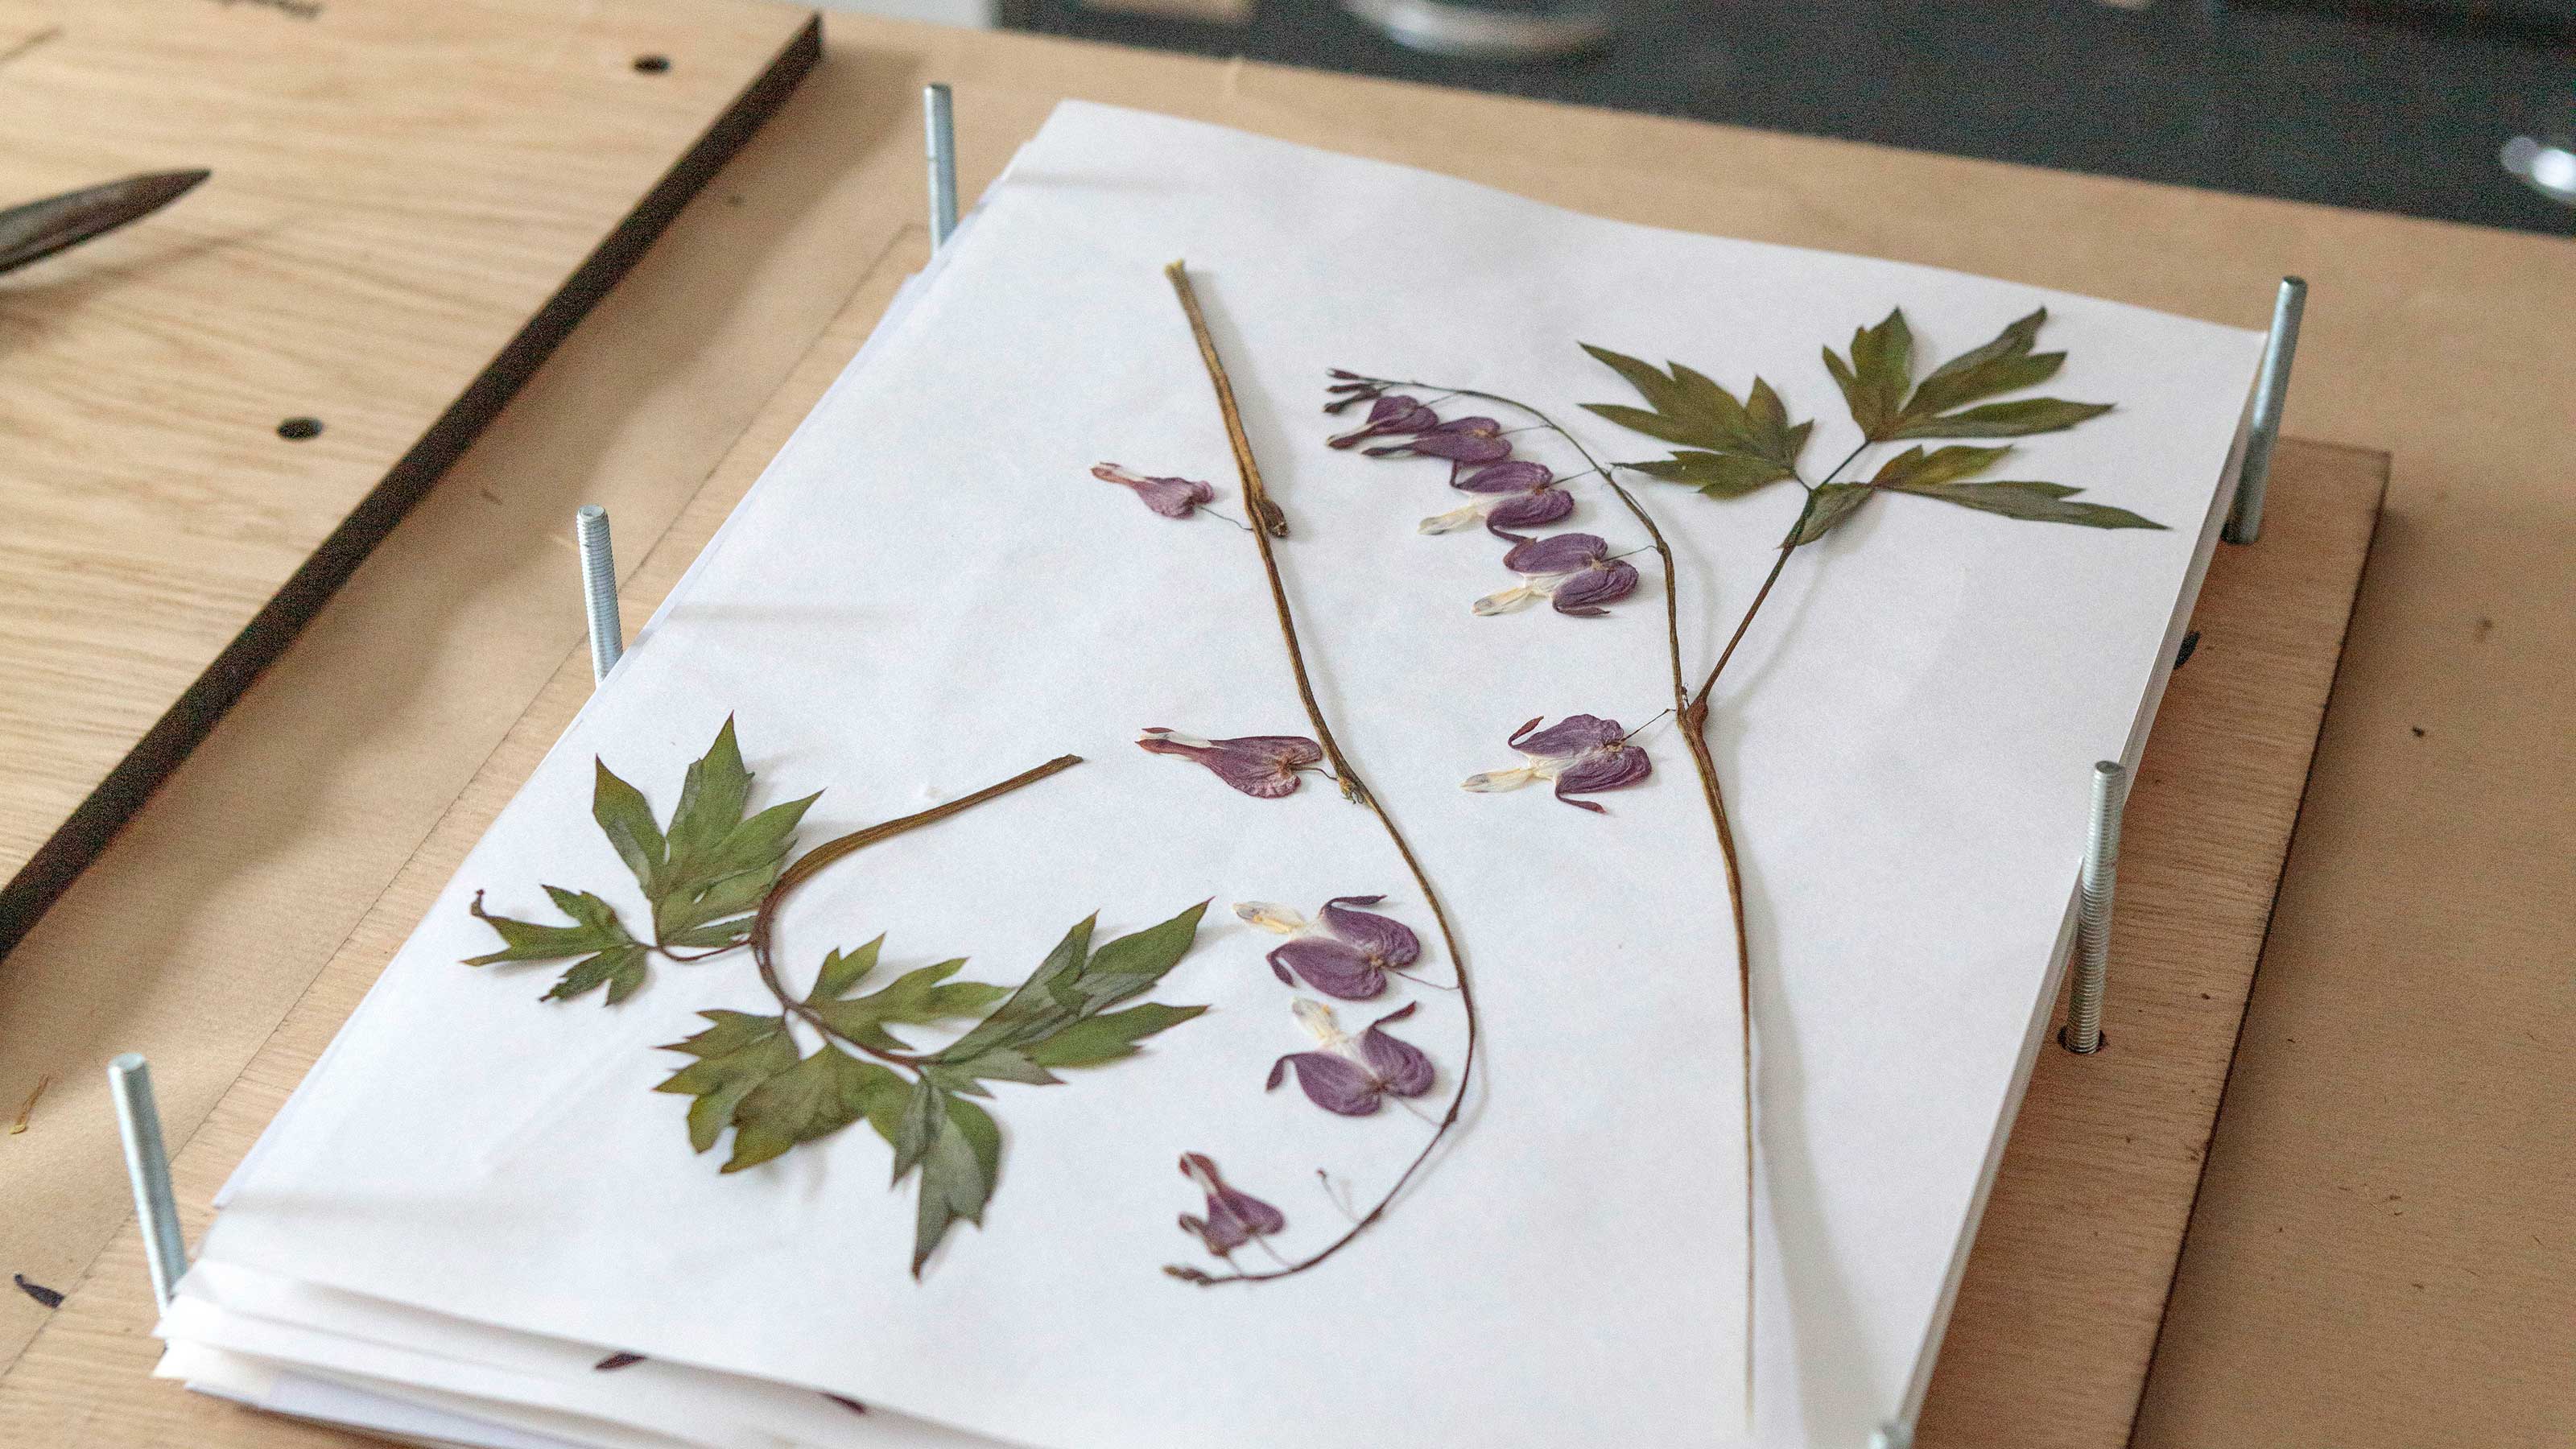
Rachel Crow
A wonderfully mindful activity, learn how to press flowers and preserve the fleeting fragility and beauty of garden blooms by turning them into pretty decorations or accessories.
If you've mastered how to grow a cut flower patch then pressing flowers is a perfect way to extend the enjoyment of some of the blooms you've grown. You can use the pressed flowers to make mini artworks to hang on walls, pretty bookmarks or gift tags, to decorate cards or journals, decoupage candles ... the choices are endless. You could start pressing flowers now for beautiful DIY Christmas decor ideas.
Jamjar Edit presses and preserves flowers to create unique artworks, keepsake place names, gift tags and botanical tiles, to decorate papery lampshades and other decorative accessories that bring elements of nature to the heart of homes.
Here, Amy Fielding of Jamjar Edit offers her advice on how to press flowers for the best results.
How to press flowers
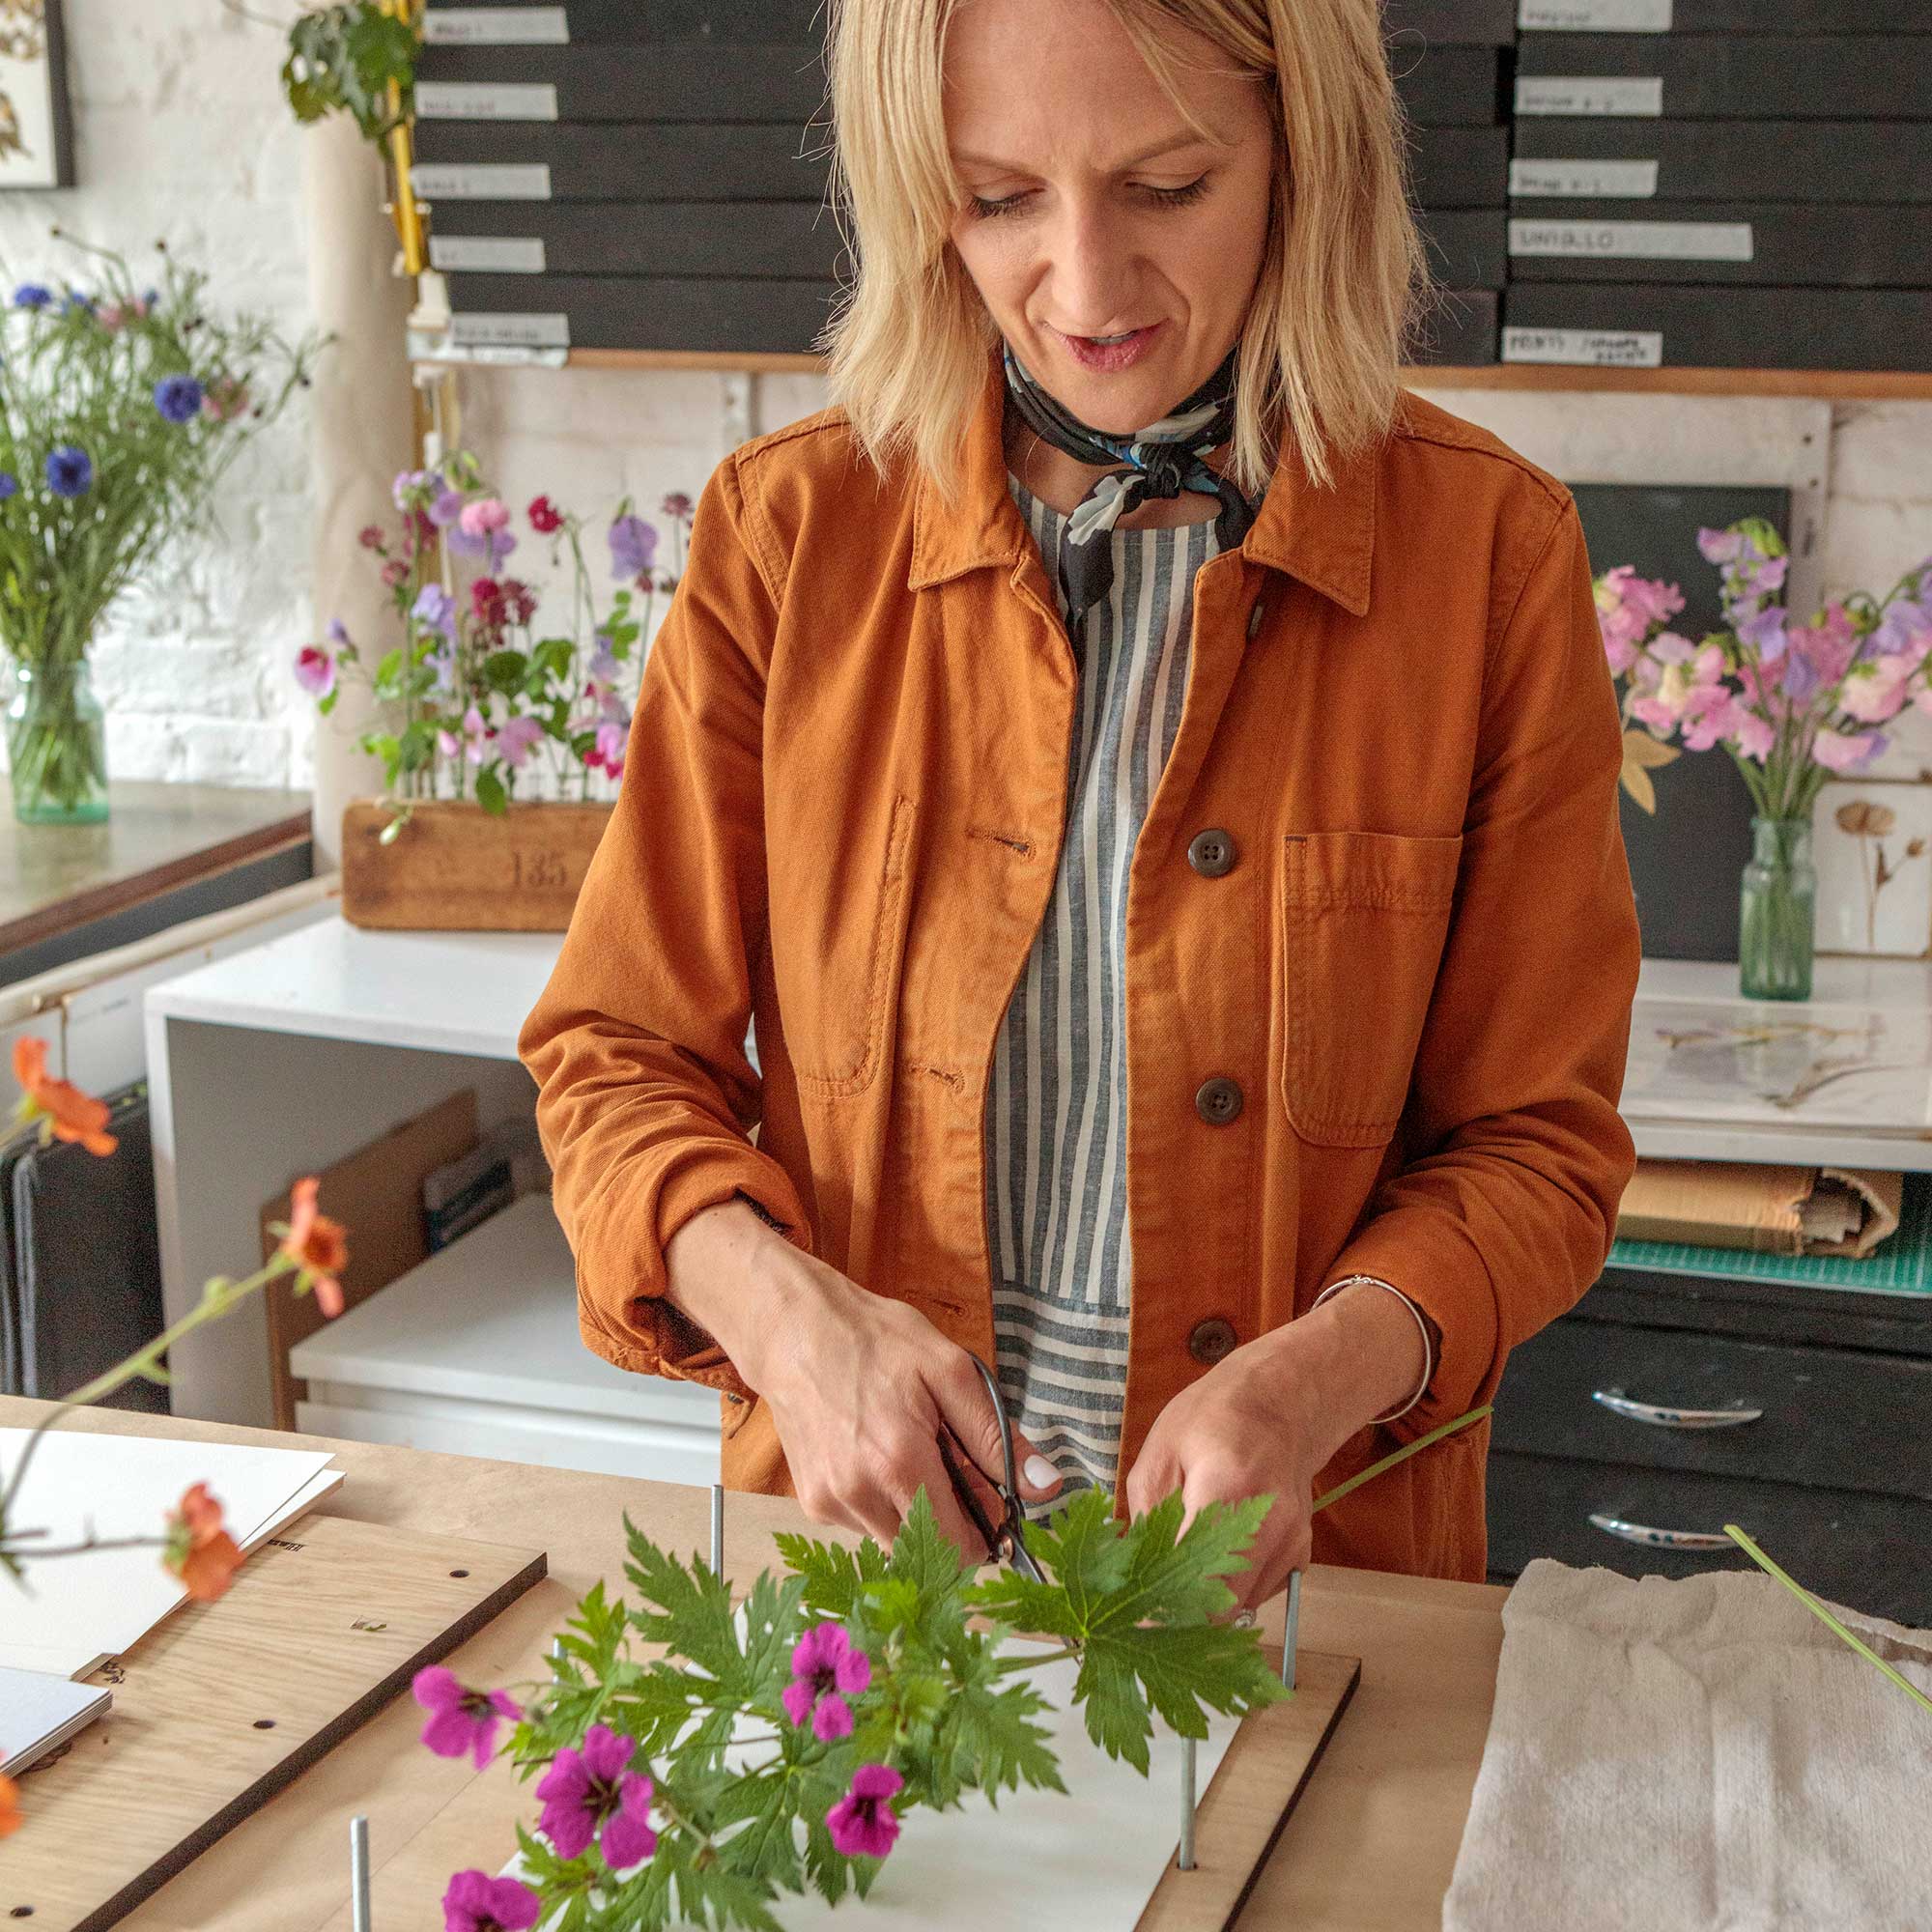
JamJar Edit's small studio based in the Dickensian Peacock Yard in South East London is filled with the components needed for flower pressing.
‘I’m drawn to a modernist aesthetic, simple, clean and uncluttered lines and we felt we could bring a fresh, new and artistic approach to the traditional craft of flower pressing, which has technically little-altered over many centuries,’ Amy explains.
'Composing and creating flower pressings is a calming antidote to the frenzy of computer screens and social media that confront us daily.'
Follow this step-by-step on how to press flowers to preserve your beautiful garden blooms.
What you will need
- Flower press
- Blotting paper
- Fresh flowers
- Linen cloth
- Florist's scissors
Flower pressing step-by-step
1. Choose the best flowers
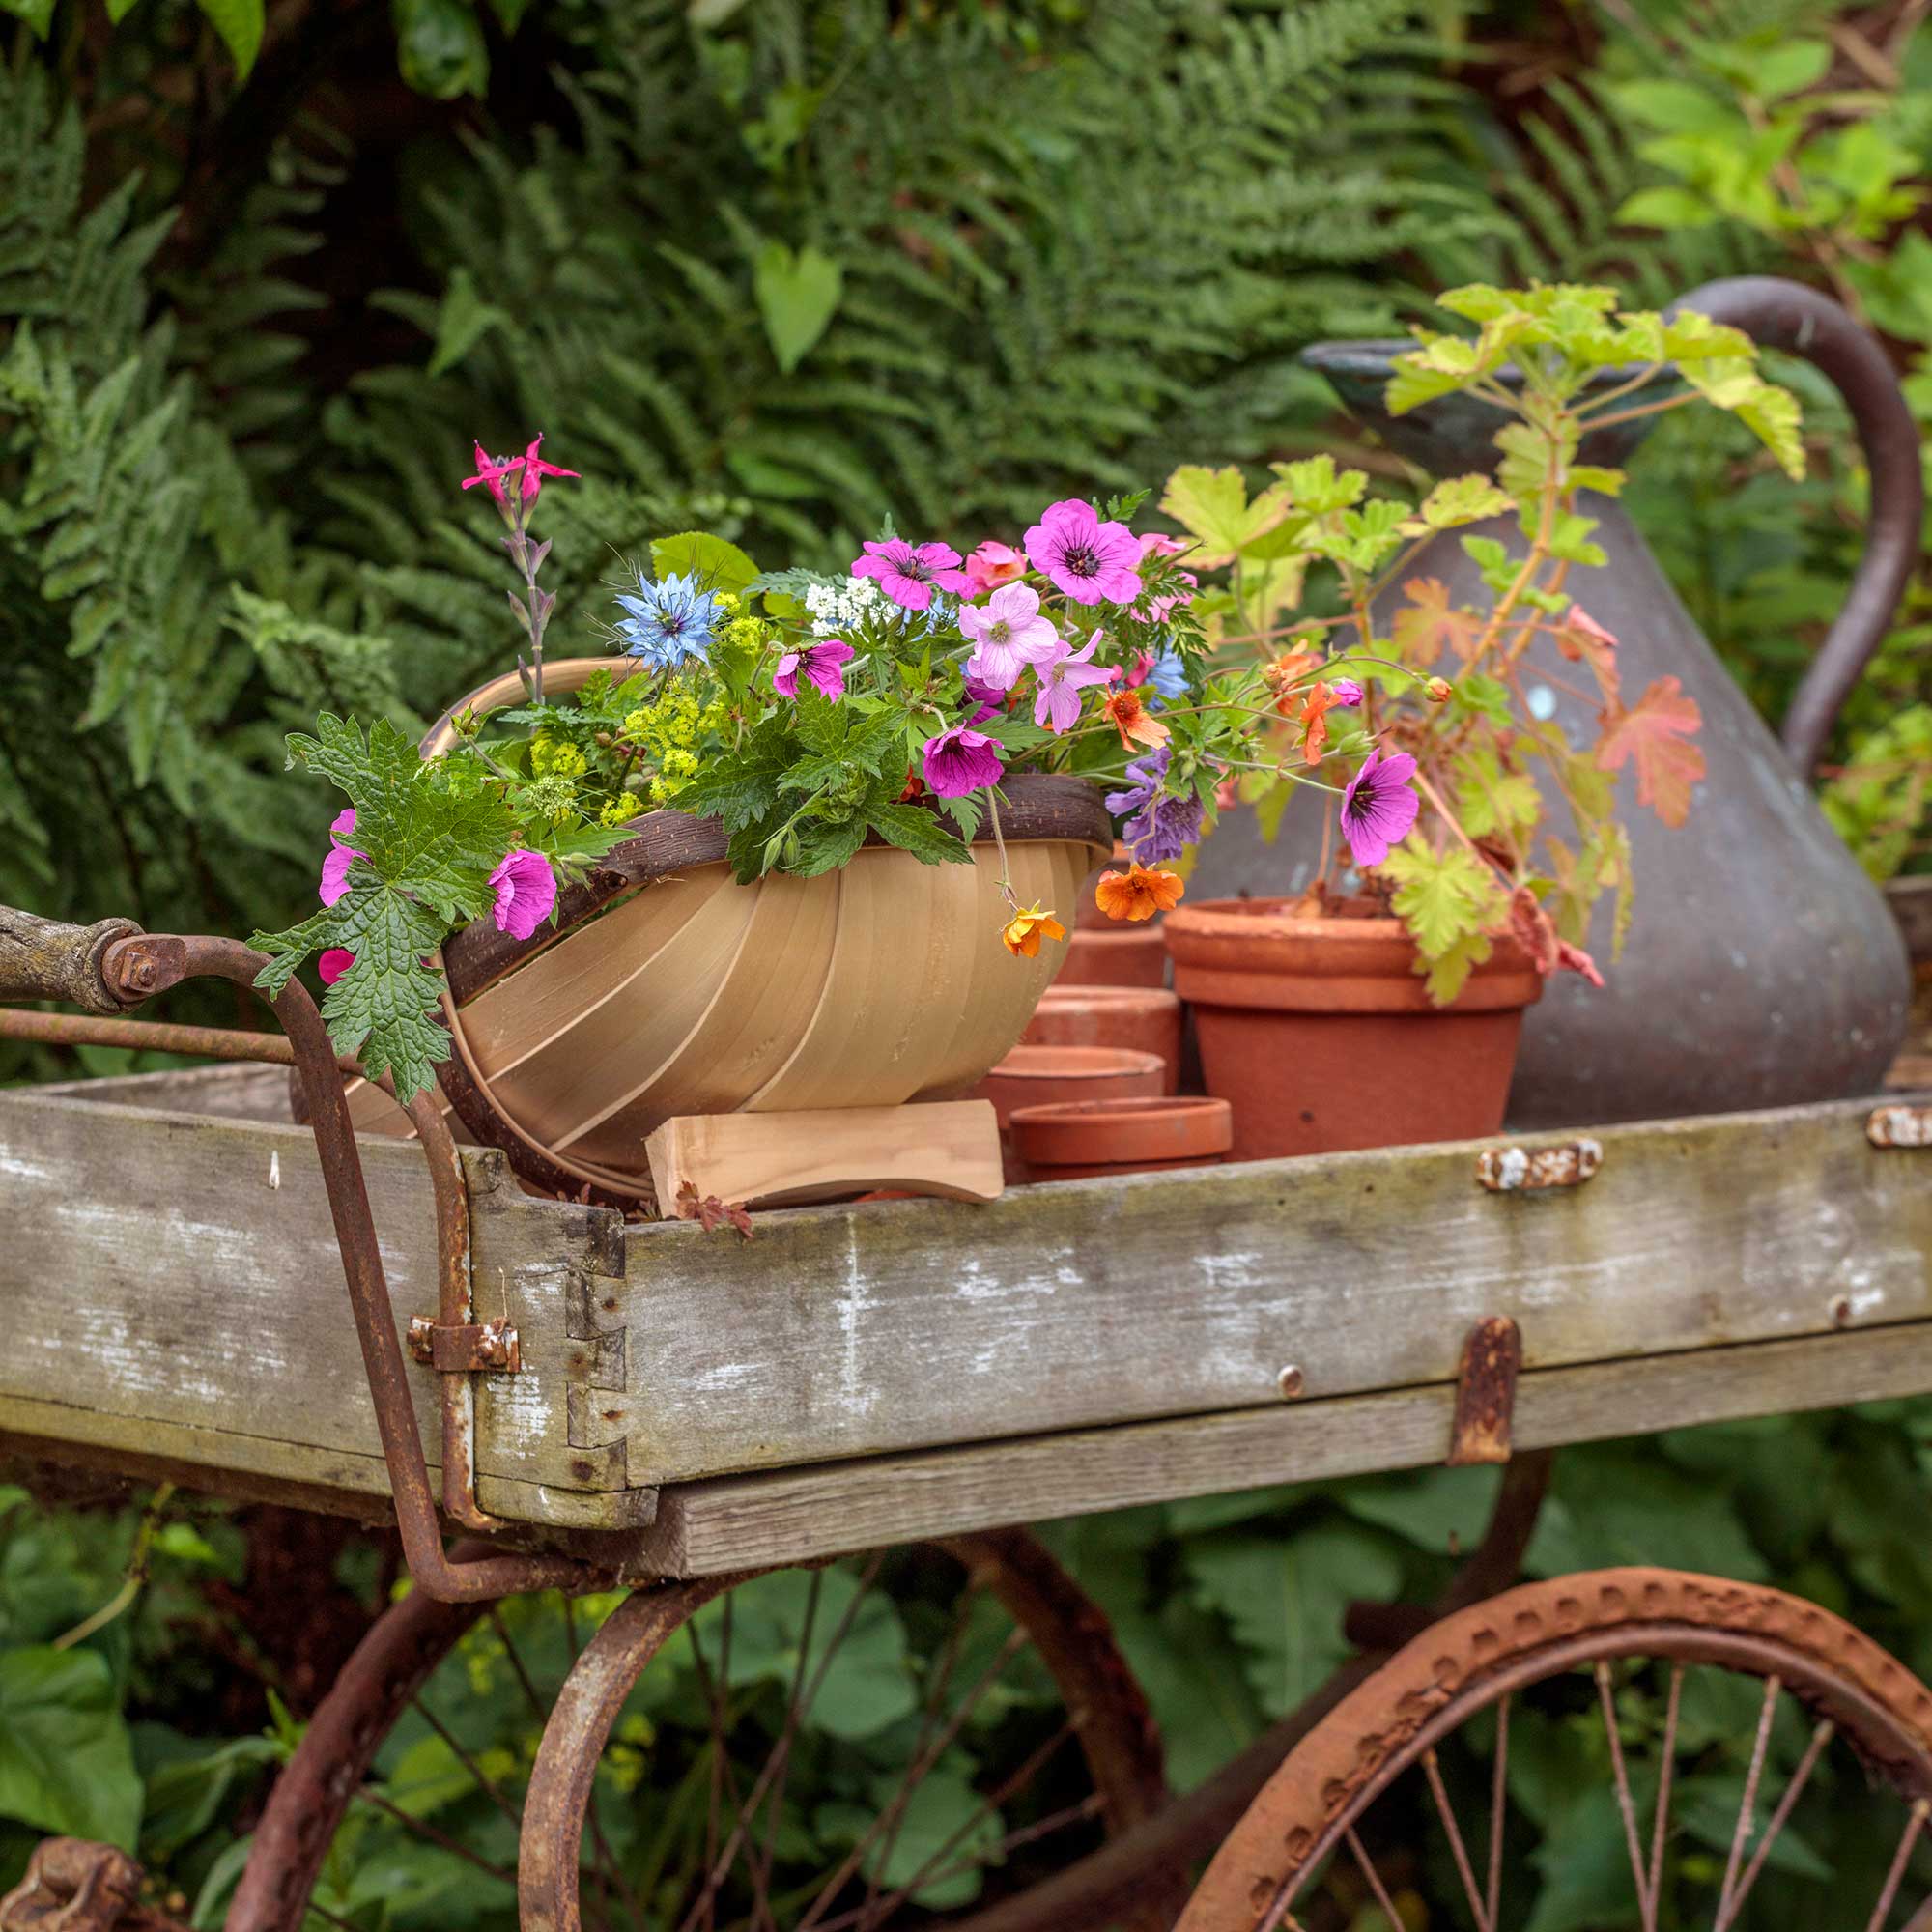
Choose the perfect flowers, which can be either homegrown or shop-bought. 'Thin-petalled simple flowers like geranium, with interesting, finely-cut foliage, geums, Nigella damascena, Dicentra spectabilis, love-in-a-mist, nasturtium, viola, tulips, or aquilegia, with lots of delicately ruffled petals which press prettily, make good candidates for pressed flowers,' says Amy. And there are many more.
But it's not just flowers, as interesting foliage can also produce beautiful and interesting pressings, such as finely detailed fern foliage.
2. Blot off water
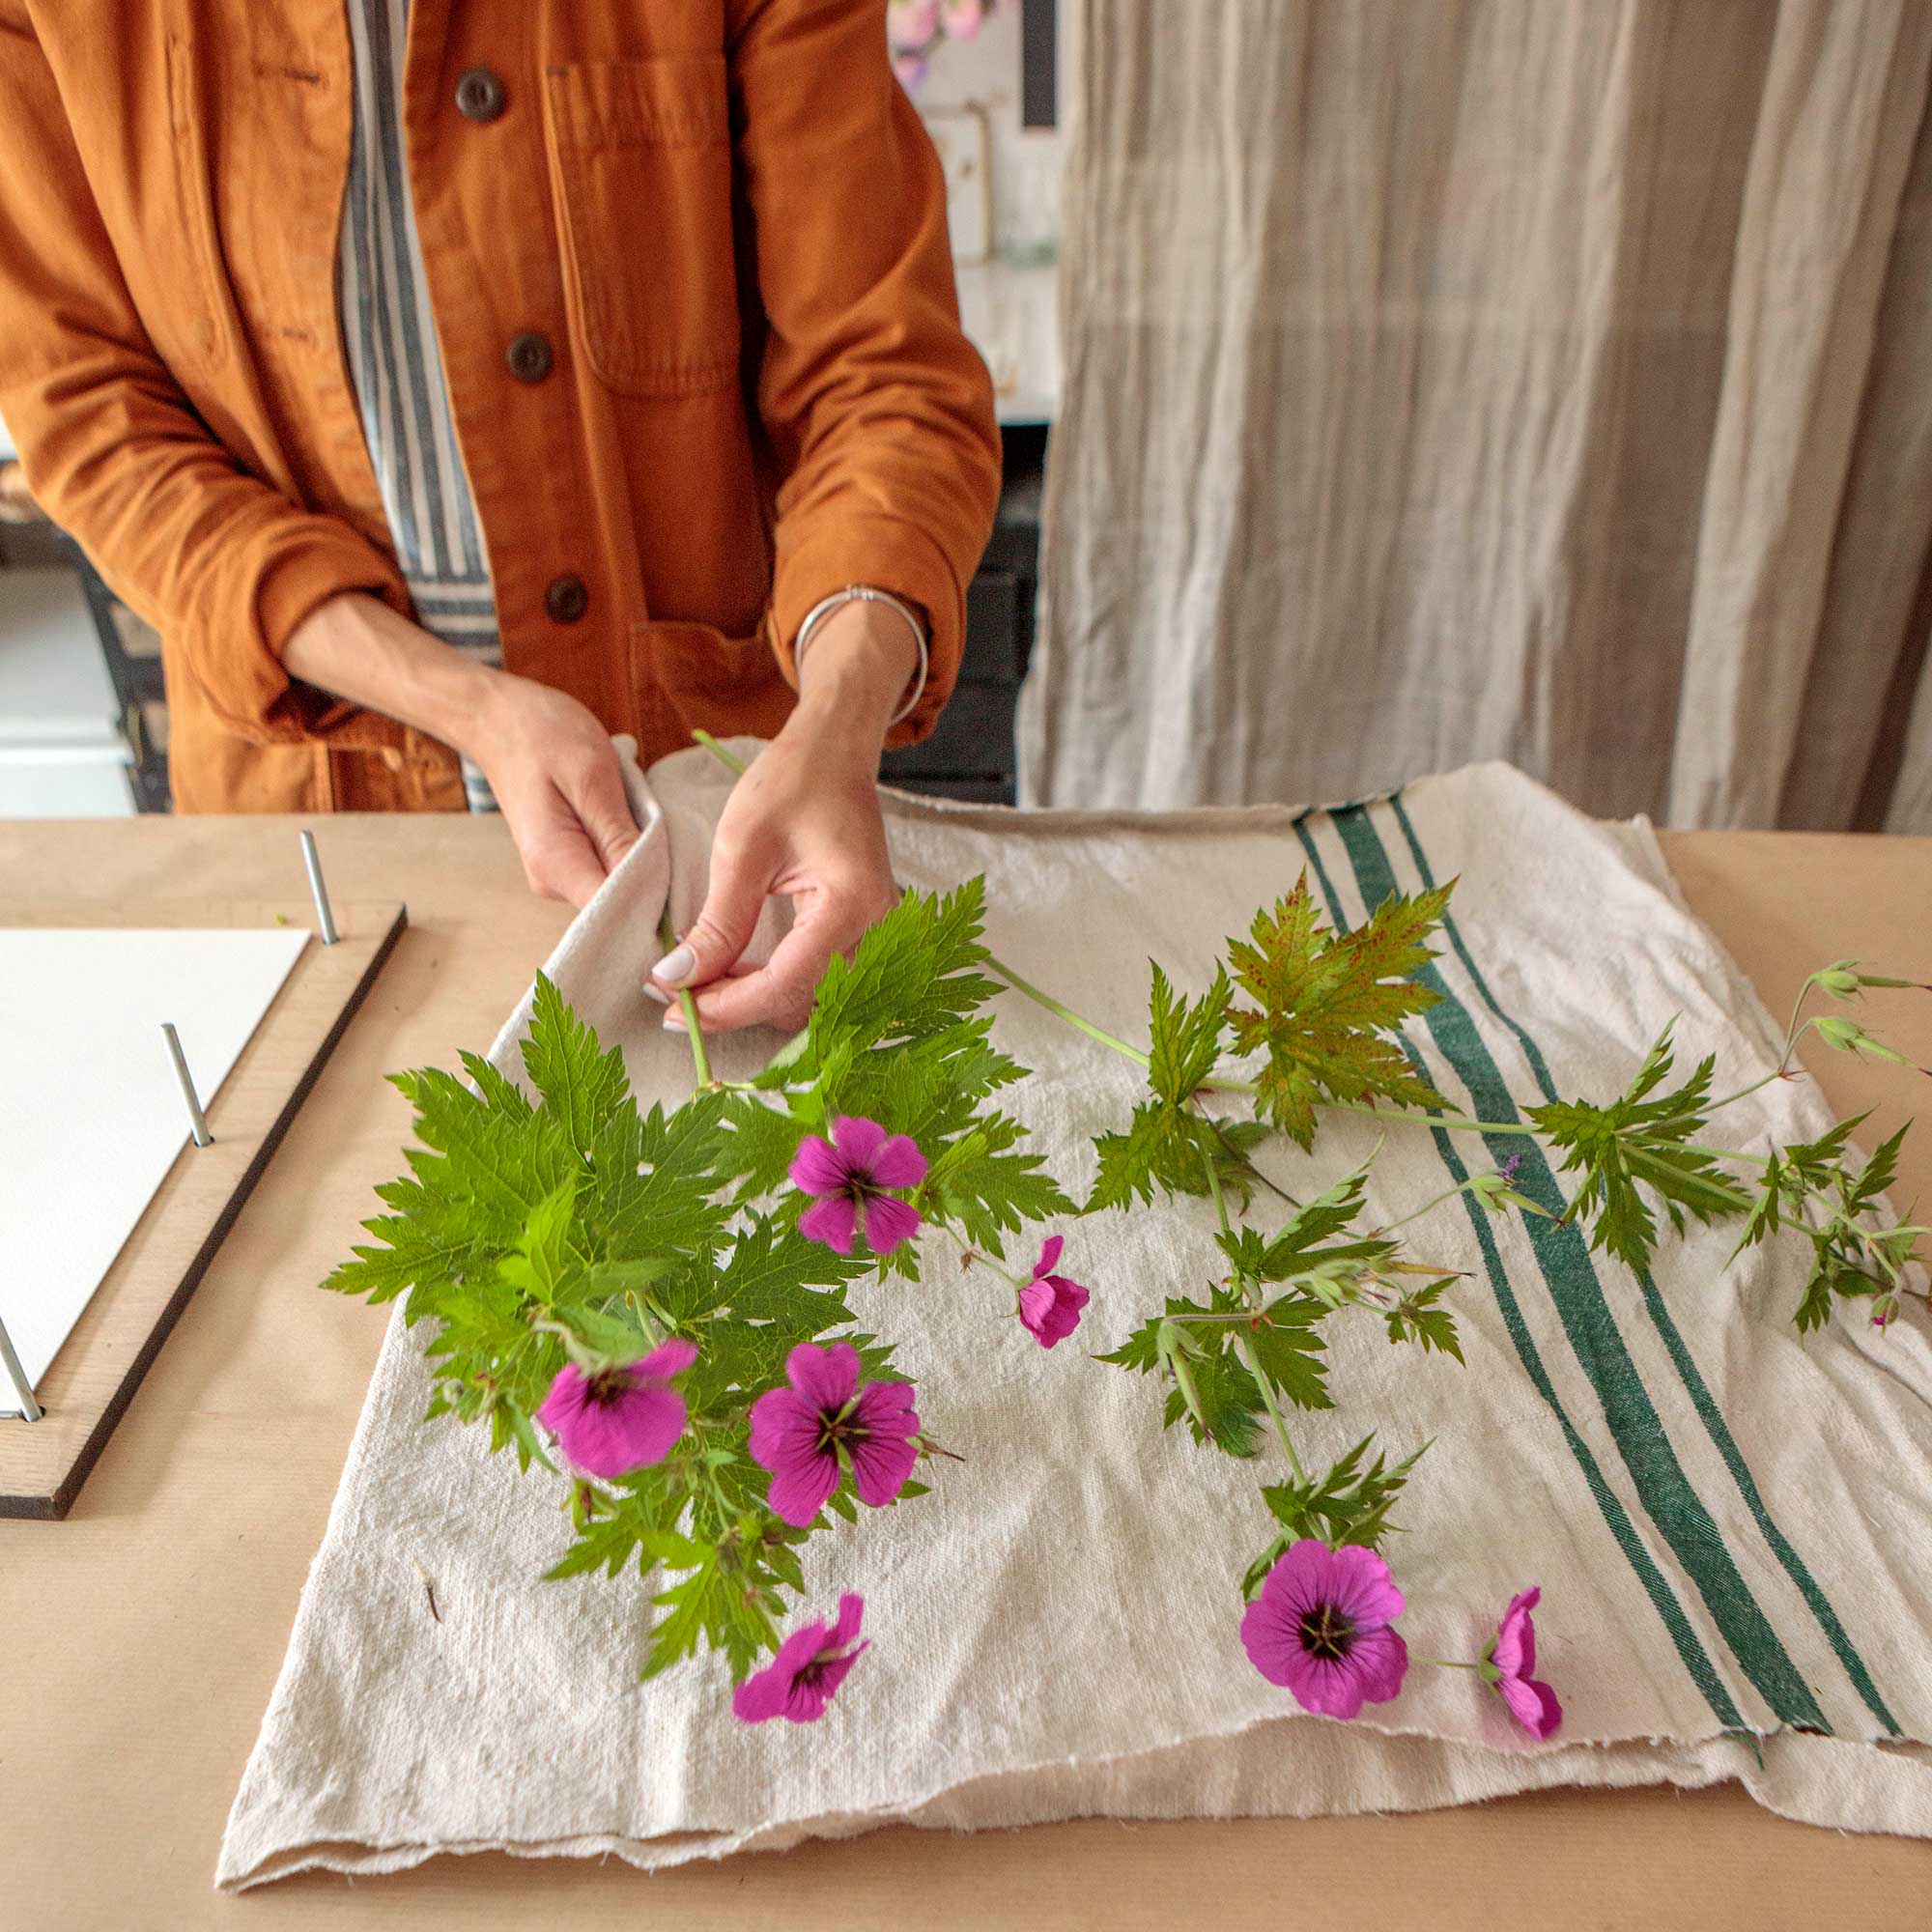
Blot off any water from the flowers with a linen cloth to ensure no water reaches the pressing paper. 'It’s important to get the moisture out of the plant quickly as this helps to retain good colour,' explains Amy.
3. Prepare the flower press
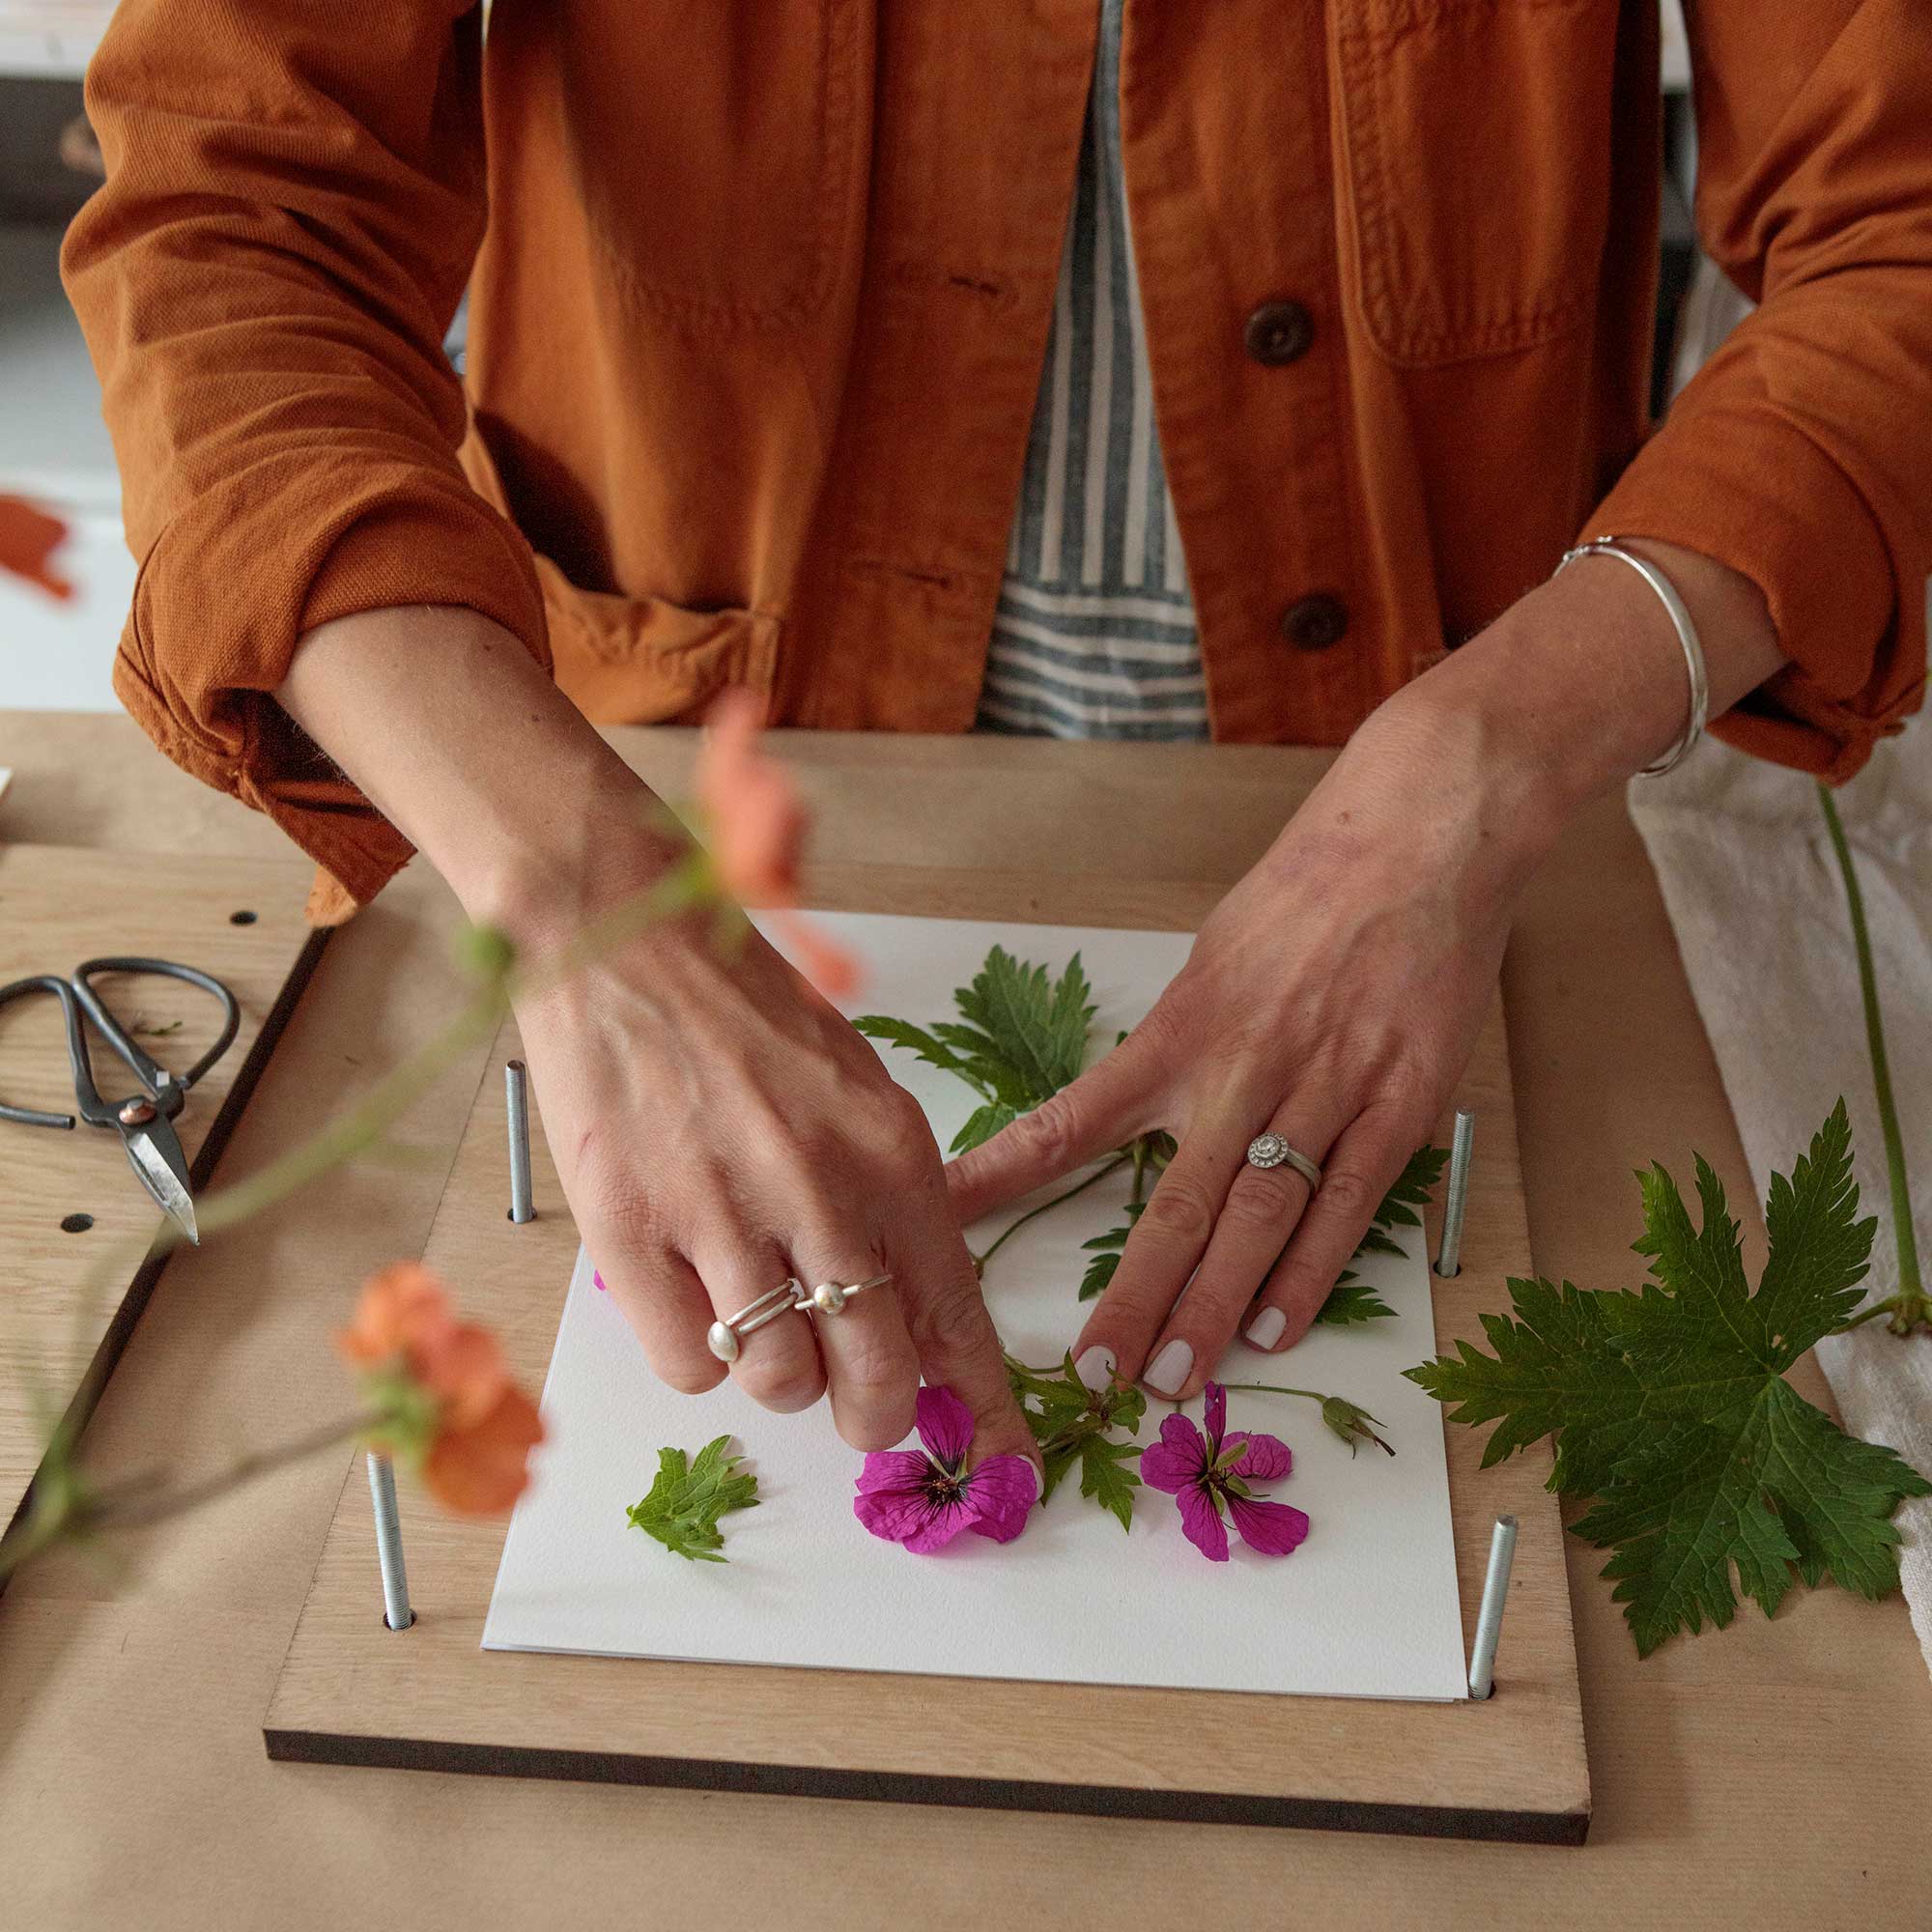
Prepare the flower press base, with the screws inserted, and layered with the first piece of A4 card and a cover of absorbent blotting paper.
'It can be useful at this stage to take a phone snap of the flower you plan to press before you deconstruct it, so you can use this as a guide when you are making your final composition of it for any artwork,' says Amy.
Using sharp florist’s scissors, trim the flower to fit the press. Keep all parts, including foliage and flower stalk, and arrange so that all parts are in contact with the paper.
4. Arrange the flowers
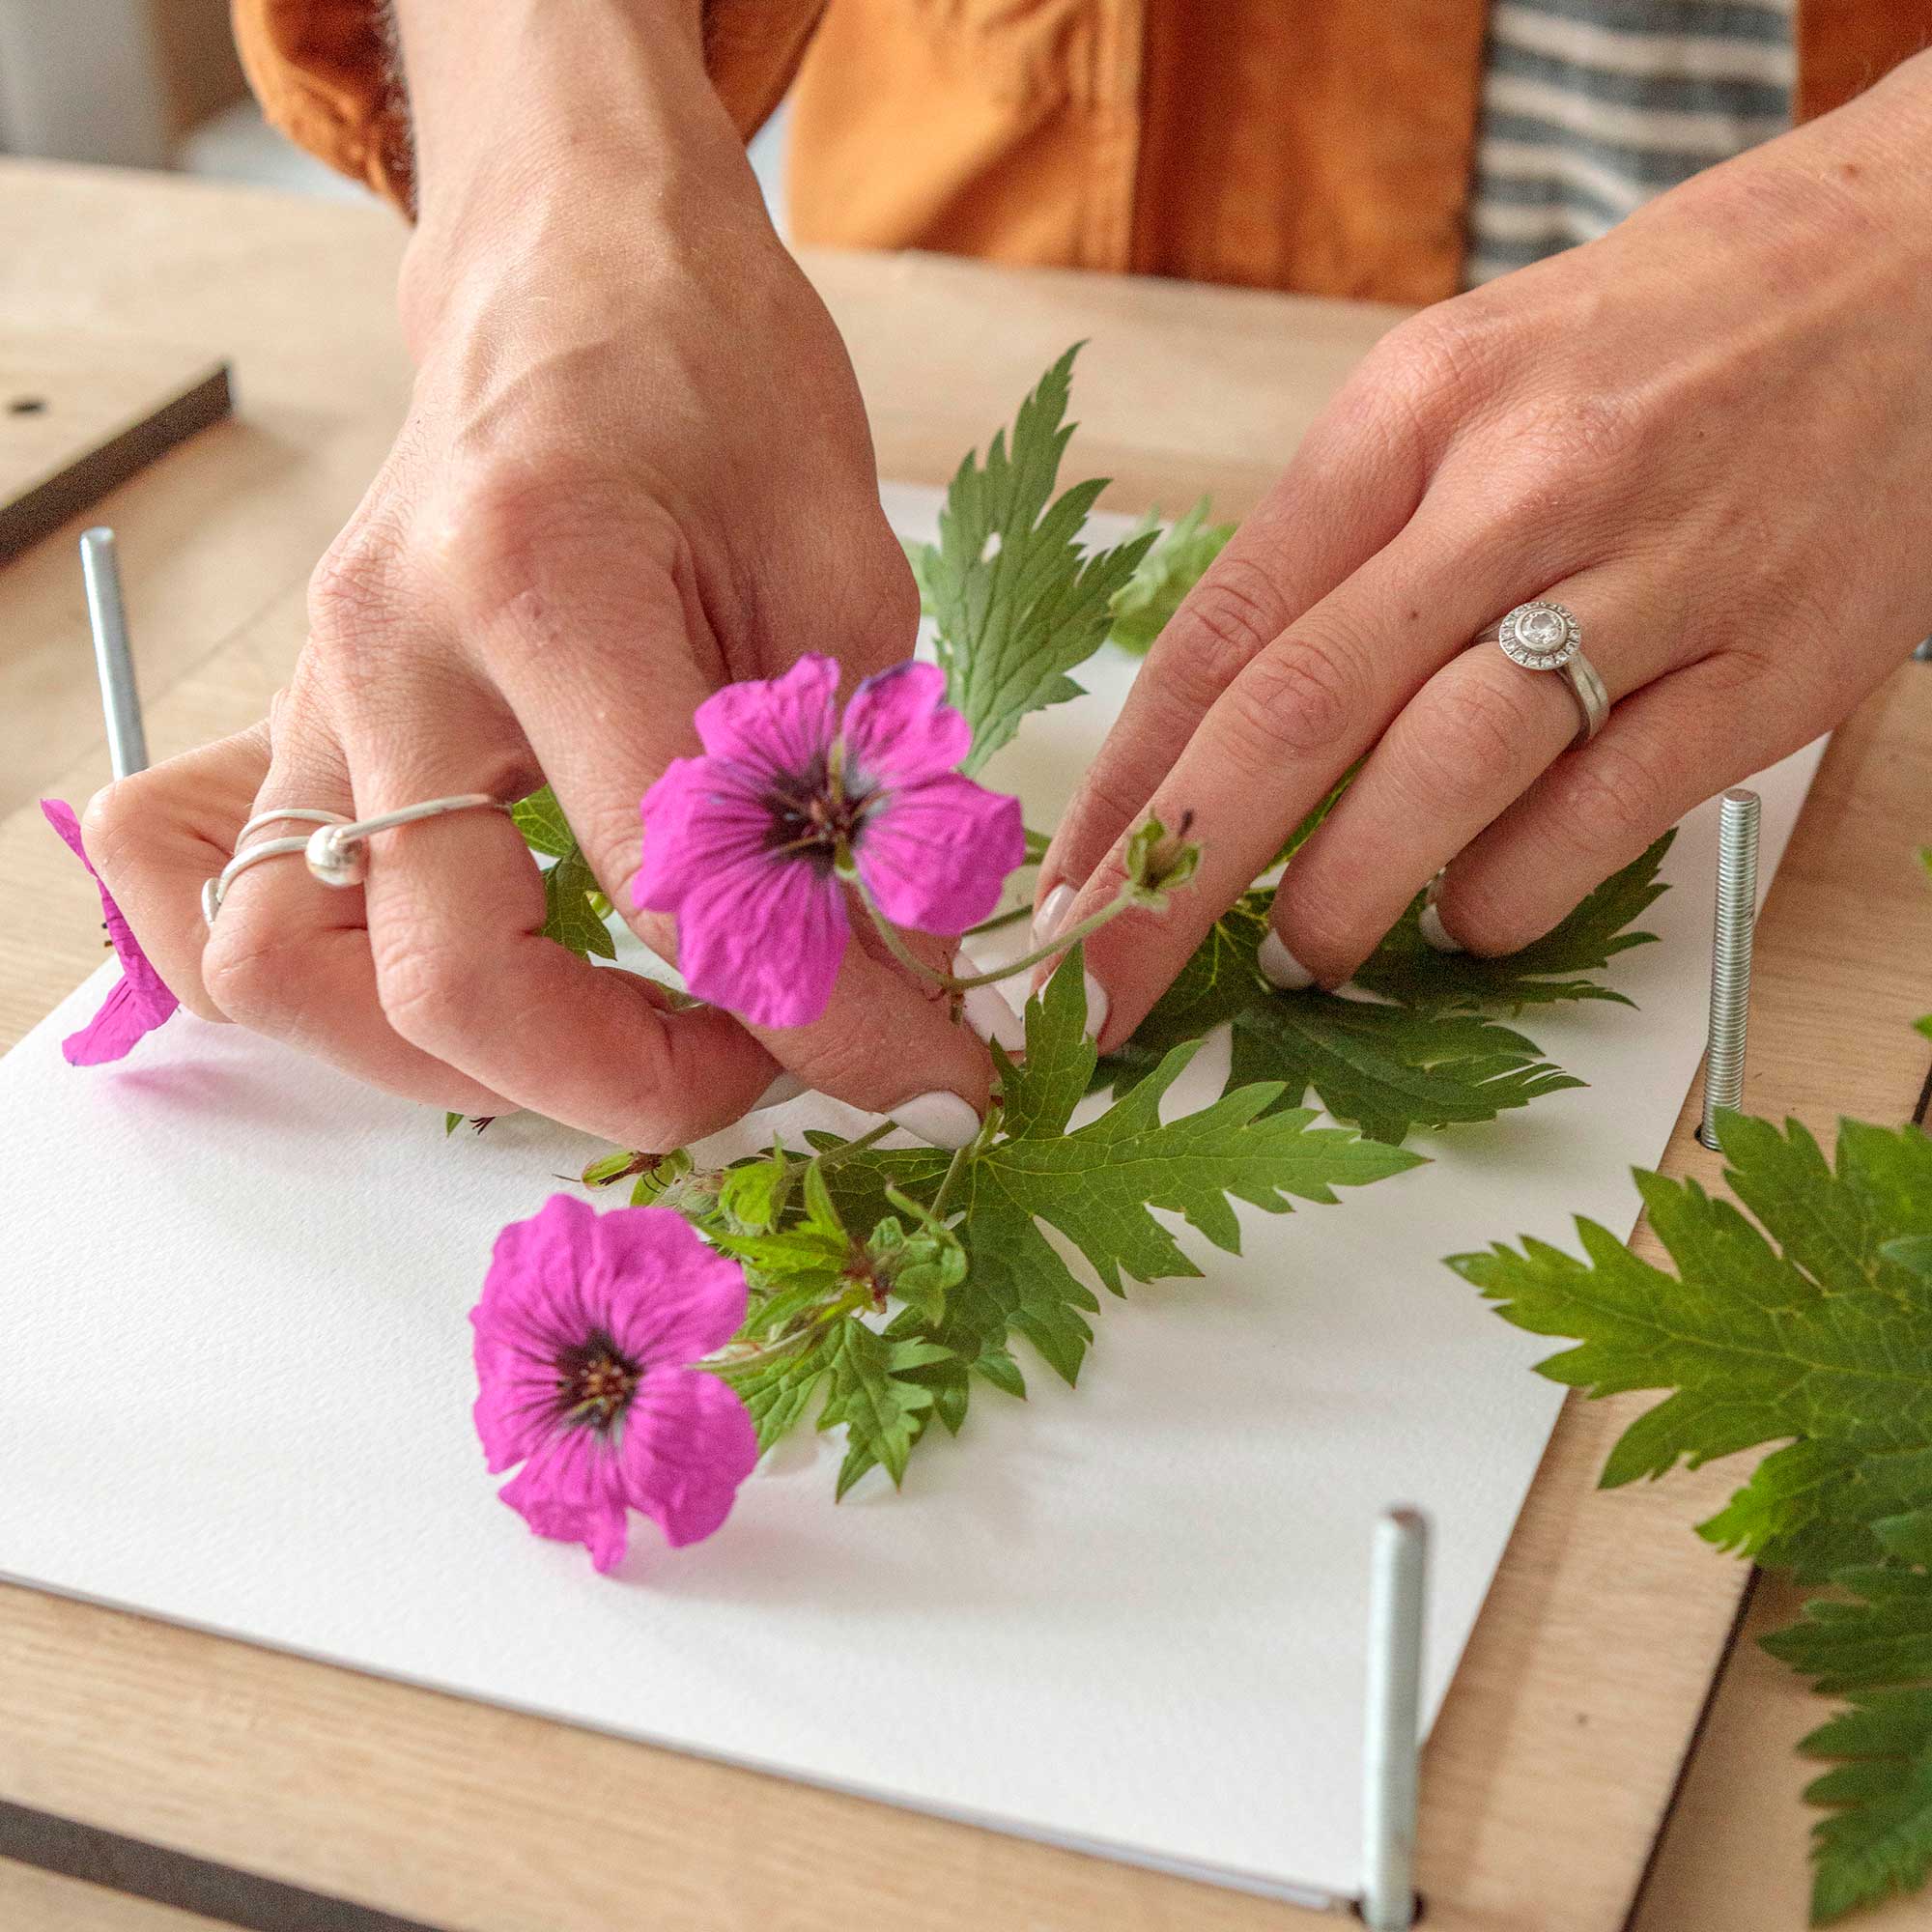
Press the main stem gently onto the blotting paper, tease stems apart and splay bit-parts out on the paper. 'Take time to arrange the flowers beautifully and unfold creased petals. The more time spent at this stage the better the end result,' says Amy.
After pressing, the flower will be brittle and less malleable so it's important to get it right at this stage.
5. Layer blotting paper
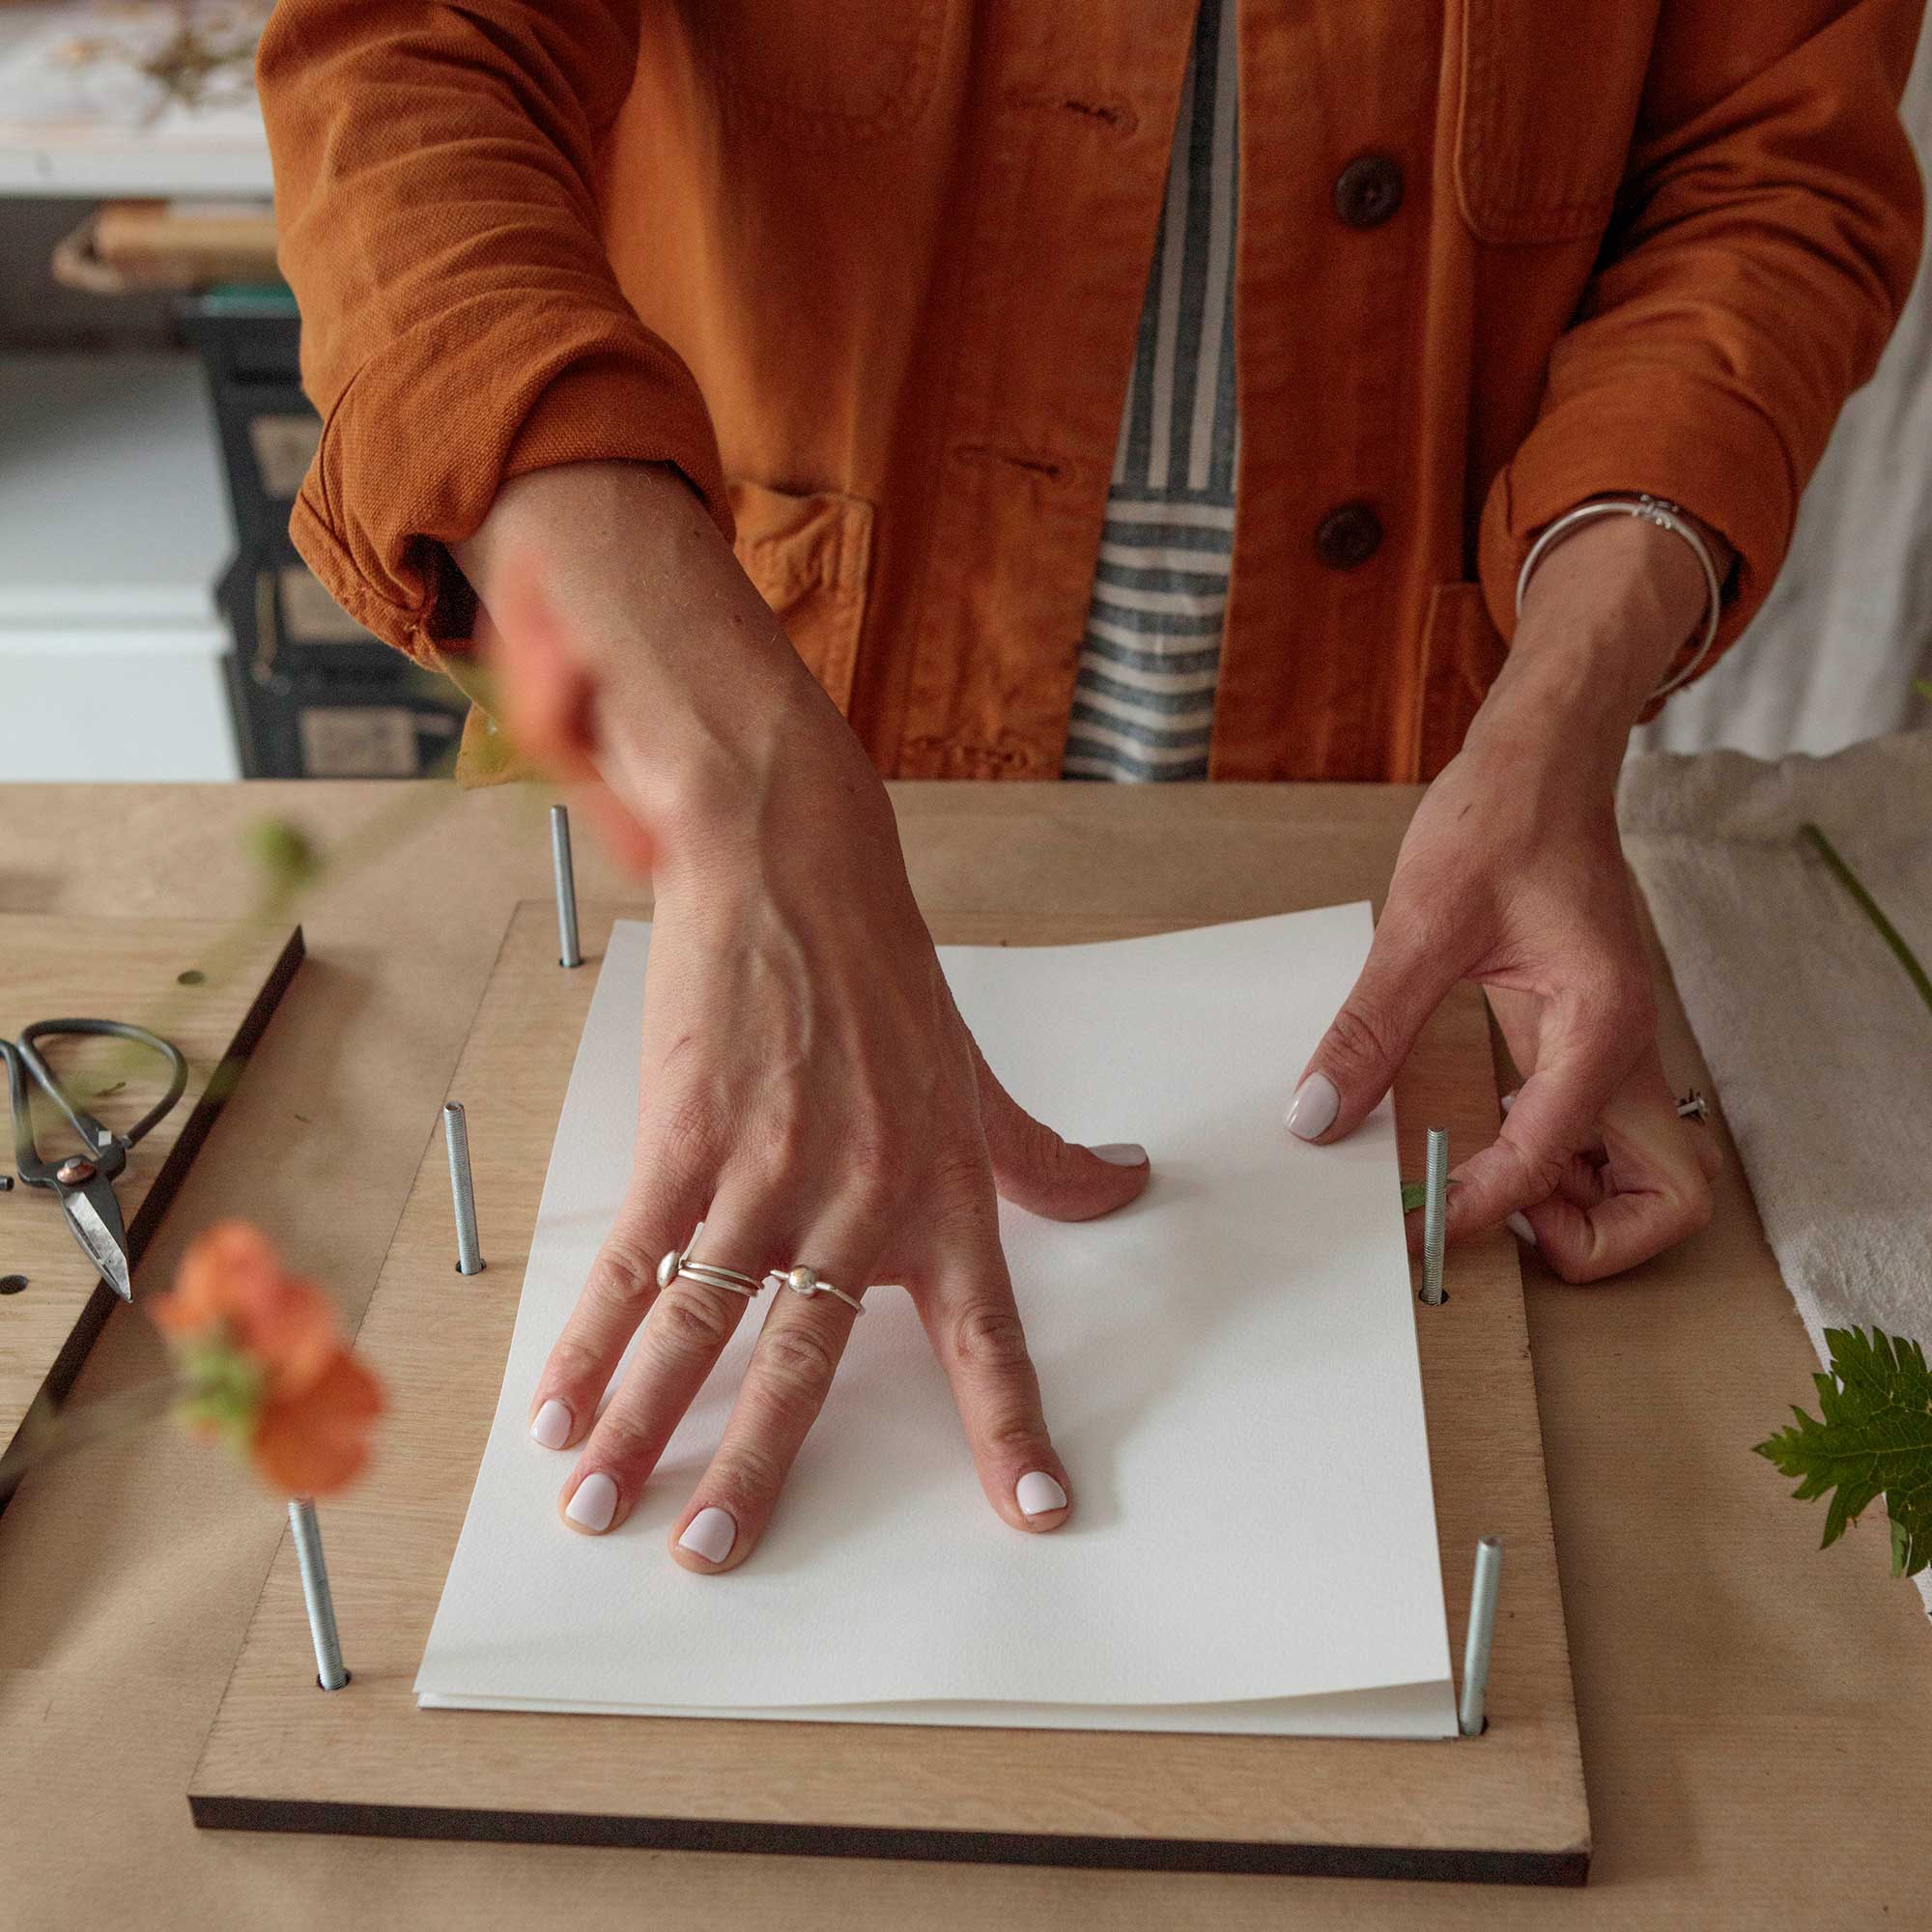
Carefully but firmly place and press a second sheet of absorbent blotting paper over the flower lay. Make sure nothing falls outside the paper line.
6. Check flower position
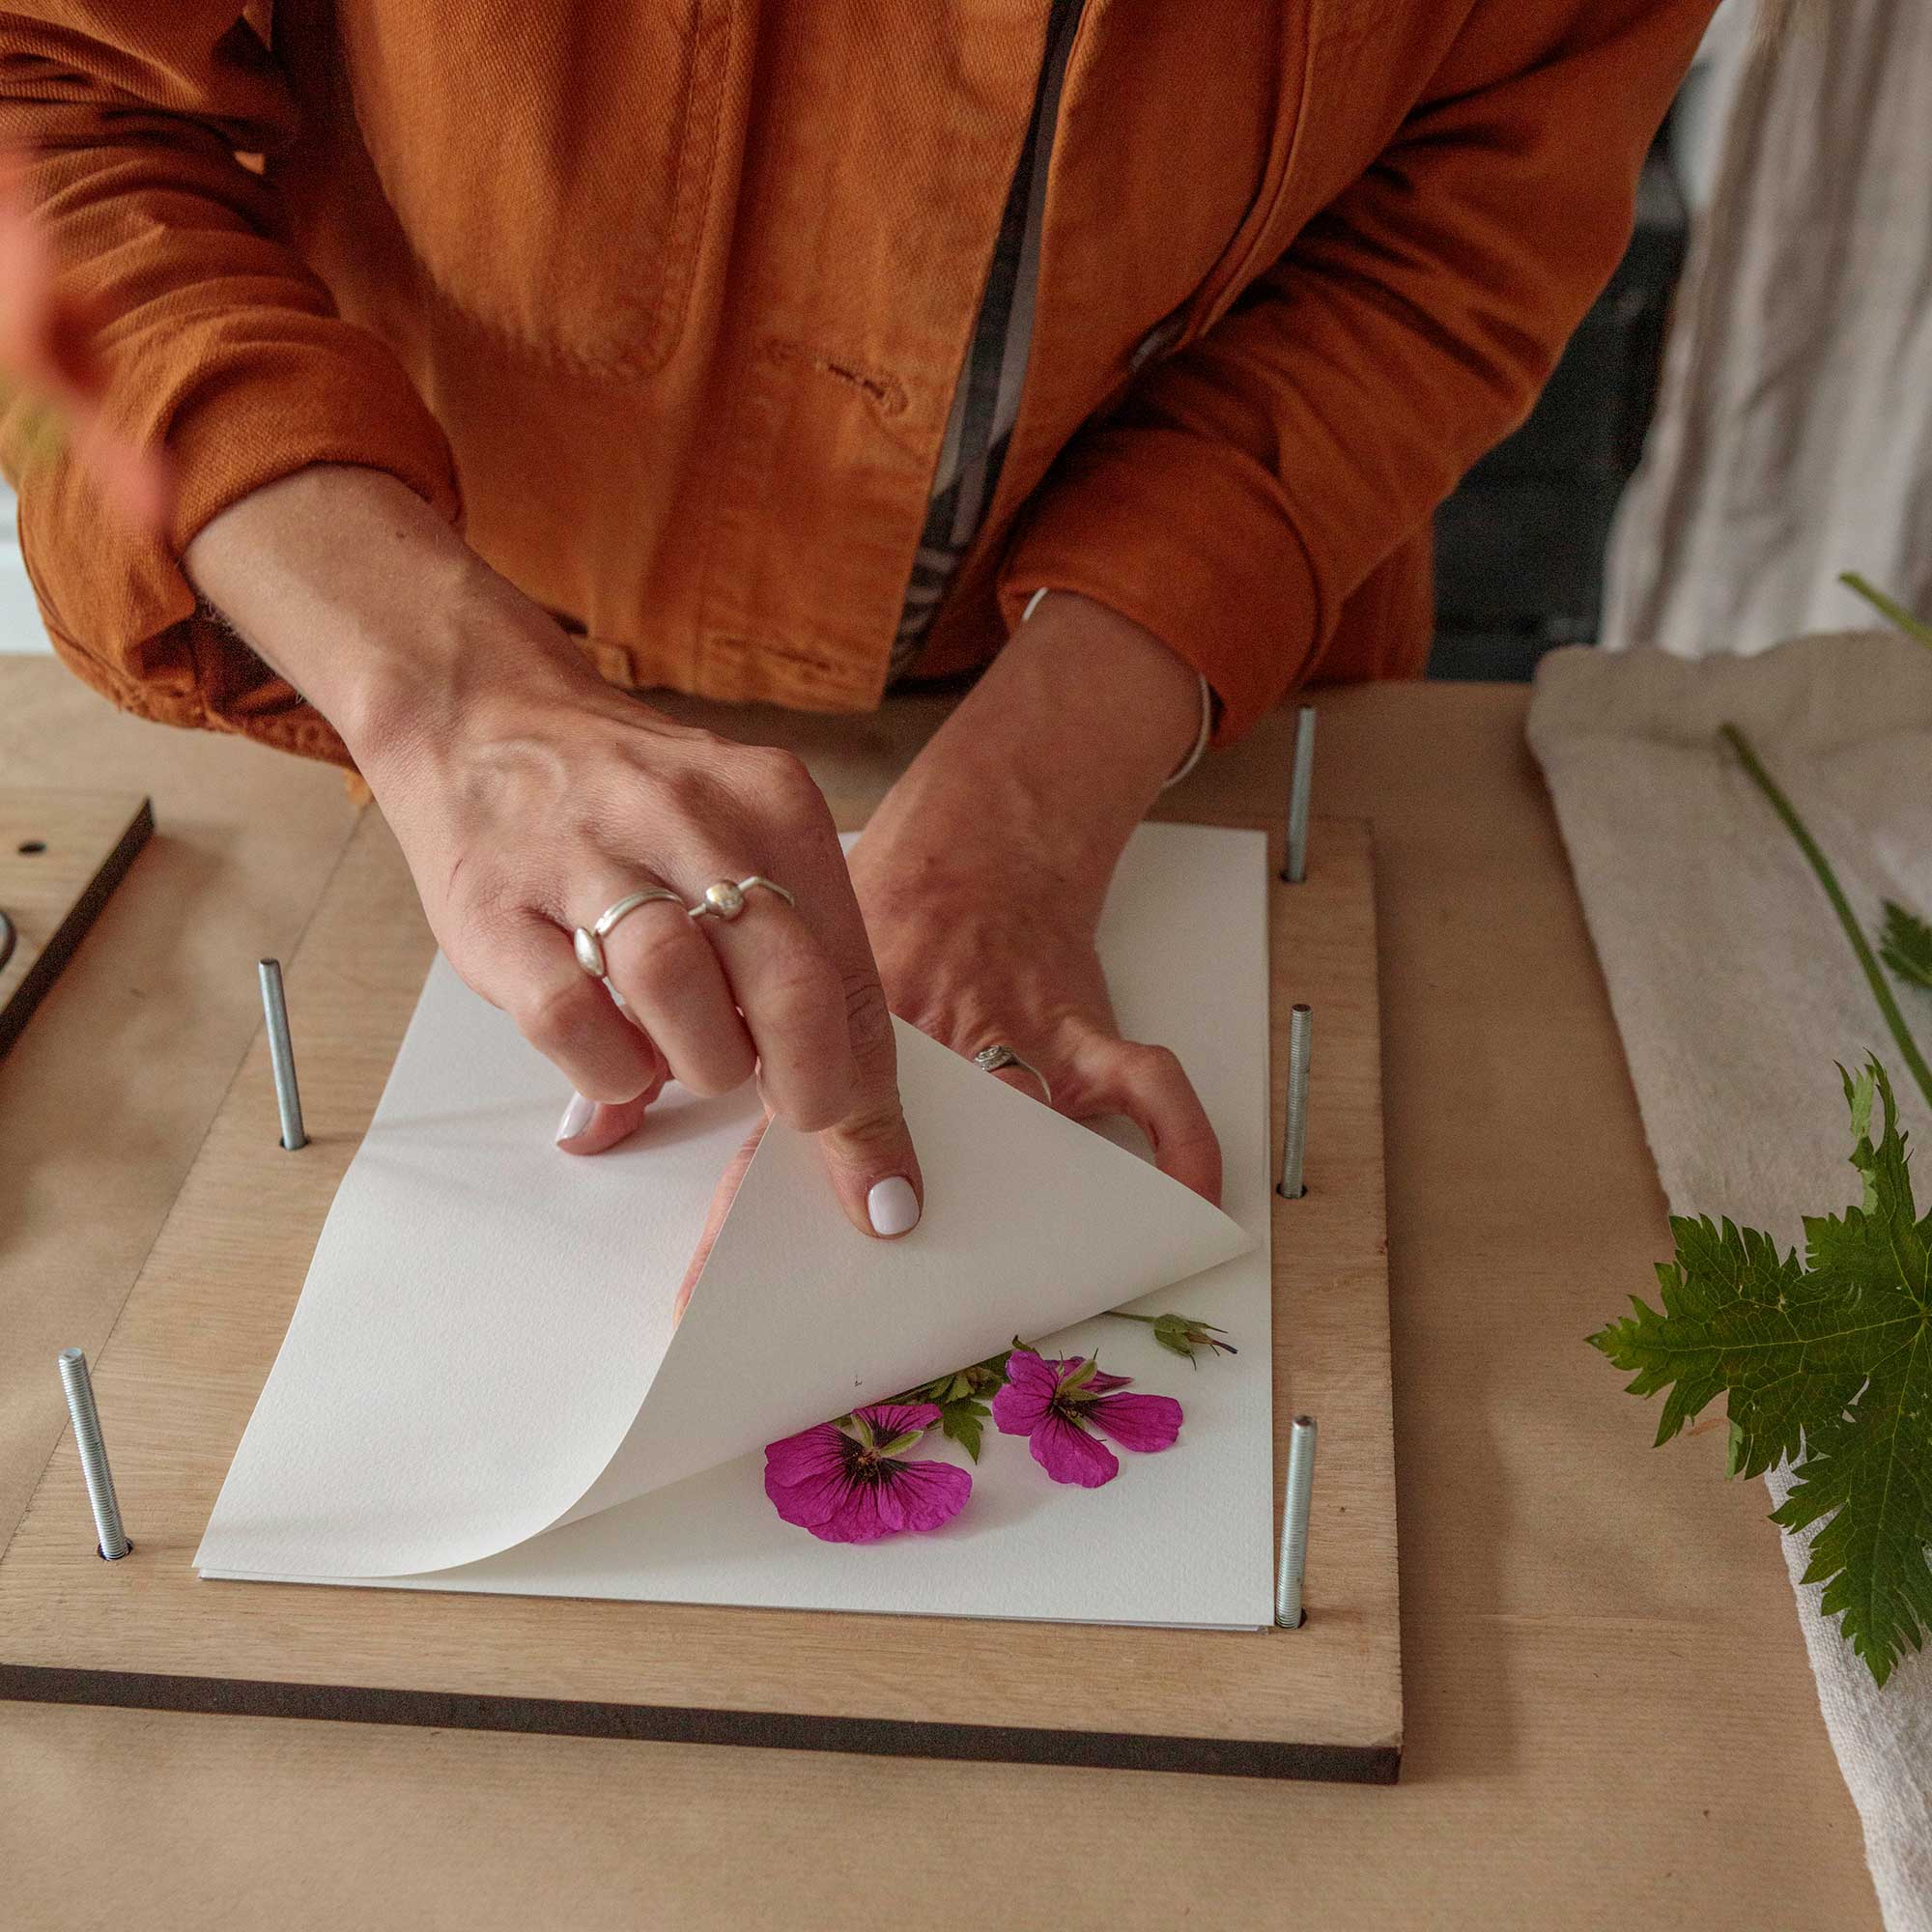
Peel and reveal to ensure all components are laid out nicely. 'If not, tweak at this stage before replacing the top paper layer so that pressing can begin,' says Amy.
7. Layer up the press
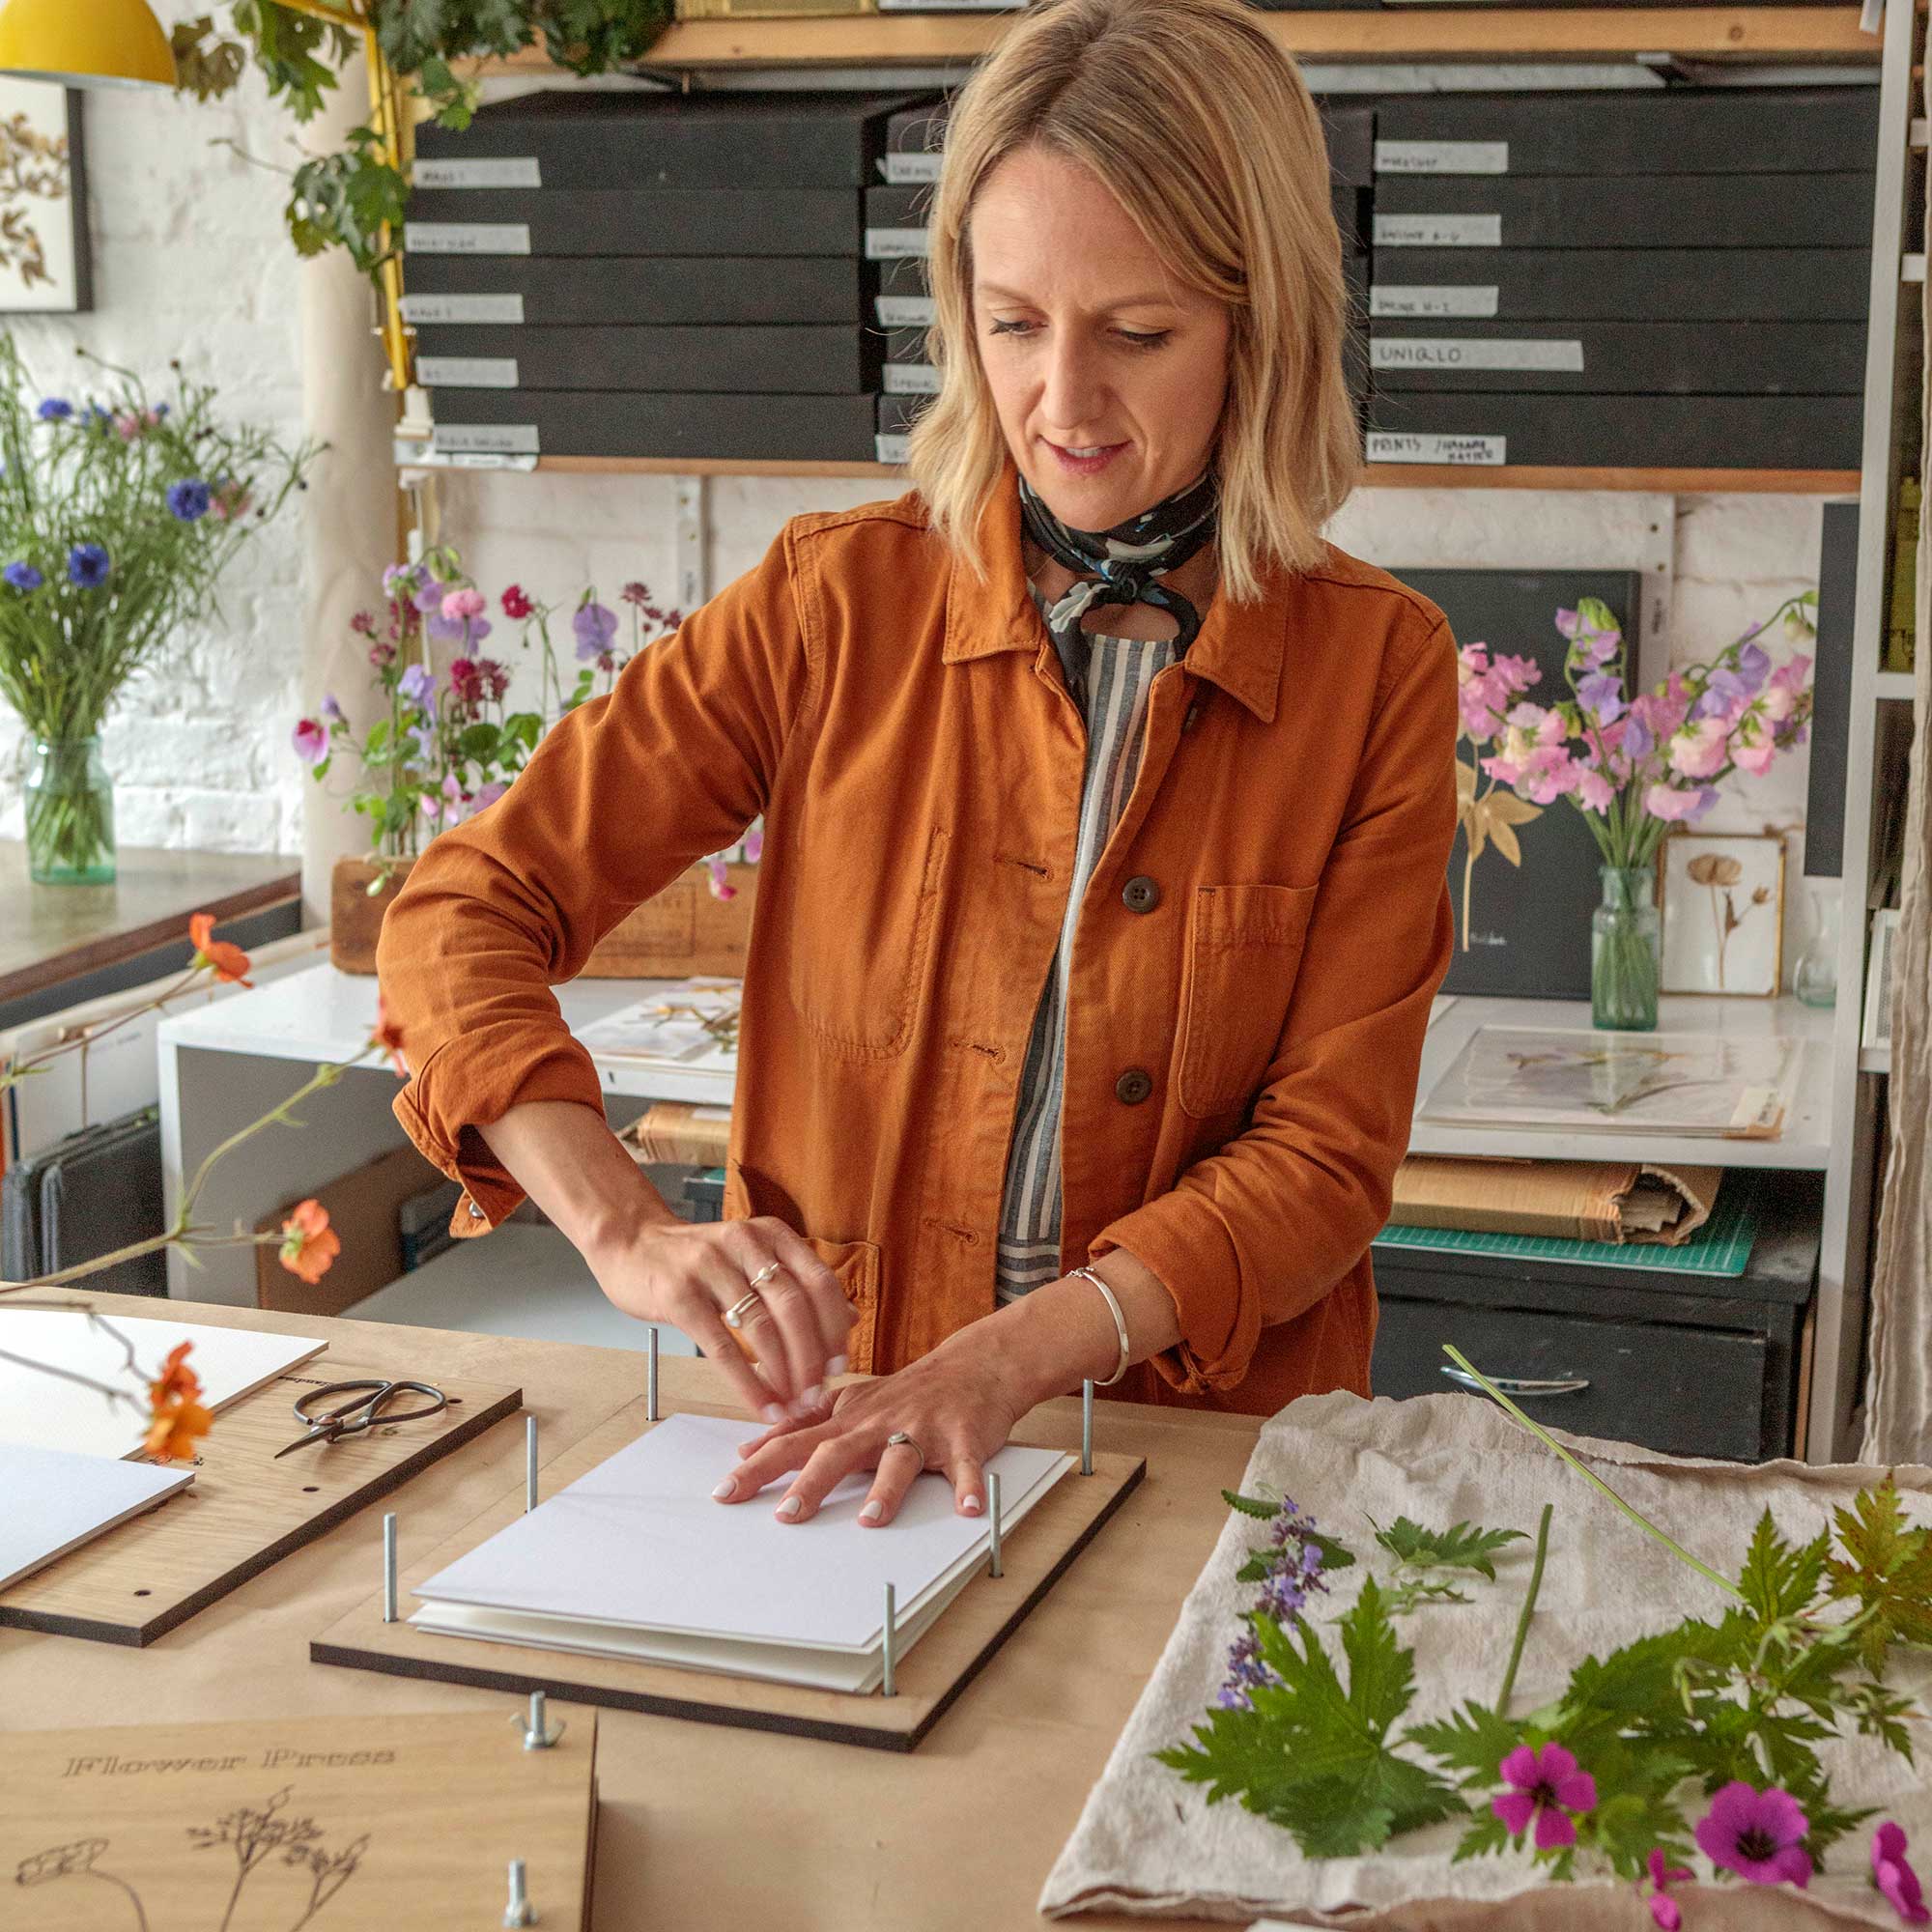
Layer up the press, adding a sandwich of card and paper to each flower pressing. The large flower press available from JamJar Edit comes with 10 cards and 20 sheets of blotting paper but can take more.
8. Press and secure
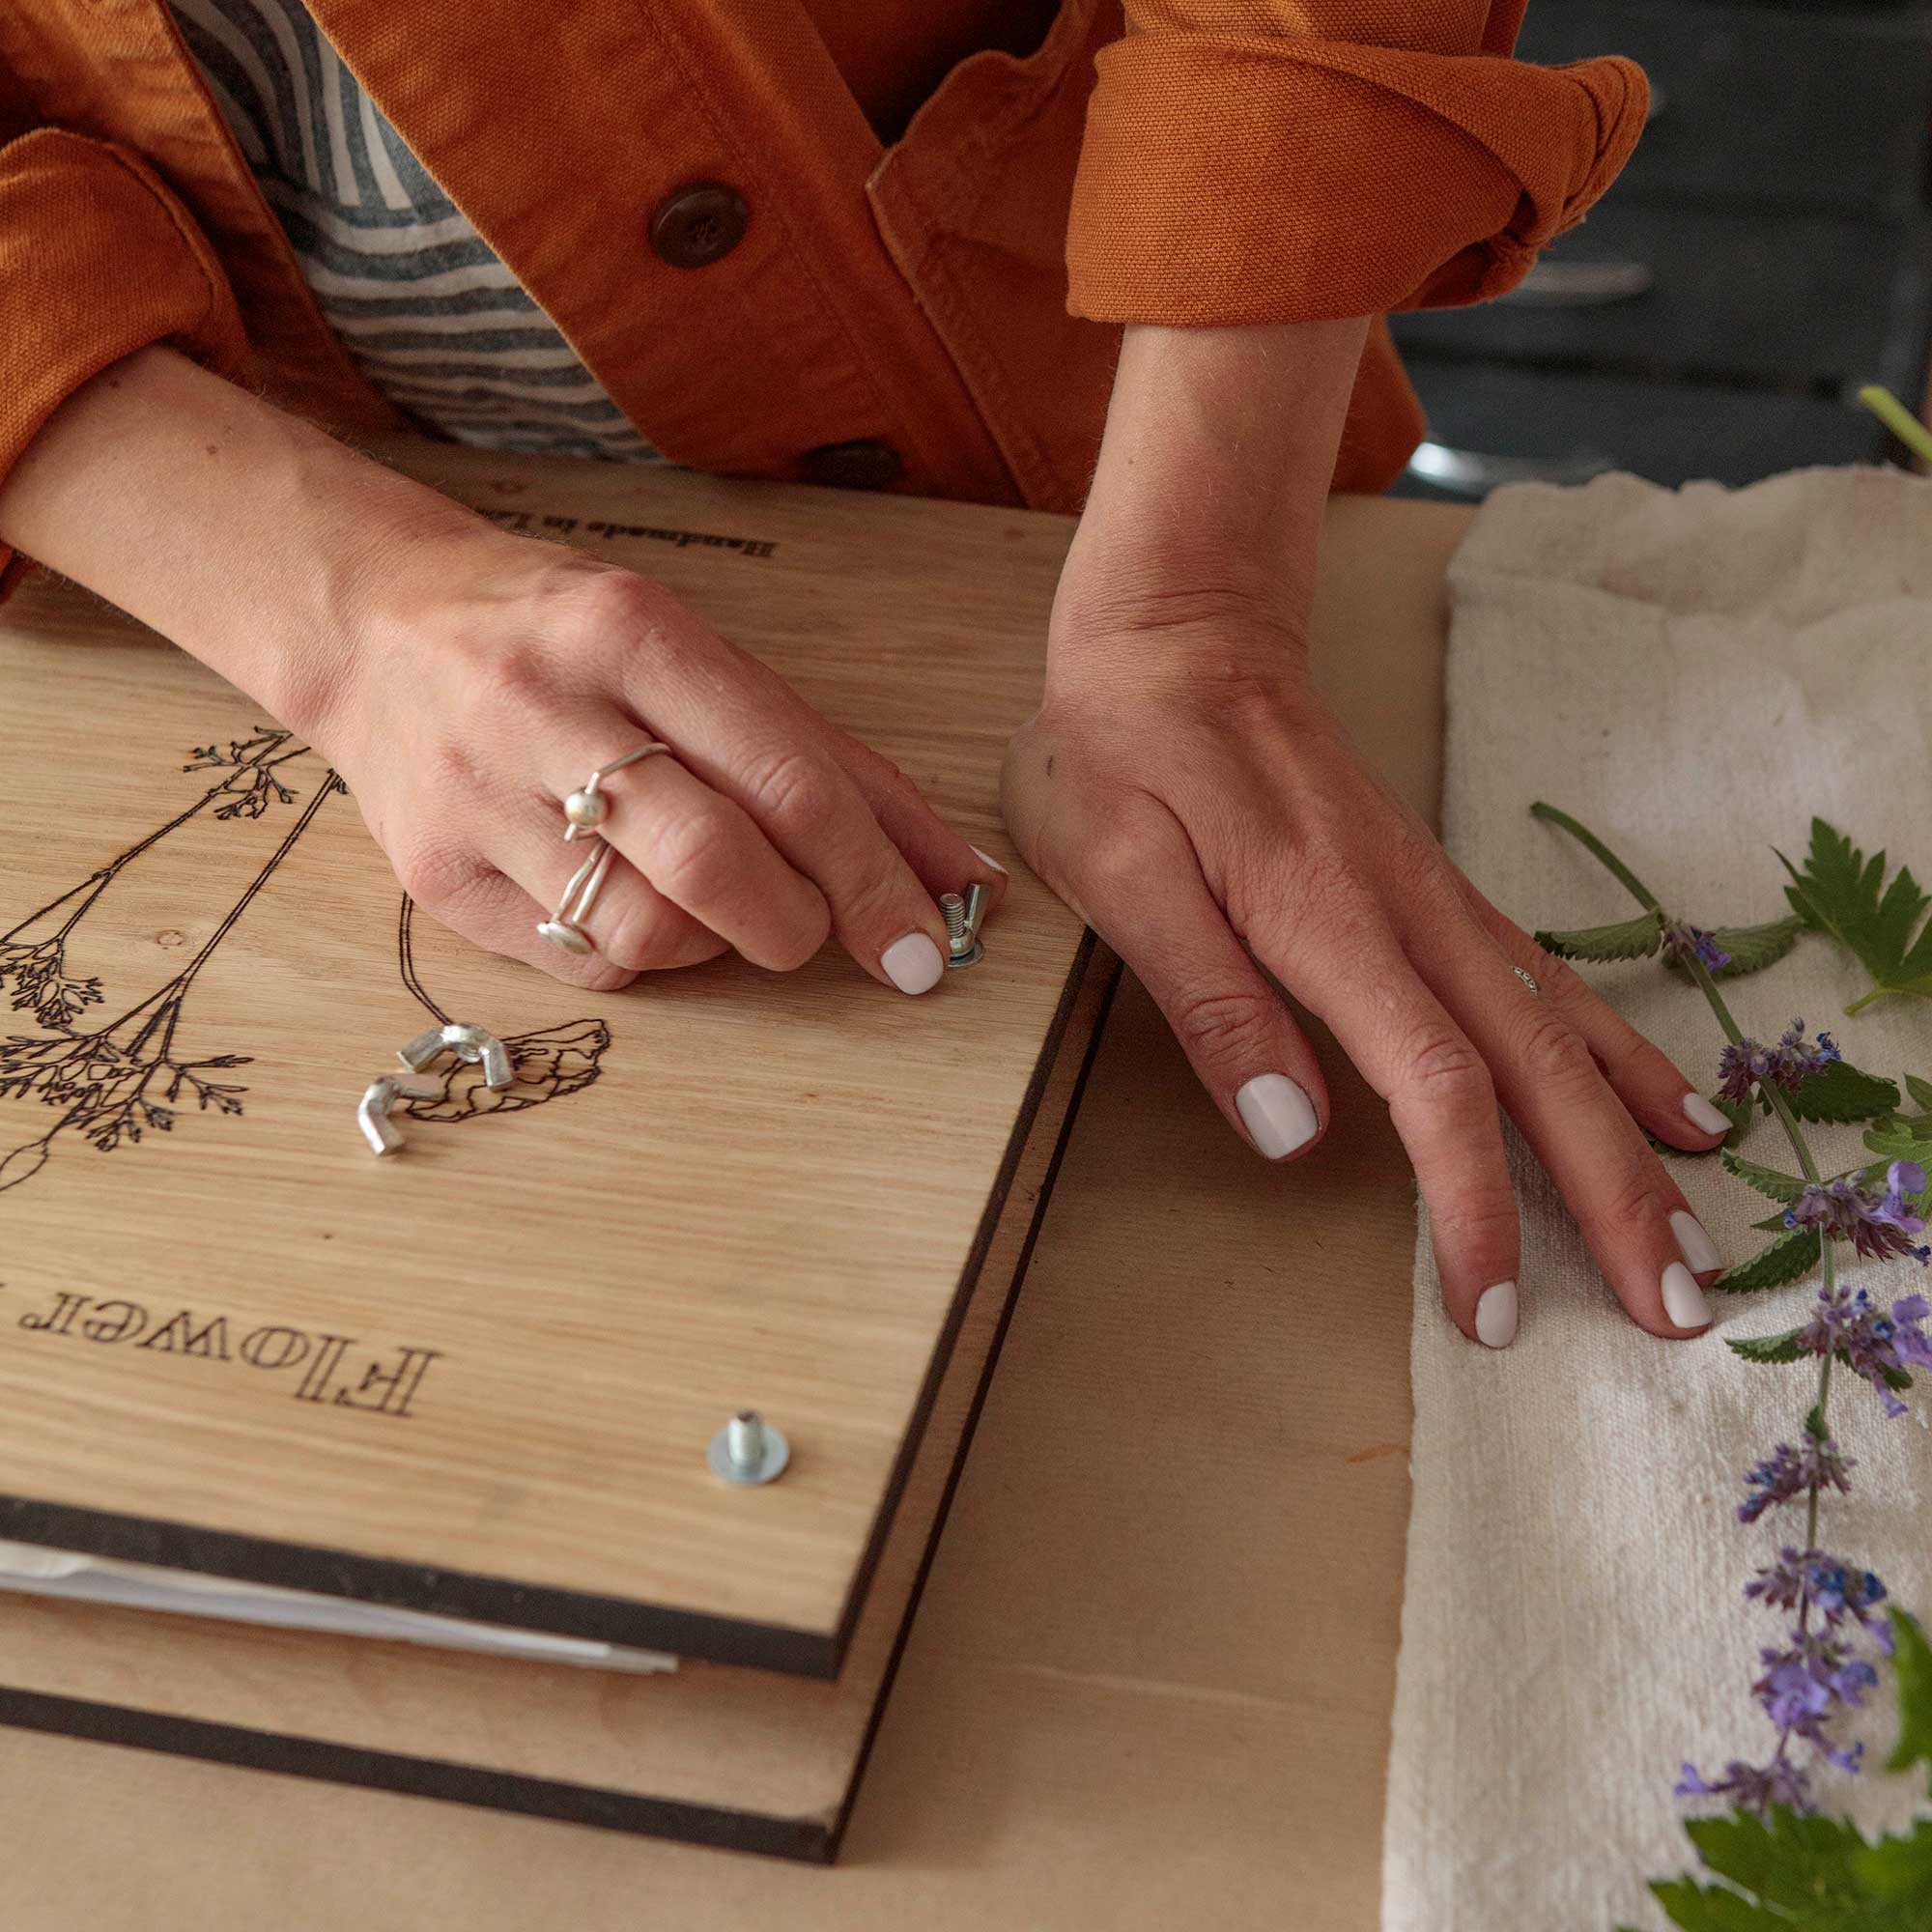
Line up the screws, press and secure quite tightly with wing nuts but do not allow the press to bow.
Store the press at room temperature or – to quicken things up – in a warmer but always dry place, such as an airing cupboard. Open to check progress after 7-10 days, and continue to press for 2-4 weeks.
Finer specimens, such as ferns and buttercups, require less time than chunkier flower heads, such as tulips and anemones.
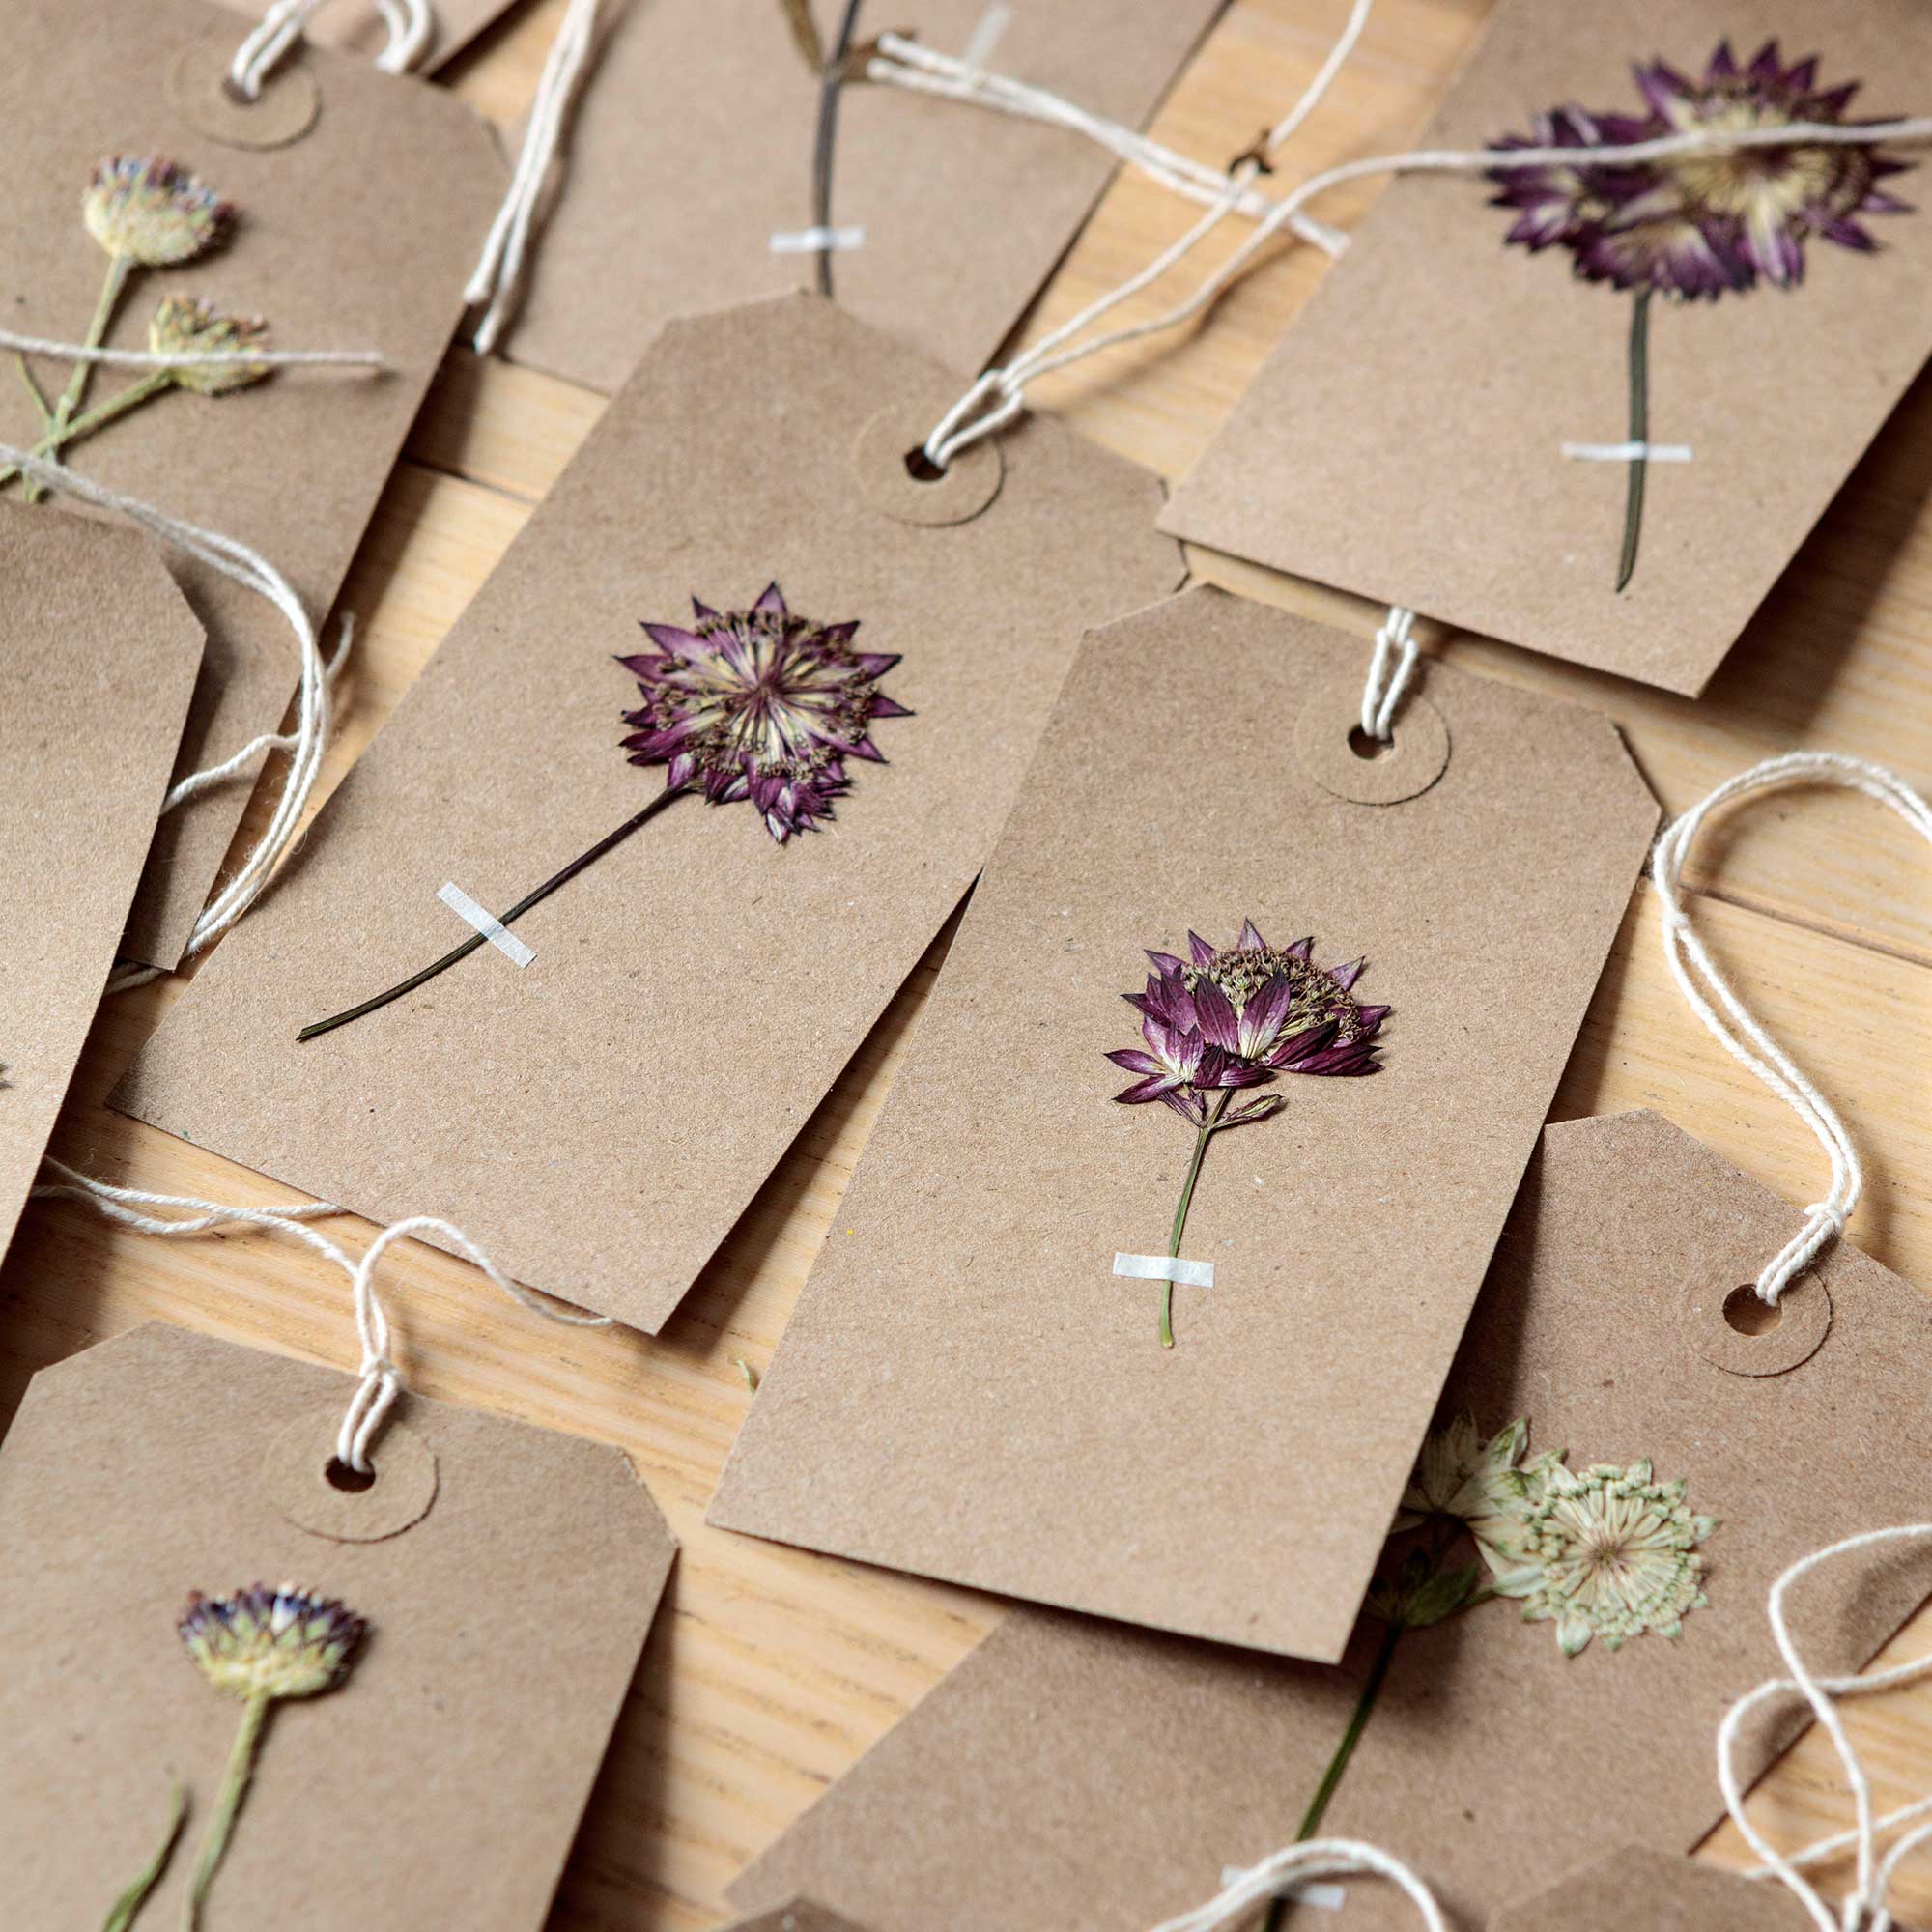
Once pressed, you can use the preserved blooms to create beautiful decorations for the home or personalised gifts, name cards or gift tags, such as these tags made by JamJar Edit.
Frequently asked questions
How do you press flowers and keep their colour?
To press flowers and keep their colour it is important to press them while they are still fresh, and also blot away as much moisture from the plant as possible before pressing so that the blooms retain their colour.
How long do pressed flowers last?
How long pressed flowers will last will depend on what they are used for and the conditions in which they are kept. If they are pressed well, using the method described by Amy above, then they should last for quite a few years retaining their colour.
Get the Ideal Home Newsletter
Sign up to our newsletter for style and decor inspiration, house makeovers, project advice and more.
Creative freelance writer, stylist and photographer, Jacky Hobbs has created home and garden features for prestigious lifestyle magazines for over two decades.
- Rachel CrowSenior Content Editor
-
 5 signs you’ve taken decluttering too far — and how you can pull yourself back, according to organisation experts
You might have to start resisting the urge to purge
By Lauren Bradbury
-
 What is the Party Wall Act 3m rule and is it something you should be worried about? This is what the experts say
Don't get caught off-guard by the Party Wall Act 3m rule — our expert guide is a must-read
By Natasha Brinsmead
-
 Shoppers can’t get enough of The Range’s lemon tree, but I’ve found an even cheaper bestseller at B&Q - it’s perfect for a Mediterranean look
Welcome the summer with this glorious fruit tree
By Kezia Reynolds