

Whether you want to add architectural elements to your home or just soften the lines between your walls and your ceilings, coving is a decorative finish that can do just that. But it’s only when you nail how to put up coving that you’ll truly appreciate just how transformative this addition can be.
Fitting coving to your walls is an easy-to-medium level DIY idea that’s well worth the time and effort if you have it - no matter whether you want to bring your period living room ideas to life or are on a mission to make your living room ceilings look higher. However, the beauty of coving is that it can be added to any room and can even hide a multitude of sins.
Daryl Shepherd, B&Q’s Head of Buying for Building & Construction, adds, ‘Coving comes in a wide variety of styles and designs and can be a great way of covering up the unsightly settlement cracks than can often appear between the wall end and the ceiling.’ But if you want a seamless finish, you need to know exactly how to put up coving - from prepping the walls to using the right adhesive.
What you’ll need
- Utility knife - like this Stanley FatMax Fixed Blade Utility Knife from Amazon
- Sugar soap - like this Rustins Sugar Soap from Dunelm
- Step ladder - like this Werner 5 Tread High Handrail Step Ladder from Argos
- Coving adhesive - like this Everbuild Coving Adhesive and Joint Filler from Amazon
- Sealant gun - like this Diall Heavy duty Aluminium & Plastic Sealant Gun from B&Q
- Mitre box - like this Draper Clamping Mitre Block from Amazon
- Saw - like this Irwin Jack Plus Universal 500mm Fine Panel Saw from B&Q
- Pencil
- Tape measure
- Clean cloth or sponge
- Your choice of coving
Step-by-step
1. Choose your coving and measure your walls

One of the many perks of coving is that it comes in so many shapes and forms, meaning you can tailor it to your home’s interior. If you tend to err on the side of modern decor and straight, clean lines, you could opt for something like this Pro Cove Lite Classic C-Shaped Coving from B&Q.
If you live in a period home or prefer a more traditional look, it’s better to opt for rounded edges and fluting to soften the space and add this classic touch. Something like this Colours Montparnasse Authentic C-shaped Duropolymer Coving from B&Q should do the trick.
There’s no point buying coving if you don’t know how much you need, though. And while you probably won’t be able to buy coving the length of your walls, most coving comes in at around 2m long (of course, always check the specs first).
So, all you need to do is measure the wall's perimeter and work out how many sections of coving you’ll need to surround your room. If in doubt, always buy more than you need.
2. Prepare your walls for the next steps

When you’ve chosen and bought your coving, you can then start the prepping process. It’s well worth taking this time to prep your walls during this stage, as this will not only result in a seamless finish but will also make the job easier to complete.
Daryl advises, ‘To install your own coving, you’ll first need to prepare the walls. Start by marking a pencil line on the wall and ceiling where the edges of the final fixed coving will sit. It’s worth scoring the wall where the coving will sit to give a better grip for the adhesive.’ You can just use a utility or Stanley knife for this.
Then, just as you need to clean your walls before painting, you also need to clean your walls before fitting coving as rogue dust or dirt can affect how well it sits on your walls. You can use sugar soap and a clean cloth or sponge for this job.
3. Cut the ends of the coving as required

It’s always a good idea to start with the corners of your room when putting up coving, and we’d suggest starting with the corner most noticeable from the room's entrance. This should result in a cleaner finish in an area you’ll notice first and set you up for success as you continue fitting the coving.
However, you may have to cut the ends of the coving to create these corners. This is echoed by Daryl, who says, ‘Next, you’ll need to cut the end of the coving ready to form the joints in the corner. The shape of the room will determine the type of joints you will need to prepare.’
It’s best to use a mitre box and panel saw for this job, but it’s best to grab your pencil and mark out where you need to cut before you get cutting.
Then, Gregory Smith at PriceYourJob.co.uk advises, ‘Once your coving has been measured and marked up, you can then cut it using a fine-toothed panel saw. Hold the coving securely in the mitre box with your non-cutting hand, and then make the cuts using a firm saw movement.’
Alternatively, you could buy the corners pre-cut and ready-made if you don’t have a mitre box readily available. This will cost you extra, but coving corners like these Colours Nayak Traditional Fluted Coving from B&Q come in a pack of 6, so you have enough for a whole room (and a couple to spare).
4. Stick the coving to the wall with adhesive

Thankfully, a mitre saw is the only dangerous tool you’ll need to fit coving, as fitting it to the wall requires no drilling, nails, or hammering. Instead, you’ll just need some dedicated coving adhesive and a sealant gun.
Gregory says, ‘Once you’re happy with the fit, apply adhesive to both edges of the coving. Apply enough coving adhesive so that it will squeeze out of the coving when it is pushed into position.’
If you have any gaps or rough edges, you can also squeeze some of this adhesive into them to create a solid base for painting. Then, you need to leave your new coving alone for at least 24 hours to dry before you move on to the next step.
5. Get painting

In the past, coving has typically been left white. But as paint trends chop and change, so have these coving paint trends. So, it’s up to you whether you want to paint your coving white to match your skirting boards or you want to embrace colour drenching and paint it the same colour as your walls.
Emma Bestley, Creative Director and Co-Founder of YesColours, advises, ‘When painting coving, we generally recommend using water-based emulsion for a smooth finish. Alternatively, eggshell paint can be used for a glossier finish as it tends to reflect more light.’
However, she has issued a word of warning to those looking to put up coving, as this step also requires some prep. ‘Before you begin painting, make sure to prepare the surface properly. Use masking tape to protect adjacent areas, and if the coving is unpainted, apply a thin layer of primer and allow it to fully dry first. Start with a paintbrush for the edges then, if preferred, switch to a small roller to cover the middle for a consistent finish.’
FAQs
How far should coving be from the ceiling?
The beauty of coving is that there are no rules. Although traditionally you would install coving underneath the join of the wall and the ceiling, the exact measurement depends on the style of the coving and your own choice.
For example, many people choose a larger drop to make rooms with high ceilings look cosier, but opt for a higher distance when they have low ceilings. It’s also worth checking the coving manufacturer’s instructions, as they often have their own guidelines on how far coving should be from the ceiling.
Can I attach coving with no more nails?
Although it’s best to use a specific coving adhesive to attach coving, you can also use no more nails. You can use it in exactly the same way and it will initially stick to the wall with no problems. However, you may find that it won’t last as long as a specific coving adhesive.
Is installing coving hard?
If you’re a complete DIY novice, installing coving may be hard - especially as you have to use a mitre box, saw, and do a lot of measuring and reaching to ensure it’s accurate. If you have basic DIY skills and know how to use these tools, though, installing coving isn’t as hard as many people think.
Plus, it’s incredibly easy to ensure everything will fit before you stick it down. So, you can try measuring and cutting a few times before it’s too late to come back.
When you’ve finished putting up your coving, you can then decide whether you want to paint your ceiling the same colour as your walls.
But we’ll leave that one to you.

You must confirm your public display name before commenting
Please logout and then login again, you will then be prompted to enter your display name.
-
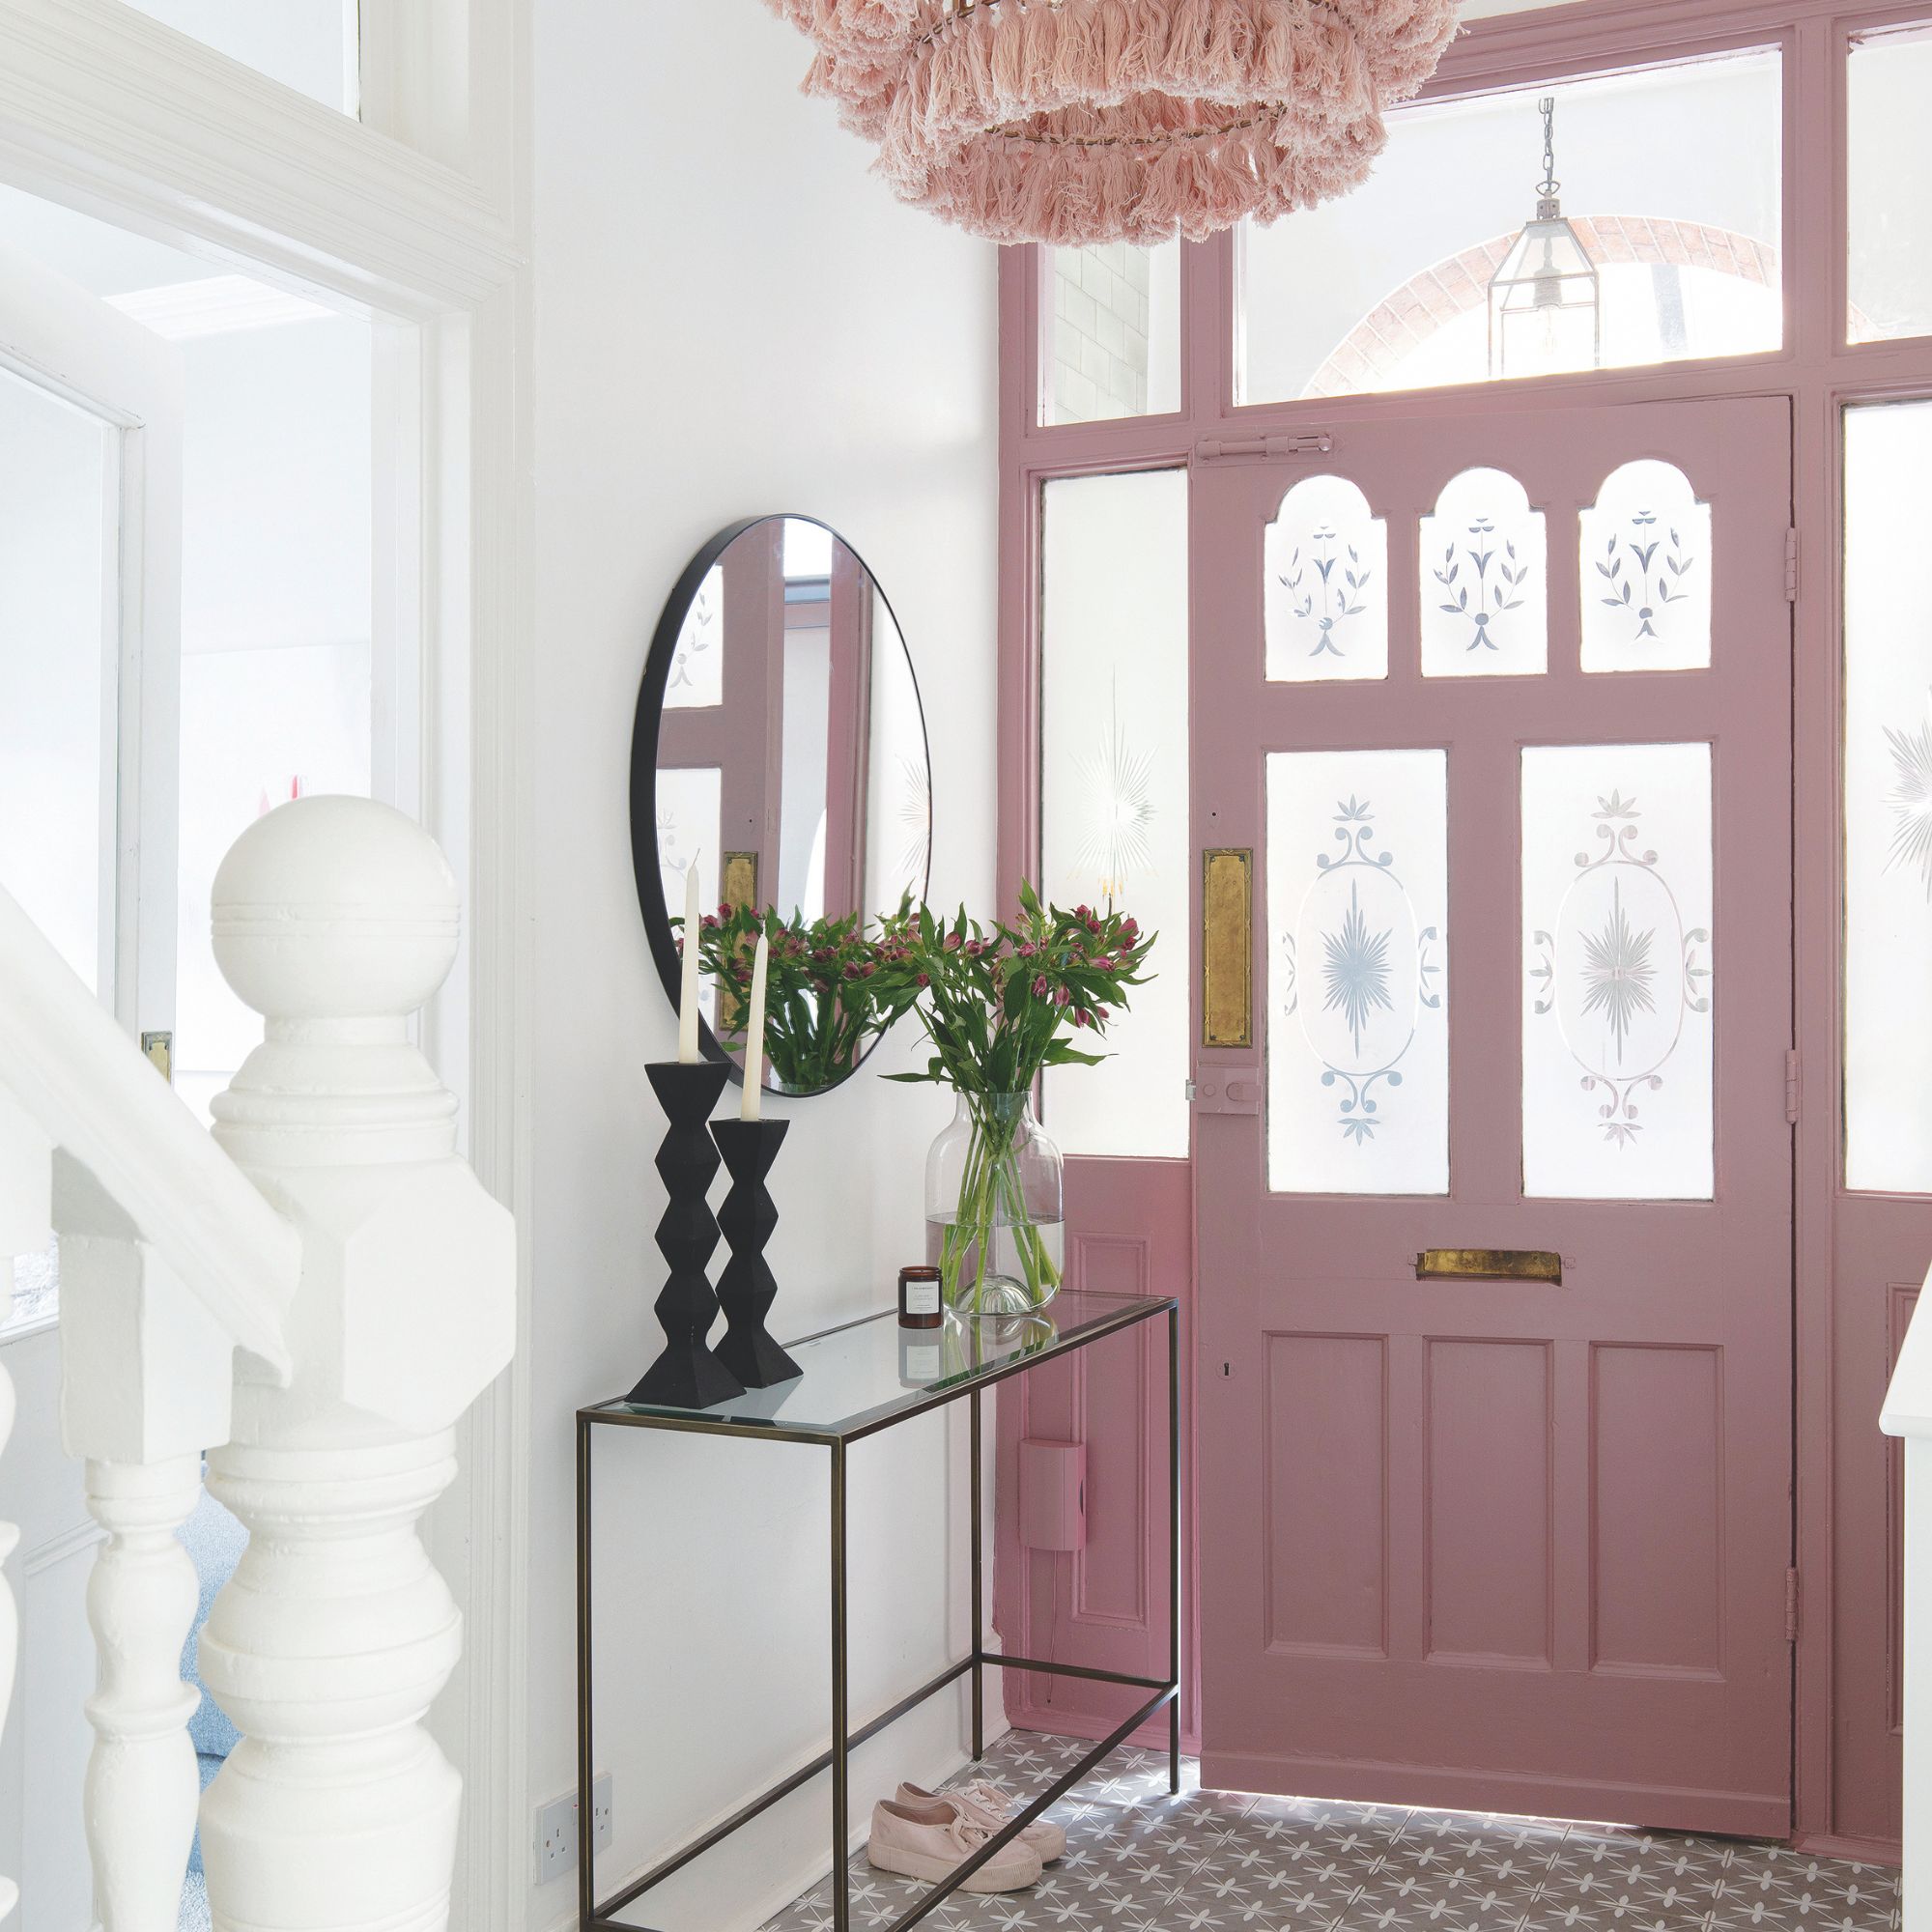 Should your front door colour match your hallway? Interior experts reveal 3 reasons why it should (and 3 reasons it shouldn't)
Are you team matching or contrasting?
-
 This £200 limited-time discount makes this Dyson vacuum cheaper than I’ve ever seen it - run don’t walk to Argos for this bargain
It's the most affordable Dyson on the market right now
-
 Martin and Shirlie Kemp’s pastel flower beds has given their Victorian renovation a romantic look - how you can get the look
Their pastel garden is the cottage garden inspo you've been looking for


