How to remove a radiator — transform the way you decorate a room in 5 simple steps, without having to call out a plumber
A step-by-step guide to make decorating a breeze
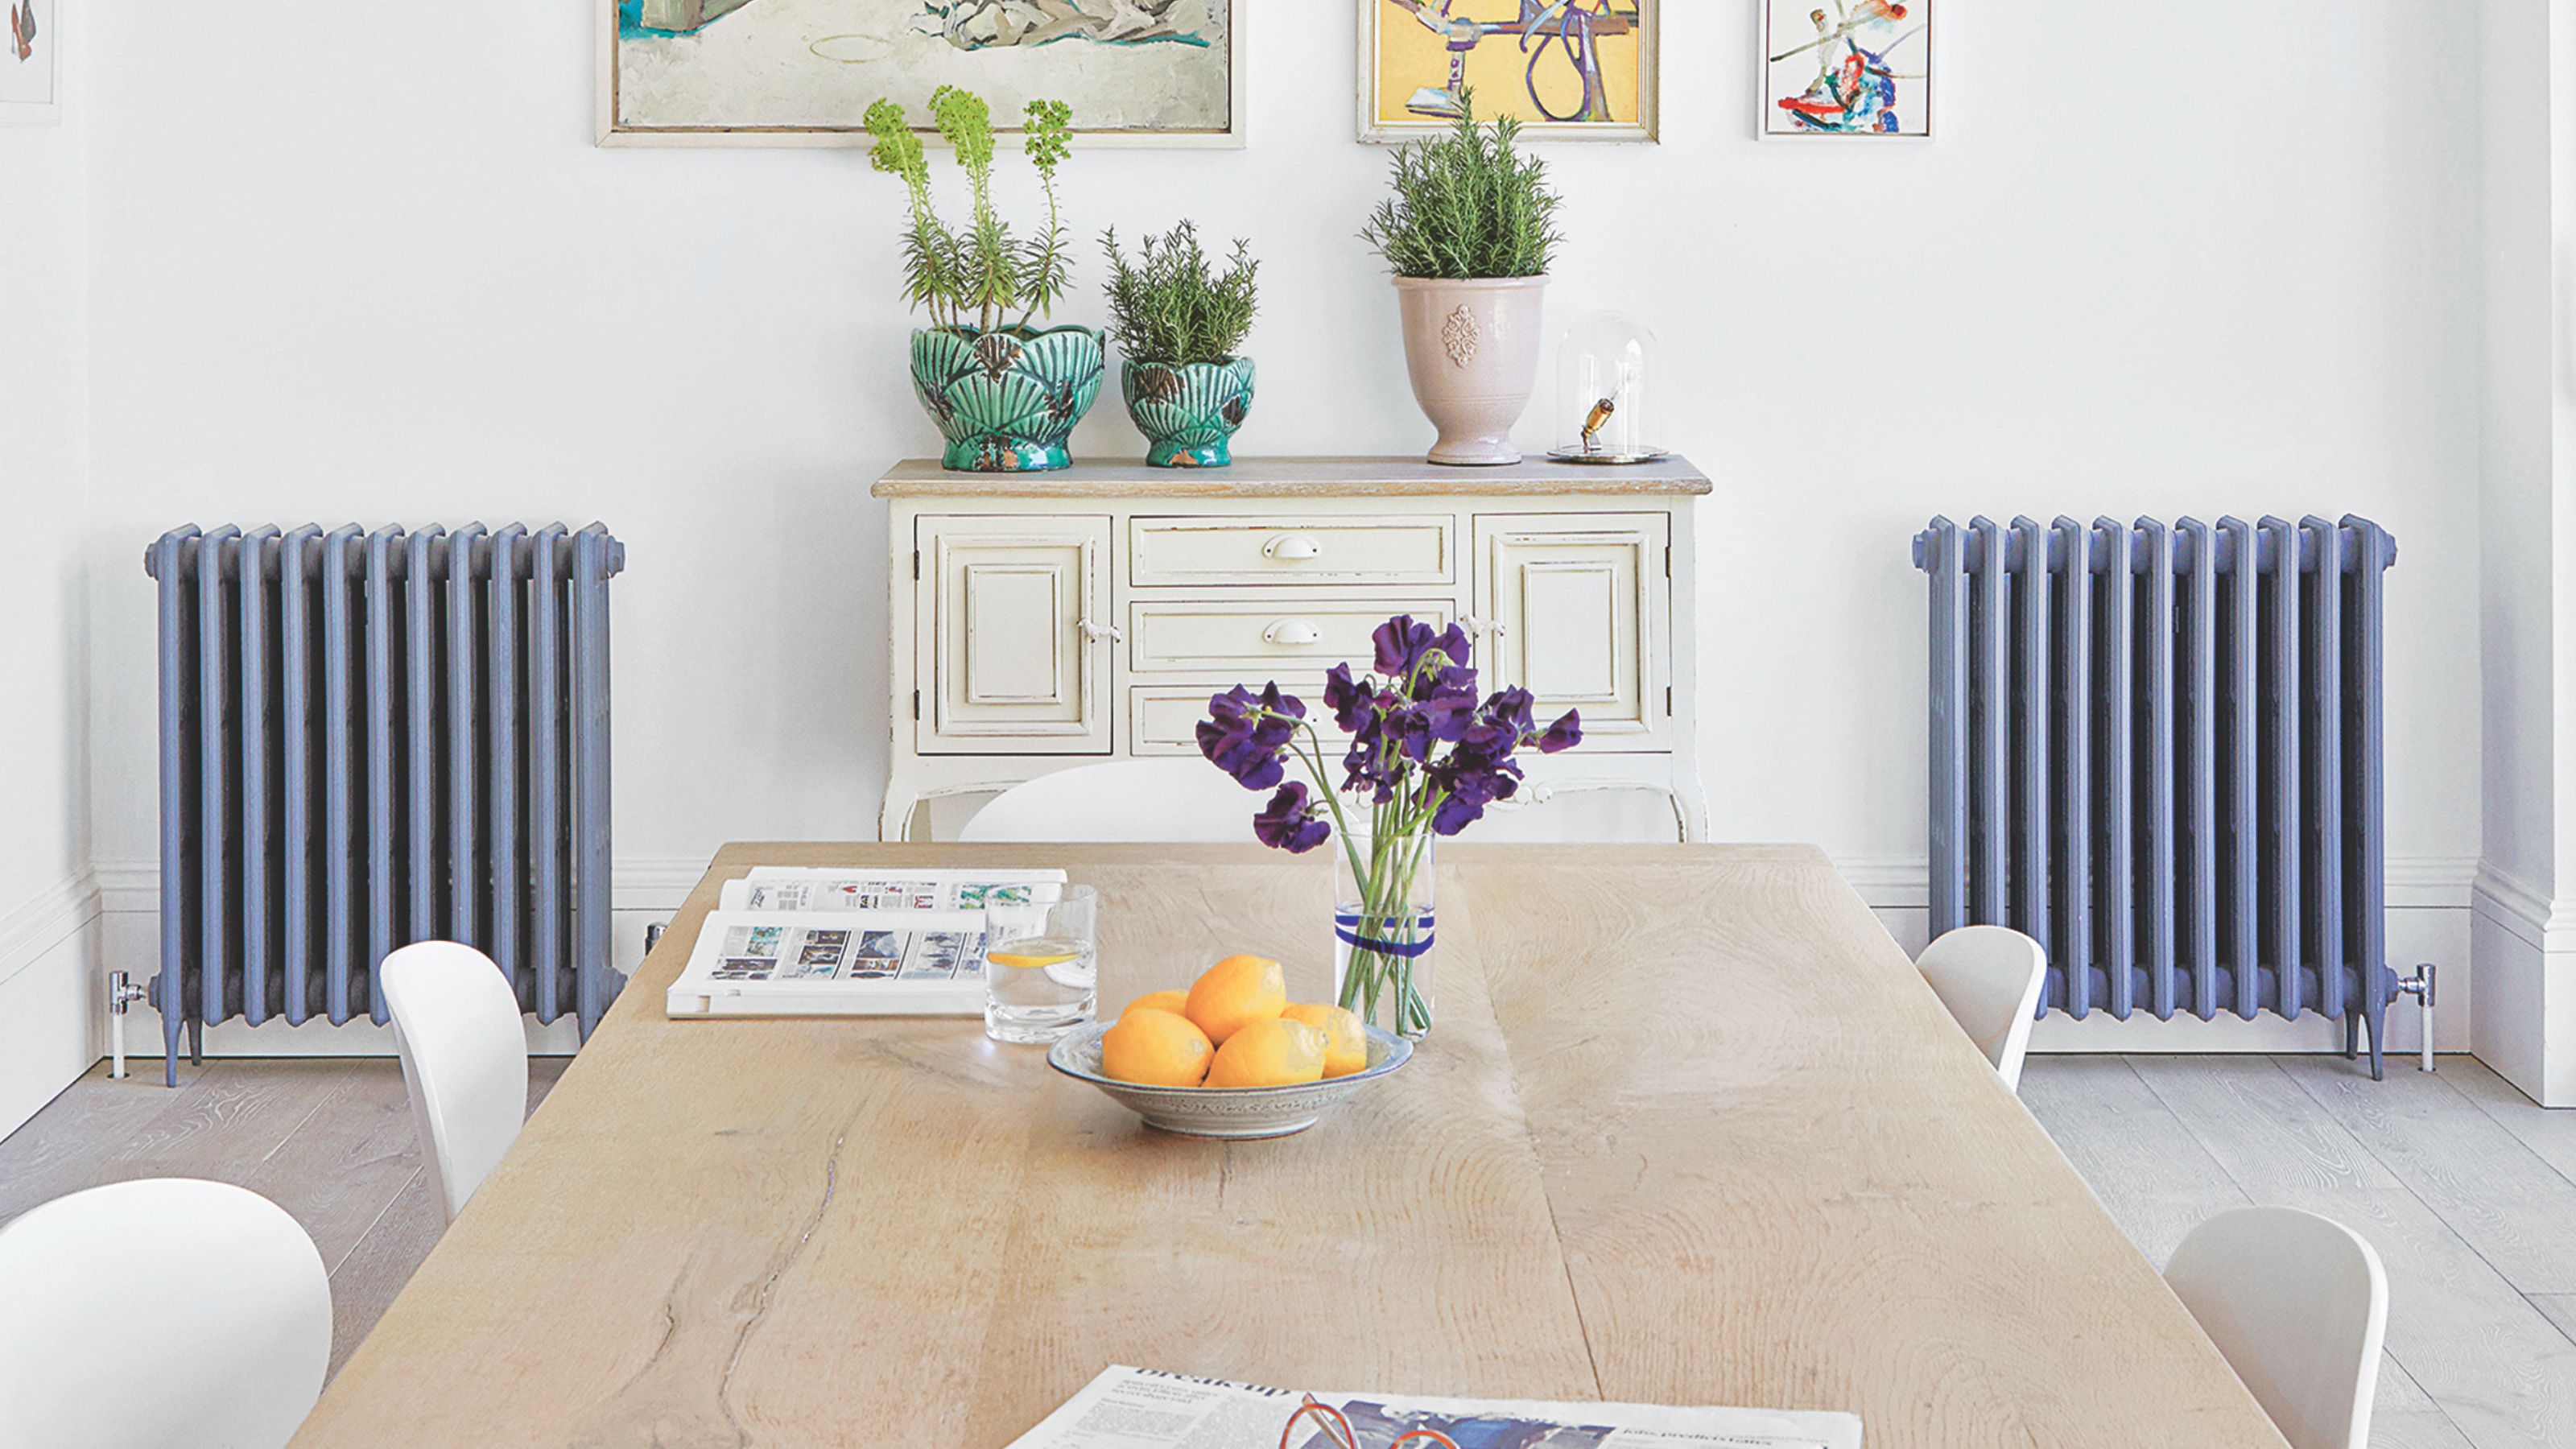

While you may assume that you need to call a plumber to get the job done, it’s very easy to learn how to remove a radiator. And it's a good nugget of information to have in your back pocket, too.
As Nicholas Auckland at Trade Radiators, explains, ‘There are many reasons why you might need/want to remove a radiator, including removal for decorating and removing permanently to clear the space.’ And while you can paint behind a radiator, it’s fair to say that you don’t get the same effect. In some cases, it’s downright impossible to decorate when the radiator is still on the wall.
So, if you want a flawless paint finish, wallpaper a room, or plaster your walls, all you need to do is follow this step-by-step guide to remove a radiator. You can use this guide to replace a radiator, too.
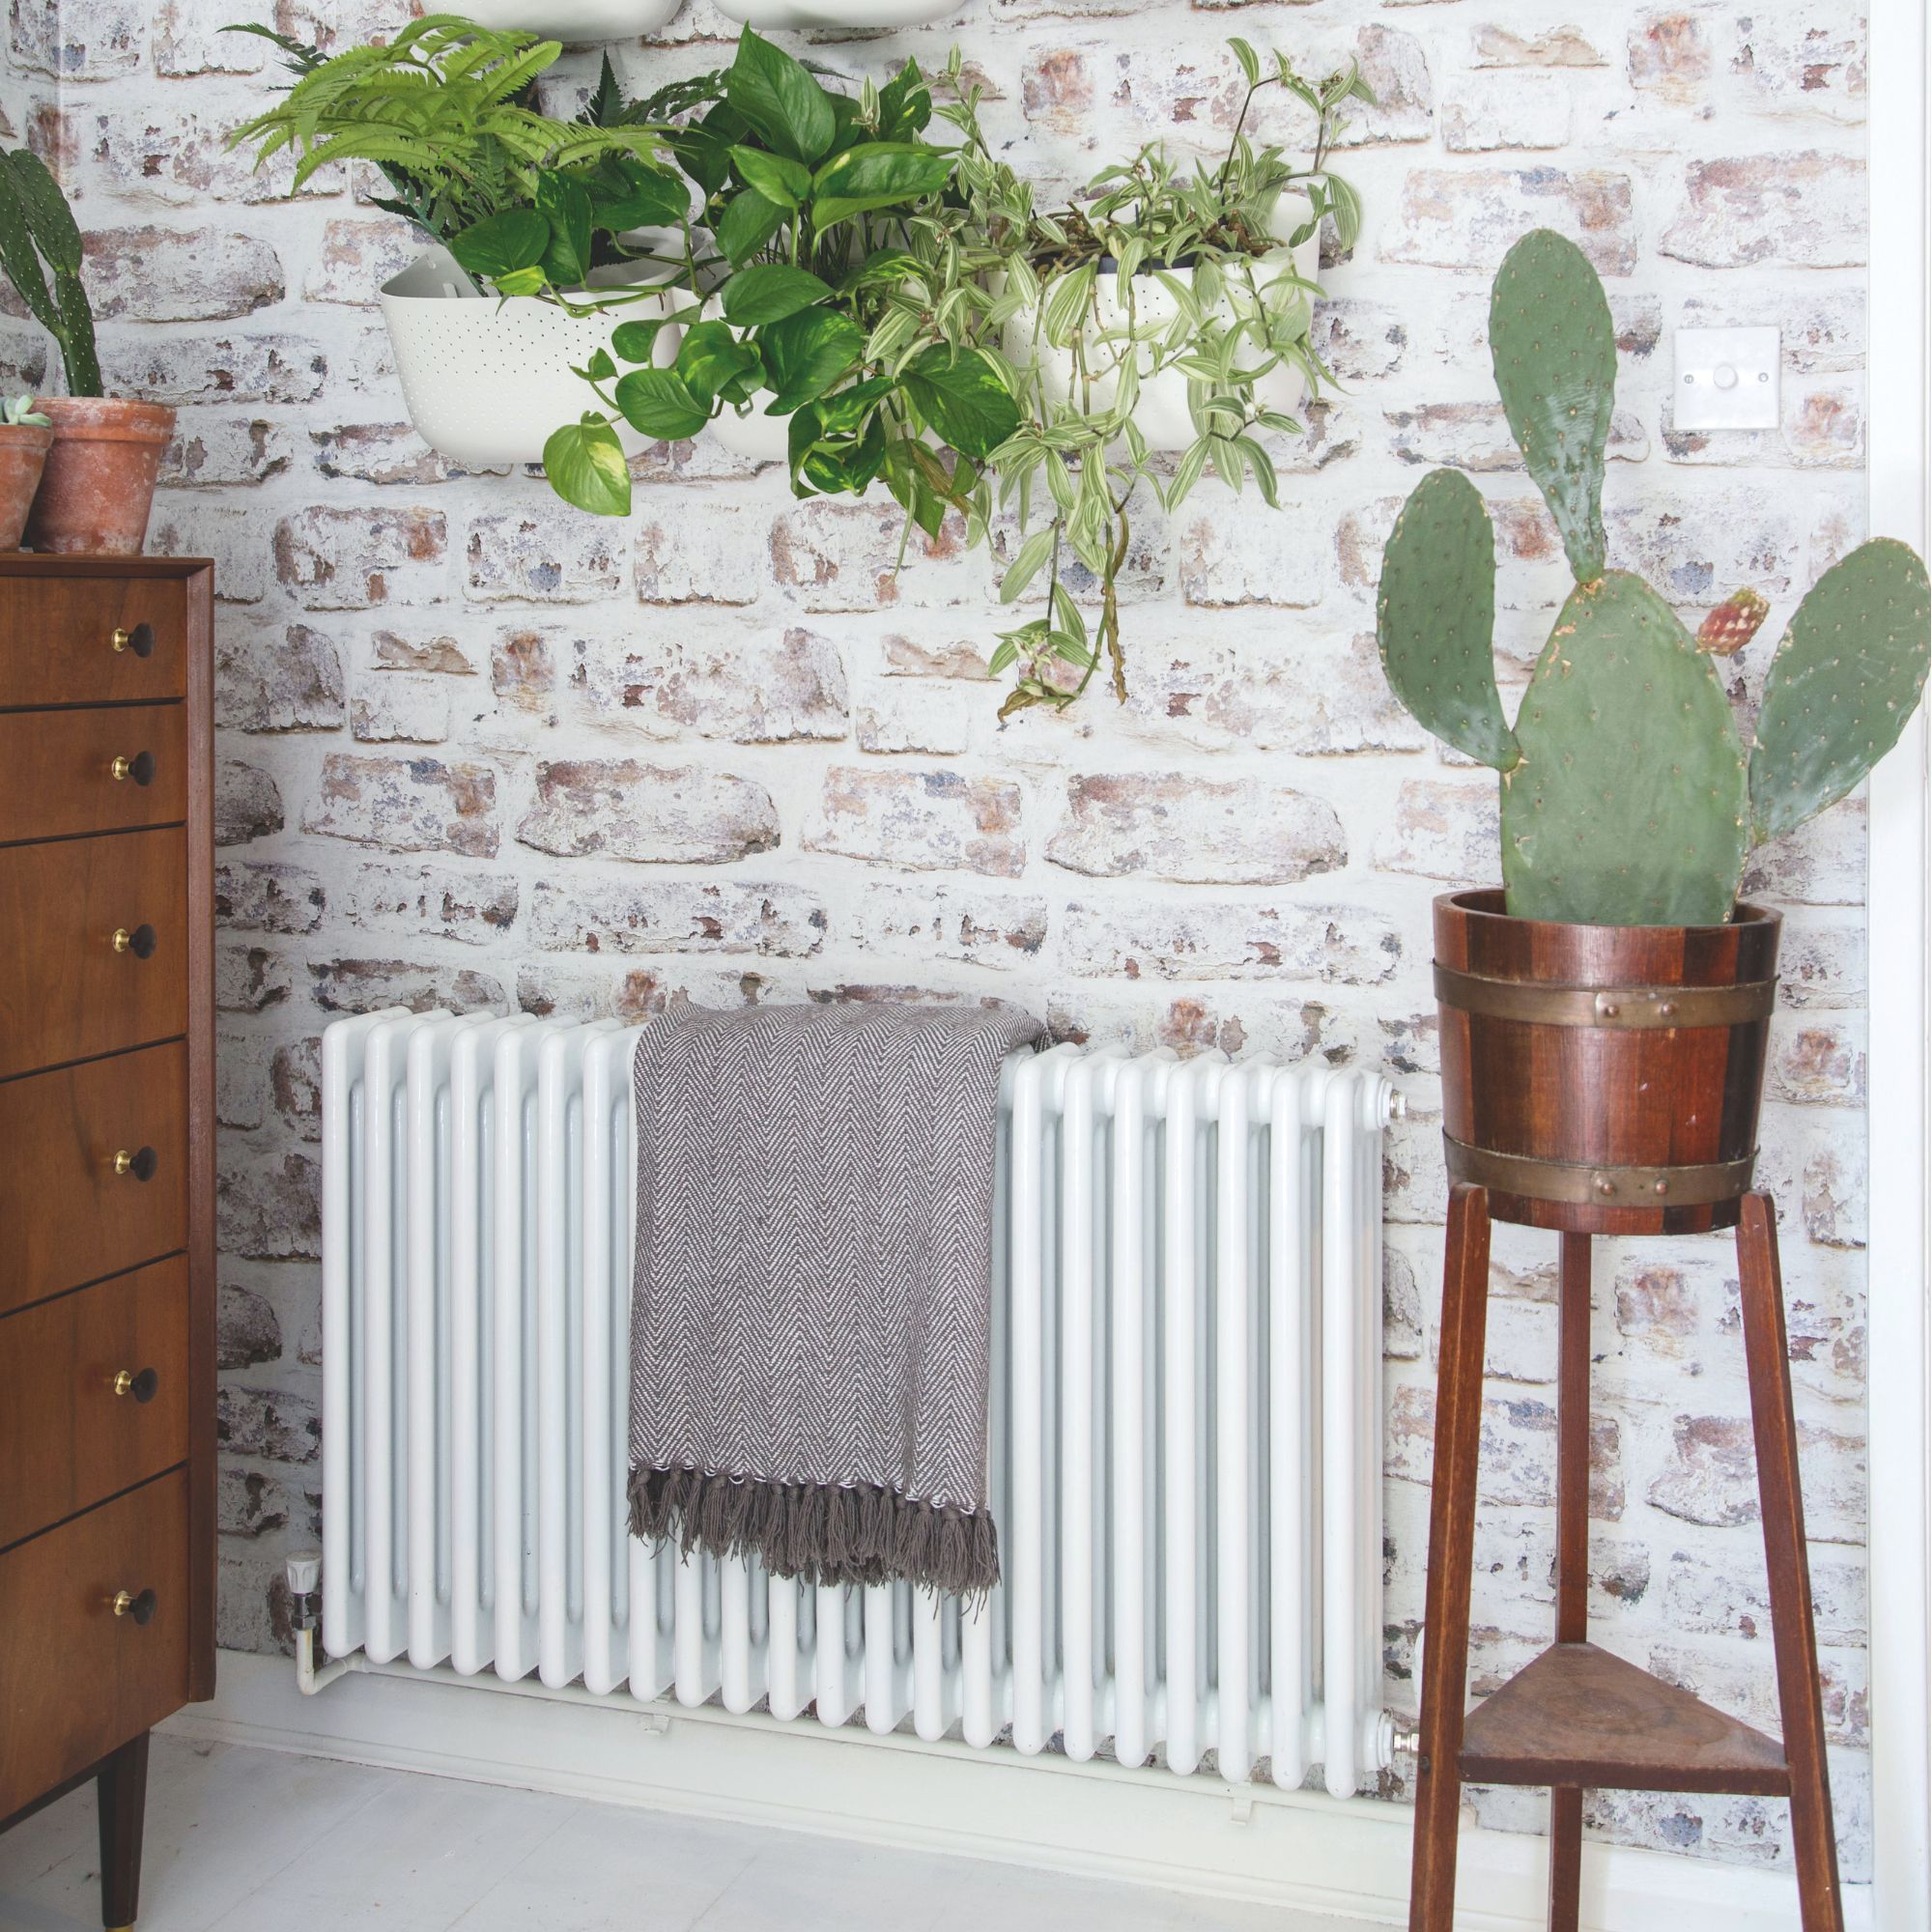
What you'll need
- Adjustable spanner - like this STANLEY MAXSTEEL Adjustable Wrench from Amazon
- Flathead screwdriver - or this WORKPRO 6 Pieces Screwdriver Set from Argos
- Radiator bleed key - like this Rothenberger Radiator key, Pack of 2 from B&Q
- Plastic bowls or containers - like these Set of 2 Plastic Mixing Bowls from Amazon
- Old towels or sheets
Step-by-step
1. Turn off your heating and protect your surroundings
Removing a radiator isn’t a difficult job, but it can be dangerous if you don’t take the right precautions. That’s why you should always turn off your heating before starting. Then, wait until it’s fully cooled to avoid injury and prevent unwanted burns.
After you protect yourself, you should then protect your surroundings, as tinkering with radiators in any way can be a messy job.
Nicholas advises, ‘Lay an old towel or sheet under the radiator to catch any potential spills. You could also place plastic containers under the valves, as these will also help to collect any escaping water, which makes cleanup easier.’
2. Isolate and bleed the radiator
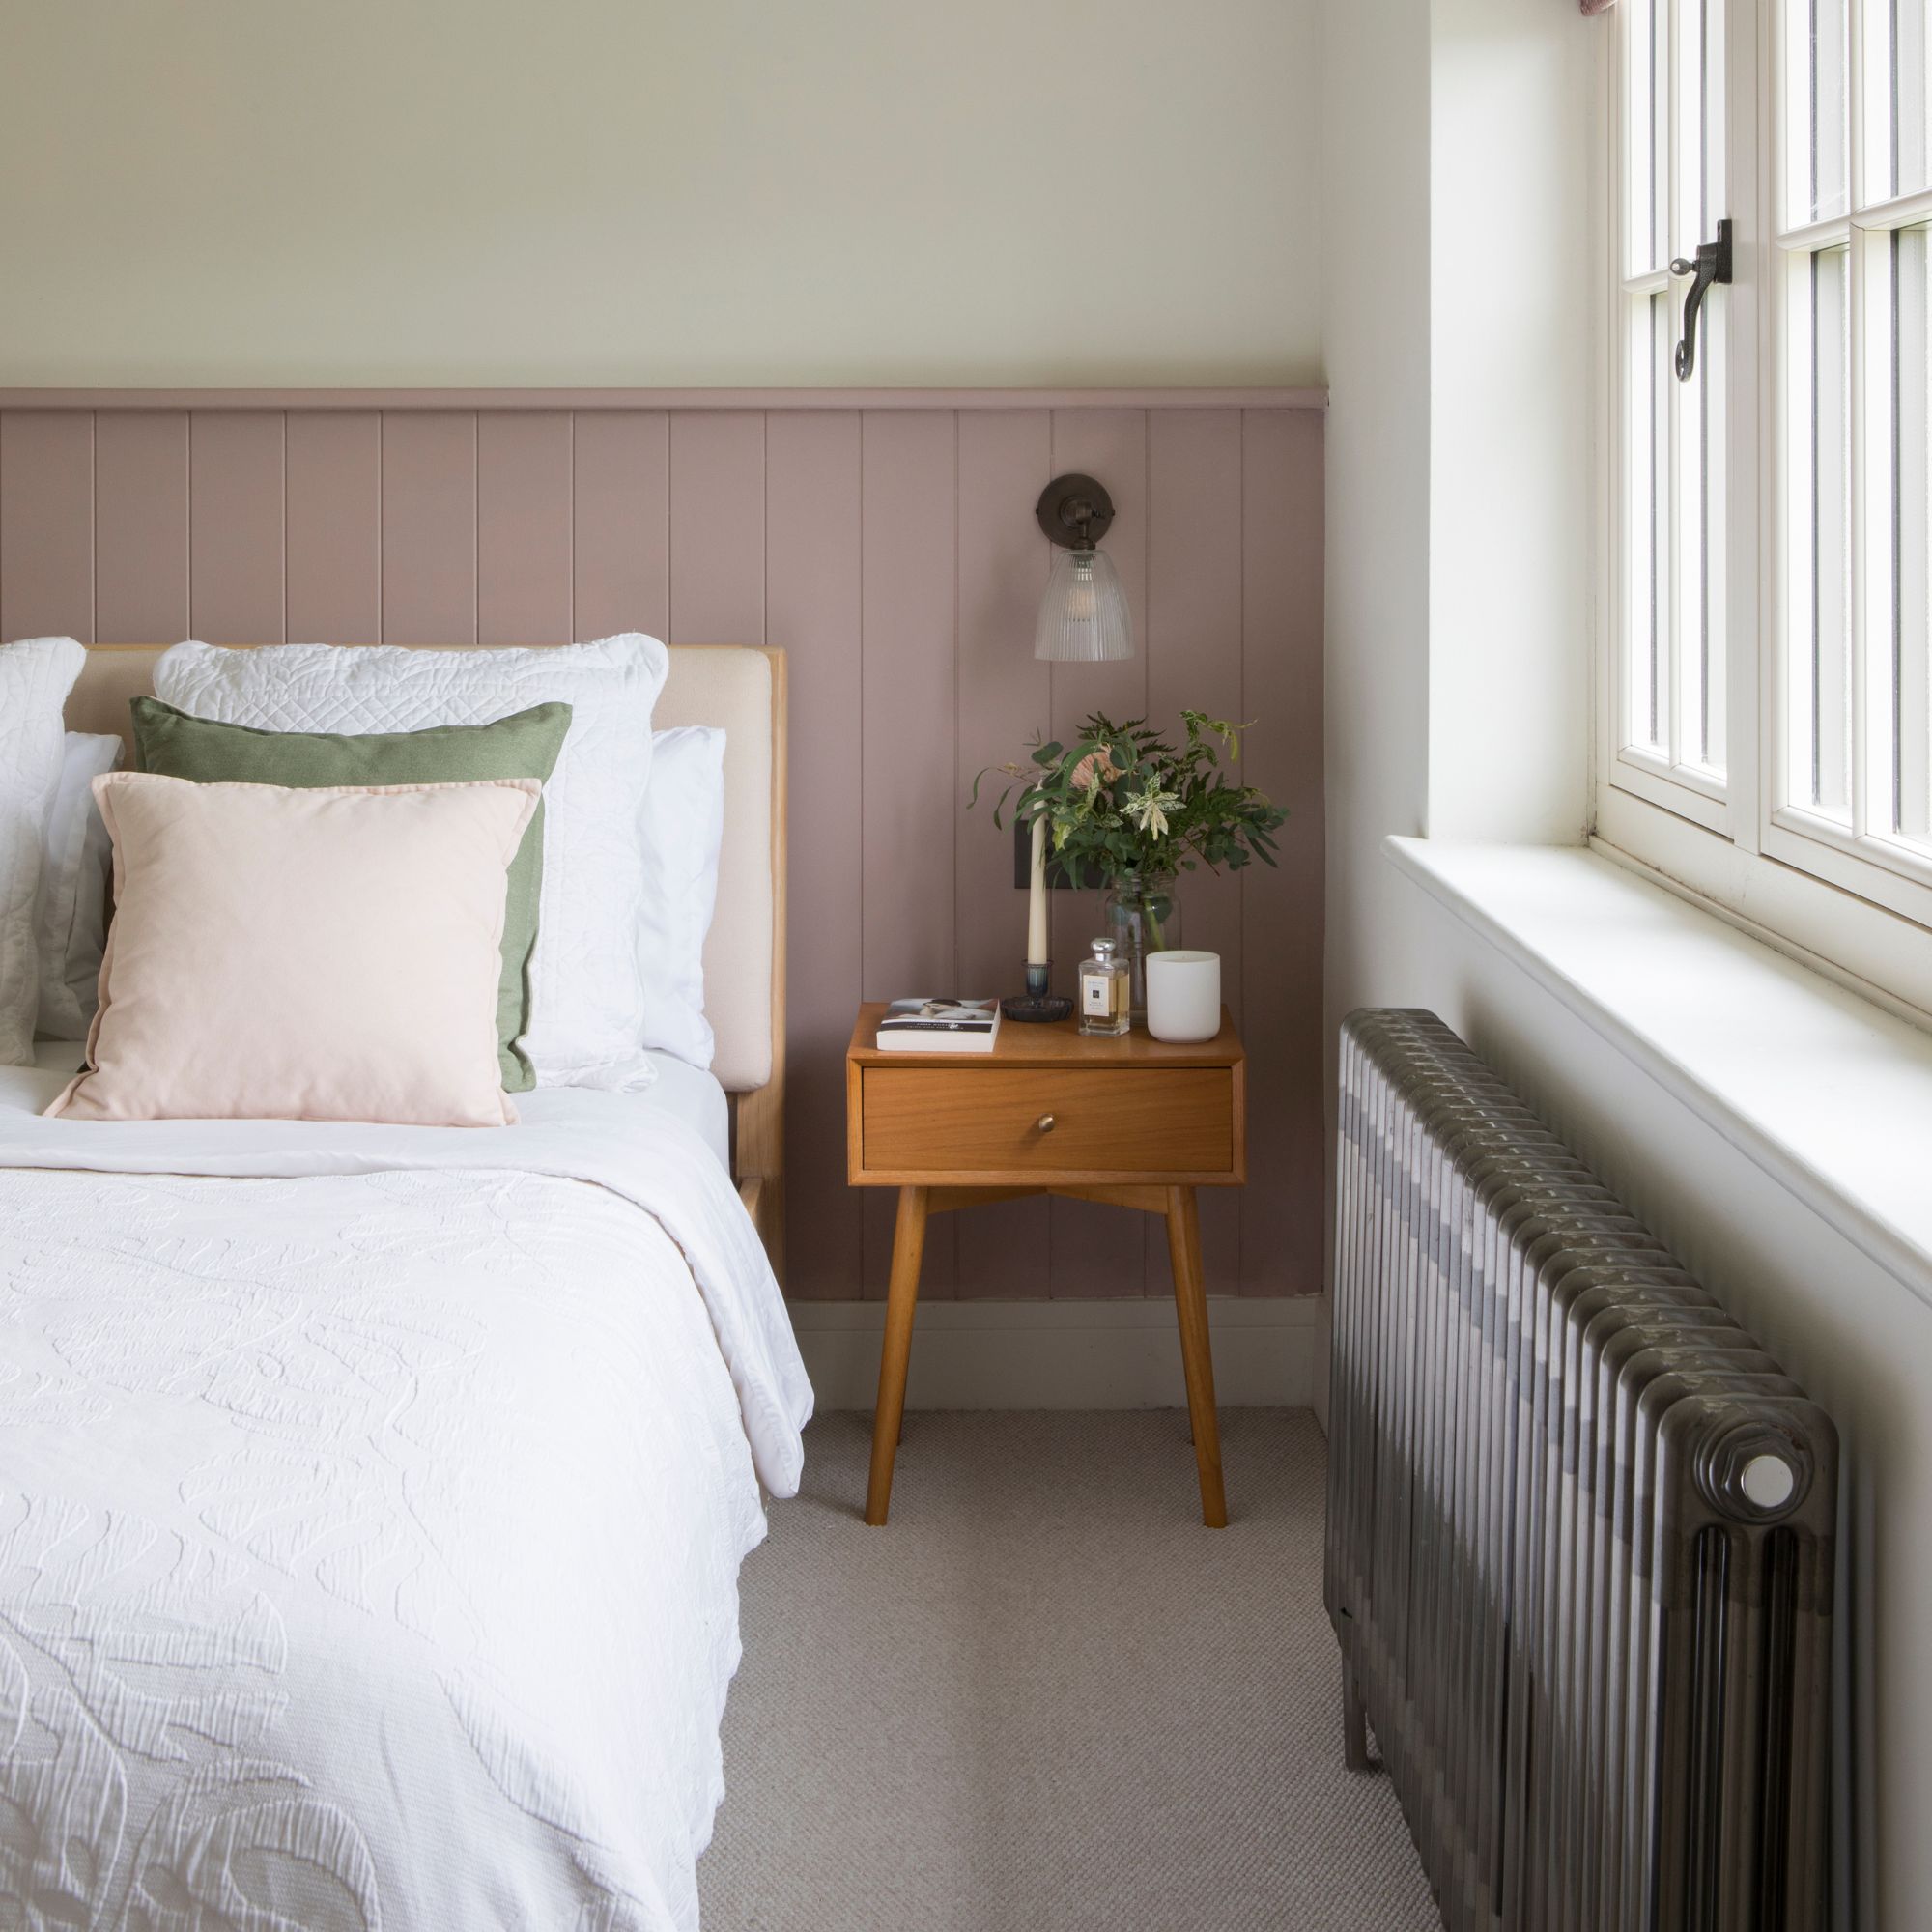
When you’re sure the radiator you want to remove is cool, and any excess water won’t ruin your carpets, you should then isolate your radiator. Ryan McNicholl at plumbing parts supplier Spares Direct, explains, ‘Isolating your radiator will prevent water from flowing into or out of the radiator during the removal process.’
Get the Ideal Home Newsletter
Sign up to our newsletter for style and decor inspiration, house makeovers, project advice and more.
To do this, Ryan advises, ‘Locate your radiator valves, typically located on either side of the radiator. If you have thermostatic radiator valves, turn the dial clockwise to zero. For manual valves, turn the valve clockwise as far as it will go, and if you have lockshield valves, remove the plastic cap and turn the valve clockwise using an adjustable spanner, making note of how many turns so that you can reset the new radiator at the same flow rate.’
And while this step will stop the water from entering the radiator, it’s still not safe to remove your radiator just yet. Before you move on to the next task, you need to bleed your radiator and listen out for the hissing sound as the air inside the radiator escapes. When that stops, and a small amount of water starts to dribble out, you can stop.
3. Loosen the valve nuts
As radiators need to be connected to your whole central heating system, you can’t pull a radiator off the wall without disconnecting the valve nuts first. If you try, you won’t get very far.
That’s why Nicholas says to, ‘Use an adjustable spanner to loosen the nuts connecting the radiator to the valves. Some water may still be inside, so be prepared for minor spills. Loosen the nuts until you hear a clicking sound, which signals they are fully undone.’

Nicholas Auckland is a heating and energy expert with over 10 years of experience in the industry, as well as the Managing Director of Trade Radiators. Nicholas is dedicated to finding the best heating solutions for every need, as well as optimising energy usage, reducing costs and helping others live with lower-cost energy bills.
4. Lift the radiator off the wall
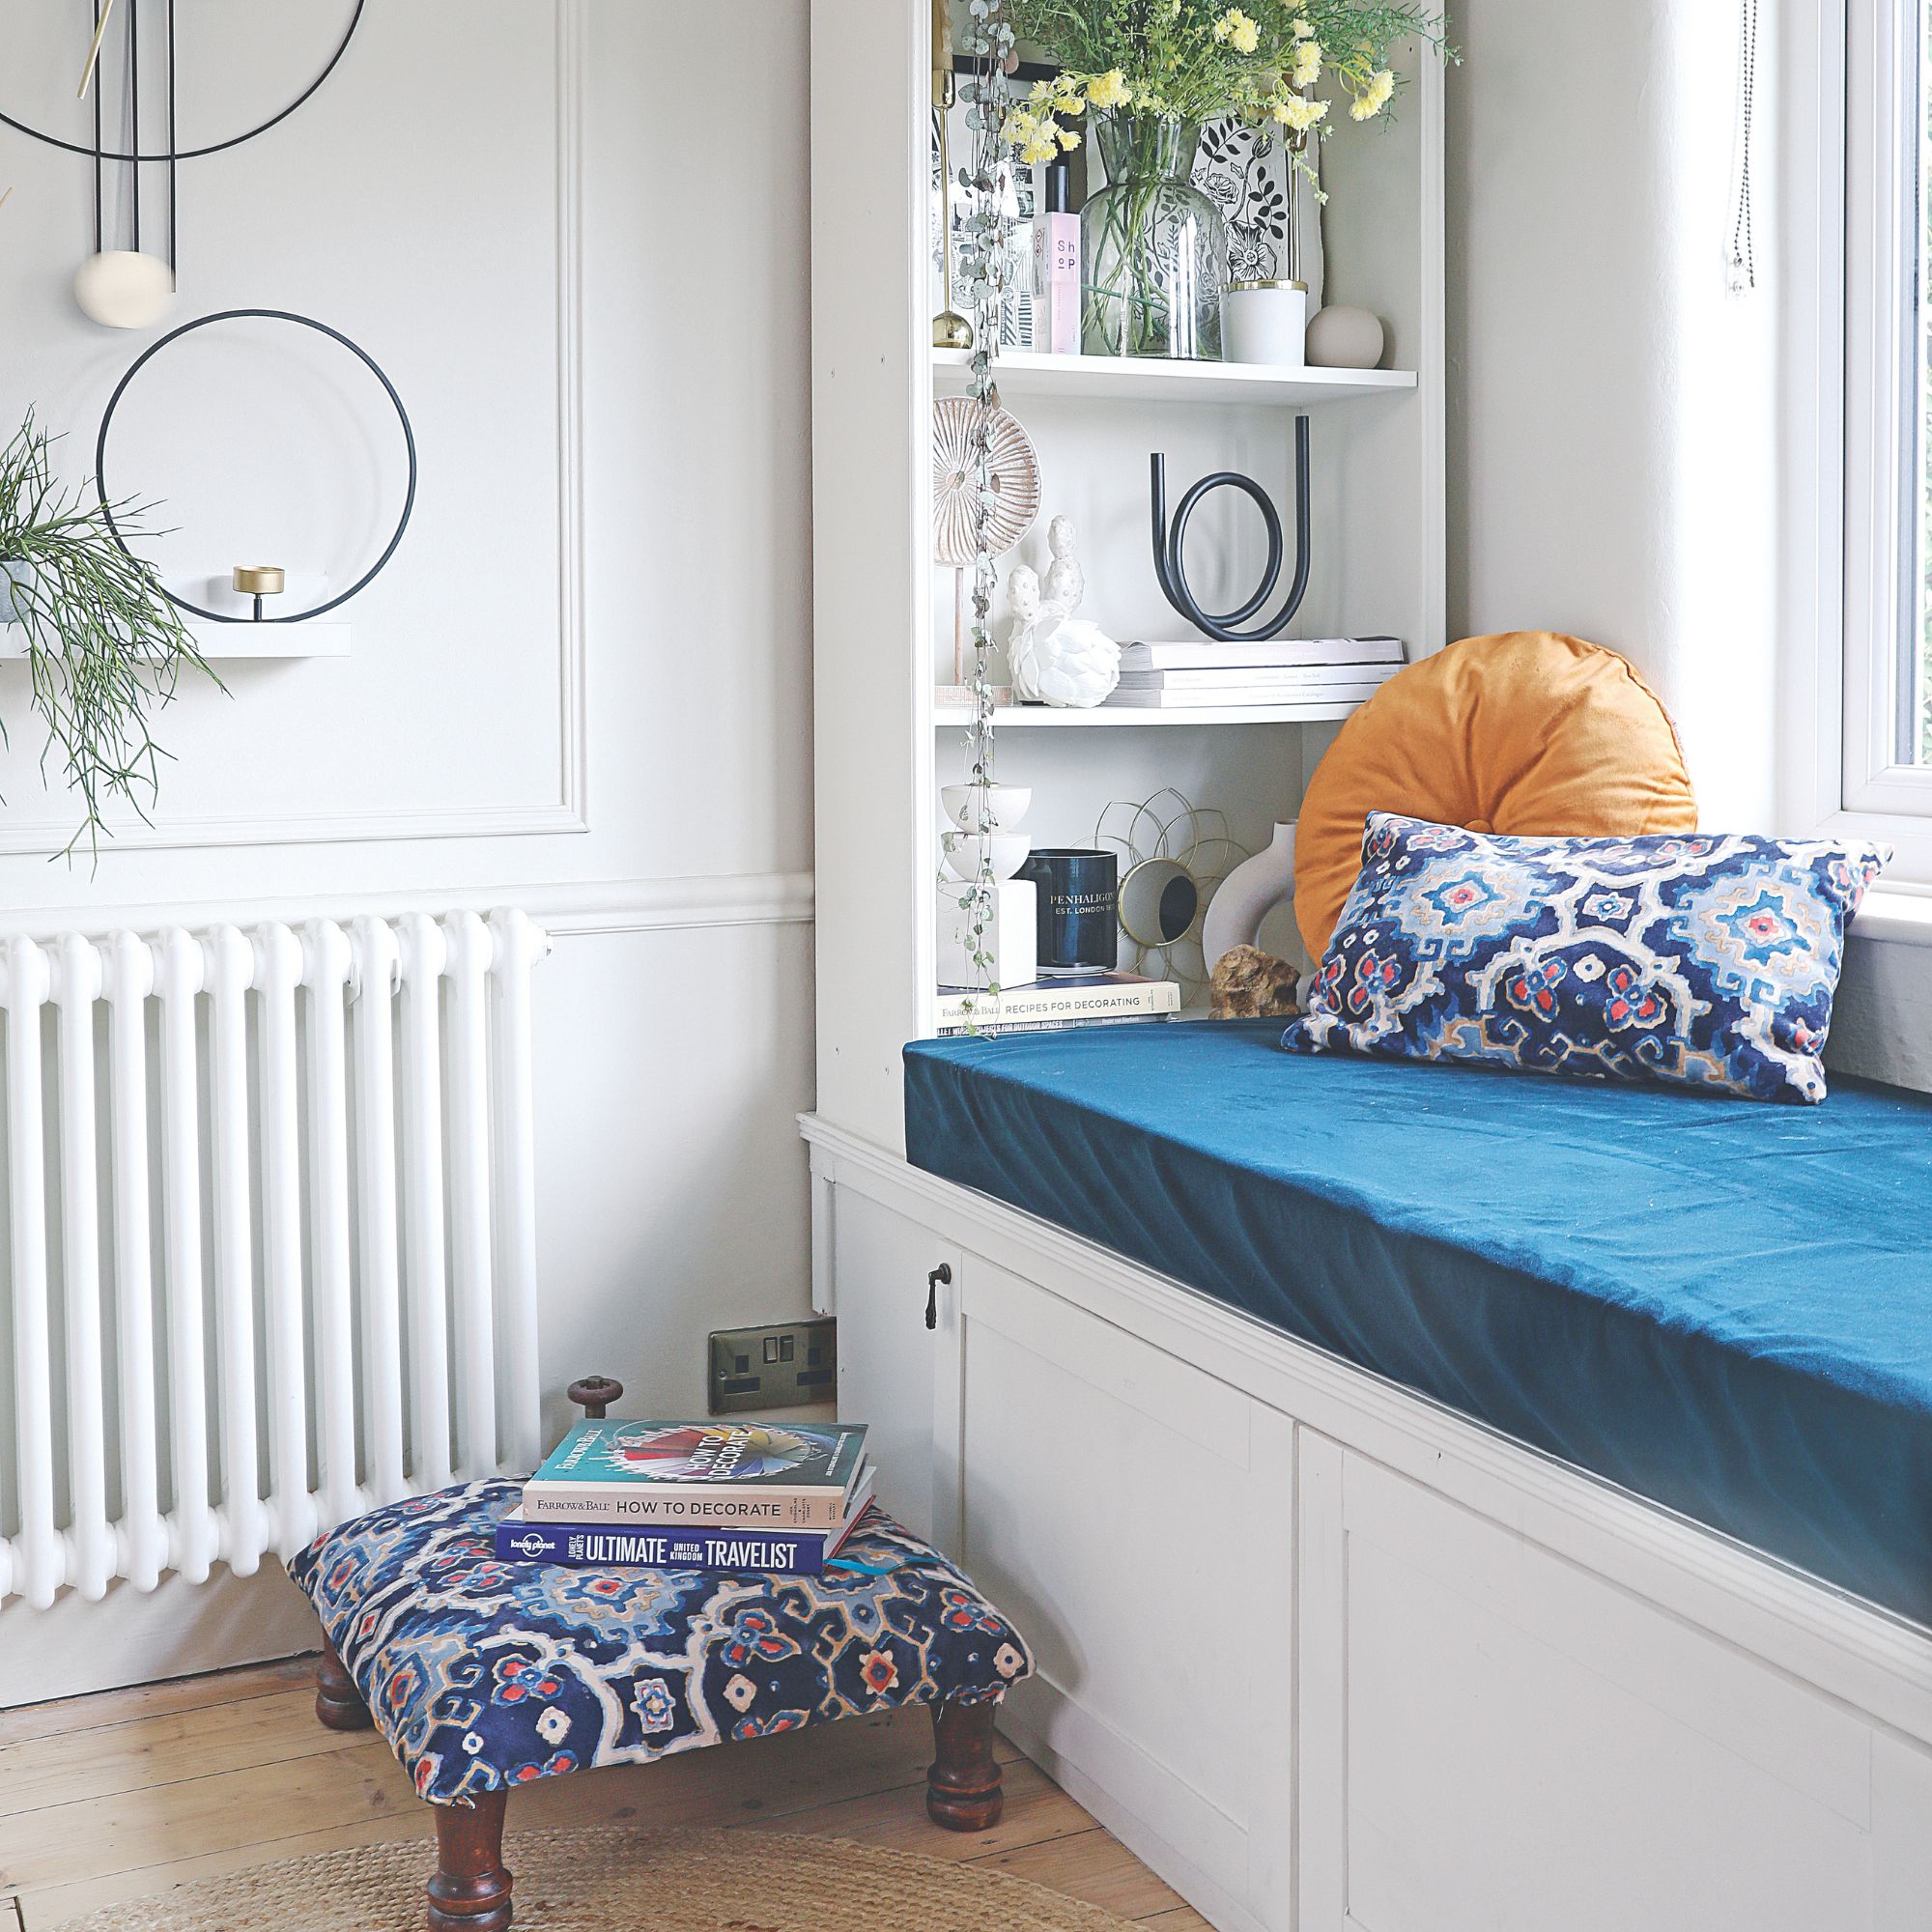
Once the above steps are completed, you can then remove the radiator by lifting it away from the brackets that anchor it to the wall. Of course, radiators aren’t exactly light – so this will probably be a two-person job.
As there may be some residual water left in the radiator, you may also want to tilt the radiator towards a container or bucket on the floor to expel any water from the outlets. If you don’t have the strength to do that, there is another option.
Nicholas says, ‘If you haven't drained the radiator, cap or block the valve openings using radiator valve caps or a temporary solution like a plastic bag secured with a rubber band. This will prevent the radiator from leaking.’
Then, you can go about your decorating without having to worry about a radiator getting in the way.
5. If needed, replace the radiator and brackets
Most people will only need to know how to remove a radiator for the sake of painting it or general home maintenance, but there may come a time when you need to cough up the cost to replace a radiator, too. If that’s the case, Ryan suggests you ‘Ensure there are no cracks or crumbling plaster on the wall where you intend to hang it. If so, repairs will need to be made before fitting the radiator.’
During this inspection stage, you should also check to see if you need to replace the brackets. ‘It is likely that the old brackets are no longer compatible with the new radiator, so you may need to unscrew these and fill them in,’ Ryan says.
He adds, ‘Then fit the brackets to the wall and sit your new radiator into the brackets. Attach the new radiator to the existing pipework and tighten the nuts with an adjustable wrench.’
You’ll then have to work backwards to get this new radiator working by opening the valves, bleeding the radiator, and then de-isolating the radiator.
FAQs
Can you remove a radiator yourself?
Yes, it’s definitely possible to remove a radiator yourself! As long as you have basic plumbing knowledge and know how to turn off your central heating system, you should be able to follow the steps to remove a radiator successfully.
However, if you’re a novice when it comes to moderate DIY, it might be better to call a professional plumber to ensure you don’t do anything wrong.
Can you remove a radiator without draining the system?
Although most experts would advise that you drain the system before removing a radiator, it is possible to remove a radiator without doing so - it’s just a little more complicated. Nicholas from Trade Radiators says, ‘Instead of loosening the valve nuts until they're fully undone, undo the nuts connecting the radiator to the valves until they are fully loosened but still attached.
He adds, ‘You will then need to carefully lift the radiator off its brackets and lower it so that the top edge rests on the floor. The radiator should still be connected to the valves, forming a gentle slope. Once the water has pooled at the top, fully unscrew the valve nuts and disconnect the radiator. Lift it upright and move it safely away, but be mindful of any residual water.’
While you’re on the radiator bandwagon, you might want to balance your radiators while you’re at it. After all, when was the last time you did that?

Lauren Bradbury has been the Content Editor for the House Manual section since January 2025 but worked with the team as a freelancer for a year and a half before that. She graduated with a Bachelor’s degree in English and Creative Writing from the University of Chichester in 2016. Then, she dipped her toe into the world of content writing, primarily focusing on home content. After years of agency work, she decided to take the plunge and become a full-time freelancer for online publications, including Real Homes and Ideal Home, before taking on this permanent role. Now, she spends her days searching for the best decluttering and cleaning hacks and creating handy how-to guides for homeowners and renters alike, as well as testing vacuums as part of her role as the Ideal Home Certified Expert in Training on Vacuums, having spent over 110 hours testing different vacuum models to date!
You must confirm your public display name before commenting
Please logout and then login again, you will then be prompted to enter your display name.
-
 Will a conservatory add value to your home and how can you maximise it?
This is what the pros say
By Amy Reeves
-
 I’ve been looking for a new signature scent for my home and The White Company's new fragrance is the exact summer holiday smell I needed
Santorini smells fresh, summery and sophisticated
By Kezia Reynolds
-
 How to remove algae from garden walls in five steps – and the cleaning product experts rave about for tackling it fast
Experts share their top tips for getting garden walls algae-free
By Katie Sims