How to remove wallpaper - expert-approved steps to prevent damage and ensure a smooth finish
Out with the old, in with the new
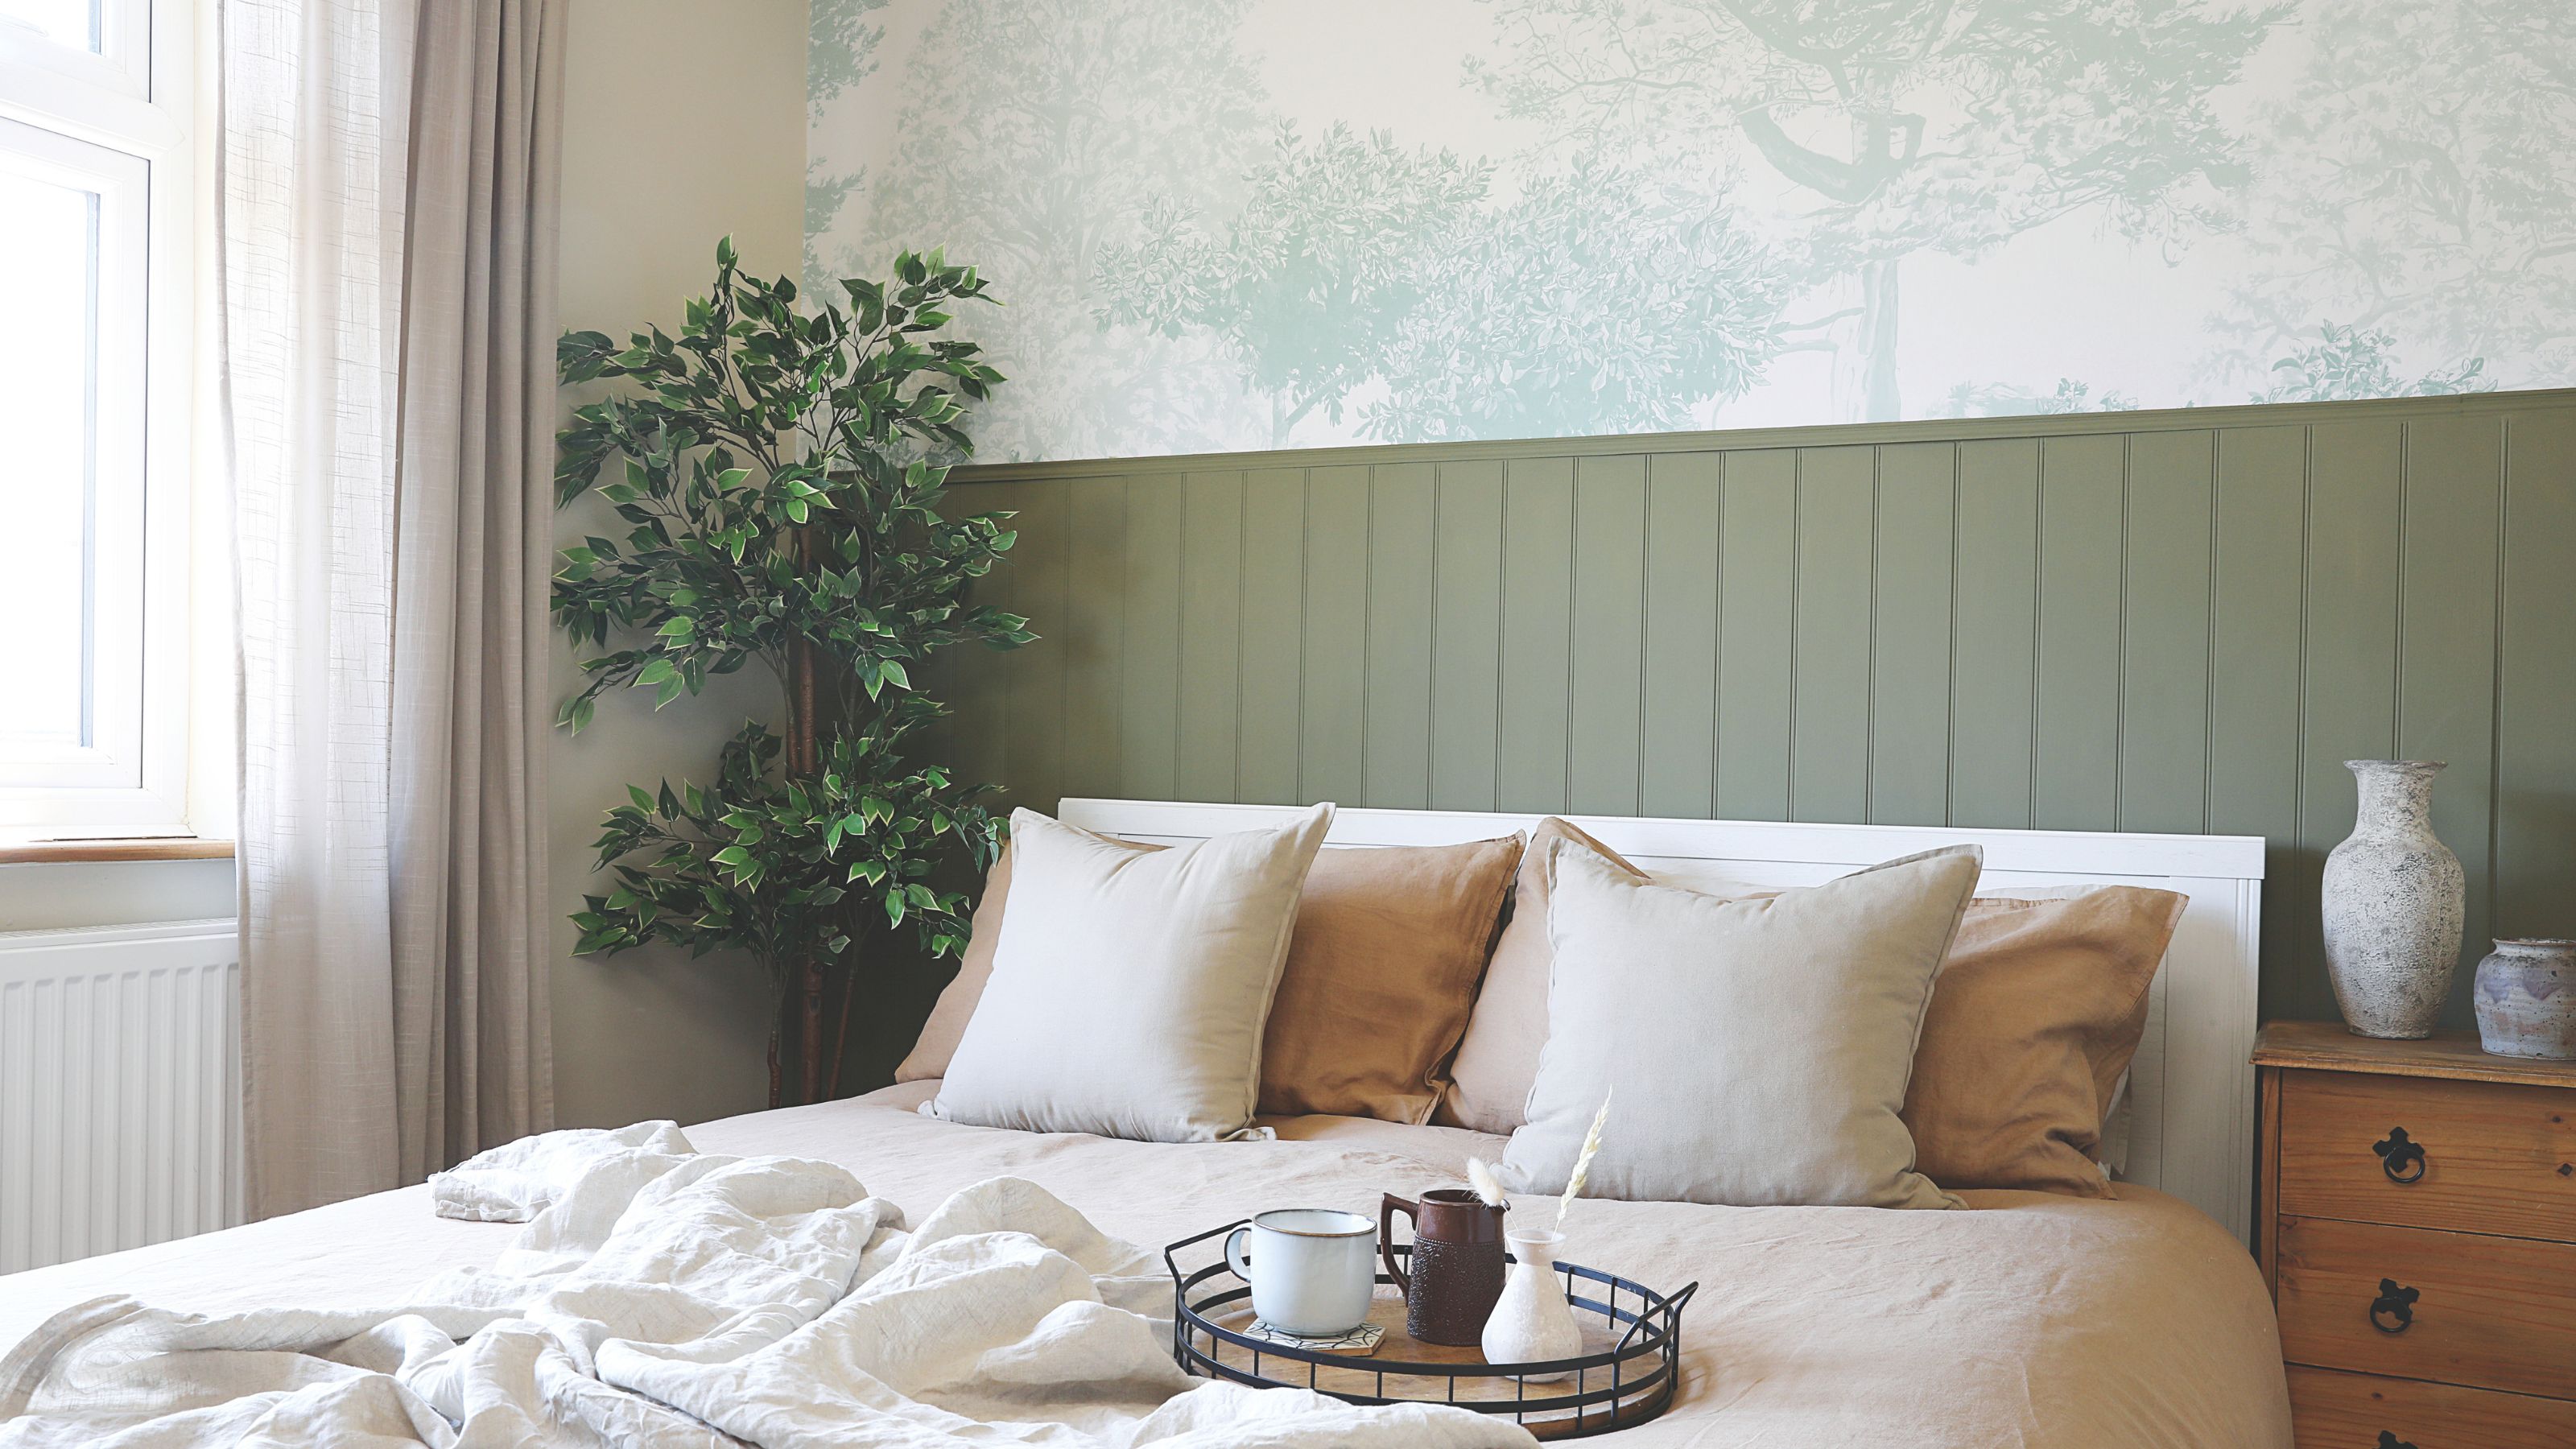

In a world where everything is getting more and more expensive, being able to decorate yourself can save you some serious pennies. And if you’re looking to give your walls some TLC, knowing how to remove wallpaper yourself can be a handy skill to have.
Although there are so many amazing wallpaper ideas out there, it’s nice to be able to mix things up every now and then - especially as wallpaper trends chop and change all the time. And while you could wallpaper over wallpaper if you really don’t want to stretch your DIY fingers, experts don’t recommend this.
As Sarah McCann, print and product expert at Voyage Maison, explains, ‘If you're considering giving your home a wallpaper update, the first step you must tackle is to remove the existing wallpaper. While it may be tempting to apply the new wallpaper directly on top, it's important to take off the current layers first. This will help prevent frustrating creases and air bubbles from forming during the application process.’
What you'll need
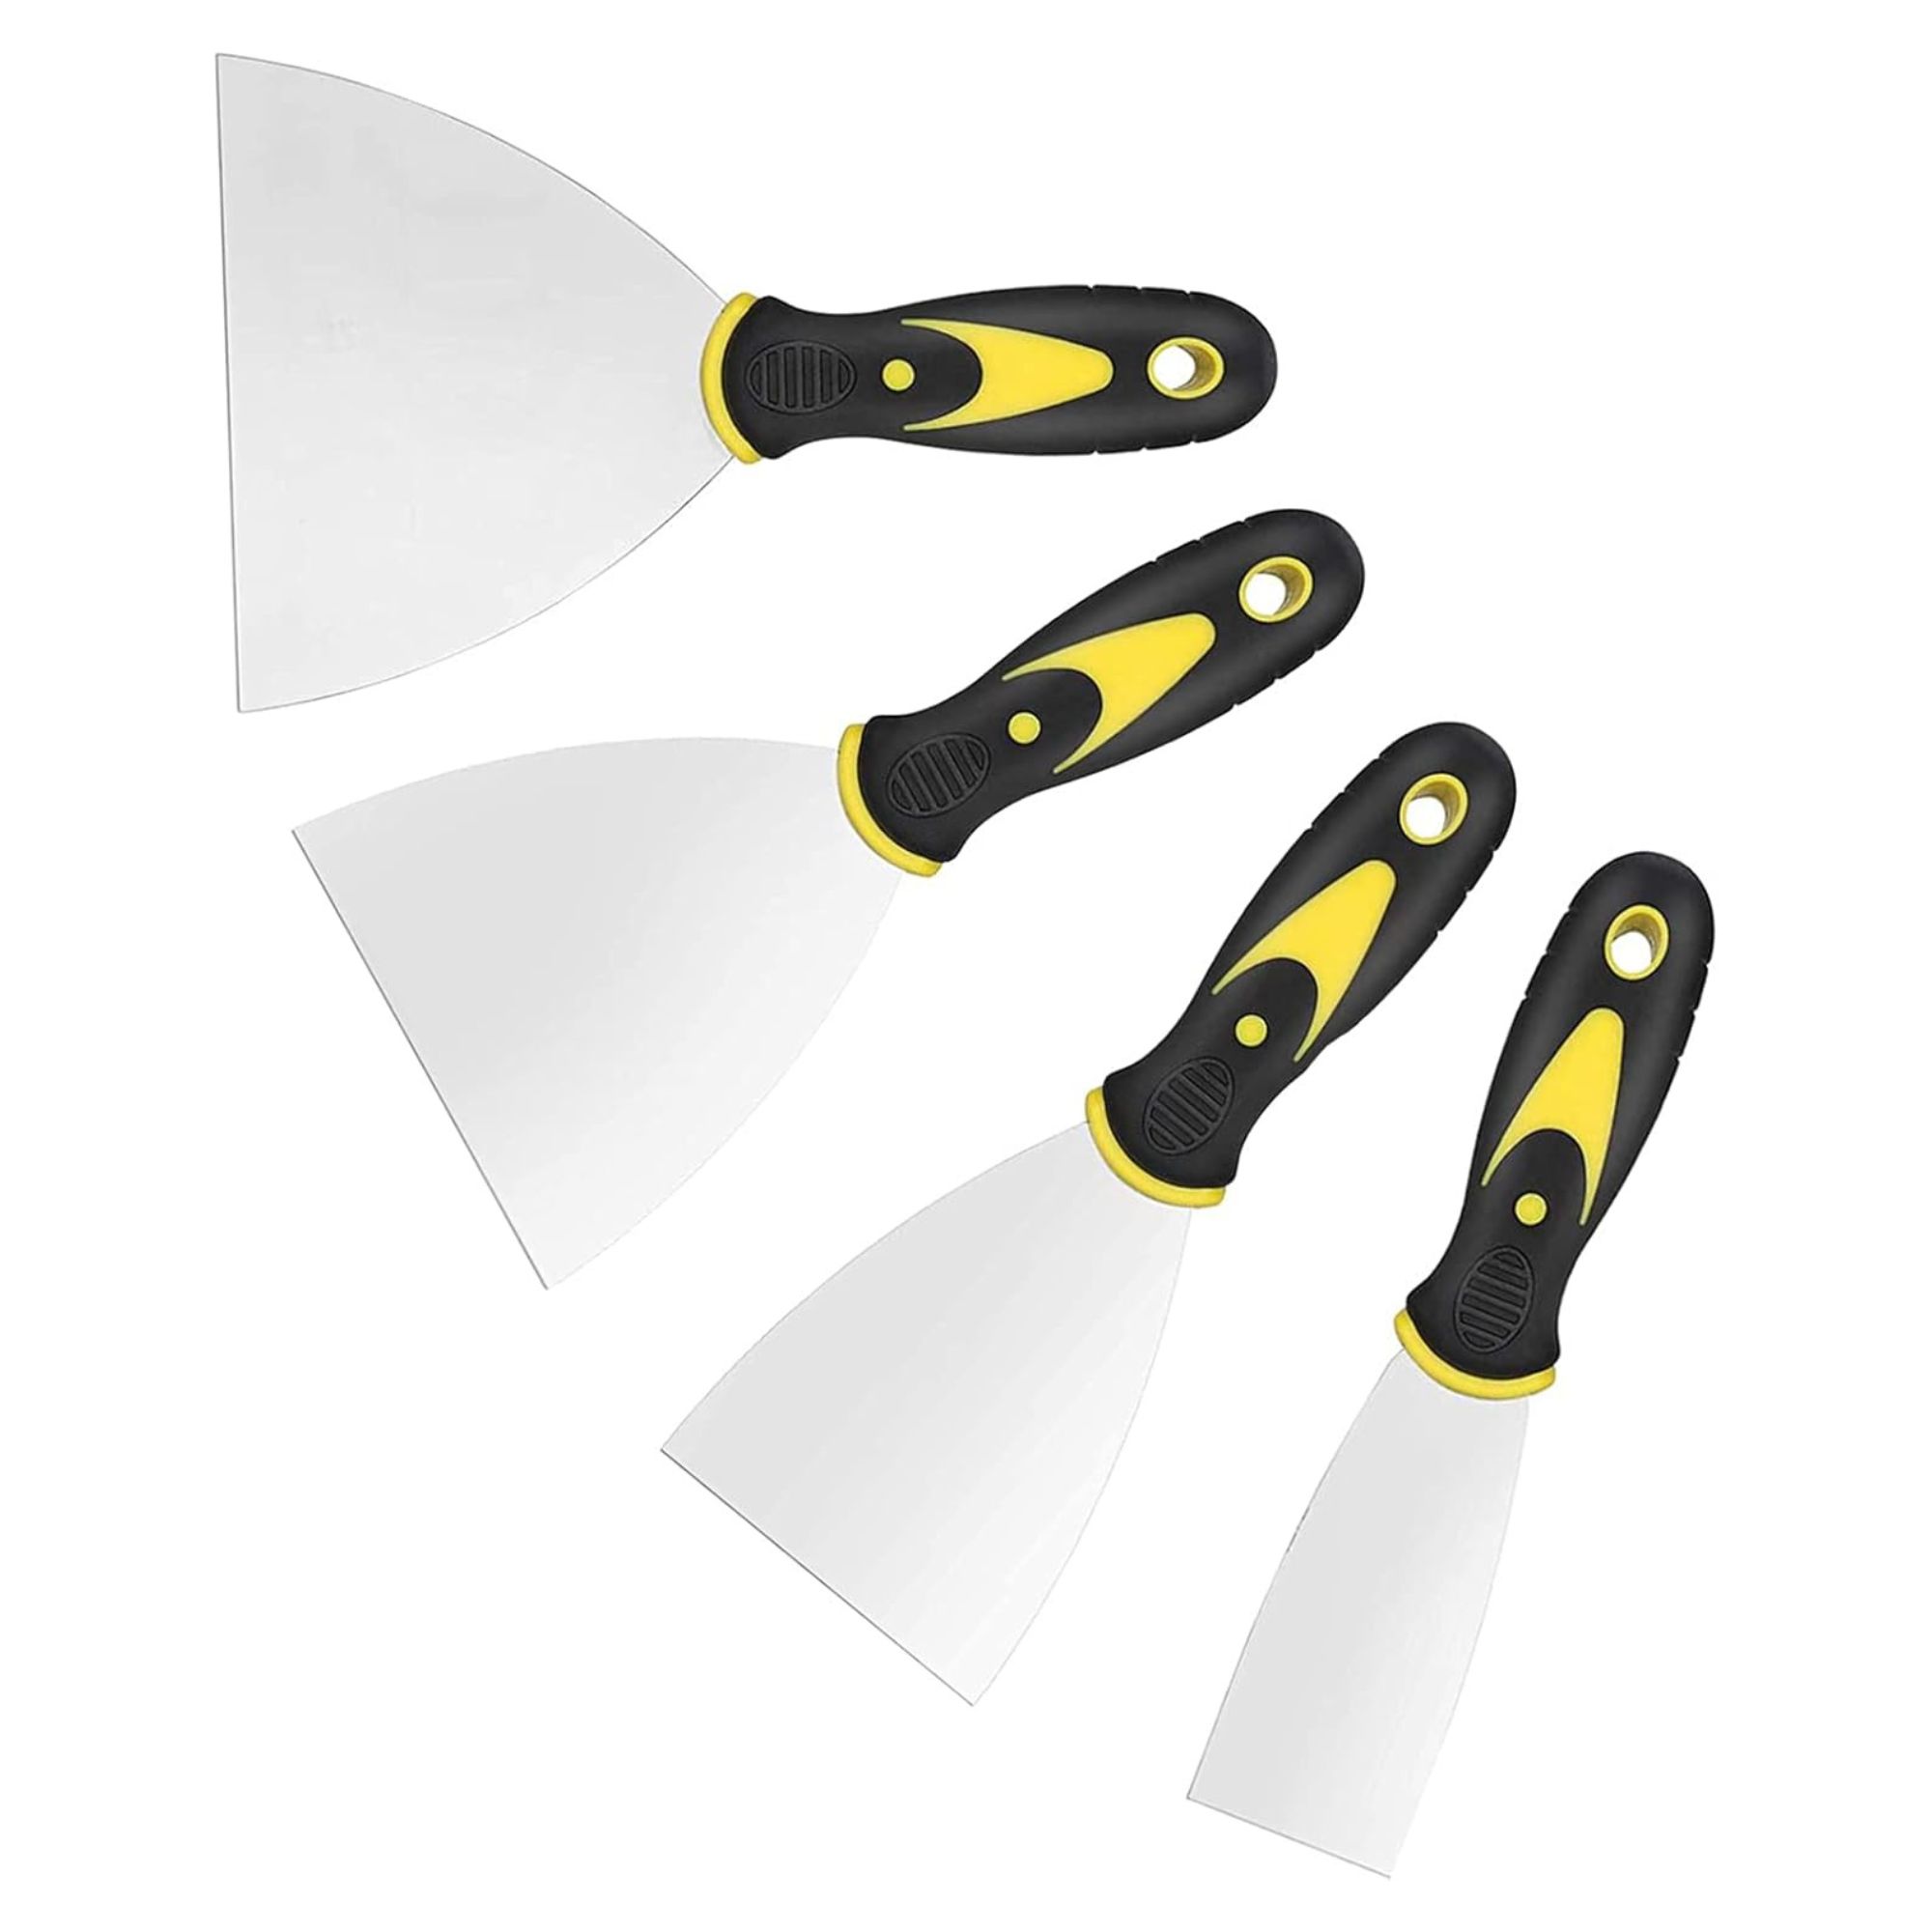
It's always good to stock up on a few scrapers if you want to remove wallpaper. Different sizes will also help you go into the nooks and crannies of your room, too.
Step-by-step
1. Prepare the area
Just as you need to prepare yourself and your home for painting a room, you also need to do the same when removing wallpaper. After all, it can be a messy (and dangerous) business if you don’t take precautions.
For starters, you need to prepare the area. Adam Clark at My Local Toolbox suggests, ‘Protect all floors and furniture with either drop cloths or old sheets. Painter tape is a great way to protect electrical outlets, skirting boards, and/or panelling.’
To go one step further, Tim Warren, a DIY expert from Adkwik, advises, ‘Turn off the electricity in the room where you will be working, as water or steam may come into contact with plug sockets or switches.’
To make things as easy as possible and to ensure you won’t have to get mould out of fabric later down the line, you should also aim to move furniture out of the room - especially if you plan on using a steamer to remove wallpaper.
If using chemical wallpaper remover, you should wear gloves and eye protection to avoid any injury or irritation. And if you’re on the shorter side, you might want to keep a ladder (and someone to hold the ladder) close by.
2. Perforate the wallpaper
After preparing yourself and the area, you may feel inclined to get cracking as soon as possible. But there’s another step to take before you can really start stripping wallpaper - especially if you want to protect your walls and make the process as easy as possible.
Adam explains, ‘Using the correct tool, puncture small holes in the wallpaper.’ So, you can use a scoring tool like this GoodHome Wallpaper Scoring Tool from B&Q for this step.
You must be careful here, though, as you could damage your wall. ‘Only use enough pressure to enable the teeth of the scorer to cut into the surface of the wallpaper. You should not use a knife or scissors to score wallpaper, as it will be difficult to score evenly, and you risk damaging the wall underneath,’ advises Tim.
3. If you want, use a removal solution
If you have a fair amount of time on your hands and want something that will work efficiently every time, buying or making a removal solution may be your best bet.
Chemical wallpaper strippers like this Solvite Ready to Use Wallpaper Stripper from Amazon are faff-free and ready to be sprayed liberally onto your walls. However, you should always follow the manufacturer’s instructions for the best results. You also need to give it time to work its magic, and most experts suggest leaving it at least 20 minutes after spraying.
Tim then advises, ‘Using a stripping knife, make short, sharp movements to remove the paper from the wall once it is loose enough, ensuring that you are not damaging the wall as you go. Try to keep the knife as flat as possible, and do not let the edge dig into the surface. If any areas of the wall begin to dry out before you reach them, apply more of the chemical stripper to the wall according to the instructions.’
You don’t have to use a chemical stripper if you prefer to stick to natural products in your household. If you clean with vinegar, you can also use it to remove wallpaper.
Adam suggests, ‘When using vinegar, mix with equal parts water and then spray the mixture liberally onto the wallpaper. Although you cannot scrimp on the mixture, focusing on small areas at a time is best, and then allow to soak for 10-15 minutes.’
You should then be able to use the scraper to remove the wallpaper from the wall easily. But as with the chemical stripper, you may need to reapply your solution every so often.
4. Alternatively, start steaming
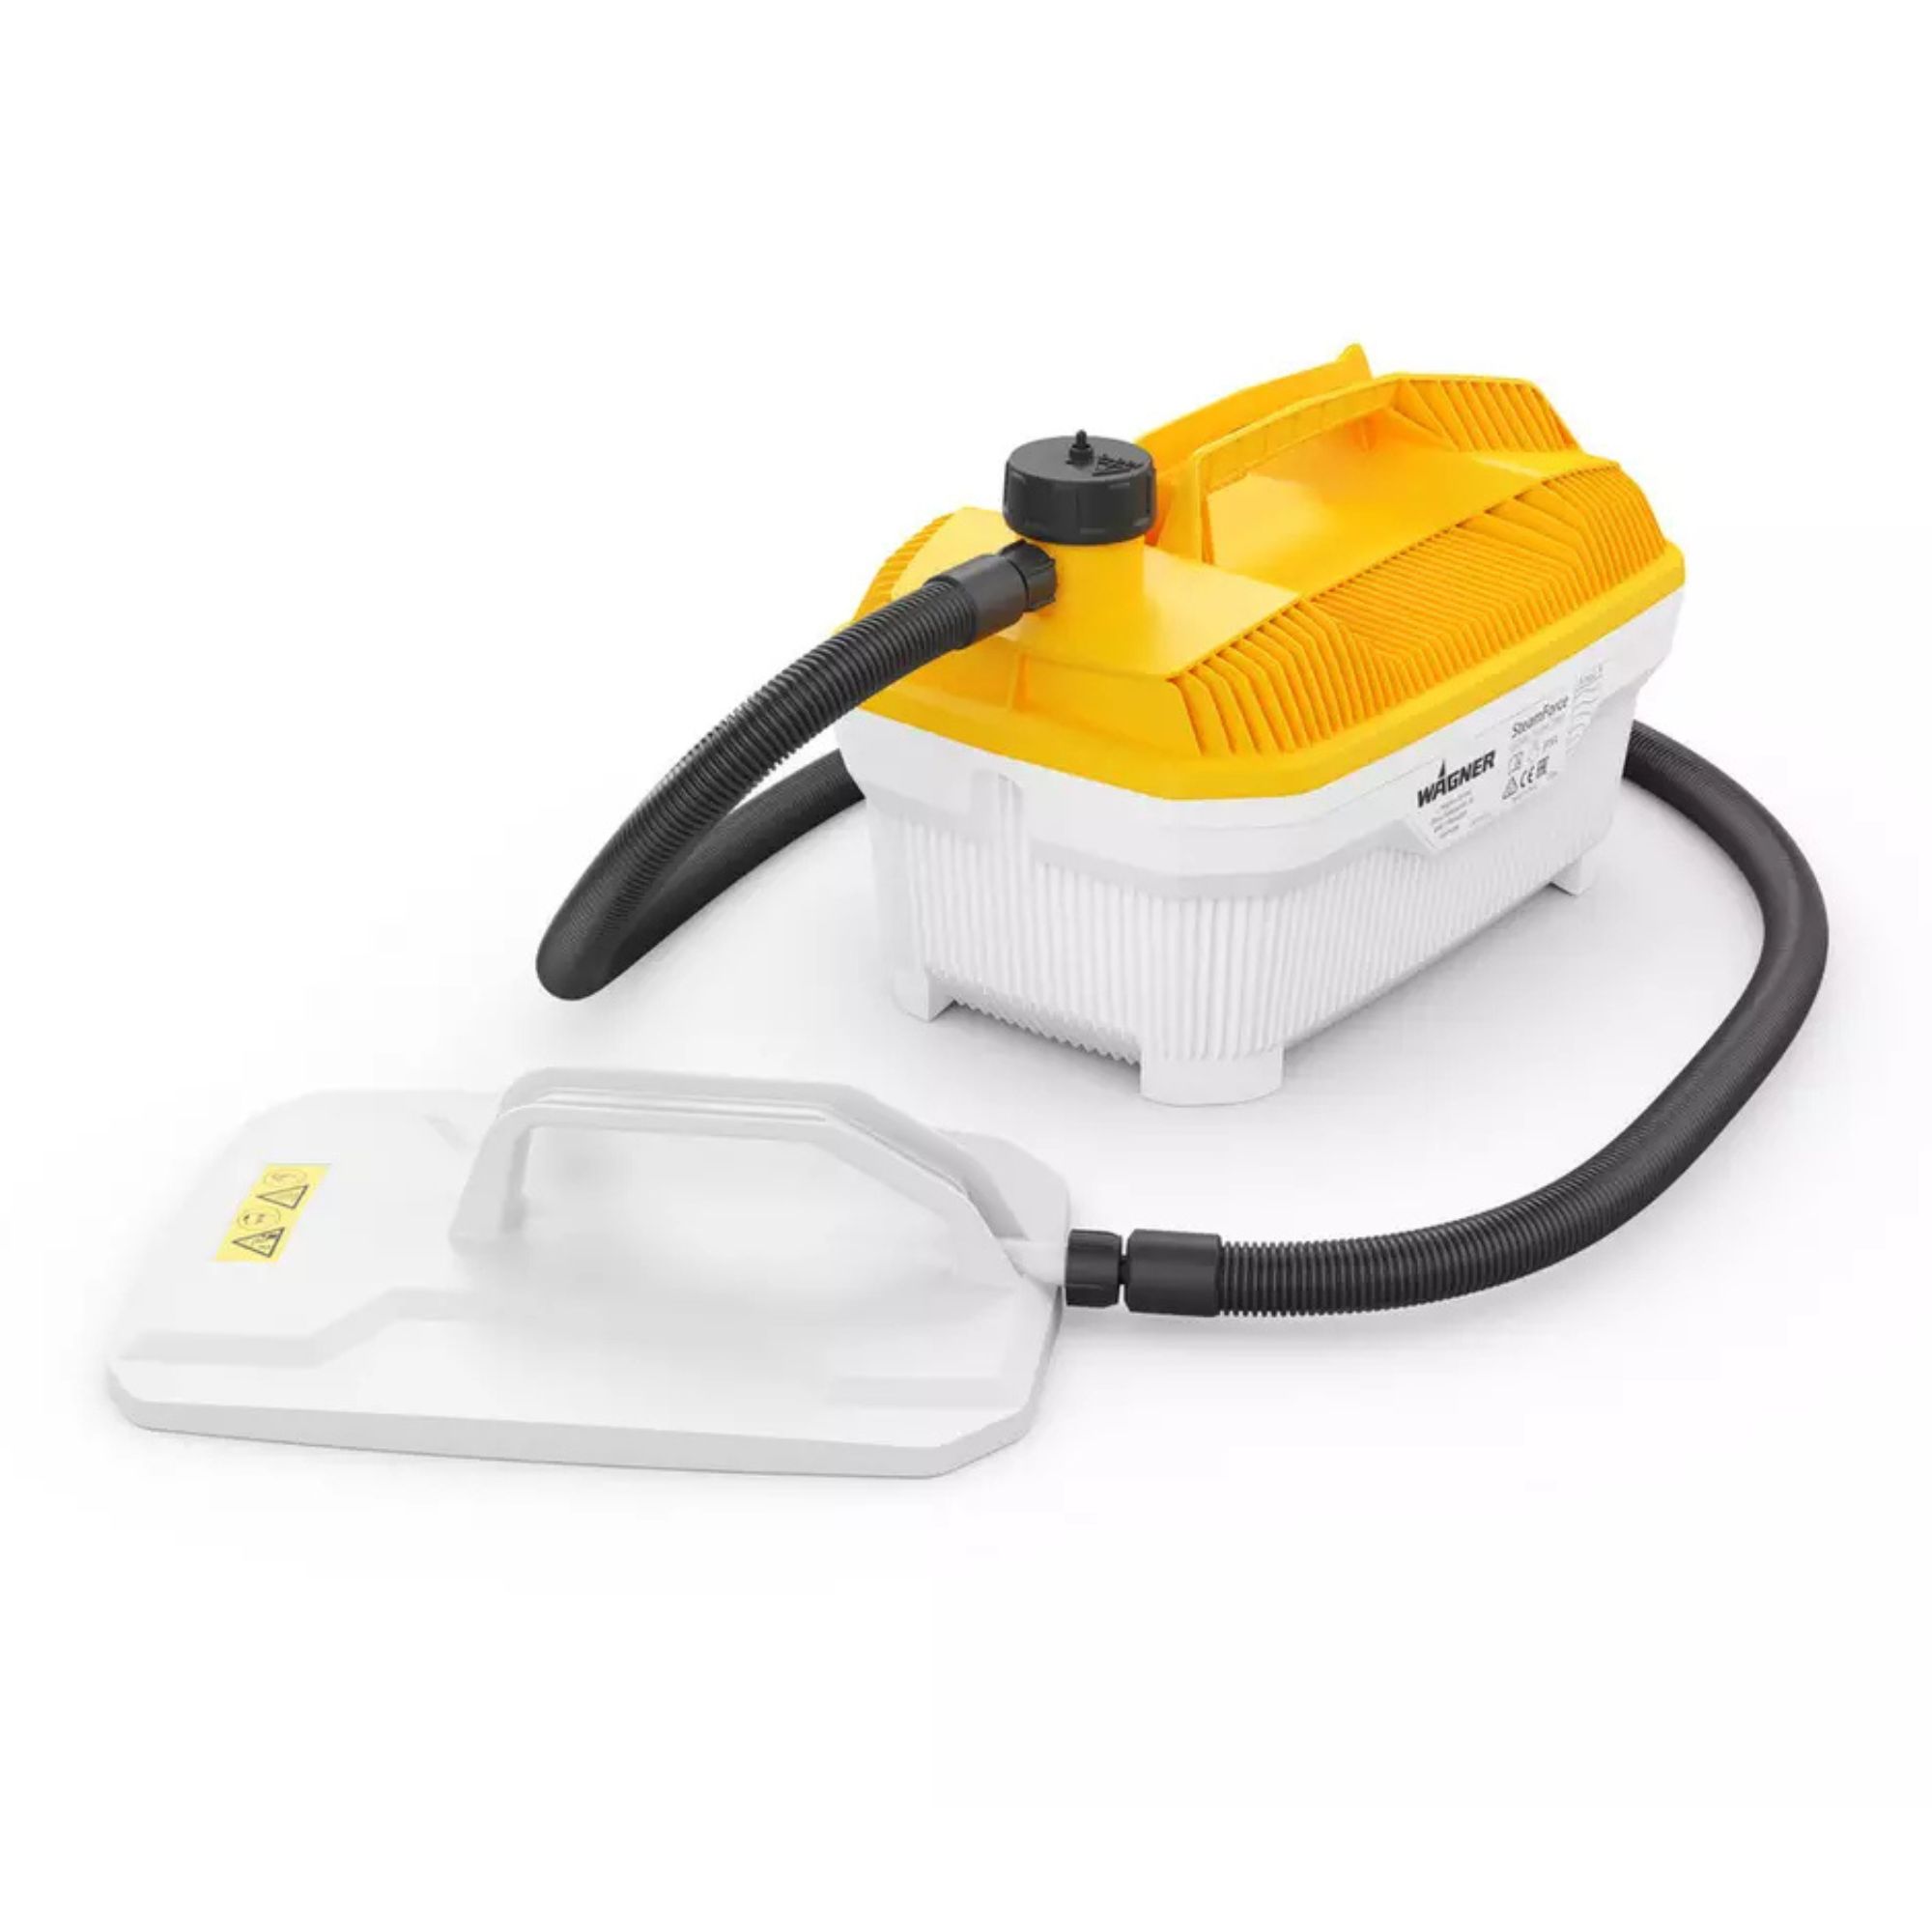
Alternatively, you could use a wallpaper steamer to remove wallpaper from your wall. This is a much quicker method, and while you do have the added cost of buying (or renting) the steamer itself, owning one can come in handy if you plan on using it time and time again.
Using steam to remove wallpaper is also extremely easy. Tim says, ‘Hold the steam plate at the bottom of a strip of wallpaper for roughly ten seconds so that the paper is damp. The steam should have penetrated enough to loosen the adhesive used on the wallpaper, but you may need to leave the steam plate against the wall for a little longer.’
He adds, ‘However, do not hold the steam plate against the wall for longer than a few seconds at a time to avoid damaging the plaster. If you begin to hear a popping noise, this suggests that the plaster is cracking and damaging the wall.’
For ease, it’s a good idea to work from the bottom to the top, as the steam will rise and ultimately make removing the top sections easier. However, you should always open the windows and keep doors open when using a steamer, as you don’t want to create any damp or condensation problems in your home.
5. Clean the walls
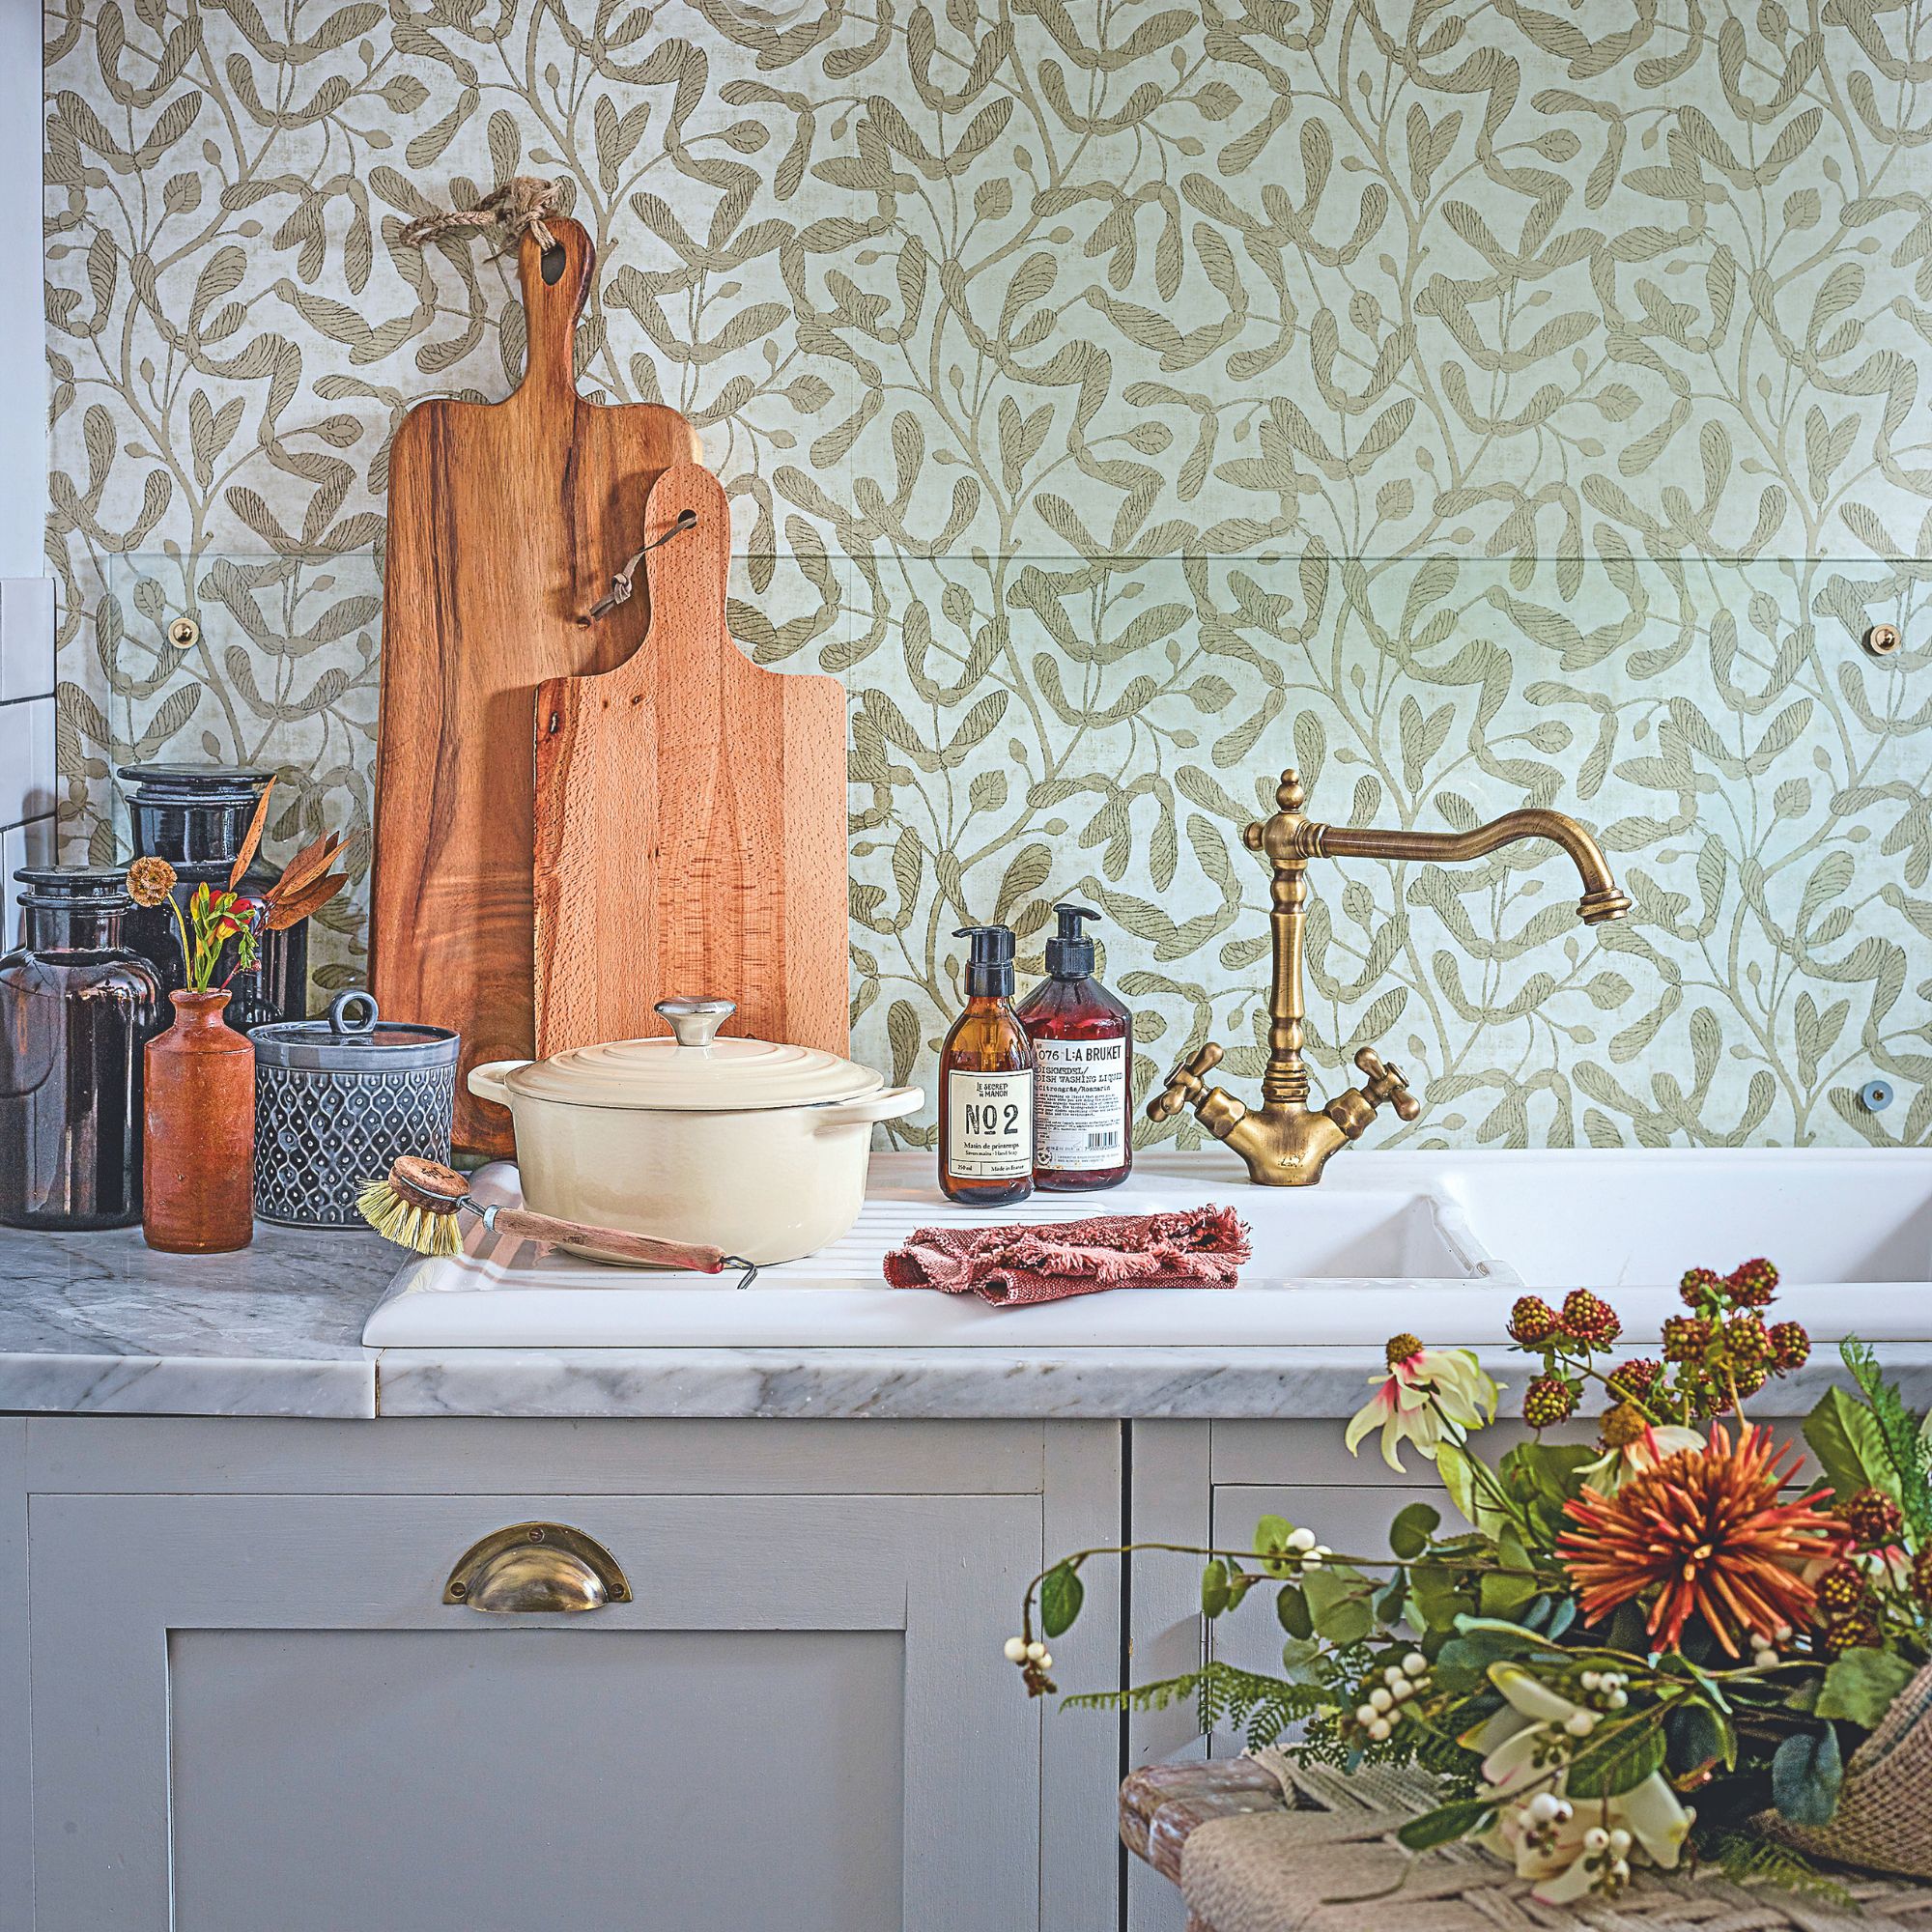
Once you’ve done the above, you can focus on cleaning your wallpaper-free walls.
Adam suggests a simple solution of warm, soapy water to do this. And you can apply this using a sponge or cloth. However, if you have any leftover sugar soap - like this Rustins Sugar Soap from Dunelm - in your garage, you could also use this to clean your walls after removing the wallpaper.
This concoction should break down any adhesive residue on your walls and leave you with a squeaky-clean finish. Then, you should leave your walls to fully dry before doing anything else to them.
FAQs
Does washing up liquid remove wallpaper?
Yes, it does! If you don’t want to use a chemical stripper or steamer or make a solution from vinegar, you can make your own washing-up liquid wallpaper remover.
Sarah McCann from Voyage Maison explains, ‘Start by filling a bucket with hot water and adding a few drops of dishwashing liquid. Using a sponge, apply the soapy water directly to the wallpaper and let it soak for twenty minutes before trying to peel the wallpaper away.’
She adds, ‘This method is effective and has minimal odour, but keep in mind that you may need to repeat the process a few times to completely remove the wallpaper, as it is a gentler approach.’
So, if you’re short on time and want to remove wallpaper as soon as possible, washing-up liquid might not be the option for you.
What not to do when removing wallpaper
There are many things you shouldn’t do when removing wallpaper. These include:
- Scoring the wallpaper too deeply before removing.
- Leaving the solution on for too long.
- Steaming for too long.
- Not removing all of the paper.
- Not removing the adhesive residue.
So, now you know how to remove wallpaper you should be able to tick this off your to-do list in no time!
Get the Ideal Home Newsletter
Sign up to our newsletter for style and decor inspiration, house makeovers, project advice and more.

Lauren Bradbury has been the Content Editor for the House Manual section since January 2025 but worked with the team as a freelancer for a year and a half before that. She graduated with a Bachelor’s degree in English and Creative Writing from the University of Chichester in 2016. Then, she dipped her toe into the world of content writing, primarily focusing on home content. After years of agency work, she decided to take the plunge and become a full-time freelancer for online publications, including Real Homes and Ideal Home, before taking on this permanent role. Now, she spends her days searching for the best decluttering and cleaning hacks and creating handy how-to guides for homeowners and renters alike, as well as testing vacuums as part of her role as the Ideal Home Certified Expert in Training on Vacuums, having spent over 110 hours testing different vacuum models to date!
-
 Should an air fryer be on display in a kitchen or hidden away? This is why I always keep my small appliances on the worktop
Are you on team display or neatly hidden away? Share your opinion in the comments
By Rebecca Knight
-
 Experts warn that these 5 mopping mistakes are making your floors dirtier — and damaging your floors in the process
This is how to keep them clean and avoid costly damage
By Lauren Bradbury
-
 Move over, fences – dead hedges are the wild and wonderful alternative your garden will love and they're easier to build than you'd think
The perfect eco-friendly solution for small gardens
By Kayleigh Dray
-
 Aldi is releasing a budget alternative to the cult Joseph Joseph washing up bowl – it’s just £4.99
The Joseph Joseph washing up bowl is an Ideal Home favourite - now we can't wait to try Aldi's alternative
By Kezia Reynolds
-
 I just bought my first home, and this £10 buy was the very first thing I bought for it to make it feel warmer and secure
If I did it all again, this would still be my very first buy
By Rebecca Knight
-
 It’s normally impossible to find a Dyson vacuum for under £250 — but QVC has slashed the price of their bestselling models for a limited time
Run don’t walk to pick up the brand’s bestselling model for under £230 before it sells out
By Lauren Bradbury
-
 Catherine Zeta-Jones has revealed the cleaning product she swears by to keep her home fresh - and it’s just £8 on Amazon
'I use it on my counters. I use it on my walls. I use it on my doors. When I smell it, I know my house is clean.'
By Kezia Reynolds
-
 I tested the 12L Challenge dehumidifier in my damp Victorian home over winter — I haven’t spotted any signs of mould for the first time in five years
The Challenge 12L dehumidifier doesn’t have too many bells and whistles, but I can already see the difference it’s made to my damp home
By Lauren Bradbury
-
 What is boiler flow temperature? Heating experts urge you to check yours now as you could be overpaying on your energy bills
Turning this little-known number down just a few degrees can result in some serious savings
By Lauren Bradbury
-
 Stacey Solomon has shared 5 nifty wardrobe storage hacks to make getting ready in the morning easier — and they're genius
These five wardrobe storage hacks are a gamechanger
By Katie Sims
-
 Cult cleaning brand Scrub Daddy has just launched a brand new butterfly mop — could it be the ultimate solution for banishing stubborn marks on your floor?
We're obsessed with all things Scrub Daddy
By Kezia Reynolds
