How to wrap kitchen cabinets - the easy inexpensive way to transform drawers and doors in under 24 hours
Learn how to wrap kitchen cabinets for a cost-friendly colour change to make the hub of your home look brand new
EDITOR’S NOTE: An earlier version of this article included a quote from a purported expert whose credentials we have not been able to verify. The quote has been removed. We regret this lapse in our verification process and have updated our internal protocols to reduce the risk of recurrence.
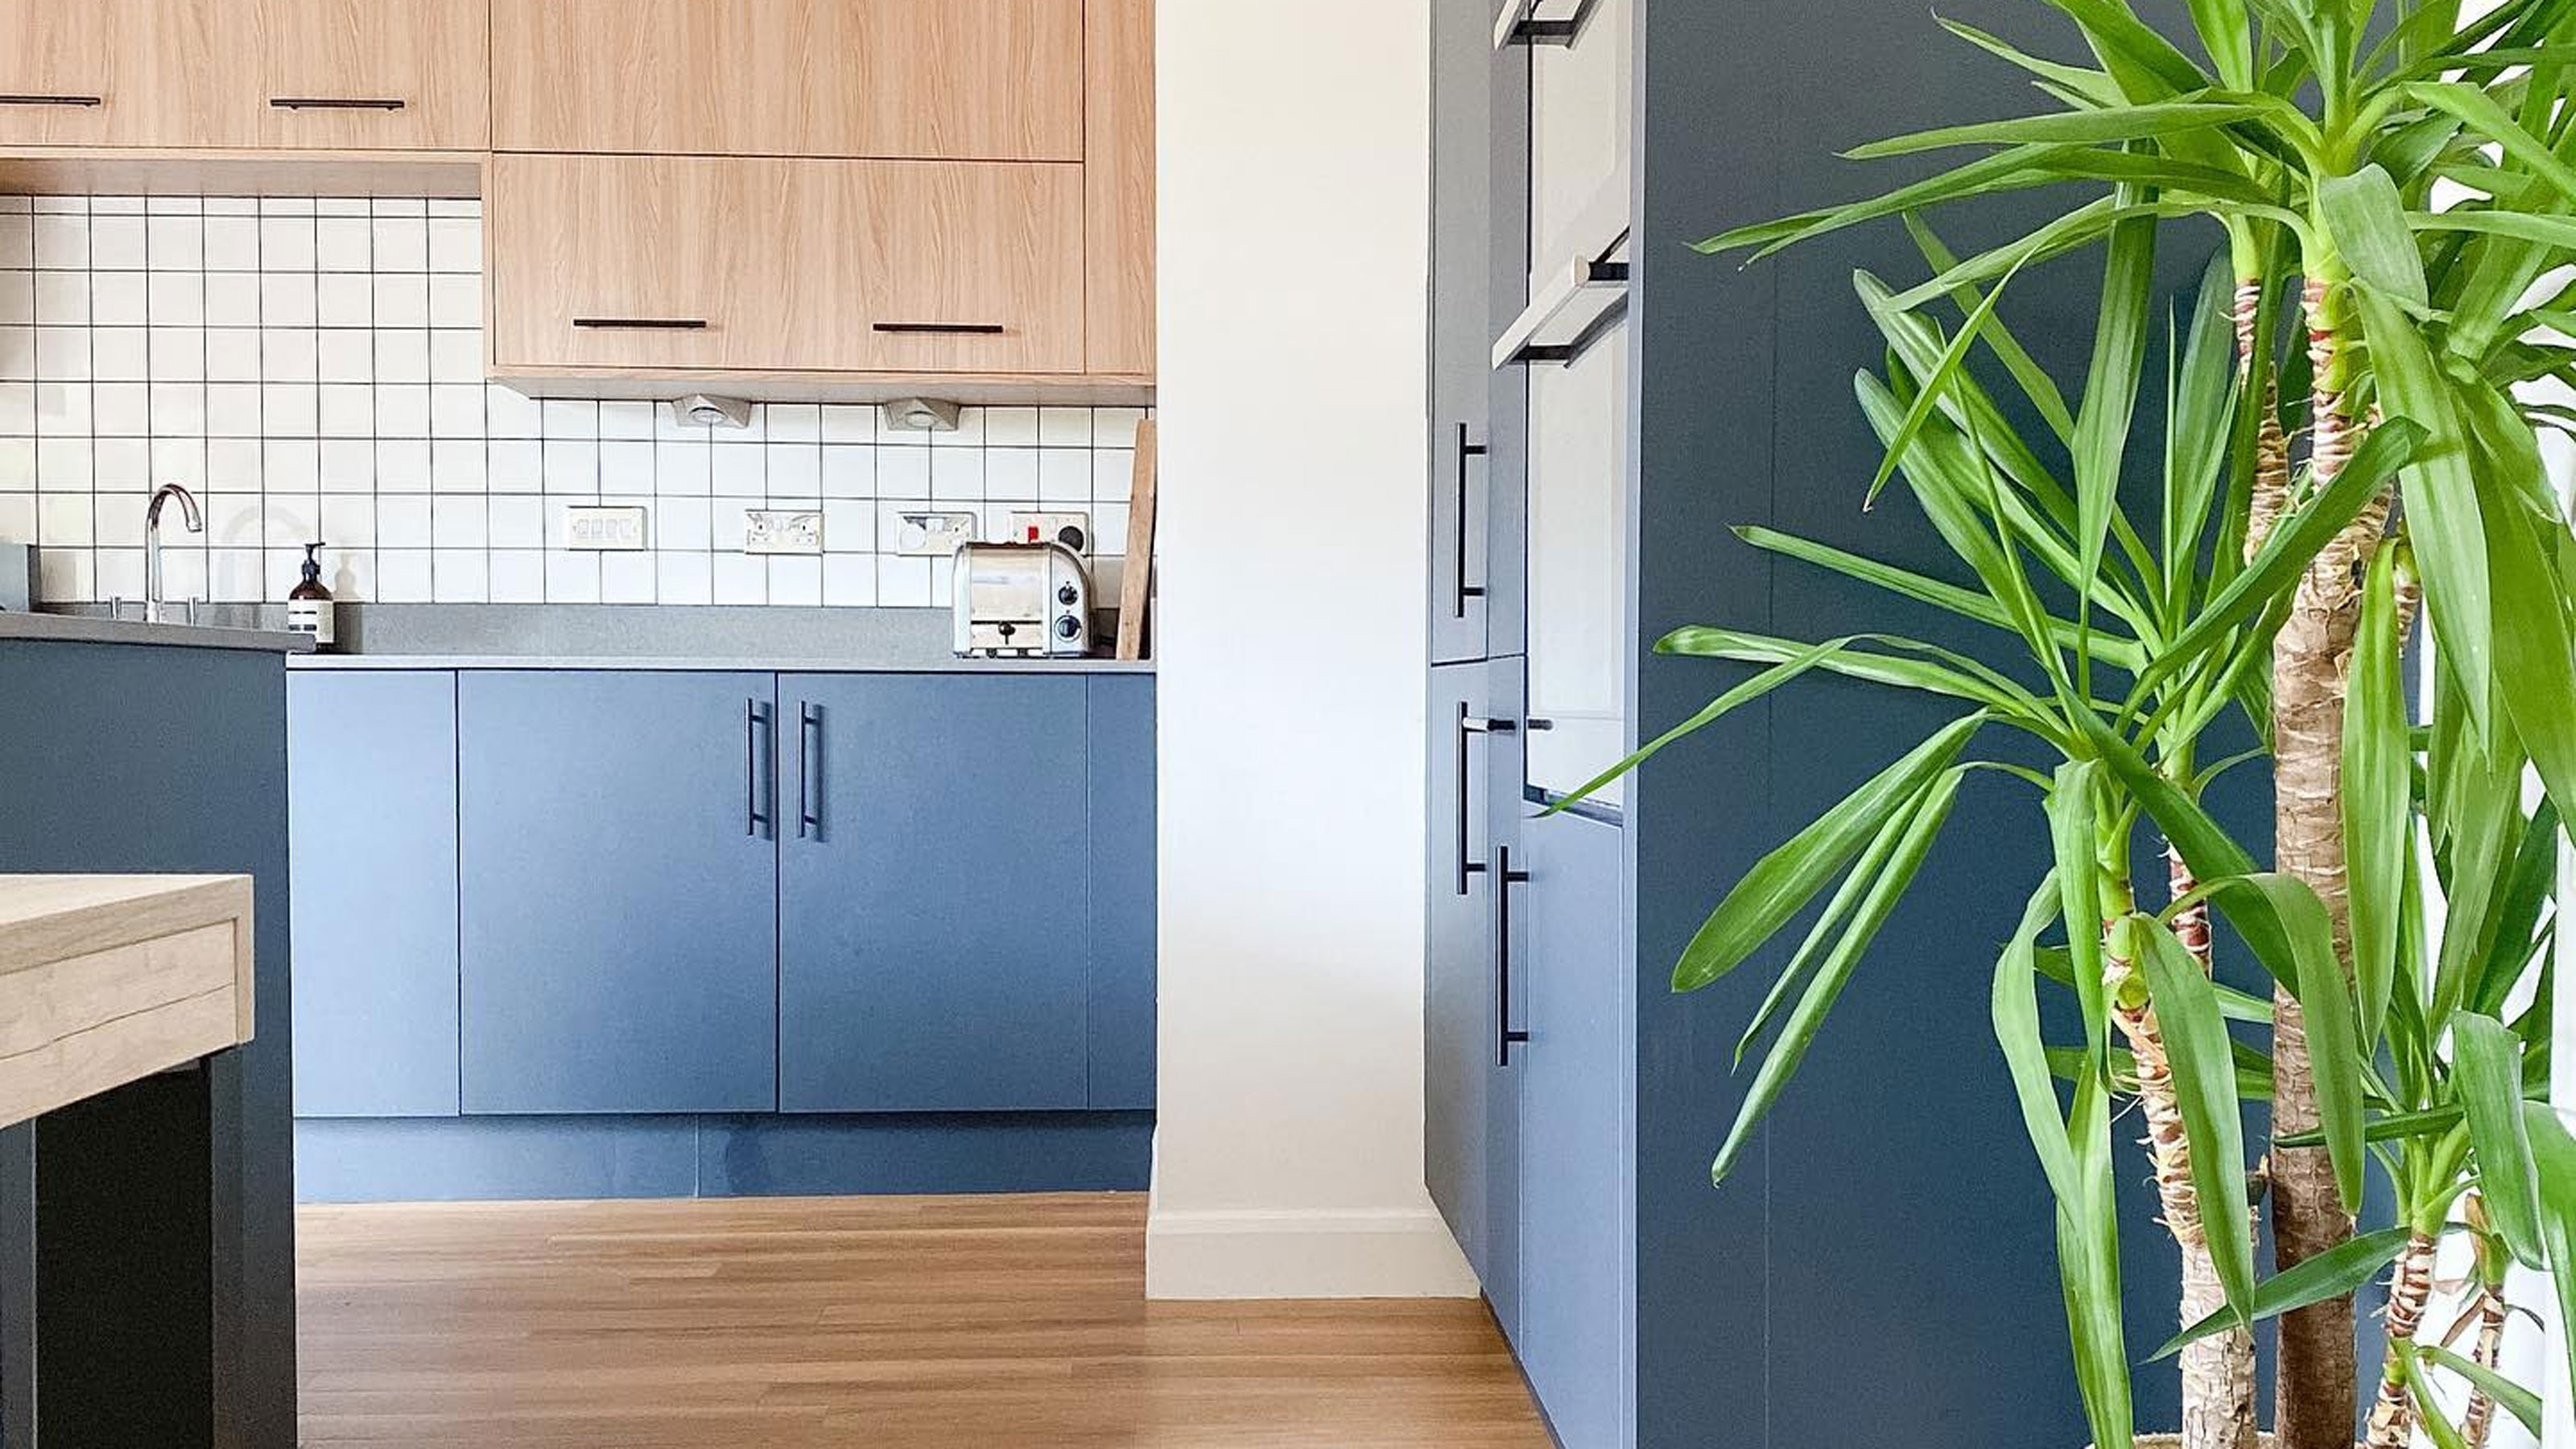
Are you constantly scrolling through images of kitchen 'before and after' ideas with envy as kitchens seem to effortlessly transform from bland to beautiful in what the post boasts in just a weekend and for next to nothing?
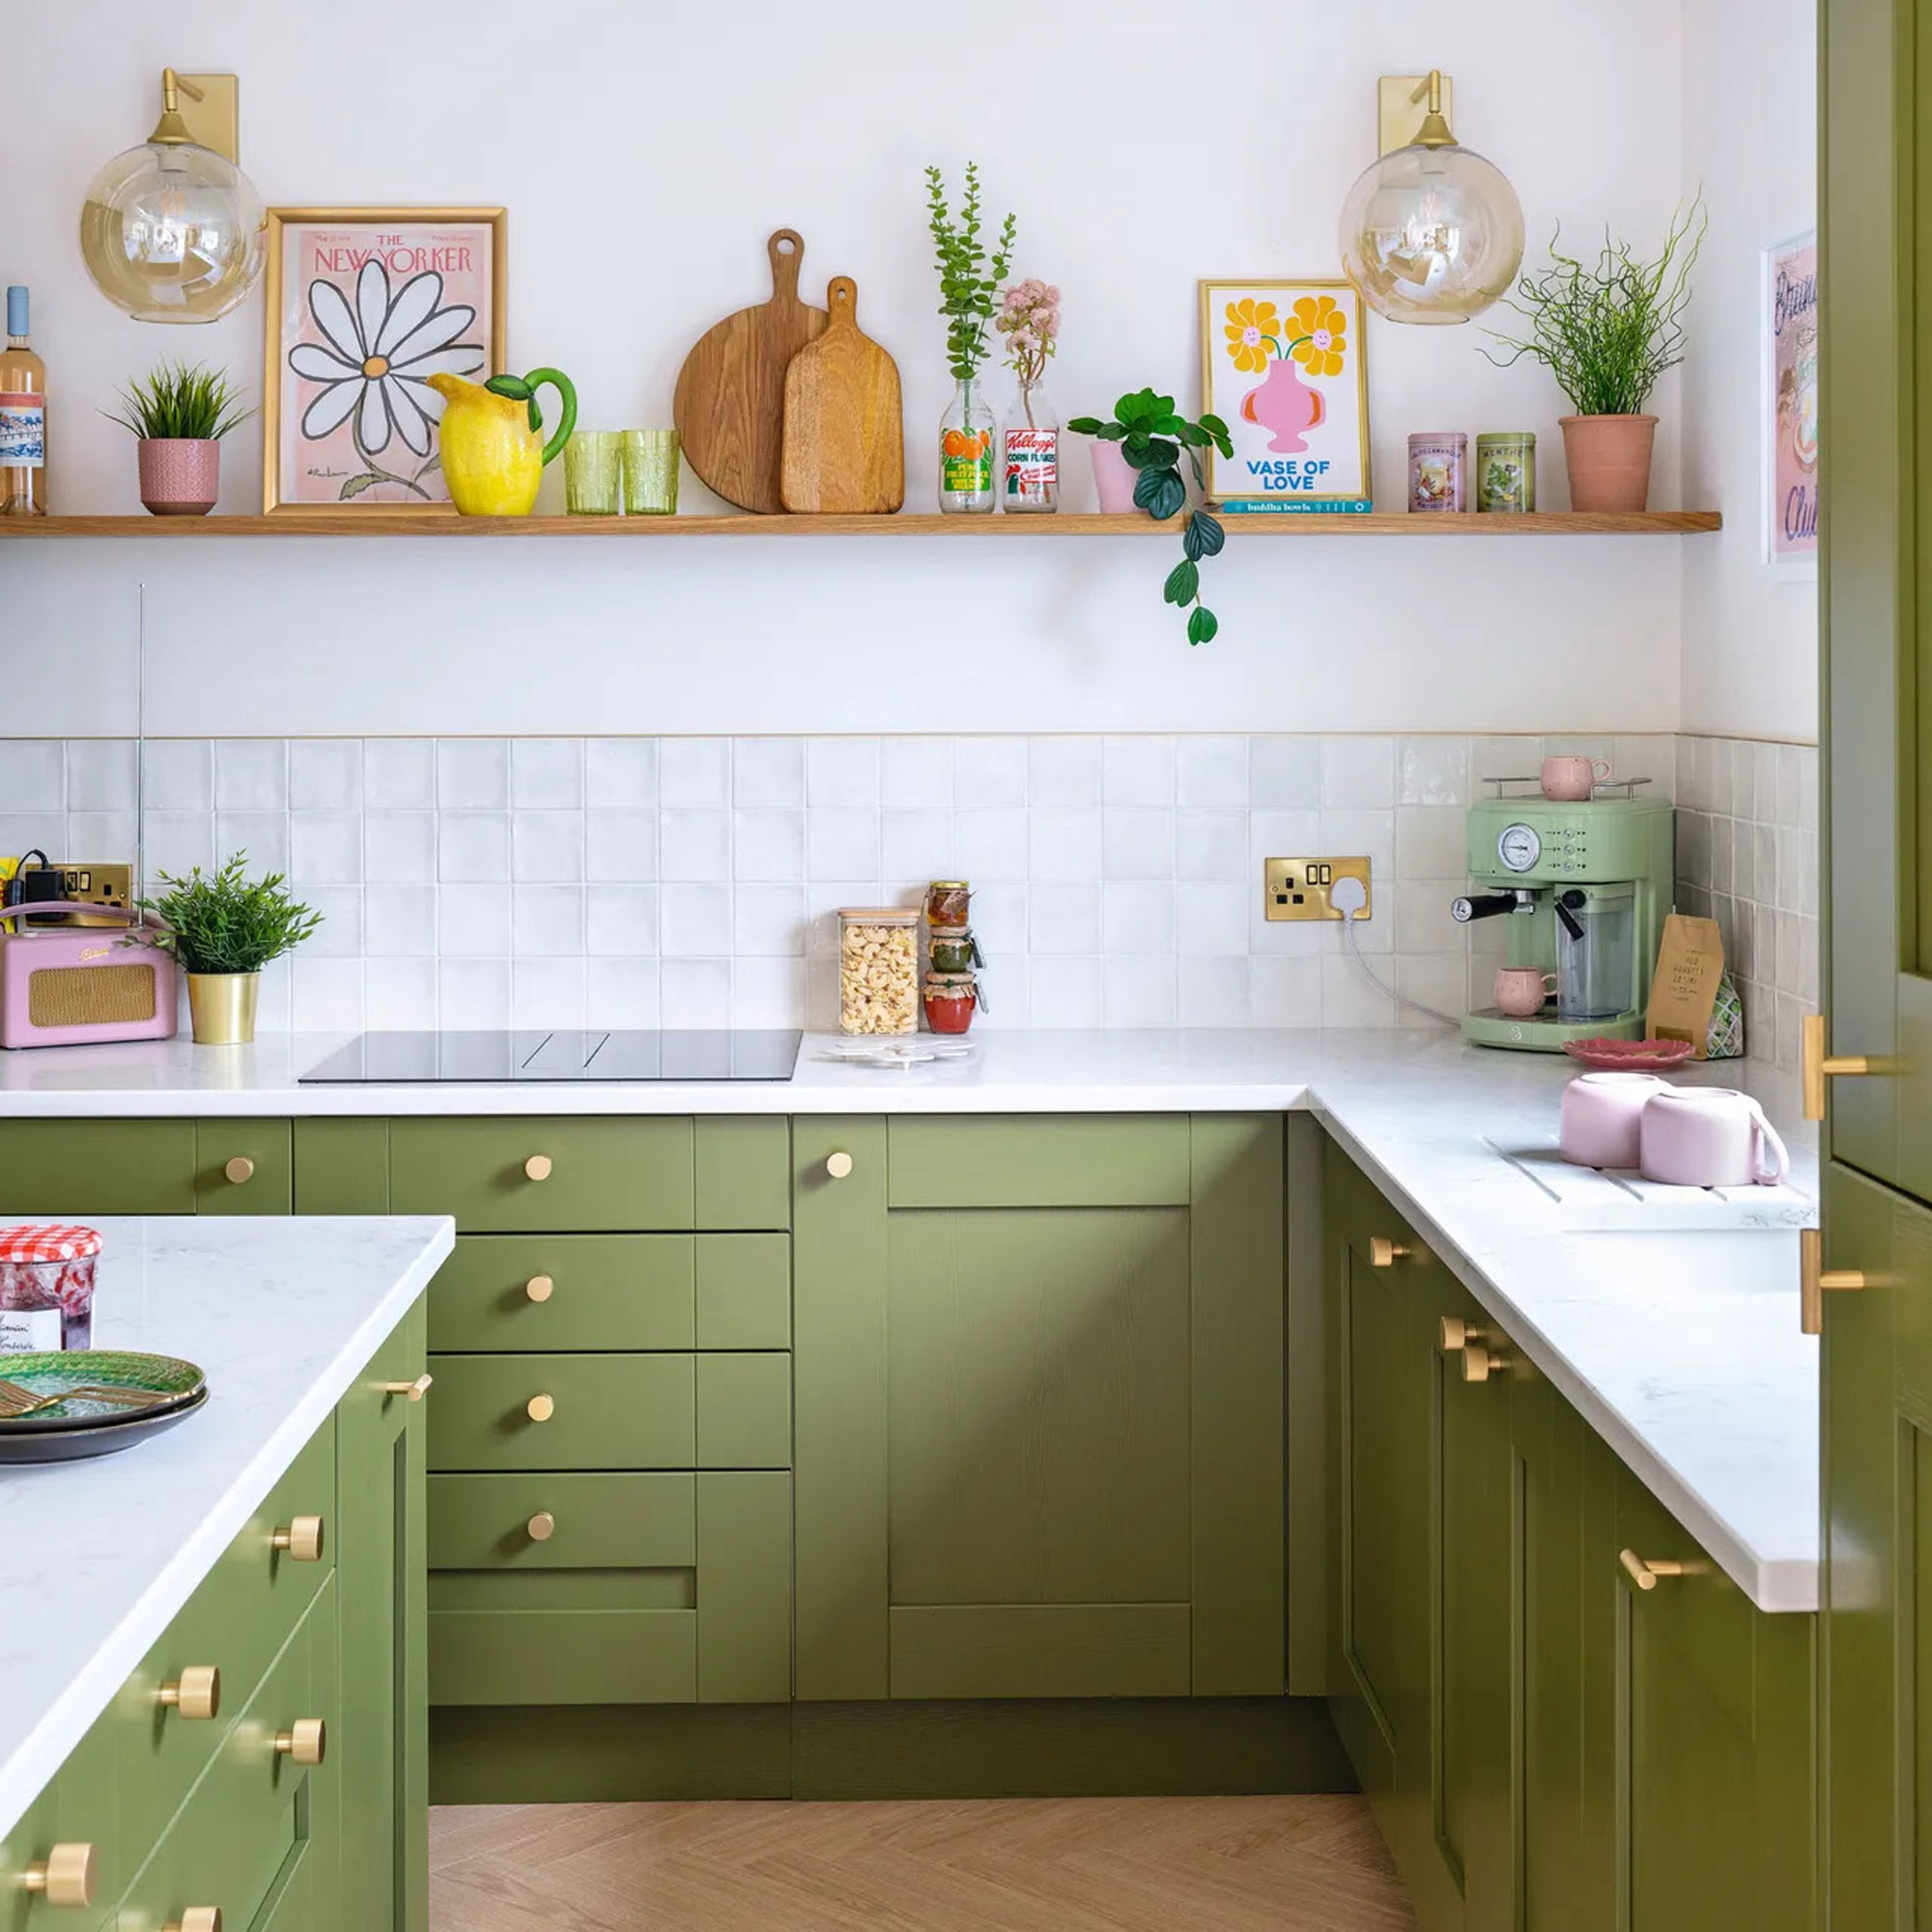
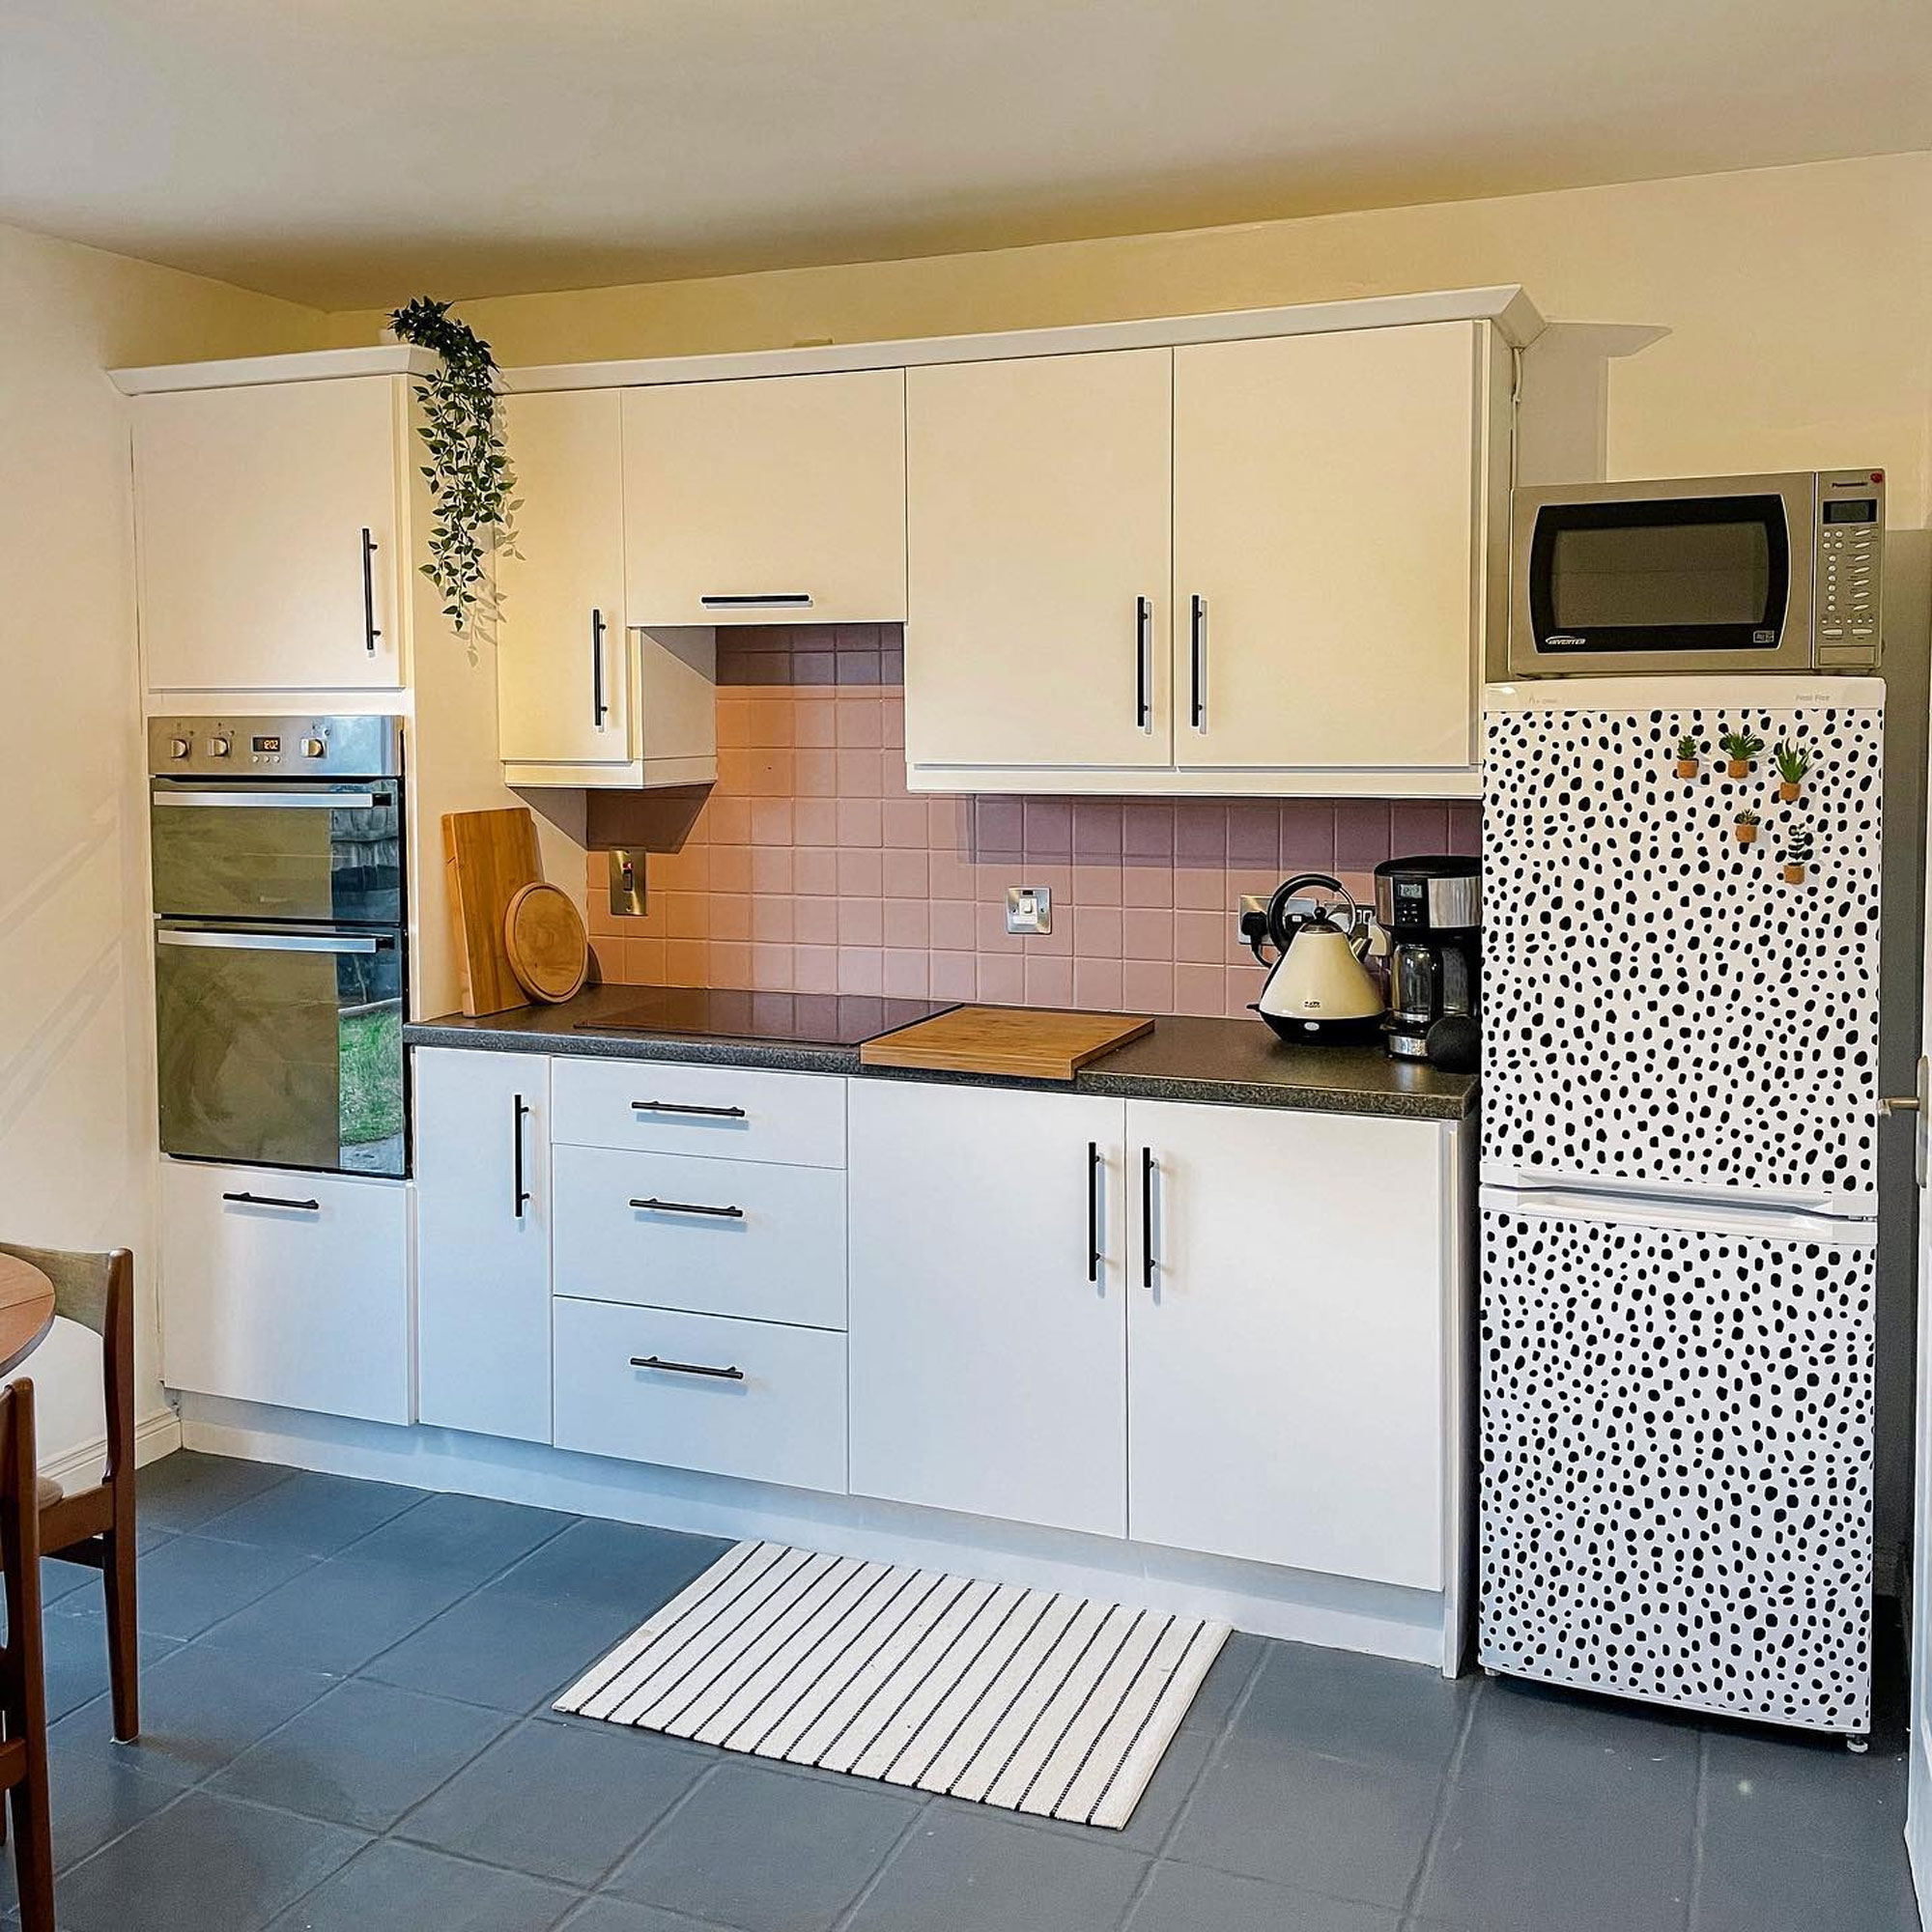
Well, there is a good chance that the proud owner has upcycled their kitchen with paint or has learned another trending cabinetry hack: how to vinyl wrap kitchen cabinets. And now you can too, it's easier than it looks.
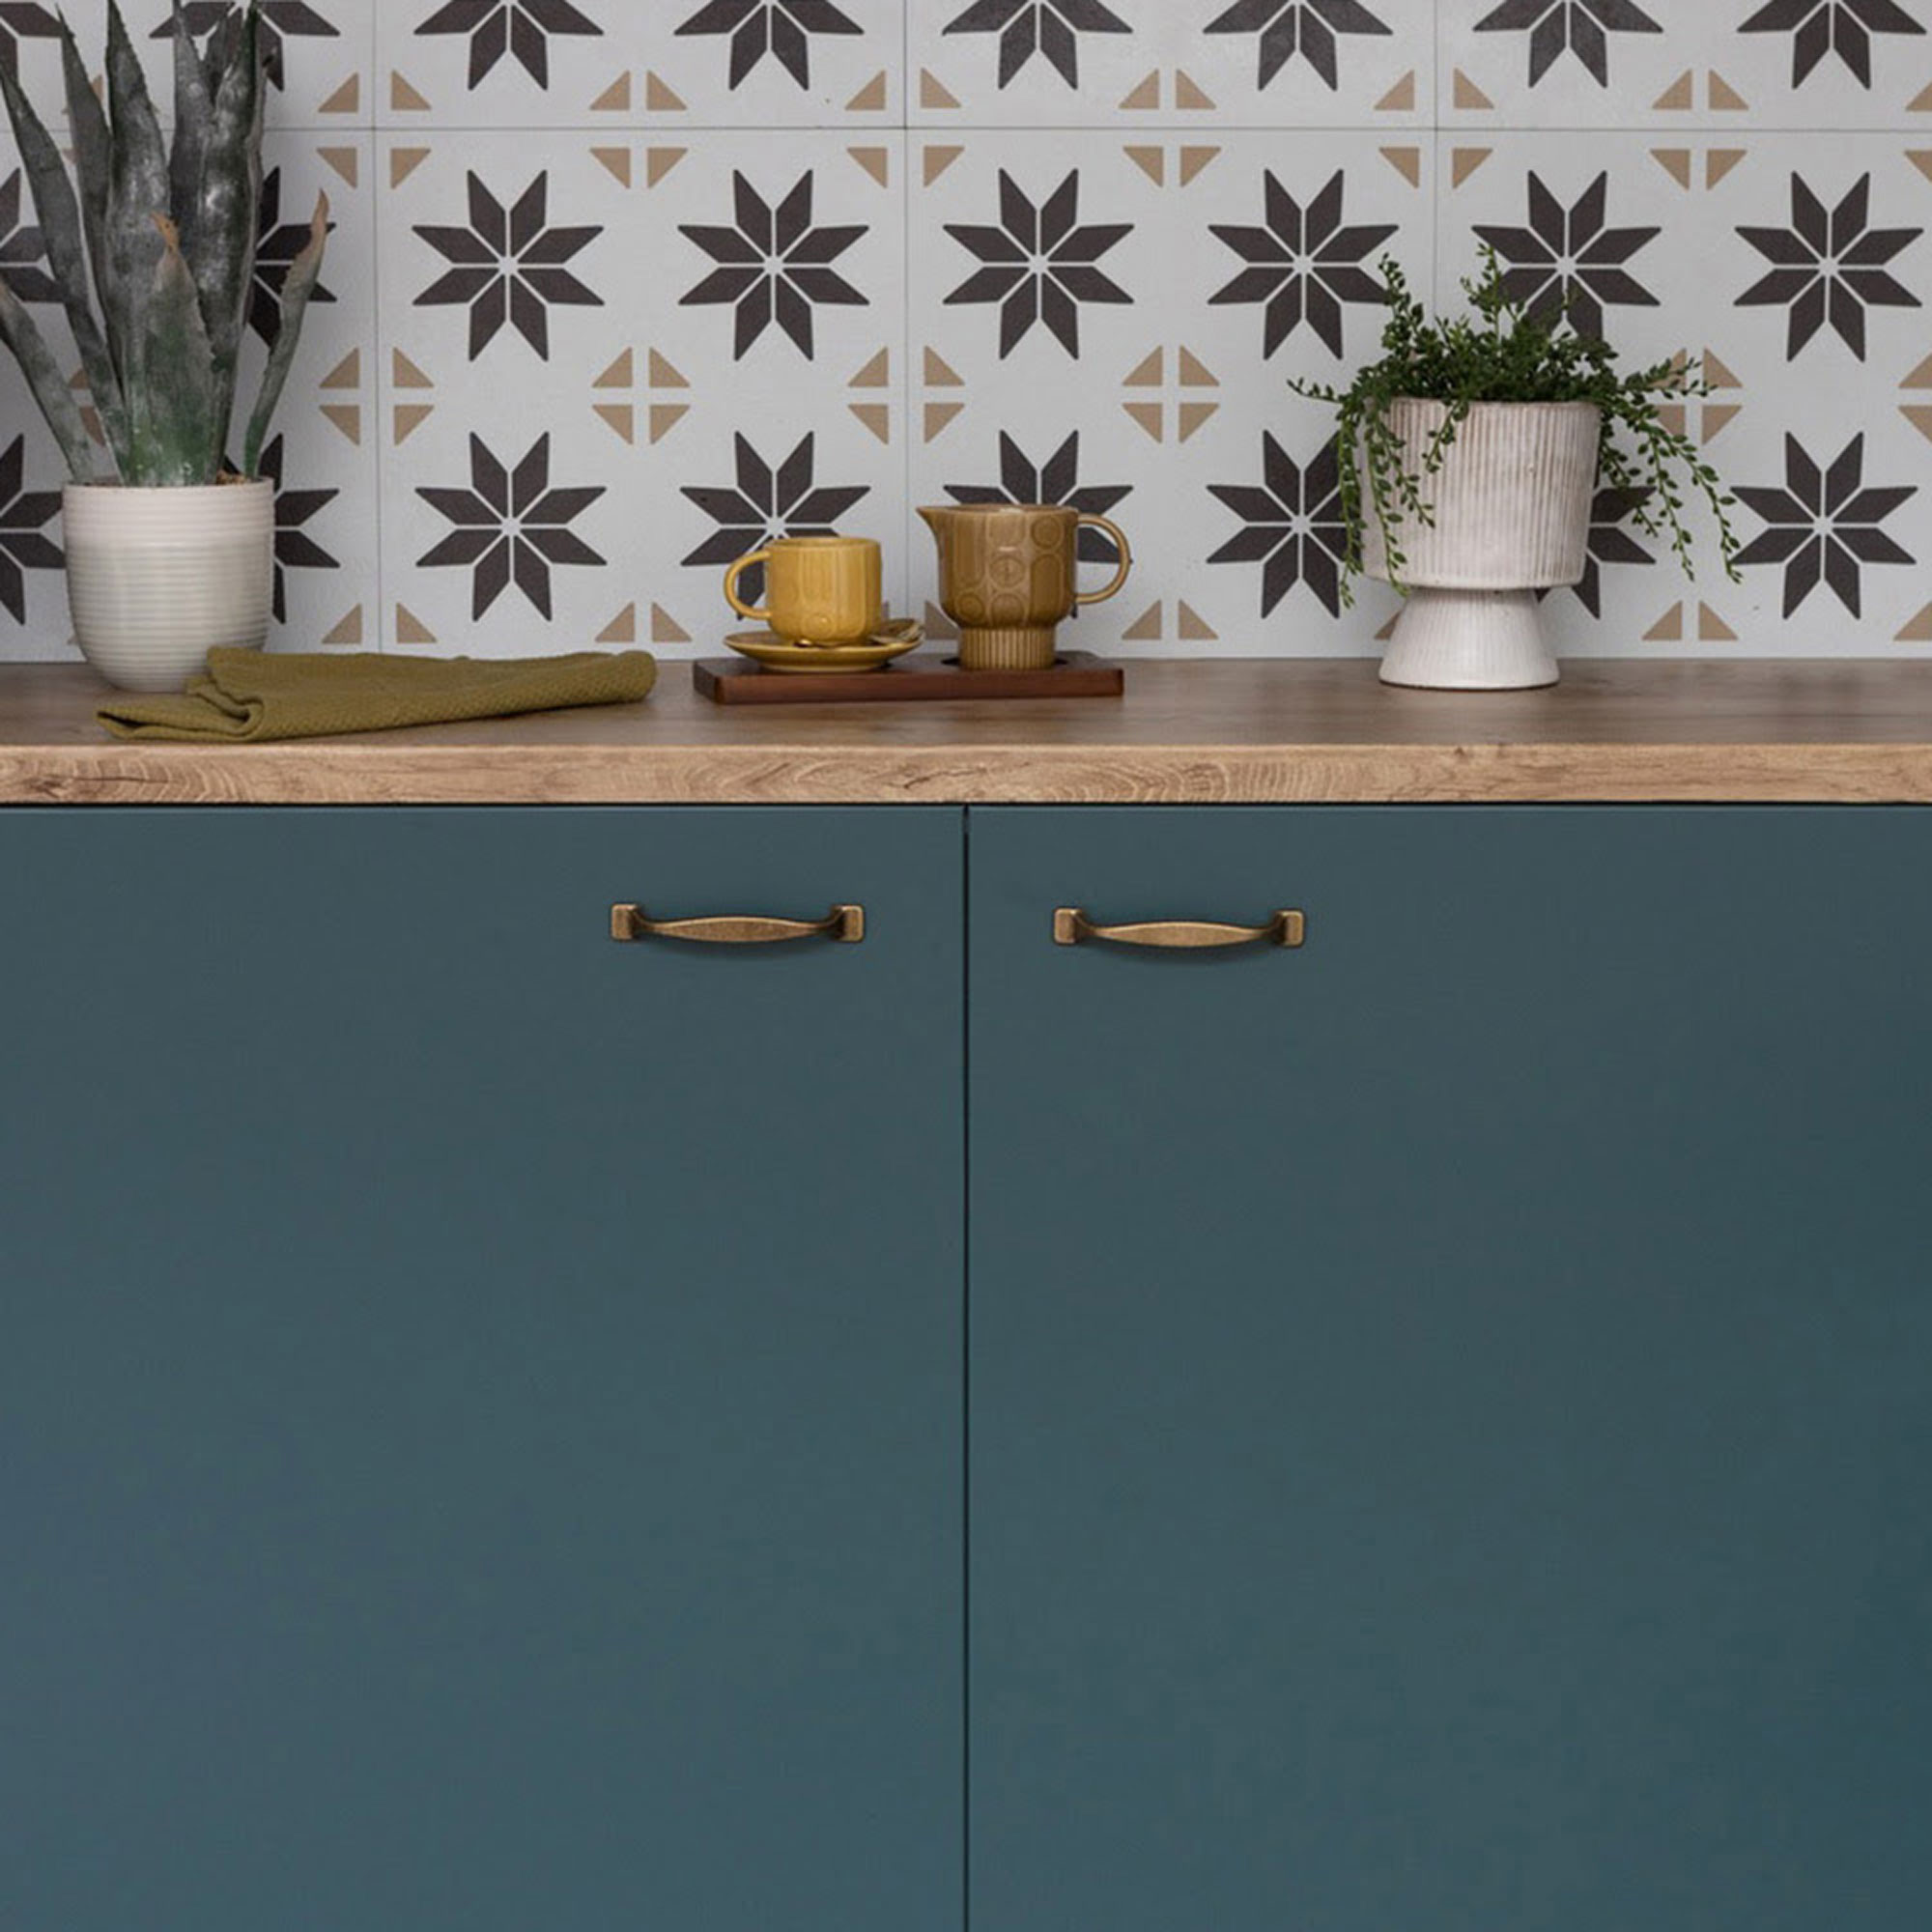
Put simply, this clever kitchen cabinet idea means applying sheets of sticky back plastic to existing kitchen cabinets. The material used is best described as a sheet of good-quality adhesive PVC and is available in many colours, textures and patterns. The material binds to existing cabinets using heat and specialised tools.
'Vinyl wrapping your kitchen is a fantastic cost-effective alternative to replacing your cabinets outright, essentially giving them a fresh and modern refurb,' says Jamie Robinson, Installation Manager at Value Doors.
How to vinyl wrap kitchen cabinets

There are lots of budget kitchen ideas that refresh cupboard fronts from hardware swap-outs to shaker-style framing. But, this kitchen update will completely revolutionise the colour and design of your kitchen in a long-lasting yet non-permanent technique.
'You can vinyl wrap a kitchen, as it is a cheaper way of redecorating your home if you cannot afford a full refurbishment or replacement. The wrap is usually a self-adhesive vinyl sheet designed to look like other materials, such as marble, granite or wood. However, it is a fraction of the price of these materials and can normally be installed in a day or less,' says Tim Warren, a DIY expert from Adkwik.
So if your question is, can you vinyl wrap a kitchen? The answer is a resounding yes, and here's how to wrap kitchen cupboards in vinyl from start to finish.
Sign up to our newsletter for style inspiration, real homes, project and garden advice and shopping know-how
What you'll need
- Degreasing detergent
- Screwdriver or drill
- Squeegee or smoothing tool - you can pick up a set for £6 on Amazon
- Sharp scalpel and scissors
- Pencil or marker
- Leaning board
- Clean Microfibre cloth
- Vinyl Wrap - we've found the VaryPaper vinyl on Amazon easy to work with
- Hairdryer
How to wrap kitchen cabinets step-by-step
1. Remove cabinets
Start by removing the kitchen cupboard door fronts with a screwdriver and any hardware such as handles.
Be sure to organise and label the screws to make the re-installation job super easy.
2. Deep clean kitchen doors
To ensure the vinyl wrap has the best possible bond to the cupboard fronts the surfaces need to be degreased, clean and dry. If the surface feels bumpy, sand it smooth with sandpaper.
Then, use a good quality cleaning agent such as sugar soap and cloth and allow them to dry thoroughly.
3. Measure and cut the vinyl
Working one door at a time, measure the surface you want to cover. This will tell you how much vinyl you will need. Or, on protective board lay the cabinet on top of the vinyl and cut around the cabinet.
Leave a few centimetres on each side to fold over and cover the cupboard edges. Some brands of vinyl have guidelines to help you cut straight.
4. Peel and stick the vinyl onto the cupboard
Once you’ve cut the vinyl to size, put the film facing down on your smooth surface leaving excess overhanging the sides to wrap or trim to perfection. To apply, peel off the backing by about 10 ten centimetres and using your squeegee or smoothing tool stick the film to the surface.
Continue about ten centimetres at a time to achieve a smooth finish until the entire kitchen cupboard front is covered. If you make a mistake gently lift and reapply.
5. Smooth any bubbles
Don't wrap any edges until the cupboard door is perfectly smooth. If the new surface shows any bubbles there are a couple of options to resolve the problem. Gently lift the sticky back plastic and rep-apply as above.
Or, smooth out any bubbles using the squeegee or smoothing tool and push them out to the edge of the surface. For stubborn bubbles, it's possible to use a pin to prick a tiny hole in the bubble to release the air. Then smooth over.
6. Wrap edges and corners
When wrapping edges and corners use a hairdryer on a low setting to soften the material making it more flexible to be gently pulled over the edging. Pull over as tightly as possible without tearing and smooth over. Alternatively, cut the vinyl level with the edge of the door front using a scalpel.
To wrap corners cut the overhang diagonally to each corner. Wrap the vinyl over each right-angled edge by over-lapping. Trim off any access.
7. Allow to bond and re-attach
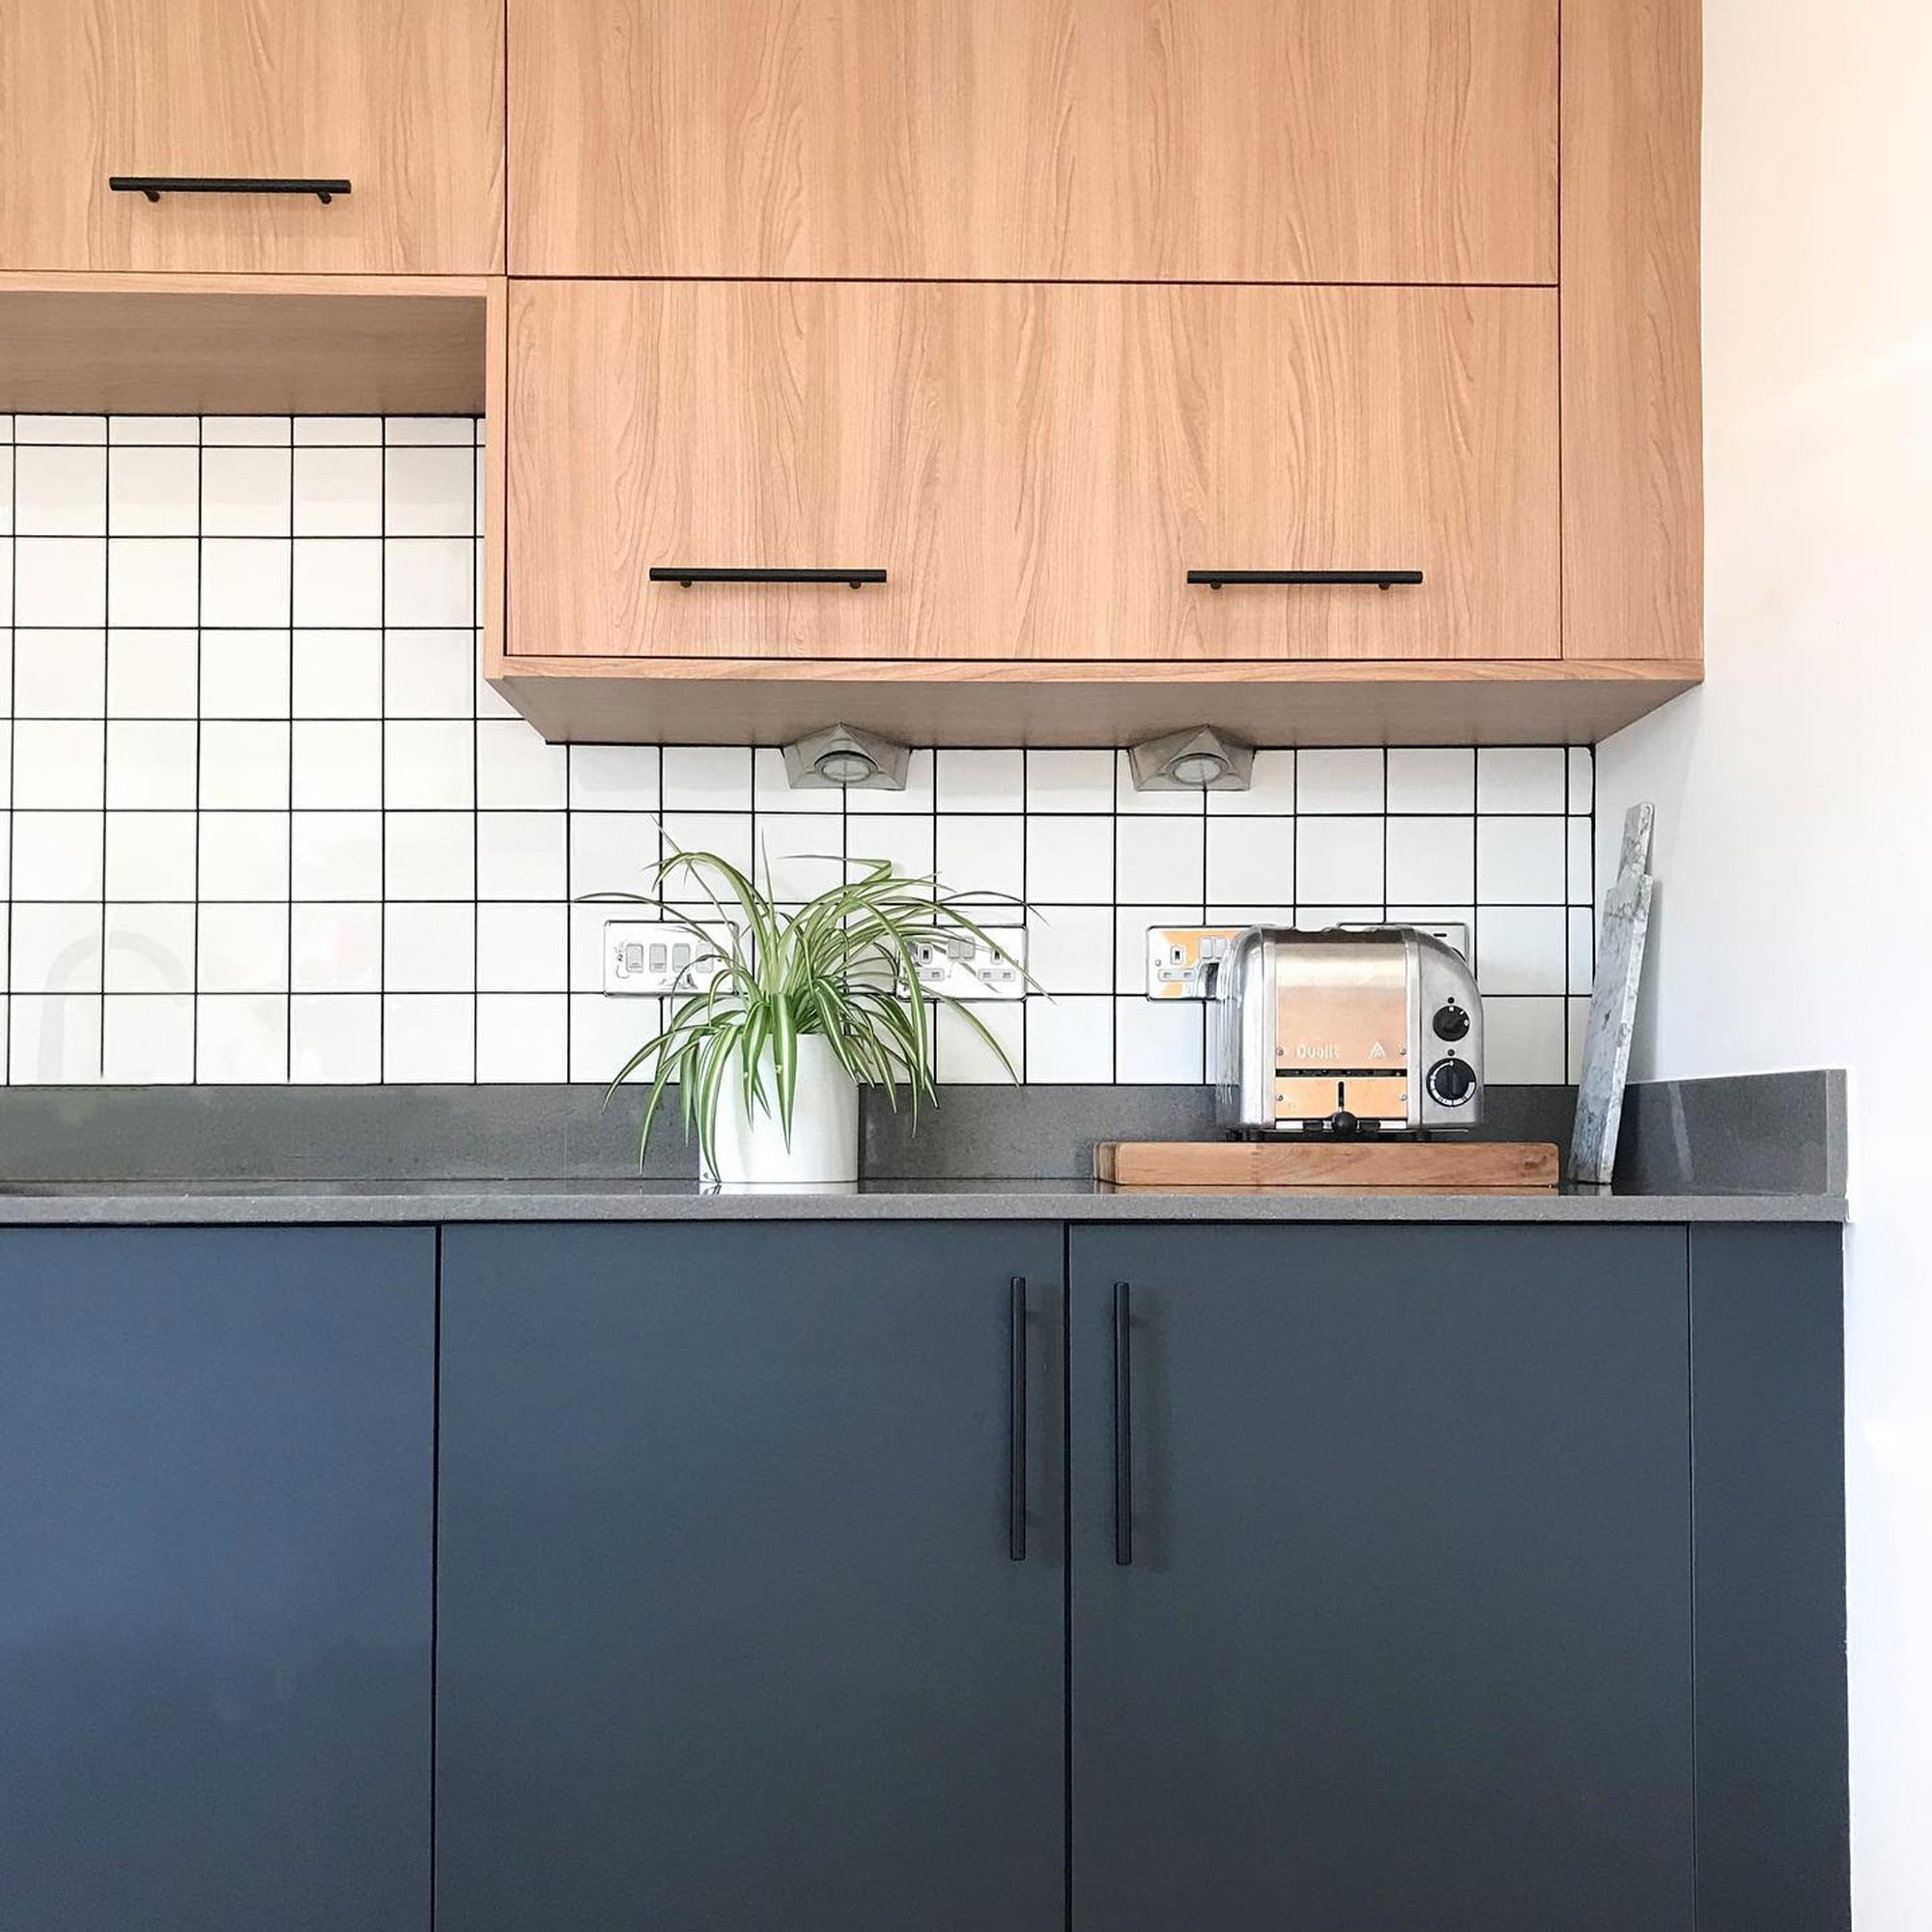
Leave the sticky back plastic to fully bond to the surface for 24 hours before fitting hardware to your newly vinyl-wrapped kitchen door and attaching it back to cupboard carcasses.
If you are wondering how long vinyl wrap lasts in the kitchen? You won't need to replace the surfaces for at least two to three years. Unless of course, you fancy a change? If that is the case vinyl wrap can be removed as easily as it was applied. If the adhesive is a bit stubborn use a hairdryer on a low setting to gently heat and soften the bond.
DIY enthusiast Tori, who owns @va_va_room says: 'A year on and the sticky vinyl is doing well... I’d totally recommend it if you want to quickly cover acceptable cupboards! You can do worksurfaces too and it’s removable if you change your mind!'
FAQ
How much does it cost to wrap a kitchen in the UK?
According to checkatrade.com contracting a professional to vinyl wrap a kitchen can cost £180 – £250 for a single door. Labour on top will cost between £150 – £200 for the day. This means that, on average, a full kitchen wrapping project can range from £2,000 – £4,000.
DIY enthusiast Eleanor Bromley's kitchen was given a chic new look for just £70 using a genius vinyl wrap hack. So, vinyl wrapping a kitchen yourself is a DIY job that could save you thousands of pounds.
Can you vinyl wrap kitchen cupboards with grooves?
Looking to update your shake-style kitchen? Then, it's good news as it is possible to vinyl wrap kitchen cupboards with grooves.
Adopt the same method as with raised edges on cupboard fronts as you would kitchen door edges. Once pulled over the double-level surface, gently prick a series of holes along the groove to release the air before you smooth into the corner. A hairdryer will simplify the process.
'You can vinyl wrap cupboards that have grooves, and the best way to ensure that the wrap adheres properly to these particular areas is by using a hairdryer to melt the adhesive as you smooth over the material,' agrees Tim from Adkwik.
The best part about wrapping your kitchens is it's brilliant for renters as it's completely removable. Not to mention the advantage over painting your kitchen is you won't need to wait for the doors to cure. Are you tempted to try it out for yourself?
Rachel Homer has been in the interiors publishing industry for over 15 years. Starting as a Style Assistant on Inspirations Magazine, she has since worked for some of the UK’s leading interiors magazines and websites. After starting a family, she moved from being a content editor at Idealhome.co.uk to be a digital freelancer and hasn’t looked back.