Painting kitchen worktops – how to give your kitchen an affordable new look with a tin of paint
The experts share everything you need to know about painting kitchen worktops to help you decide if it's the right choice for you
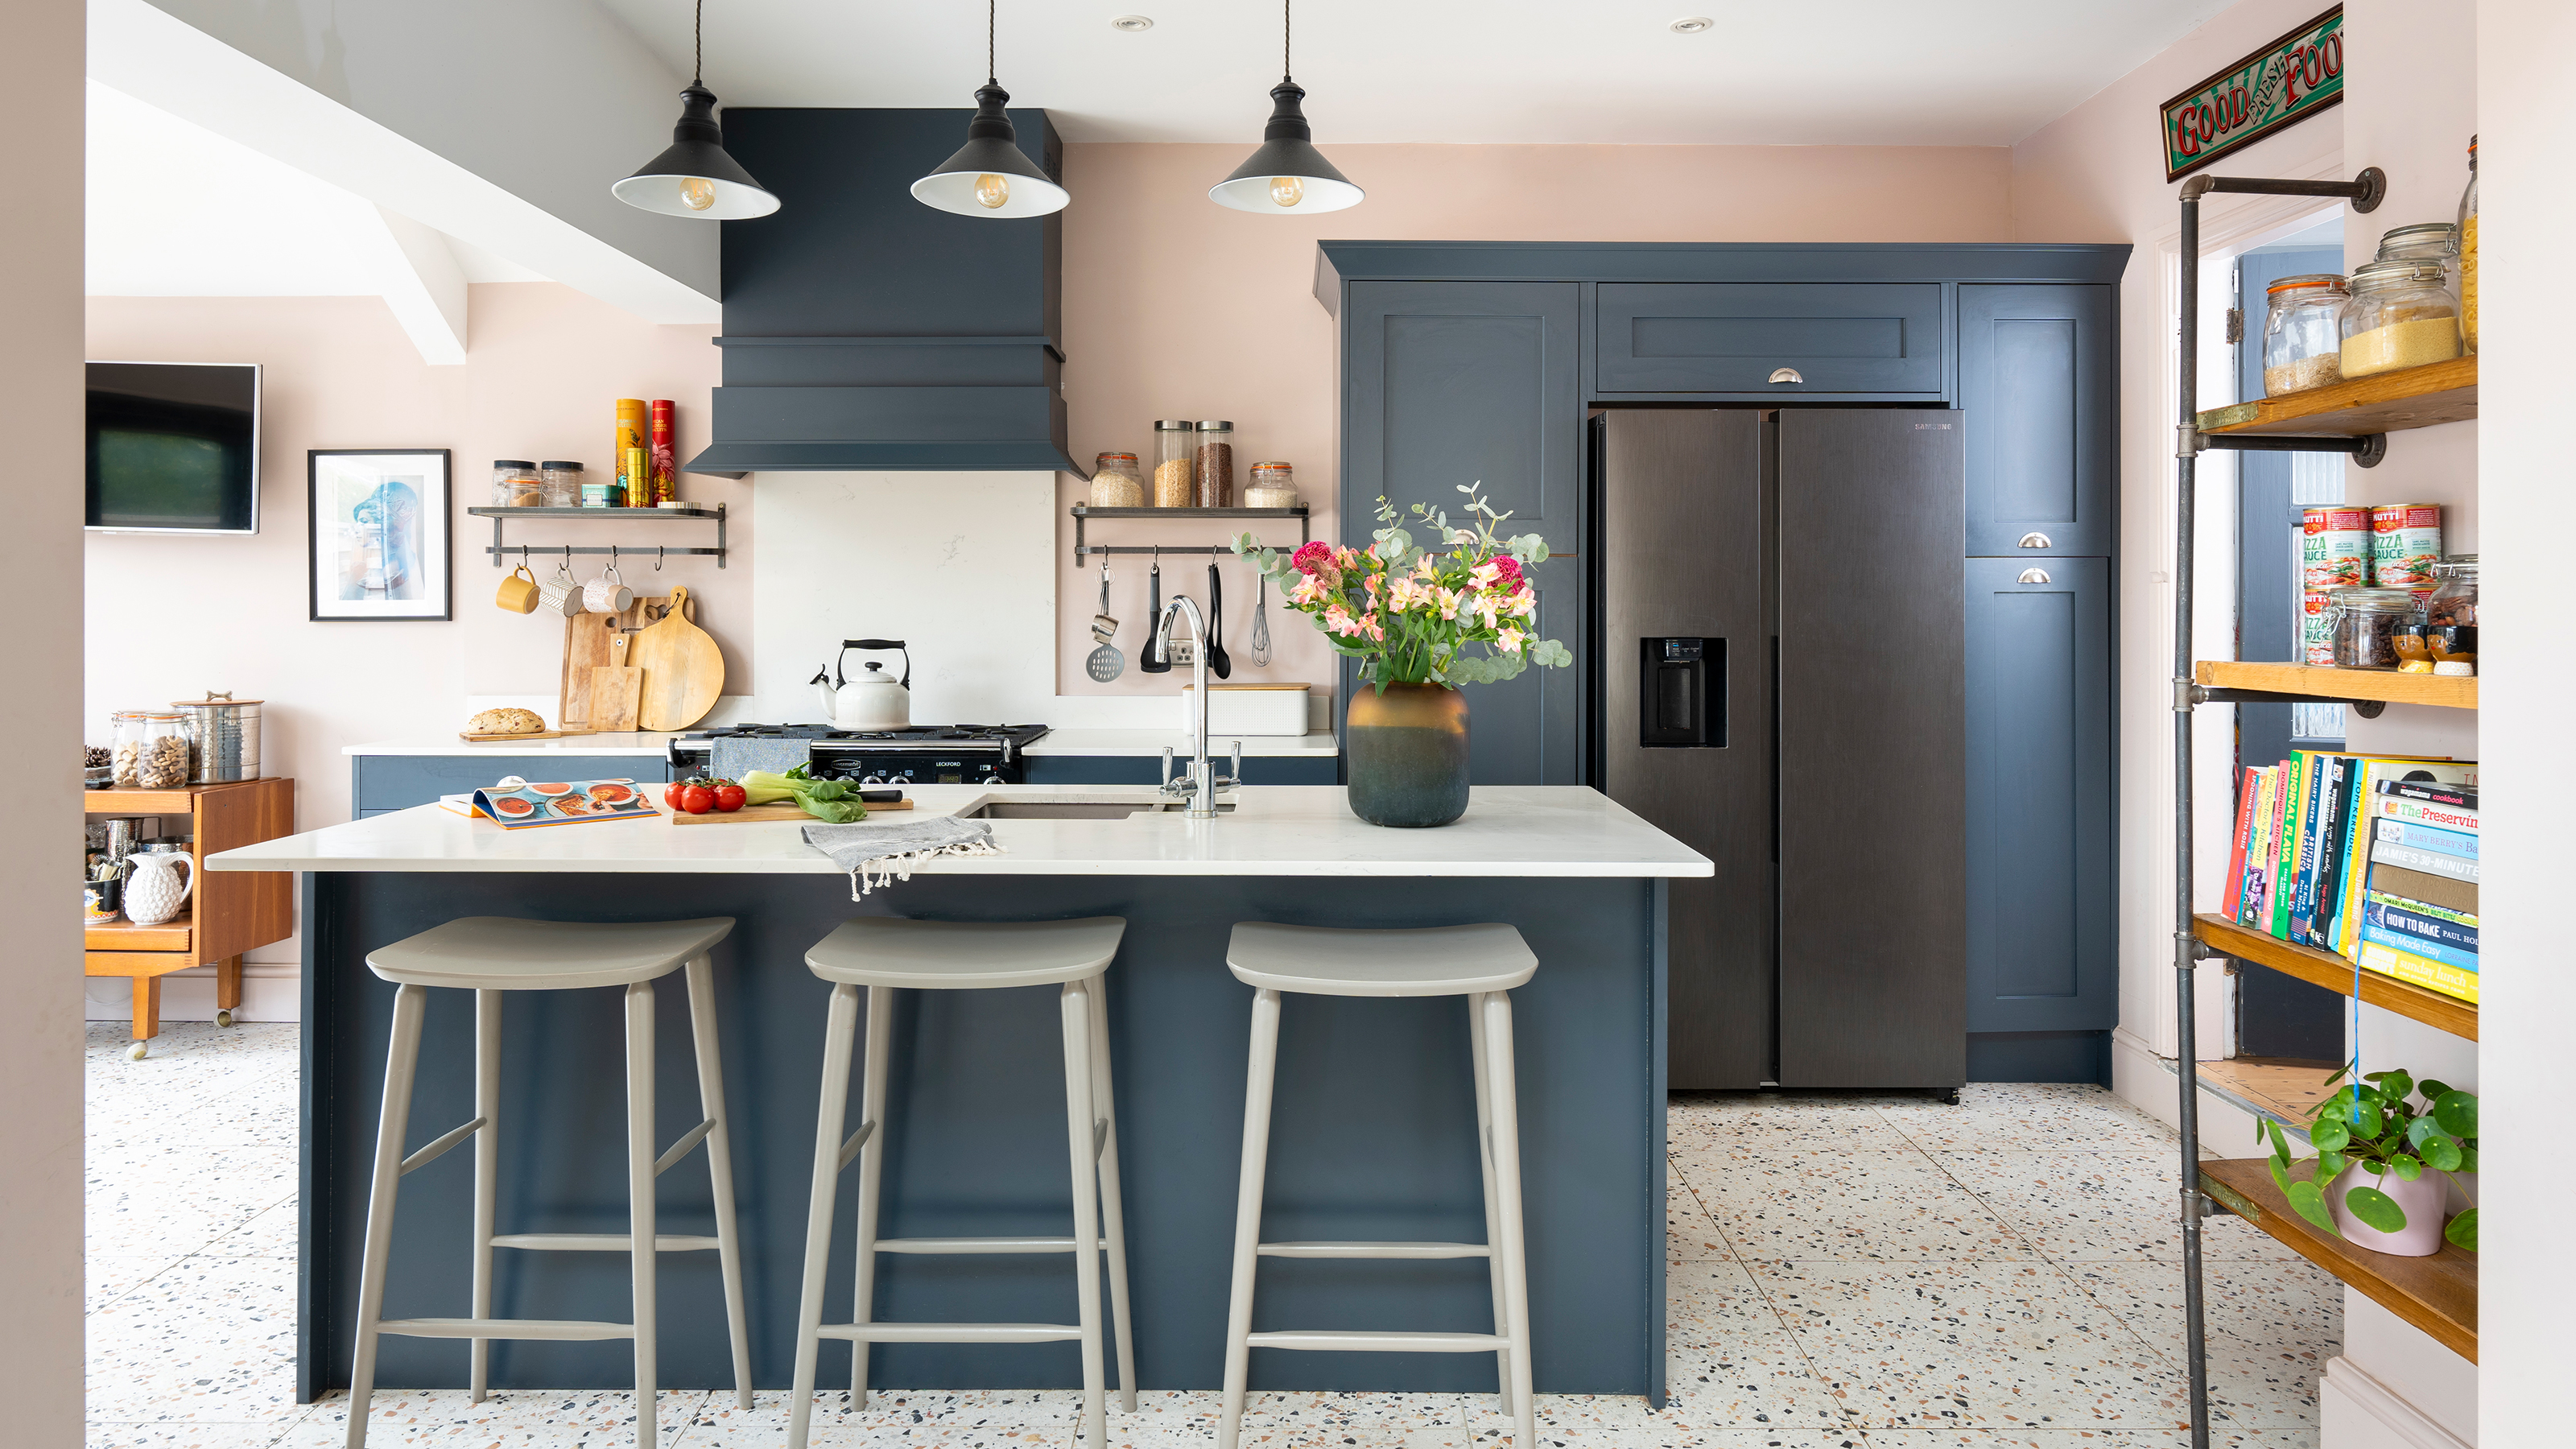

Many of us have had to put kitchen renovations and home projects on the back burner as the cost of living continues to climb. But there are some relatively cost-effective ways to completely transform your kitchen, like painting kitchen worktops.
You may have considered painting your kitchen cabinets but painting kitchen worktops is another budget kitchen idea that can instantly transform the heart of your home.
Instead of replacing your kitchen worktop ideas completely, which could cost anywhere from £1,000 to £10,000 – depending on your choice of materials and fitting fees – painting them can breathe new life into a kitchen, particularly if you’re holding off on a full renovation at the moment.
Painting kitchen worktops
But what do you need and how do you go about doing it? Well, we asked the experts and it’s a lot easier and more affordable than you might think.
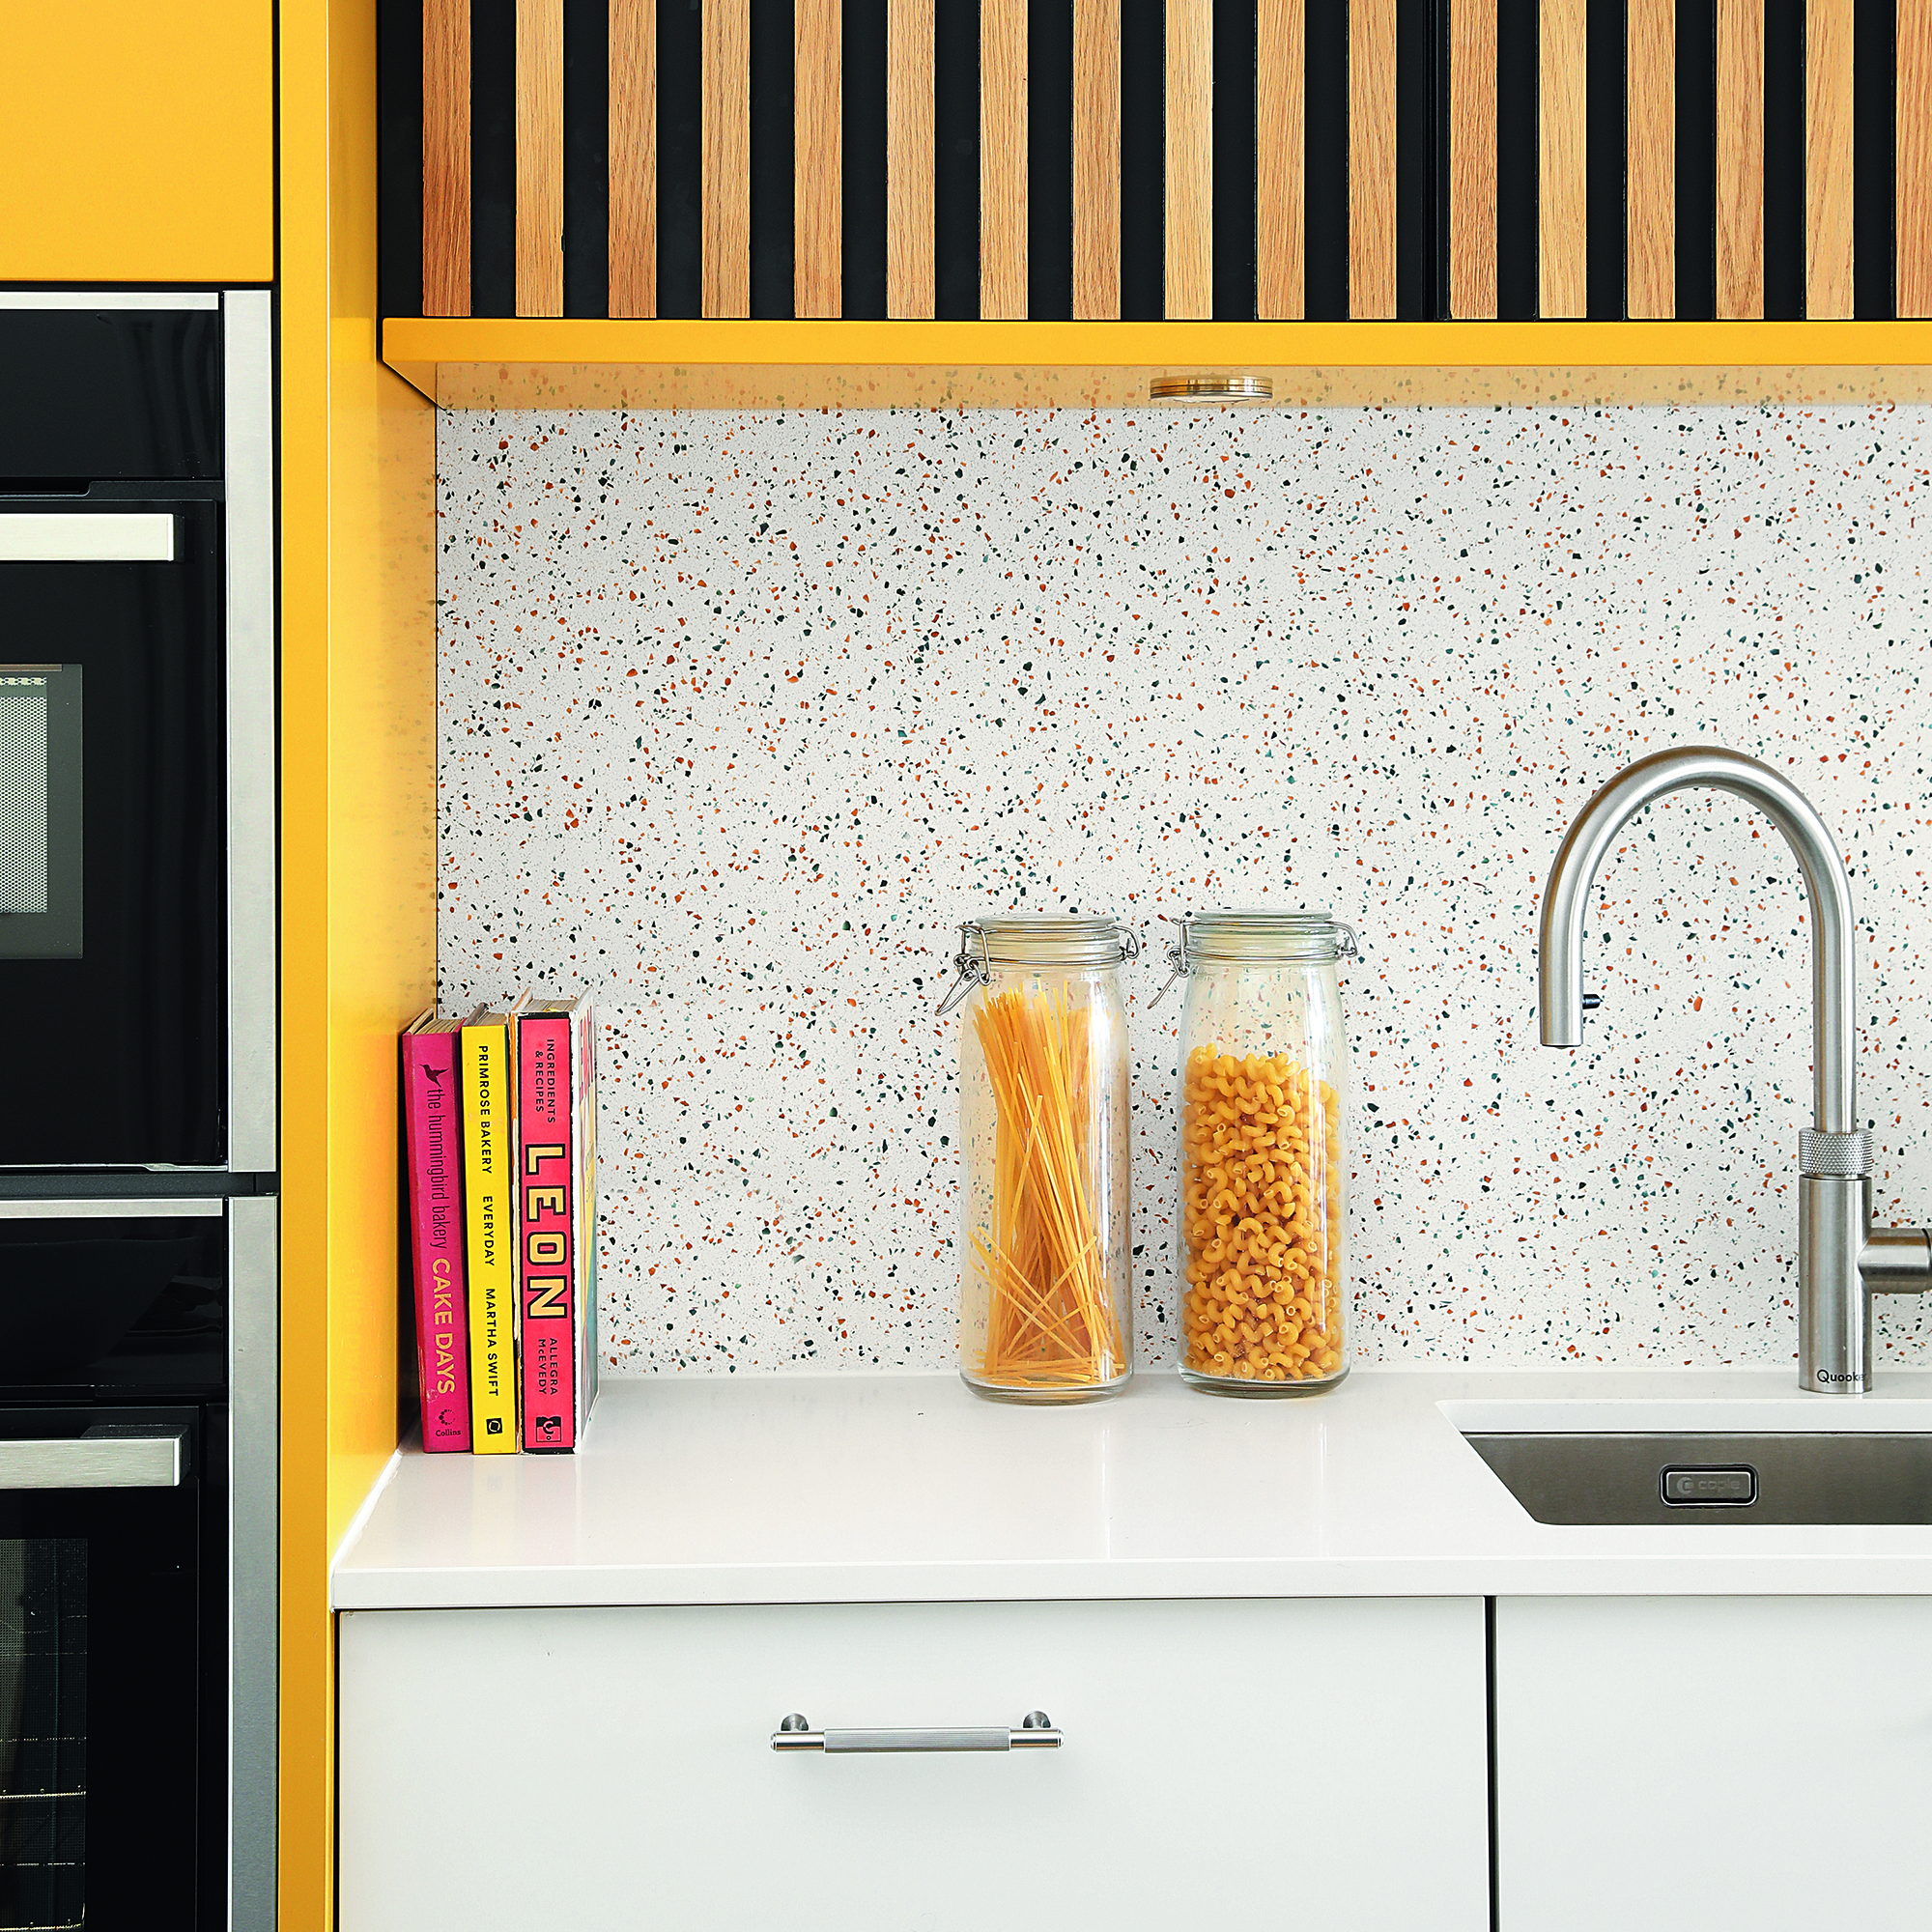
What you'll need
- Sandpaper (medium and fine grit); this Pack of 10 Sandpaper Sheets from Amazon has a mixture of grits
- Painter's tape; try this FrogTape Green Multi Surface Masking Tape from Dunelm
- Primer suitable for countertops
- High-quality paint suitable for countertops
- Paintbrush or foam/gloss roller; Amazon’s Harris 102022002 Seriously Good Woodwork Mini Roller Set has hundreds of 5 star reviews
- Polyurethane sealant
- Clean cloth
- Drop cloths or newspaper
- Degreaser/cleaner; try the HG Grease Away Cleaner from Amazon
1. Choose the right paint for your worktop
Much like when you’re painting elsewhere, as worktops can be made of a variety of different materials, this will determine the type of paint that you will need. You’ll want to ‘choose the right paint for your worktop or get a kit that is specially designed for the surface you'll be painting,’ advises Tim Warren, DIY expert from Adkwik. ‘Water-based acrylic paint works on laminate worktops, whereas granite or tile work better with epoxy coatings.’
Unfortunately ‘not every worktop is suitable for painting, so ensure that you check before buying paint,’ Tim warns.
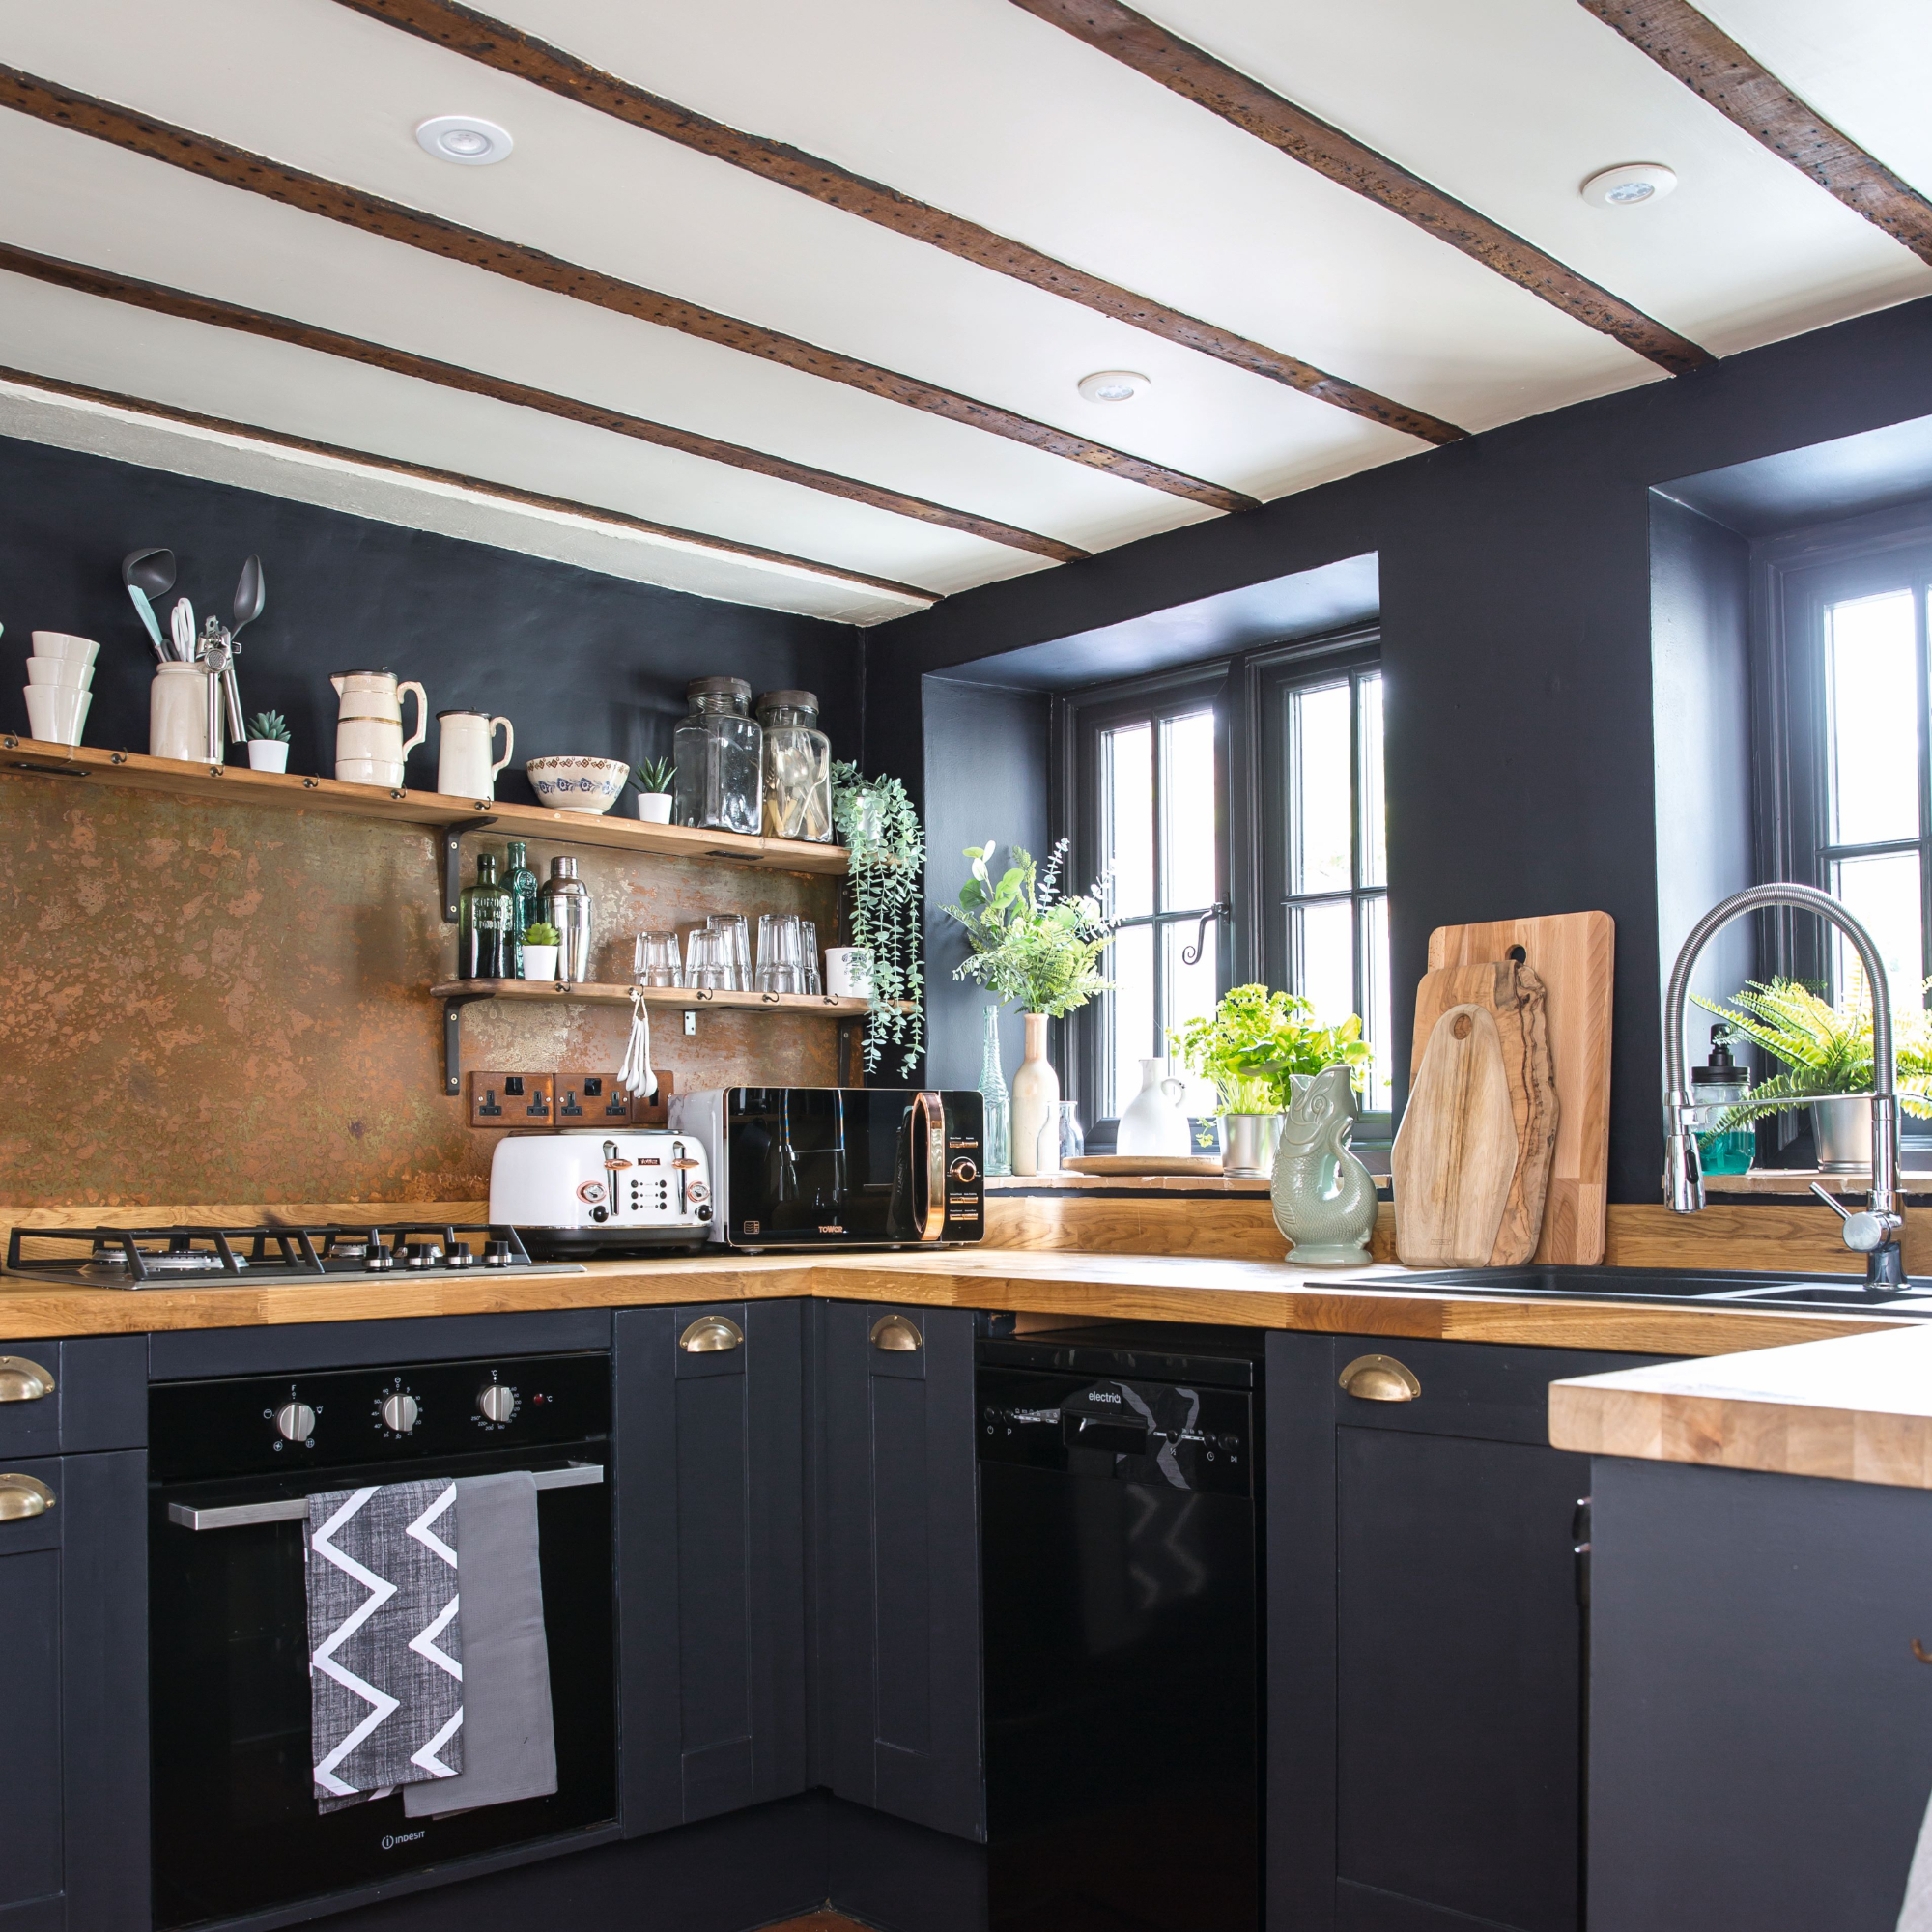
2. Prepare the area
Once you’re ready to begin, you’ll want to prepare both the worktop and the area that you’re working in. You can put down some drop cloths or newspaper to stop the paint from accidentally ending up on your floors, walls or splashback.
Malik Ahmed, DIY expert and director of Bolt World, also recommends using ‘painter's tape to protect areas you don’t want to paint, such as walls, cabinets, or appliances adjacent to the worktop. Just ensure ‘the tape is firmly pressed down to prevent paint bleeding.’ Then it’s time to prepare the worktop itself.
3. Clean and sand the worktop
Start by removing any small appliances or food storage from your worktops and giving your worktops a quick wipe to get rid of any crumbs or visible debris. Then you’ll want to ‘thoroughly clean your worktops to remove dirt, grease and oil, especially in locations near ovens or sinks,’ Tim explains.
‘If you have a laminate worktop, repair any damage and then sand the surface down so that you will achieve a smooth finish. If you have granite worktops, etch the stone before painting, making sure to clean off any dust,’ Tim adds.
In most cases, you’ll want to ‘use medium-grit sandpaper to lightly sand the entire worktop. This helps the primer adhere better,’ according to Malik. ‘Follow up with fine-grit sandpaper to smooth the surface,’ before wiping away the dust with a clean cloth.
There are a few other surfaces that may need additional prep. For example, with ‘varnished wood, painted wood and melamine: wash, rinse thoroughly with water and leave to dry. Then lightly sand with a 240 grit sandpaper and remove dust,’ says V33’s Marketing Manager, Richard Bradley. ‘For laminate and glass: wash, rinse thoroughly with water and leave to dry. On raw oak and chestnut, first apply an appropriate undercoat to block the tannins.’
‘Preparation of the surface is essential,’ he proffers. So, you don’t want to rush the process.

4. Apply primer
Next you’ll want to ‘apply an even coat of primer designed for countertops using a paintbrush or foam roller,’ Richard suggests. Make sure you ‘follow the manufacturer's instructions regarding drying times between coats and allow the primer to dry completely before proceeding.’
Tim recommends leaving this to dry overnight if you can. And don’t forget to ‘ensure that the room is well ventilated if it is strong smelling.’
5. Paint the worktop
Once the primer has dried fully, it’s time to paint. As is good practice whenever you paint, aim to apply thin and even coats, instead of applying one thick coat. Again, you can use a paintbrush or foam roller, depending on your preference. However, Rob Abrahams, Co-founder & CEO of COAT Paints, advises that ‘a gloss roller (versus a paintbrush or pile roller) gives a much smoother paint finish.’ So, this may be the best option for painting worktops.
‘Avoid applying too much paint at once to prevent drips or uneven coverage,’ Malik affirms. And ‘if using a thicker material, like epoxy, try to apply this as evenly as possible to avoid bubbling,’ Tim outlines.
‘Start by painting angles, mouldings and joints and apply from one end to the other,’ Richard instructs. It can be a bit of a waiting game, as you want to wait until the first coat has dried completely before applying a second coat. Richard recommends leaving it ‘to dry for 6 hours,’ if you can but don’t let it ‘exceed 12 hours either. Somewhere in between is the sweet spot.
‘The manufacturer's instructions will likely list the proper drying time of the paint,’ Tim confirms.
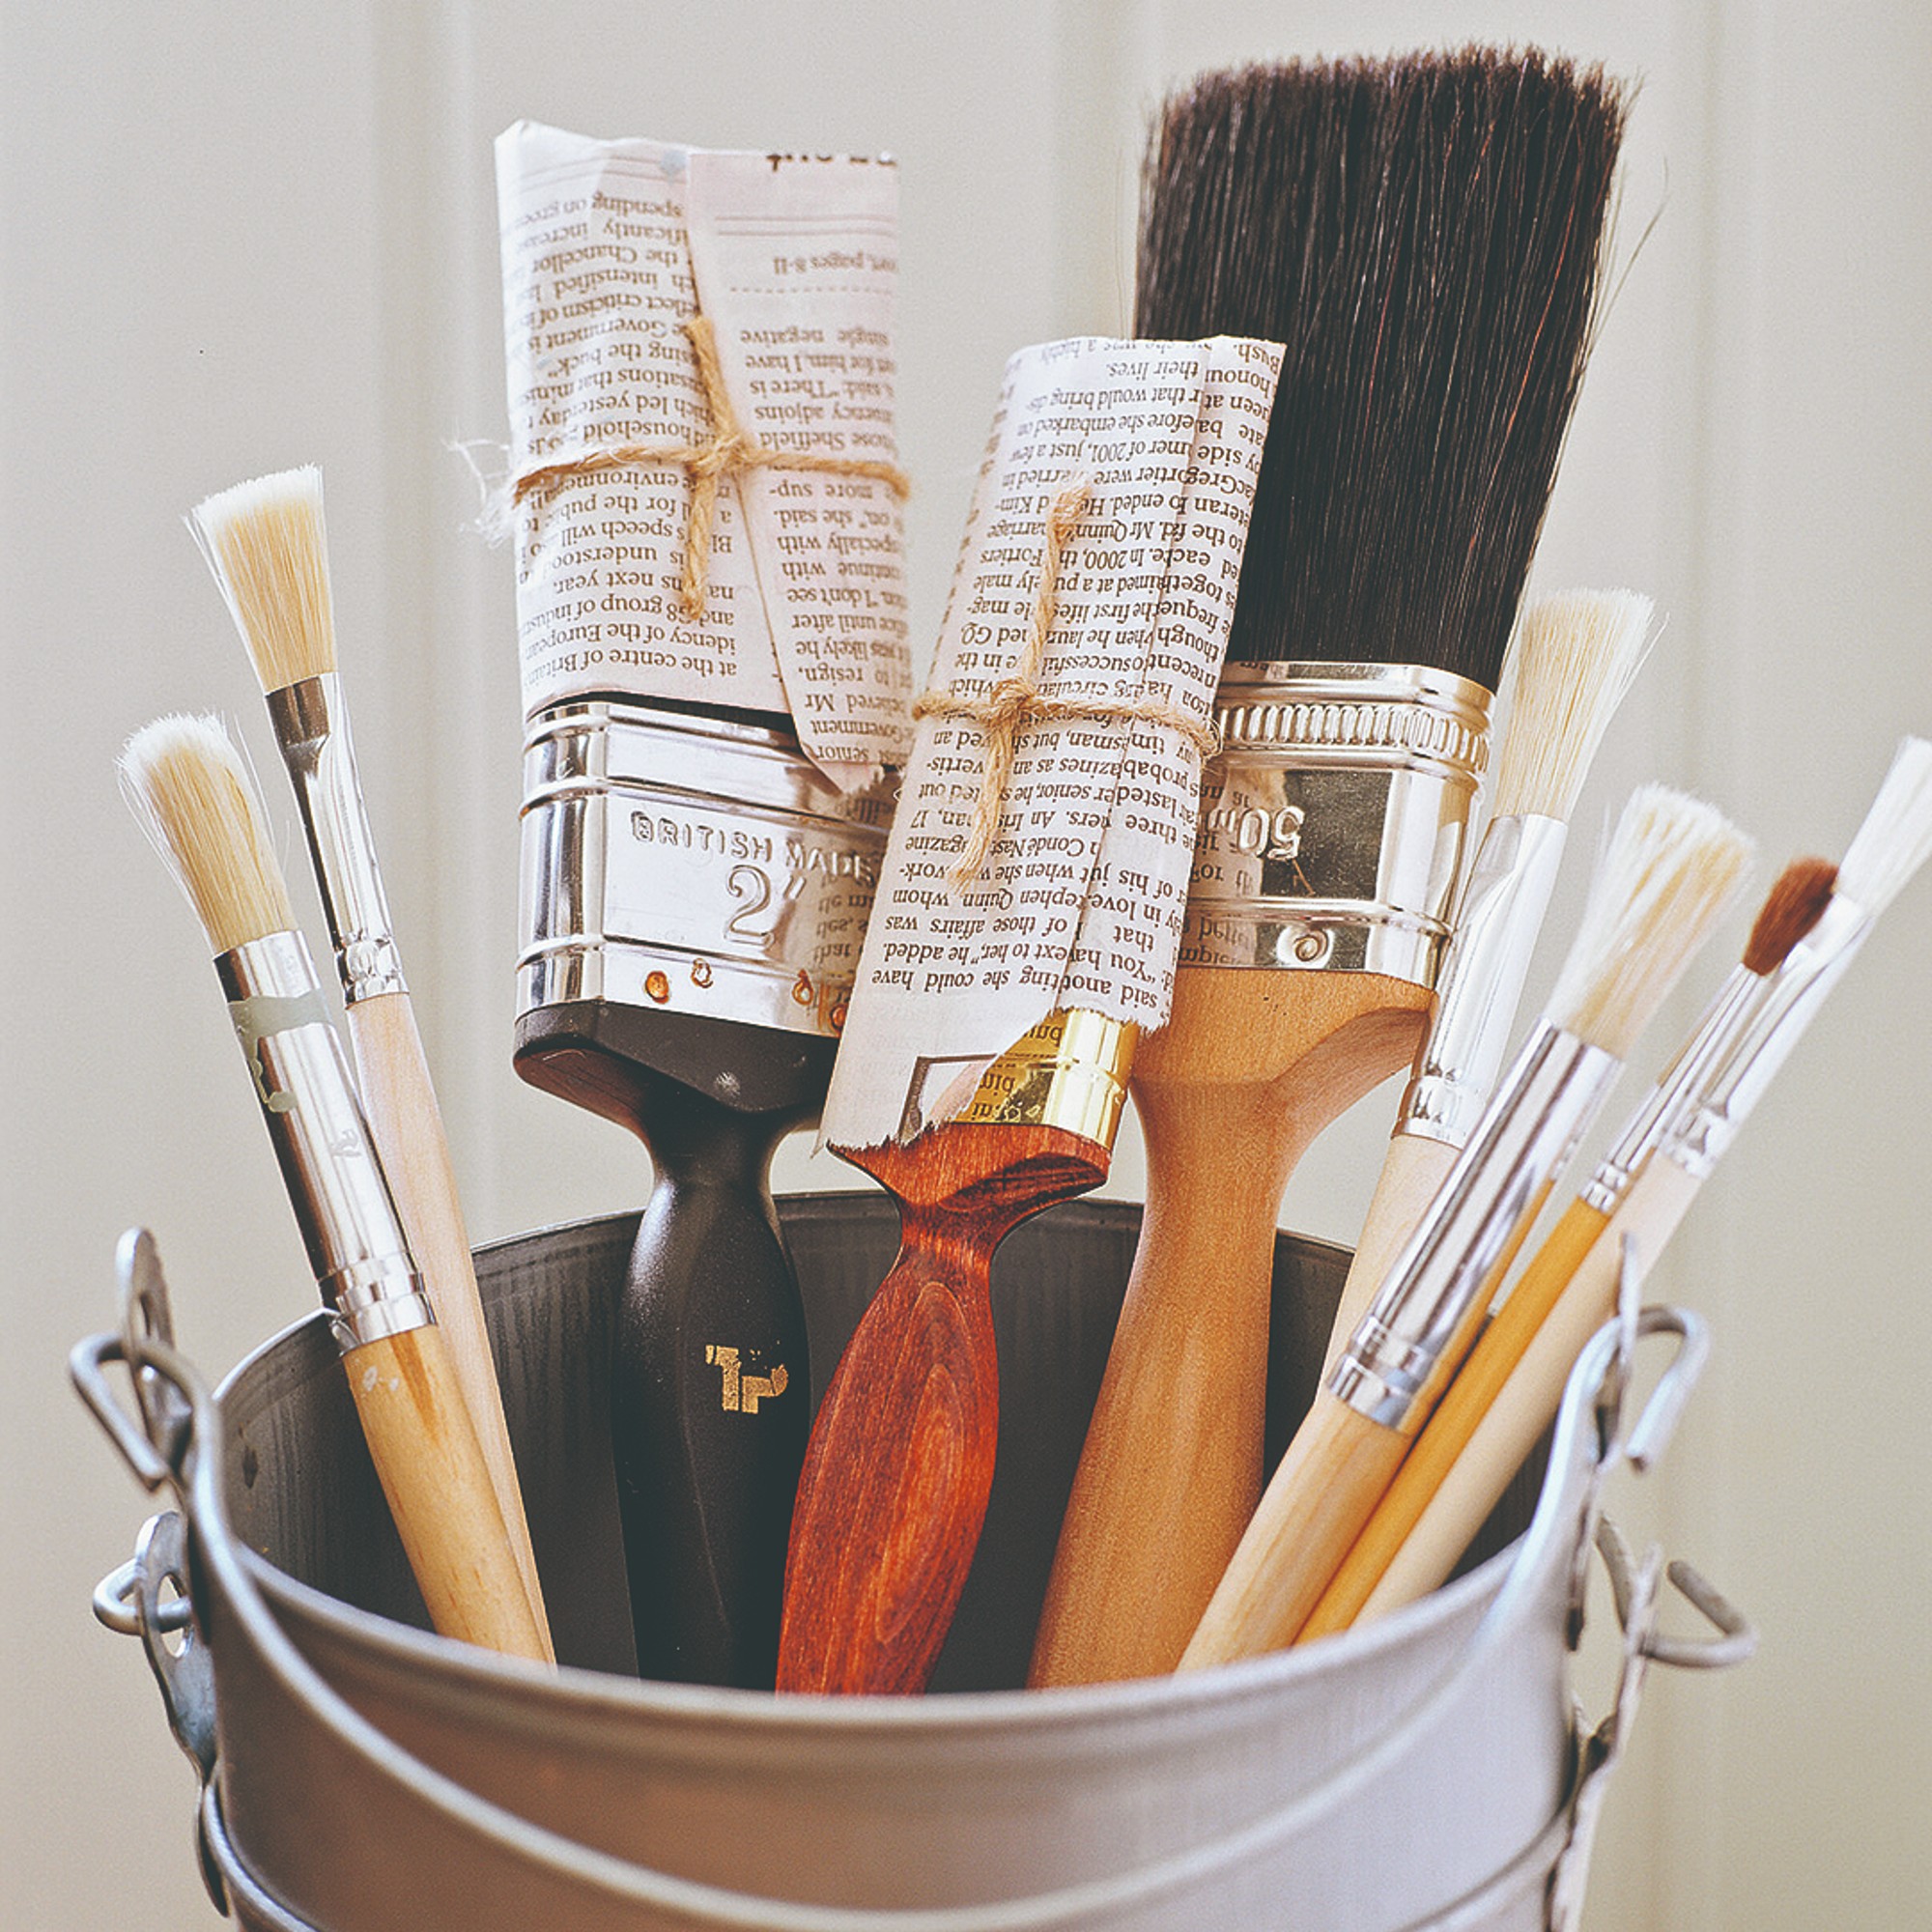
6. Apply a sealant
Finally, ‘after the paint has fully dried for a few days, you will need to seal the worktop with a top coat or resin,’ Tim proffers. ‘The curing time for worktops can sometimes be up to a fortnight, so you should be cautious when using your kitchen space during this time,’ he concludes.
7. Remove the painters tape
Once everything is completely dry, you can then remove the painters tape and take in your newly painted kitchen worktops.
FAQs
What else should I consider when painting kitchen worktops?
Once you begin the process ‘you will also be unable to use your worktops until the paint is dry, which is something to bear in mind if you use your kitchen a lot,’ Tim explains.
Rob also warns that if you’re not sure about painting your worktops, you may want to hold off on painting them until you’re completely sure. ‘Primer and paint will be almost impossible to remove once applied, so be really sure you want to paint your worktops,’ he admonishes. ‘Often painting surrounding walls or cabinets can transform a kitchen, and that might be an easier place to start.'
'It’s also worth noting that painted worktops will never be as strong as stone or even laminate, so you should care for them more like wooden tops and be conscious of heat and water exposure as well as scratching.’
How do I clean a painted worktop?
‘A painted surface will never be as durable as a stone one, nor as resistant as laminate. So be careful with your choice of kitchen cleaner,’ warns Rob. Any cleaning products ‘with high ammonia or bleach content will damage the surface and ruin your brand new paint job - so stick with mild detergents where possible.’
Painting a kitchen worktop is a quick fix, but it does come with some caveats. Make sure you've considered all of them before picking up the paint brush and getting to work.
Get the Ideal Home Newsletter
Sign up to our newsletter for style and decor inspiration, house makeovers, project advice and more.

Ellis Cochrane has been a Freelance Contributor for Ideal Home since 2023. Ellis has been writing about homes, interiors and gardens for four years now, with her also contributing to House Beautiful, Country Living, Expert Reviews, Real Homes and Stylist.
-
 5 signs you’ve taken decluttering too far — and how you can pull yourself back, according to organisation experts
You might have to start resisting the urge to purge
By Lauren Bradbury
-
 What is the Party Wall Act 3m rule and is it something you should be worried about? This is what the experts say
Don't get caught off-guard by the Party Wall Act 3m rule — our expert guide is a must-read
By Natasha Brinsmead
-
 Shoppers can’t get enough of The Range’s lemon tree, but I’ve found an even cheaper bestseller at B&Q - it’s perfect for a Mediterranean look
Welcome the summer with this glorious fruit tree
By Kezia Reynolds