

Whether you’re starting a house build from scratch or upgrading old and worn-out walls, there's nothing quite like seeing fresh plaster. But there comes a time when you need to start painting over new plaster, and that can be daunting.
Yes, while there are so many incredible paint ideas out there, choosing a paint colour is the least of your worries when it comes to new plaster. Sure, it may seem like an easy DIY job, but painting new plaster at the wrong time and using the wrong method can not only impact the integrity of your walls but also affect the quality of the finish. So, you need to get it right.
That’s why we’ve reached out to DIY and plastering experts to pull together everything you need to know about painting over new plaster - from how long you have to wait to the exact steps you should follow to upgrade your walls.
How long do you have to wait before painting over new plaster?
When you’re redecorating a room, you probably want the process over and done with as quickly as possible. But plastering is a fine art, and one wrong move (and at the wrong time) can ruin the integrity and the appearance of your plaster.
So, how long do you have to wait before painting over new plaster? Well, it’s probably longer than you’d like - but it’s important to note that every case differs.
Michael Rolland, paint expert and managing director of The Paint Shed, explains, ‘Once you have plastered an area of your home, it’s essential that you don’t rush into painting over it. Depending on the plaster used and the surfaces it is used on, it can take between 2 to 4 weeks for it to fully dry and be ready to be painted over.’
This is echoed by Alfie Burrows, Director of AB Drylining, who leans more towards four weeks. However, he recognises that this all depends on the size of the area that’s been plastered.

He says, ‘Generally, you’ll need to wait up to four weeks before painting new plaster. In some cases, it can take even longer for the plaster to dry properly. It all depends on the type of plaster, the thickness of each layer and even the weather conditions.'
‘Small patchwork and repairs usually take one week to dry. Whereas larger jobs involving multiple layers of plaster can take around a month to completely dry.’
If you’ve had your walls plastered professionally, your plasterer should be able to give you a rough estimate as to how long it should take to dry. If you’ve done it yourself, it’s best to consult the weather forecast, the instructions for the products you’ve used, and your own inspections.
Tim Warren, a DIY expert from Adkwik explains, ‘When the plaster is dry, it should be a light colour with no dark spots, and should have a consistent colour and appearance.’
Why can’t you paint straight onto new plaster?
Four weeks seems like a long time to wait between plastering and painting your walls, but try not to let your impatience get the better of you. If you start painting earlier, you may regret it later.
After all, there’s a reason why you can’t paint straight onto new plaster and why professionals urge you to wait.
Alfie says, ‘Going straight in with a paint roller is pointless as the plaster will just soak up the paint. The paint may even start to crack and peel off. This is because the emulsion bonds to the wet plaster as opposed to sitting on top of it.’
And while there are ways to fix peeled paint on a wall, it’s always better to prevent this from happening in the first place.

How do you paint over new plaster?
If you’ve waited a sufficient amount of time and you’re confident that your new plaster is dry and ready for painting, you can finally start the process. Below, you’ll find everything you need to know to smash this DIY task.
What you'll need

If you can't decide whether you want to use a roller or paintbrushes, this set will provide you with all of the tools you need to paint over new plaster.

This emulsion paint is ideal for thinning down and using as a mist coat. This pot should also go a long way.

Have multiple walls to paint? This paint spray gun will make light of it and help you get a clean, even coverage.
Step-by-step
1. Cover your furniture

Painting over new plaster can be a messy business, which is why it’s always a good idea to cover your furniture and protect your surroundings before you grab your paintbrushes.
To protect your floors, no matter whether you have carpet or hardwood floors, we’d suggest using something like this GoodHome Self-adhesive Protector Roll from B&Q, which has an adhesive backing that will stay in place - even on staircases and uneven surfaces.
To protect your furniture from any paint splashes, it’s better to use old bed sheets or these 6 Pack Extra Large Plastic Dust Sheets from Amazon. As these are plastic, they can be used time and time again.
While you’re at it, protect yourself by ditching your fancy clothes for your DIY clothes.
2. Mix the mist coat
You need to apply a mist coat before you start painting your newly plastered walls the colour of your choice. For this, you can use any leftover emulsion you have lying around in the shed - although it’s best to opt for white as this serves as the perfect base layer for your walls.
But knowing how to mist coat new plaster is key, especially as you need to thin down the emulsion to get the perfect consistency. Alfie says, ‘This is essentially a base coat, consisting of emulsion and water that is used to prime and seal the wall.’
‘To get the perfect milky consistency for your mist coat, dilute some emulsion with water. The golden ratio is three parts paint and one part water,’ he adds.
3. Apply the mist coat

When you’ve thinned down your emulsion to make your mist coat, you can start painting. Thankfully, there’s no art to a mist coat. You don’t need to be precise with your paint strokes, and you don’t need to be 100% exact.
For this step, you can also use the tool of your choice. Michael says, ‘To apply the mist coat use either a sprayer, roller, or brush.’
Just remember that the thinner the paint, the more it will splatter. So, this step can be incredibly messy. And while this isn’t too much of an issue, you should keep an eye out for any major drips on your walls.
Tim says, ‘Any drips or streaks should be painted over quickly before they dry as this can ruin the finish. Then, leave the mist coat to dry for at least 24 hours.’
4. Finish painting in your chosen colour
When at least 24 hours has passed, you can then move on to the next step. And this is where the fun really starts.
‘After the mist coat is dried, you can decorate normally, and you should not need to sand down the wall as all of the prep will already be completed when the mist coat was applied,’ explains Tim. So, all you have left to do is paint the wall in your chosen colour using a roller, paintbrush, or sprayer.
By this point, you should have decided whether to opt for colour drenching or a statement feature wall. But if you need a little help, check out our guide on how to choose the perfect paint colour.
Be mindful of how many coats you’ll need, though. Jimmy Englezos, Senior Brand Manager from Ronseal explains, ‘Usually, two or more coats of paint will be needed or you can use an all-in-one product such as Ronseal’s One Coat Everywhere paint.’

FAQs
How many mist coats on new plaster?
One mist coat on the new plaster should be enough to seal and prime the newly plastered wall for painting. However, there’s no harm in adding a second coat if you have leftover watered-down paint and don’t plan on plastering any more walls.
Just make sure that you allow at least 24 hours for the first mist coat to dry before painting a second. And don’t worry if you don’t do two coats, as it’s not necessary.
Can you use a roller for a mist coat?
Yes, you can use a roller for a mist coat! Just be warned that this is generally considered to be the messiest way to mist coat, as the watered-down paint is incredibly thin and can splatter all over the place.
If you don’t mind getting covered in paint, using a roller for a mist coat is a quick and effective way to get the job done. If you want a cleaner process, opt for paintbrushes. And if you have the cash to spend, you could also opt for a paint sprayer.
Well, there you have it. That’s everything you need to know about painting over new plaster.

-
 5 signs you’ve taken decluttering too far — and how you can pull yourself back, according to organisation experts
You might have to start resisting the urge to purge
-
 What is the Party Wall Act 3m rule and is it something you should be worried about? This is what the experts say
Don't get caught off-guard by the Party Wall Act 3m rule — our expert guide is a must-read
-
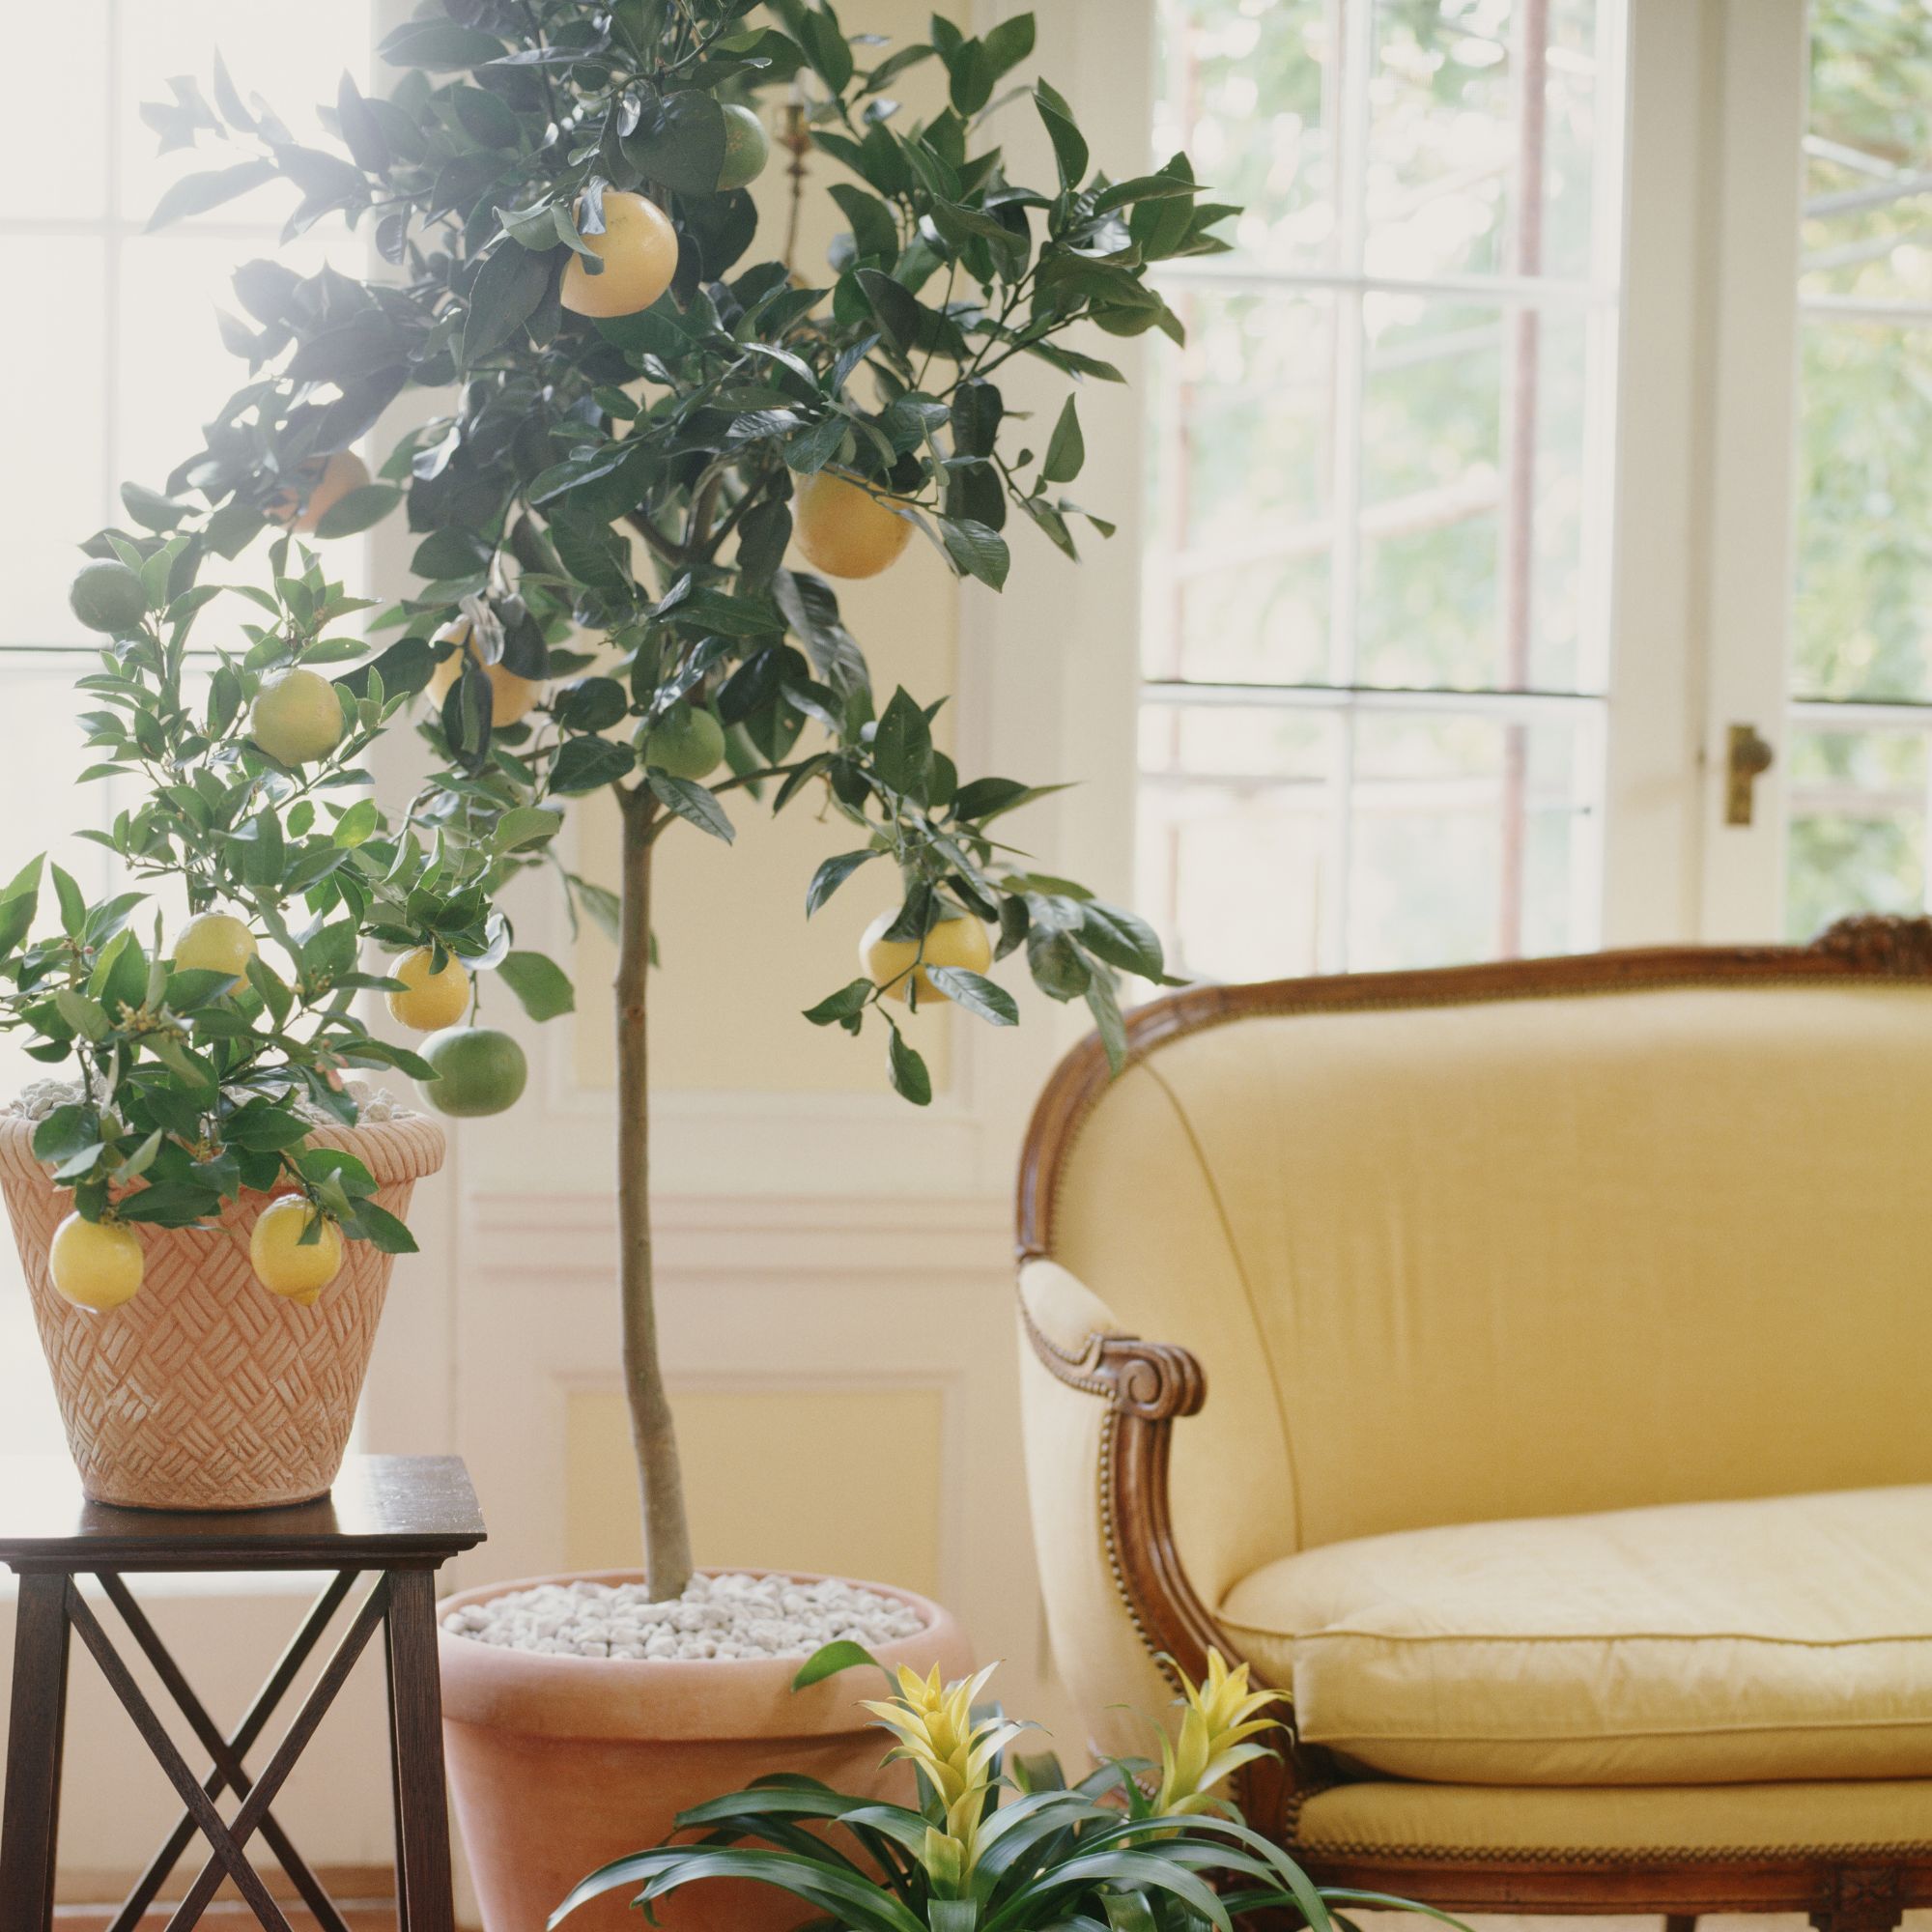 Shoppers can’t get enough of The Range’s lemon tree, but I’ve found an even cheaper bestseller at B&Q - it’s perfect for a Mediterranean look
Welcome the summer with this glorious fruit tree


-
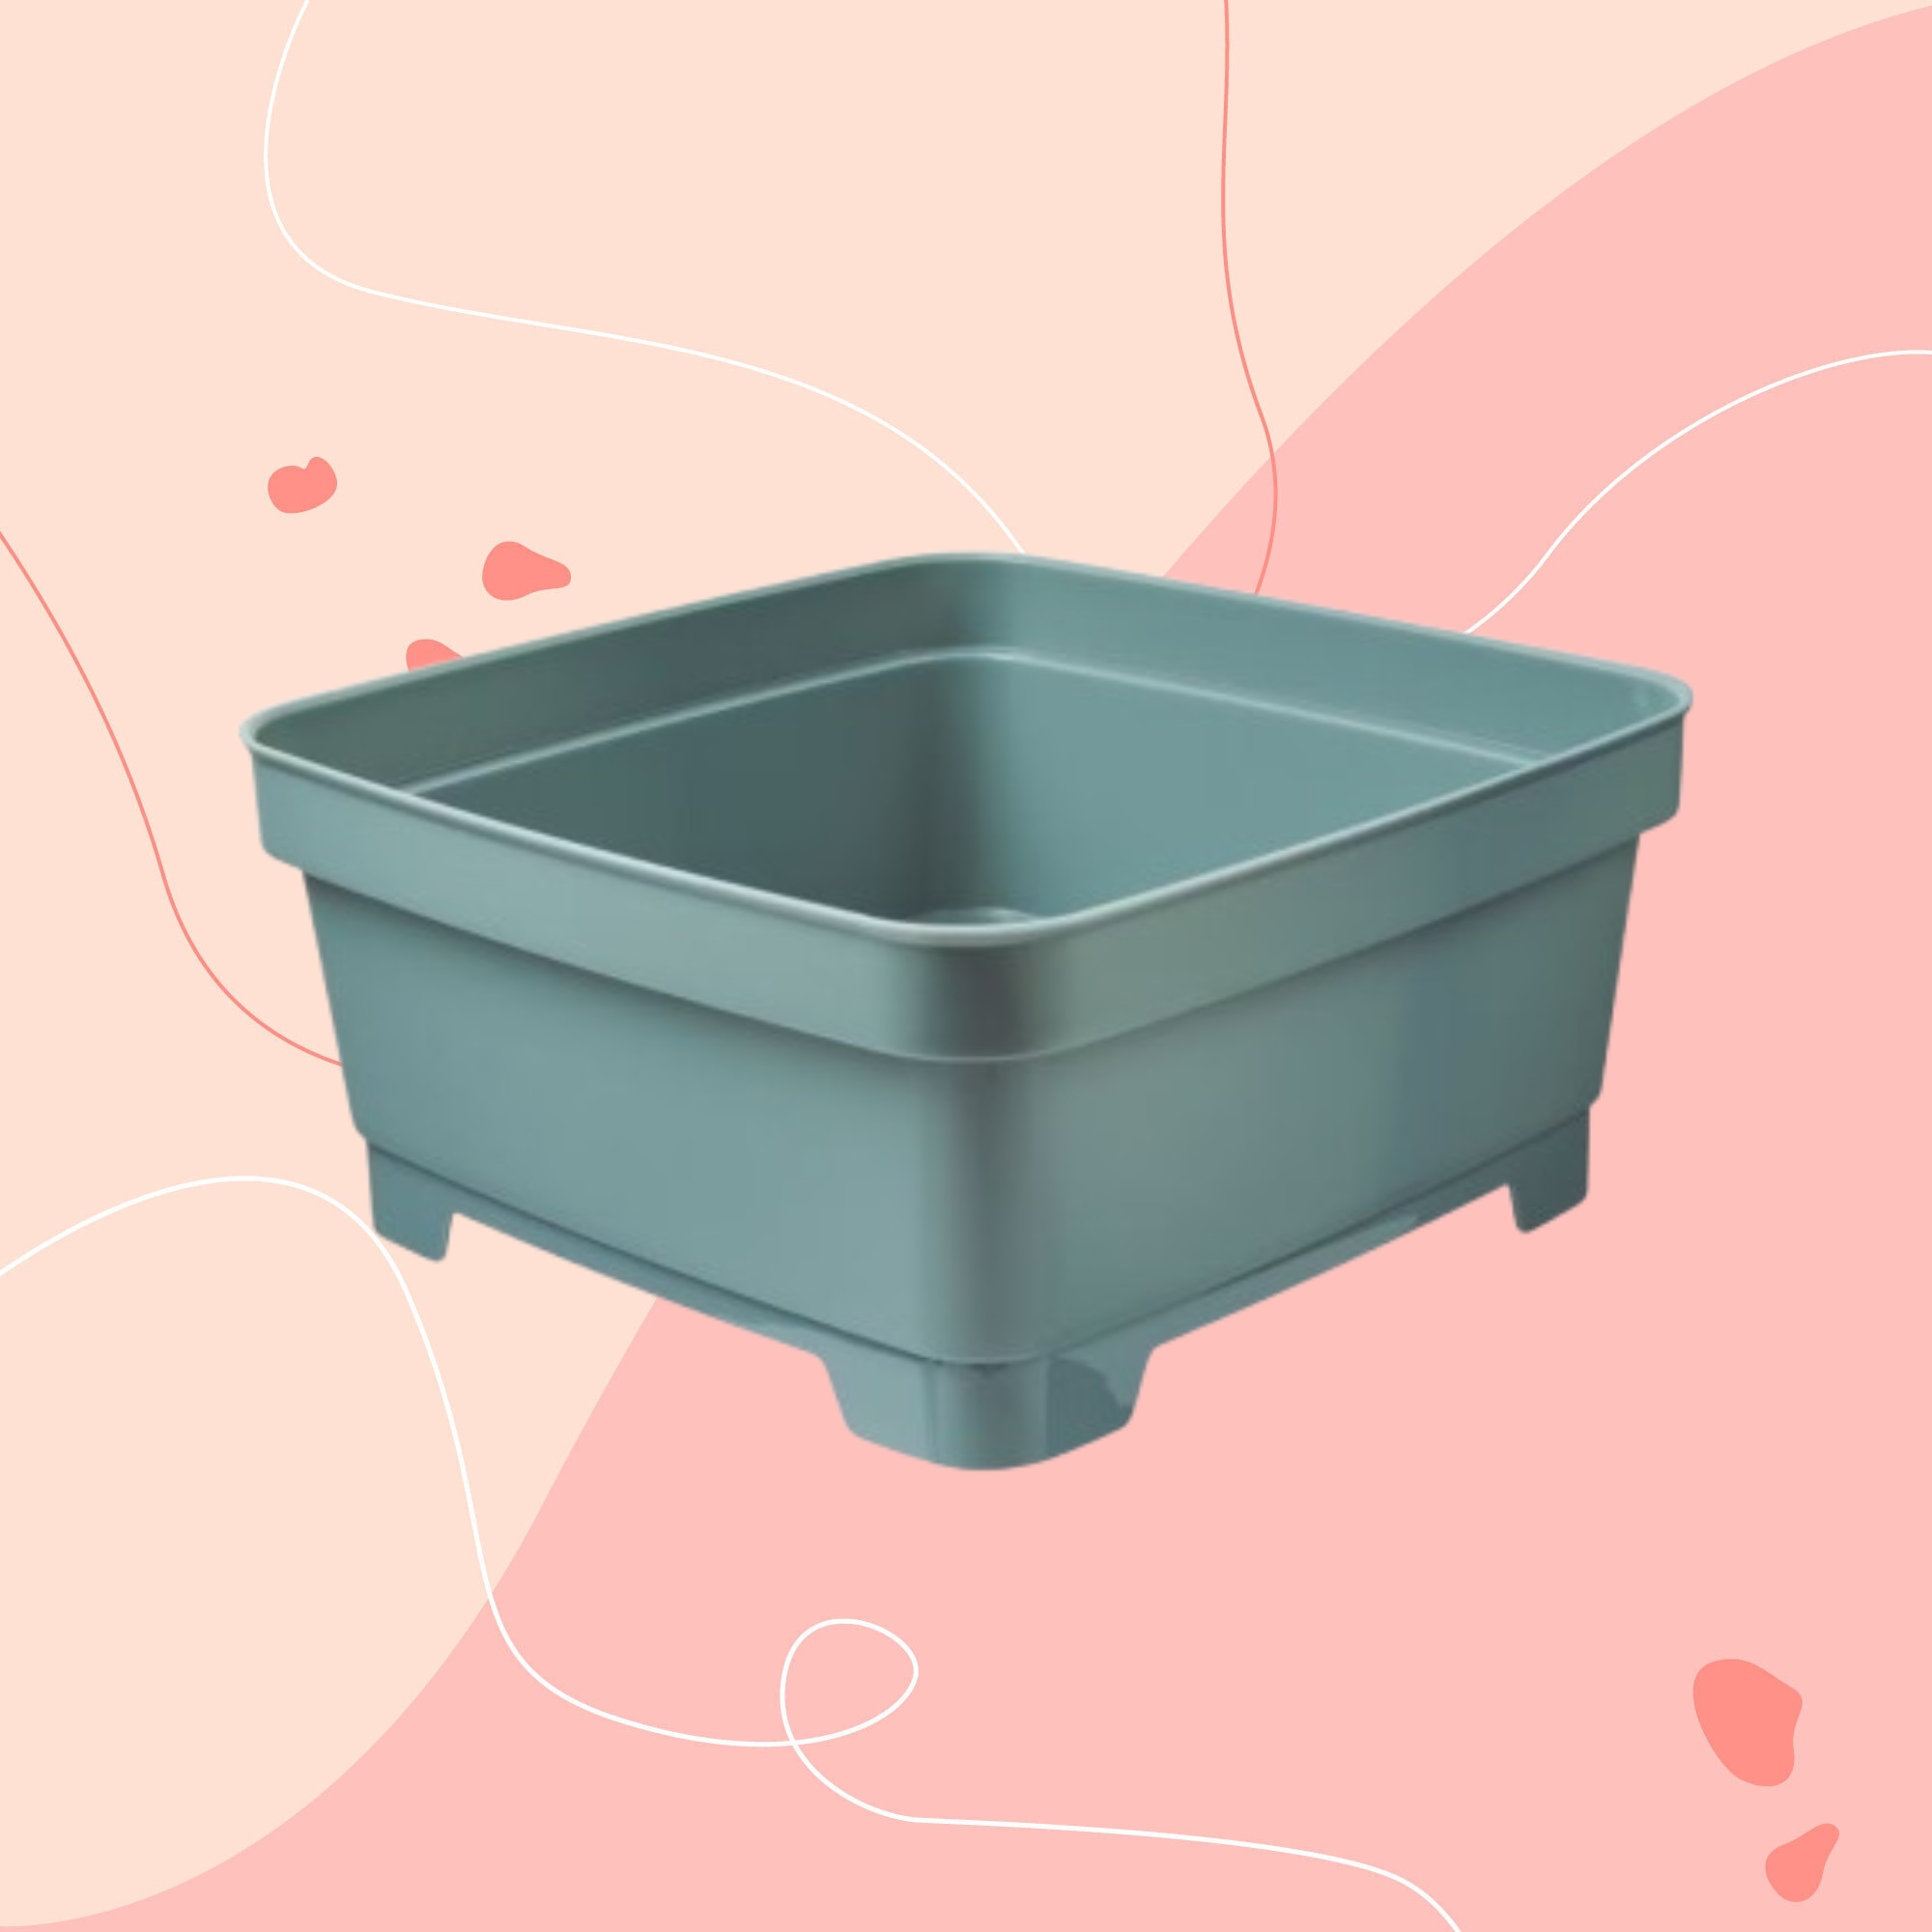 Aldi is releasing a budget alternative to the cult Joseph Joseph washing up bowl – it’s just £4.99
The Joseph Joseph washing up bowl is an Ideal Home favourite - now we can't wait to try Aldi's alternative
-
 I just bought my first home, and this £10 buy was the very first thing I bought for it to make it feel warmer and secure
If I did it all again, this would still be my very first buy
-
 It’s normally impossible to find a Dyson vacuum for under £250 — but QVC has slashed the price of their bestselling models for a limited time
Run don’t walk to pick up the brand’s bestselling model for under £230 before it sells out
-
 Catherine Zeta-Jones has revealed the cleaning product she swears by to keep her home fresh - and it’s just £8 on Amazon
'I use it on my counters. I use it on my walls. I use it on my doors. When I smell it, I know my house is clean.'
-
 I tested the 12L Challenge dehumidifier in my damp Victorian home over winter — I haven’t spotted any signs of mould for the first time in five years
The Challenge 12L dehumidifier doesn’t have too many bells and whistles, but I can already see the difference it’s made to my damp home
-
 What is boiler flow temperature? Heating experts urge you to check yours now as you could be overpaying on your energy bills
Turning this little-known number down just a few degrees can result in some serious savings
-
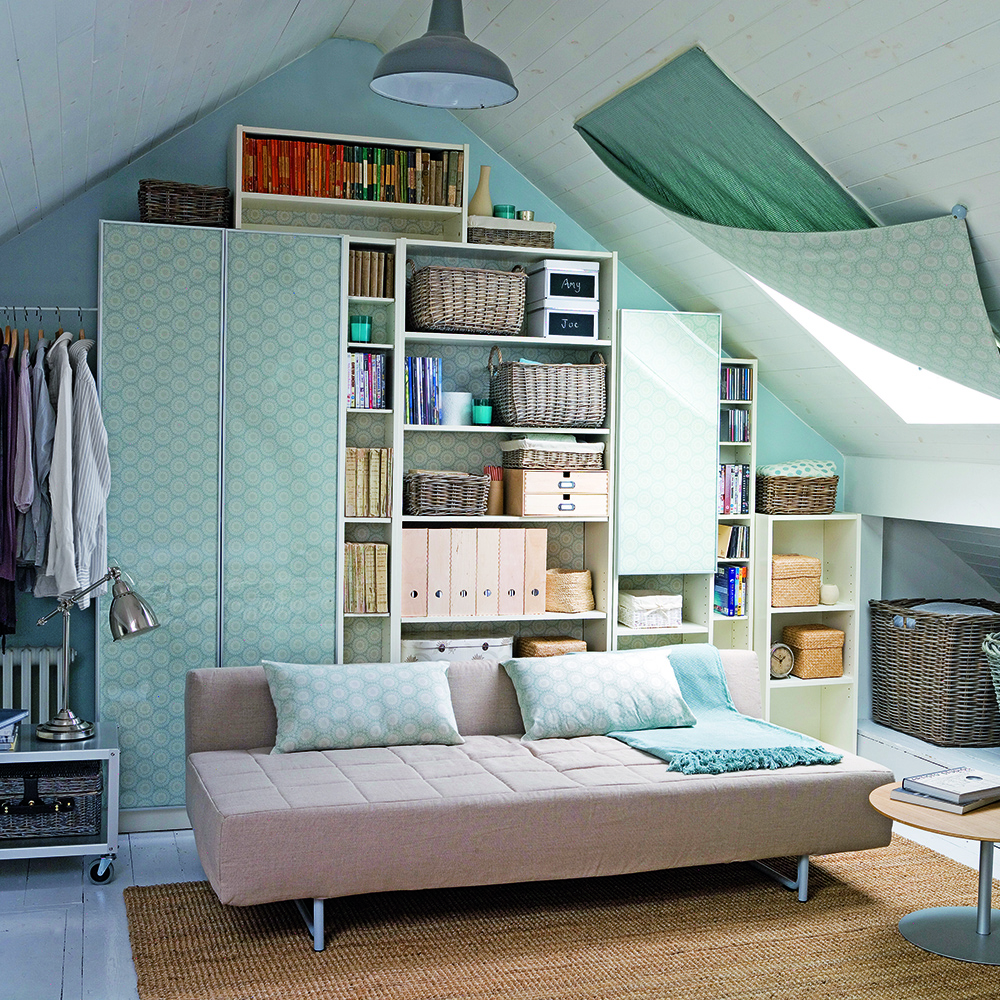 Stacey Solomon has shared 5 nifty wardrobe storage hacks to make getting ready in the morning easier — and they're genius
These five wardrobe storage hacks are a gamechanger
-
 Cult cleaning brand Scrub Daddy has just launched a brand new butterfly mop — could it be the ultimate solution for banishing stubborn marks on your floor?
We're obsessed with all things Scrub Daddy


