Upcycling for beginners - 10 things every new DIY-er should know
Turn trash to treasure and banish trips to the tip with our upcycling for beginners’ starter guide
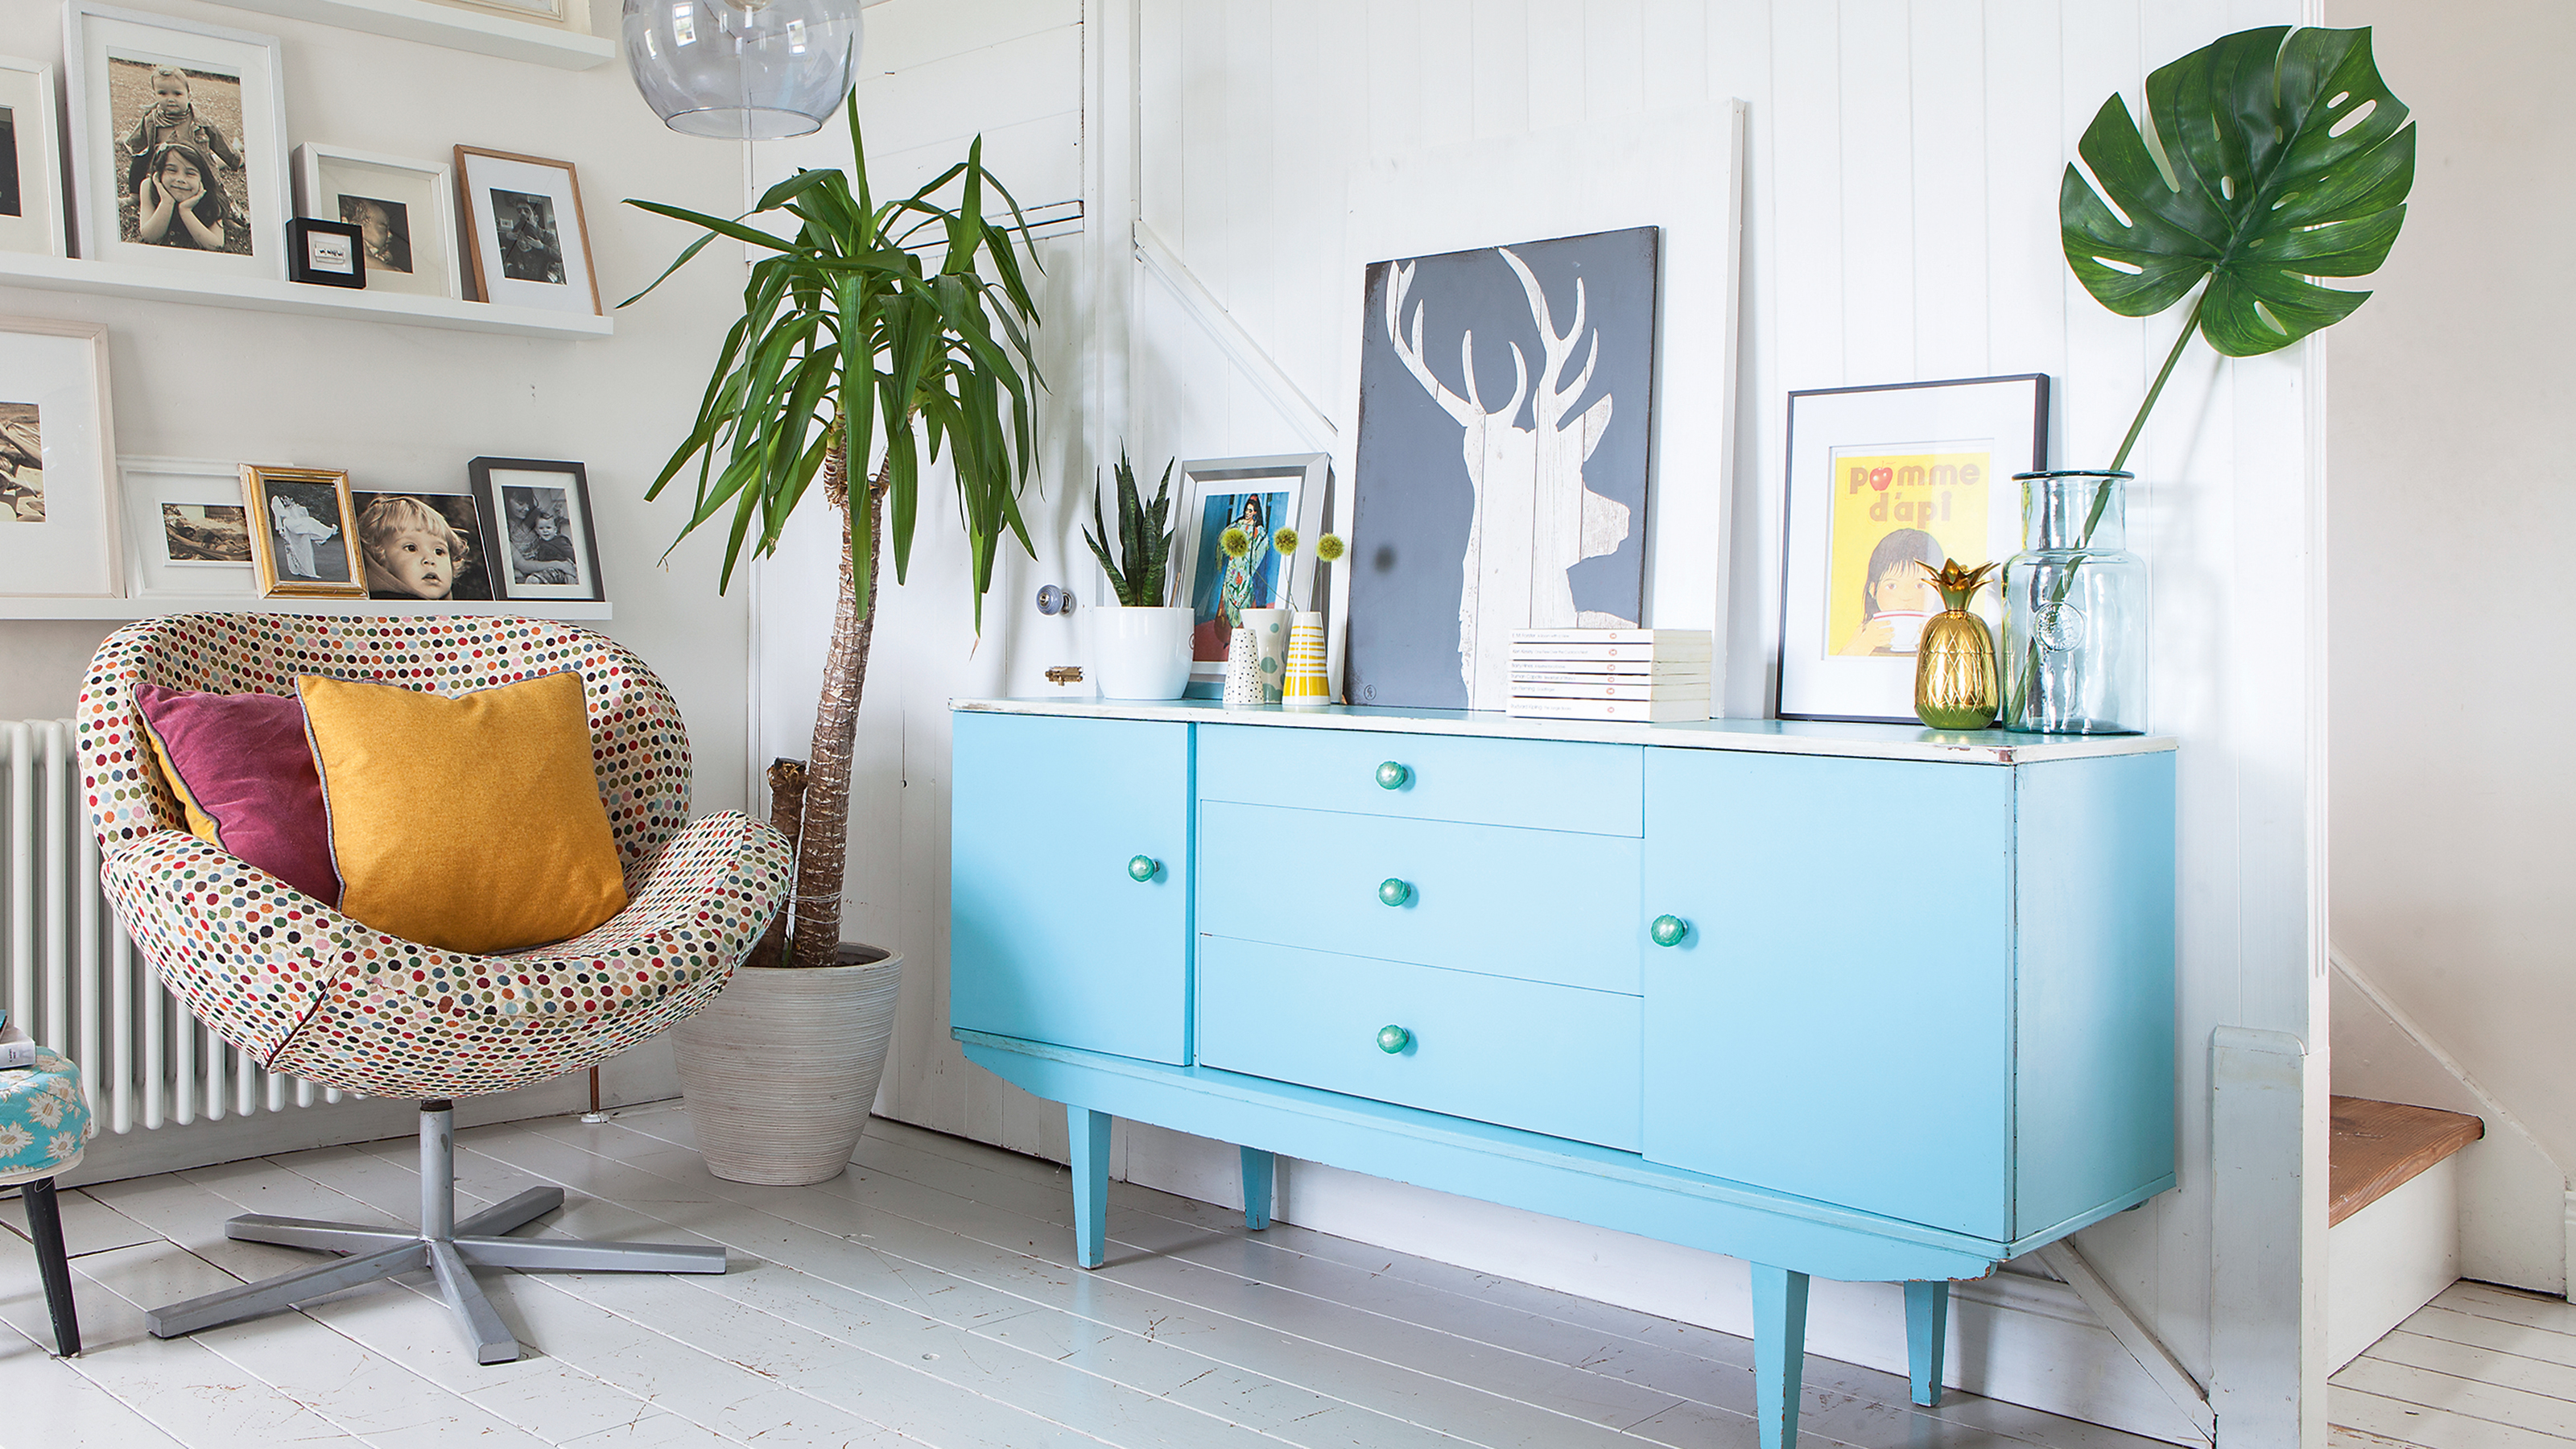

With the cost-of-living crisis looming large, it’s no surprise more and more of us are choosing to work with what we’ve got, instead of buying new. The pre-loved market is thriving, offering rich picking for those tackling upcycling for beginners as well as keen renovators with a few DIY skills already under their belts.
Breathing new life into old furniture, homeware and other items can transform them into highly desirable pieces. Whether you’re doing it to repurpose at home, sell to make some extra cash or just to flex your creative brain, upcycling for beginners is currently booming in the world of easy DIY projects.
‘The good news is that upcycling is something that everyone can learn how to do, as it's often just the right approach that's needed,’ enthuses Ryan Calvert, product manager, Hiatt Hardware.
Upcycling for beginners
From finding the right project to setting up your workstation like a pro, there’s top tips to cover all the basics with our upcycling for beginners’ guide. It’s time to grab some overalls and get to work but be warned – the upcycling bug is seriously addictive!
1. Identify the best hunting grounds
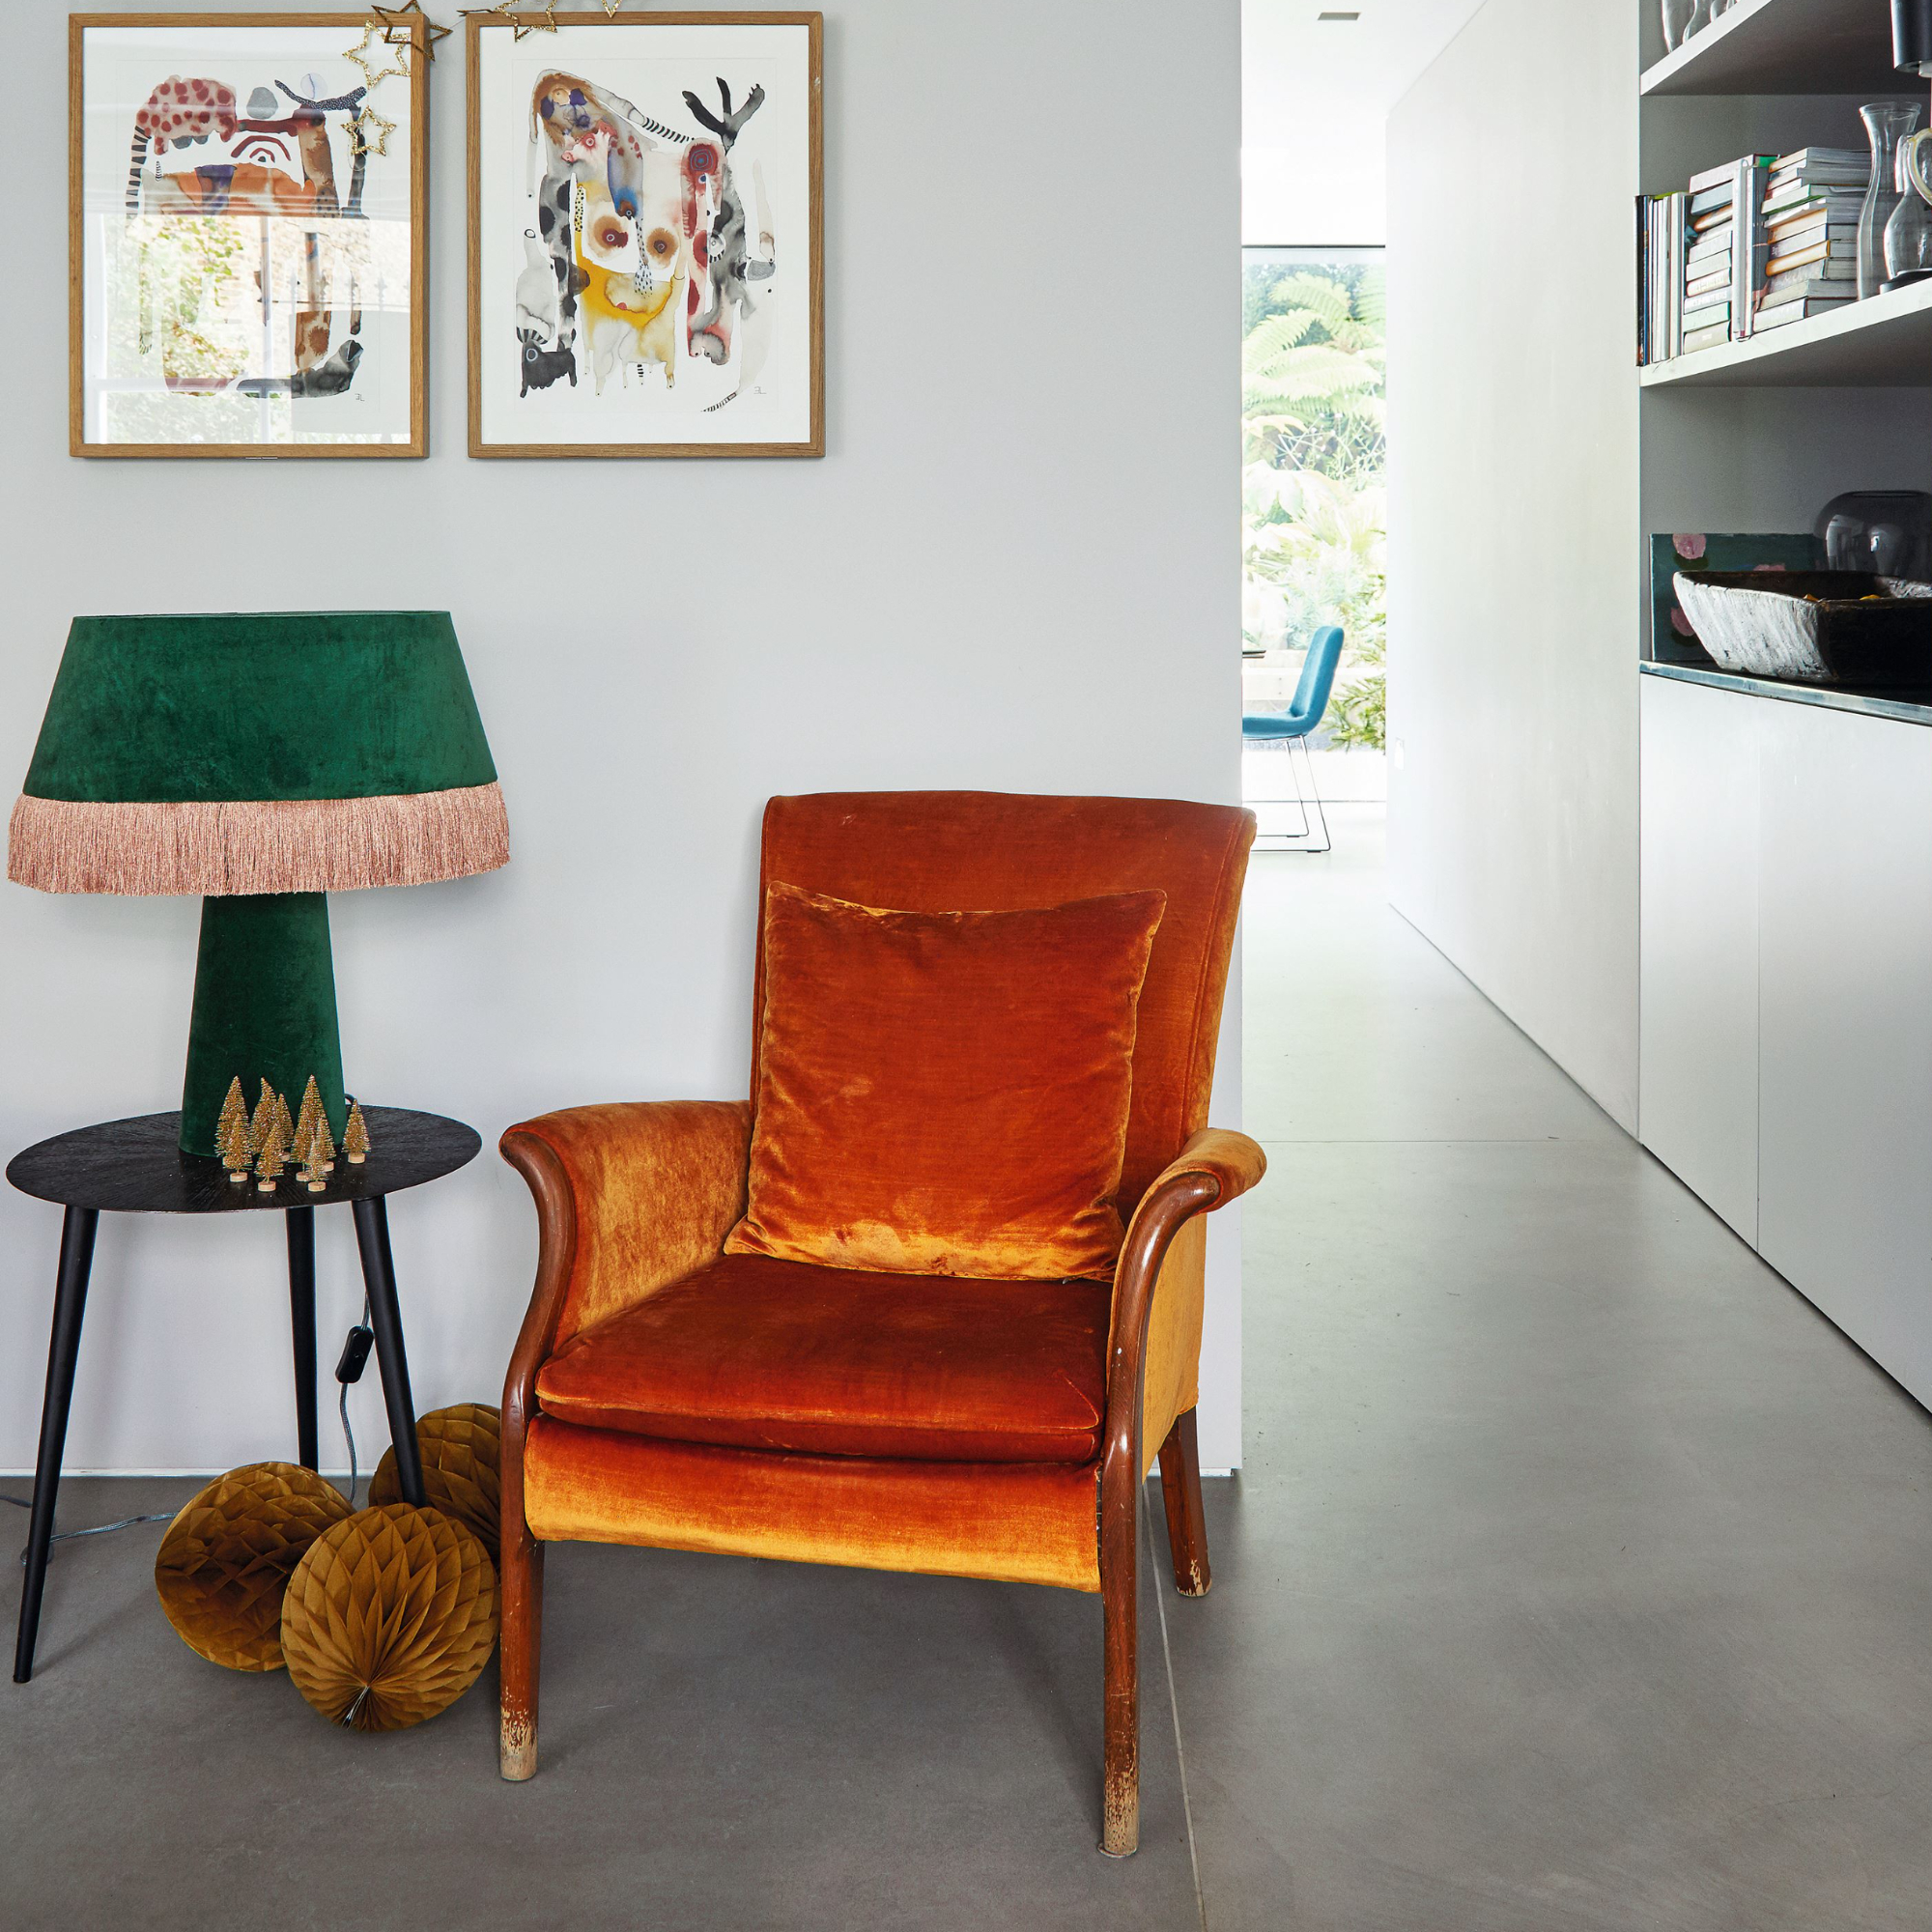
The first part of any upcycling journey starts with sourcing a suitable item to revamp. Furniture is popular, but you could also repurpose clothing, toys, Art, home accessories and so much more. One of the best places to look is within your own home – anything a bit unloved, broken or outdated are rich pickings.
‘Get the word out to friends and family; it is amazing what people forget they already have (or have two of). Speaking to local house clearance and decluttering services could also yield a treasure trove – we often come across many brand-new and unused items in the homes we clear, that are unwanted,’ suggests Arslan Malik, managing director, WasteMove.
‘Many charity shops deal solely with furniture. Let them know exactly what you’re looking for and they may give you a first look at suitable items when they arrive. Finally, it’s always worth browsing Facebook marketplace and preloved.com, especially if you can arrange transport,’ adds Arslan.
Get the Ideal Home Newsletter
Sign up to our newsletter for style and decor inspiration, house makeovers, project advice and more.
2. Seek out fresh ideas
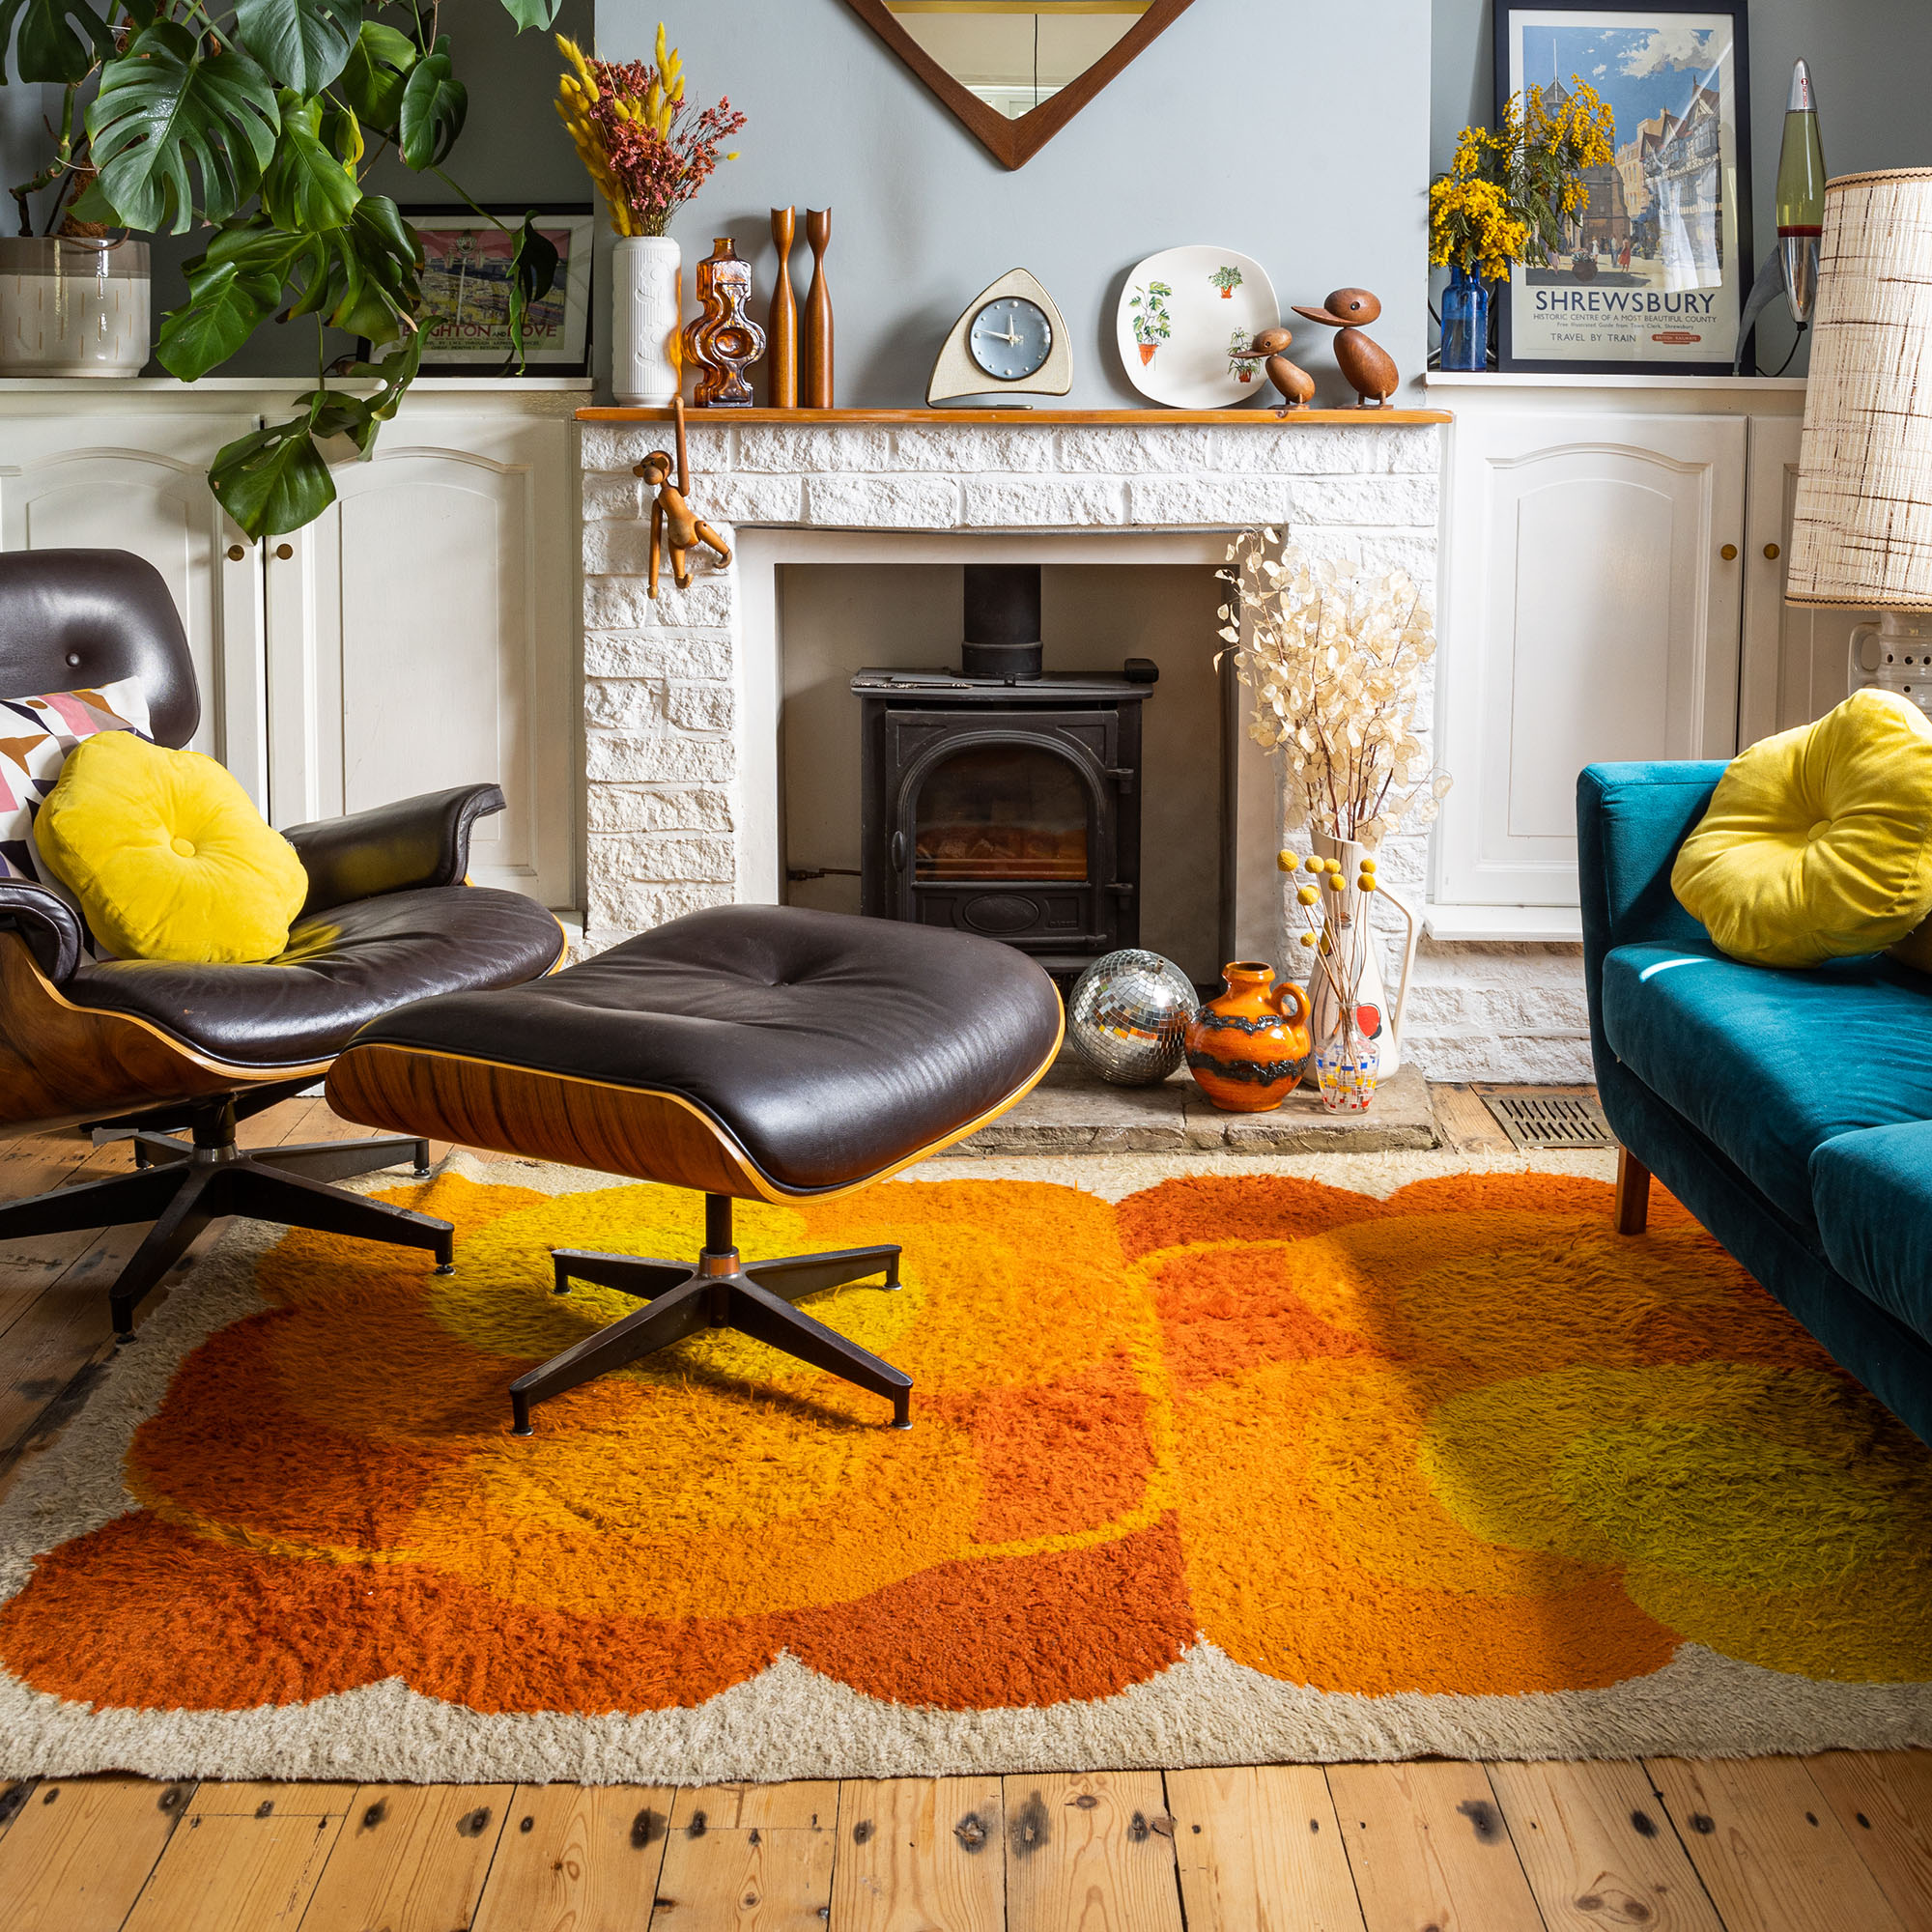
Stuck for upcycling inspiration? There’s a huge upcycling community online, and in magazines, with lots of super-friendly, crafty people really pushing the boundaries and happily offering practical advice and ideas.
‘Pinterest is one of the best places to find interesting upcycling ideas! Similarly, check out the #upcycling hashtag on Instagram. There are a few amazing creators such as @repurposed_refinished_upcycled, as well as some more general Instagram accounts that showcase a variety of creators,’ says interiors expert Lee Trethewey, from Sustainable Furniture.
‘You should also research past trends for great upcycling ideas. If you want to restore anything back to its former glory, it helps to look at the period it came from in the first place to get the best results.’
3. Set up your space
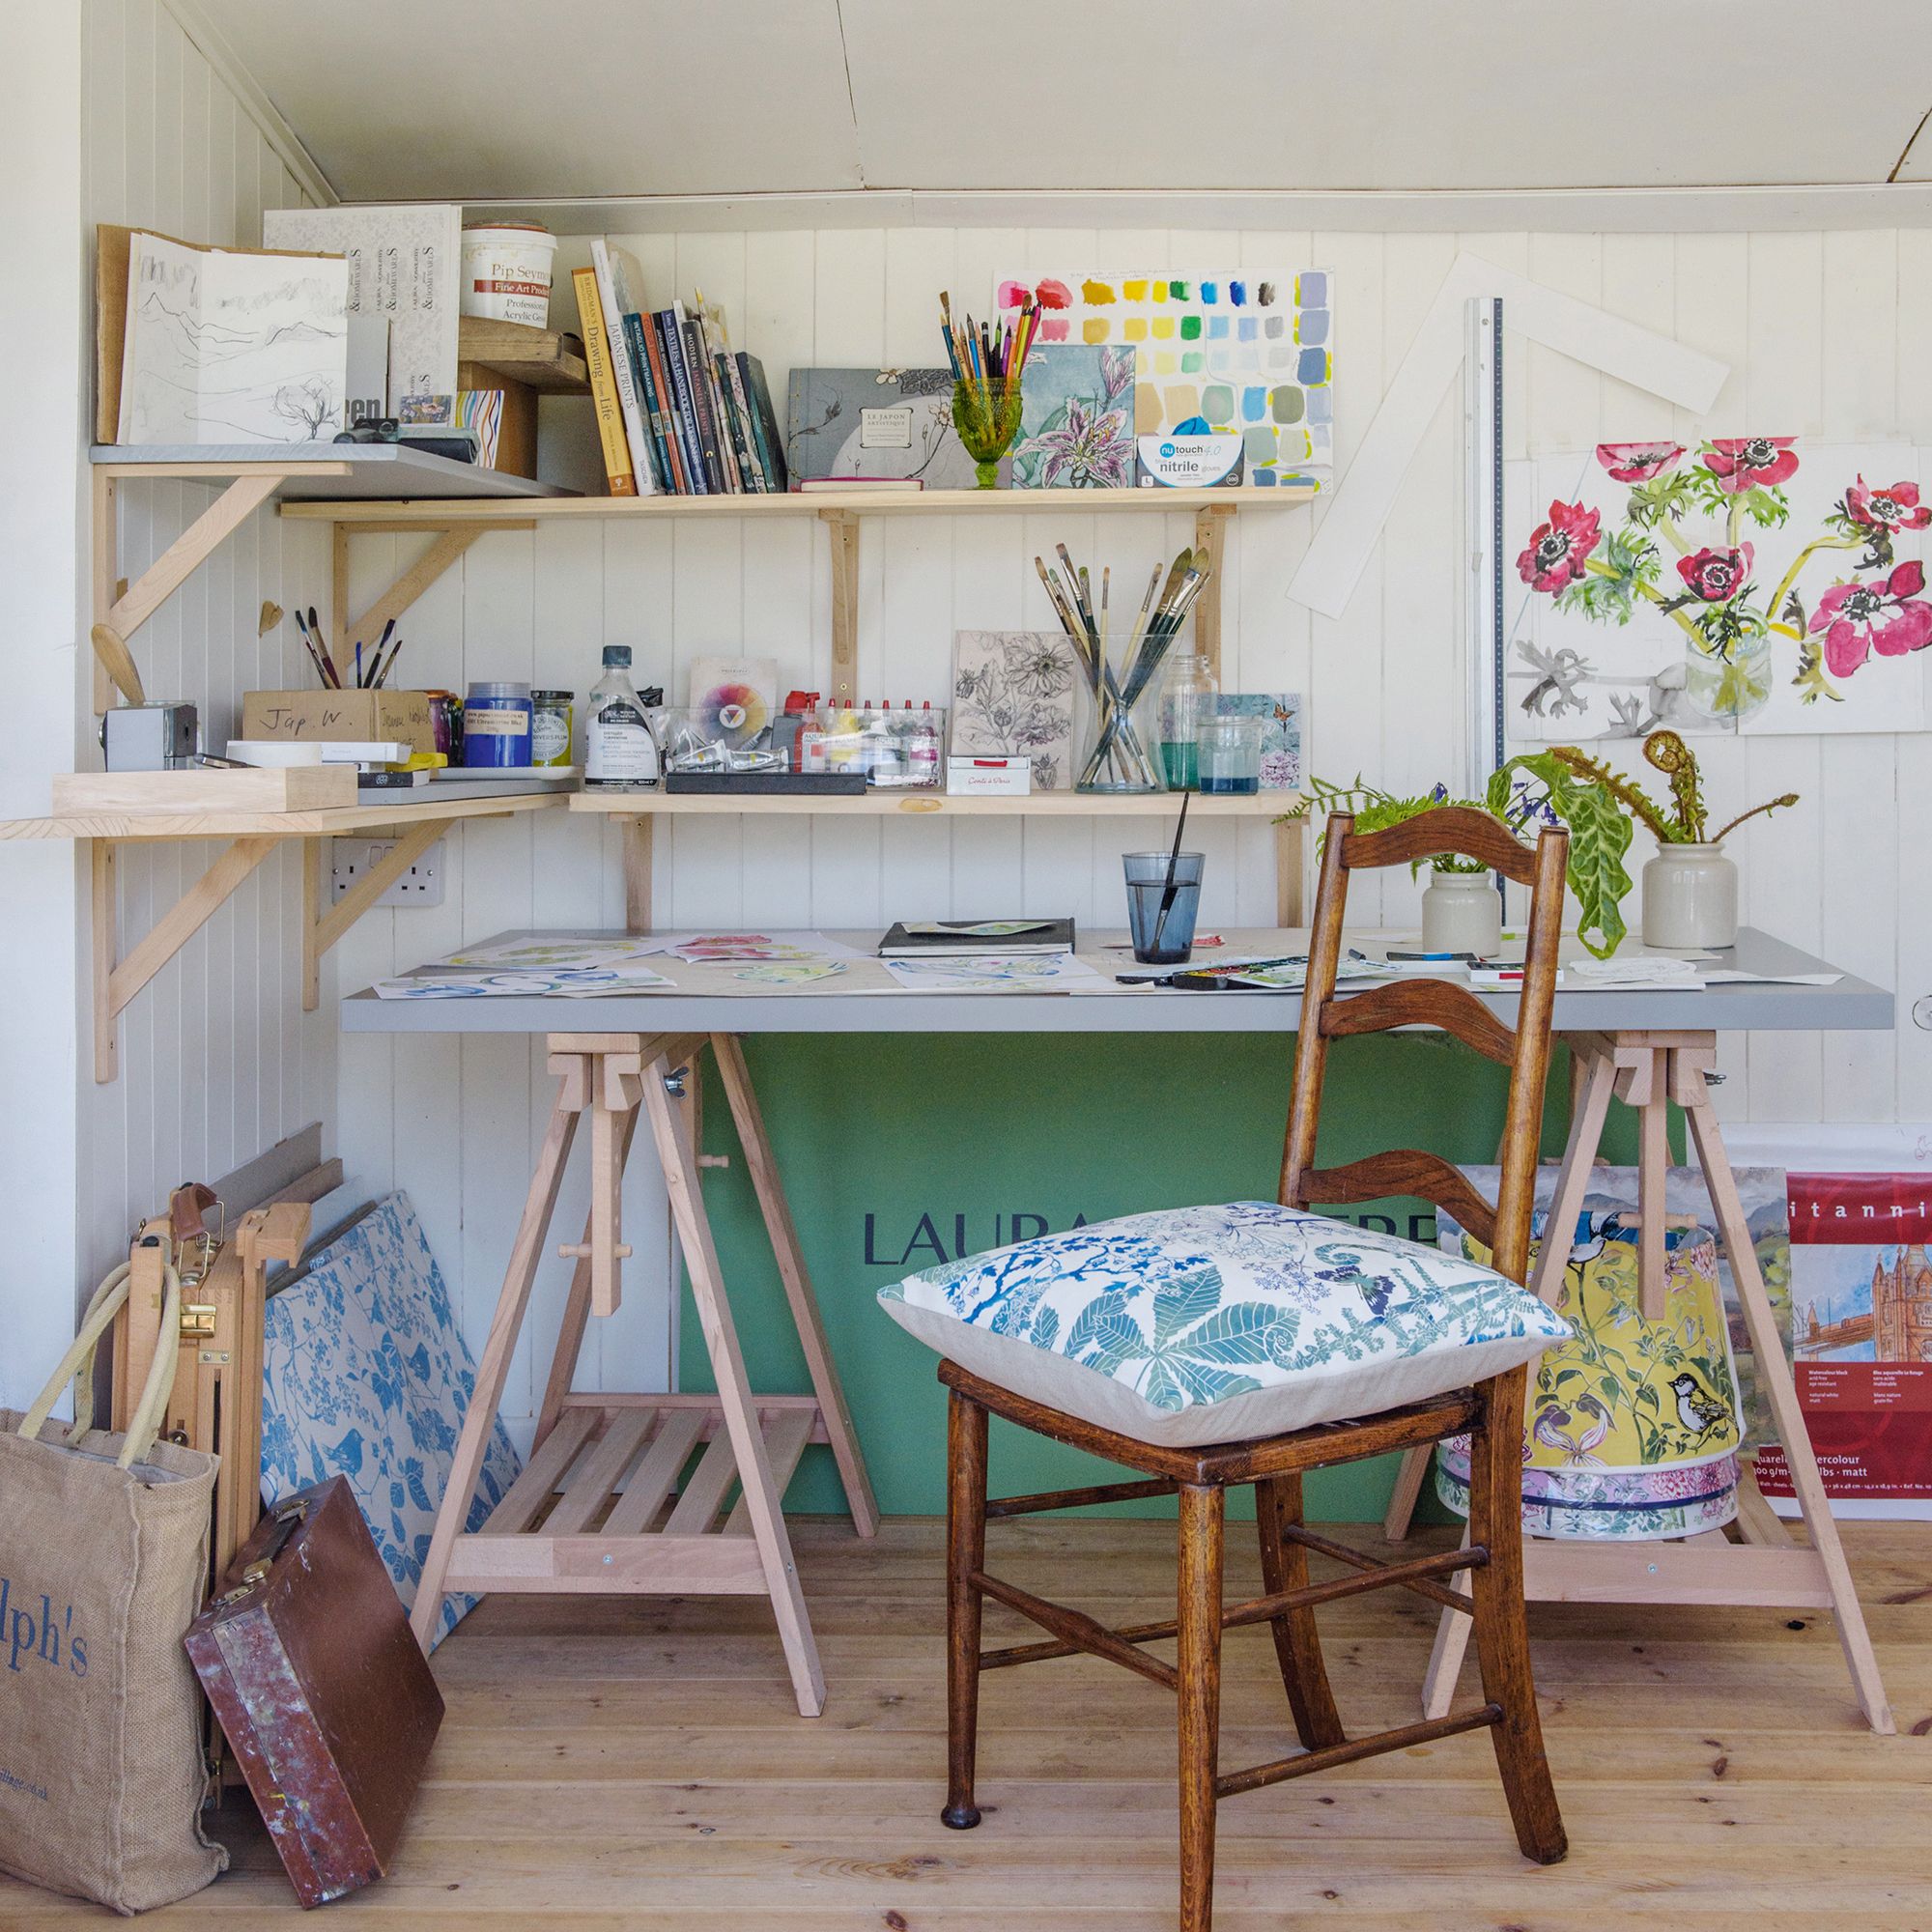
Upcycling can be a messy, time-consuming process, and you’re more likely to see a project through to completion if you have a dedicated space to set up and work. Ideally, a craft room or shed somewhere you won’t have to pack everything away again before you’re done.
‘Depending on what you’re working on, the space should ideally be well-lit, spacious enough to work comfortably and well-ventilated, especially if you are sanding and/or varnishing,’ advises Ryan Calvert, product manager at Hiatt Hardware. ‘Accessibility is also important, in terms of being able to easily walk around and reach the piece you are upcycling. For furniture, get a couple of wooden planks to sit the item on at waist height, so you’re not bending down all the time.’
4. Don’t neglect the prep
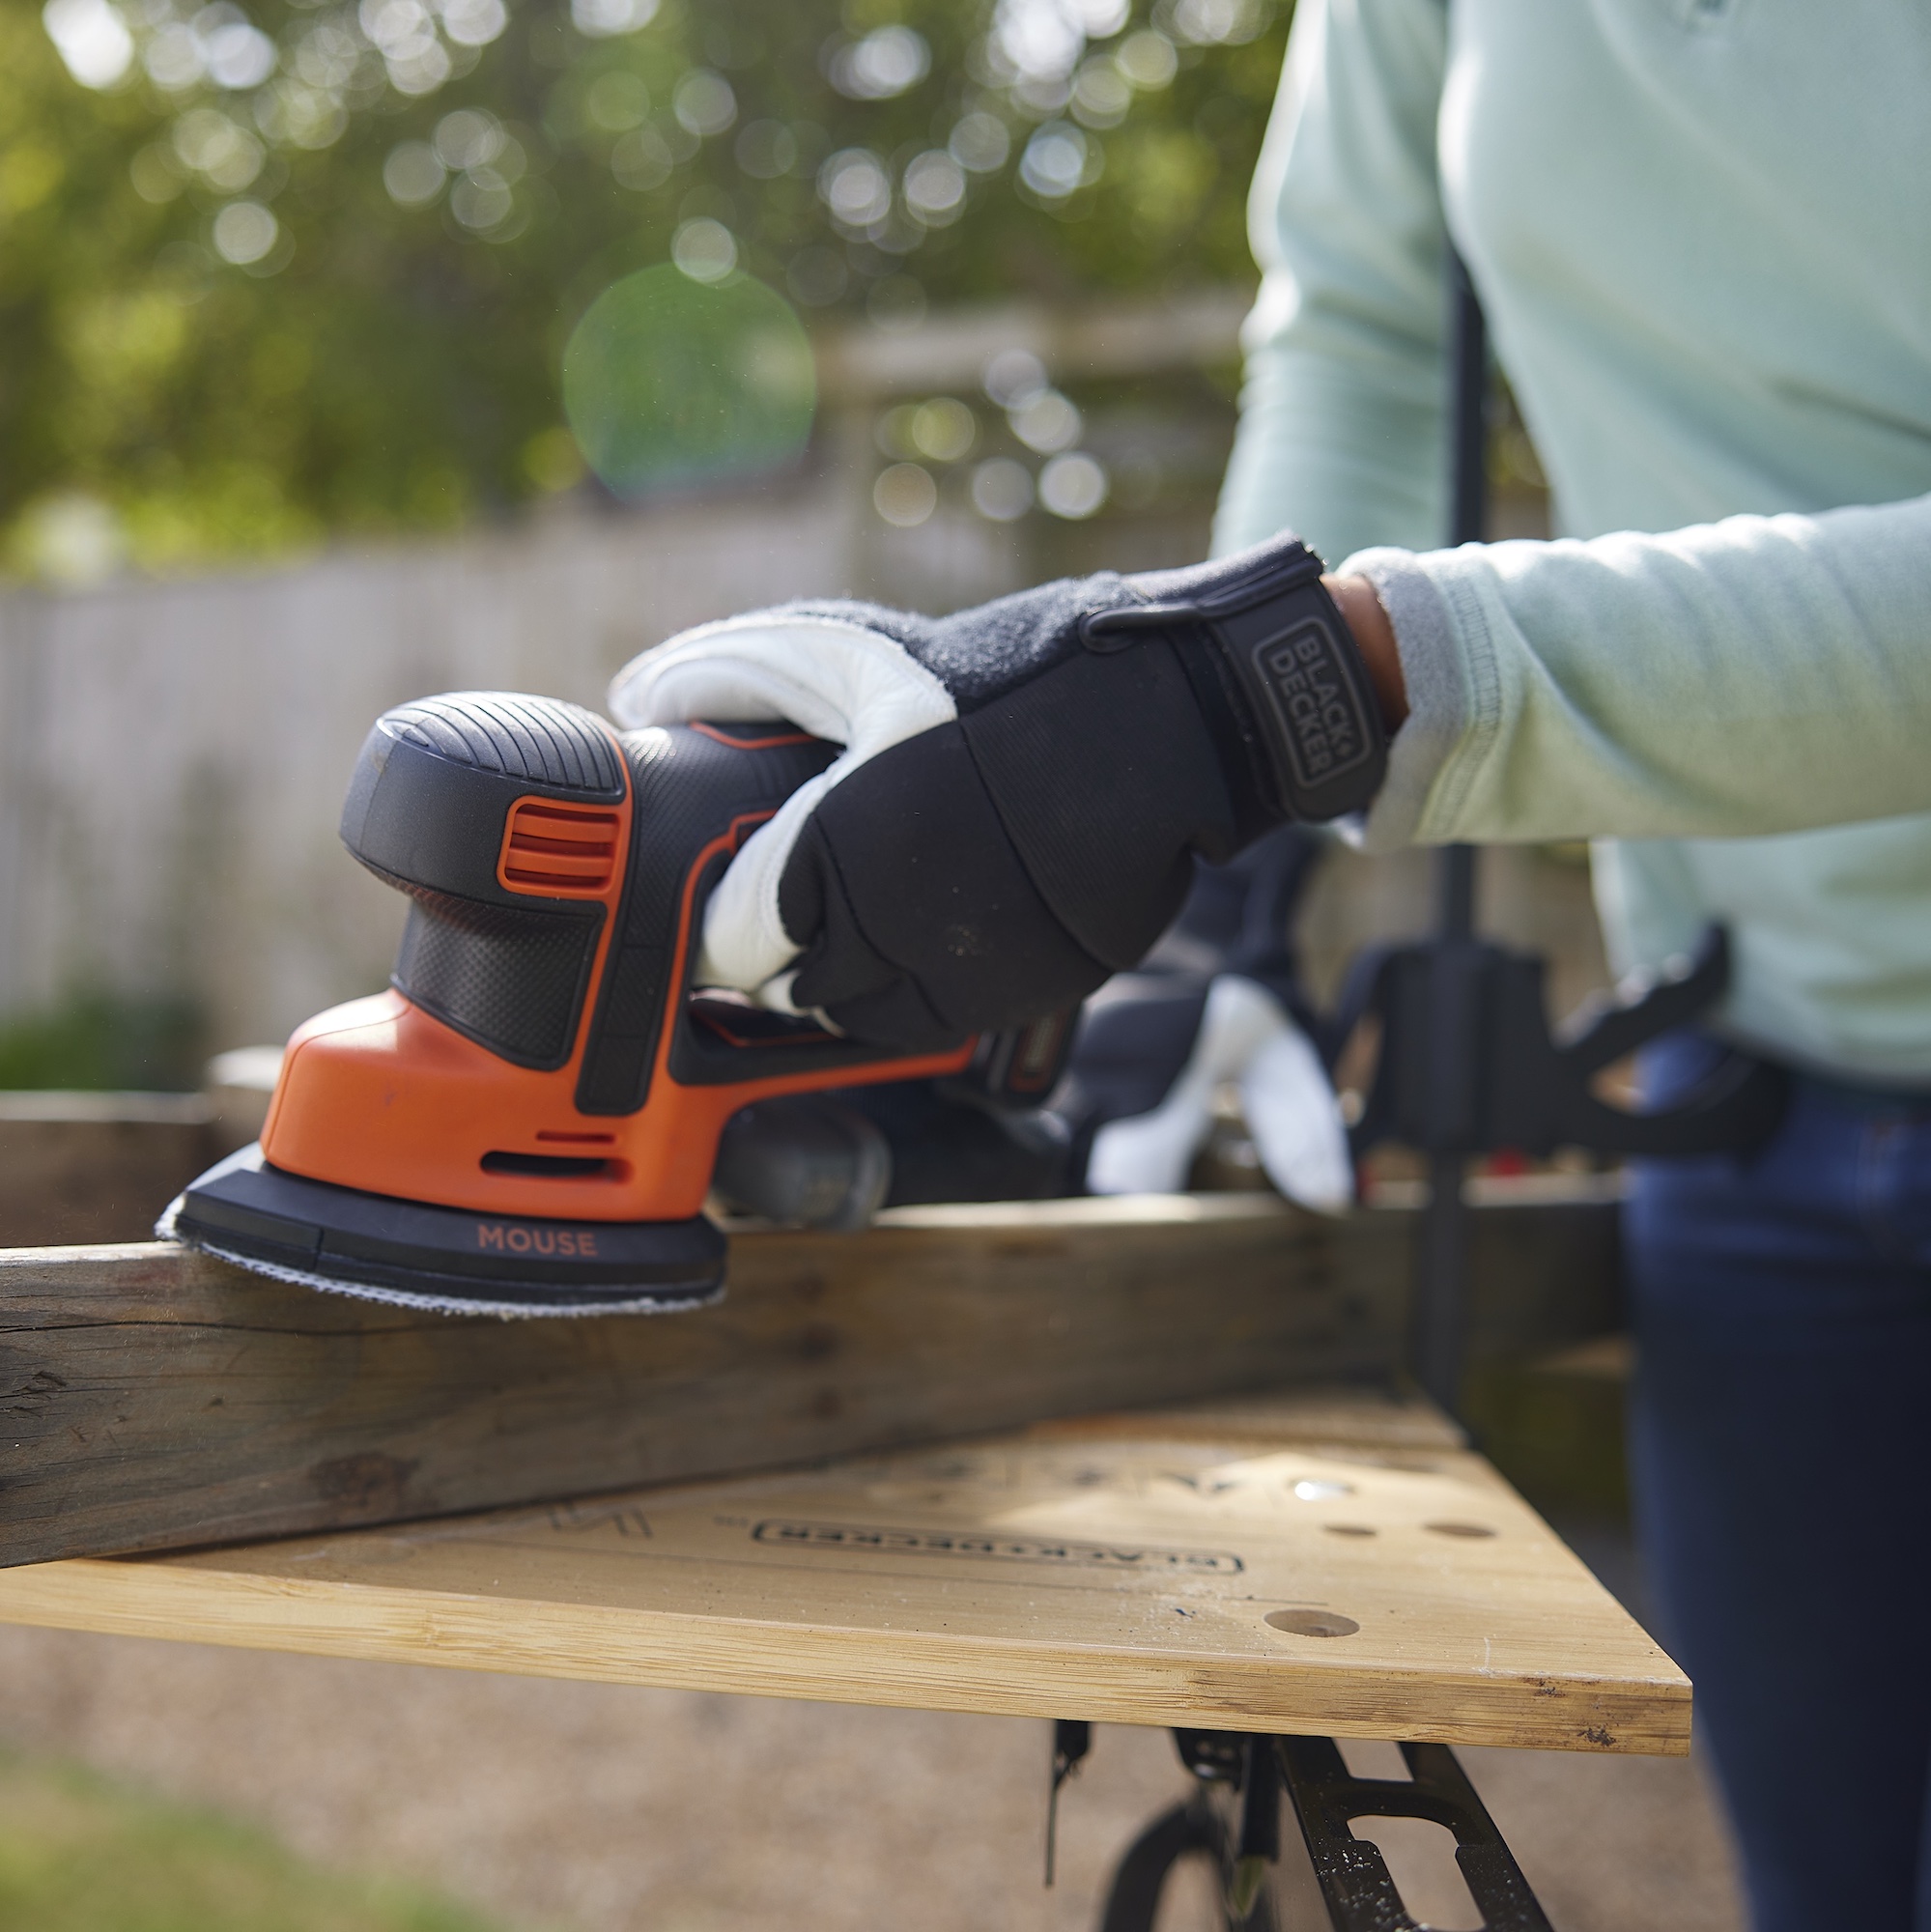
‘Prep work is the most crucial part of any upcycling project and can be the key to ensuring you nail it first time. Firstly, don’t rush especially if you’re a beginner, allocate at least double the amount of time you think a project should take,’ says Nick Ee, product training manager, Black + Decker.
‘Rushing might cause you to overlook important details or make mistakes that require you to redo certain parts, like sanding the project, and ultimately lead to wasted materials, time, and money.’
5. Get the right tools for the job
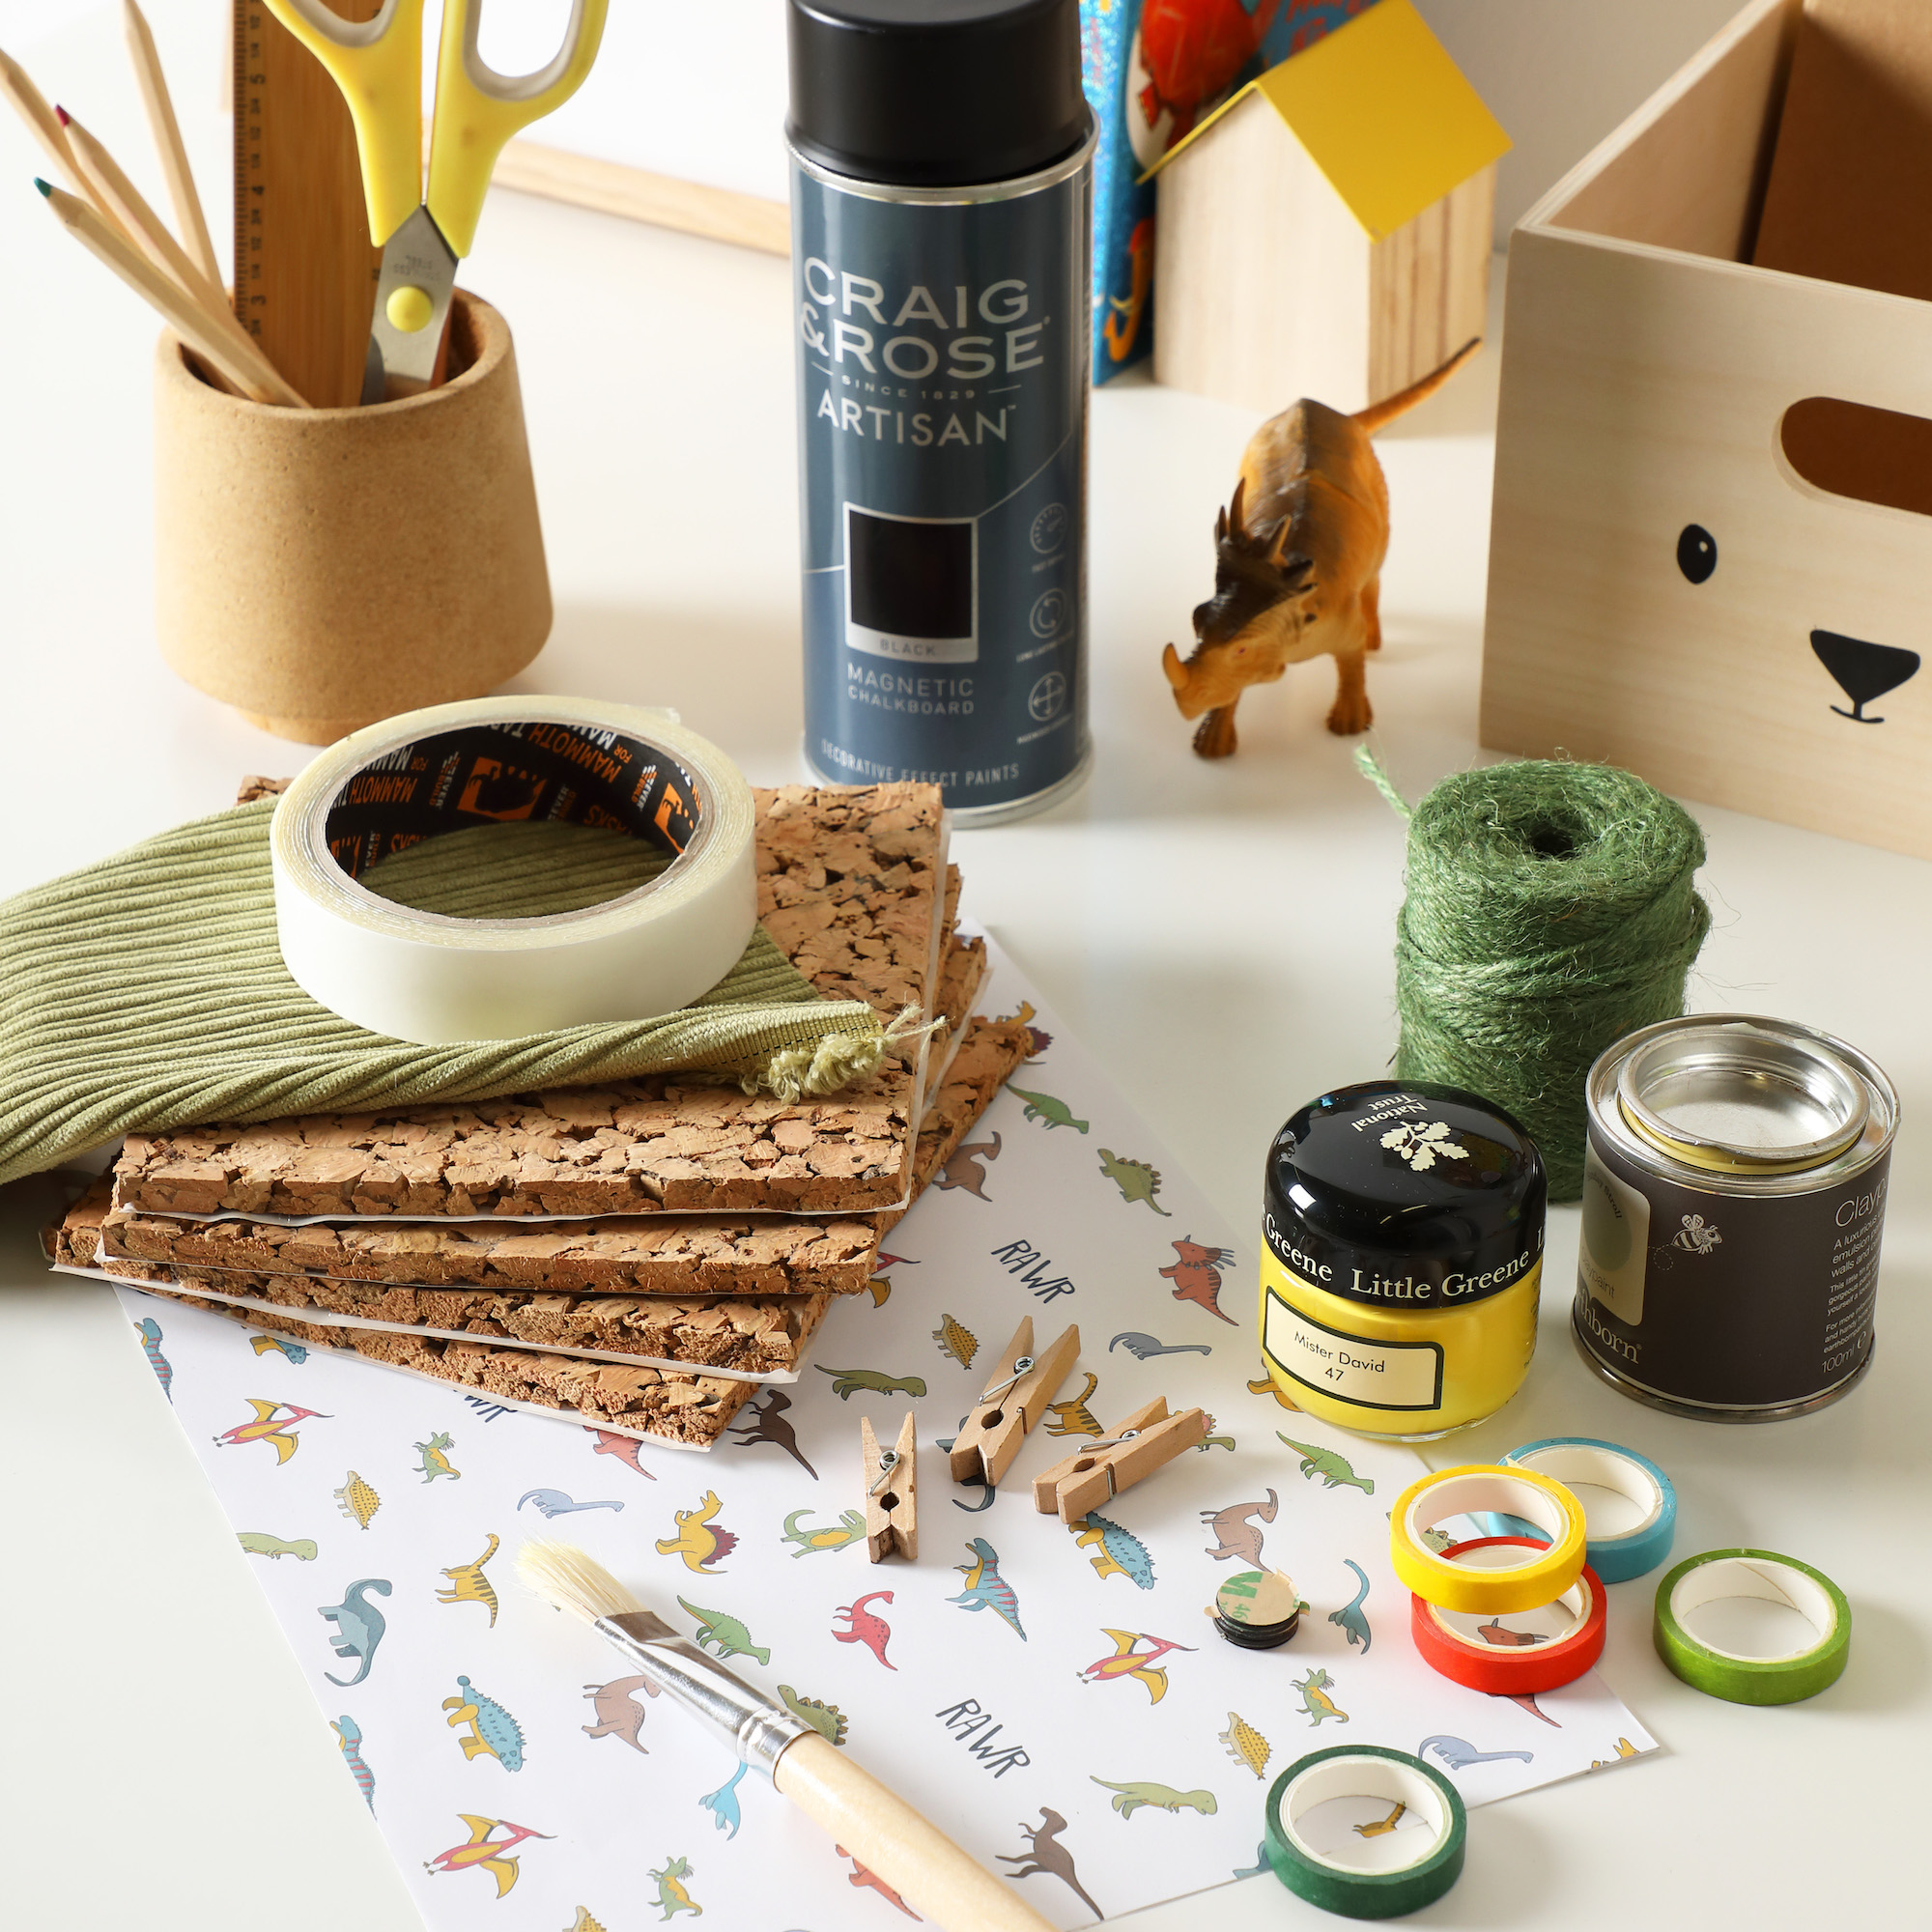
Different projects require different tools, and it’s worth making sure you have everything you need before you begin, especially if there are any niche needs that you won’t be able to pop out for easily.
As your upcycling journey progresses, you’ll start to establish a basic tool kit, which should include basic items like masking tape, a tape measure, good-quality brushes, sandpaper and sanding blocks, a power drill and a cordless screwdriver.
‘Make sure to check your tools are in good shape, inspect the power tools for any signs of wear such as frayed cords, cracks, loose parts, and any other issues that could affect the performance,’ adds Nick Ee, from Black + Decker.
6. Look for ‘good bones’
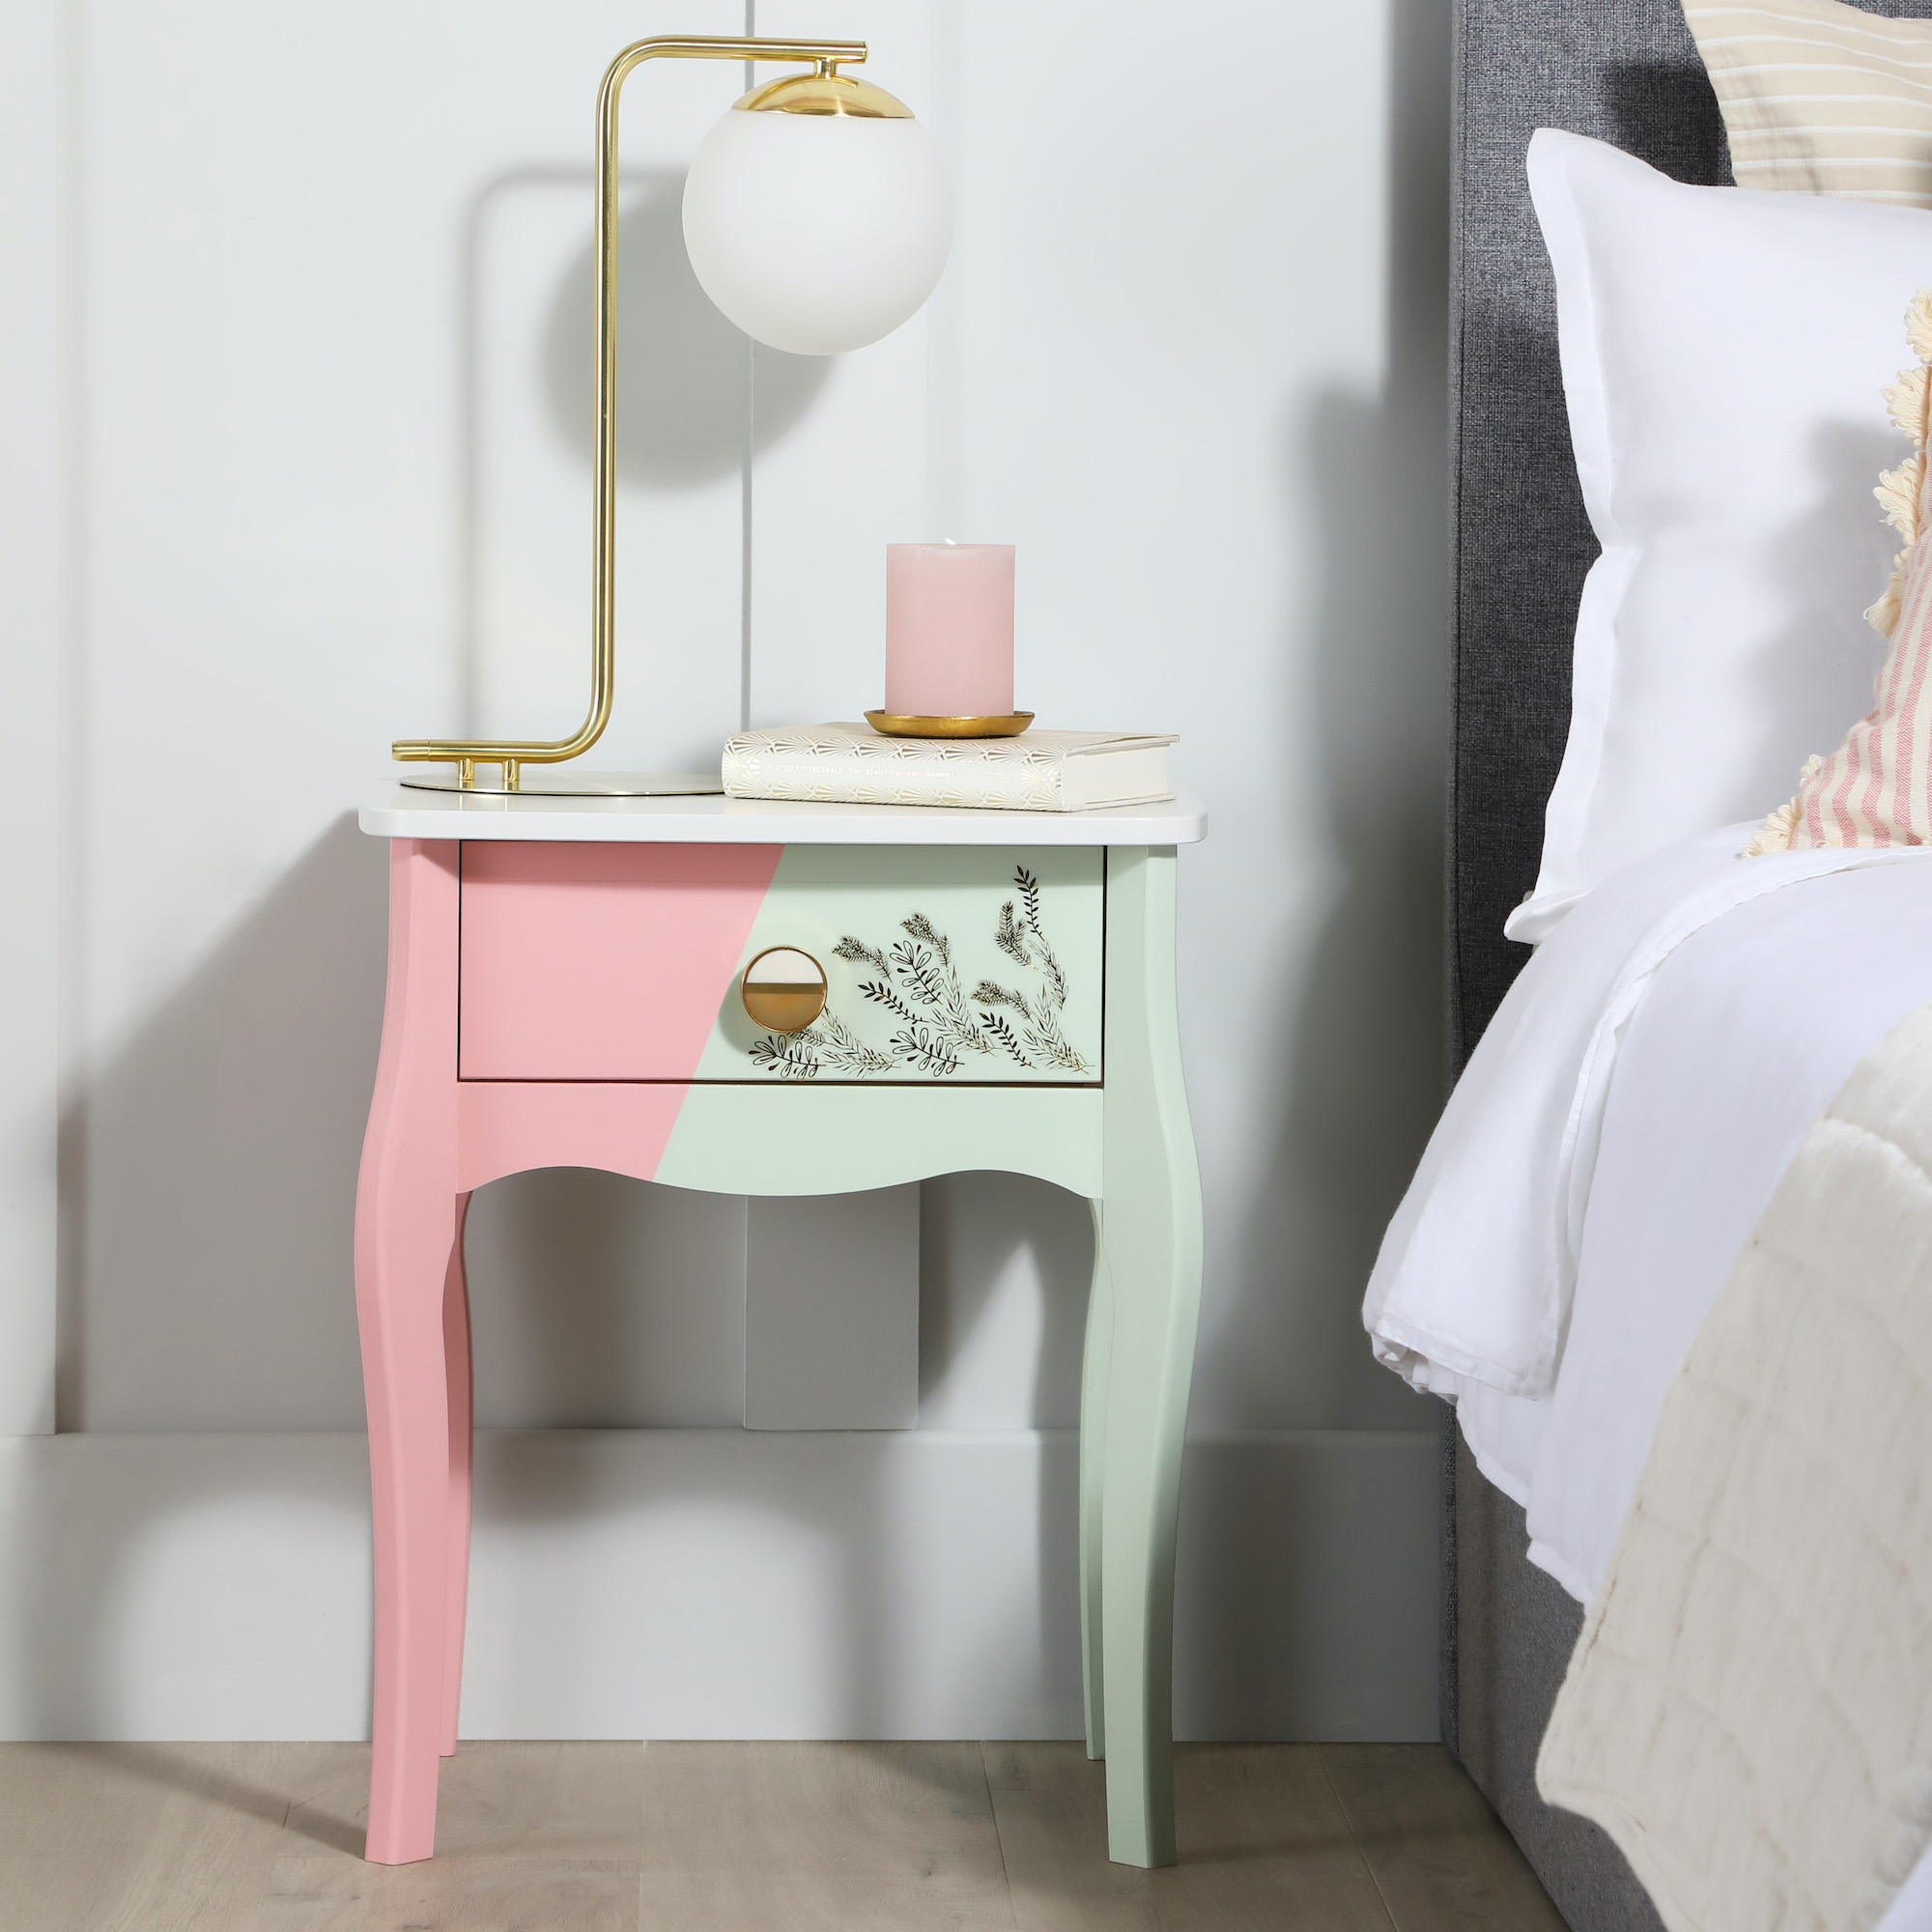
There are no hard and fast rules when it comes to upcycling but having a good carcass to work on makes a massive difference, especially when it comes to furniture.
‘If you’re spending your energy creating a unique piece – particularly if it is to resell – then look for a good solid, well-made piece of furniture to start with. Solid wood, dovetail joints, carved details all make a beautiful upcycle,’ says Steph Briggs, co-founder of La Di Da Interiors.
‘Having said that, if you're creating something for your own home and you have the perfect piece of flat-packed laminate MDF that you just want to update and change the colour, that can work too, provided the piece is still in good condition.’
7. Don’t over-complicate things
Any successful upcycle needs to be an improvement on the original and look as professional as possible. If you don’t yet know what you’re doing, you can end up creating something that looks worse than it did before you started!
‘A common mistake many beginners make is to be too ambitious with their first projects. Start small and invest in really good quality products, especially furniture paint and brushes,’ says Steph Briggs, from La Di Da Interiors.
‘If you’re completely new to it and you’re looking to do a larger project, such as several pieces of furniture in one room, then take the time to do a workshop. This will enable you to learn quickly and pick up pro tips.’
8. Make a plan
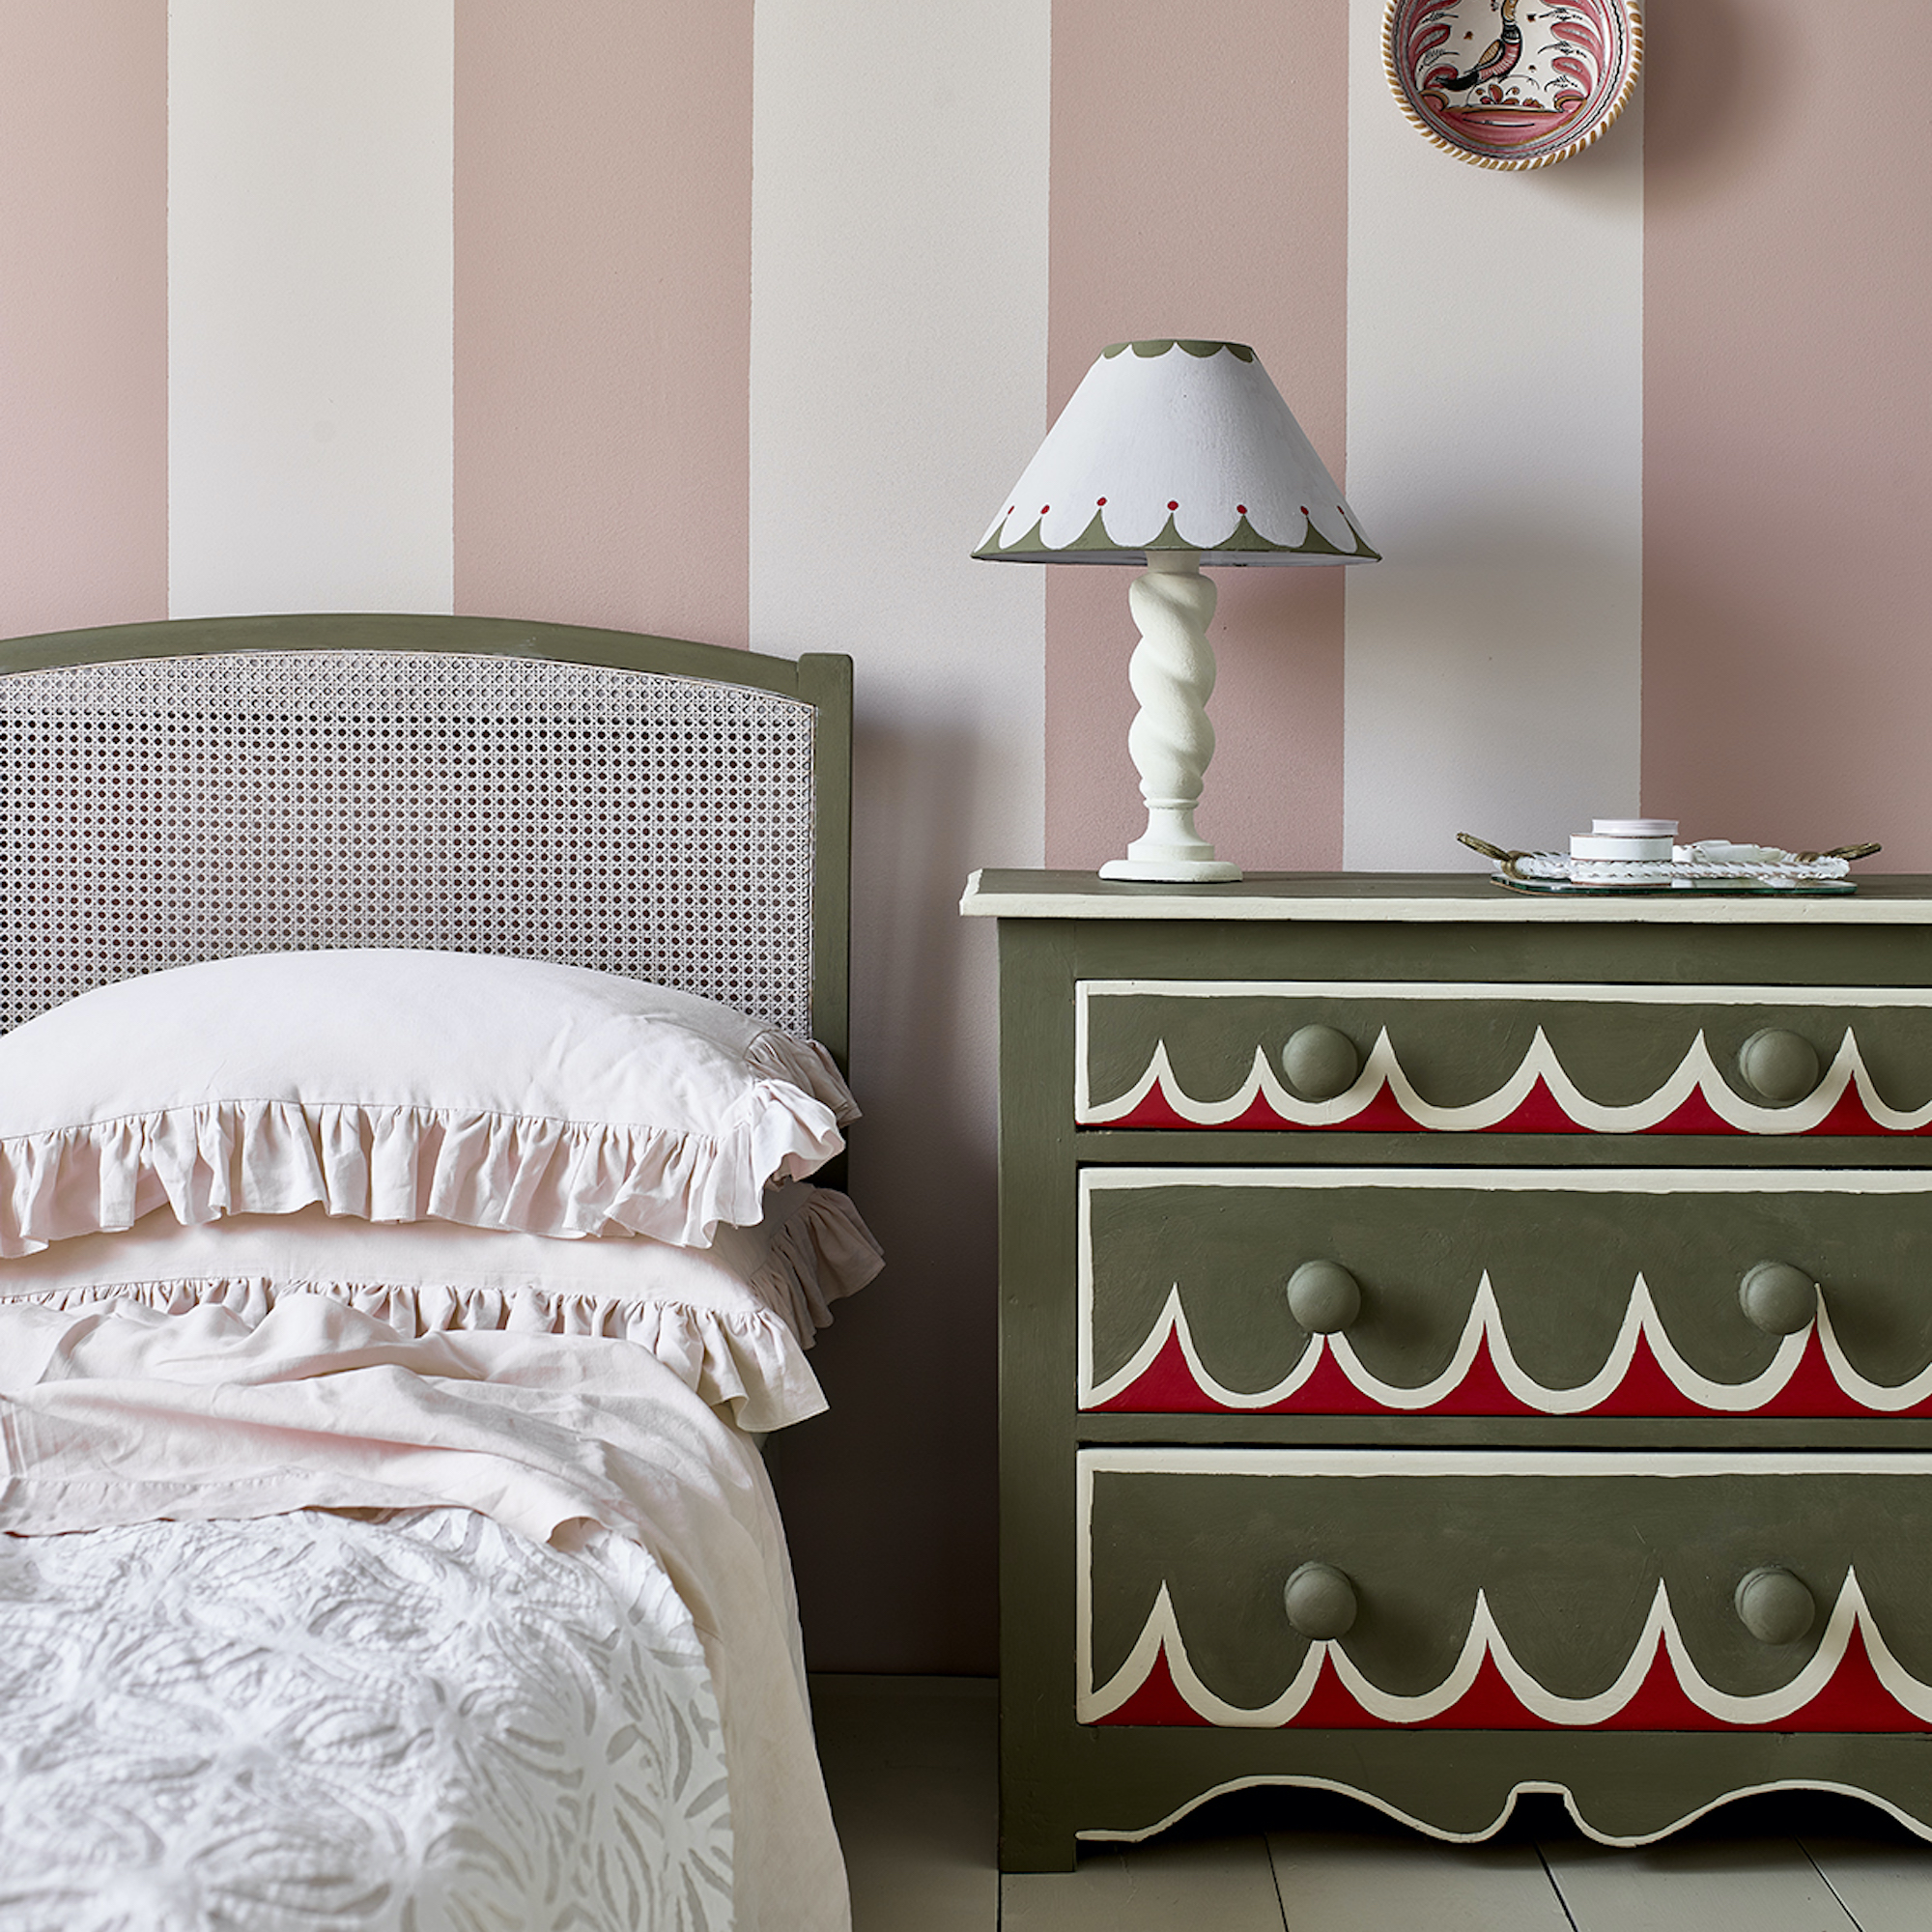
You don’t have to go into full spreadsheet mode, but jotting down a plan of attack before starting an upcycling project will help you stay or track and avoid mistakes. It can also help to identify any special tools or equipment you might need and establish the desired outcome.
‘Trying to do too much on one piece is an easy mistake to make, planning your upcycling beforehand limits this,’ says colour and paint expert Annie Sloan CBE. ‘Consider what you’re going to do before you do it, but without overthinking to the point of inertia. Decide what style you want before you start and make sure that it suits your home and your personality.’
9. Adopt sustainable practices
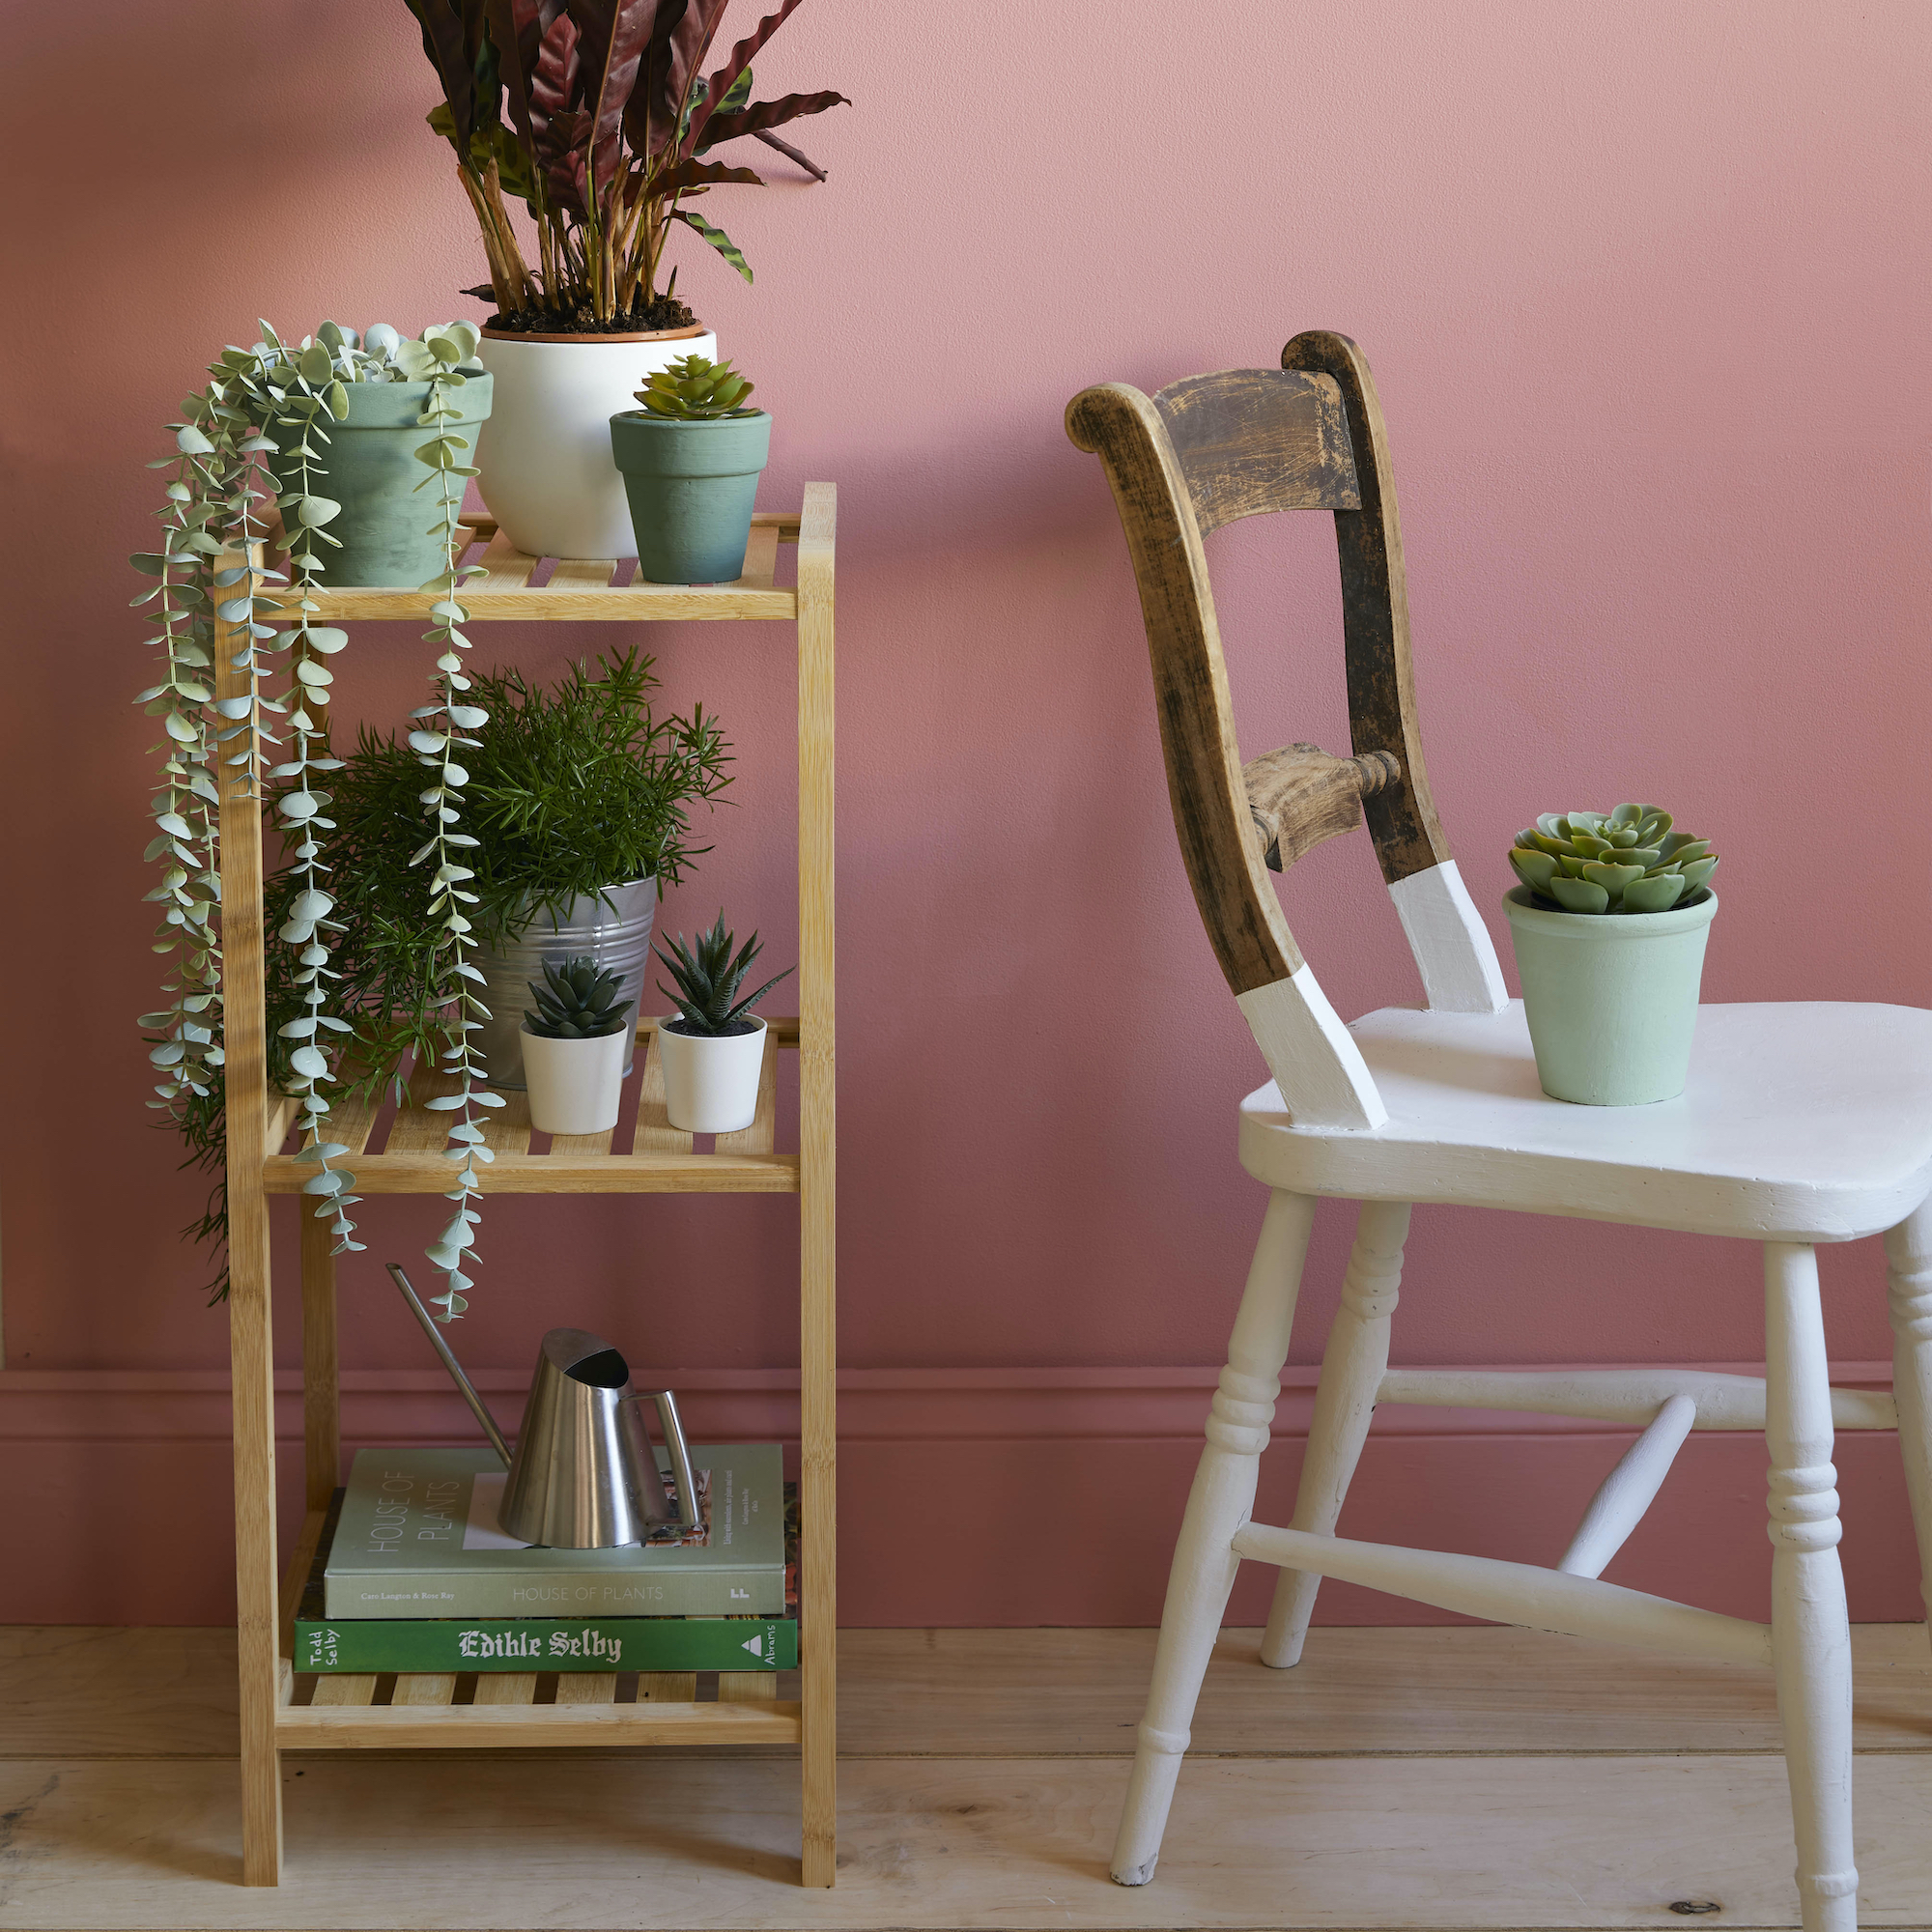
Saving another item going to landfill is a huge part of upcycling’s appeal but you can take it one step further by taking care to think sustainably during the process. This might include buying locally to reduce your carbon footprint and checking out the environmental credentials of any additional materials or finishes you need.
'Upcycling is a brilliant way to become more eco-conscious in the home, especially if you’re wanting to revamp old pieces into fresh new products. When this is done through using eco-friendly materials, such as eco-friendly paint, it becomes an even more impactful approach. By upcycling you’re also choosing to and minimise the demand for new products,’ agrees Jon Mee, technical advisor, Earthborn.
10. Hone your selling skills
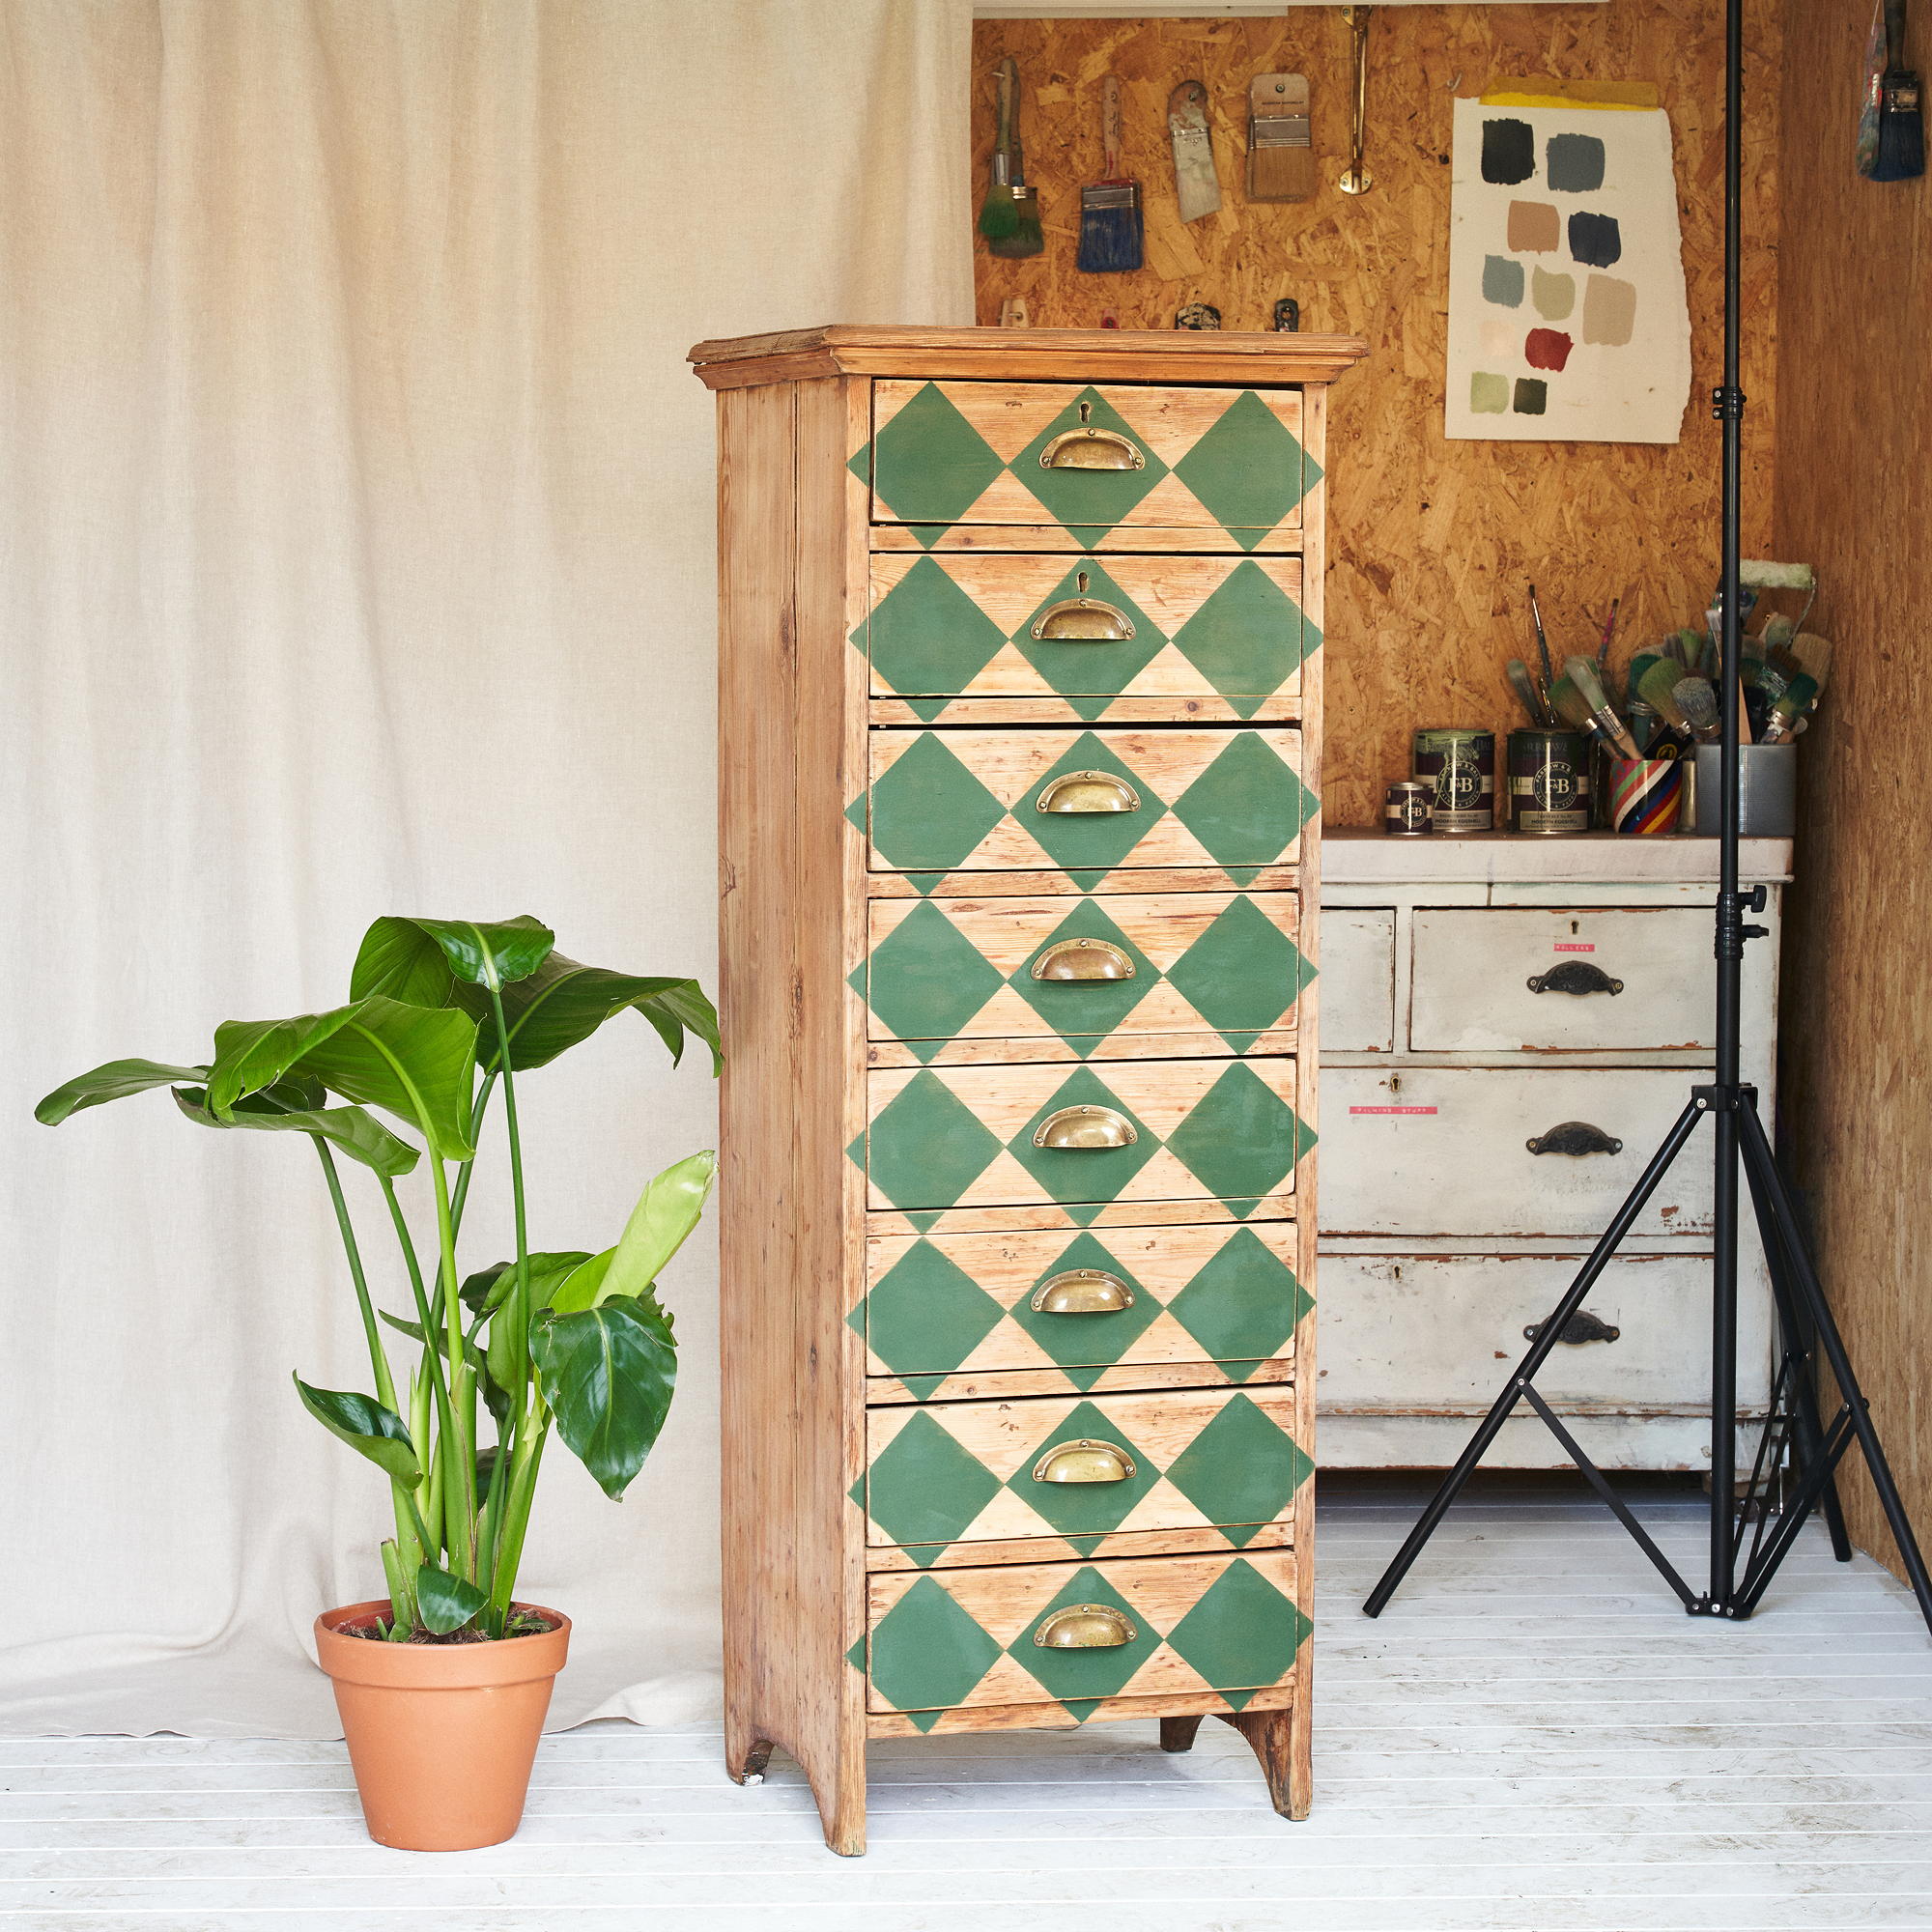
Once you’ve been bitten by the upcycling bug, you’ll quickly wind up with more beautifully completed projects than your home can handle! Selling online is the easiest way to offload your loot; Dwain McDonald, CEO of DeliveryApp, offers a few easy ways to improve your chances of success.
‘A picture is worth a thousand words, and in online selling, it can be worth even more. Take clear, well-lit photos from multiple angles to showcase your items' condition and unique features,’ he says.
‘Provide accurate and comprehensive descriptions of the items you are selling. Include information about condition, specifications, dimensions, and any notable features. Research the market value of similar items and set a competitive price. Reasonable pricing increases the chances of attracting potential buyers.
‘Opt for a reputable courier service to ensure safe and timely deliveries. Reliable courier services will enhance customer satisfaction and build your reputation as a trustworthy seller.’
FAQs
What is the bestselling upcycled items?
‘The best-selling upcycled items vary greatly seasonally and regionally,’ says Steph Briggs, from La Di Da Interiors.
‘However, they all tend to have several key components: They’re beautifully made, for example antiques that have been cosmetically damaged and refinished. They have been immaculately done; flawless smooth painting, perfectly applied decoupage and beautifully finished.
'The biggest key to successful selling is the staging, lighting and photography of each piece, being able to offer a nationwide delivery service opens up the market too.’
What products can be upcycled?
If you are giving something a new lease of life, then technically it qualifies as upcycled, and the possibilities are virtually endless. However, some items definitely make easier and more popular upcycling projects than others. Furniture tops the list, especially thanks to the wealth of chalk paints and other revamping products aimed at DIY ease now available.
Less obvious choices can yield greater satisfaction, and many people relish the challenge of repurposing household waste into useful items. Think jam jars and shoe boxes into pretty storage, old pallets into tables, and unloved clothing into blankets and cushion covers.
Where do I start upcycling?
If you are upcycling with the aim of making some extra money, or starting a side hustle, it's important to start by working how much the project will cost versus what you may expect to sell the finished item for.
'Calculate the budget for your project. Some high-quality tools can be expensive, so weigh up which tools are necessary and how often you will need them,' says hand tool expert Beth Priestley, from Toolstation.
'You will need to research the tools required for your specific job. Take a look at buying guides and how-to guides online to get your started. You might already have some but may need to buy others; this will help minimise how much you need to spend. Also, remember to prioritise - some may be essential, and others may be optional but very helpful.
'Multipurpose tools can help you to save space and money and means your budget stretches further. You may find that specialist tools give a higher quality result, but if you’re just starting out then multipurpose tools are perfect.'
Finally, don't forget safety. Ensure you have safety wear if needed for your project (gloves, goggles, a mask and appropriate safety clothes).

Linda Clayton is a professionally trained journalist, and has specialised in product design, interiors and fitness for more than two decades. Linda has written for a wide range of publications, from the Daily Telegraph and Guardian to Homes & Gardens and Livingetc. She has been freelancing for Ideal Home Magazine since 2008, covering design trends, home makeovers, product reviews and much more.
-
 Should your front door colour match your hallway? Interior experts reveal 3 reasons why it should (and 3 reasons it shouldn't)
Are you team matching or contrasting?
By Ellis Cochrane
-
 This £200 limited-time discount makes this Dyson vacuum cheaper than I’ve ever seen it - run don’t walk to Argos for this bargain
It's the most affordable Dyson on the market right now
By Lauren Bradbury
-
 Martin and Shirlie Kemp’s pastel flower beds has given their Victorian renovation a romantic look - how you can get the look
Their pastel garden is the cottage garden inspo you've been looking for
By Kezia Reynolds