How to make a DIY garden signpost with leftover outdoor paint and upcycled wood battens
Make a statement vintage sign for your garden

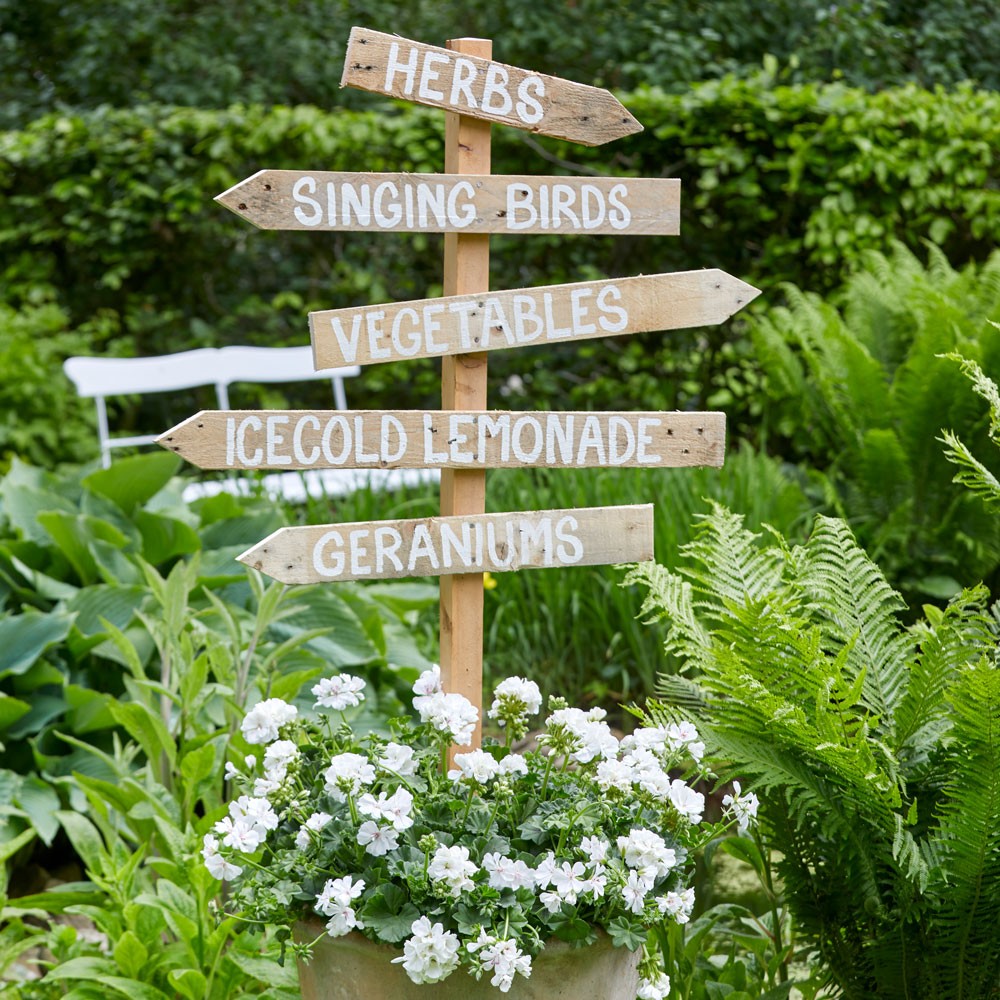
Whether you have a celebration coming up or you just want to prettify your outside space, an old-fashioned DIY garden signpost is a fun addition.
Related: 29 easy garden ideas – simple, low-maintenance updates to transform your outdoor space
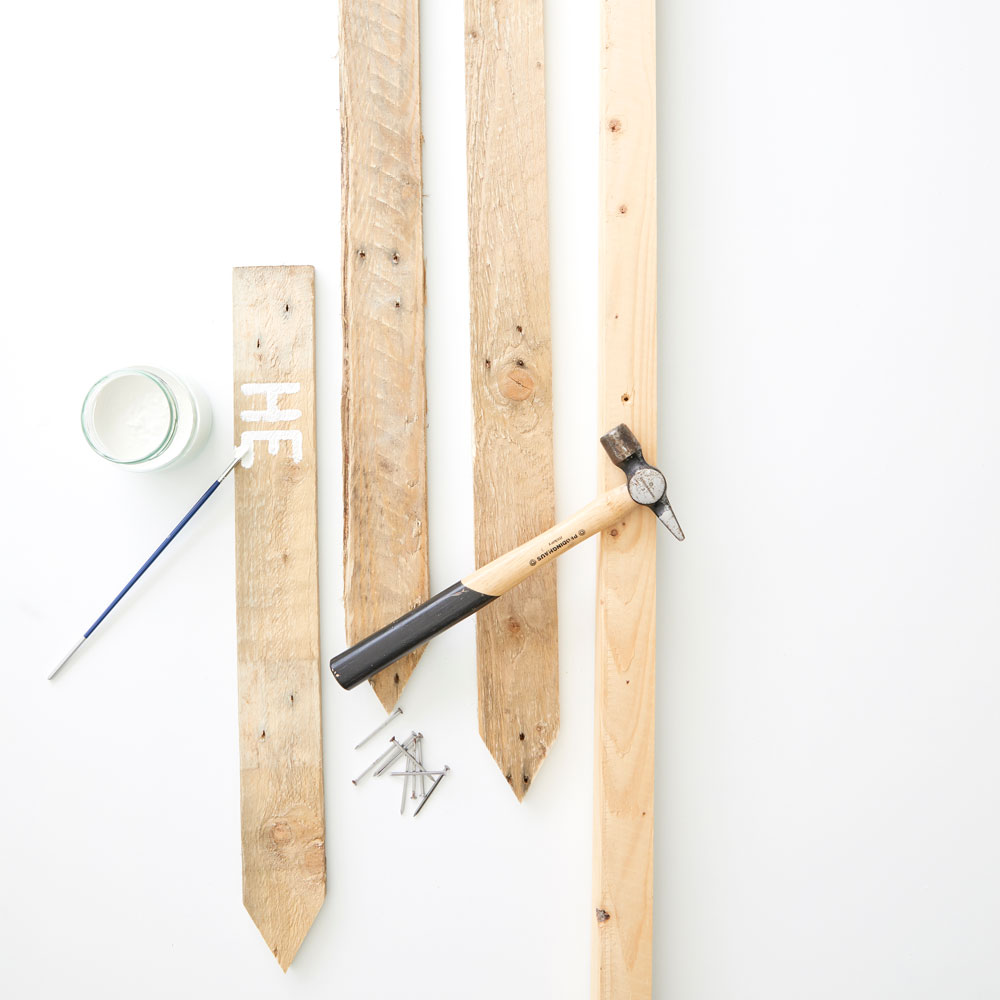
You don’t need to be a DIY whizz, either! All you need is a hammer and nails, plus a saw if you plan to create your arrows from scratch. It’s a great way to use reclaimed wood from old pallets or any discarded posts or battens. Garden paint will ensure your signs stay crisp and clear whatever the weather.

How to create a DIY garden signpost
You will need

- Wooden post
- Wooden battens
- Jigsaw or hand saw
- Sandpaper
- Hammer
- Nails
- Weatherproof paint
- Paintbrush
1 Make the arrows
Lay out several wooden battens on a flat surface. Use a pencil and ruler to draw a point at one end of each piece. Cut with a jigsaw or hand saw. Lightly sand to get rid of any splinters.
Buy now: Rough sawn whitewood spruce timber, £12.47 for 2.4m, B&Q
Buy now: Norton aluminium oxide assorted hand sanding sheets, £5.80 for 5 sheets, B&Q
2 Choose your words
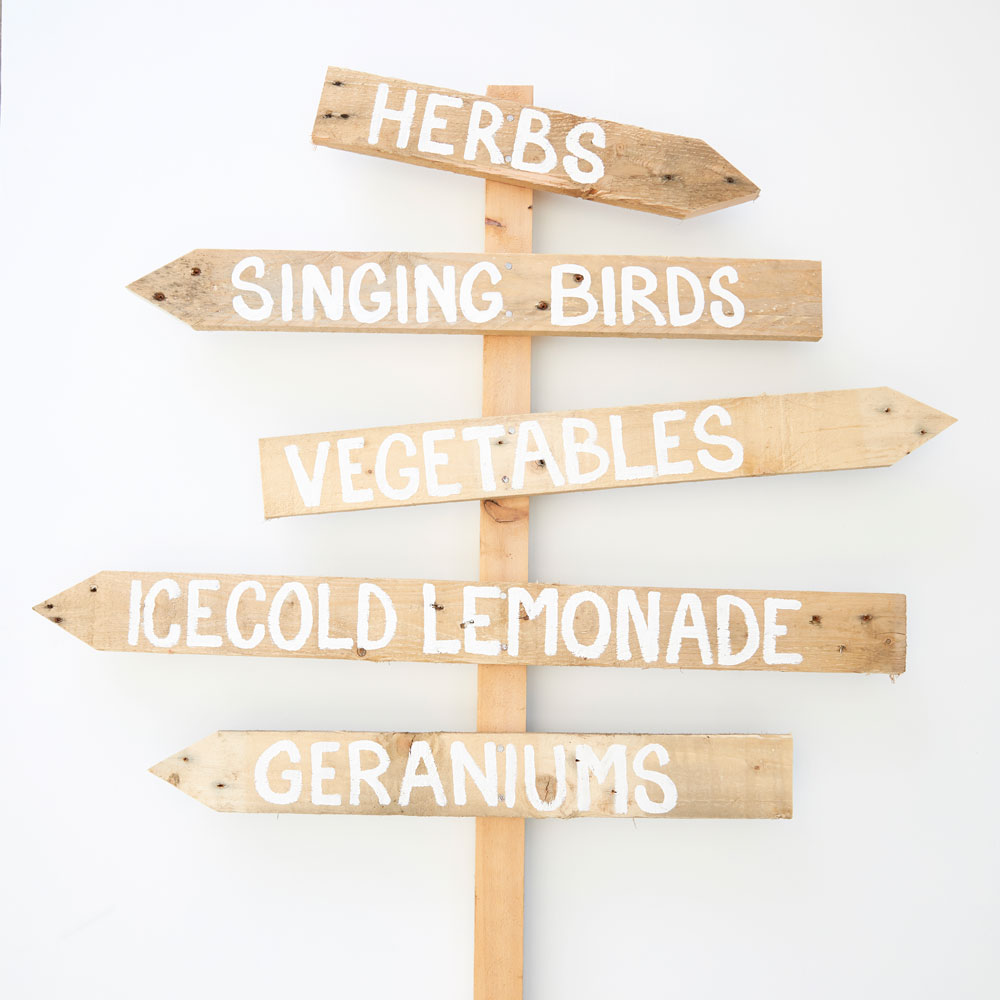
Decide which words you’d like on each garden signpost. For a special occasion, think of where you’d like to direct guests, i.e. ‘cocktails’, ‘buffet’ or ‘bathroom’. For a year-round garden sign, go for more generic terms like ‘herbs’, ‘flowers’ and ‘singing birds’.
Related: Brilliant budget garden ideas that will boost your outdoor space without breaking the bank!
3 Create a chalk outline
Once you’re happy with the words you’ve chosen, use a piece of chalk to write them onto your wooden battens. Try to make sure the letters are equally spaced and in the centre of each piece. Don’t forget to think about which way you’ll want your arrows to face when the garden signpost is in situ.
4 Fill in with paint
Go over your letters with weatherproof garden paint and a narrow paintbrush. Make sure the letters are in a colour that stands out against the wood and are nice and bold. Go over a second time if needed. Allow to dry completely.
Buy now: Cuprinol Garden Shades in White Daisy matt wood paint, £4 for 125ml, B&Q
Buy now: Gold flat and round Taklon brushes, £3 for six, Hobbycraft
5 Attach the arrows

Lay the wooden post flat on the ground and arrange your arrows so they are in the order and direction you want them. Use a hammer and nails to attach the battens to the post. Try placing them at different angles for a jaunty look.
Buy now: Diall lost head nails L40mm, £2.12 for 125g, B&Q
Buy now: Magnusson claw hammer 20oz, £11.97, B&Q
6 Display your signpost
Firmly push your DIY garden signpost into the ground so it’s standing securely. Alternatively, place in a large, sturdy pot. Plant scented flowers like geraniums, lavender or jasmine around the signpost for a beautiful display.
Looking for more garden makes? 11 garden projects to tackle this weekend – from planting to painting
Protect your signpost from the damage and wear by placing it in a shed or garage during winter or spouts of bad weather.
Get the Ideal Home Newsletter
Sign up to our newsletter for style and decor inspiration, house makeovers, project advice and more.

Steph Durrant is the Deputy Editor of Ideal Home’s sister magazine, Style at Home. Steph is an experienced journalist with more than 12 years under her belt working across the UK’s leading craft and interiors magazines. She first joined the team back in 2016 writing for both homes brands, specialising in all things craft, upcycling and DIY.
-
 I finally got my hands on the sellout Morris & Co armchair from Habitat, and it looks even better in person
It's back in stock, and well worth the wait
By Rebecca Knight
-
 How to stratify seeds – gardening pros swear by this secret to a thriving garden
This little-known secret is a must for a lush garden this year
By Kayleigh Dray
-
 Cinema sofas are this year's breakout furniture trend, but are you a fan of this controversial sofa style?
Let us know in the comments
By Rebecca Knight