How to build an outdoor kitchen for a social and functional alfresco space
Complete with a sink, storage and worktop area, create an outdoor kitchen that will make you only want to cook outside

Imani Cottrell
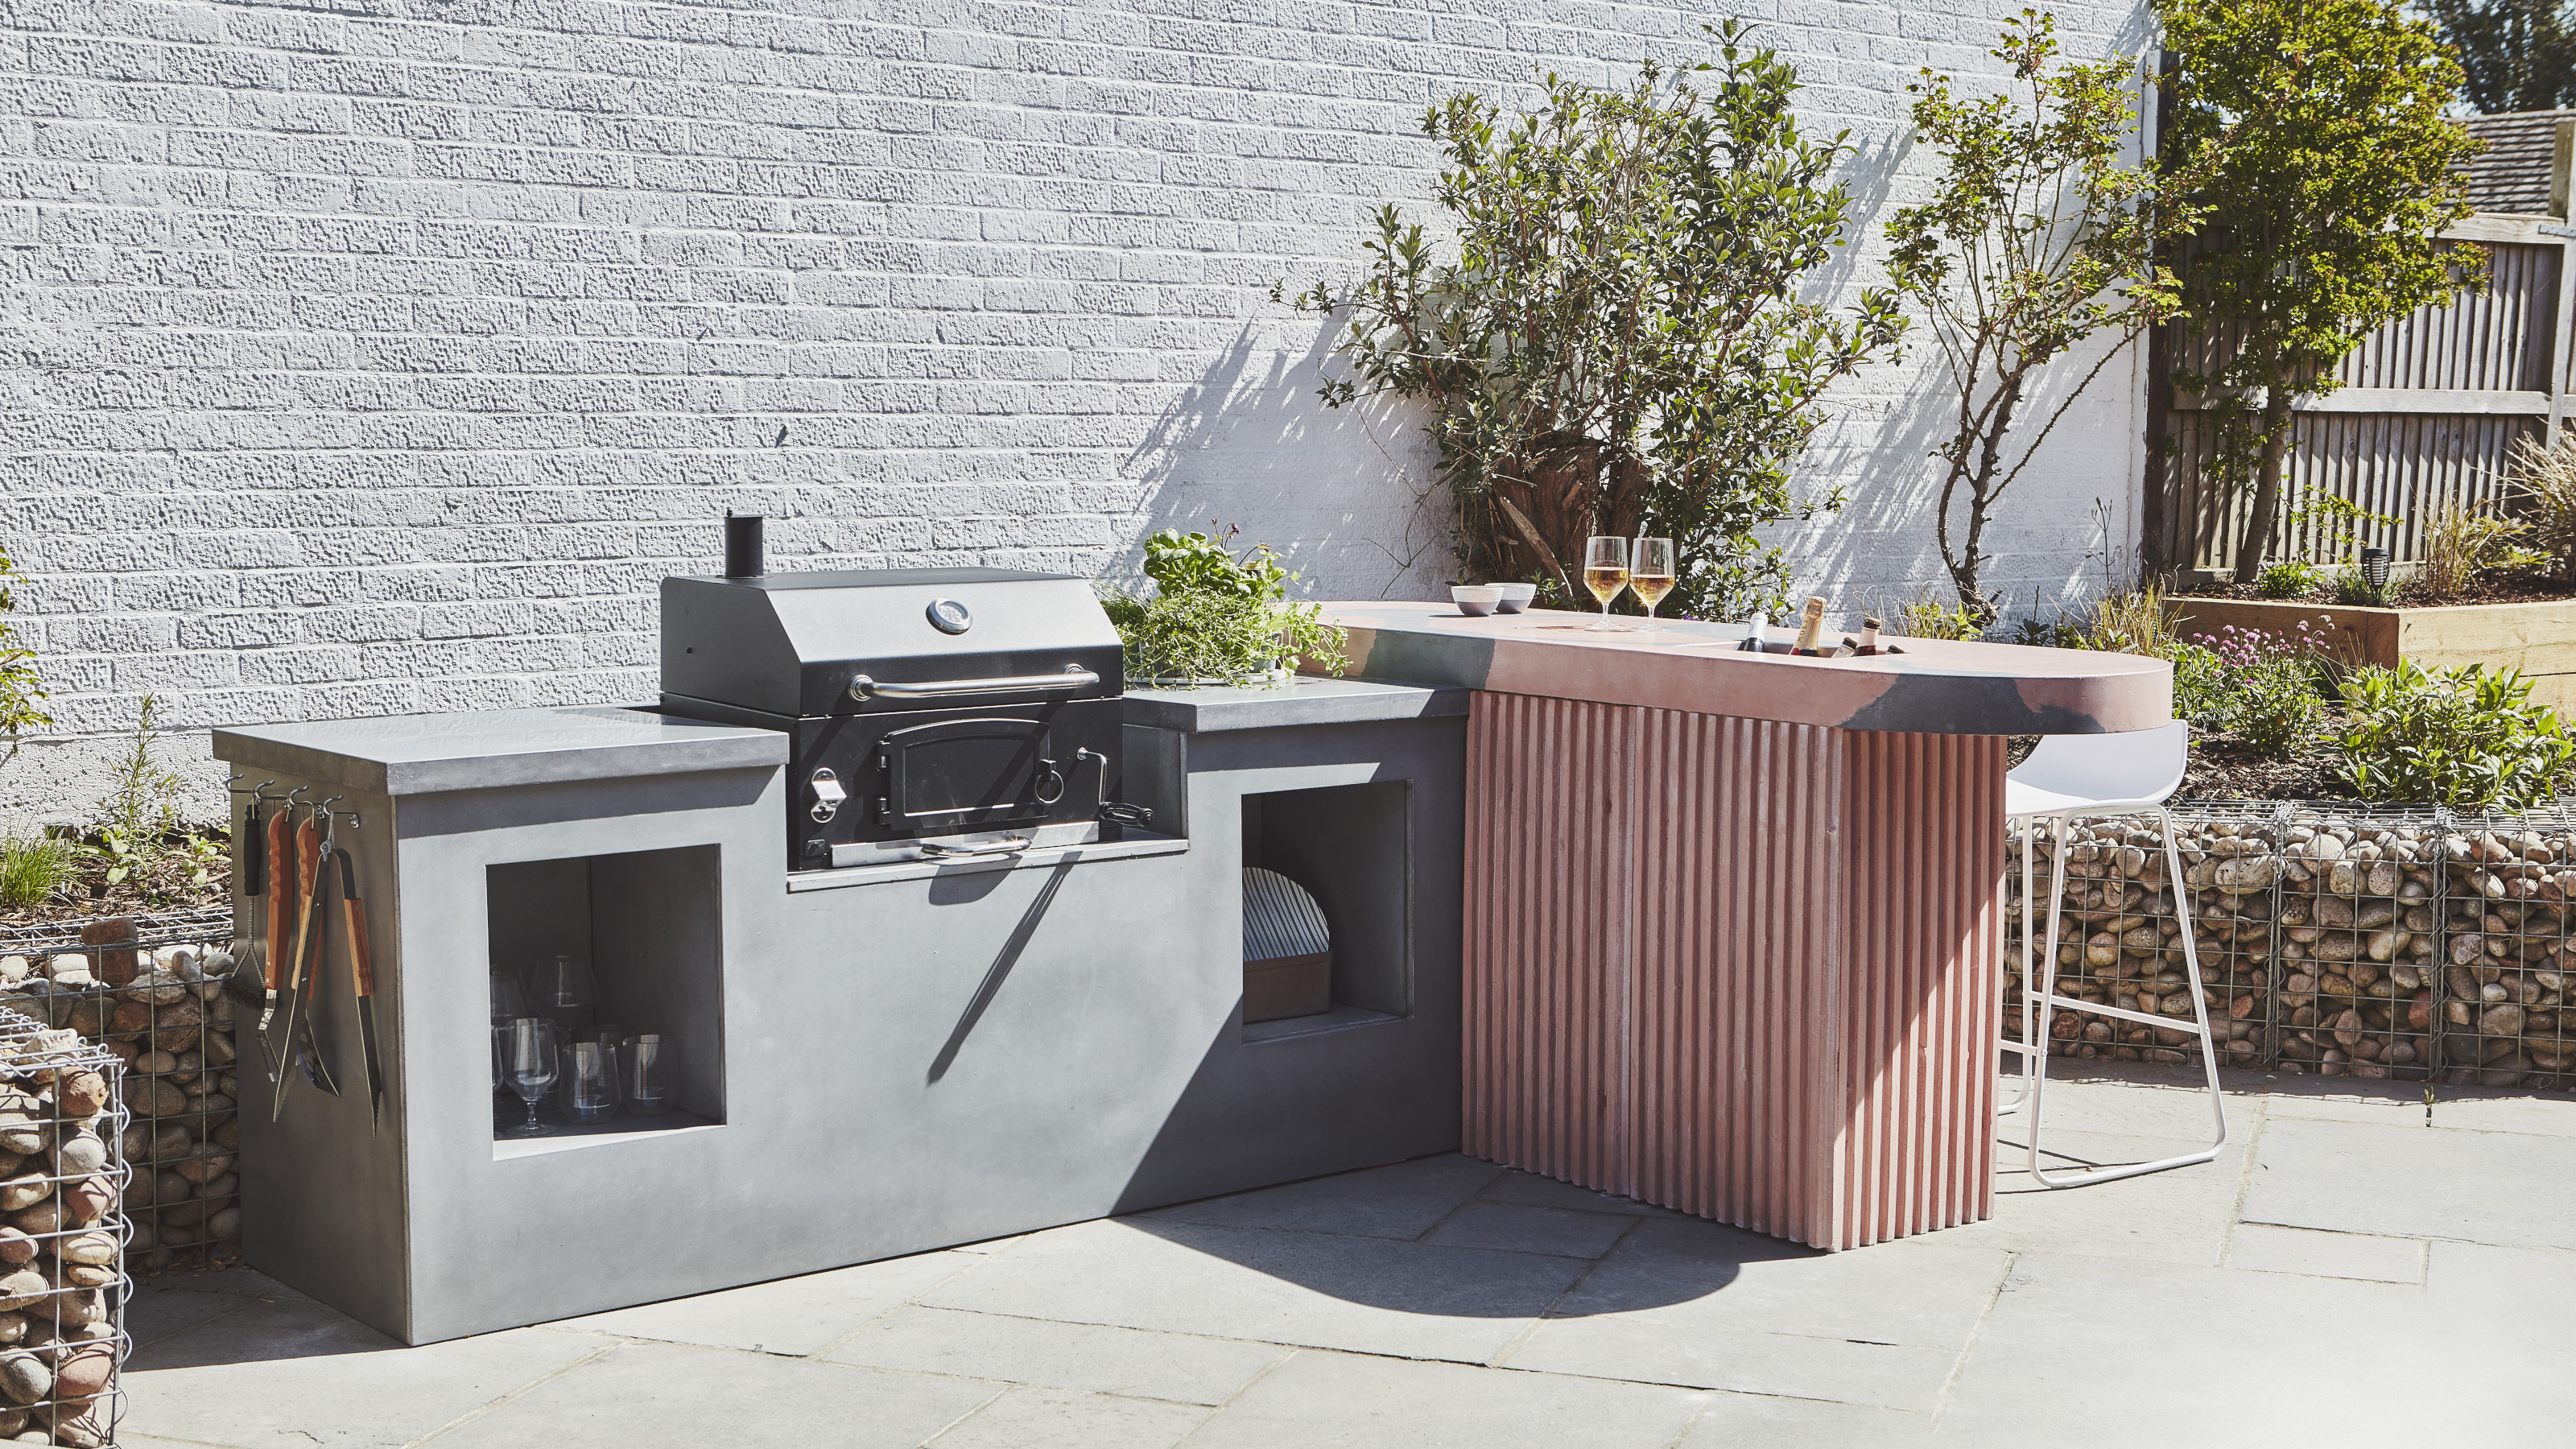
Your garden shouldn’t be seen as a separate space from your home, it is just as integral as the inside. A clever way of combining your garden with your indoor living space is to take the time to consider how to build an outdoor kitchen. Outdoor kitchen ideas will give you an elevated entertaining space that will allow you to cook outdoors all year round.
No matter how big or small you’re planning to make your outdoor kitchen, make sure you use hard-wearing materials that can withstand the British weather all year round.
‘Composite cladding and decking is a great solution to help create a long-lasting outdoor kitchen,’ recommends Nick Whiley, project director at luxury decking and cladding company Trekker Global.
‘Incorporating composite cladding will instantly elevate the look and feel of your outdoor kitchen and looks very similar to wood by blending into its surroundings, but will not rot, warp and change in colour. Plus, aesthetically, it allows for a good flow from the kitchen cabinets to the floor and is very low maintenance in comparison to other materials. Cladding is easy to install and comes in a range of traditional and modern styles to suit every garden.’
How to build an outdoor kitchen
Experts at Homebase say, ‘Draw up a plan that gives you enough prep and cooking space. If you’re restricted on square footage, opt for a U-shaped, integrated design – or, fit your garden kitchen along just one wall. Don’t forget to also take into consideration where the best views are in your garden and where the sun sets. If possible, locate your outdoor kitchen in an area that is sheltered from the wind and not fully exposed to sunlight.’
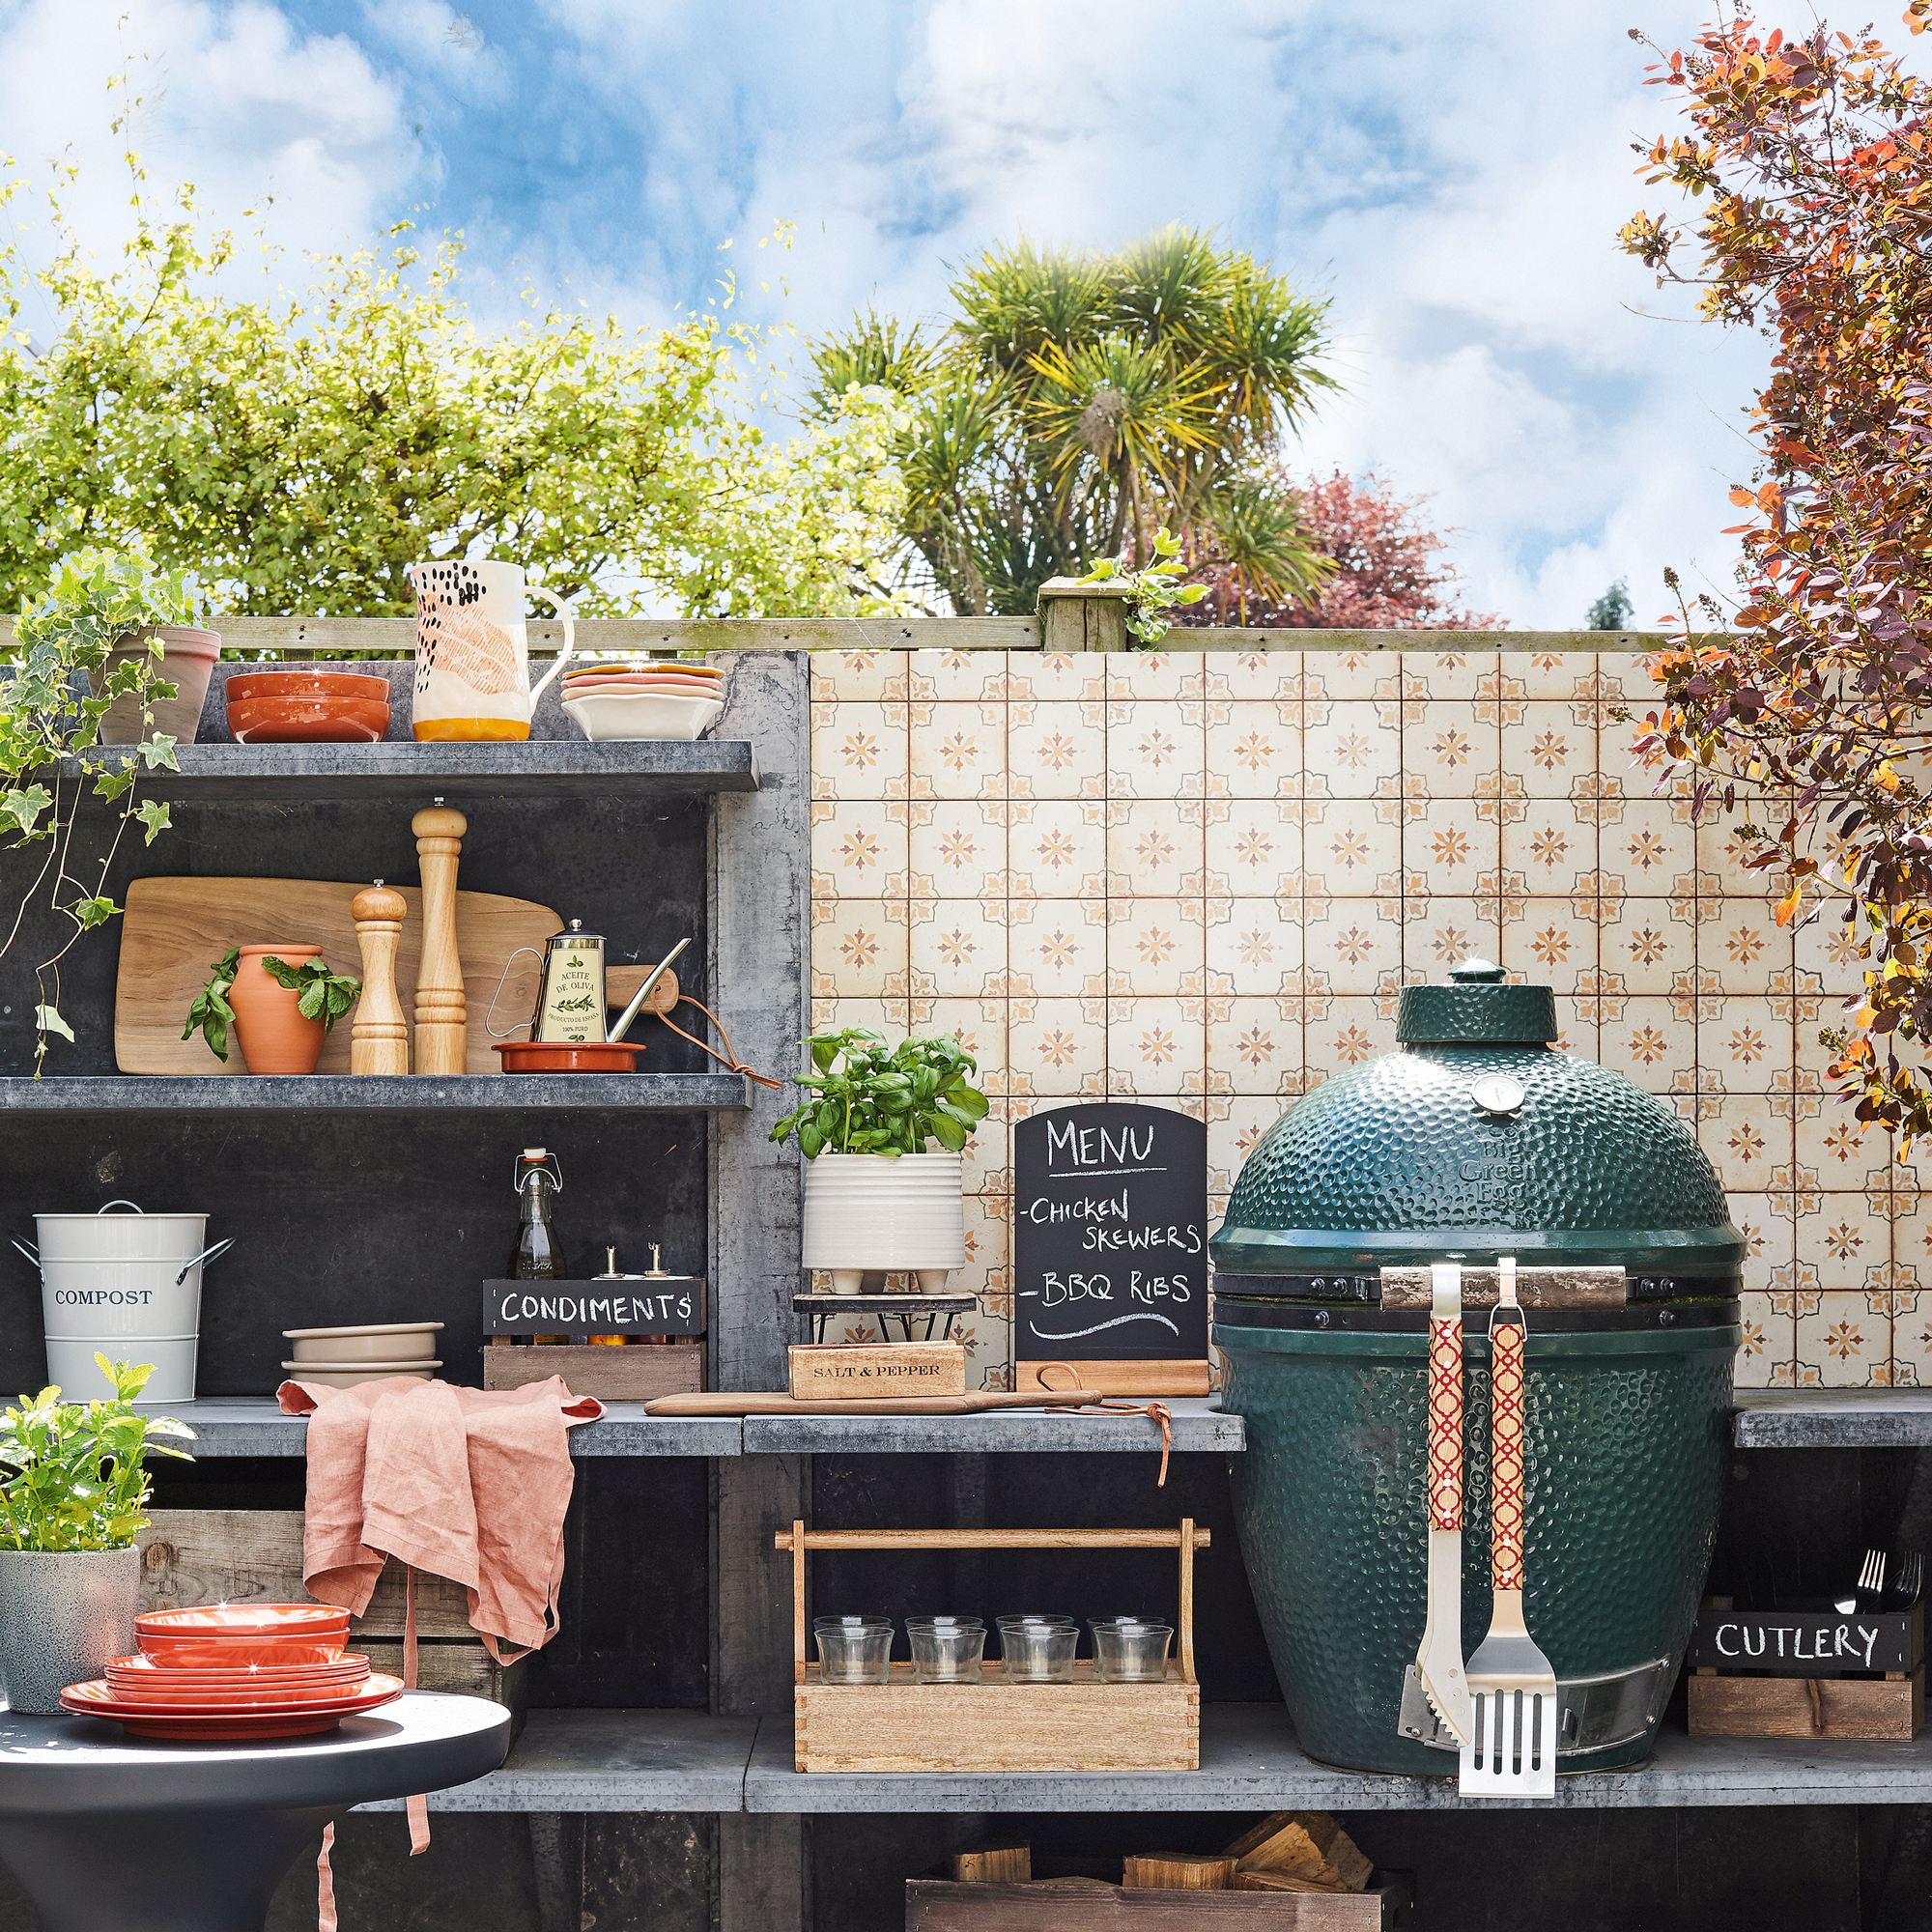
‘Outdoor kitchens offer a social and beautiful space for everyone to enjoy,' says Mike Head, director at Atlas Ceramics. ‘Whether you will be installing the kitchen for functional use or entertainment purposes, you can let your creative side flow with bright colours or stunning marbles to create a stunningly vibrant and unique ambience in your outdoor space.’
When planning how to build an outdoor kitchen think about how you plan to use it. Do you want to use it for summer dining, so the focus will be on barbeques and freshly baked pizza, or do you want a full set-up for more elaborate meals? Give yourself enough space for a proper preparation area and worktop and just like inside think about kitchen storage and give yourself an area for cooking utensils.
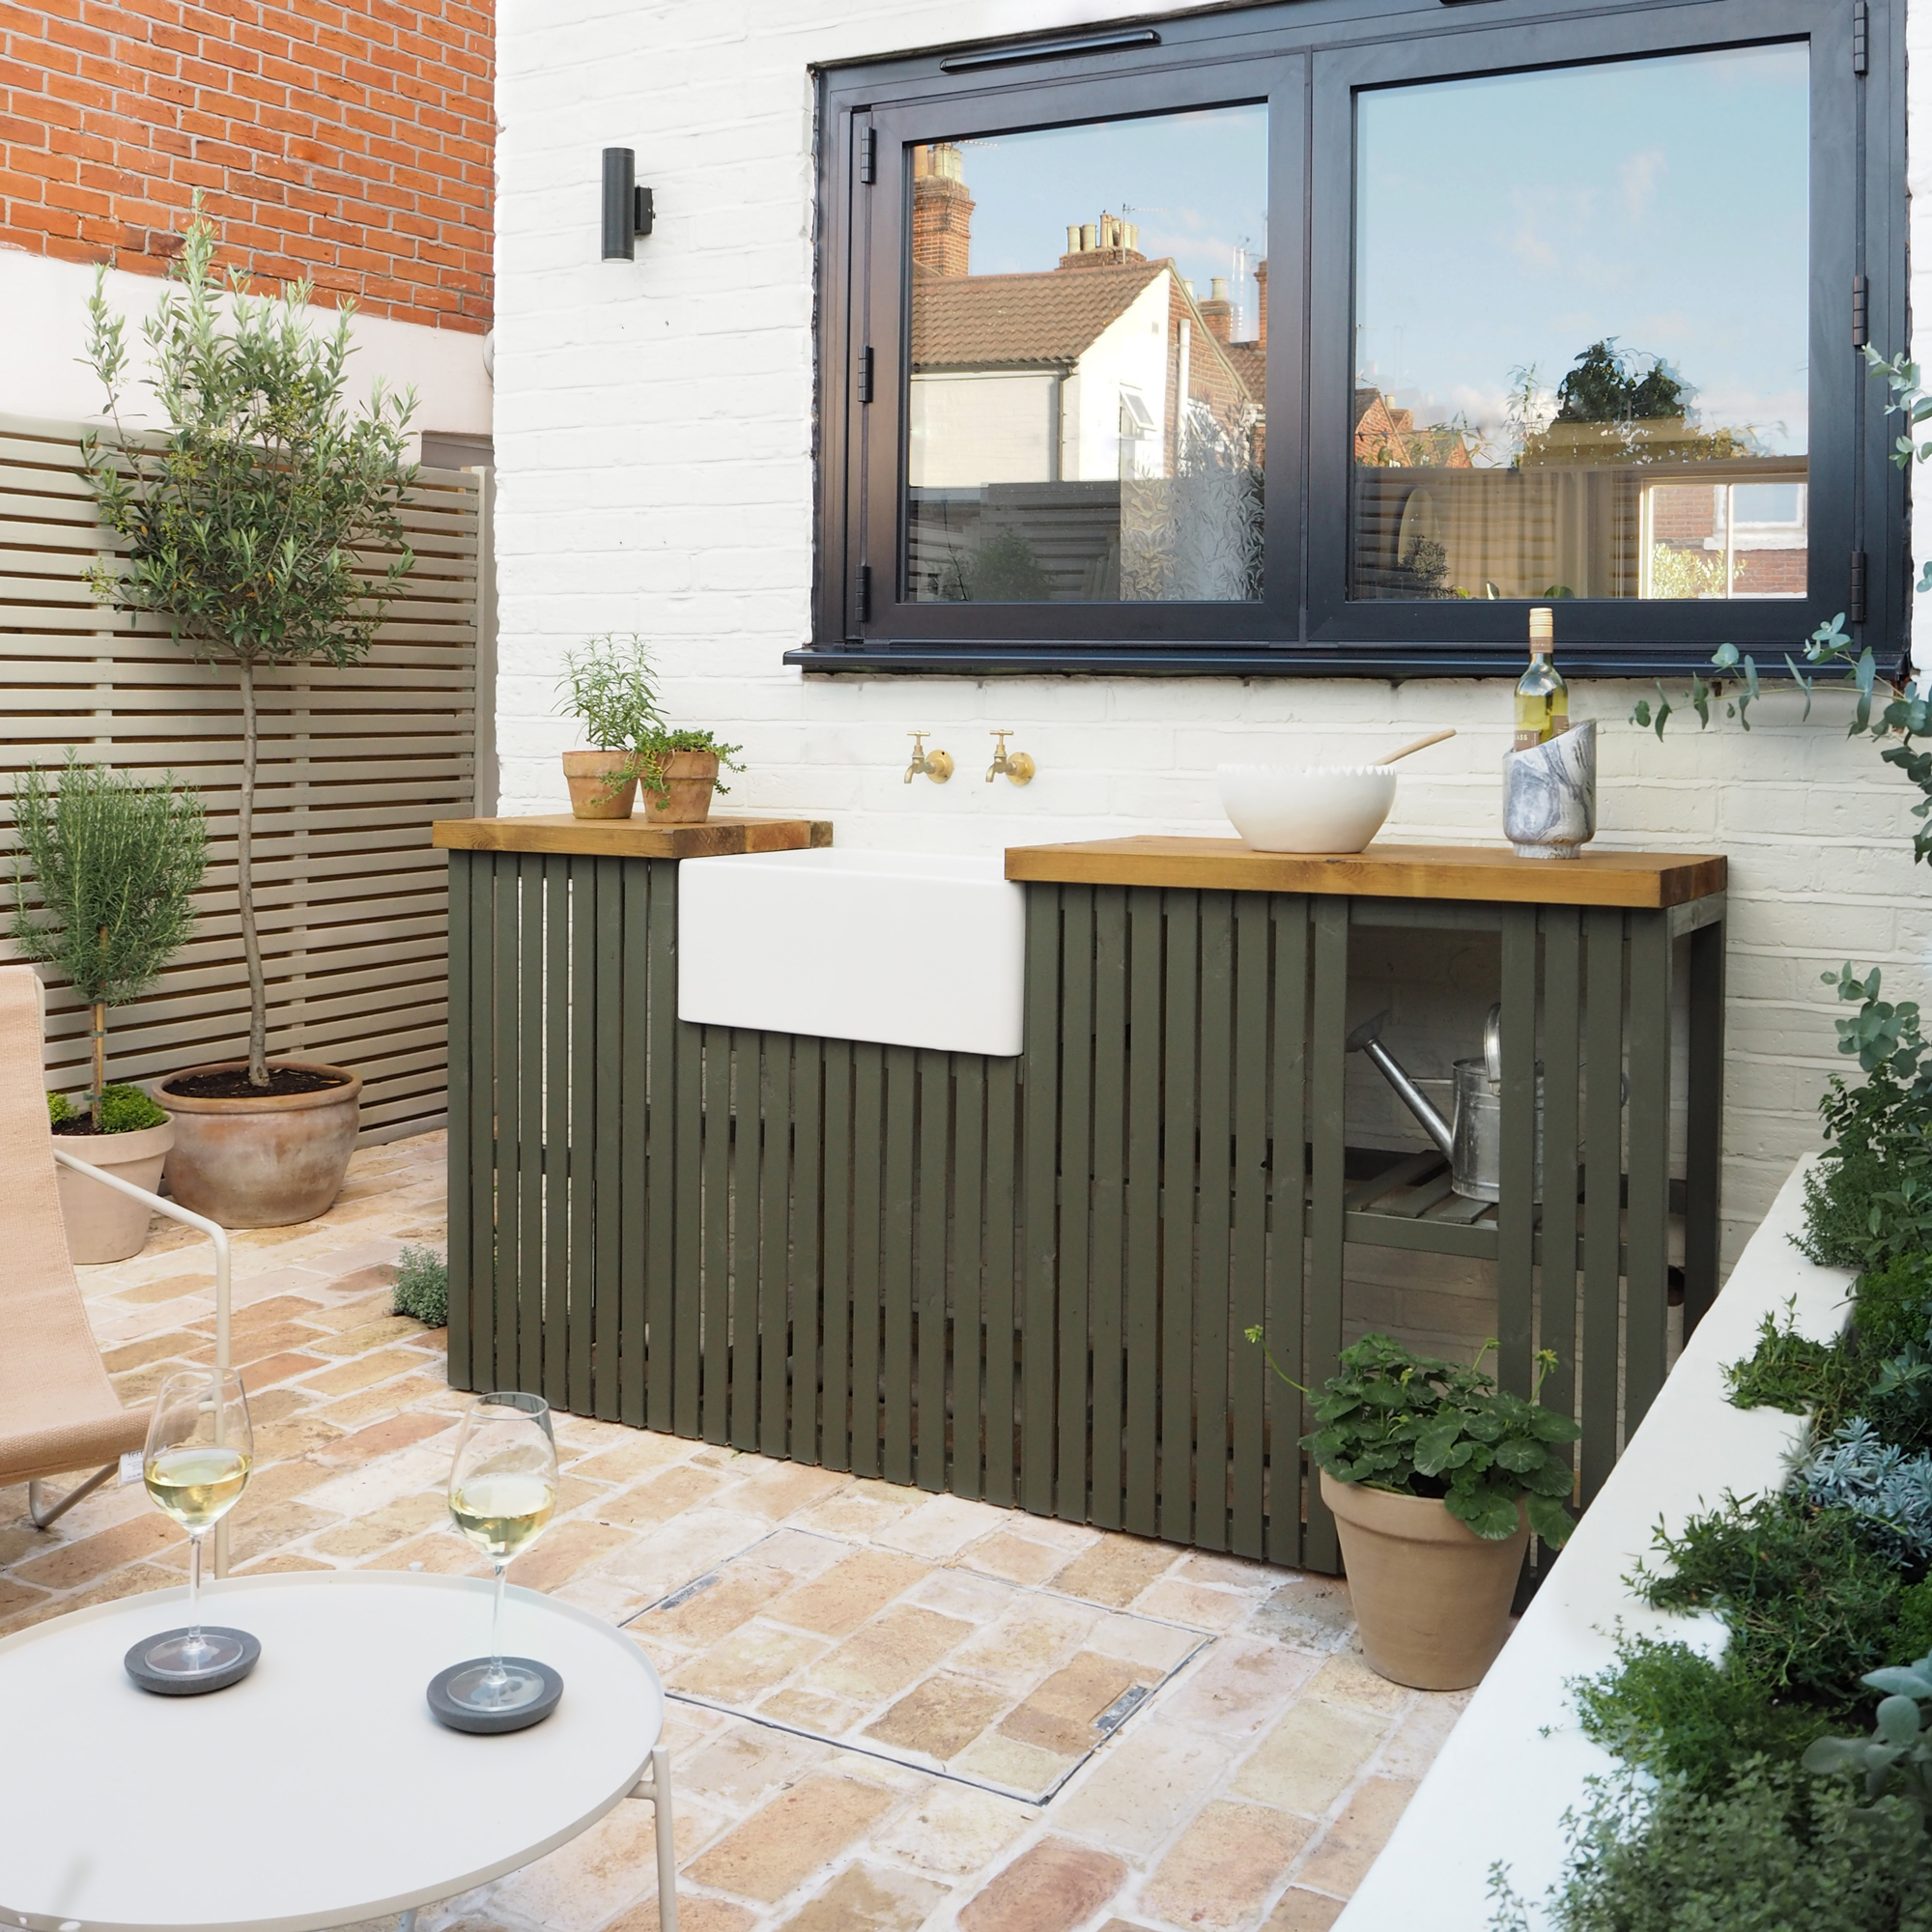
Discover how to build a stylish mini outdoor kitchen complete with wooden slats, a traditional sink and a thick wooden worktop.
Follow this step-by-step guide from interior design blogger and home DIYer Luke Arthur Wells, which was part of his work with COAT Paints.
Materials you'll need
- Treated exterior wood (Luke used 900mm decking spindles for the frame)
- Fence slats or 1 slatted fence panel
- Treated exterior wood for the worktop
- Outdoor screws
- Zinc-plated brackets
- Mitre saw
- Drill
- Electric screwdriver
- Orbital sander or sandpaper
- Exterior paint (Luke used a lovely olive green shade called Nomad by COAT Paints)
- Woodstain
- Belfast sink, with waste and pipes
- Spray adhesive (optional)
- Exterior instant grab adhesive
Step-by-step instructions
1. Build the frame for your sink
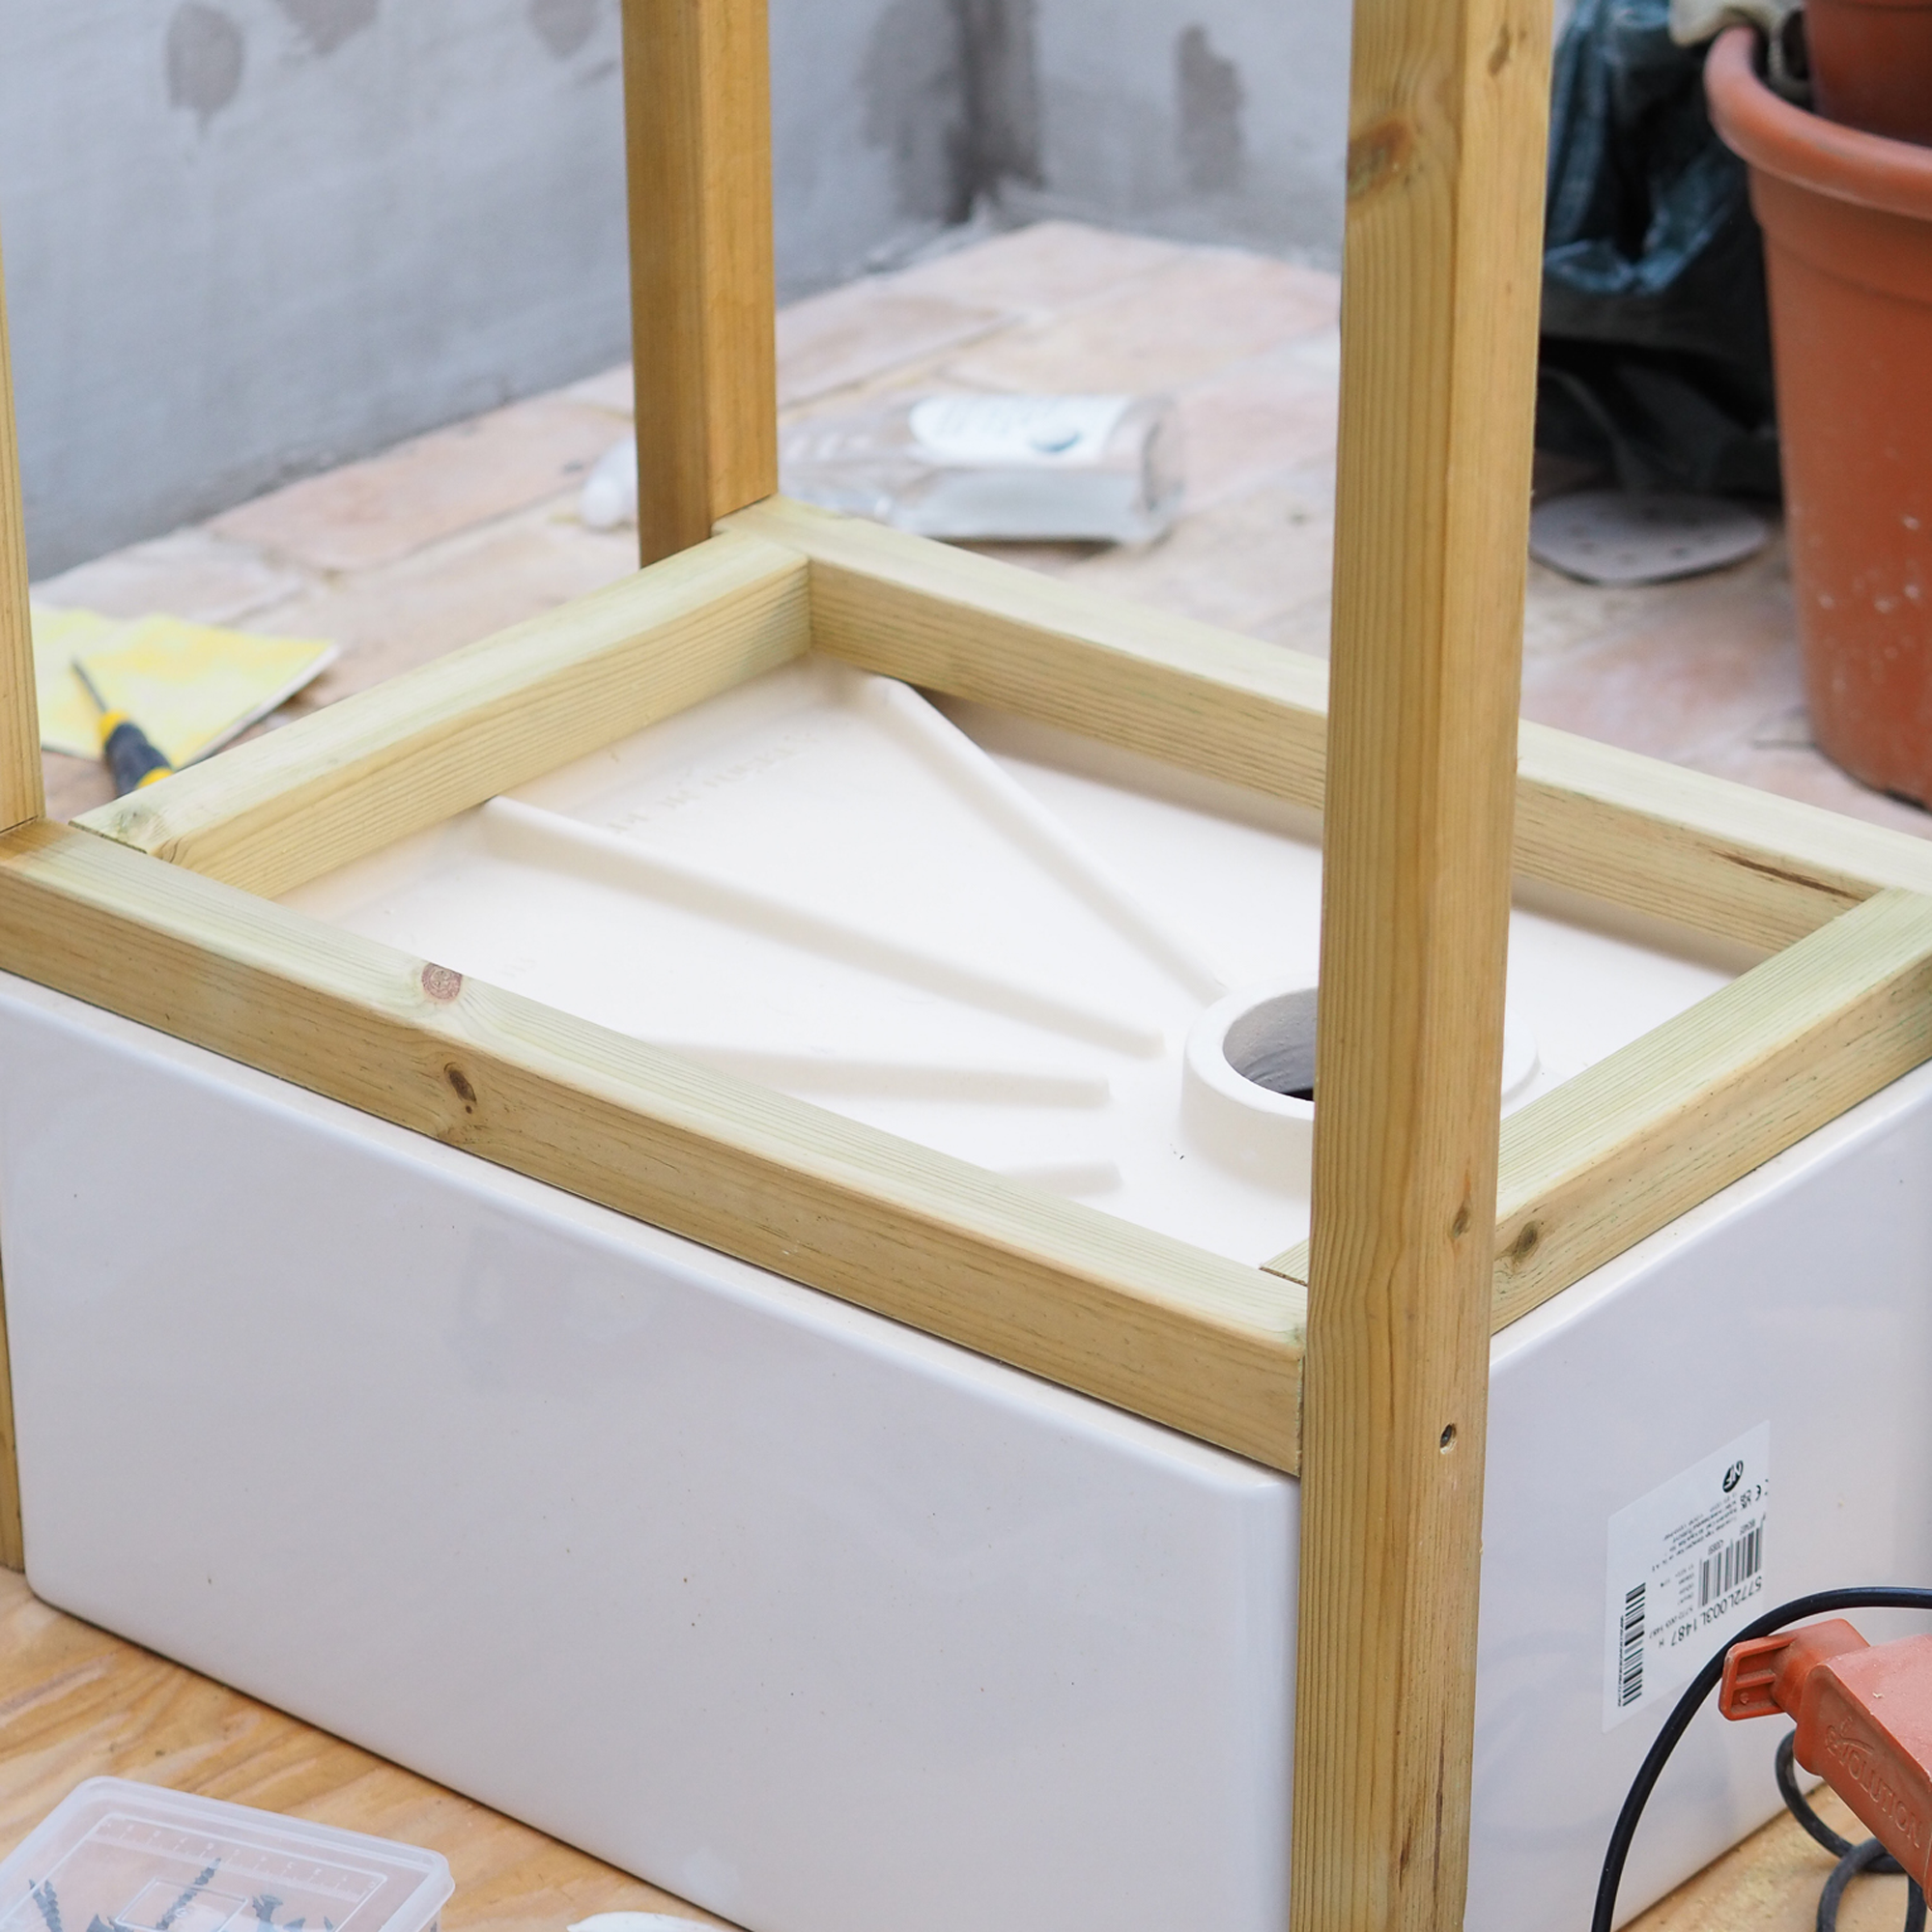
First, build the frame around a Belfast sink. Turn the sink upside down, and start by creating the supports to go underneath. Luke Arthur Wells used 900mm treated decking spindles from Wickes, which were the right height for the outdoor kitchen, but he needed to cut the horizontal pieces to size.
2. Attach all of the pieces together
To attach the frame together, Luke first used a spray adhesive mitre glue to secure the pieces temporarily. Then he drilled pilot holes and used outdoor screws to attach throughout. When you find later on that you cannot attach any more pieces with screws because of existing screws in the frame, you can use your zinc-plated brackets to join these pieces of the frame.
3. Join the legs with more horizontal supports
Once the two sets of legs are made for the sink, join them together with more horizontal supports. Add supports between both the top and bottom of the legs for extra support.
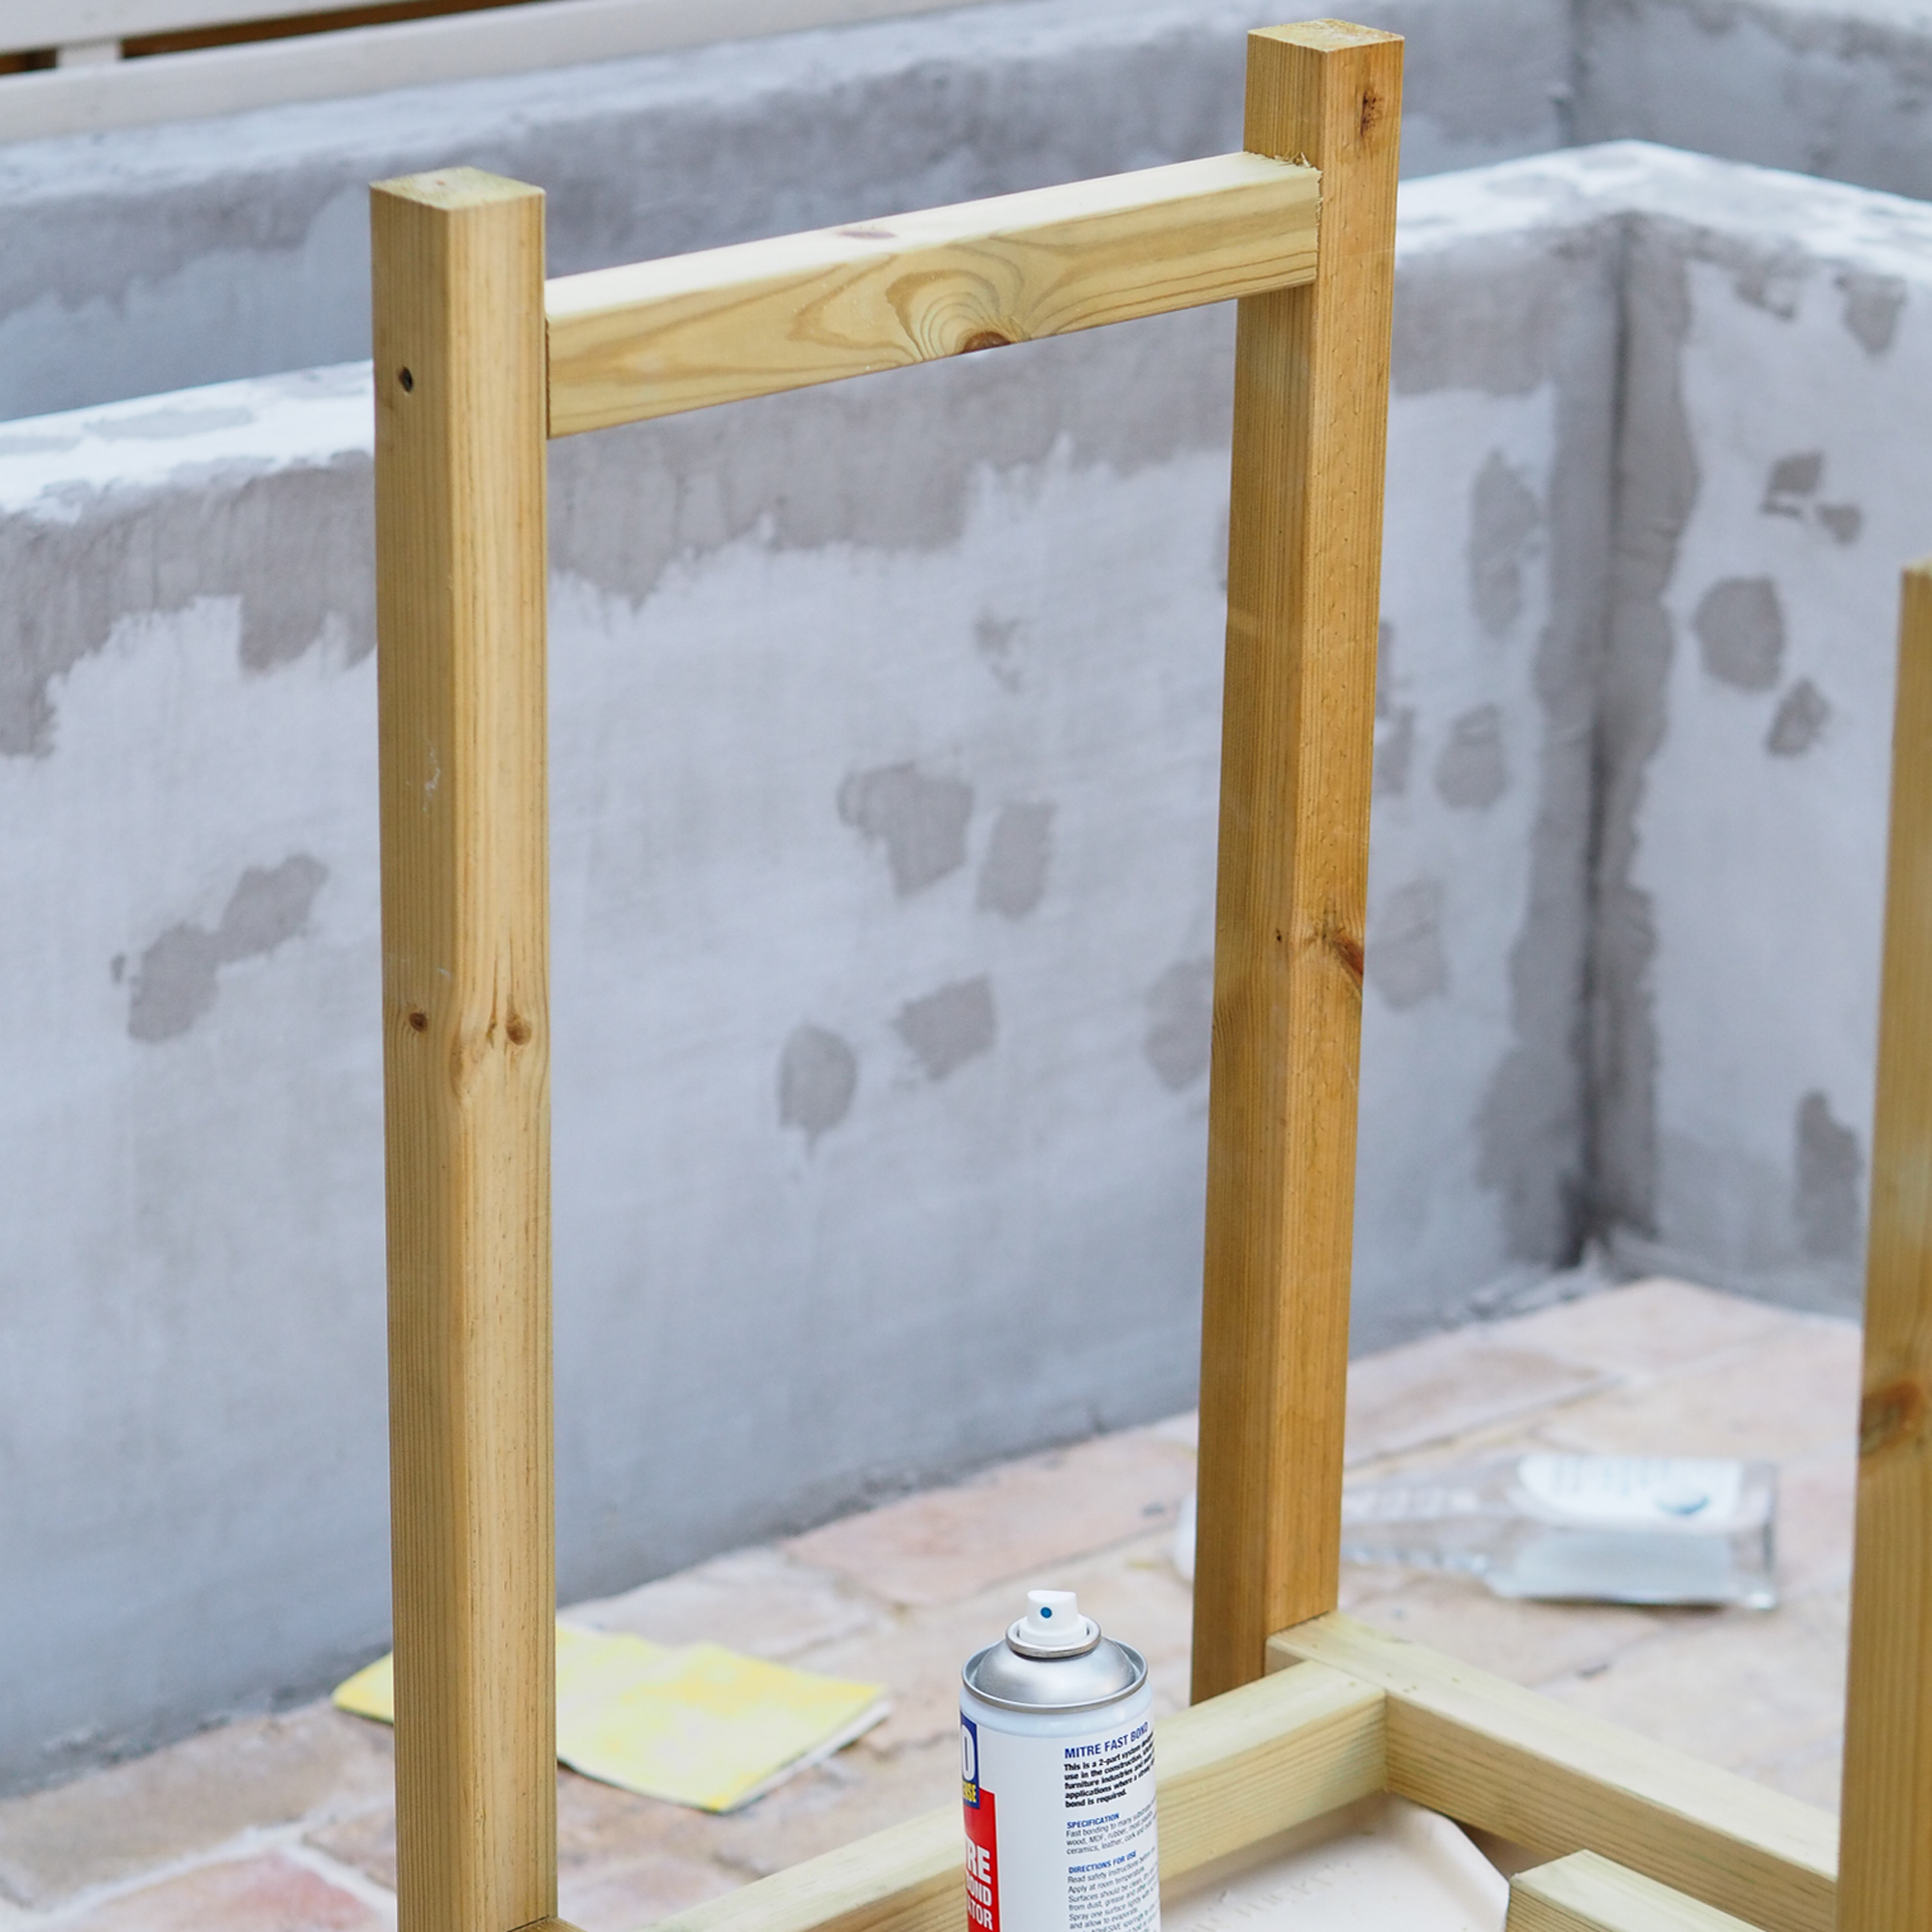
4. Add more horizontal supports
Add horizontal supports at the front and back base to finish off the sink unit. Start to extend the kitchen unit base by creating two more legs, to the same proportions as the two vertical pieces on either side of the side.
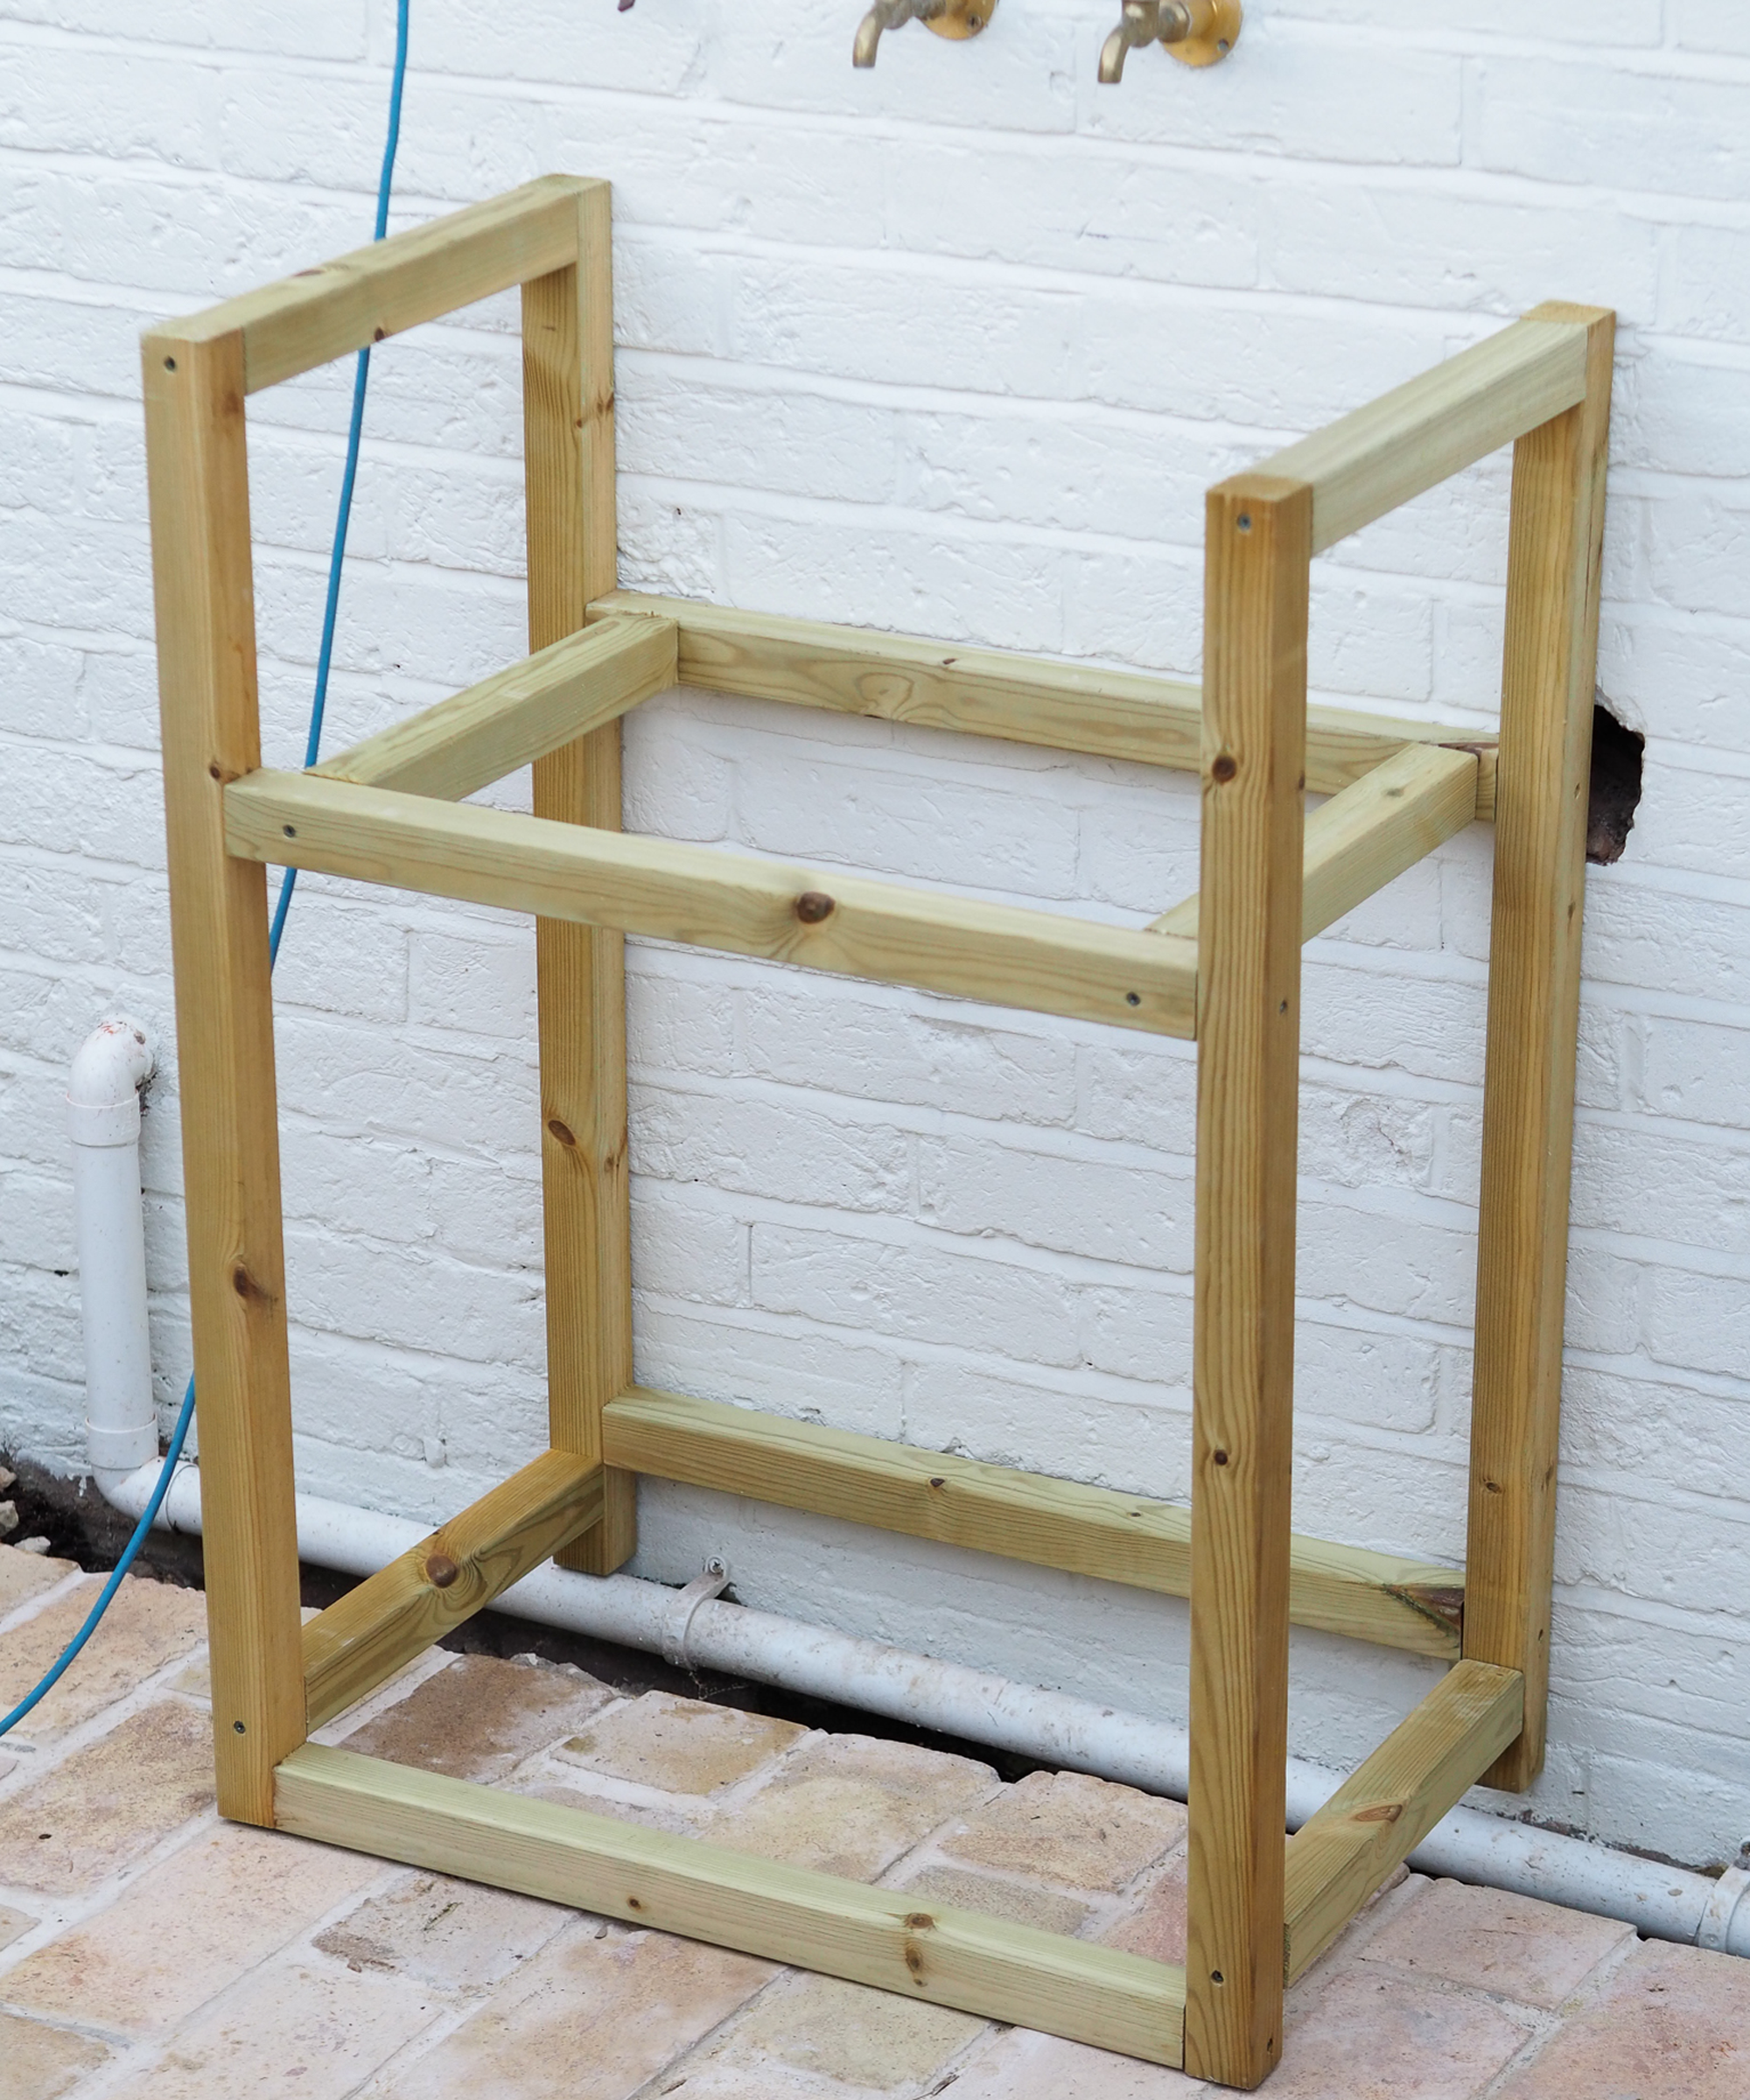
5. Join the legs and add brackets under the sink supports
Join these together with horizontal pieces to the sink unit. Because of the screws already used, you’ll likely have to use the brackets at this point. Take this opportunity to add brackets underneath the sink supports too, as this is the heaviest part.
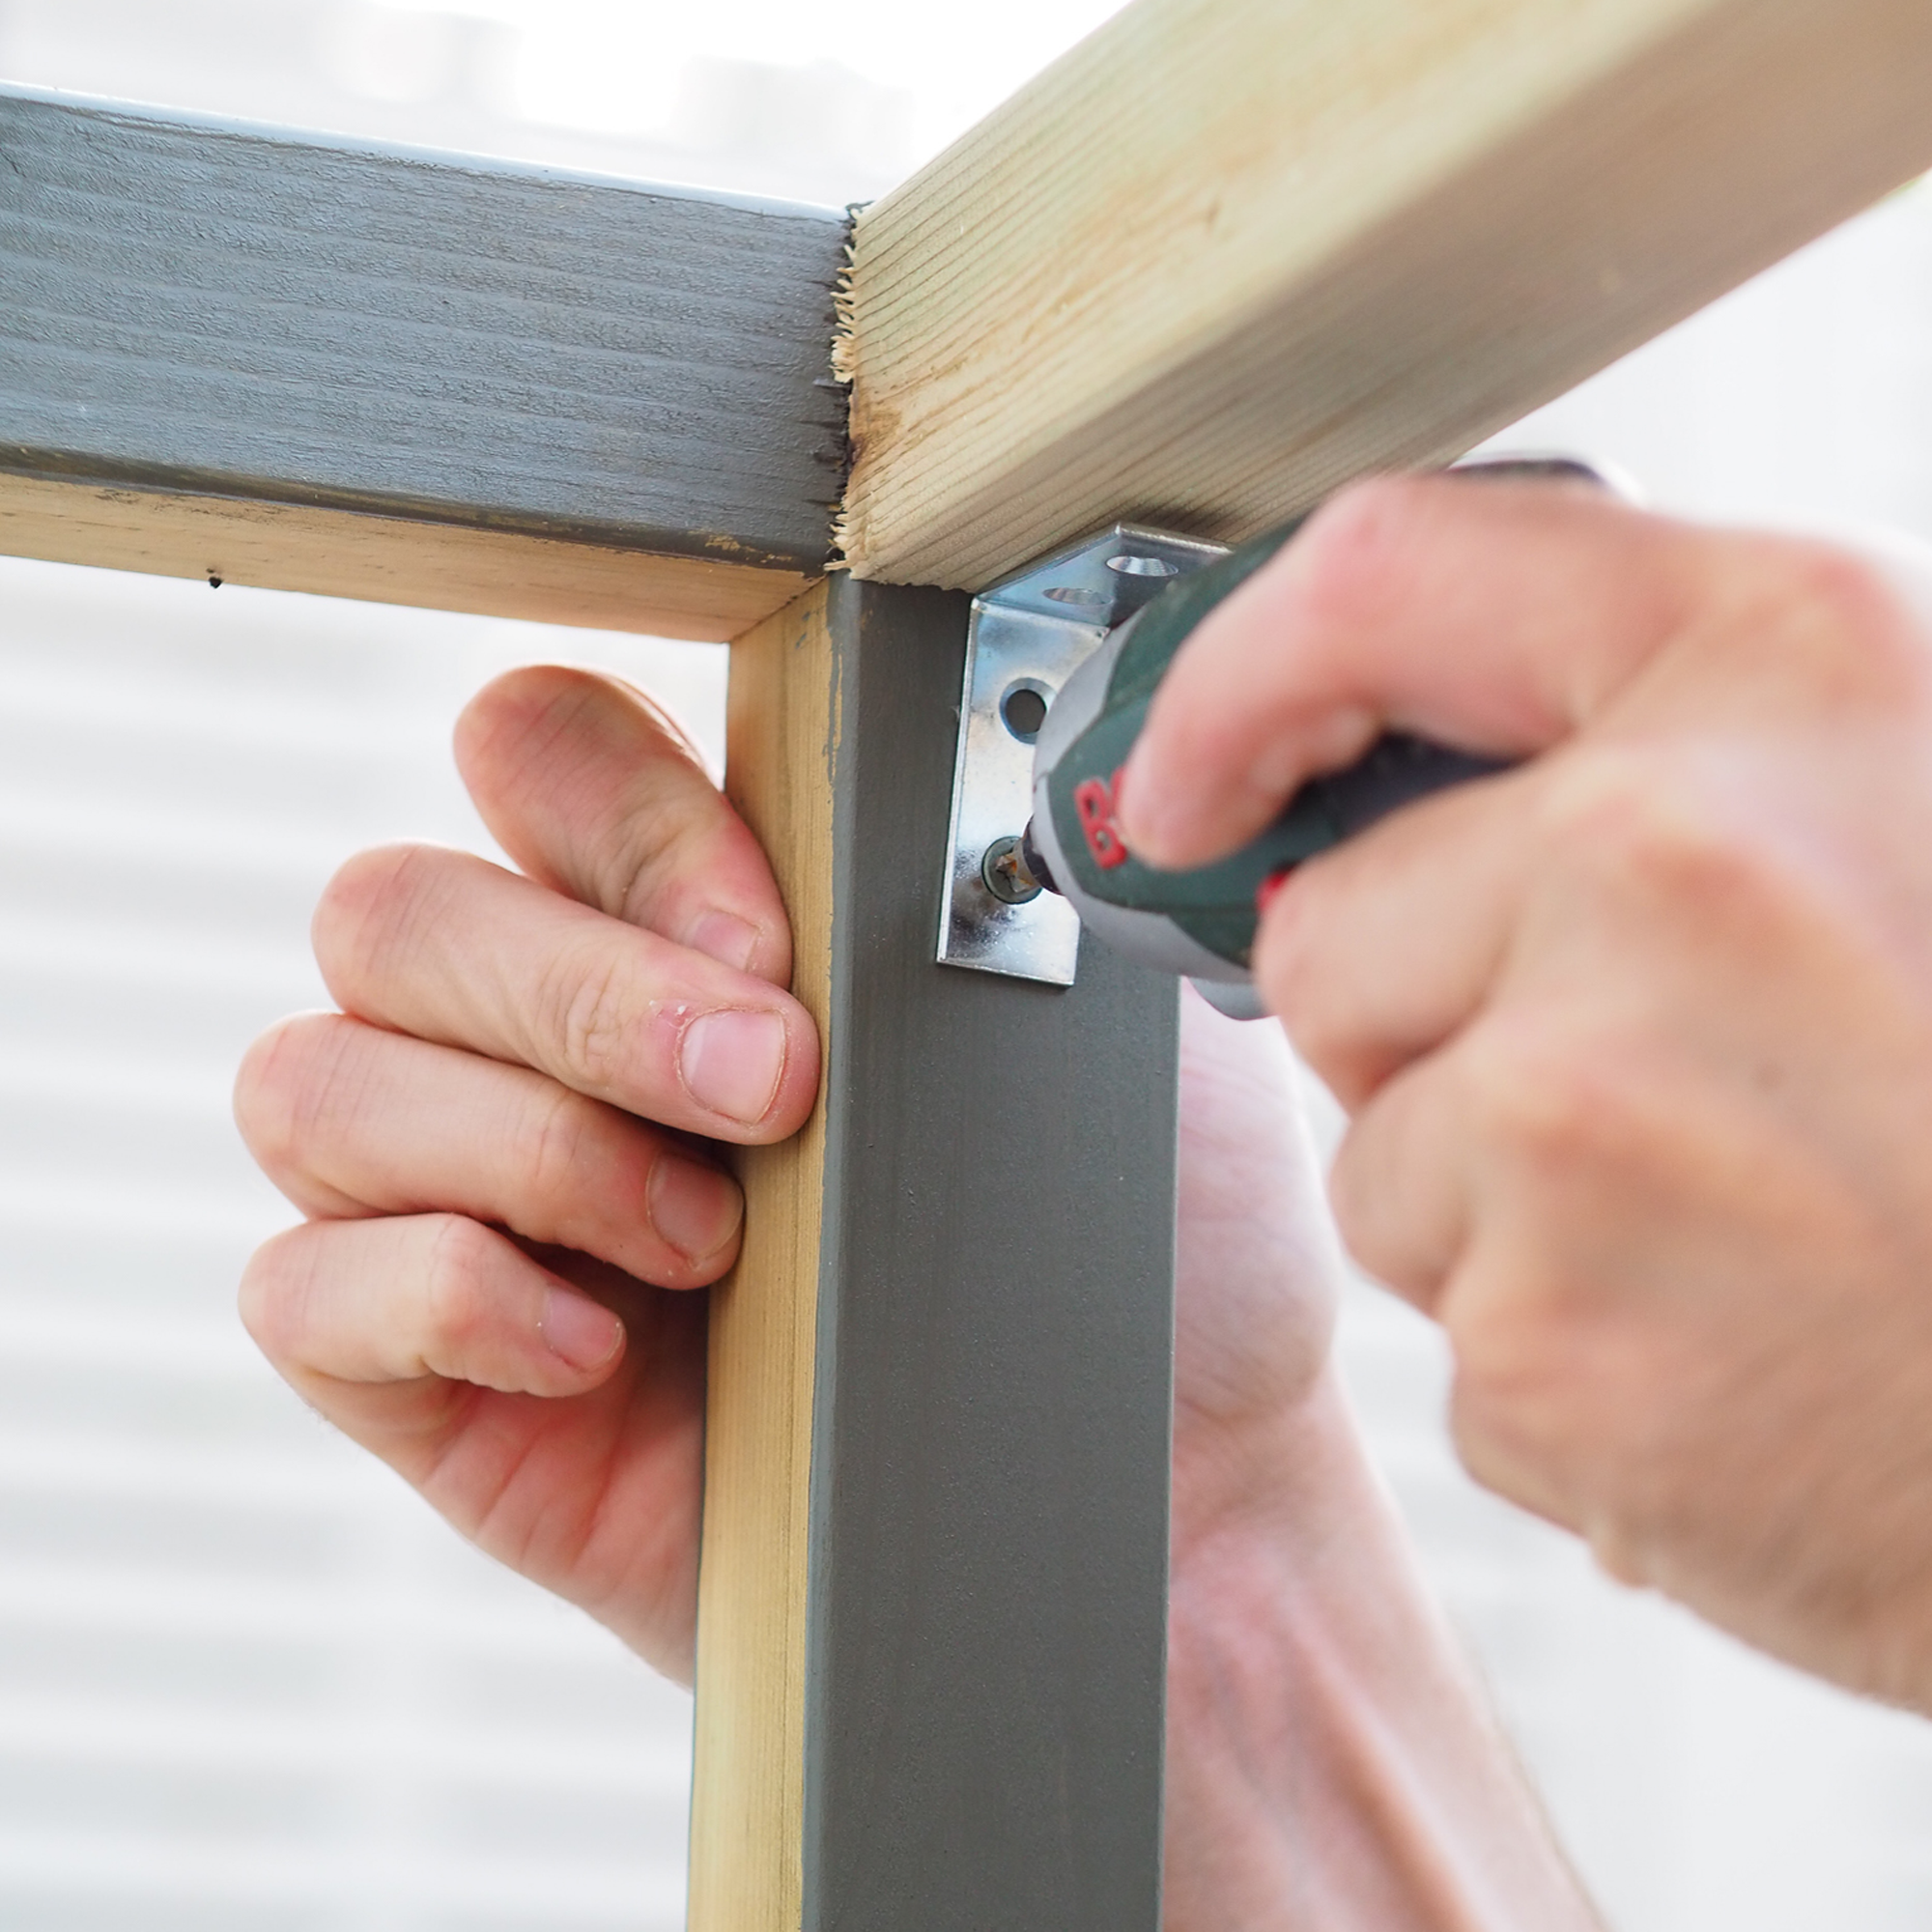
6. Paint the frame
Now, paint the frame to make it easier once the slats are attached.
7. Remove slats from old fence panel and cut to size
Next, if you’re using a fence panel, you’ll need to remove them from the frame with a crowbar. Hammer out any remaining pins or nails. Cut these down to size.
You’ll need 900mm ones for either side of the sink, then measure the space under the sink too. Don’t worry if they’re not perfect, but it's better to be too long than too short.
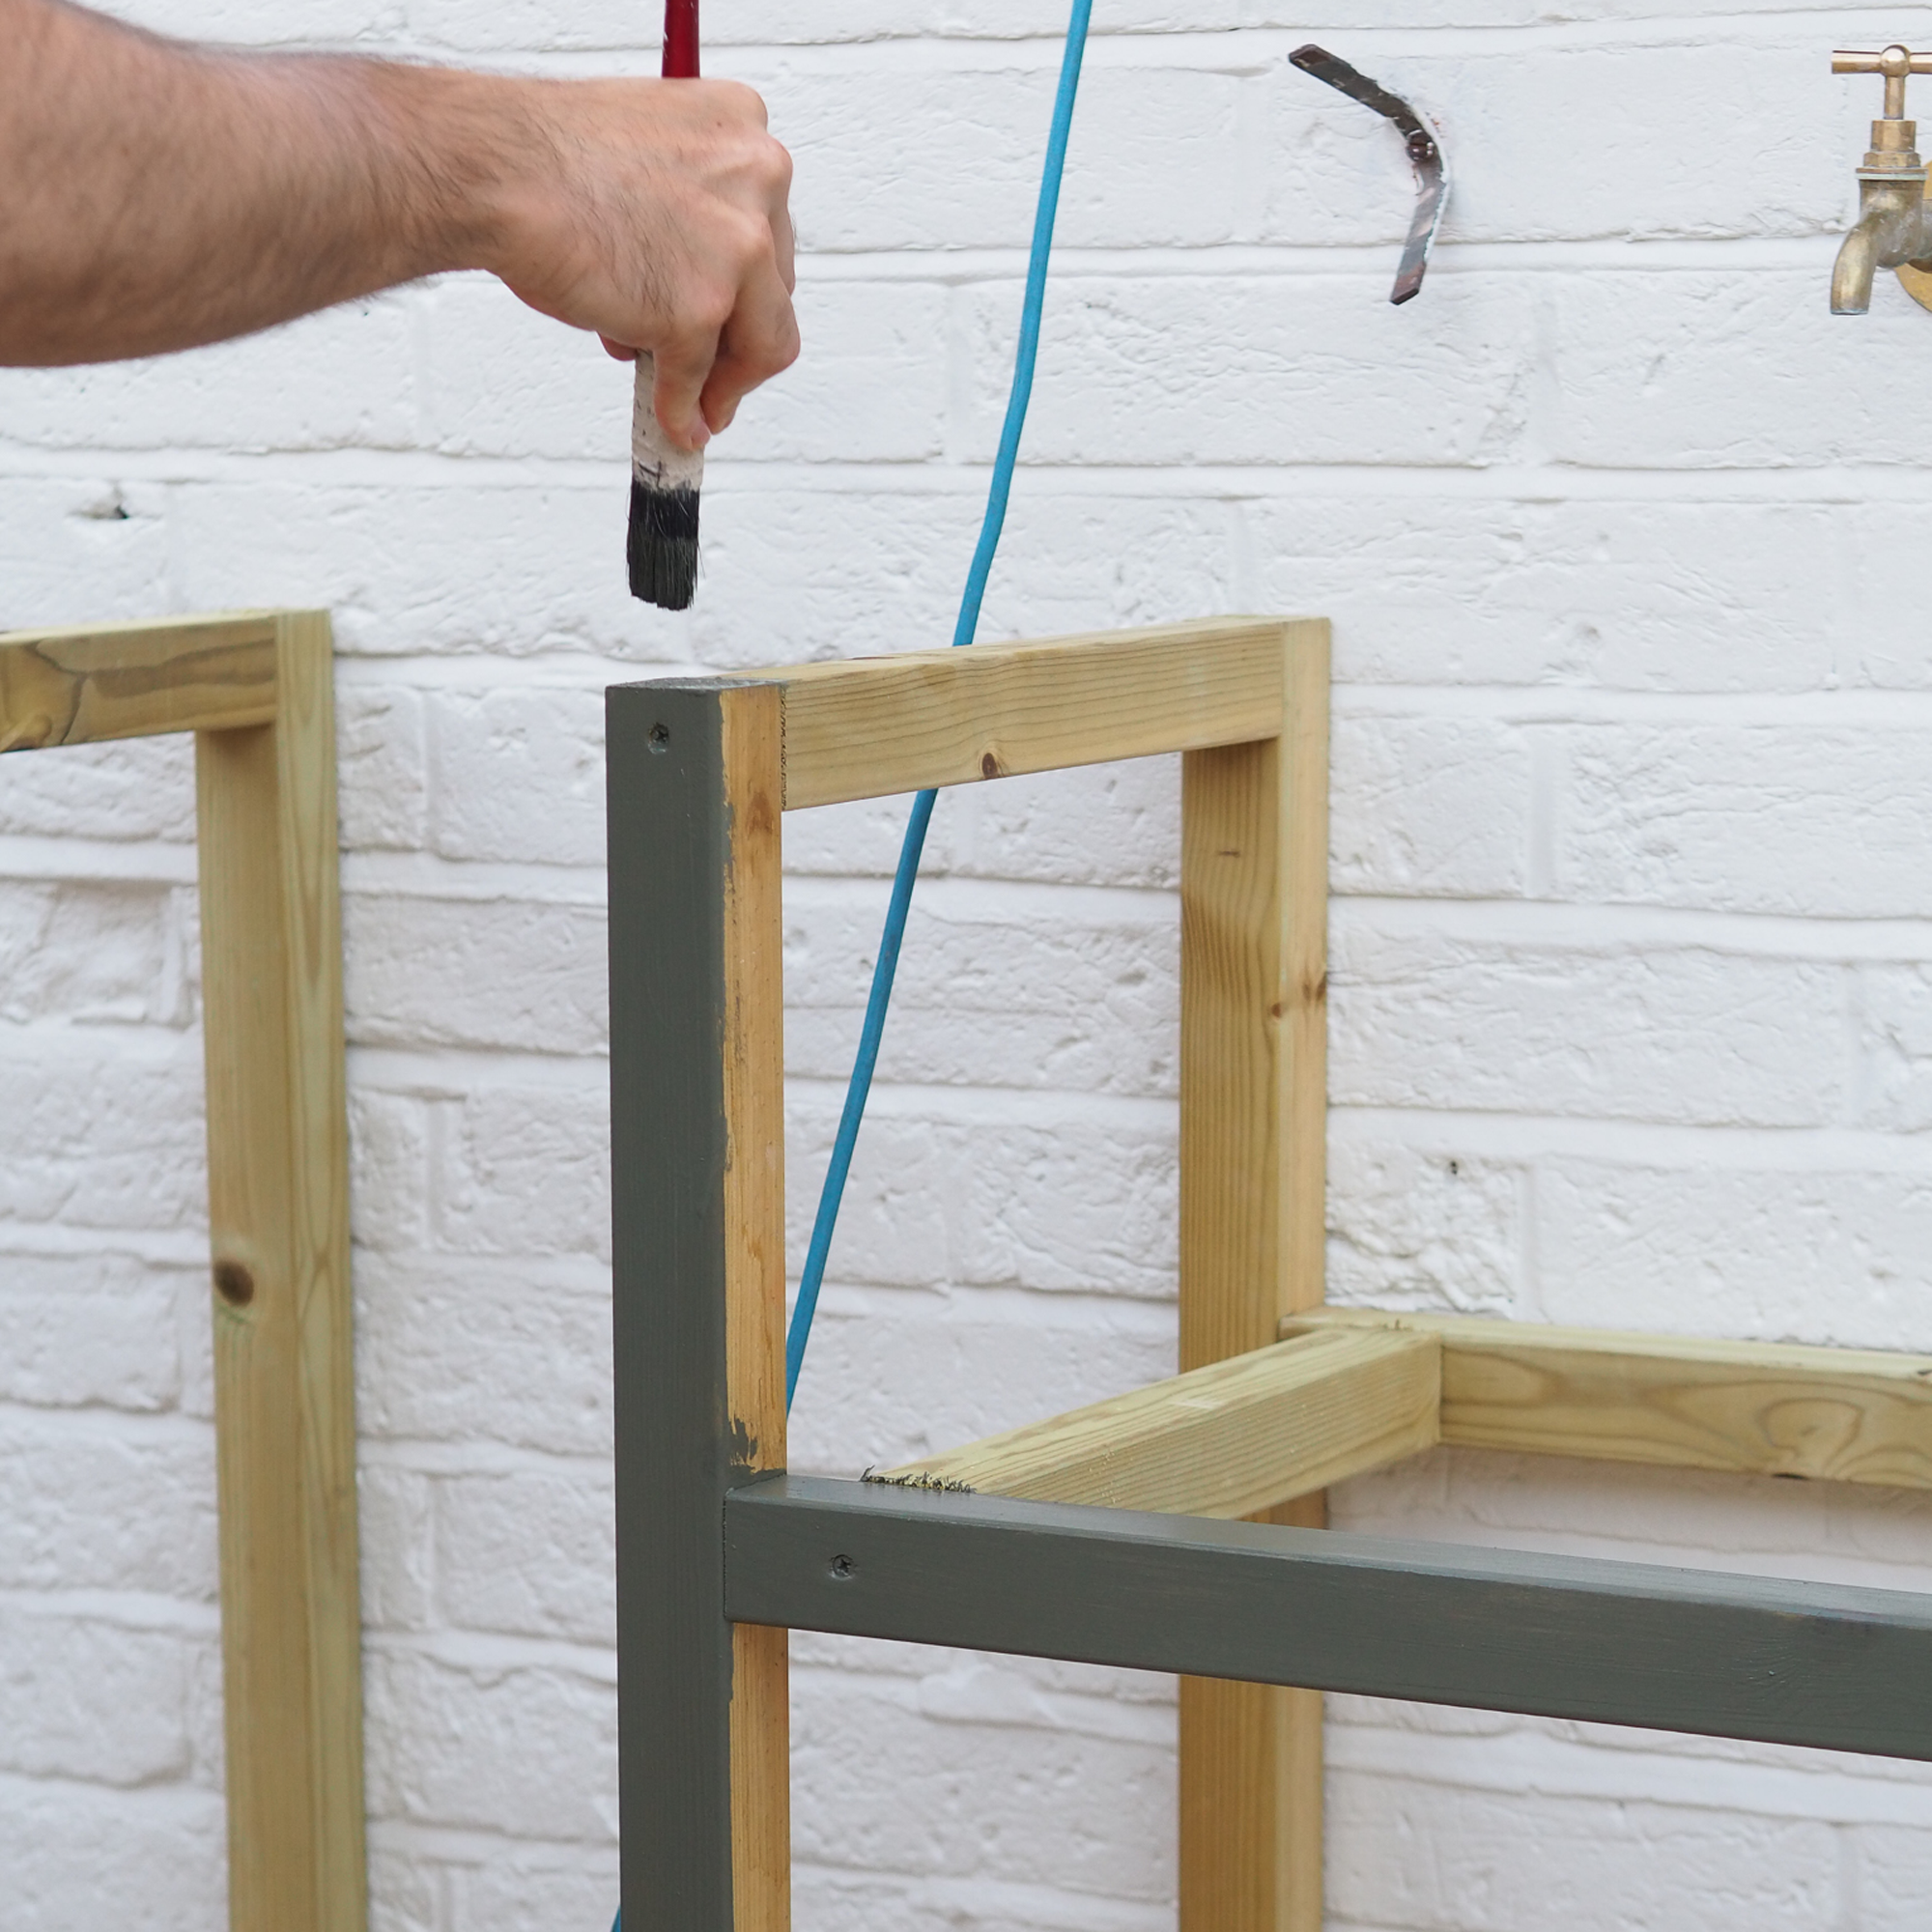
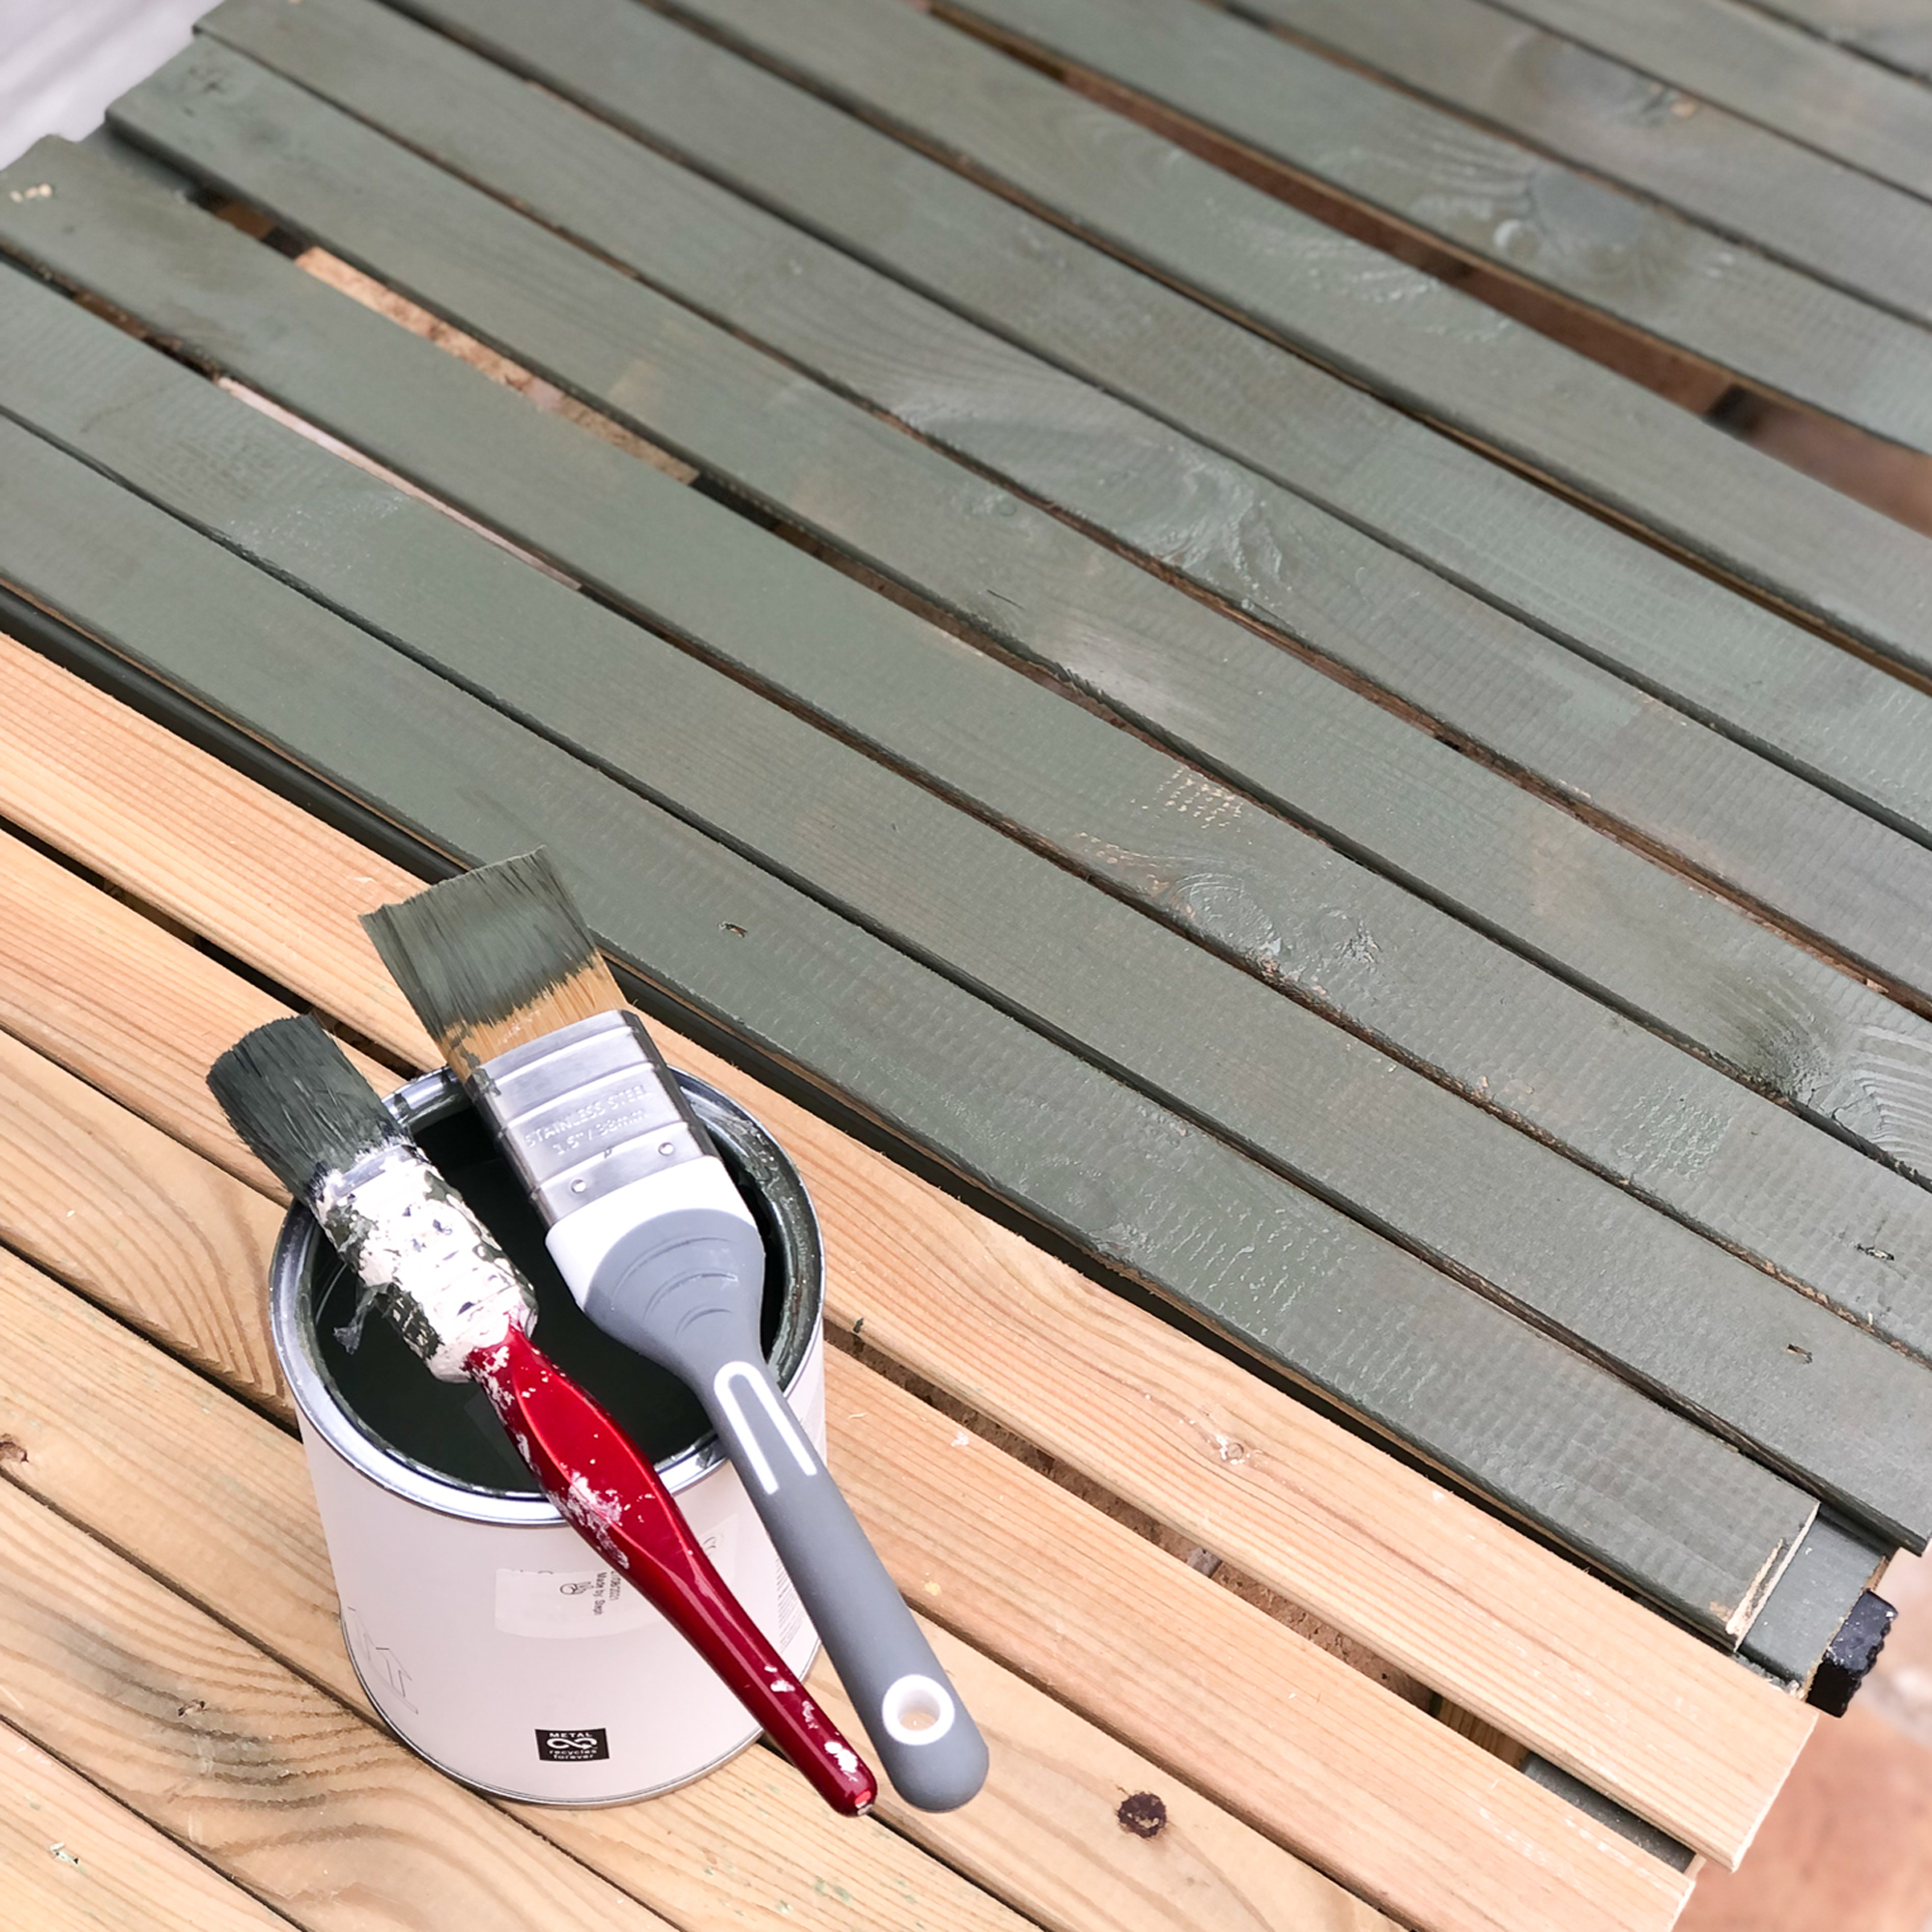
8. Paint the slats
Give the slats their first coat with your exterior paint now before you attach them.
9. Space the slats out neatly
Work out the spacing between the slats by using a slat turned sideways to create a regular gap. To fix the slats onto the frame, use an instant grab exterior adhesive first.
Pick one that takes 10-15 minutes to dry, which will give you enough time to adjust as needed before they stick. Make sure they’re all aligned at the top of the frame when sticking. Once dry, you can knock a few nails in to secure. For a professional finish, fill over the nail holes with exterior filler, sand, and then paint.
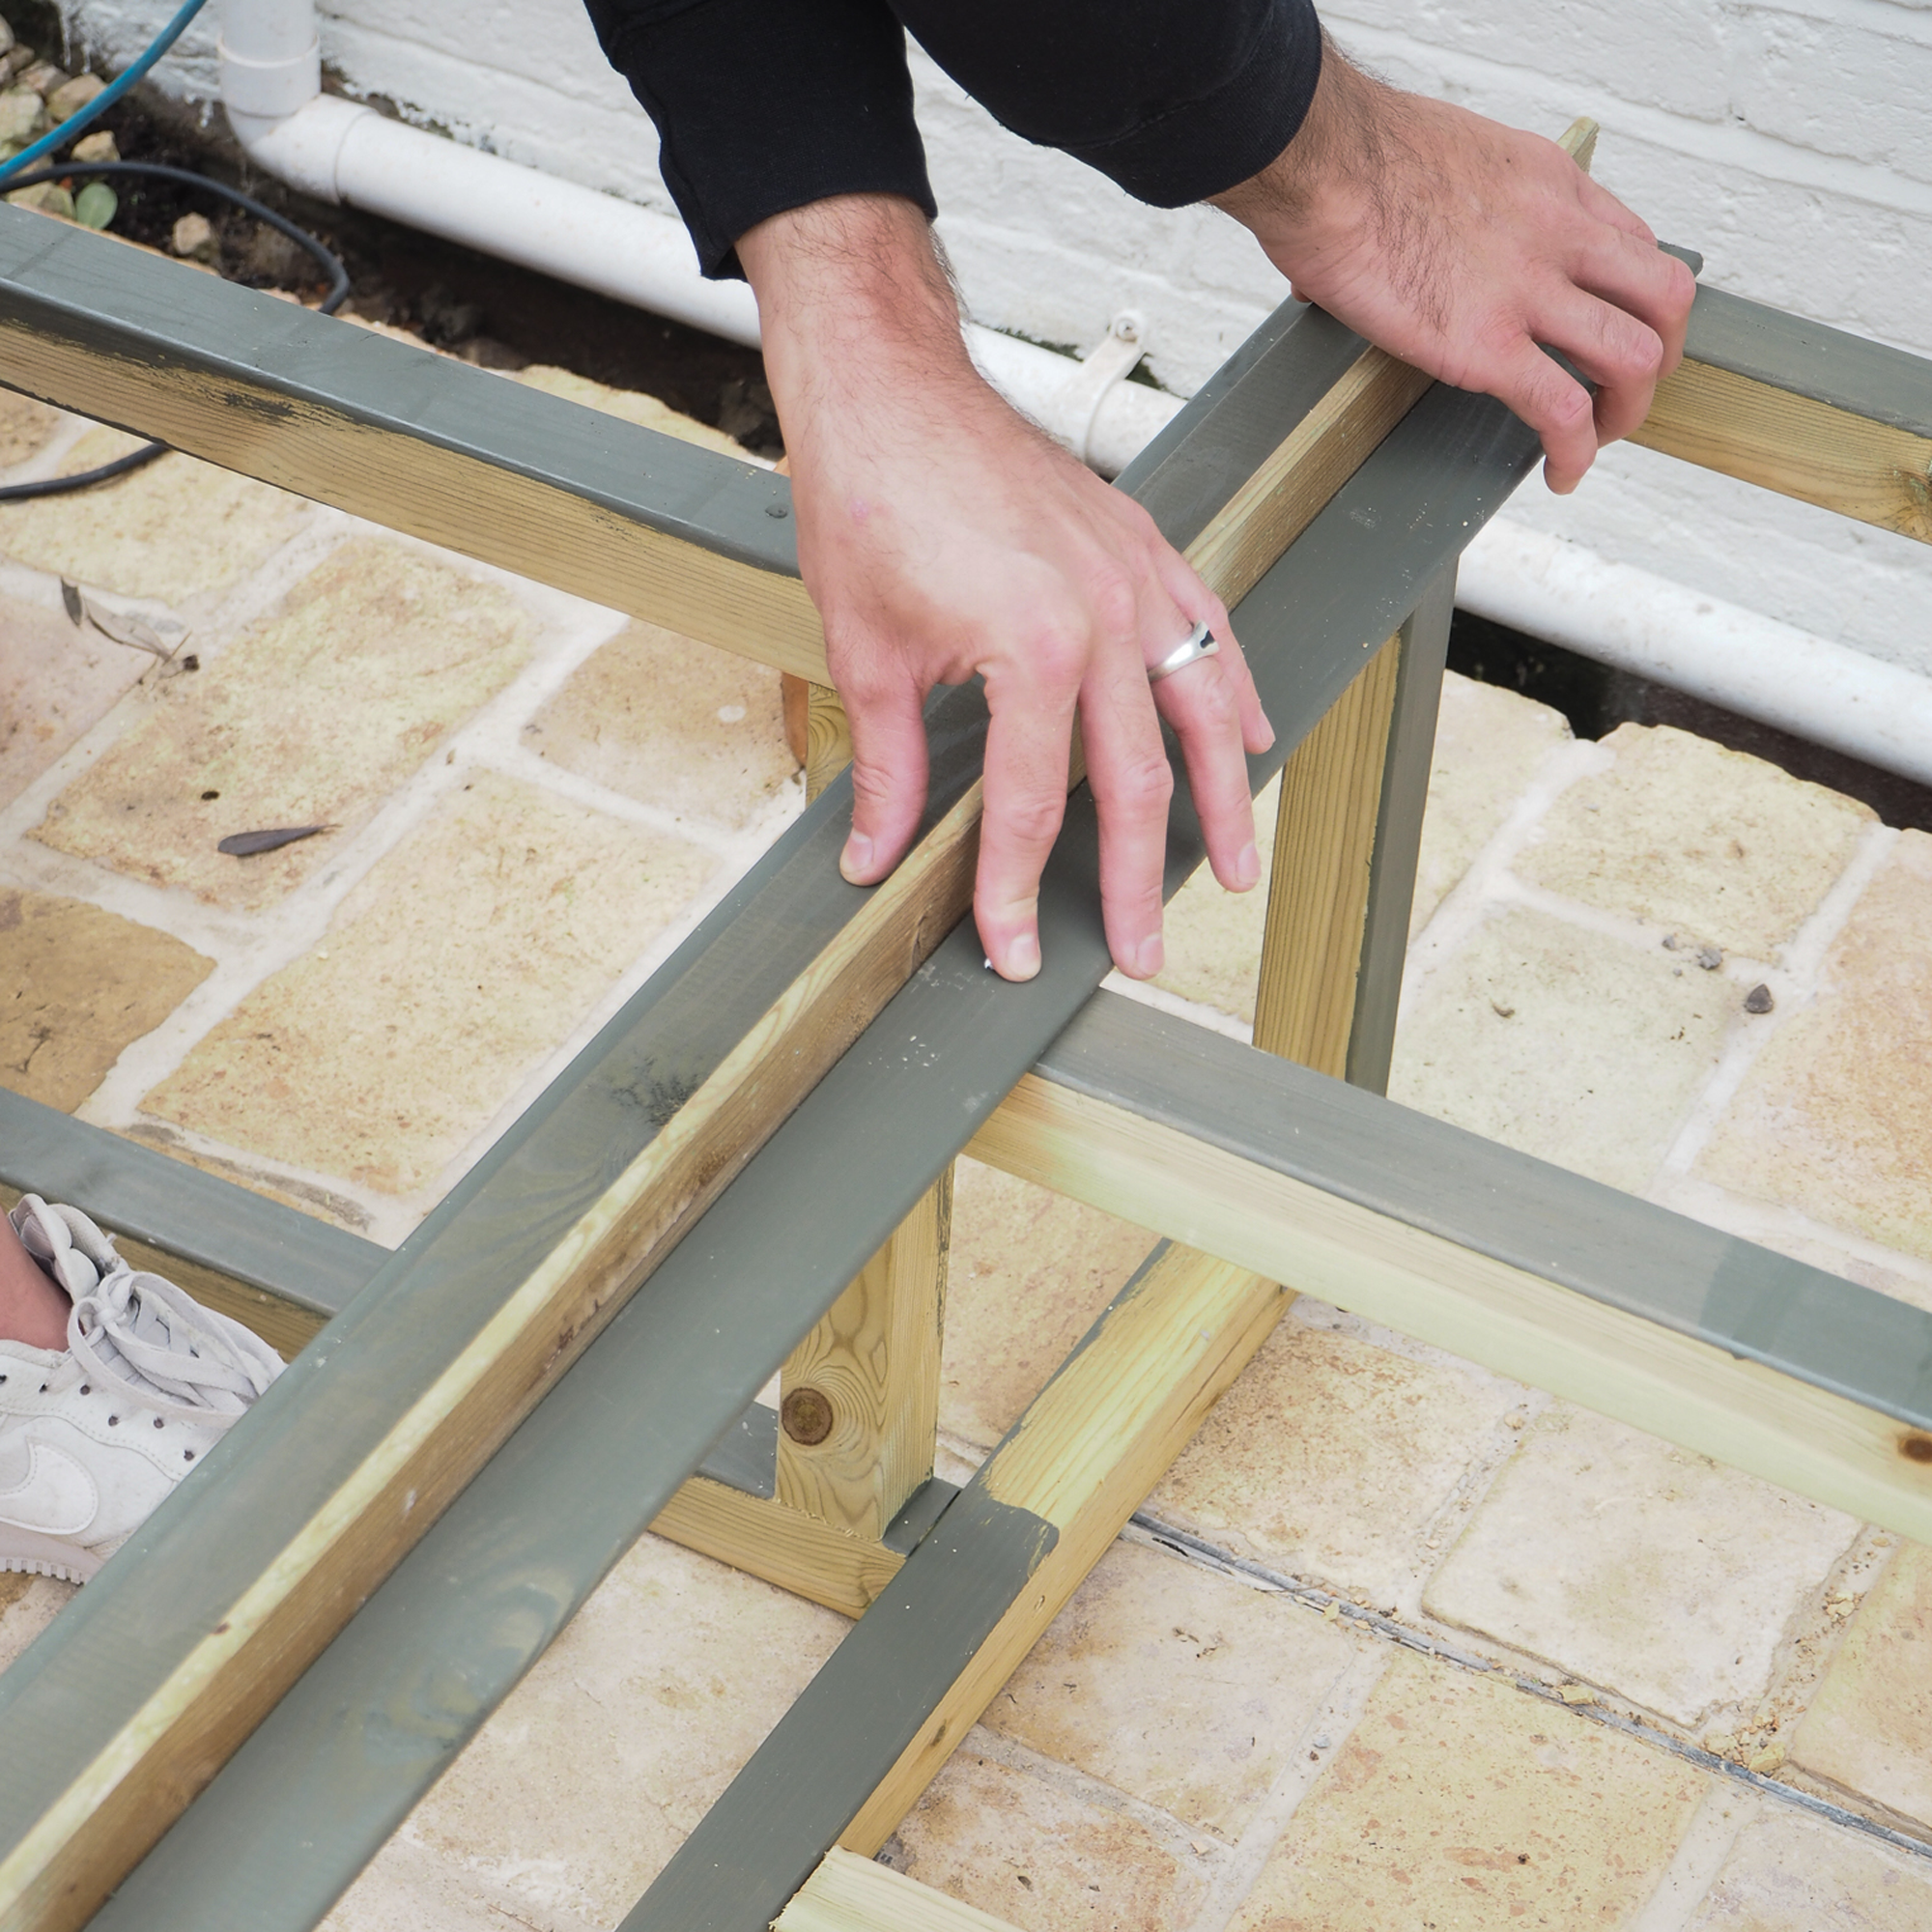
10. Tidy up uneven slats
If your slats are looking uneven, you can cut along the bottom at this point using a multi-tool to ensure they all look even.
11. Add plastic feet
Add some small plastic feet to ensure the frame is raised off the ground to avoid the timber being in direct contact with sitting water where possible.
12. Fix it to the wall
Now you have your frame, it's time to fix it to the wall. Consider using large brackets and long masonry screws.
13. Make and attach the wooden worktop
To make the worktop, cut some chunky exterior treated wood to the size of your units on either side of the sink with a little overlap. Sand the edges to smooth out.
Treat these surfaces with an exterior wood stain, then stick down using your instant grab adhesive. You can also attach some small zinc-plated plates to the underside of the timber to secure it into place.
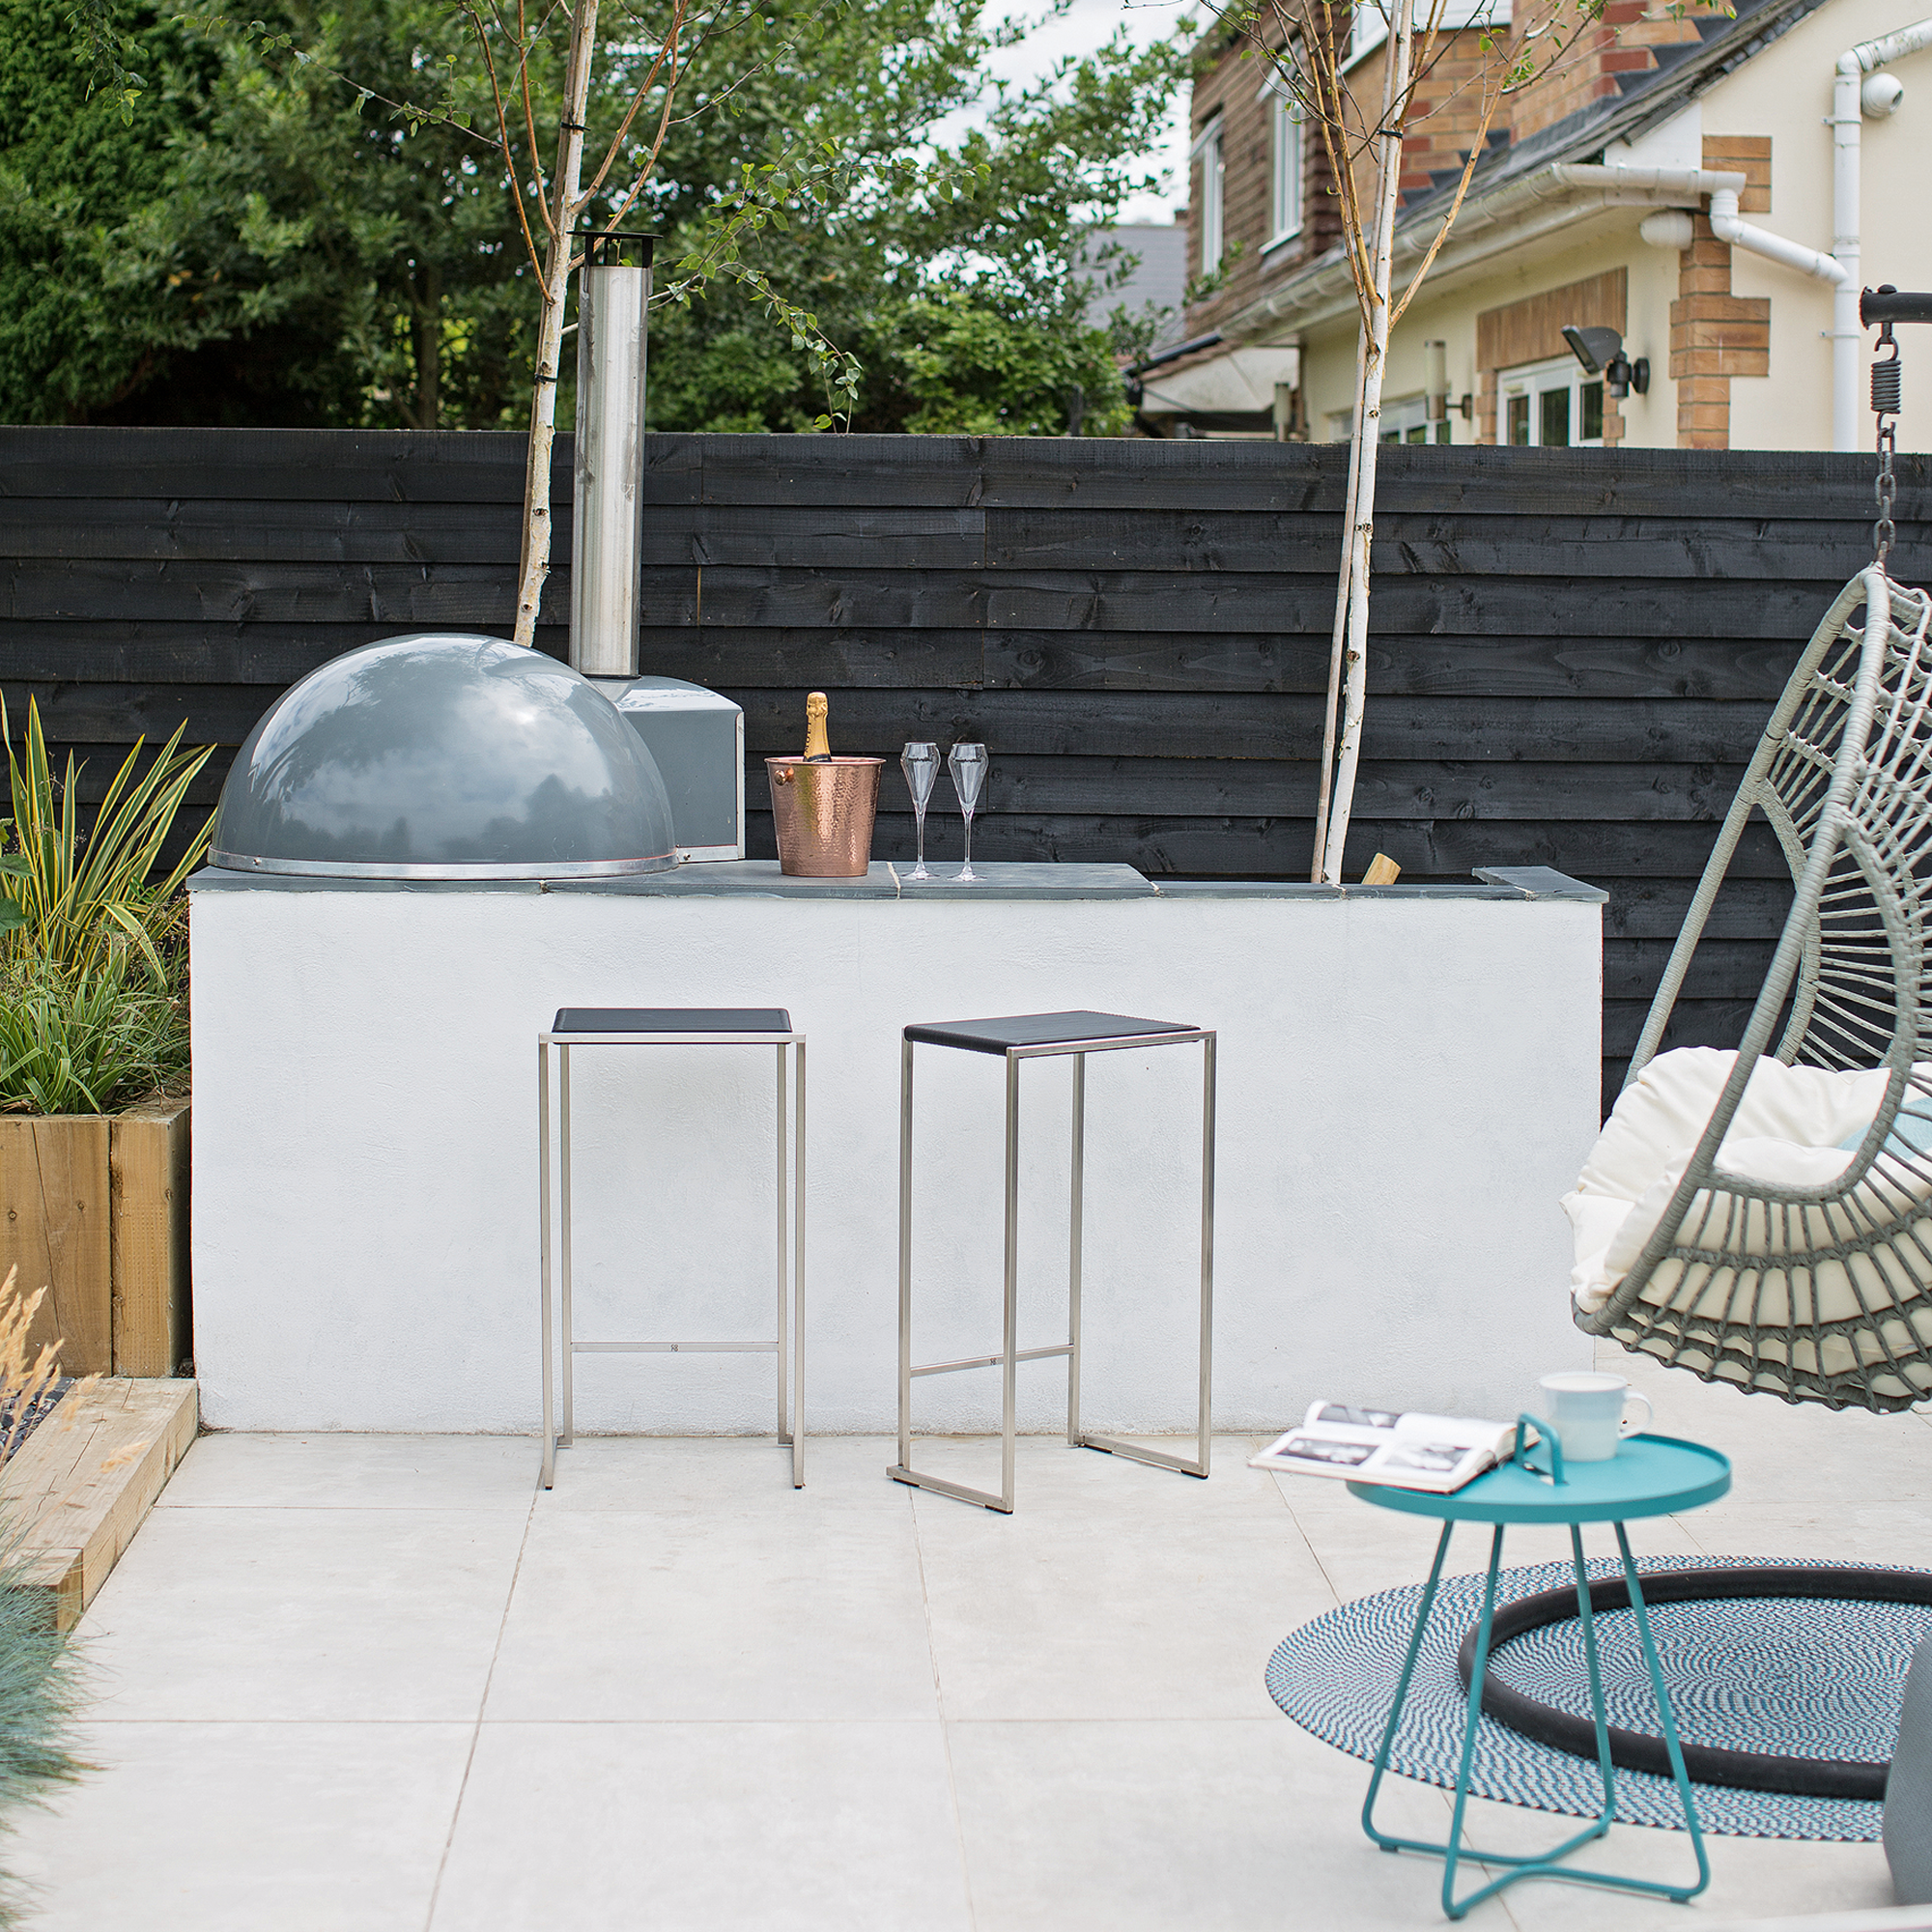
It's also worth thinking about landscaping and planting in your garden to help blend your outdoor kitchen with the rest of your outdoor space. When you're happy with your outdoor kitchen, you could also think about incorporating some garden bar ideas for creating homemade cocktails with friends and family. This will give you a complete entertainment area that is sure to be a show-stopping social space. Don't forget to add any personal touches to your outdoor kitchen that reflect your personality.
Ahead of any alfresco get-togethers, make sure you're prepared by reading up on how to clean a barbecue.
FAQs
Can I build my own outdoor kitchen?
Yes, you definitely can build your outdoor kitchen but just be aware that it will take more than a dining table and a few chairs. When it comes to how to build an outdoor kitchen it will take planning to ensure it works for you. The outdoor kitchen should allow you to both prepare meals and cook them so you can spend time with your guests without running back inside for plates, drinks or condiments.
When planning how to build your outdoor kitchen the best place for it is on the decking, allowing you to combine the kitchen with an outdoor dining area or outdoor living room.
'Setting a budget is of course a necessary and sensible thing, however, projects often run over budget so try not to be too sparse with the first pricing you have in mind - or you will be disappointed! It’s also a good idea to be realistic about the prices, and sometimes spending a bit more will ensure a high-quality, safe result,' says Amanda Telford, marketing manager at CTD Tiles.
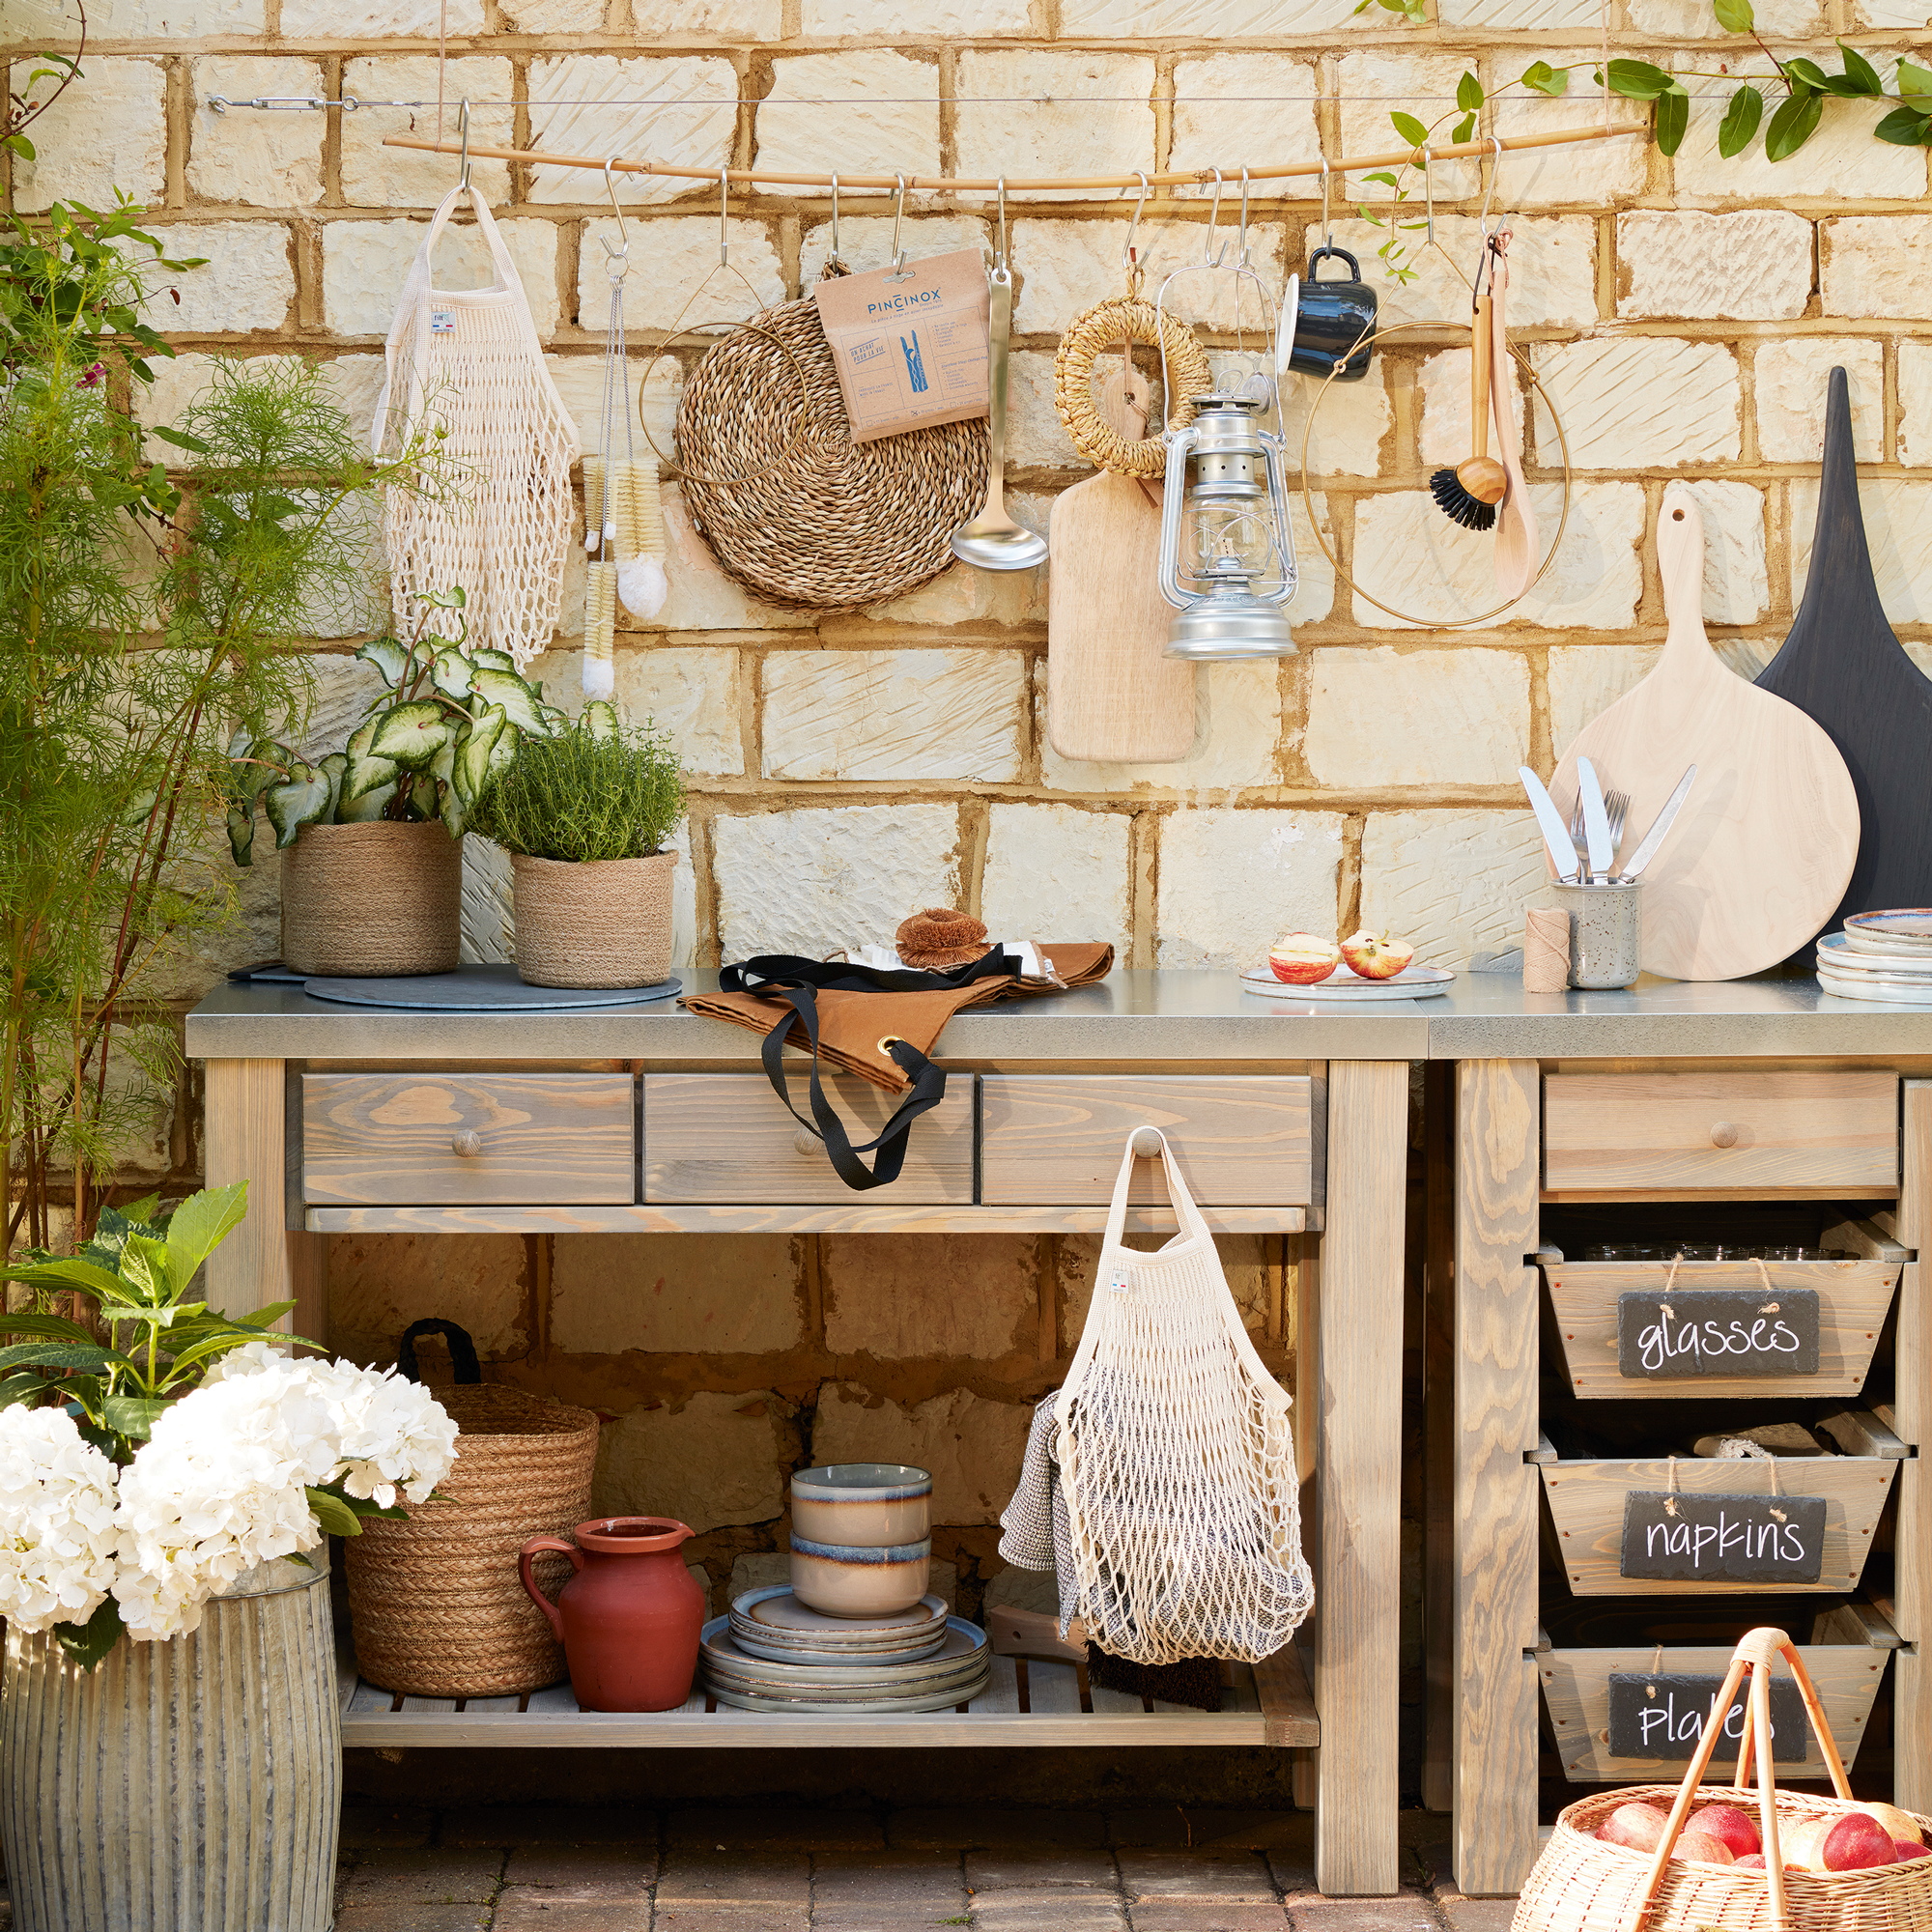
How do I build an outdoor kitchen on a budget?
If you want to keep the costs down when building your outdoor kitchen, buy your materials in bulk. This is a great way to reduce the cost while still getting quality materials which will stand the test of time. Also, this is the time to make use of your contacts and utilise the help of that friend of a friend who is a builder and will give you a cheeky discounted rate. Even better if you can turn your hand to as much DIY as possible to save money on labour costs.
‘Look for sales, discounts and coupons when you are shopping for appliances and materials for your outdoor kitchen. As we head into spring, there will be plenty of sales cropping up as consumers will be getting their outdoor spaces ready in time for summer. Always take the time to compare prices from different retailers, to find the best deals possible,’ says Mike Head from Atlas Ceramics.
‘Instead of using expensive materials such as granite, consider using more affordable options like concrete countertops or tiles. Porcelain tiles are very versatile and the majority of these tiles are frost resistant, making these the perfect tiles for an outdoor space.’
Don’t overcomplicate your design because this can push prices up due to more appliances and materials needed, instead opt for a minimalist and streamlined style. When it comes to kitting out your new outdoor kitchen, go to second-hand shops and charity shops to save money on appliances. Plus, consider upcycling old items such as old sinks or wooden tables and chairs to create unique items for your kitchen.
Get the Ideal Home Newsletter
Sign up to our newsletter for style and decor inspiration, house makeovers, project advice and more.

Millie Hurst was Senior Content Editor at Ideal Home from 2020-2022, and is now Section Editor at Homes & Gardens. Before stepping into the world of interiors, she worked as a Senior SEO Editor for News UK in both London and New York. You can usually find her looking up trending terms and finding real-life budget makeovers our readers love. Millie came up with the website's daily dupes article which gives readers ways to curate a stylish home for less.
- Imani CottrellContent Editor
-
 Wood drenching is the calming new twist on the colour drenching trend – here’s how to make the look work in your home
It’s easier than ever to embrace natural materials
By Maddie Balcombe
-
 Aldi is launching a £200 day bed with four different features - its sleek design is suited to the whole family
You don't want to miss out on this Specialbuy
By Kezia Reynolds
-
 How to set up a drip watering system that saves water and a lot of effort
Keep your plants hydrated (and your water bill down) with this clever garden watering solution
By Natalie Osborn