How to clean garden tools - top tips to keep your hand tools and trusty lawn mower in check
Yes, you really do need to clean your watering can


When was the last time you cleaned your lawn mower? What about your metal hand tools? Or how about your watering can? If you can’t remember or you’ve never cleaned them before, you need to know how to clean garden tools.
When you’ve spent your hard-earned money investing in quality tools to bring your garden ideas to life, it’s incredibly important to look after them. After all, the cleaner they are, the longer they’ll last. But when you think about it, keeping your garden tools clean also serves another purpose… it’ll keep your garden healthy and disease-free.
So, no matter whether you choose to give your garden tools a deep clean before the winter season or opt to clean them after every use, we’ve got all of the information you need to clean the garden tools sitting in your shed.
How to clean garden tools
While you may love gardening deals as much as the next person, we’re going to assume that you don’t want to replace your garden tools on a regular basis. That’s why cleaning your garden tools is so essential - and this is how you can do it yourself.
Cleaning rusty metal tools
Many shovels, pruning shears, and garden forks are made from metal. While this makes them incredibly hard-wearing, it can also make them susceptible to rust if they aren’t stored correctly.
Thankfully, there are so many ways to clean rust off metal - but our favourite option is cleaning with beer.

Paul McFadyen, Chairman of metals4U, explains, ‘If your outdoor tools such as shovels and rakes are covered in rust, submerge them in beer overnight. The carbonation will break down the rust enough for it to be wiped away easily in the morning.’
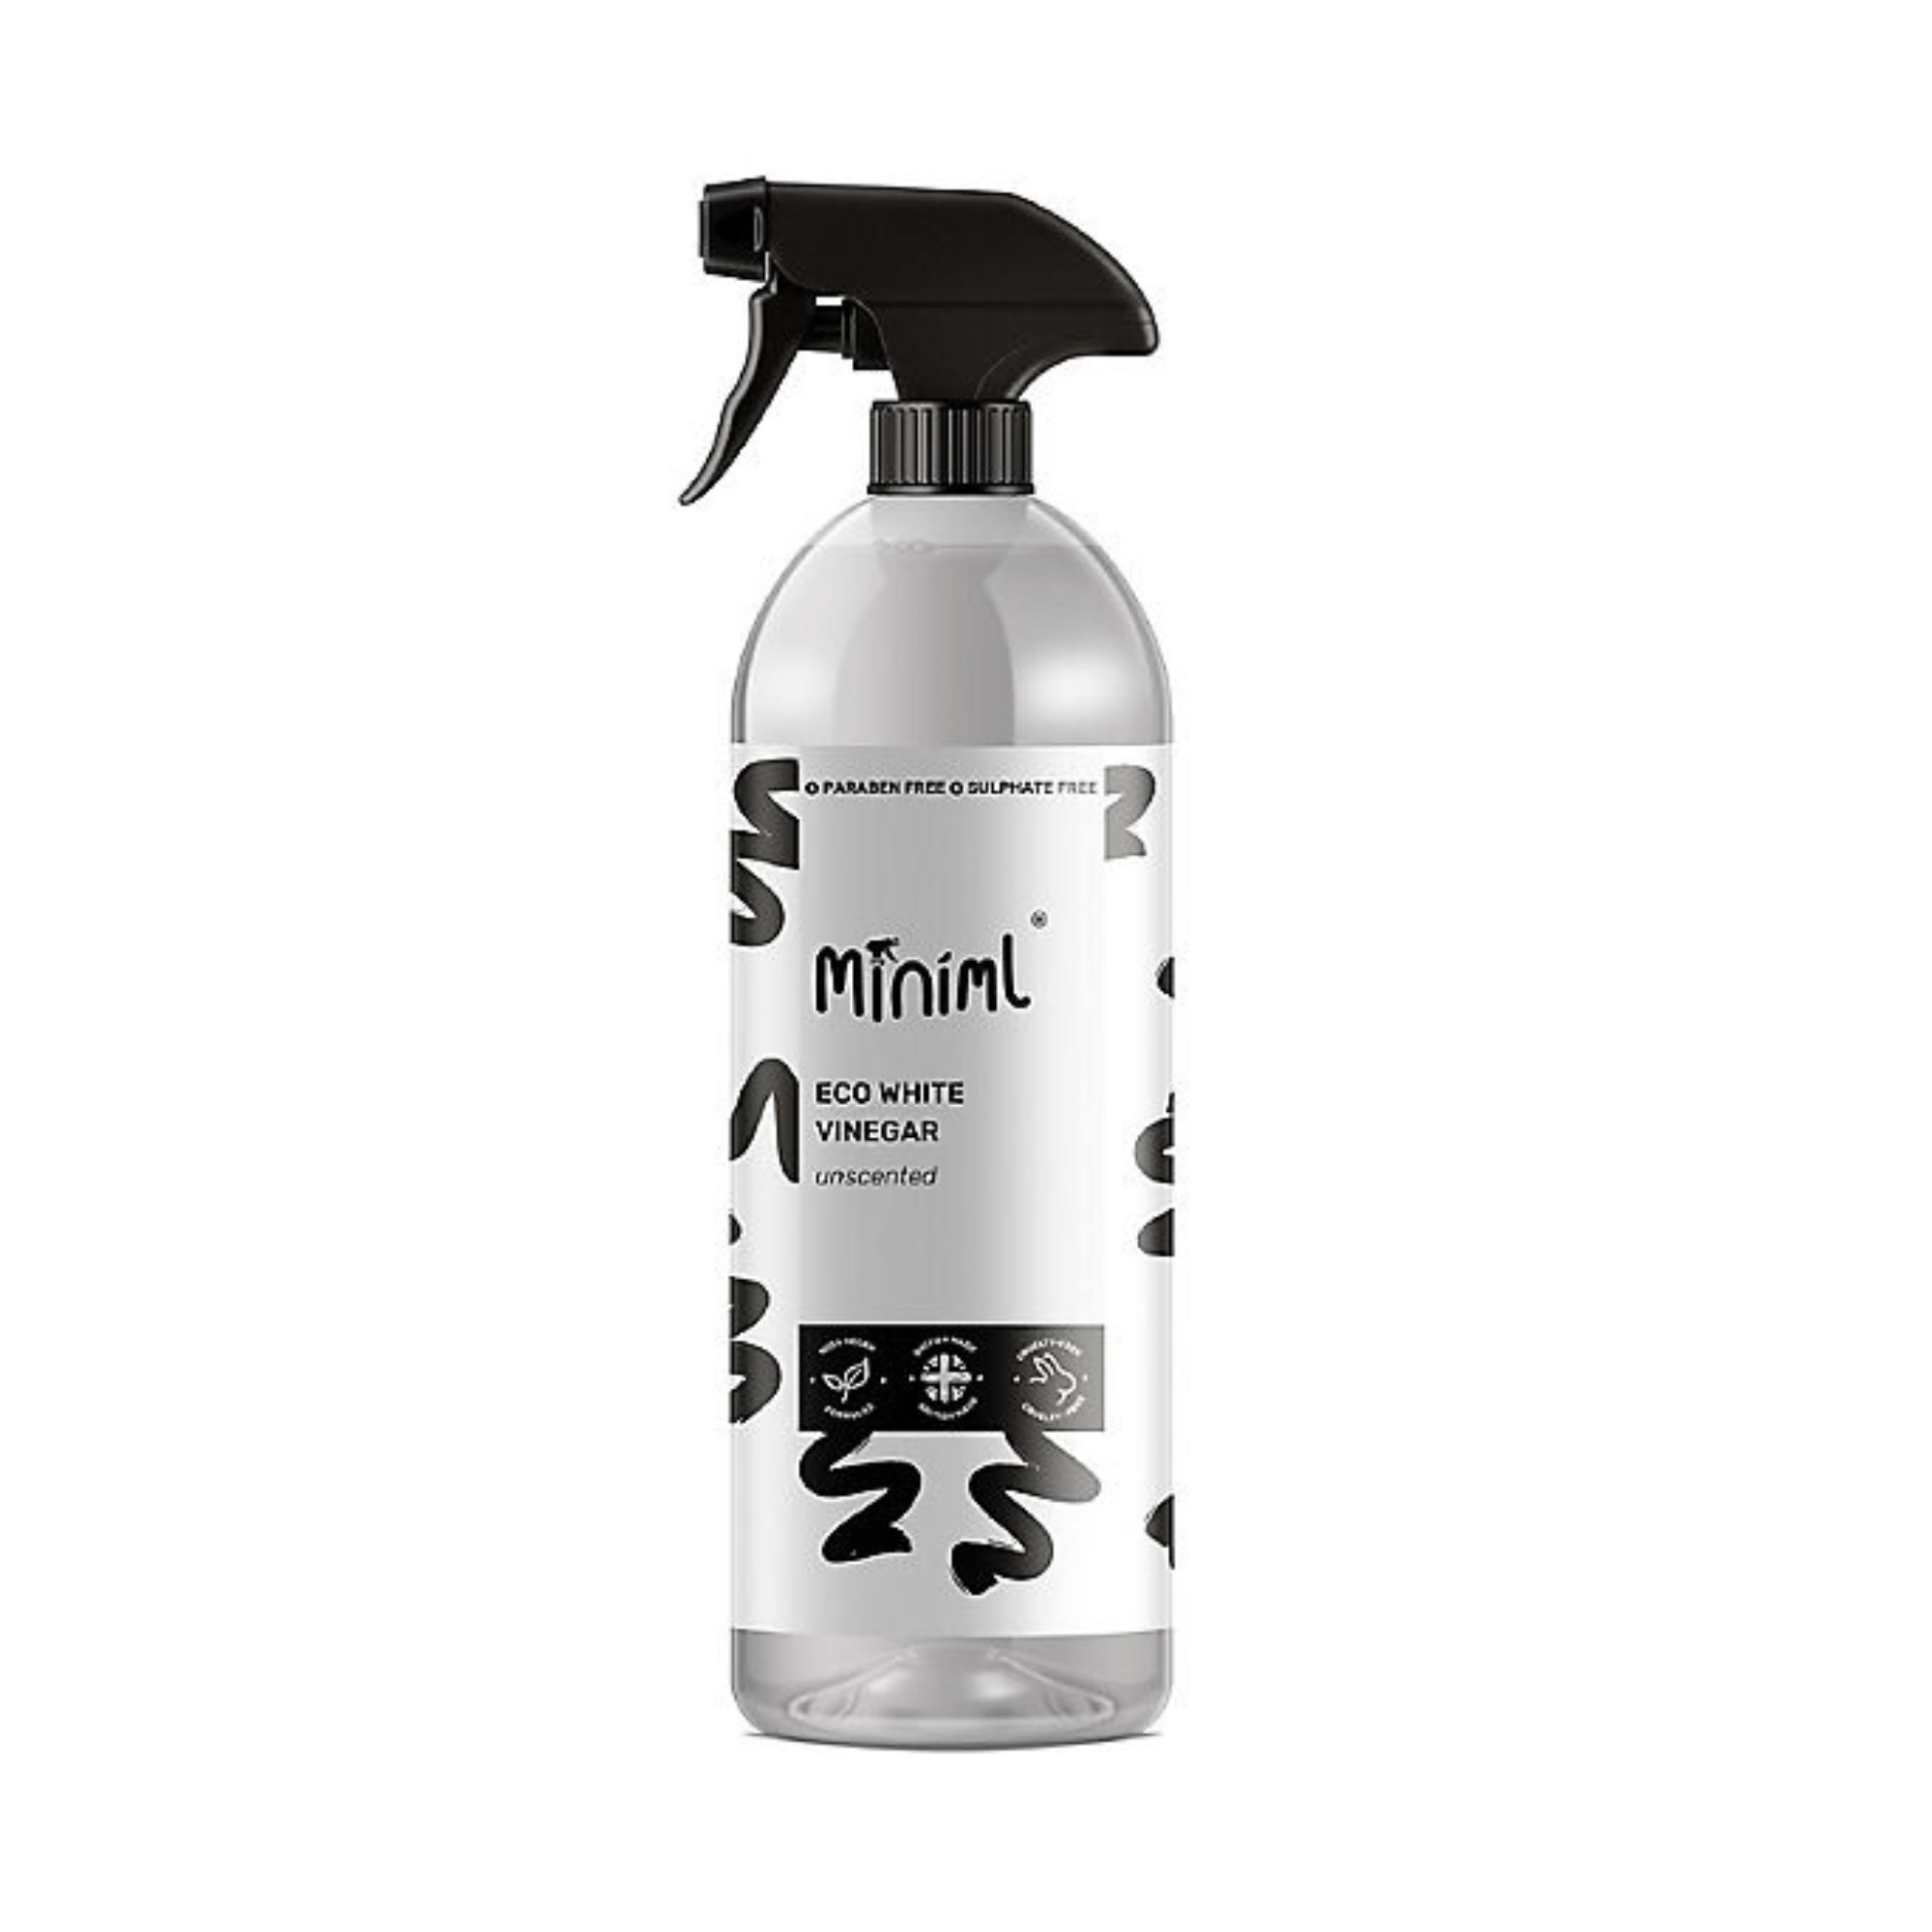
Don’t worry if you don’t want to waste a perfectly good beer on your garden tools, though, an alternative method is to clean with white vinegar.
‘Undiluted, distilled white vinegar can be used to remove rust from hand tools that have been damaged by wet weather, and it can be bought for as little as 35p!' Paul says.
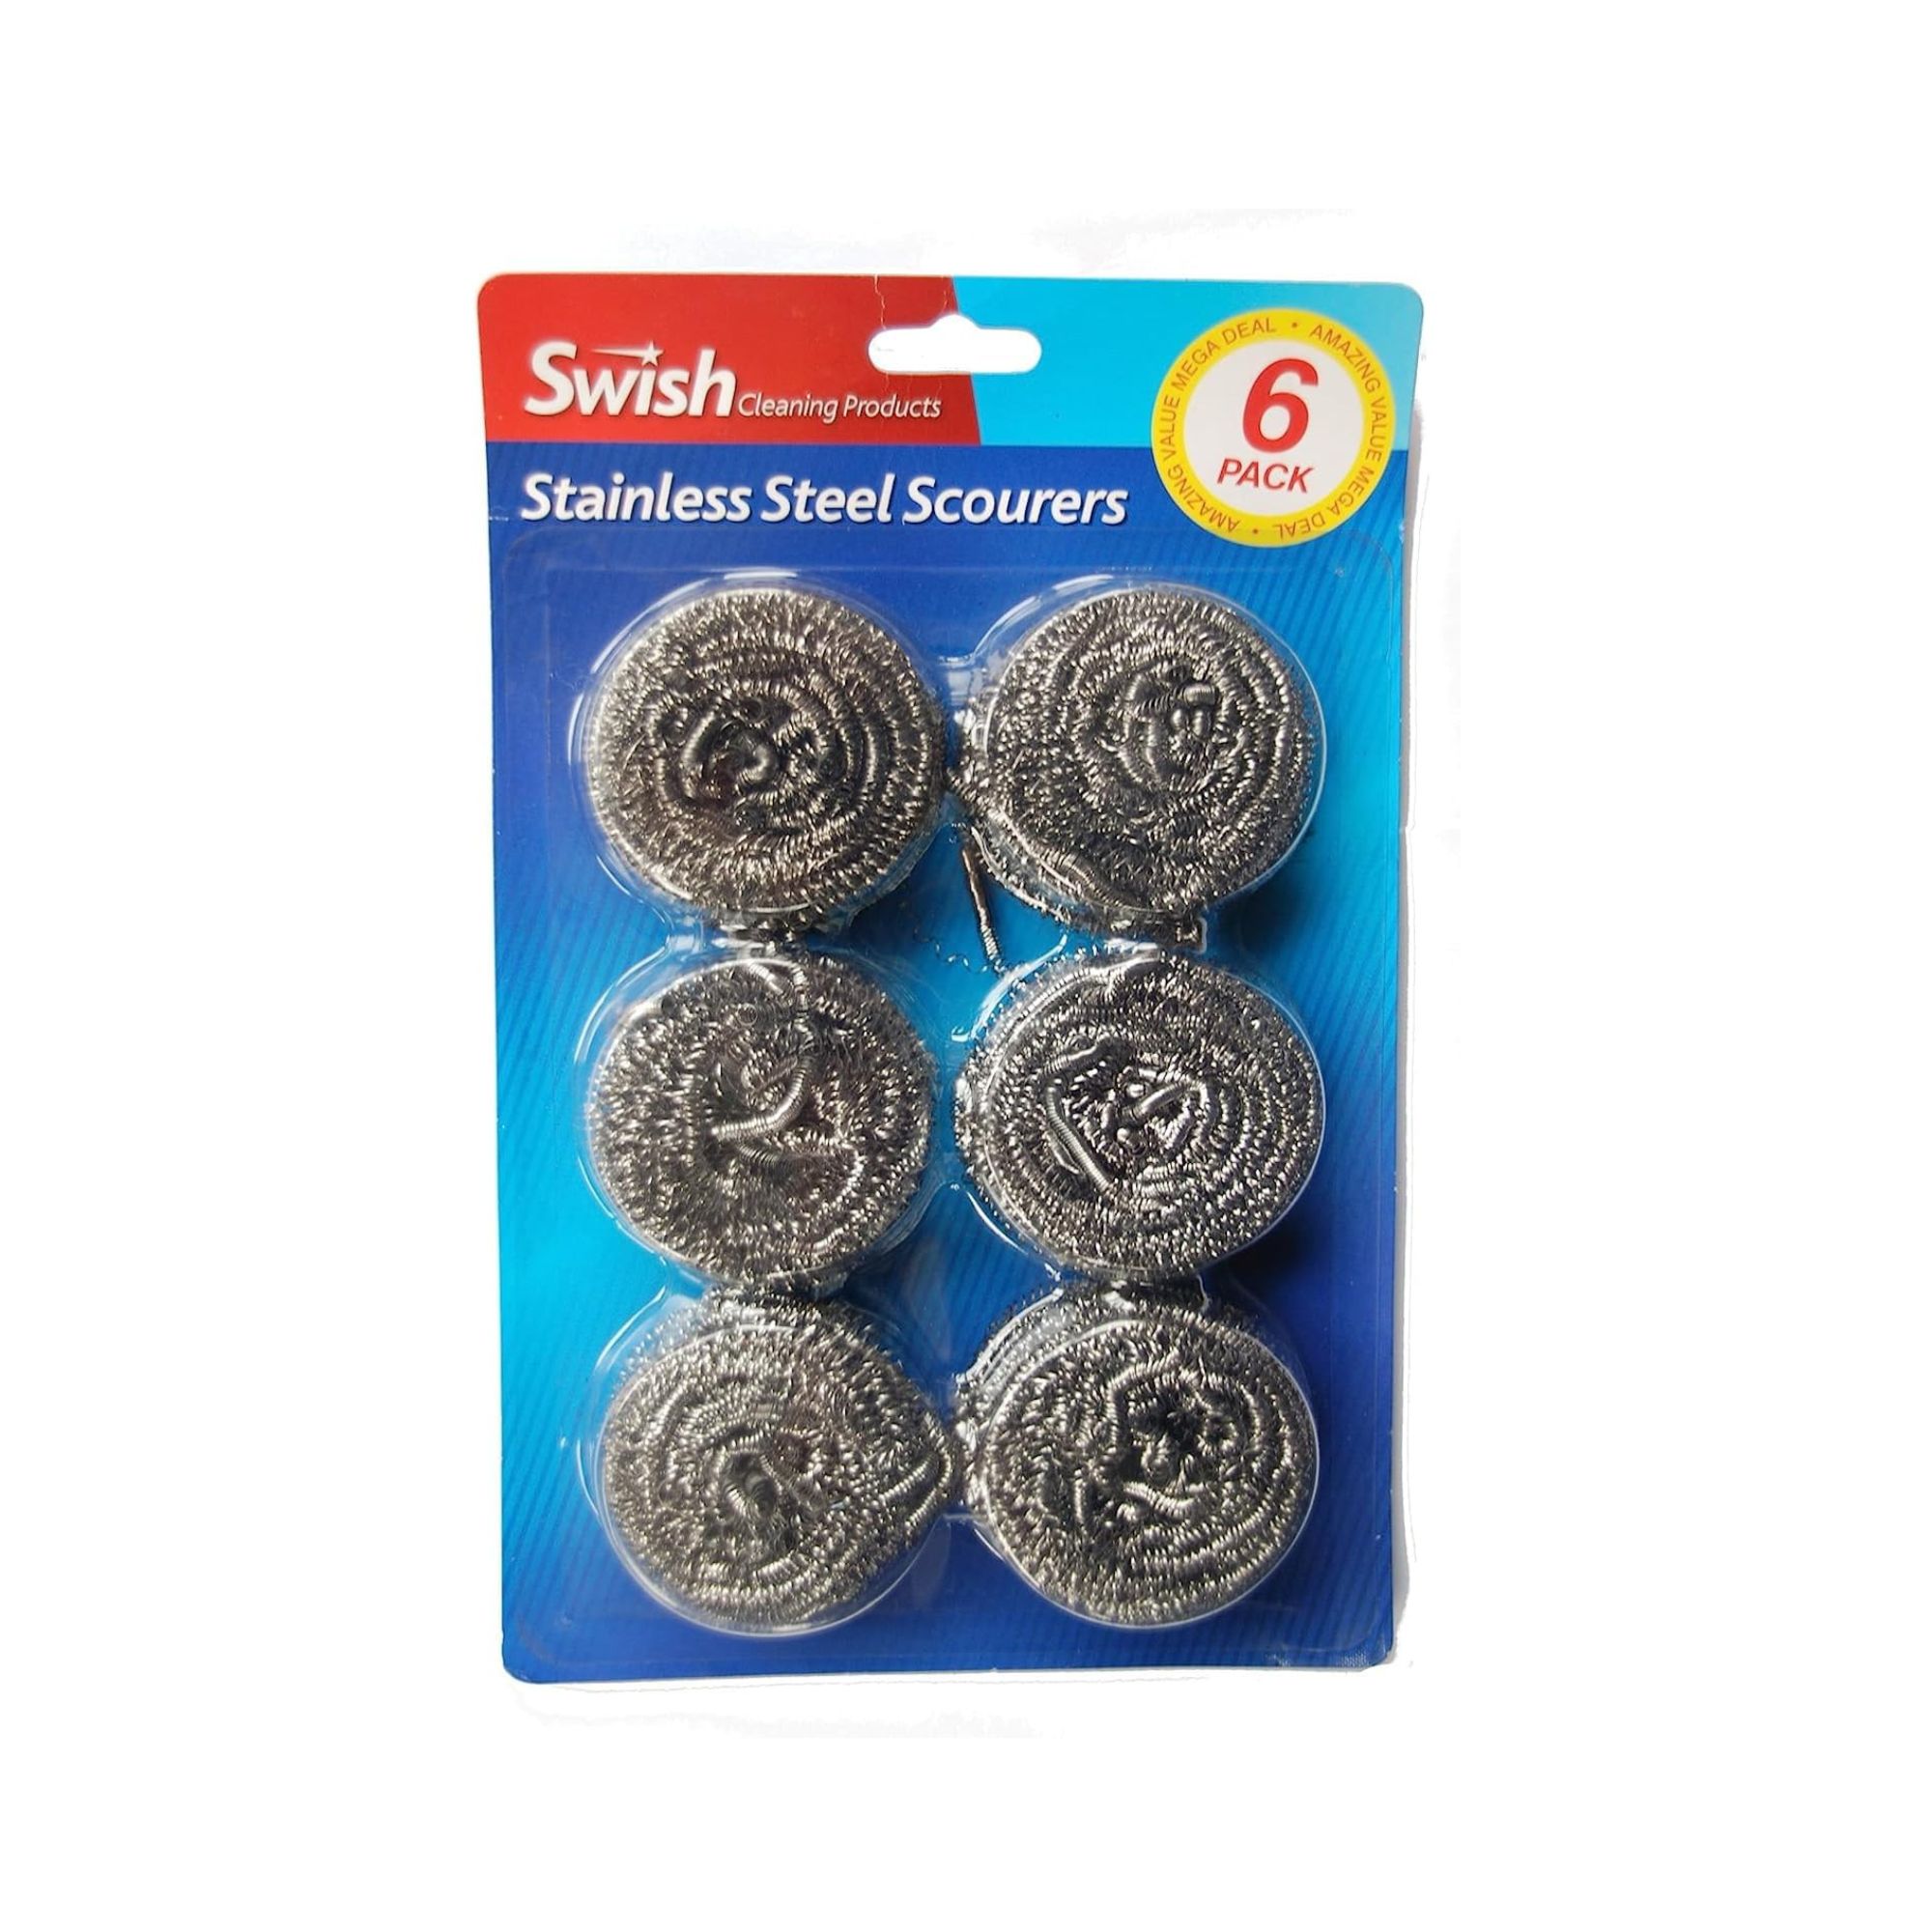
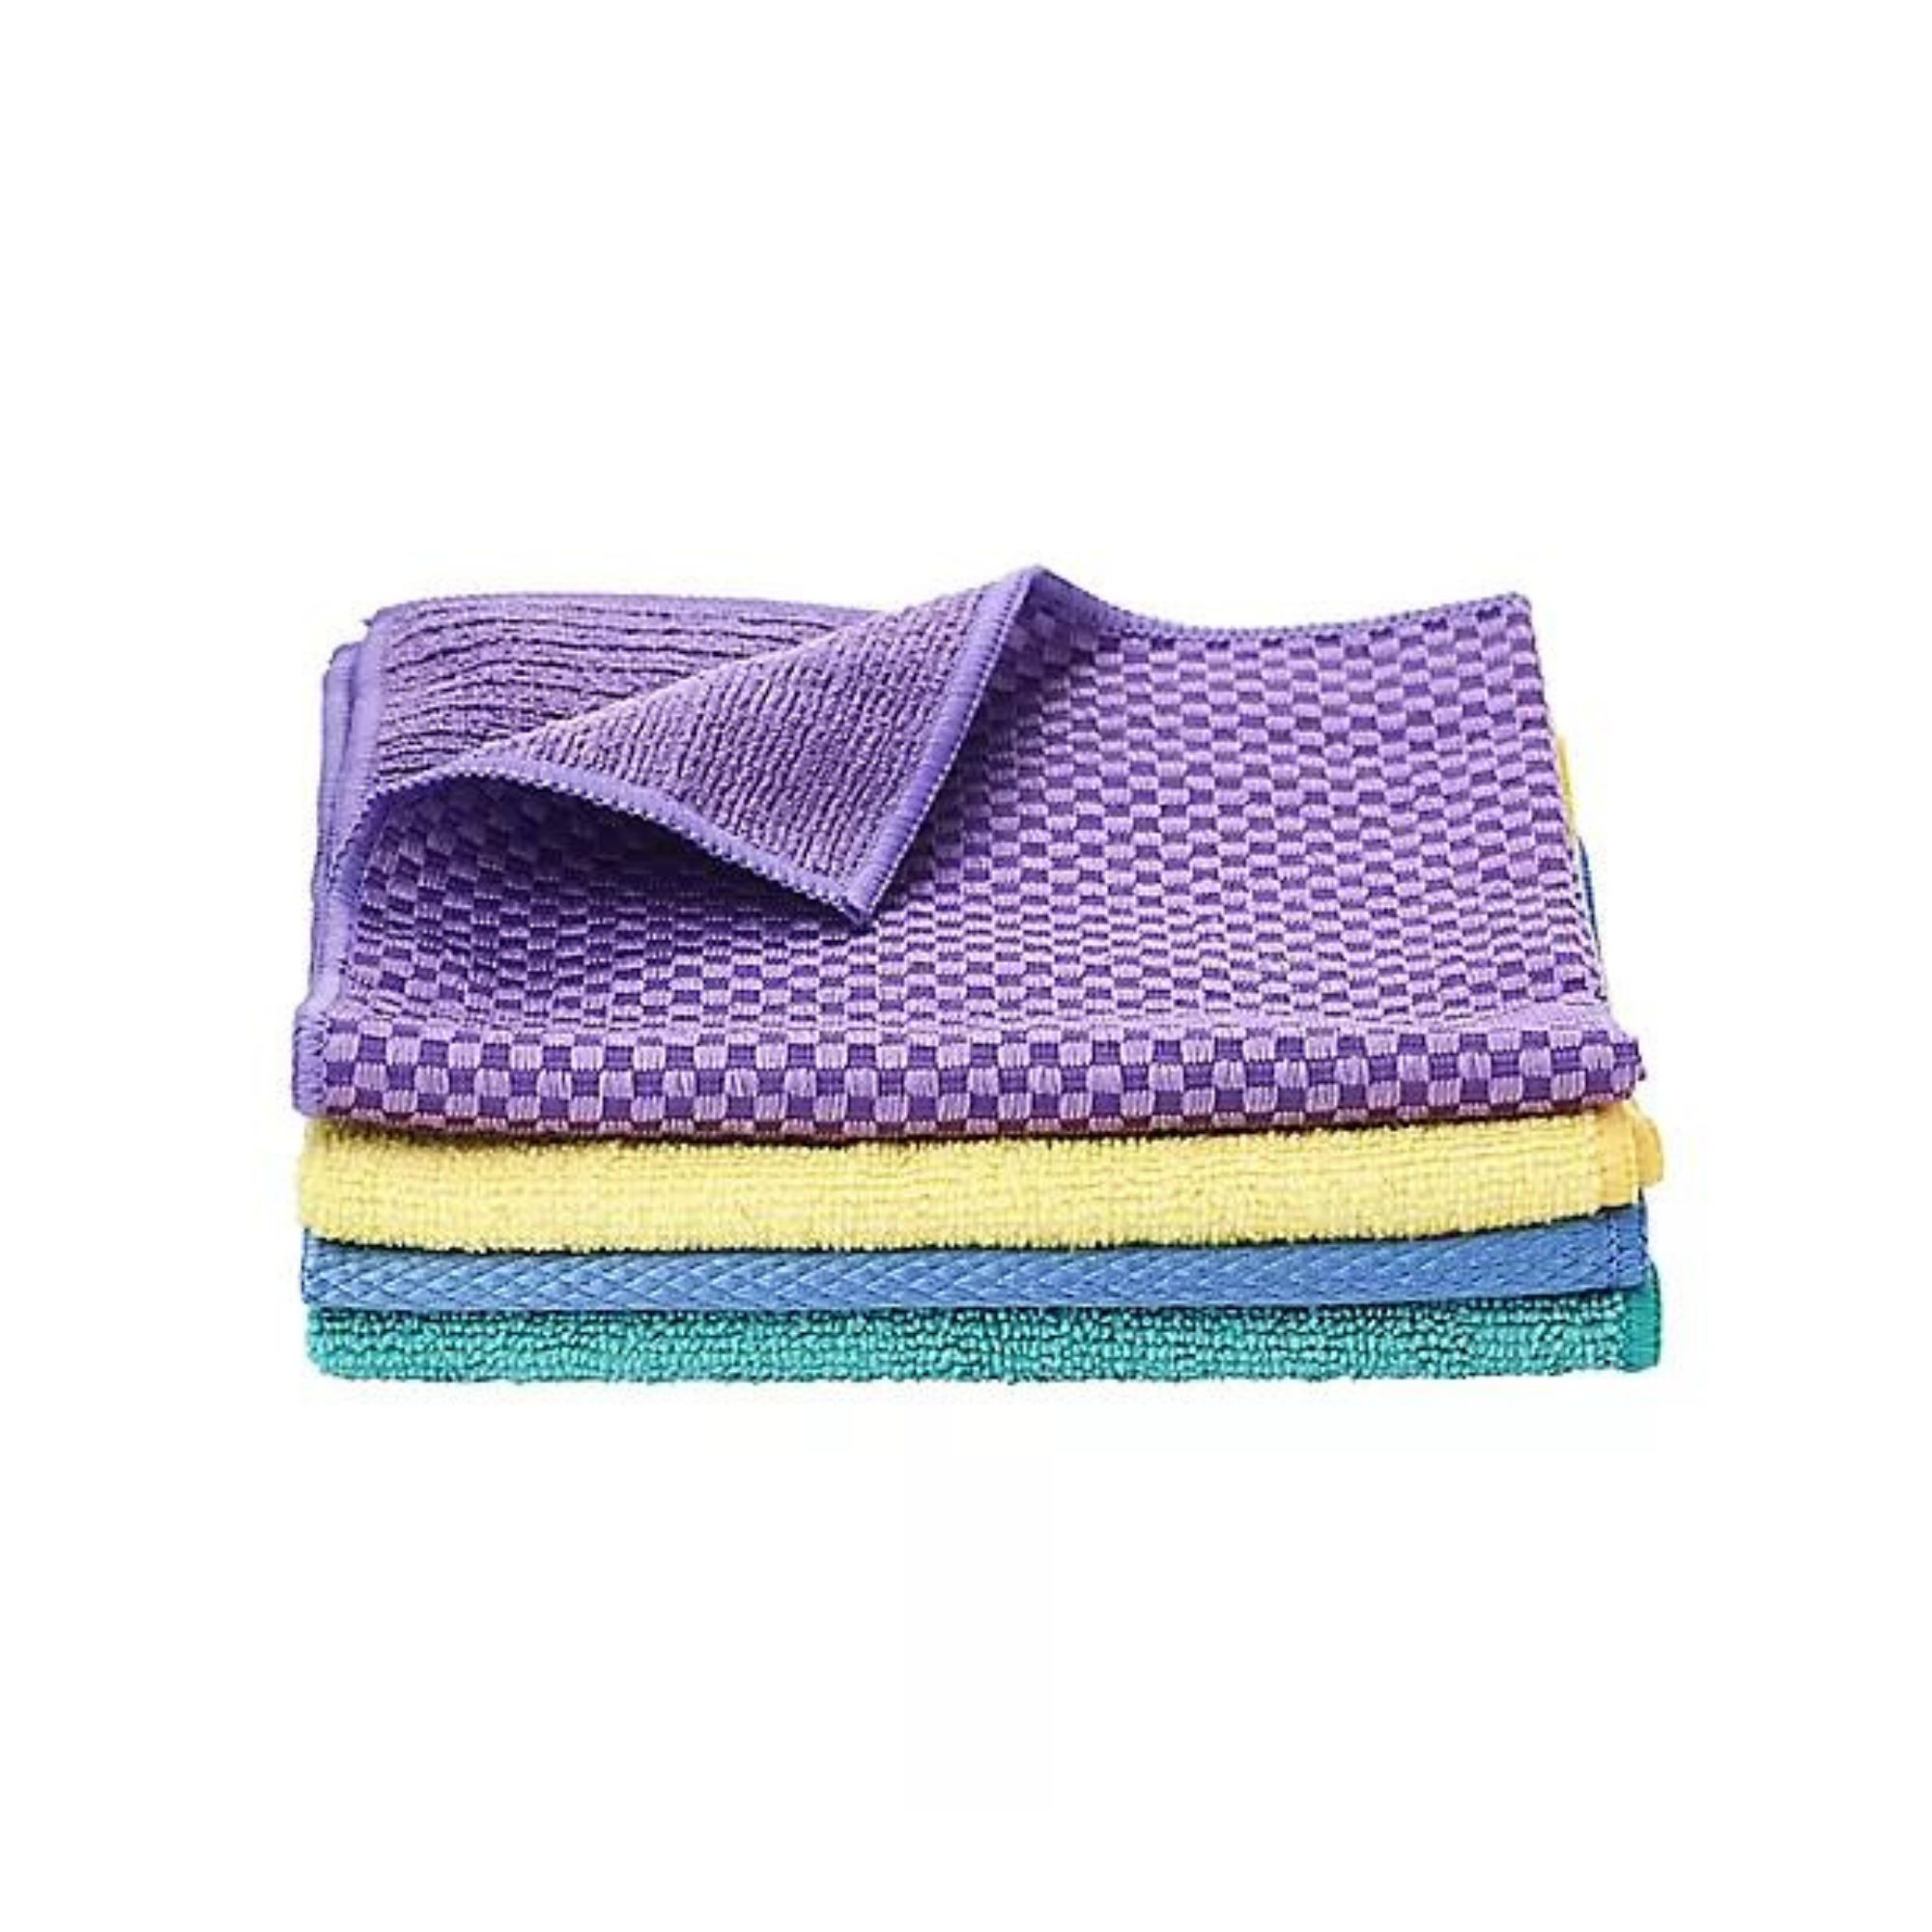
'Either spray the vinegar or place a cloth soaked in vinegar on the affected area before rinsing with water or gently rubbing with a steel scourer in the direction of the grain to remove stubborn deposits.’
Cleaning tools with wooden handles
After using hand tools, you should always brush off excess soil and clean with soap and water - or just a damp rag if you’re working with stainless steel garden tools. This is something that Madeleine Porritt, E-commerce Retail Account Manager at RHS, does herself.
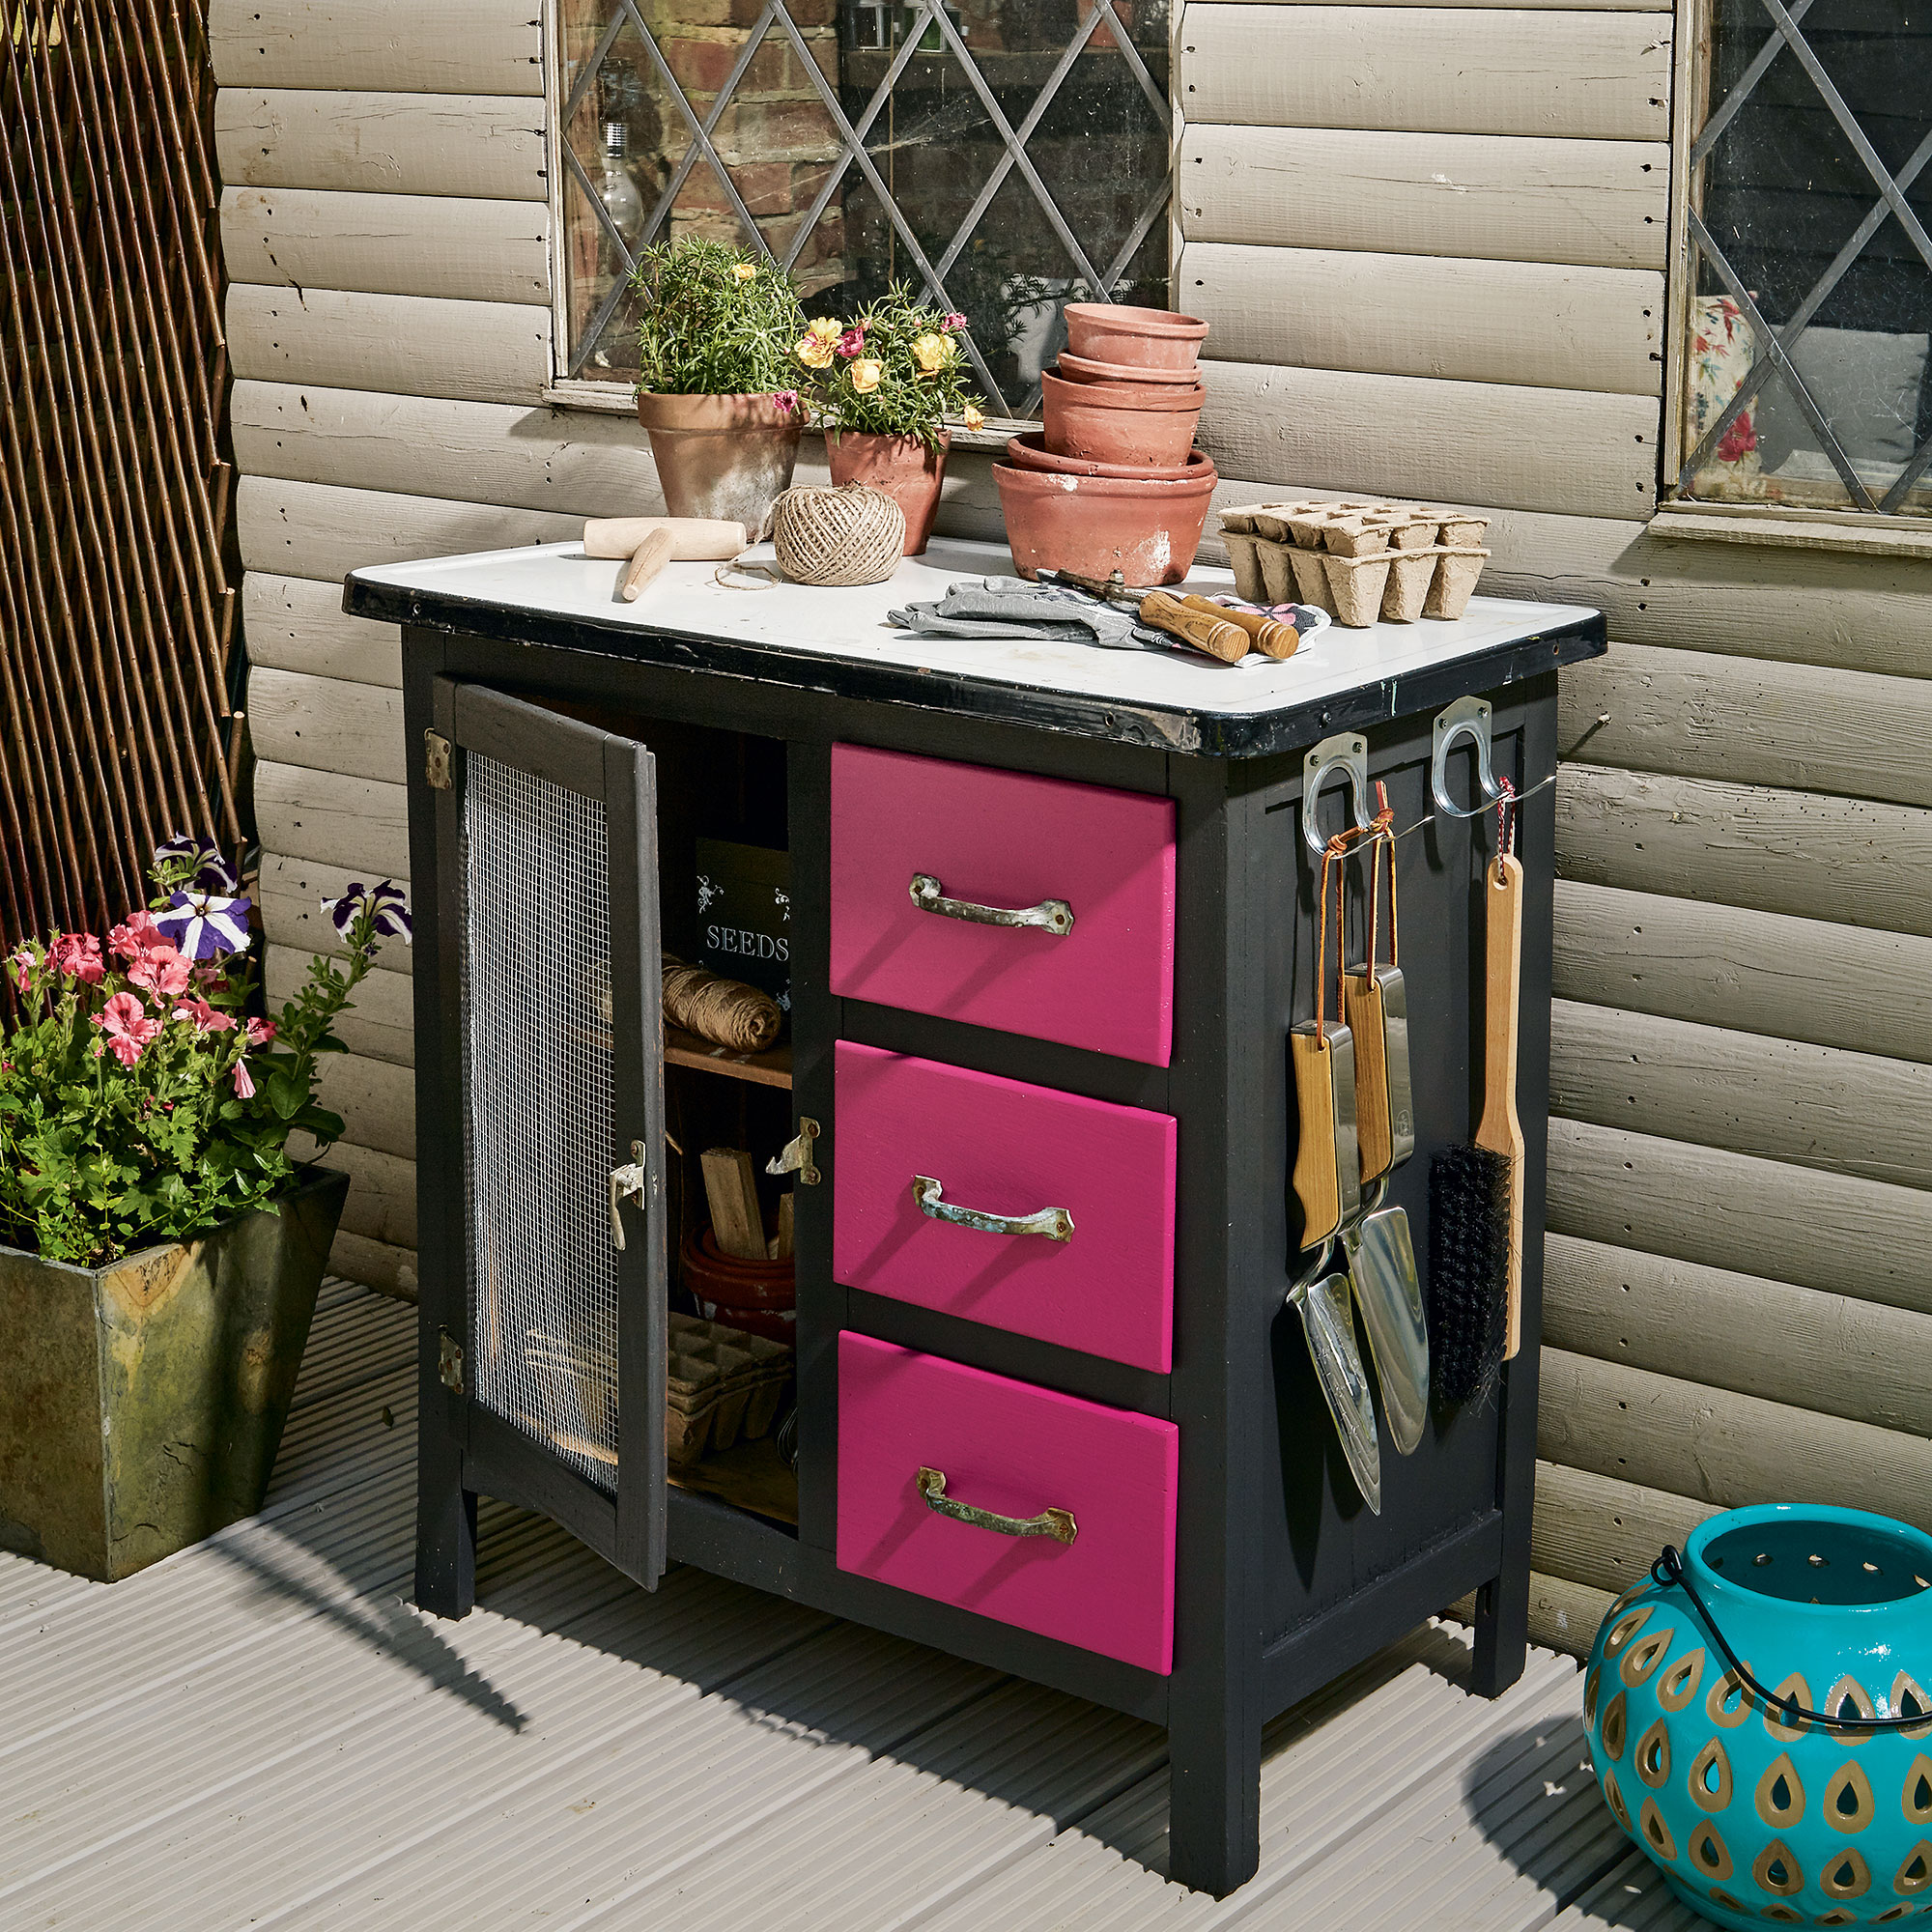
She says, ‘To clean my tools, I remove the bulk of the dirt with a brush, then wash them in warm water with a mild detergent, using a sponge or brush for more stubborn dirt and then rinse them in clean water. Although you can air dry them, I usually go further and dry them with a towel, mainly because I’m impatient and don’t want to wait for them to dry.’
For this job, it might be worth installing an outdoor hot water tap. And while you could leave it there, you could also go the extra mile - especially if you come across scratchy, dry, and splintered handle patches.
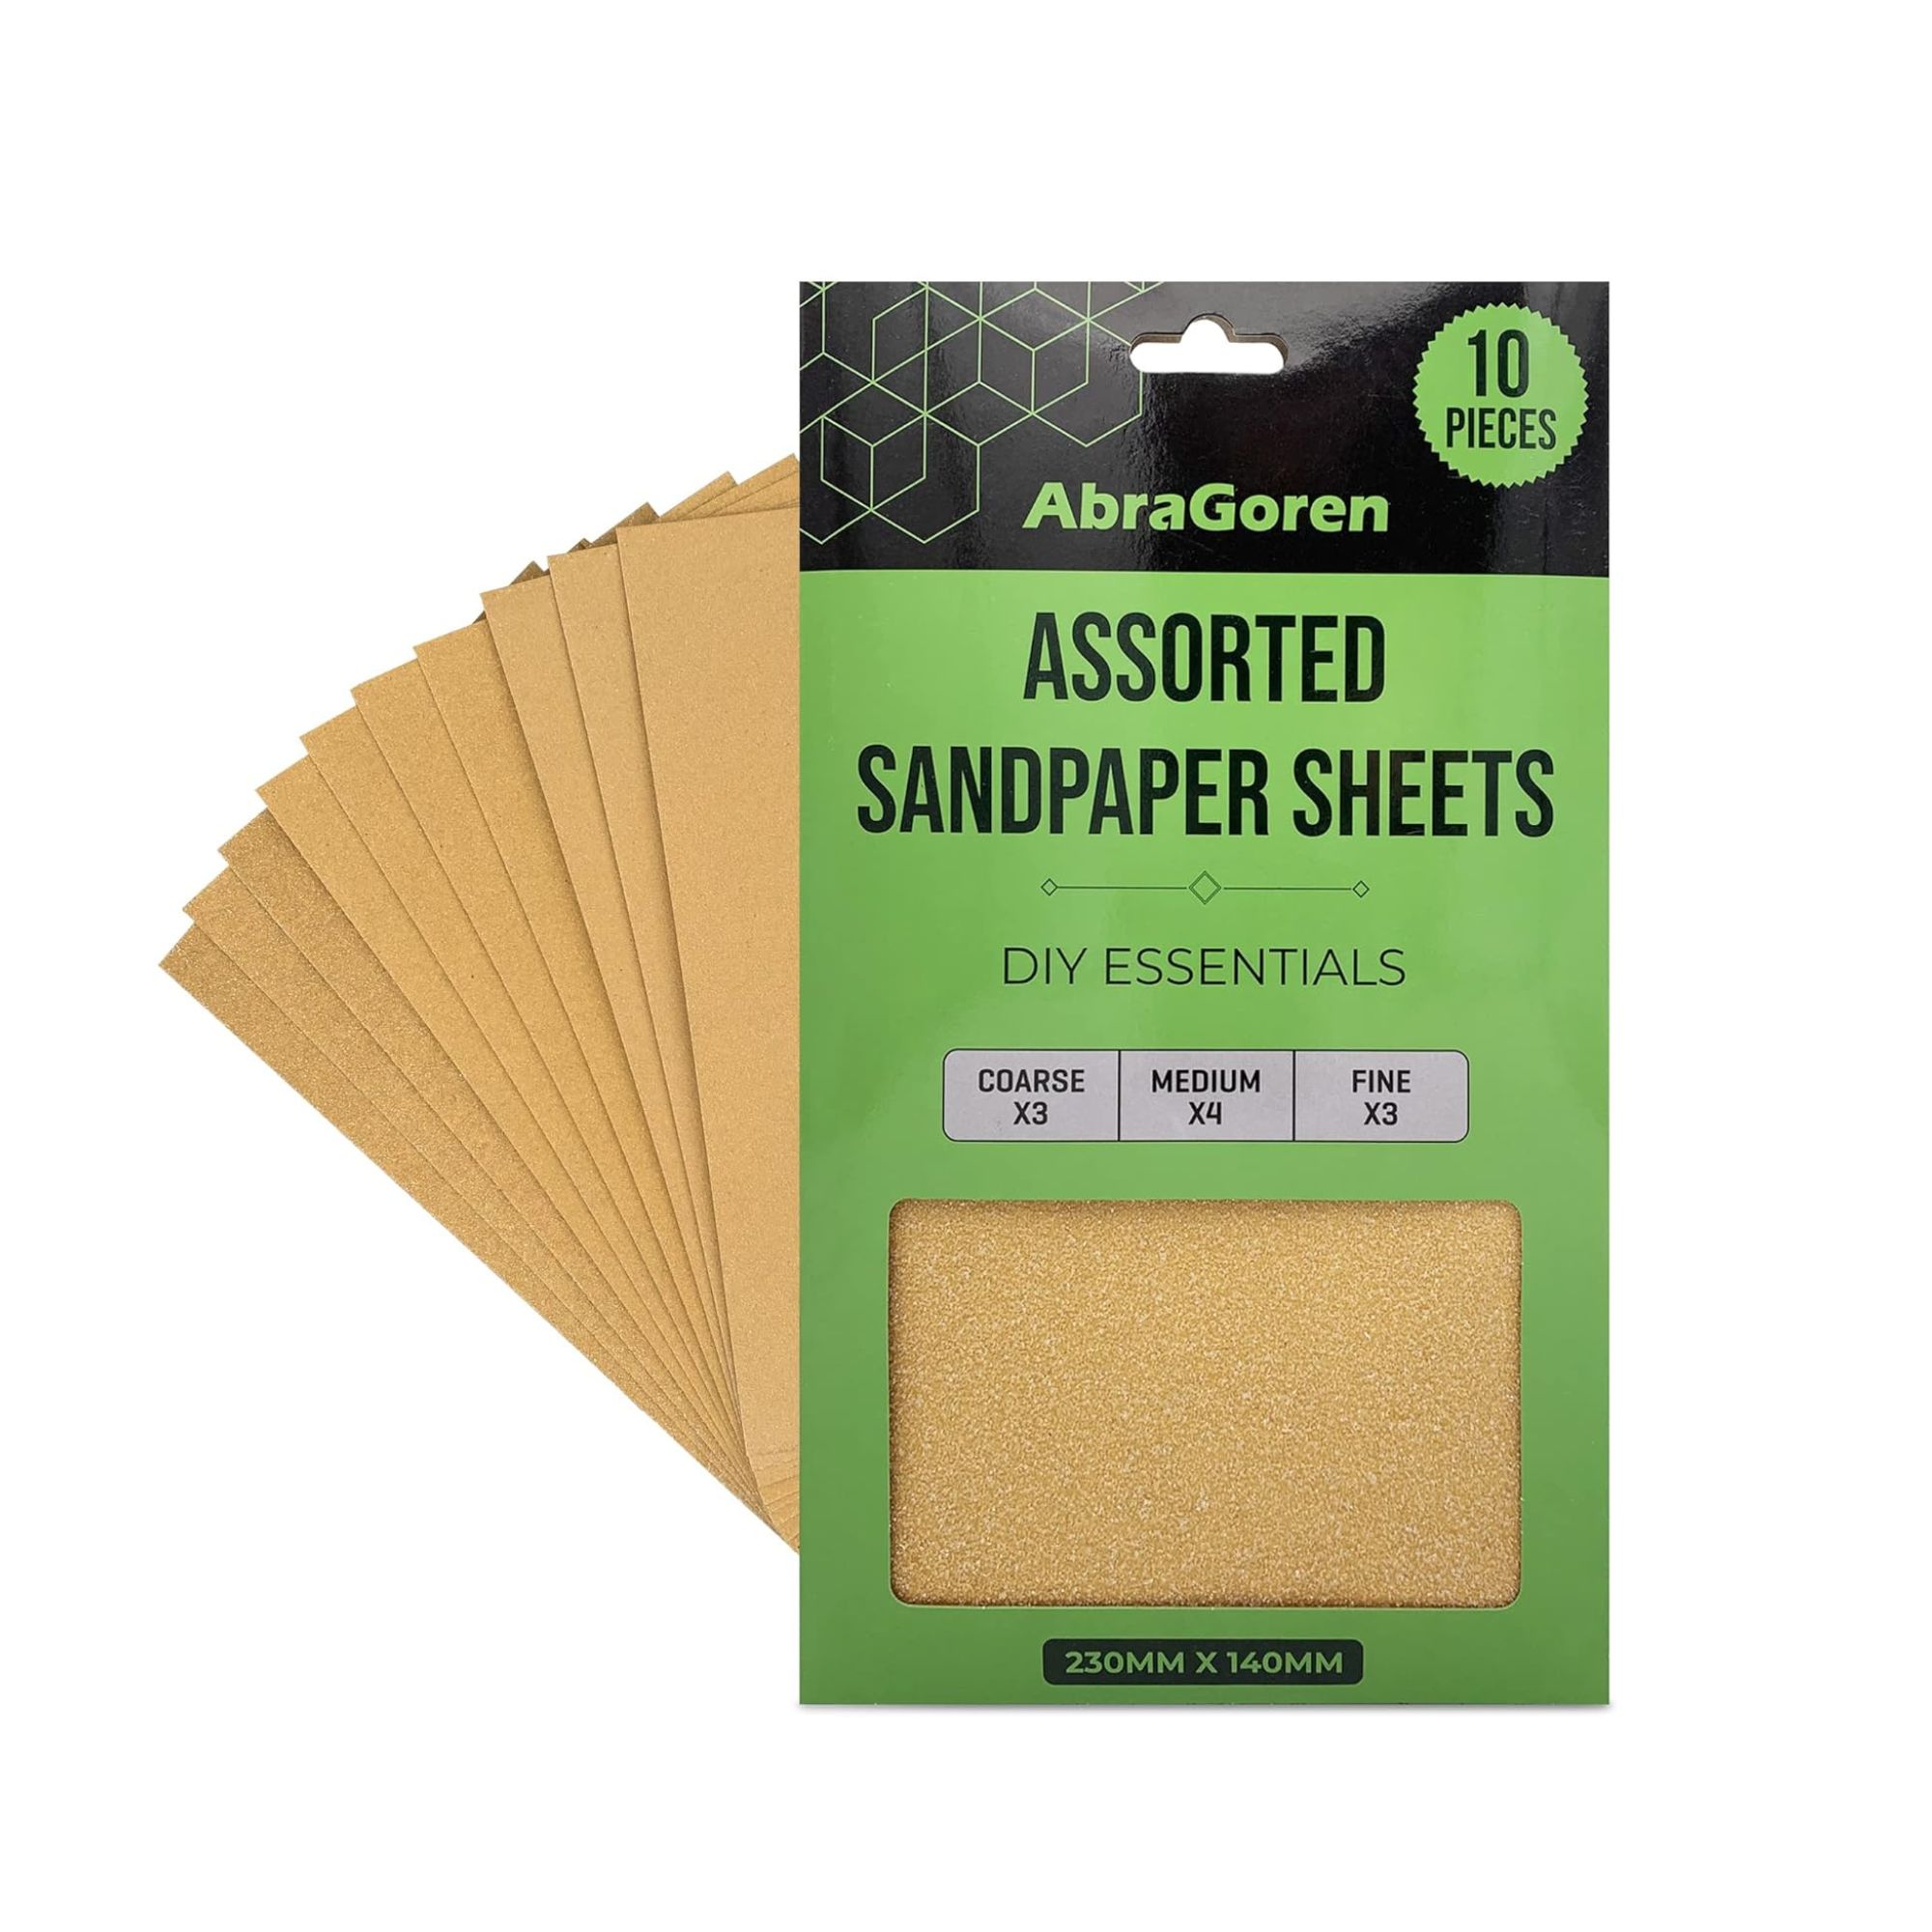
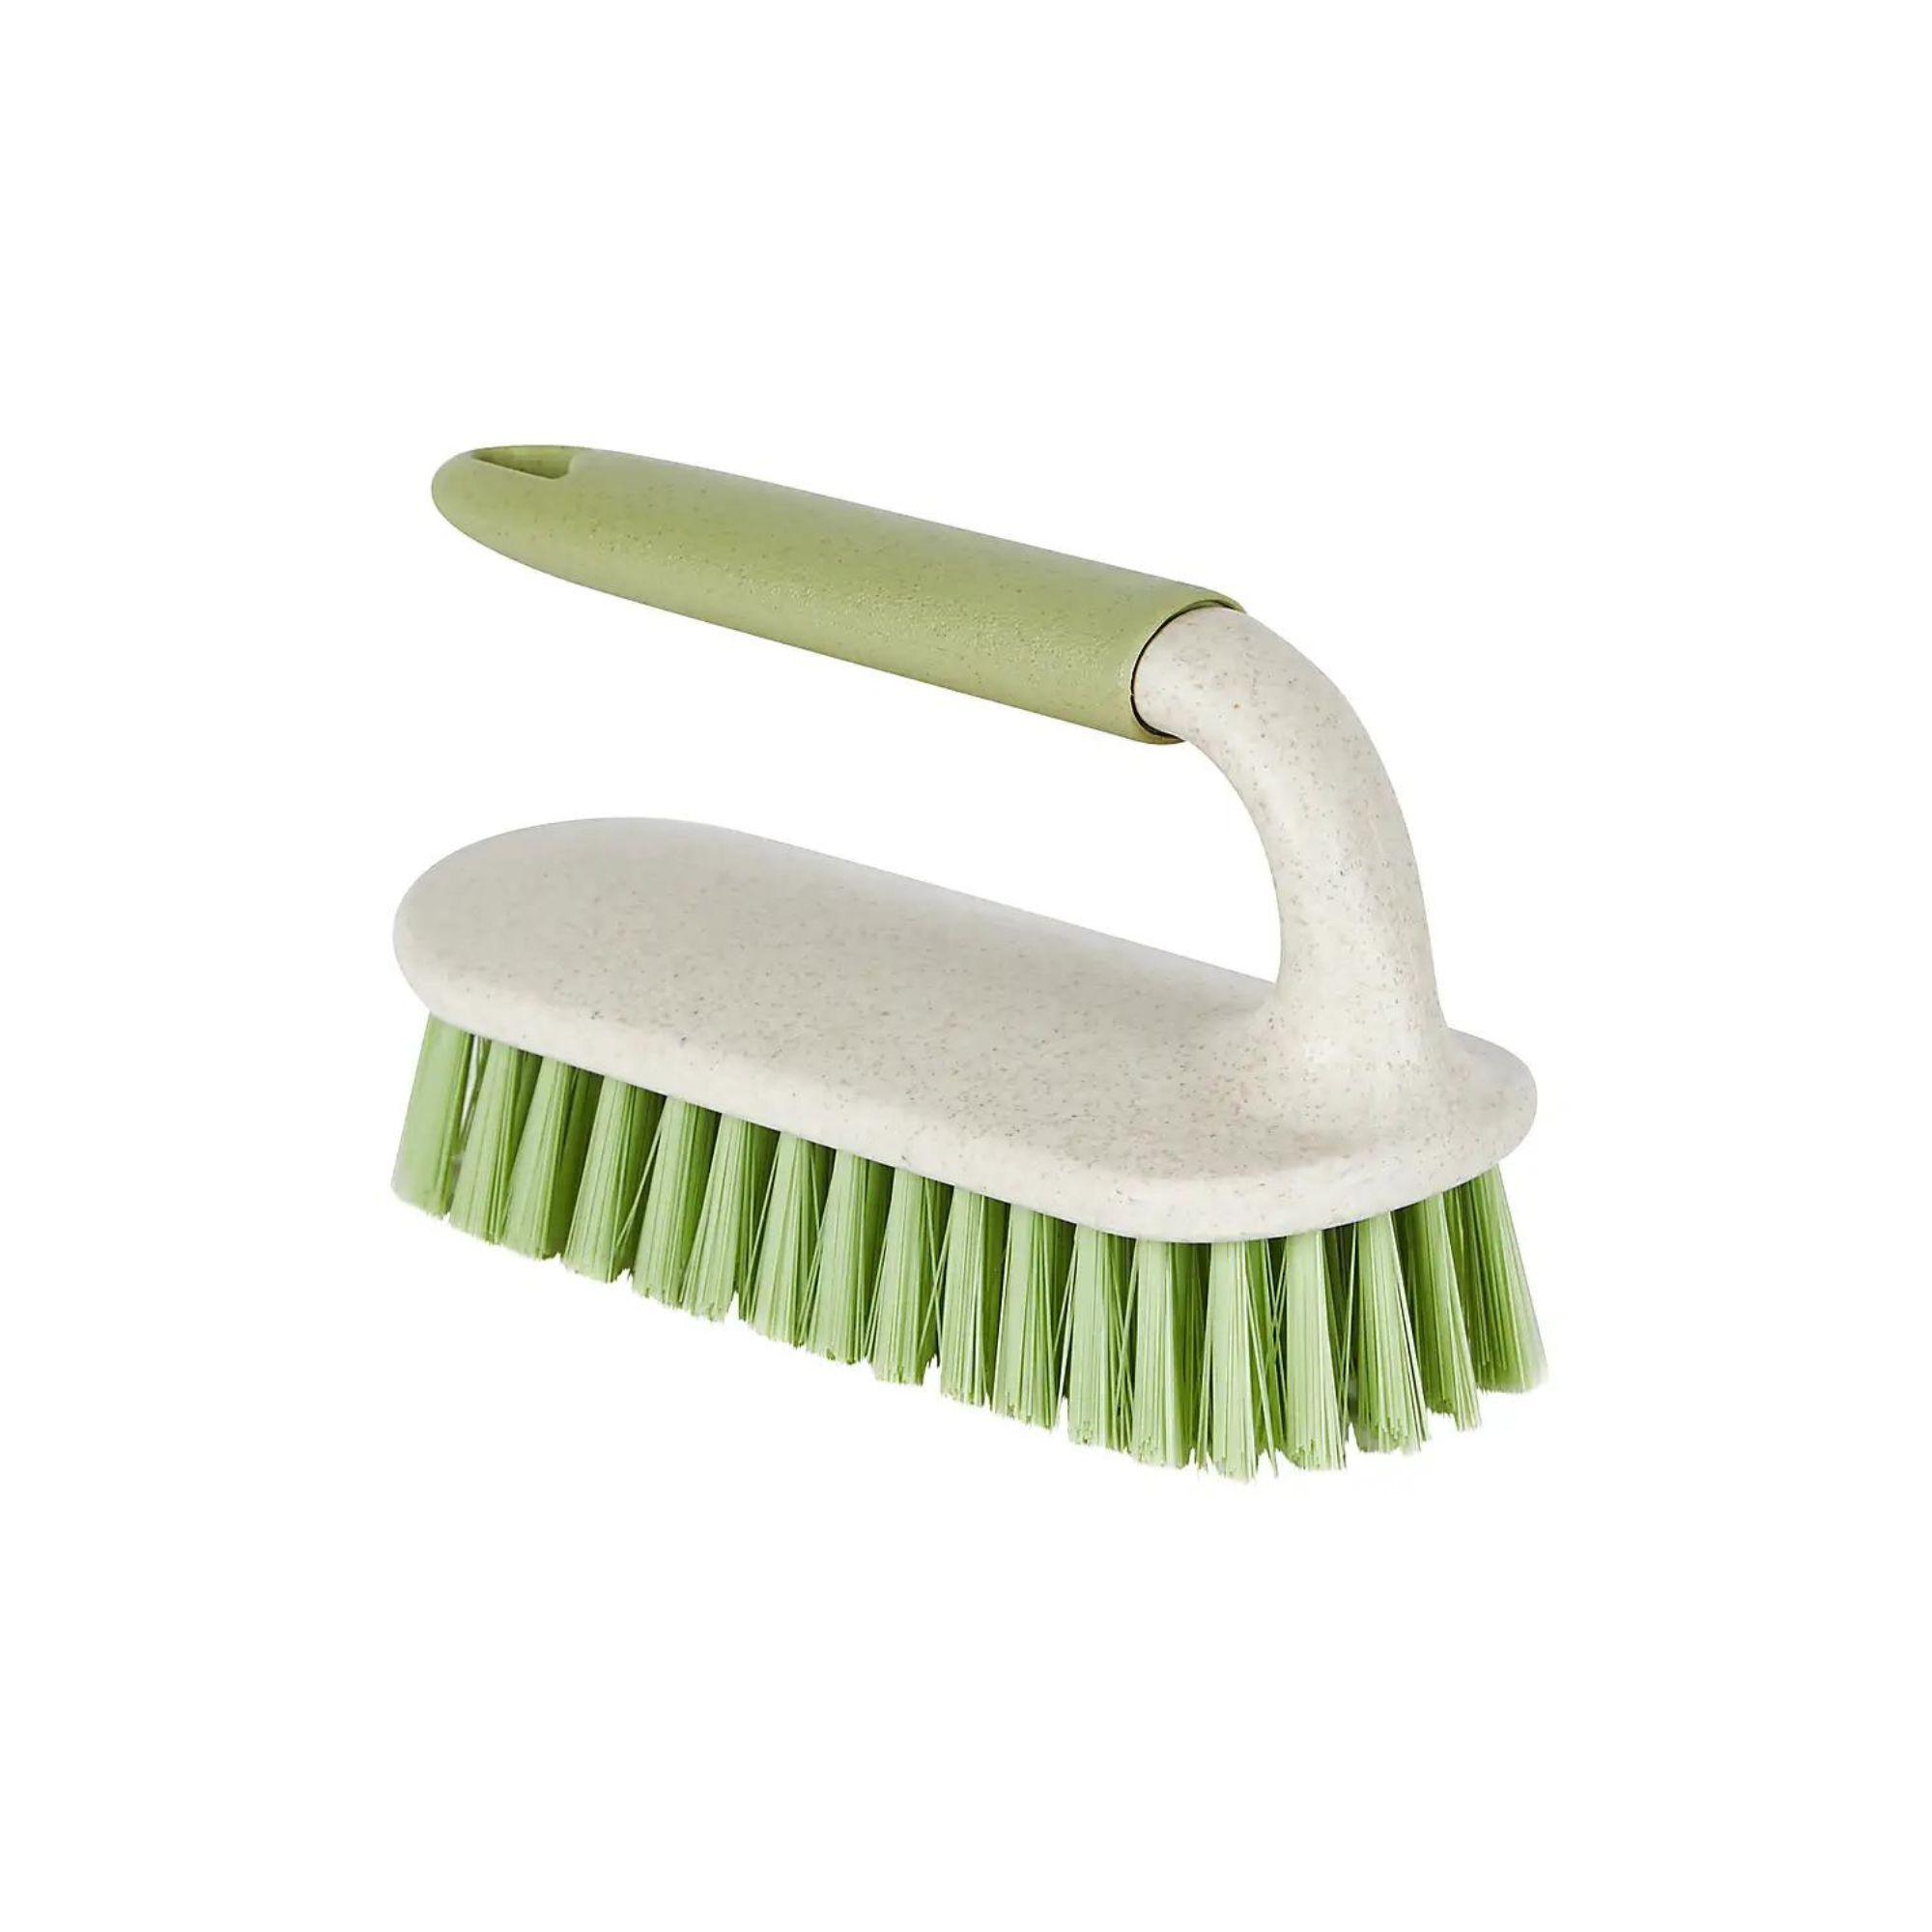
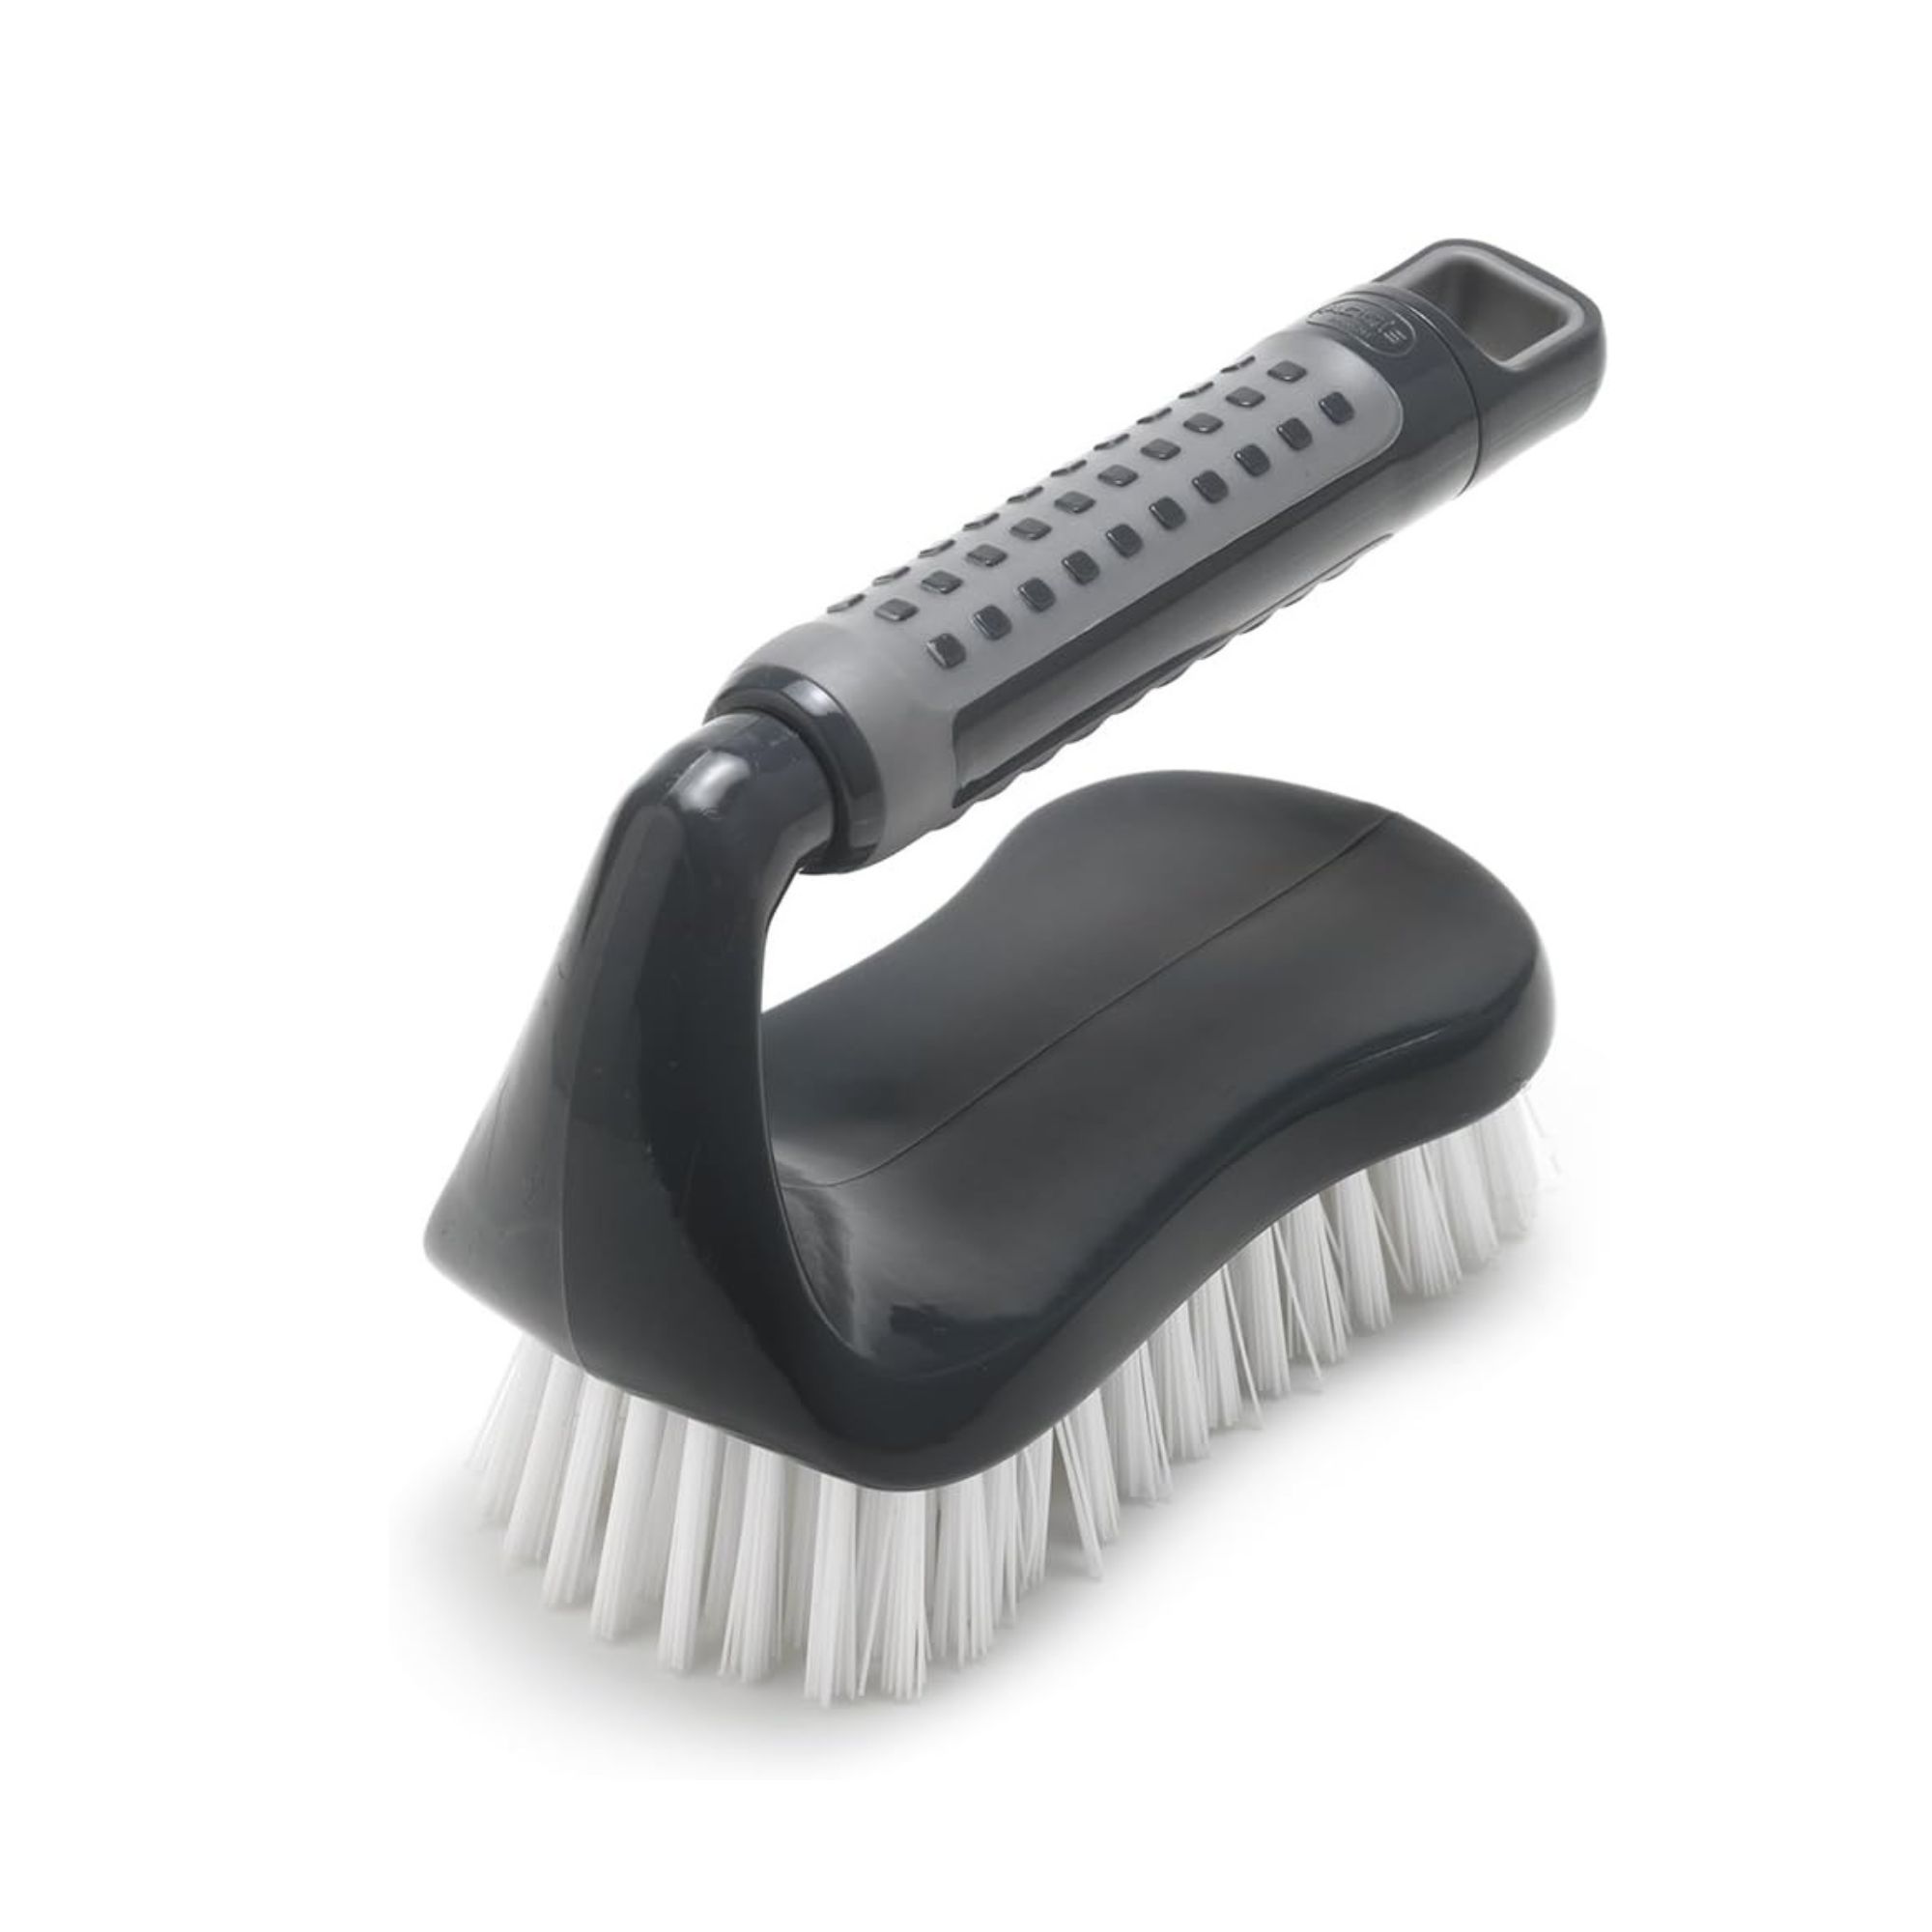
Focus on getting as much dirt out of the area as possible with a stiff-bristled brush, and then use sandpaper to smooth out the rough surface. This will also reduce your chances of splintering, as long as you add an extra layer of protection.
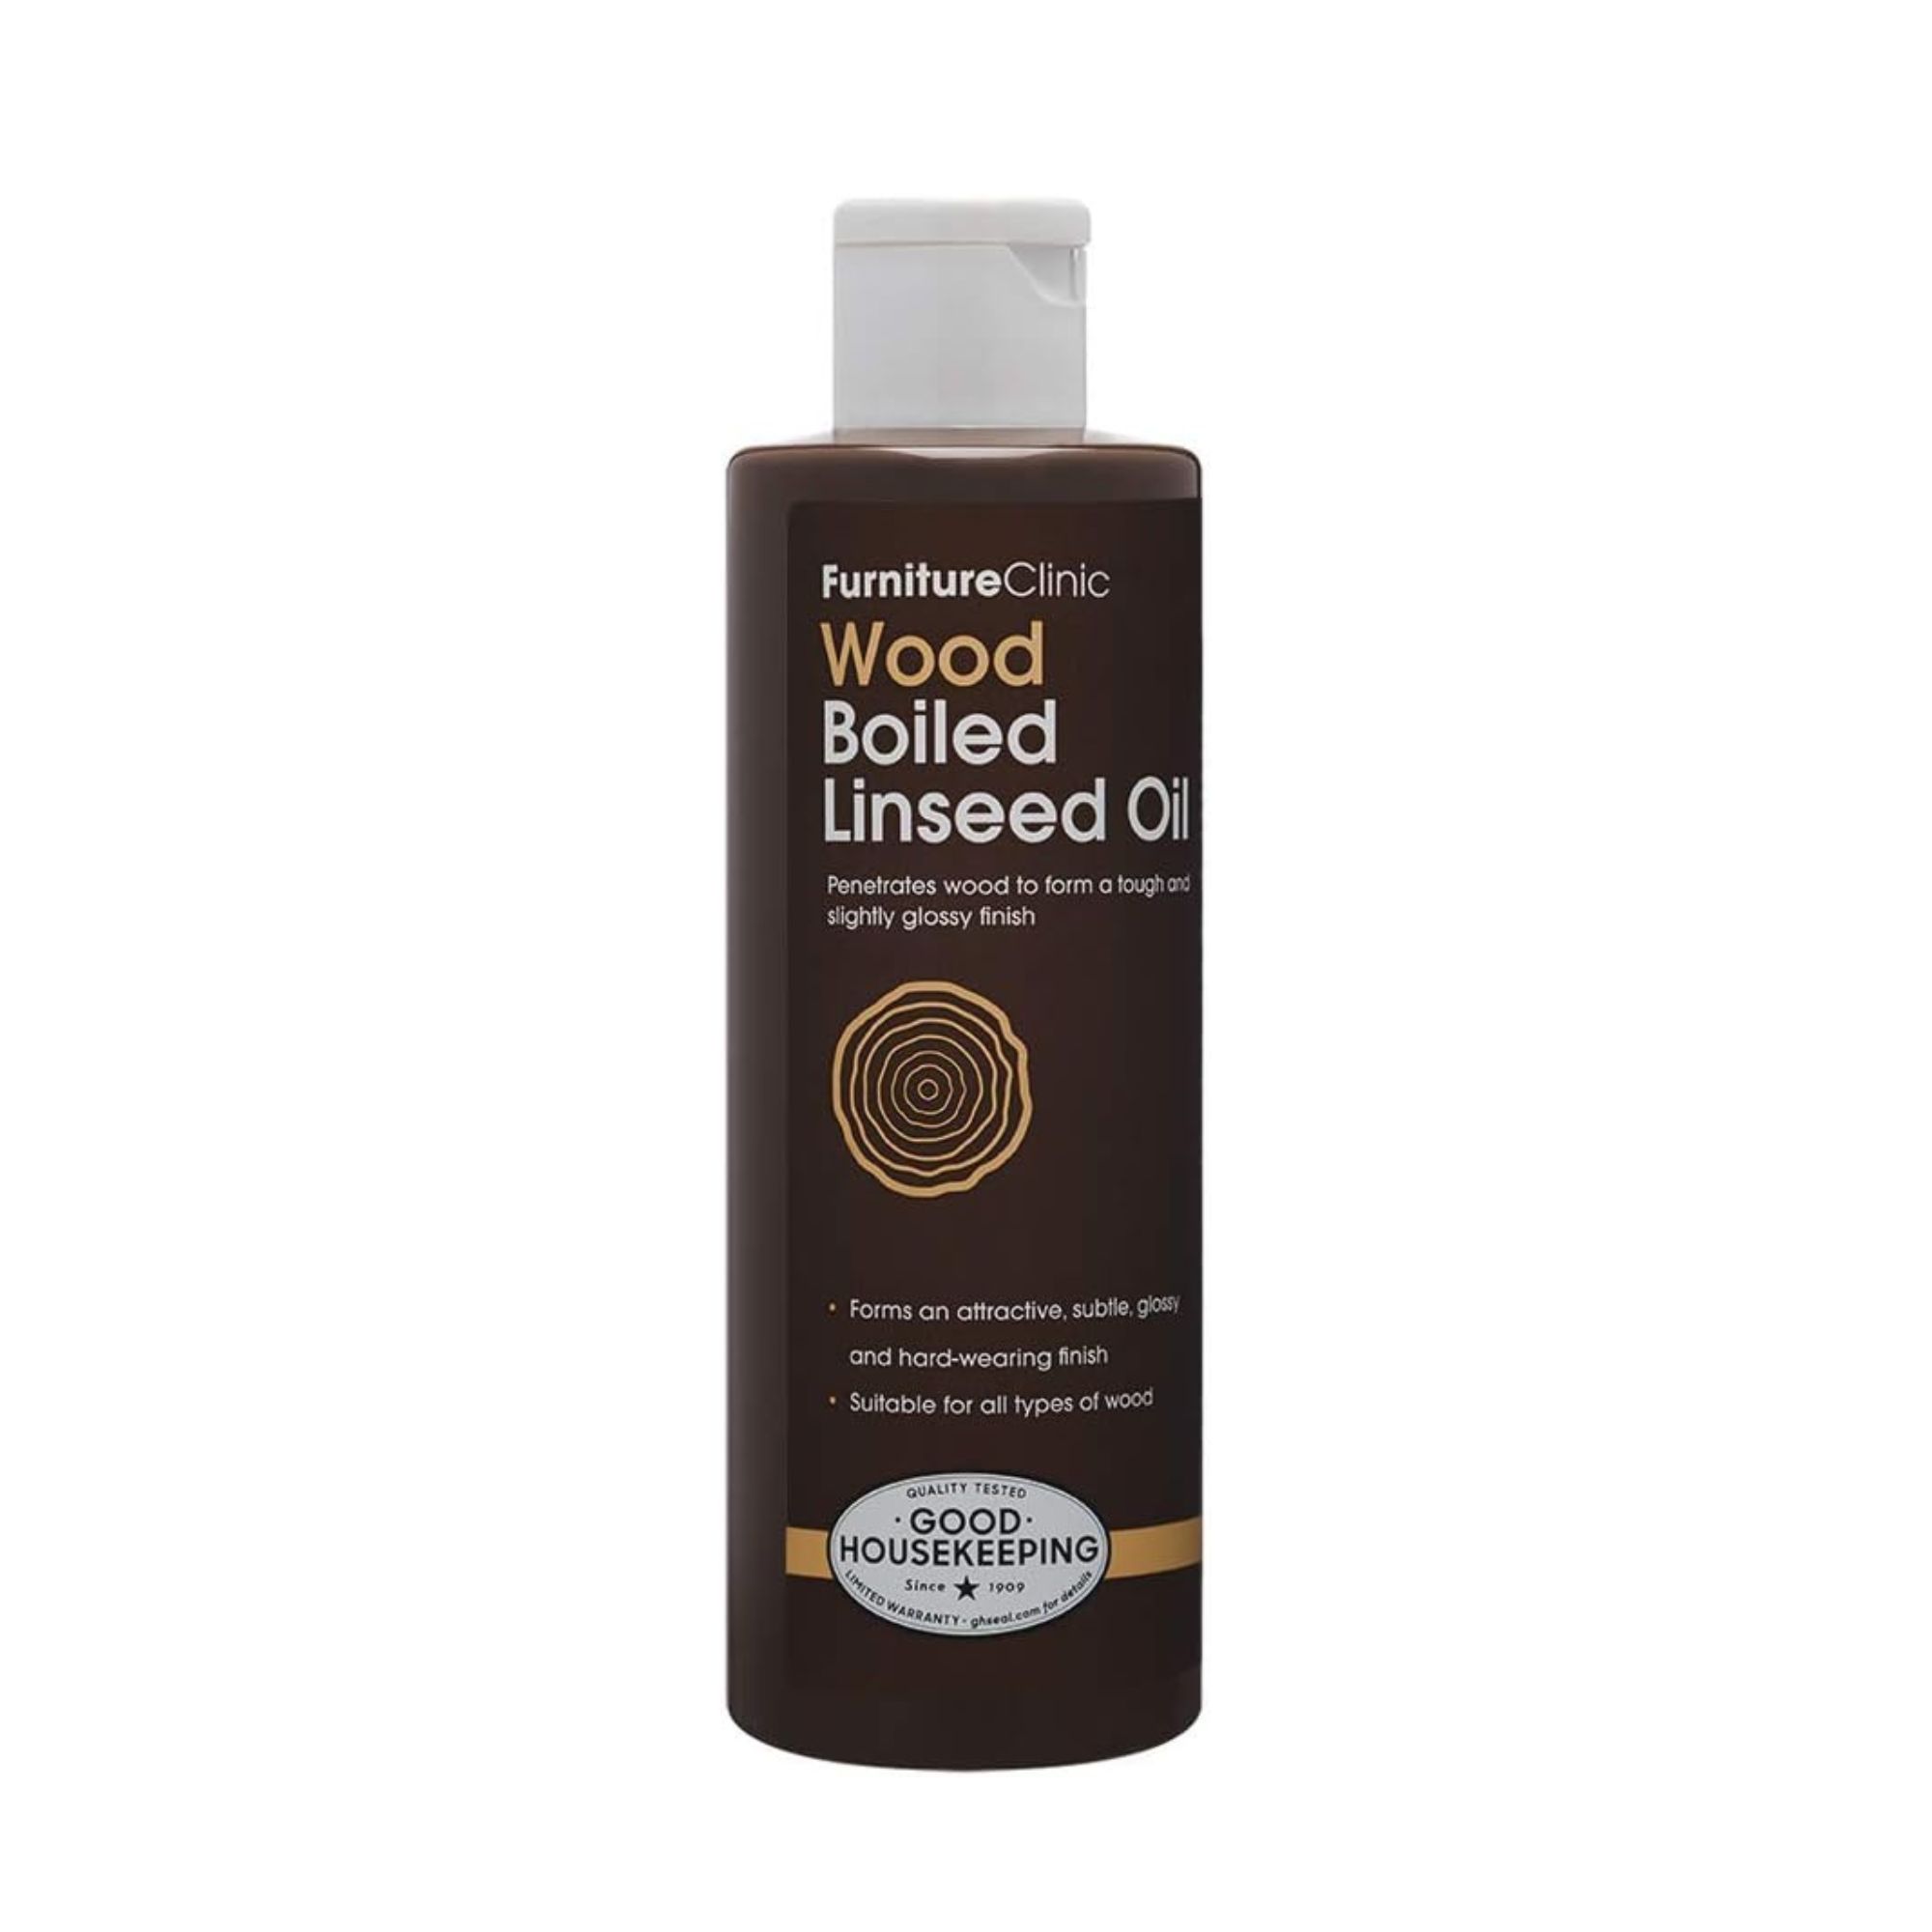
Calum Maddock, gardening expert at HomeHow.co.uk, says, ‘To keep them smooth and protected, apply a light coat of linseed oil after cleaning and drying.’
For the best results, use boiled linseed oil and let it cure overnight to create a protective barrier.
Cleaning a lawn mower
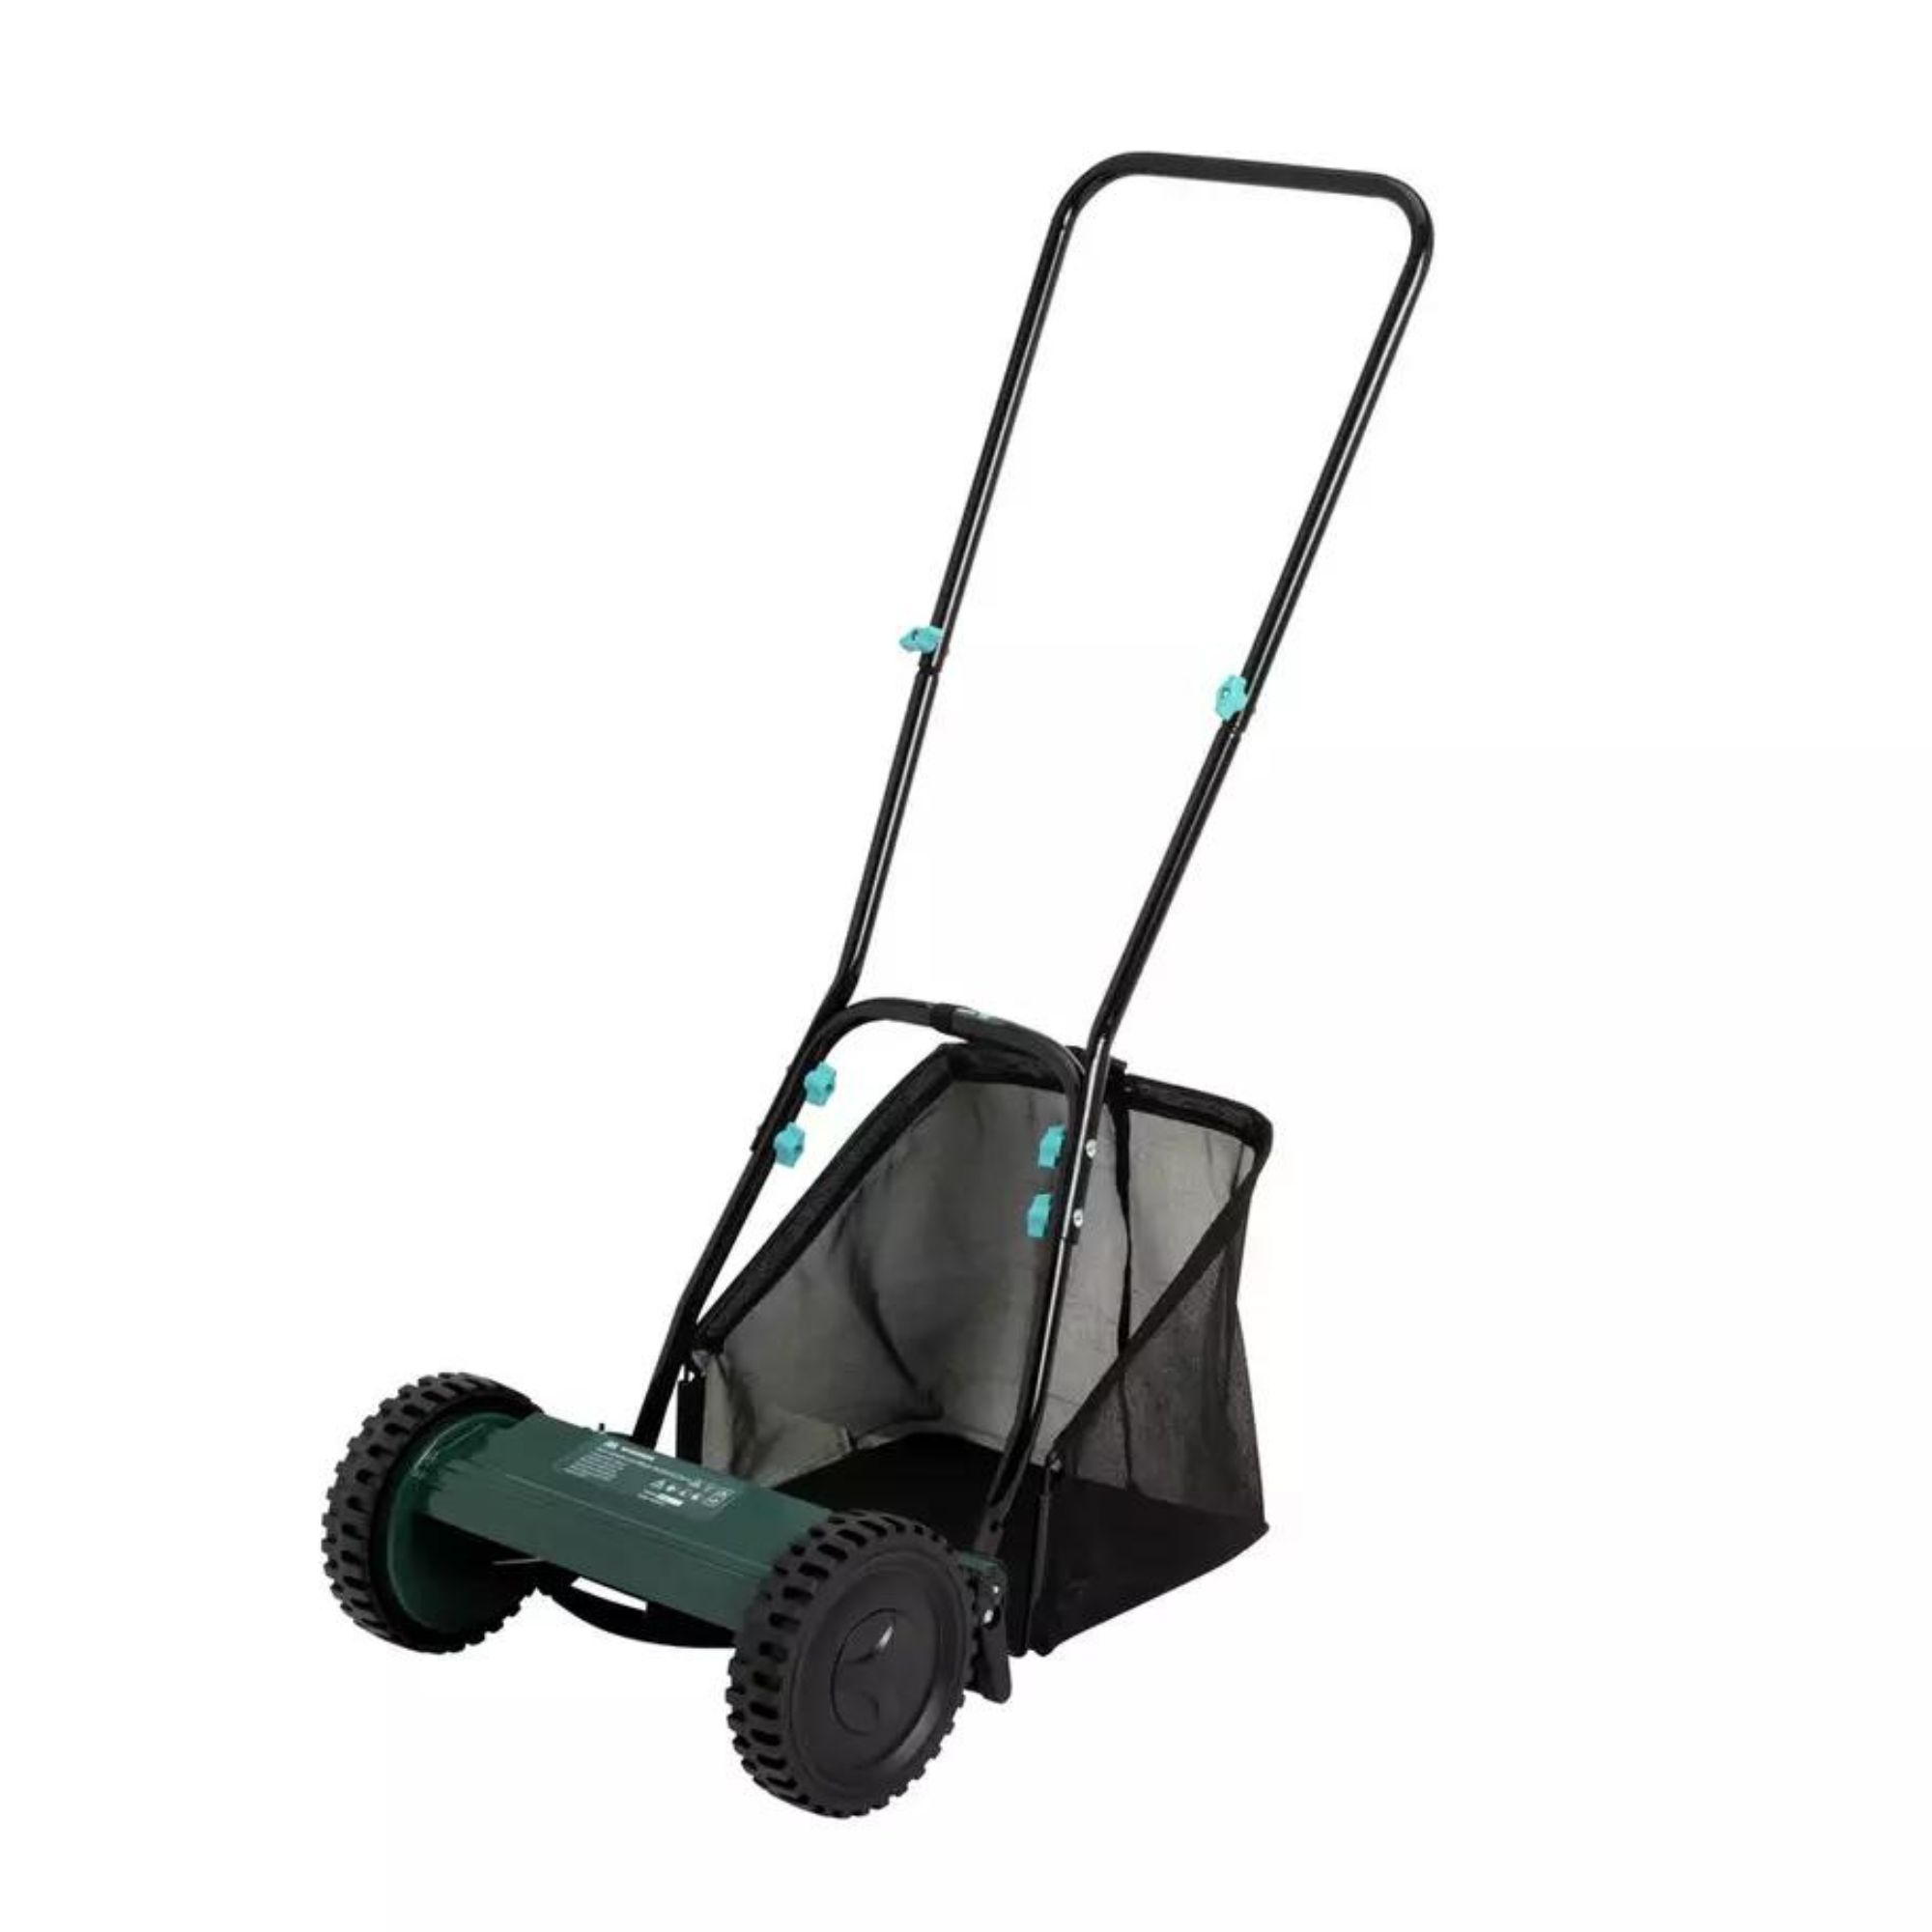
Even the best lawn mower needs cleaning every now and then. And if you want to clean a lawnmower, you should aim to clean it immediately after use. The last thing you want is to deal with crusty week-old grass stuck between the blades, after all. You should also do this before you store your lawn mower for winter.
First things first, you should always empty the grass collection box and dispose of the grass cuttings. You can either pop them on a compost heap or put them into a garden waste bin. Then, you need to focus on cleaning the blades.
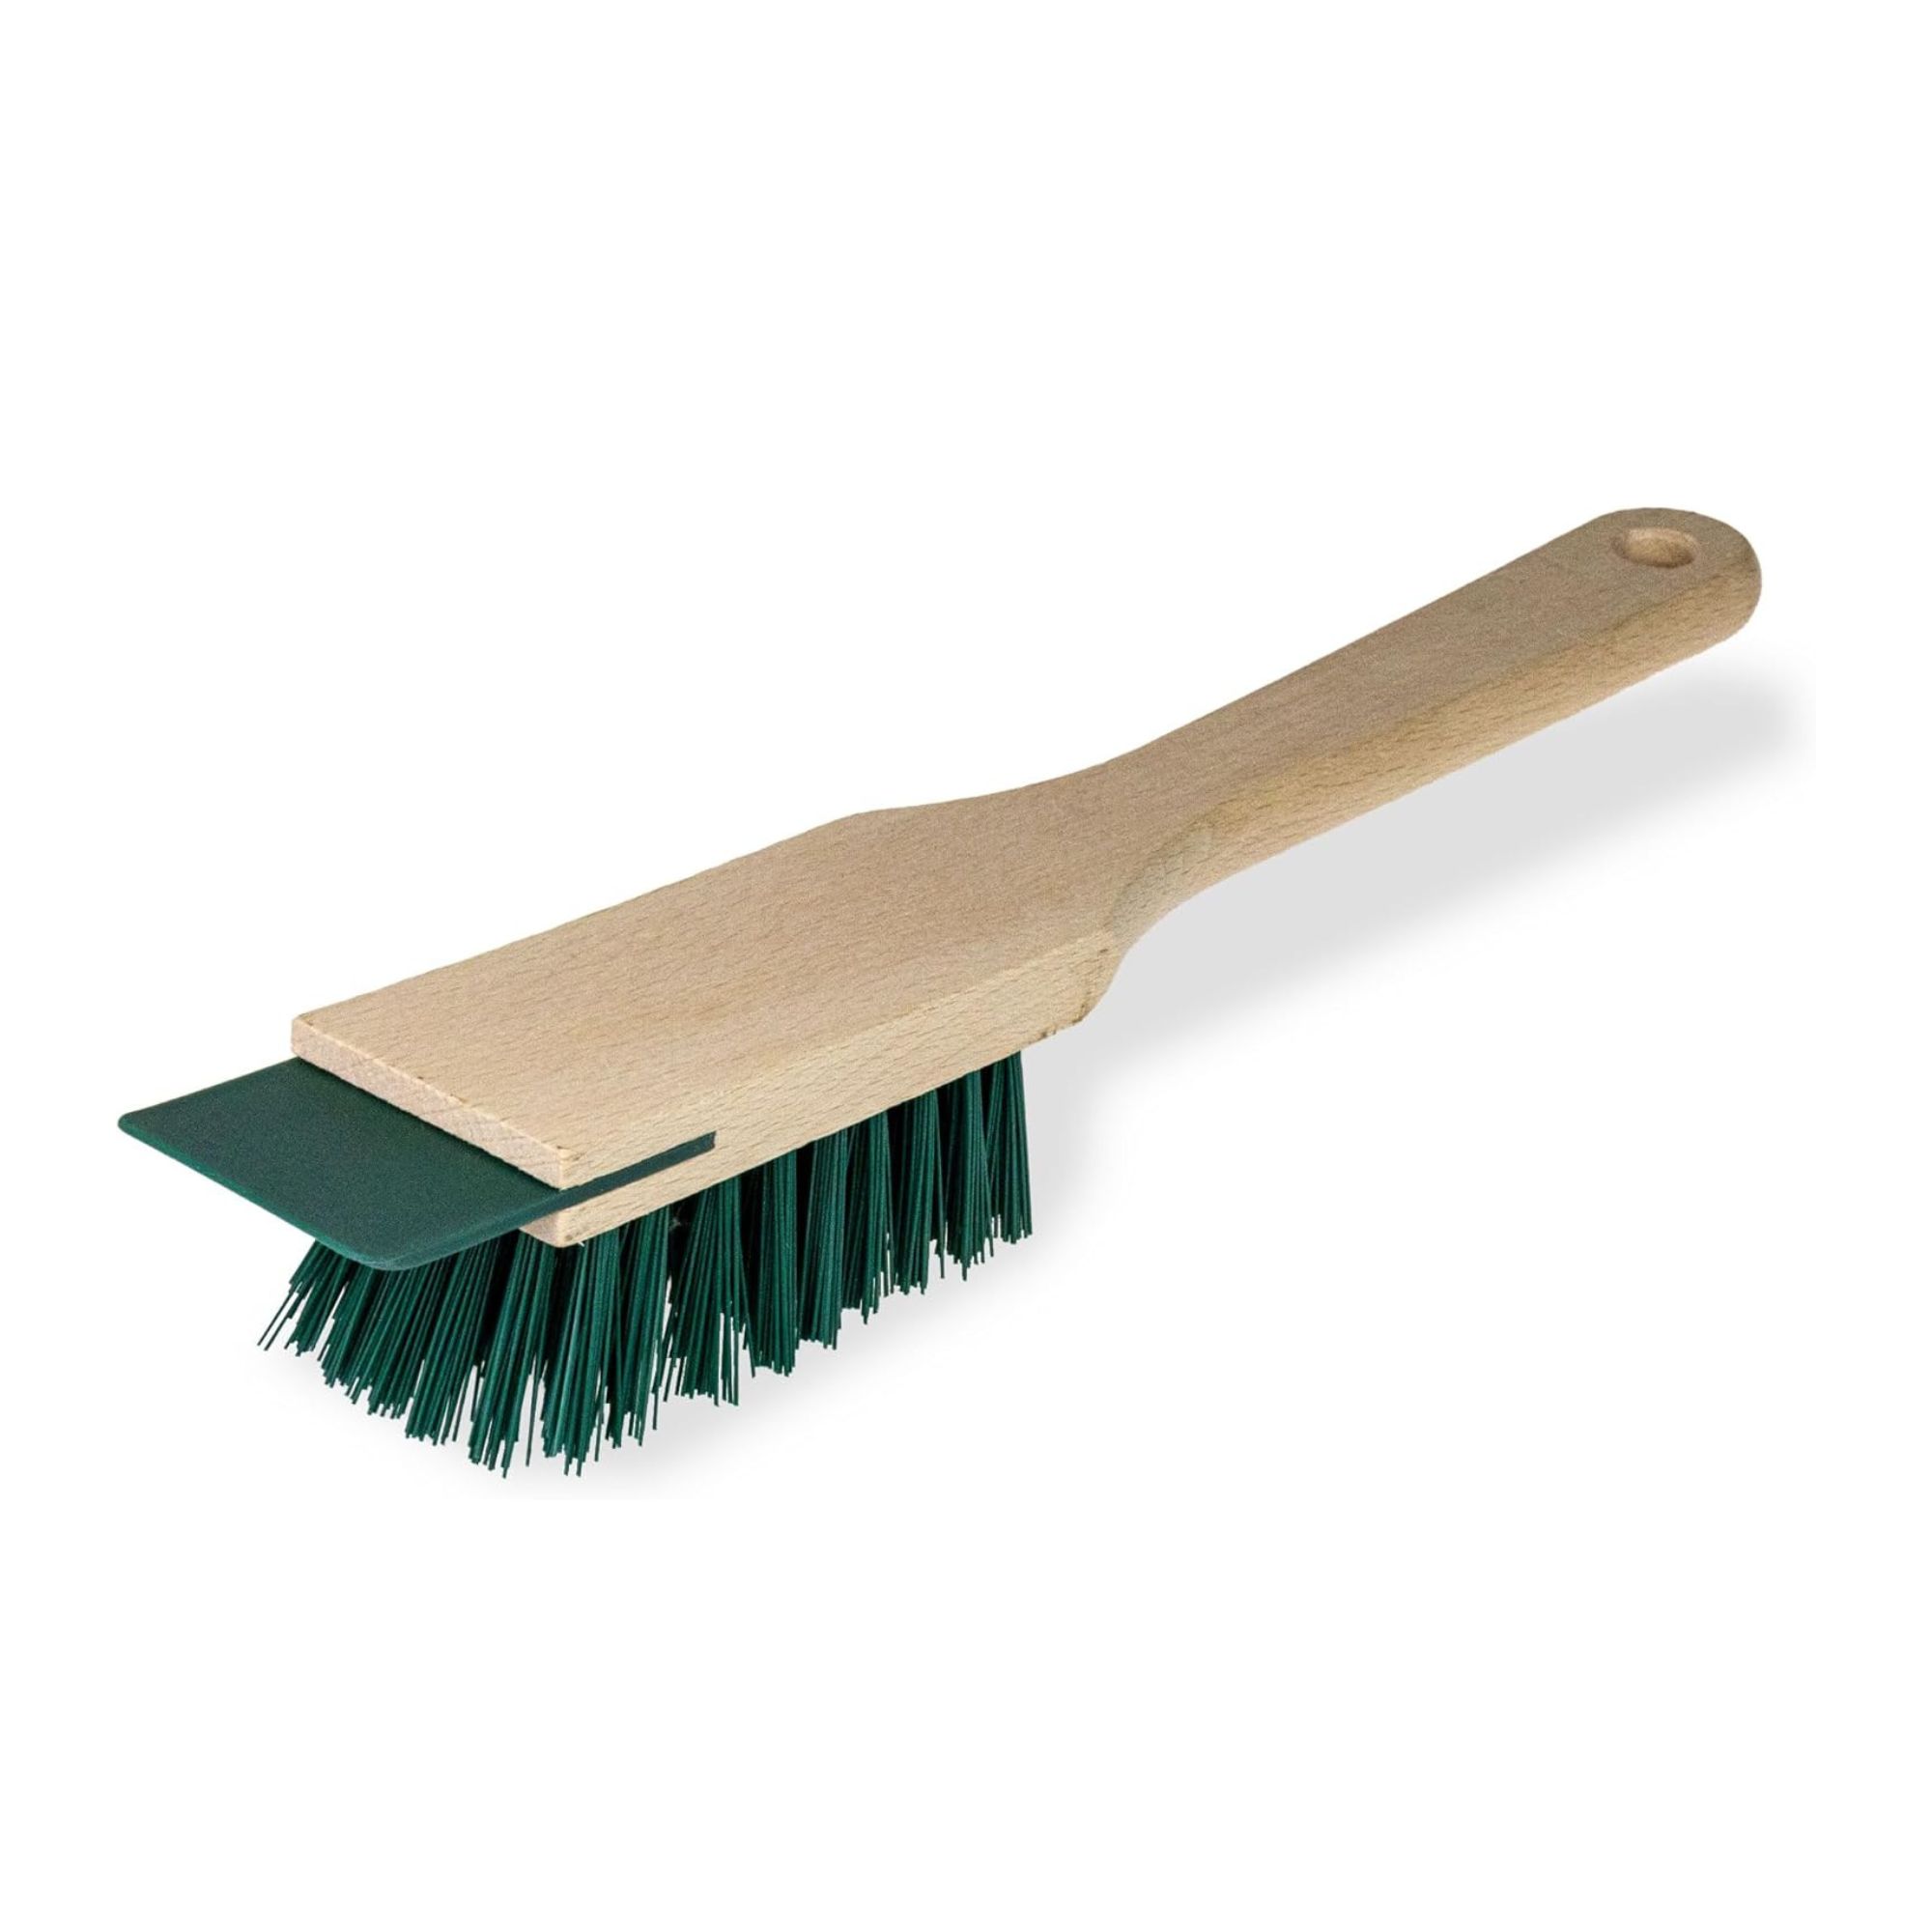
The easiest way to do this is to turn your lawn mower on its side. If you have a manual lawn mower, though, you can simply turn it over without any worries and brush the grass clippings from the blades using a soft-bristled brush.
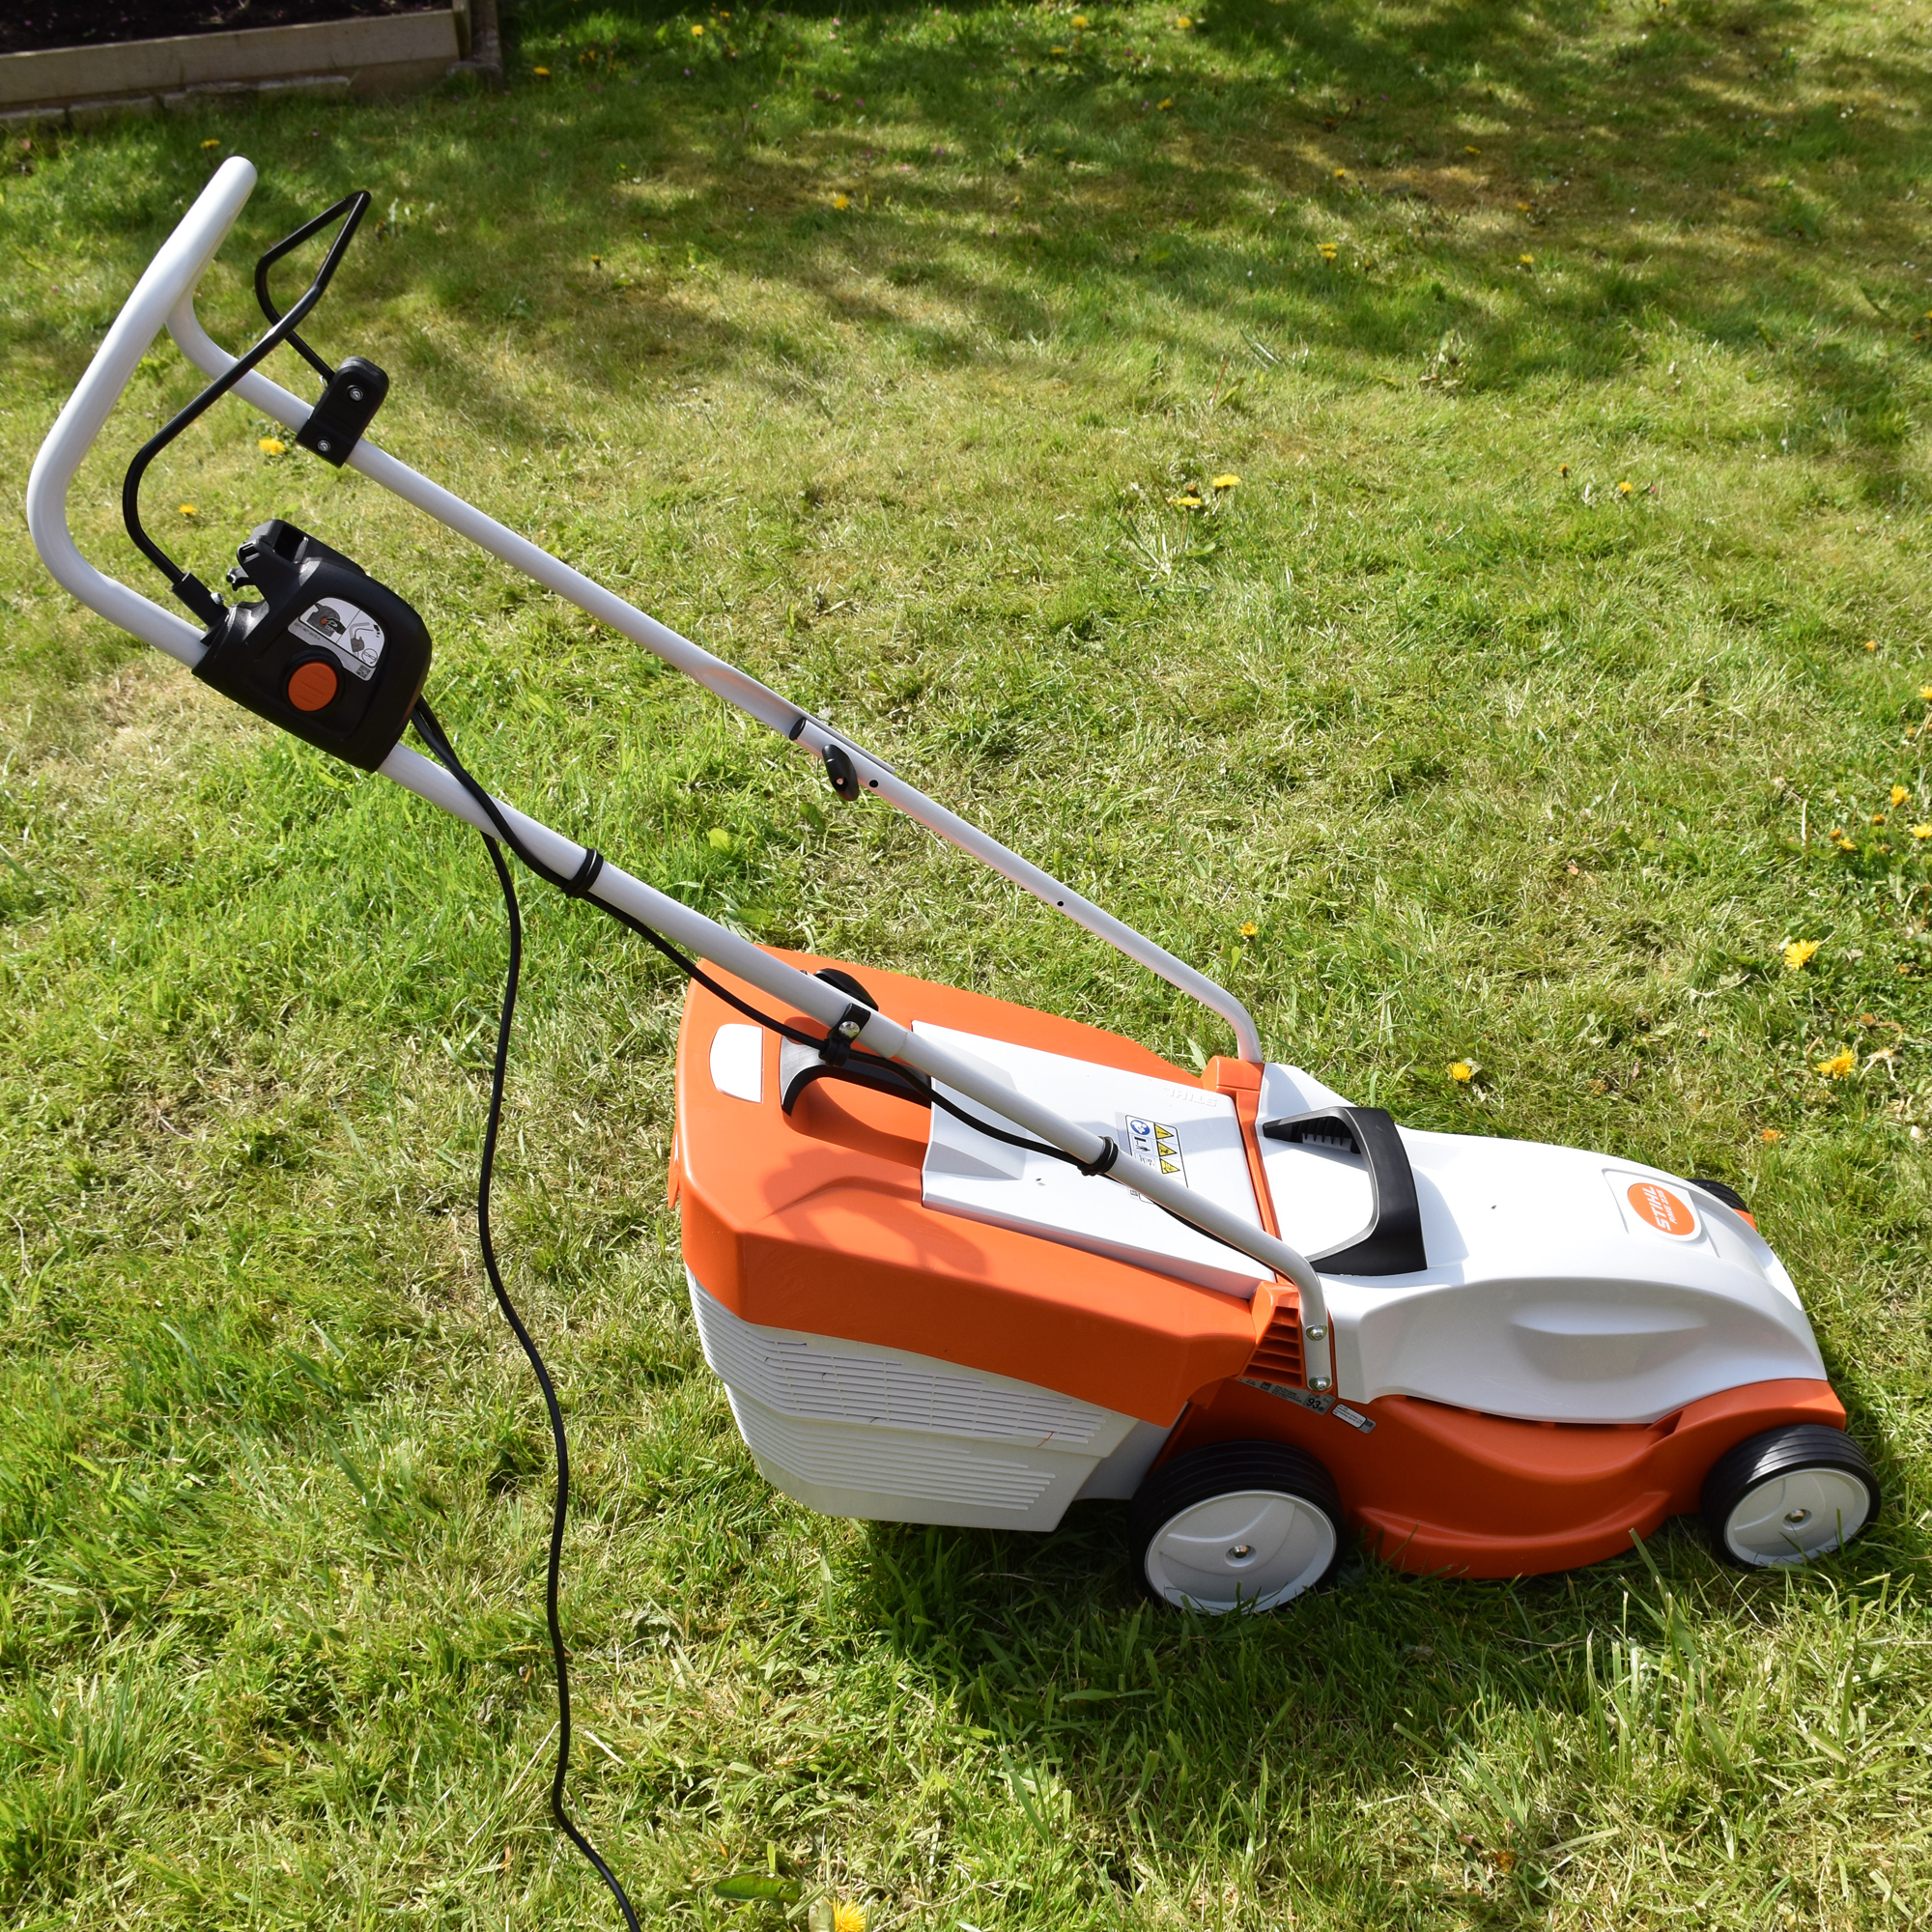
If you have an electric lawn mower, you’ll need to unplug it before turning it on its side. But if you have a petrol lawn mower, you may not be able to turn it on its side at all. It’s best to check the manufacturer’s instructions, as you may have to empty the petrol from the tank before turning it.
How you then clean the underside of the lawn mower also depends on the type of lawnmower you have. Guy Barter, Chief Horticulturalist at RHS, explains, ‘Rotary lawnmowers can be cleaned off with a stiff brush to shift congealed grass after every use, especially the blade that might corrode and lose its sharpness if left untended. An end-of-season cleanse followed by light oiling will prevent overwinter rusting.’
‘Cylinder lawnmowers need special care, brushing the all-important cutting cylinder clean, especially if worm casts have smeared on the metal – these can be abrasive and cause grinding and excessive wear of the cutting mechanism, which is expensive to remedy.’
Then, you can turn the lawn mower back over and brush off any loose grass cuttings you can see around the main bulk of the mower. Pay close attention to any air vents and around any motors, as these need constant airflow.
Cleaning a grass trimmer
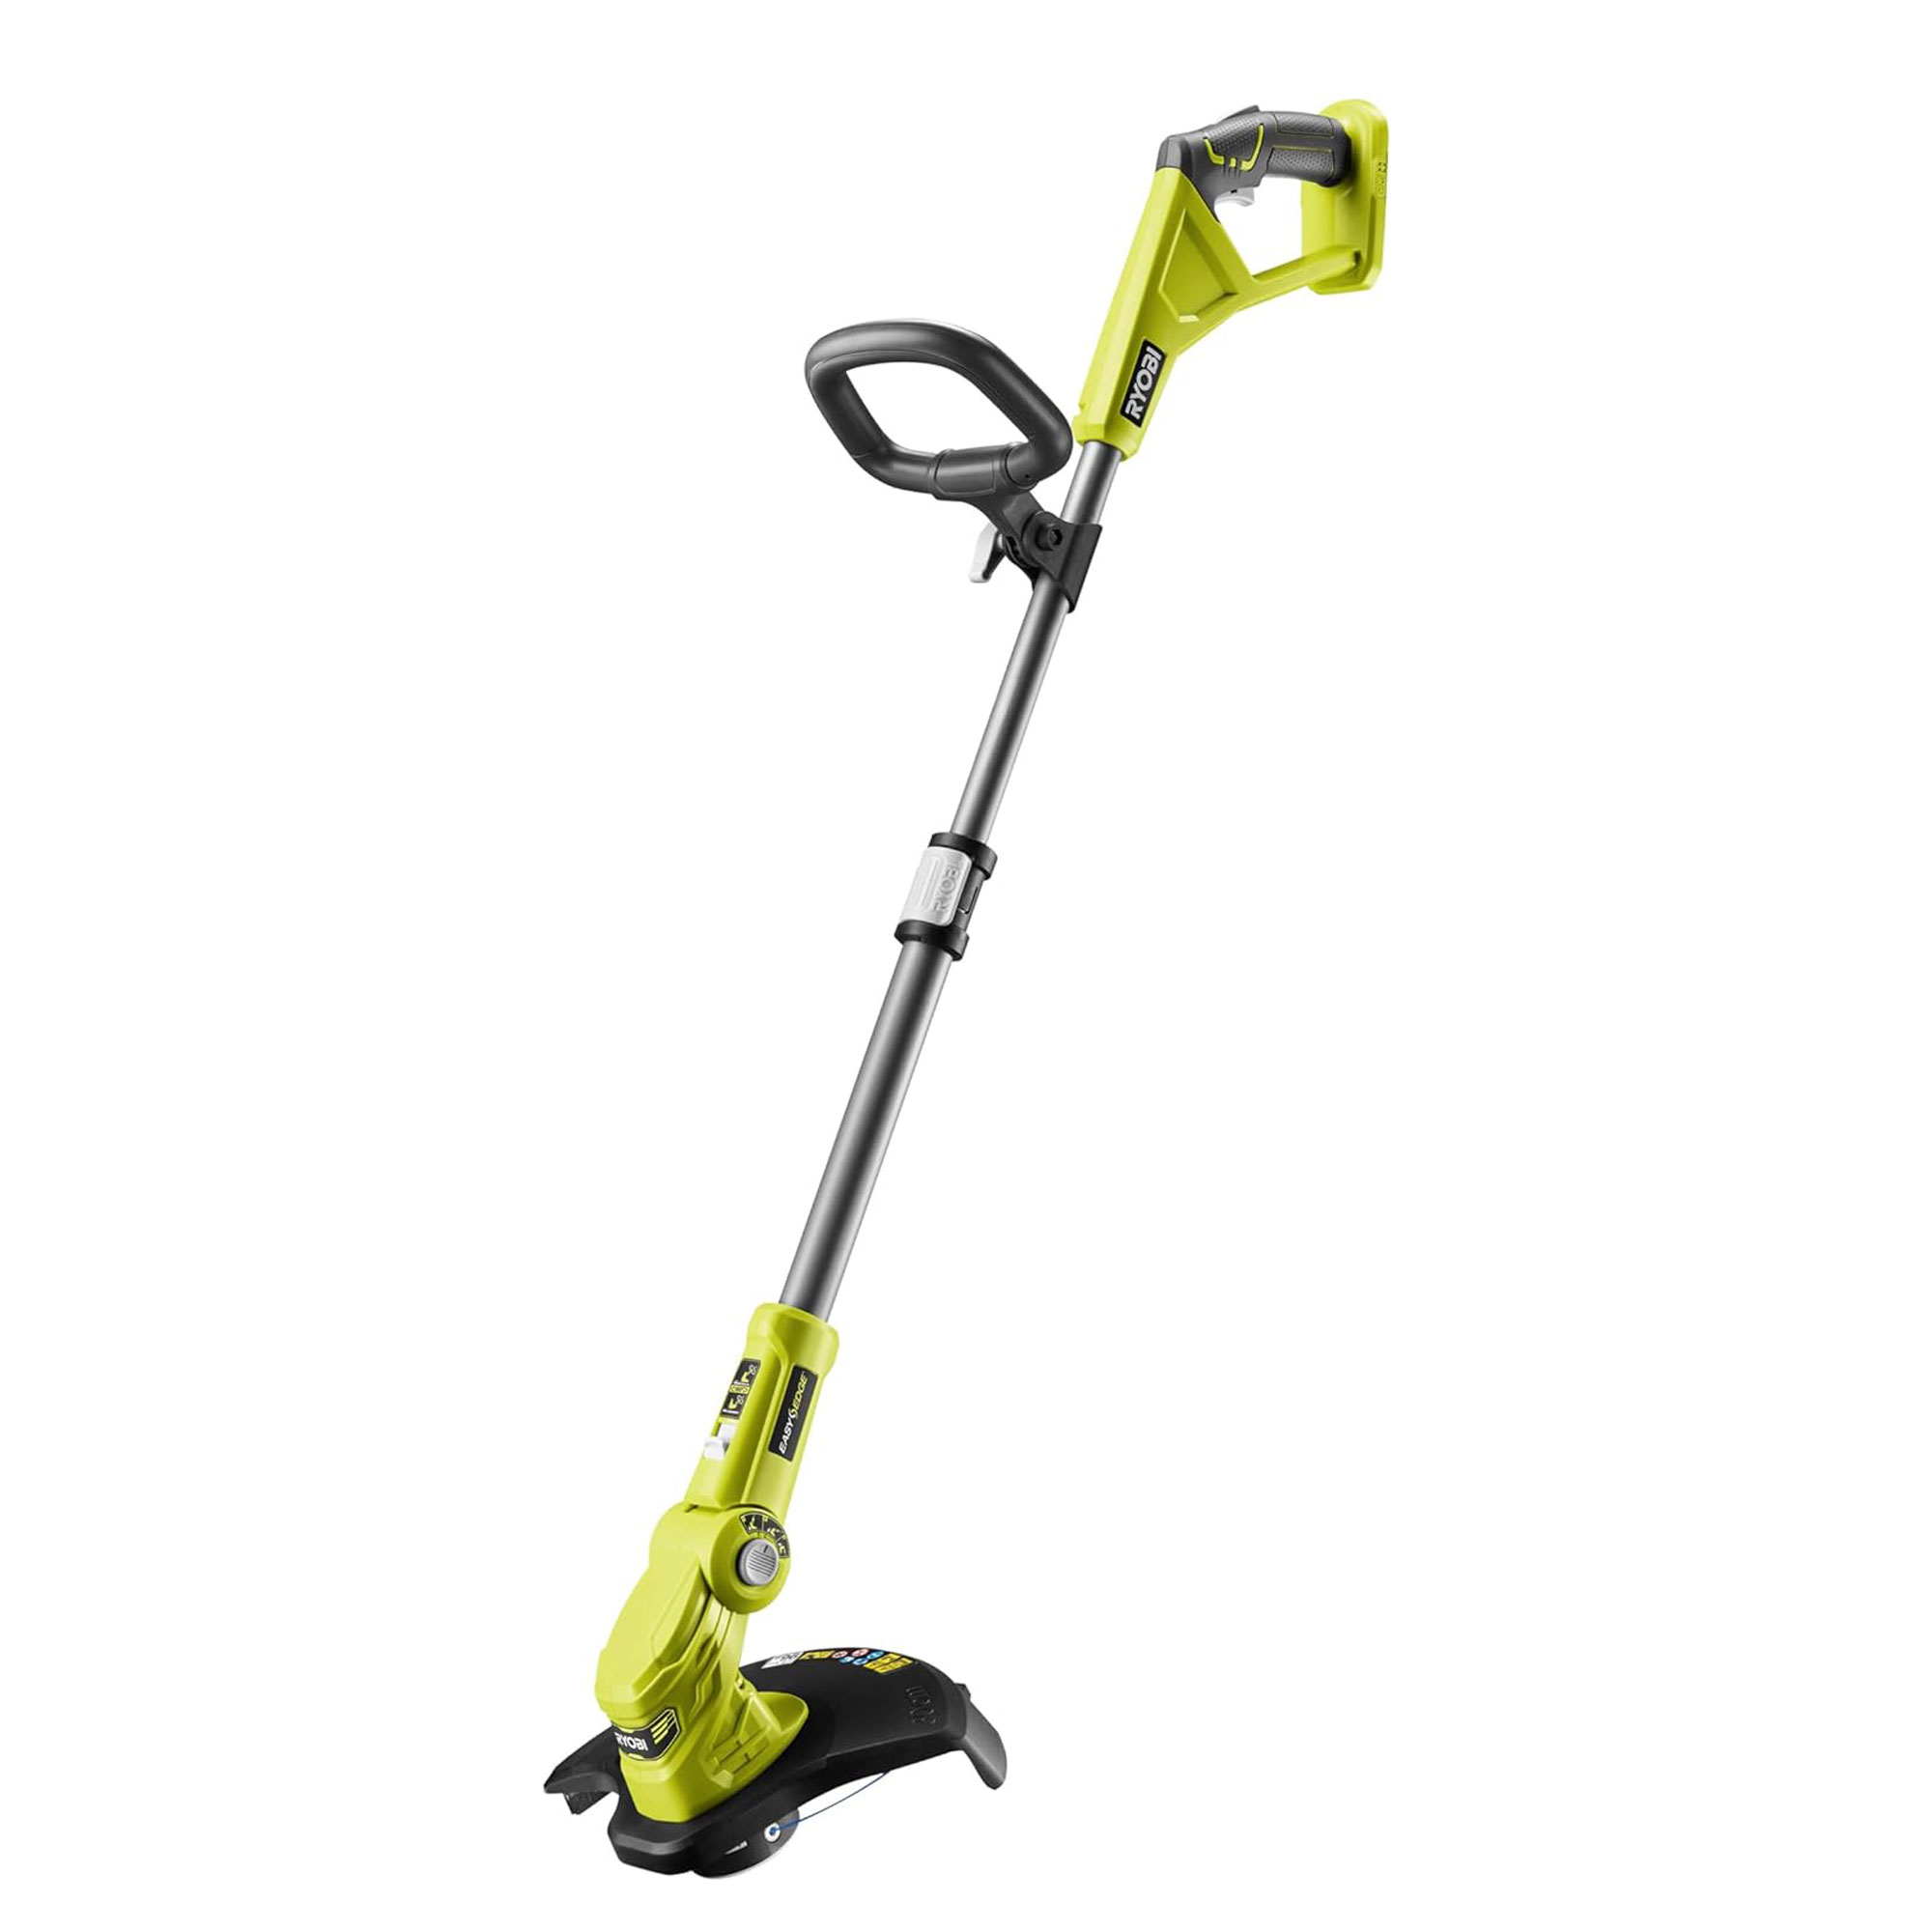
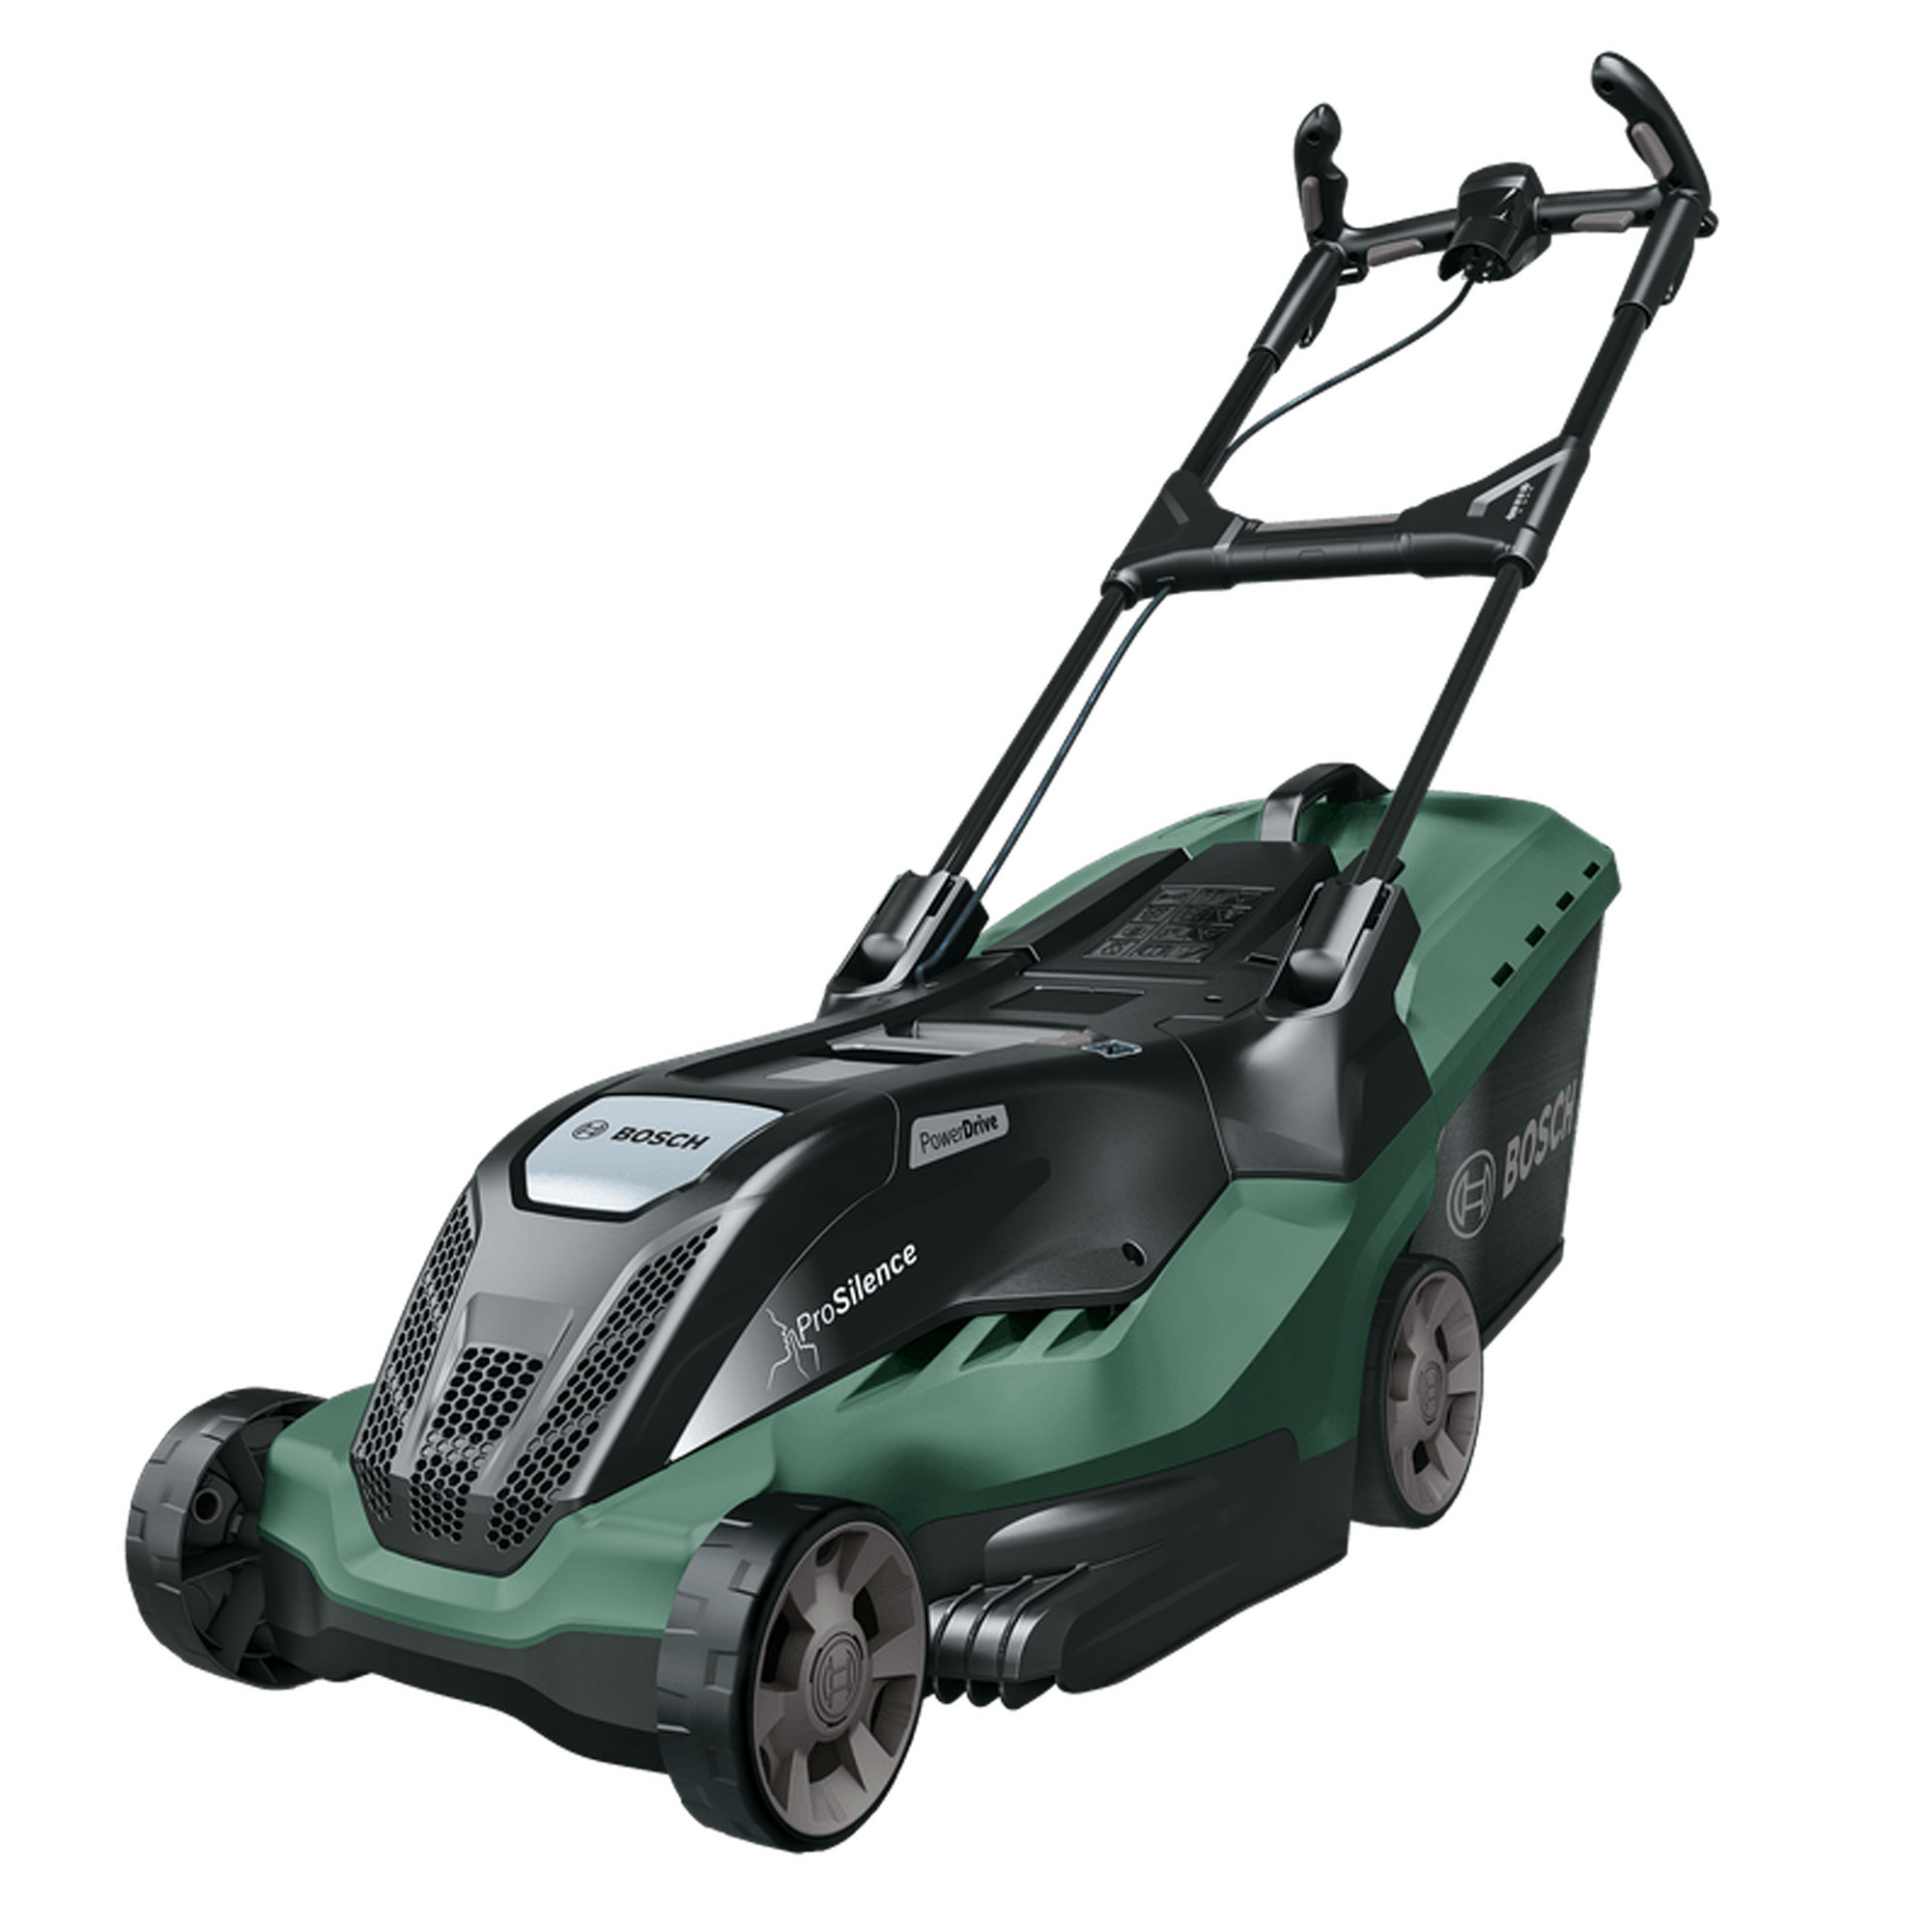
The best grass trimmers can make gardening a breeze, but it’s very easy for this gardening tool to become dirty. This can reduce the effectiveness of the tool and negatively affect your garden.
And while you don’t need too many special products or any specific DIY skill to clean a grass trimmer, there are some things that you should avoid.
Jim Kirkwood, garden expert at Worx, explains, ‘When cleaning a trimmer or other power tool, be sure to avoid using water or a chemical cleaner. Simply turn the machine off and use a soft brush or dry cloth to wipe away any debris from the trimmer’s casing.'
‘Using a stiff brush, carefully remove grass build-up from the underside of the trimmer, including around the guard and blades. When putting power tools away, remember to always store them in dry and dust-free rooms.’
Cleaning a watering can
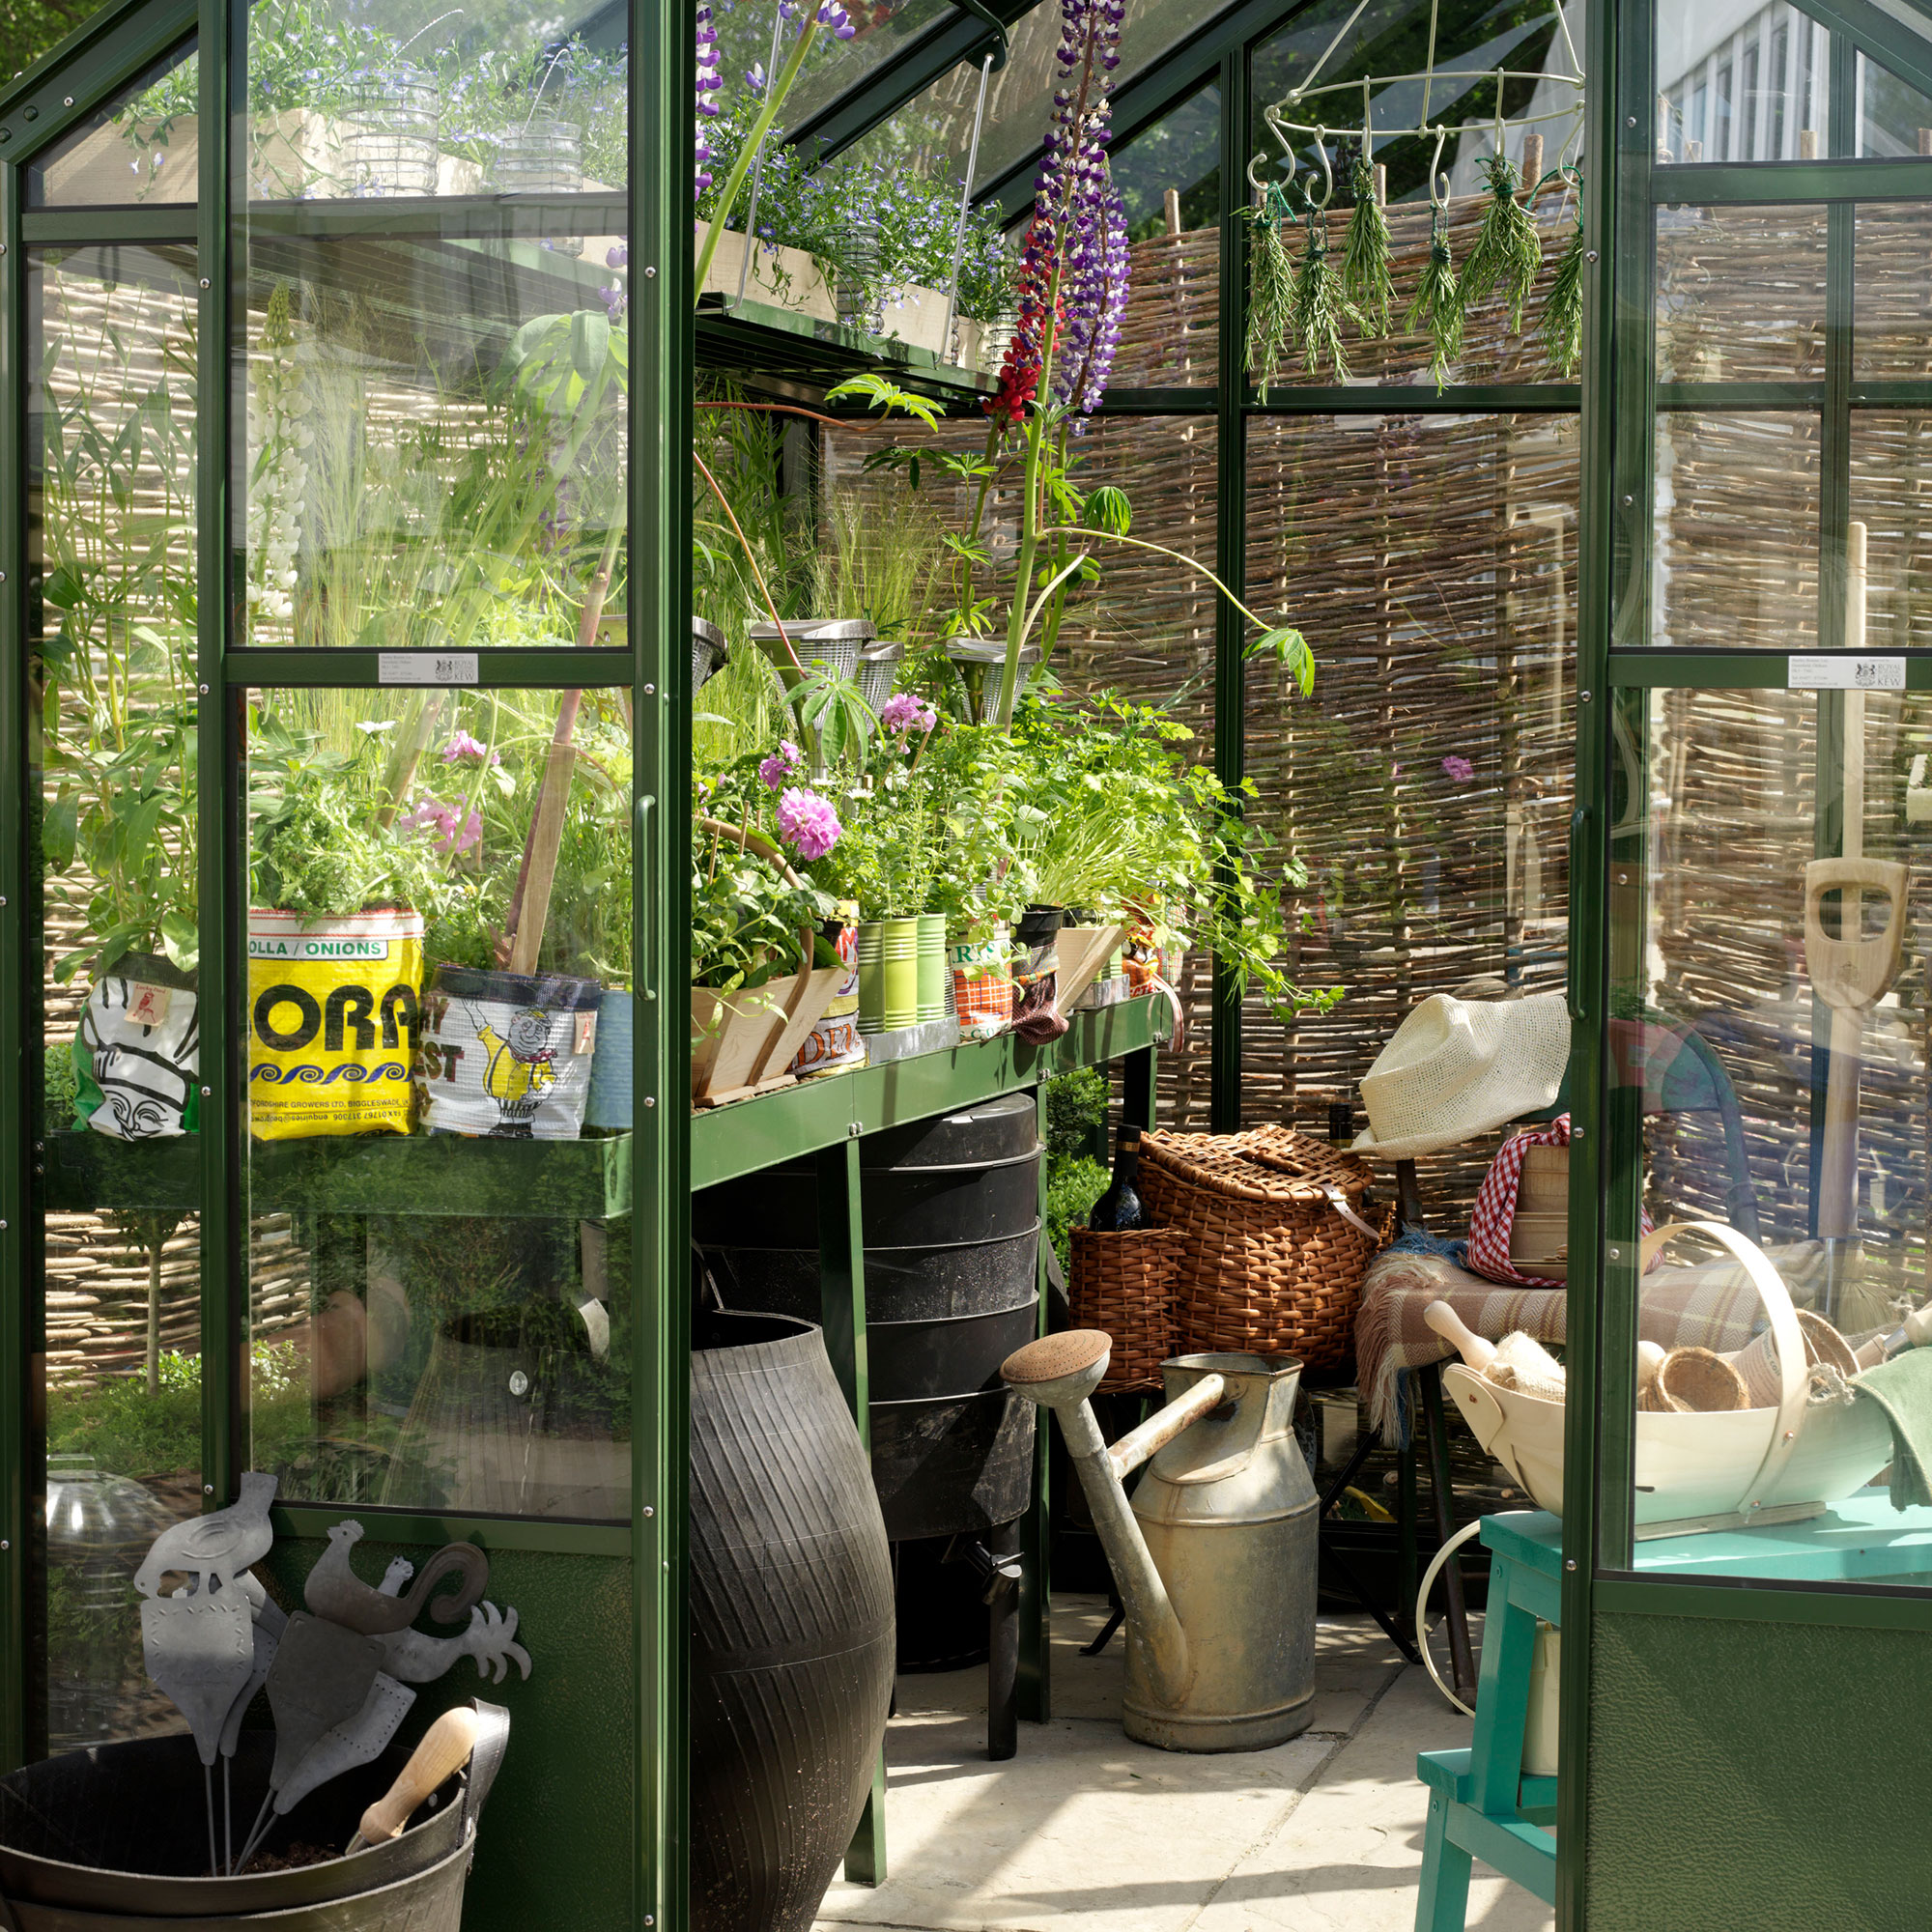
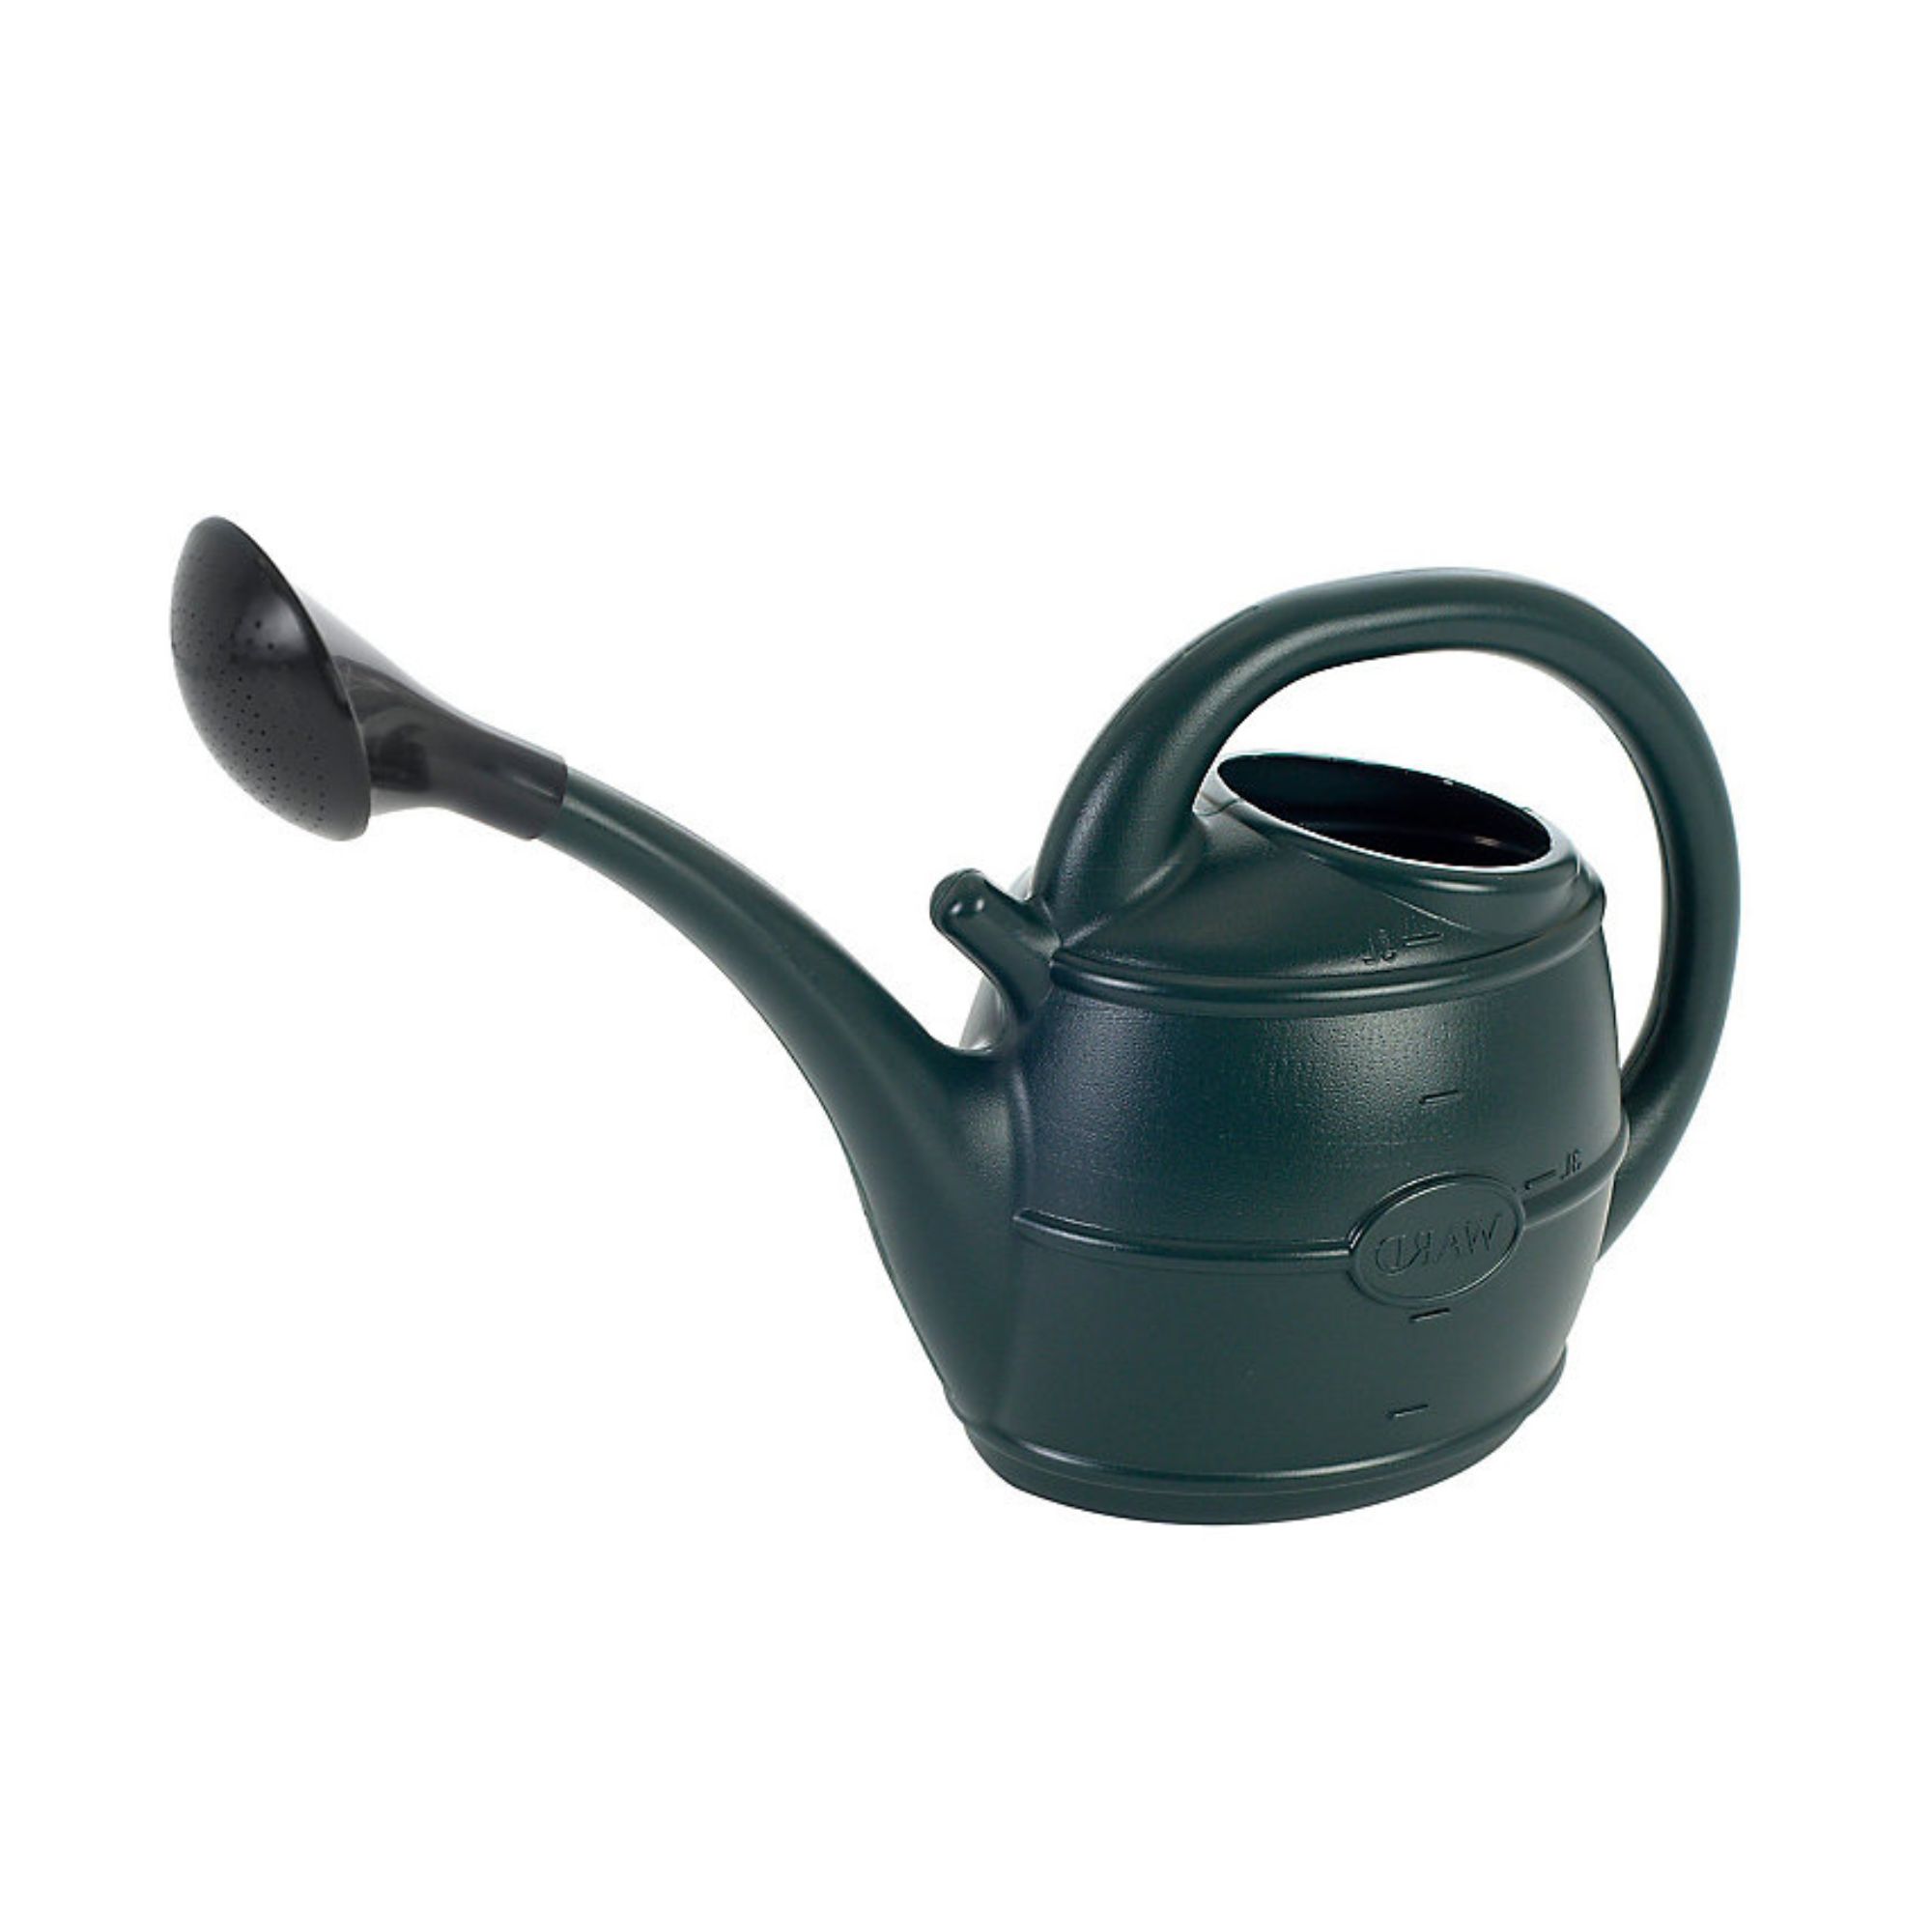
No garden would be complete without a watering can. And while there are so many garden watering mistakes you can make, one mistake people always make is forgetting to clean their watering can.
Cleaning a watering can is especially important if you leave it open to the elements, as this can result in the build-up of mineral deposits, algae, and even rust on metal watering cans. When you water your plants, you’re then pouring this debris onto your plants and potentially harming them in the process.
Thankfully, cleaning a watering can couldn’t be easier. Every so often, you just need to fill it with warm water and washing-up liquid and then rinse it out. If you have any nooks and crannies, simply wipe or brush with your hands.
If you have mould growth, diluting a mixture of water and white vinegar and leaving it overnight should do the trick. Just make sure you rinse it with fresh water before using it again and store it properly.
Guy says, ‘Plastic buckets and watering cans are maintenance free, but metal ones may suffer if left damp for long periods. Ideally, hang or place watering cans or buckets upside down to drain after use, which will also prevent dust and debris from collecting in them.’
Cleaning gardening gloves
It’s incredibly important to clean gardening gloves, especially if you’re touching exposed roots and vulnerable seedlings with these gloves. If you don’t, you can spread diseases to your plants without realising it.
How you clean gardening gloves depends on the material, though. If you have fabric or synthetic fibre gloves, you can probably pop them in the washing machine, wash them on a cold cycle with normal laundry detergent, and hang them out to dry.
However, this isn’t possible with rubber gloves. If you want to clean rubber garden gloves, you should start by running your gloved hands under cold water to wash off any loose debris.
Then, grab a soap bar and wash your hands like you normally would - with the gloves still on. Finish by rinsing the gloves under clean water and hanging them out to dry.
John Clifford, garden expert at Gardenstone, also suggests keeping an eye on your gardening gloves when you’re cleaning them. ‘Inspect them regularly. If the gloves have cuts and tears, you could damage your hands.’
FAQs
What should you clean your garden tools with?
For the most part, using soap and water should be enough to clean garden tools - as long as your tools aren’t metal. You can use a soft-bristled brush to get into the nooks and crannies and to remove any lingering dirt or debris, and then allow them to dry before storing them away properly.
If you have metal tools, brushing them down and wiping them with a damp cloth should do the trick. However, it’s important to note that cleaning your garden tools isn’t the same as sterilising them. If you want to sterilise your garden tools, you should use a solution like Jeyes fluid or Citrox.
Can you use vinegar to clean garden tools?
Yes, you can! Vinegar is a great cleaning solution and will even help to remove rust from metal garden tools.
You don’t need to use vinegar as the main cleaning agent, though. Aim to use soap and water for general cleaning, and use vinegar when you specifically want to get rid of rust.
Happy cleaning!
Get the Ideal Home Newsletter
Sign up to our newsletter for style and decor inspiration, house makeovers, project advice and more.

Lauren Bradbury has been the Content Editor for the House Manual section since January 2025 but worked with the team as a freelancer for a year and a half before that. She graduated with a Bachelor’s degree in English and Creative Writing from the University of Chichester in 2016. Then, she dipped her toe into the world of content writing, primarily focusing on home content. After years of agency work, she decided to take the plunge and become a full-time freelancer for online publications, including Real Homes and Ideal Home, before taking on this permanent role. Now, she spends her days searching for the best decluttering and cleaning hacks and creating handy how-to guides for homeowners and renters alike, as well as testing vacuums as part of her role as the Ideal Home Certified Expert in Training on Vacuums, having spent over 110 hours testing different vacuum models to date!
-
 Martin and Shirlie Kemp’s pastel flower beds has given their Victorian renovation a romantic look - how you can get the look
Their pastel garden is the cottage garden inspo you've been looking for
By Kezia Reynolds
-
 7 outdated rules to ignore when designing a small patio – experts say ditching them will transform your space
These are the traditional patio design rules you don’t always need to follow
By Rebecca Lawton
-
 Who is responsible for repairing a party wall?
How to find out who should be organising and paying for the work
By Natasha Brinsmead
