How to deadhead lilies - 3 simple steps to help your flowers bloom
Let your lilies bloom by tending to them properly


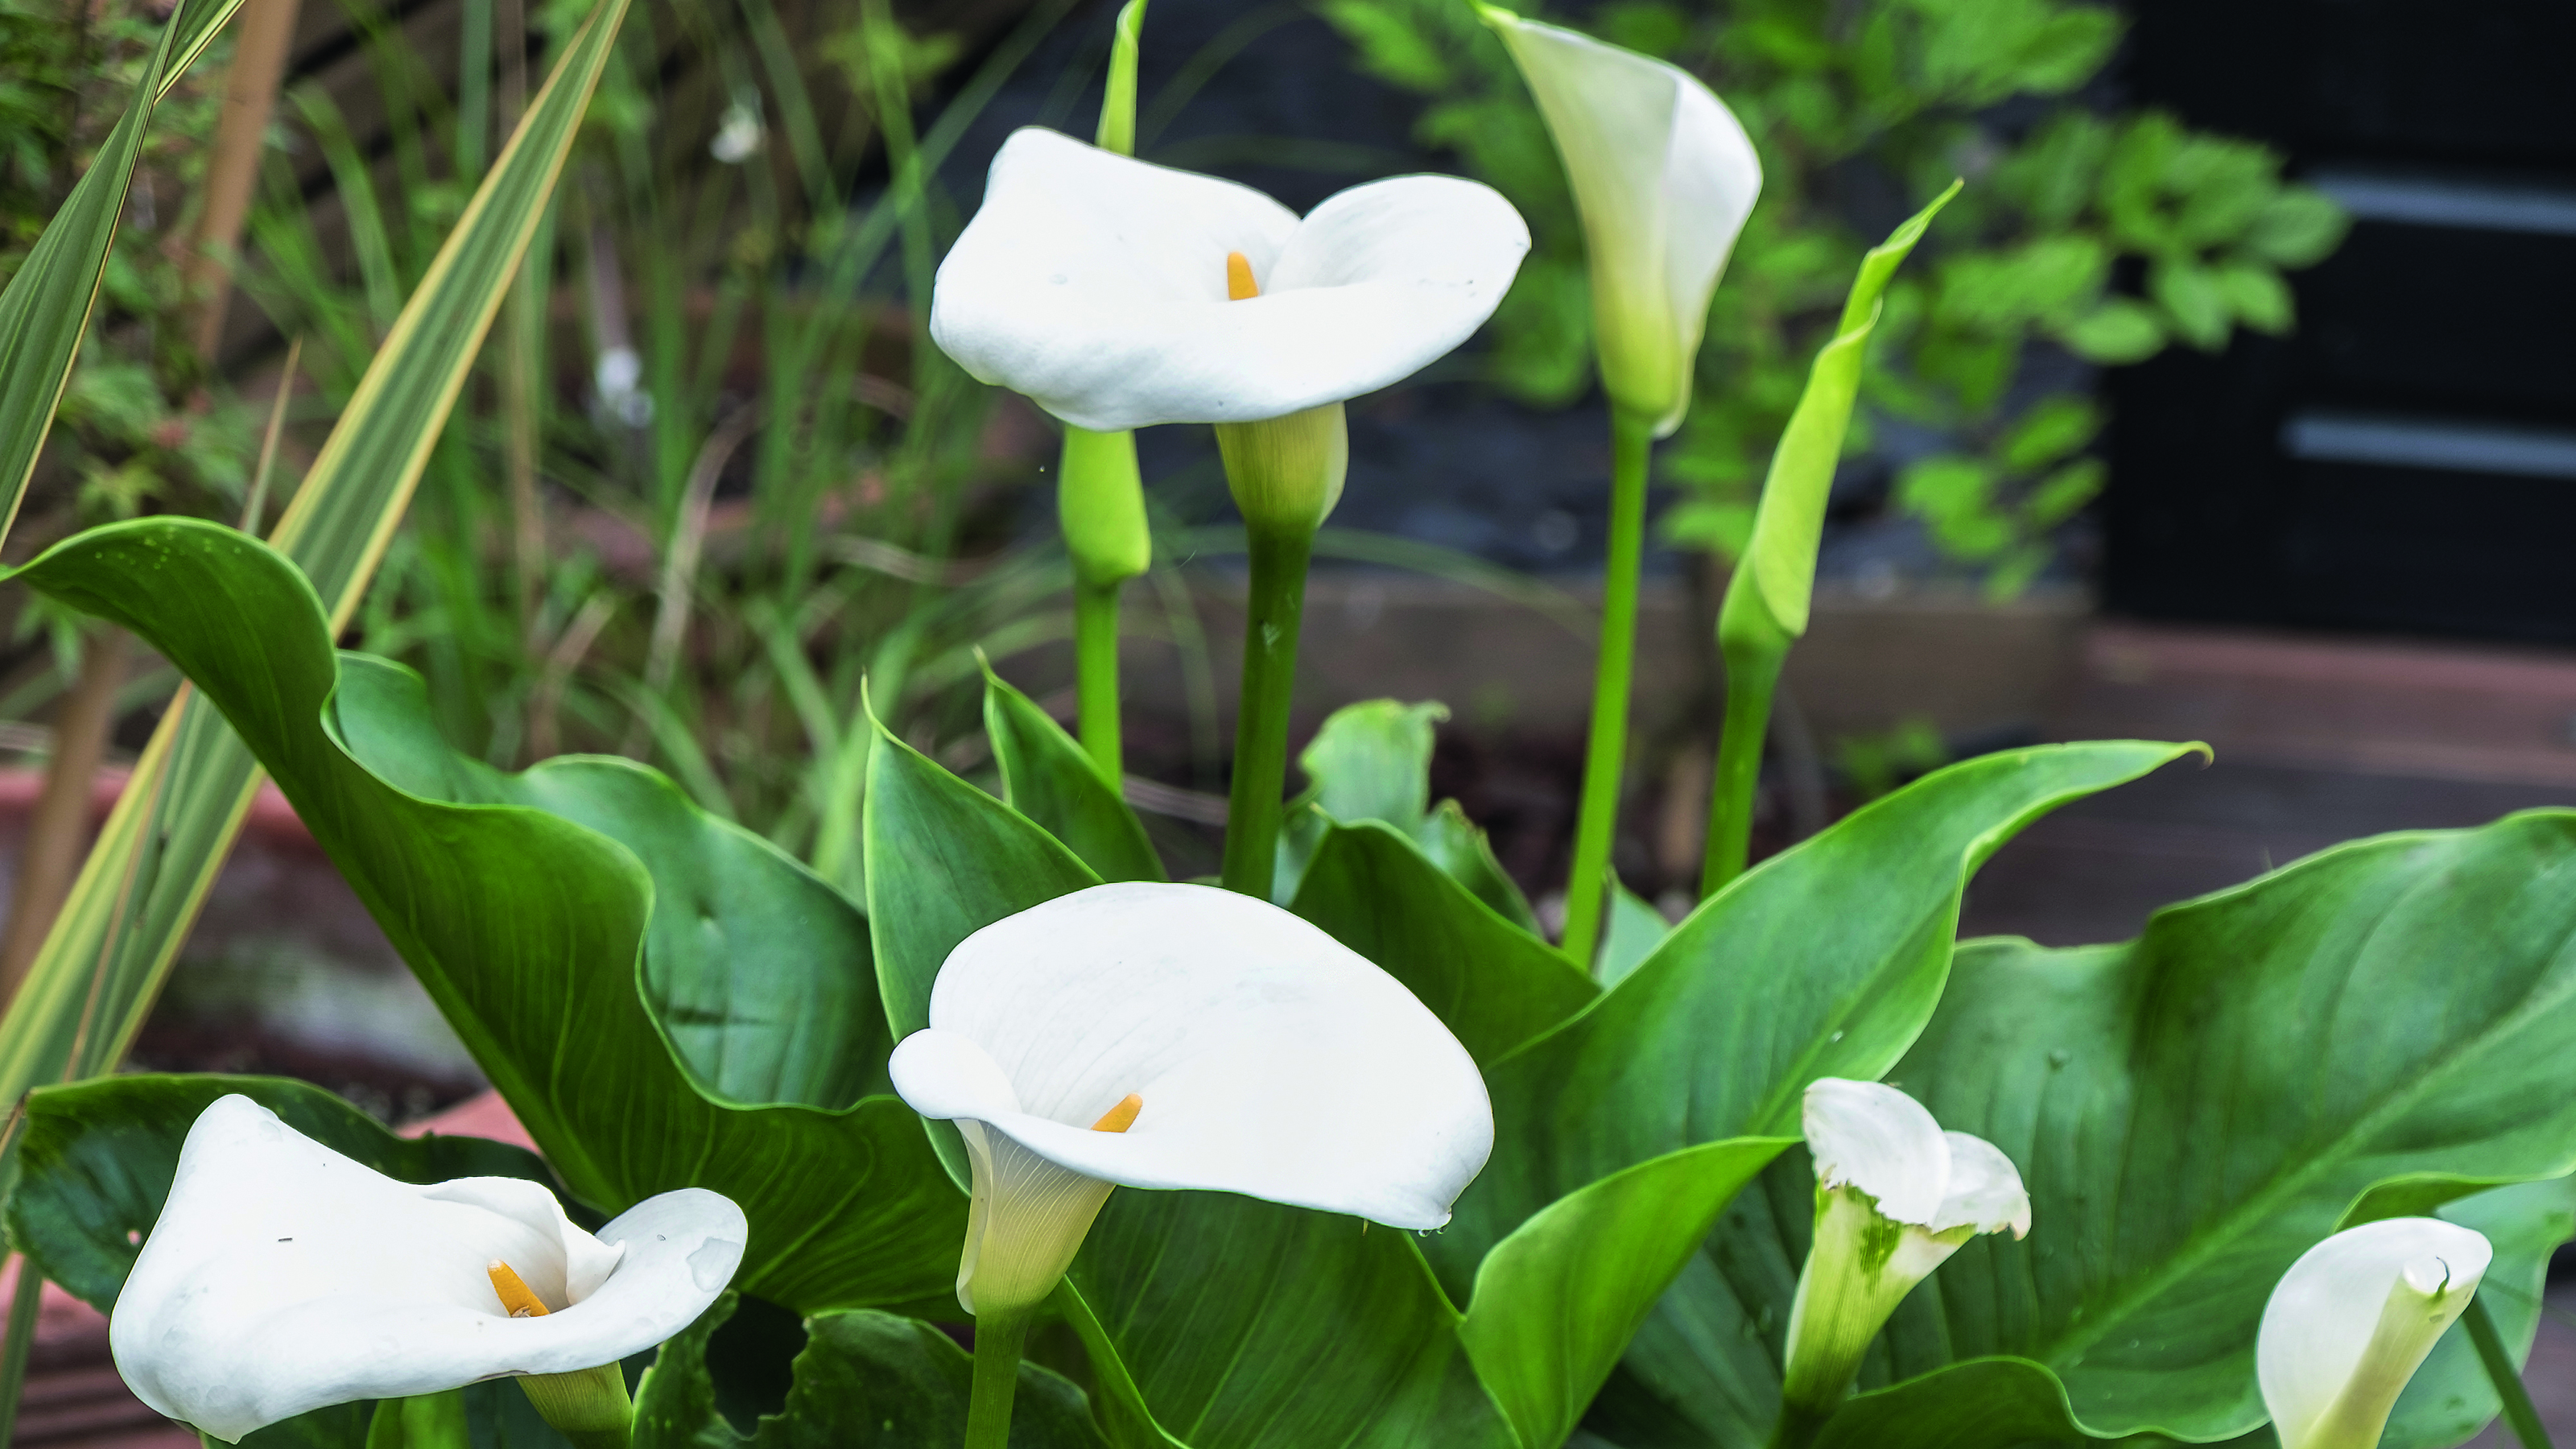
Once you know how to deadhead lilies, you'll be well on your way to helping your flower bloom to the best of its ability. Lilies are a popular household flower, known for their beauty and elegance, and how easy they are to grow. And what's better is that they bloom from early summer through to autumn, so you have ample time to enjoy them before the winter months.
As with many flowers, especially the ever-popular peony, it can sometimes be a challenge to keep them looking their best. When you buy, or grow, a bouquet, you want them to sit in your home looking fresh and plentiful. Luckily, learning how to deadhead lilies will give you the skillset to help them thrive, so you can enjoy them in full bloom for longer.
How to deadhead lillies

'Most flowers will benefit from regular deadheading during active growth, rewarding you with more blooms and a second flush of flowers later in the season,' advises Angharad James, product manager at Phostrogen.
'This is because it diverts the plant’s energy away from seed production and redirects it to stronger growth and flower production.'
Luckily, the process of deadheading lilies is very simple. All you need to do is follow a few key steps and you'll be well on your way to regenerating your plant. Great news for anyone looking for easy garden ideas.

With over seven years of experience in the horticultural industry, Angharad is an expert when it comes to getting her fingers green. Whether it’s growing beautiful blooms, getting a picture-perfect lawn or nurturing fruit and veg from seed, Angharad knows how to get the most from the garden.
Step-by-step guide
1. Locate the leaves
When deadheading lilies, you want to look for stems that have already gone brown. These will be the flowers that are at the end of the lifespan, so it's safe to trim them off to help the plant grow.
Harry Bodell gardening expert at PriceYourJob, advises to begin by 'locating a set of leaves at the top of the stem.'
'At the end of the season, it’s important not to cut back the stem or remove its leaves until they are brown and wilted, despite not looking the best, as this will help 'feed' the bulb so that they flower again next year,' adds Angharad from Phostrogen.
2. Use secateurs to cut

All you'll need to deadhead lilies is a pair of secateurs, which are easy to come by. It can seem daunting knowing where to cut the stems, as you don't want to disrupt the healthy parts of the plant.
'To deadhead your flowers, wait until it has dropped its petals and the flower has faded, then simply cut off the head,' advises Angharad. 'You should do this below the bud or flower spike, but above the first set of leaves.'
3. Tidy up
The third and final step to deadheading lilies is to simply tidy up! Garden expert Harry recommends to 'discard the flower in the garden waste bin or composting pile', and the process will be complete.
It's also important to note that lilies are self-seeding perennials, so Phostrogen's Angharad advises to 'simply scatter the seeds from the flowerheads into the soil in the autumn.' This way you'll have an even more bountiful display come the start of next summer.
What to avoid when deadheading lilies
Deadheading lilies is a simple task, but there are still some considerations to take into account. Deadheading prevents the bulb from wasting energy on seed production, however, martagon lilies are self-seeding so you don't need to trim this type.
You should also never cut flowering stems right back to soil level - just remove the top third. And when it comes to cutting down the stems, wait until they have gone brown otherwise they're not quite ready.
How to care for lilies
If you're looking into how to deadhead lilies, it's likely you want to give your plants the best life possible. In this case, it's important to know how to care for them properly if you're growing lilies in your garden.
Just like with growing tomatoes, lilies need a tall support in order to help guide them upwards. They can be planted from late autumn until early April and can be bought as bulbs or as potted plants. Just like most plants, ample sunlight will be beneficial as well as tomato feed every fortnight.
Get the Ideal Home Newsletter
Sign up to our newsletter for style and decor inspiration, house makeovers, project advice and more.

After starting out her journey at Future as a Features Editor on Top Ten Reviews, Holly is now a Content Editor at Ideal Home, writing about the very best kitchen and bathroom designs and buys. At Top Ten Reviews, she focussed on TikTok viral cleaning hacks as well as how to take care of investment purchases such as lawn mowers, washing machines and vacuum cleaners. Prior to this, Holly was apart of the editorial team at Howdens which sparked her interest in interior design, and more specifically, kitchens (Shaker is her favourite!).
-
 Wood drenching is the calming new twist on the colour drenching trend – here’s how to make the look work in your home
It’s easier than ever to embrace natural materials
By Maddie Balcombe
-
 Aldi is launching a £200 day bed with four different features - its sleek design is suited to the whole family
You don't want to miss out on this Specialbuy
By Kezia Reynolds
-
 How to set up a drip watering system that saves water and a lot of effort
Keep your plants hydrated (and your water bill down) with this clever garden watering solution
By Natalie Osborn