How to dry hydrangeas - and it's not how you might expect
Get ready to enjoy year-round blooms

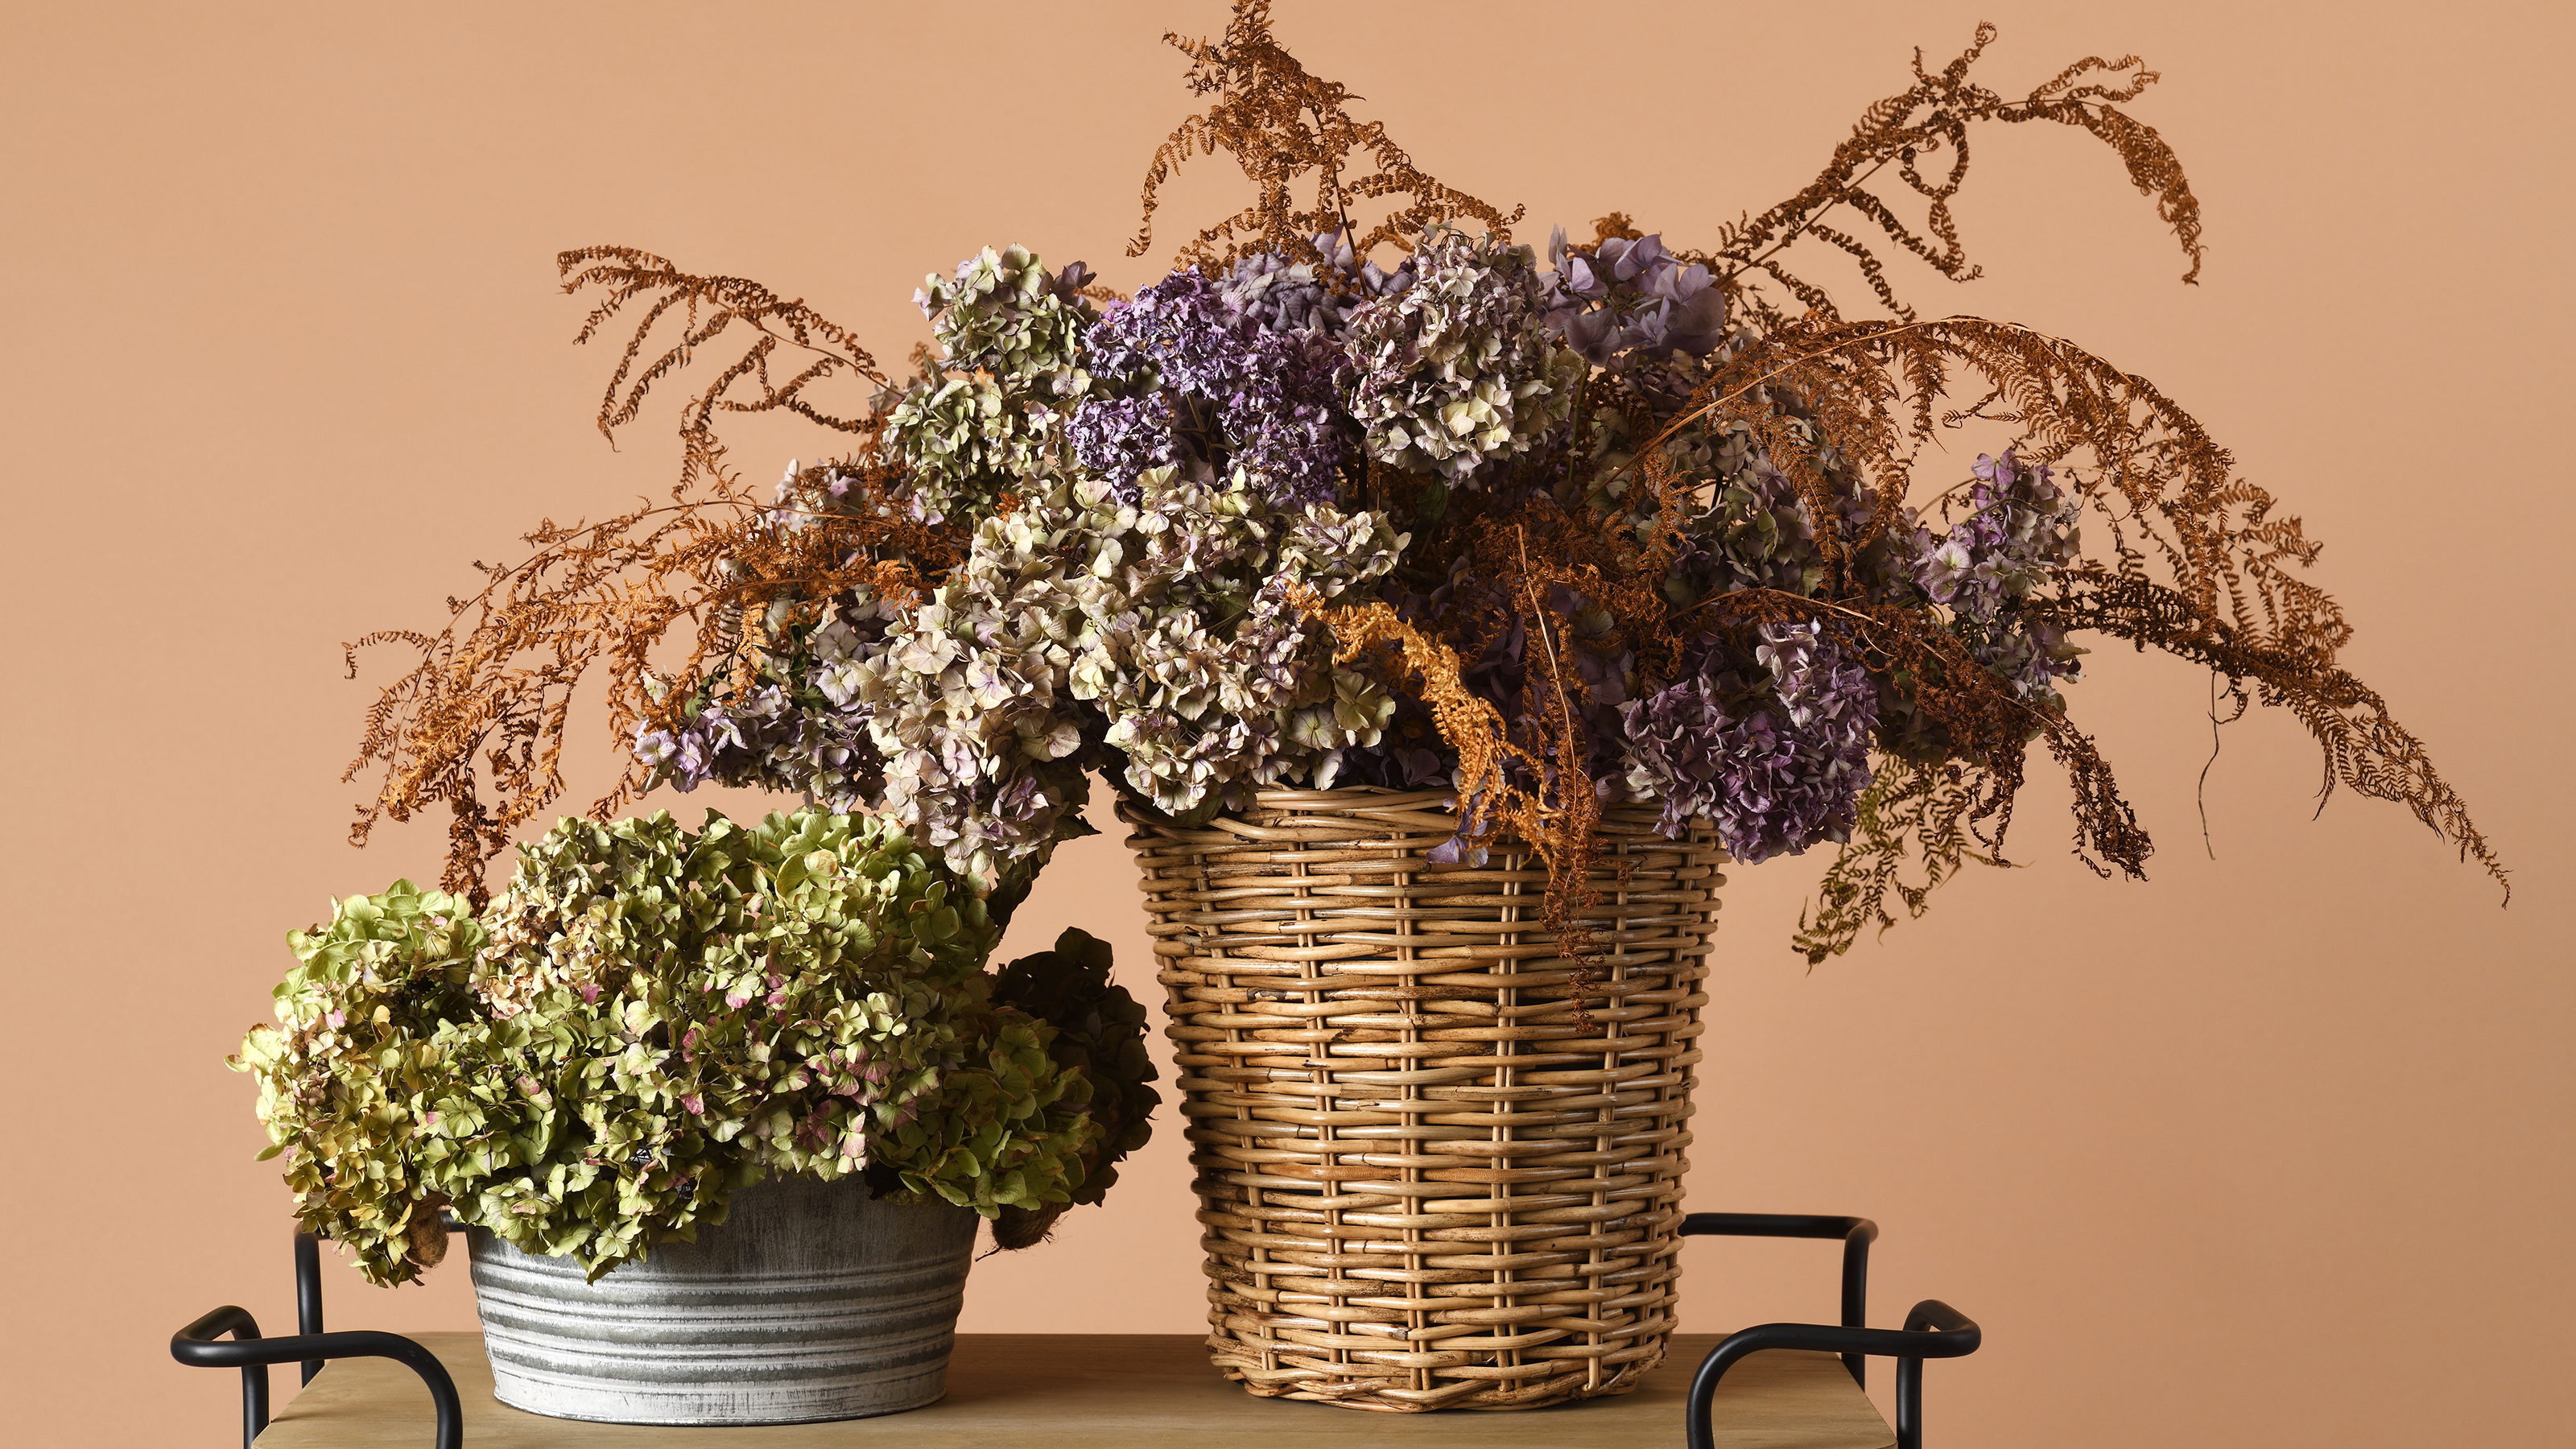
Learning how to dry hydrangeas probably wasn’t on your to-do list yesterday. But we guarantee that from now on, it’ll be on your to-do list today, tomorrow, and every single day until dry hydrangeas have taken over your house.
After all, these beautiful blooms have dominated our garden ideas this year, and it seems people can’t get enough of these big and bold clusters of flowers. Yes, homeowners across the country have been planting hydrangeas by the bucketload, enjoying the beautiful colours and fragrances, and taking advantage of the long blooming period before they’re ready for pruning.
But right here, right now is the perfect time to take some hydrangea cuttings. And when you have those cuttings in your hands, it’s time to get drying so you can make the most of these blooms all year round.
How to dry hydrangeas
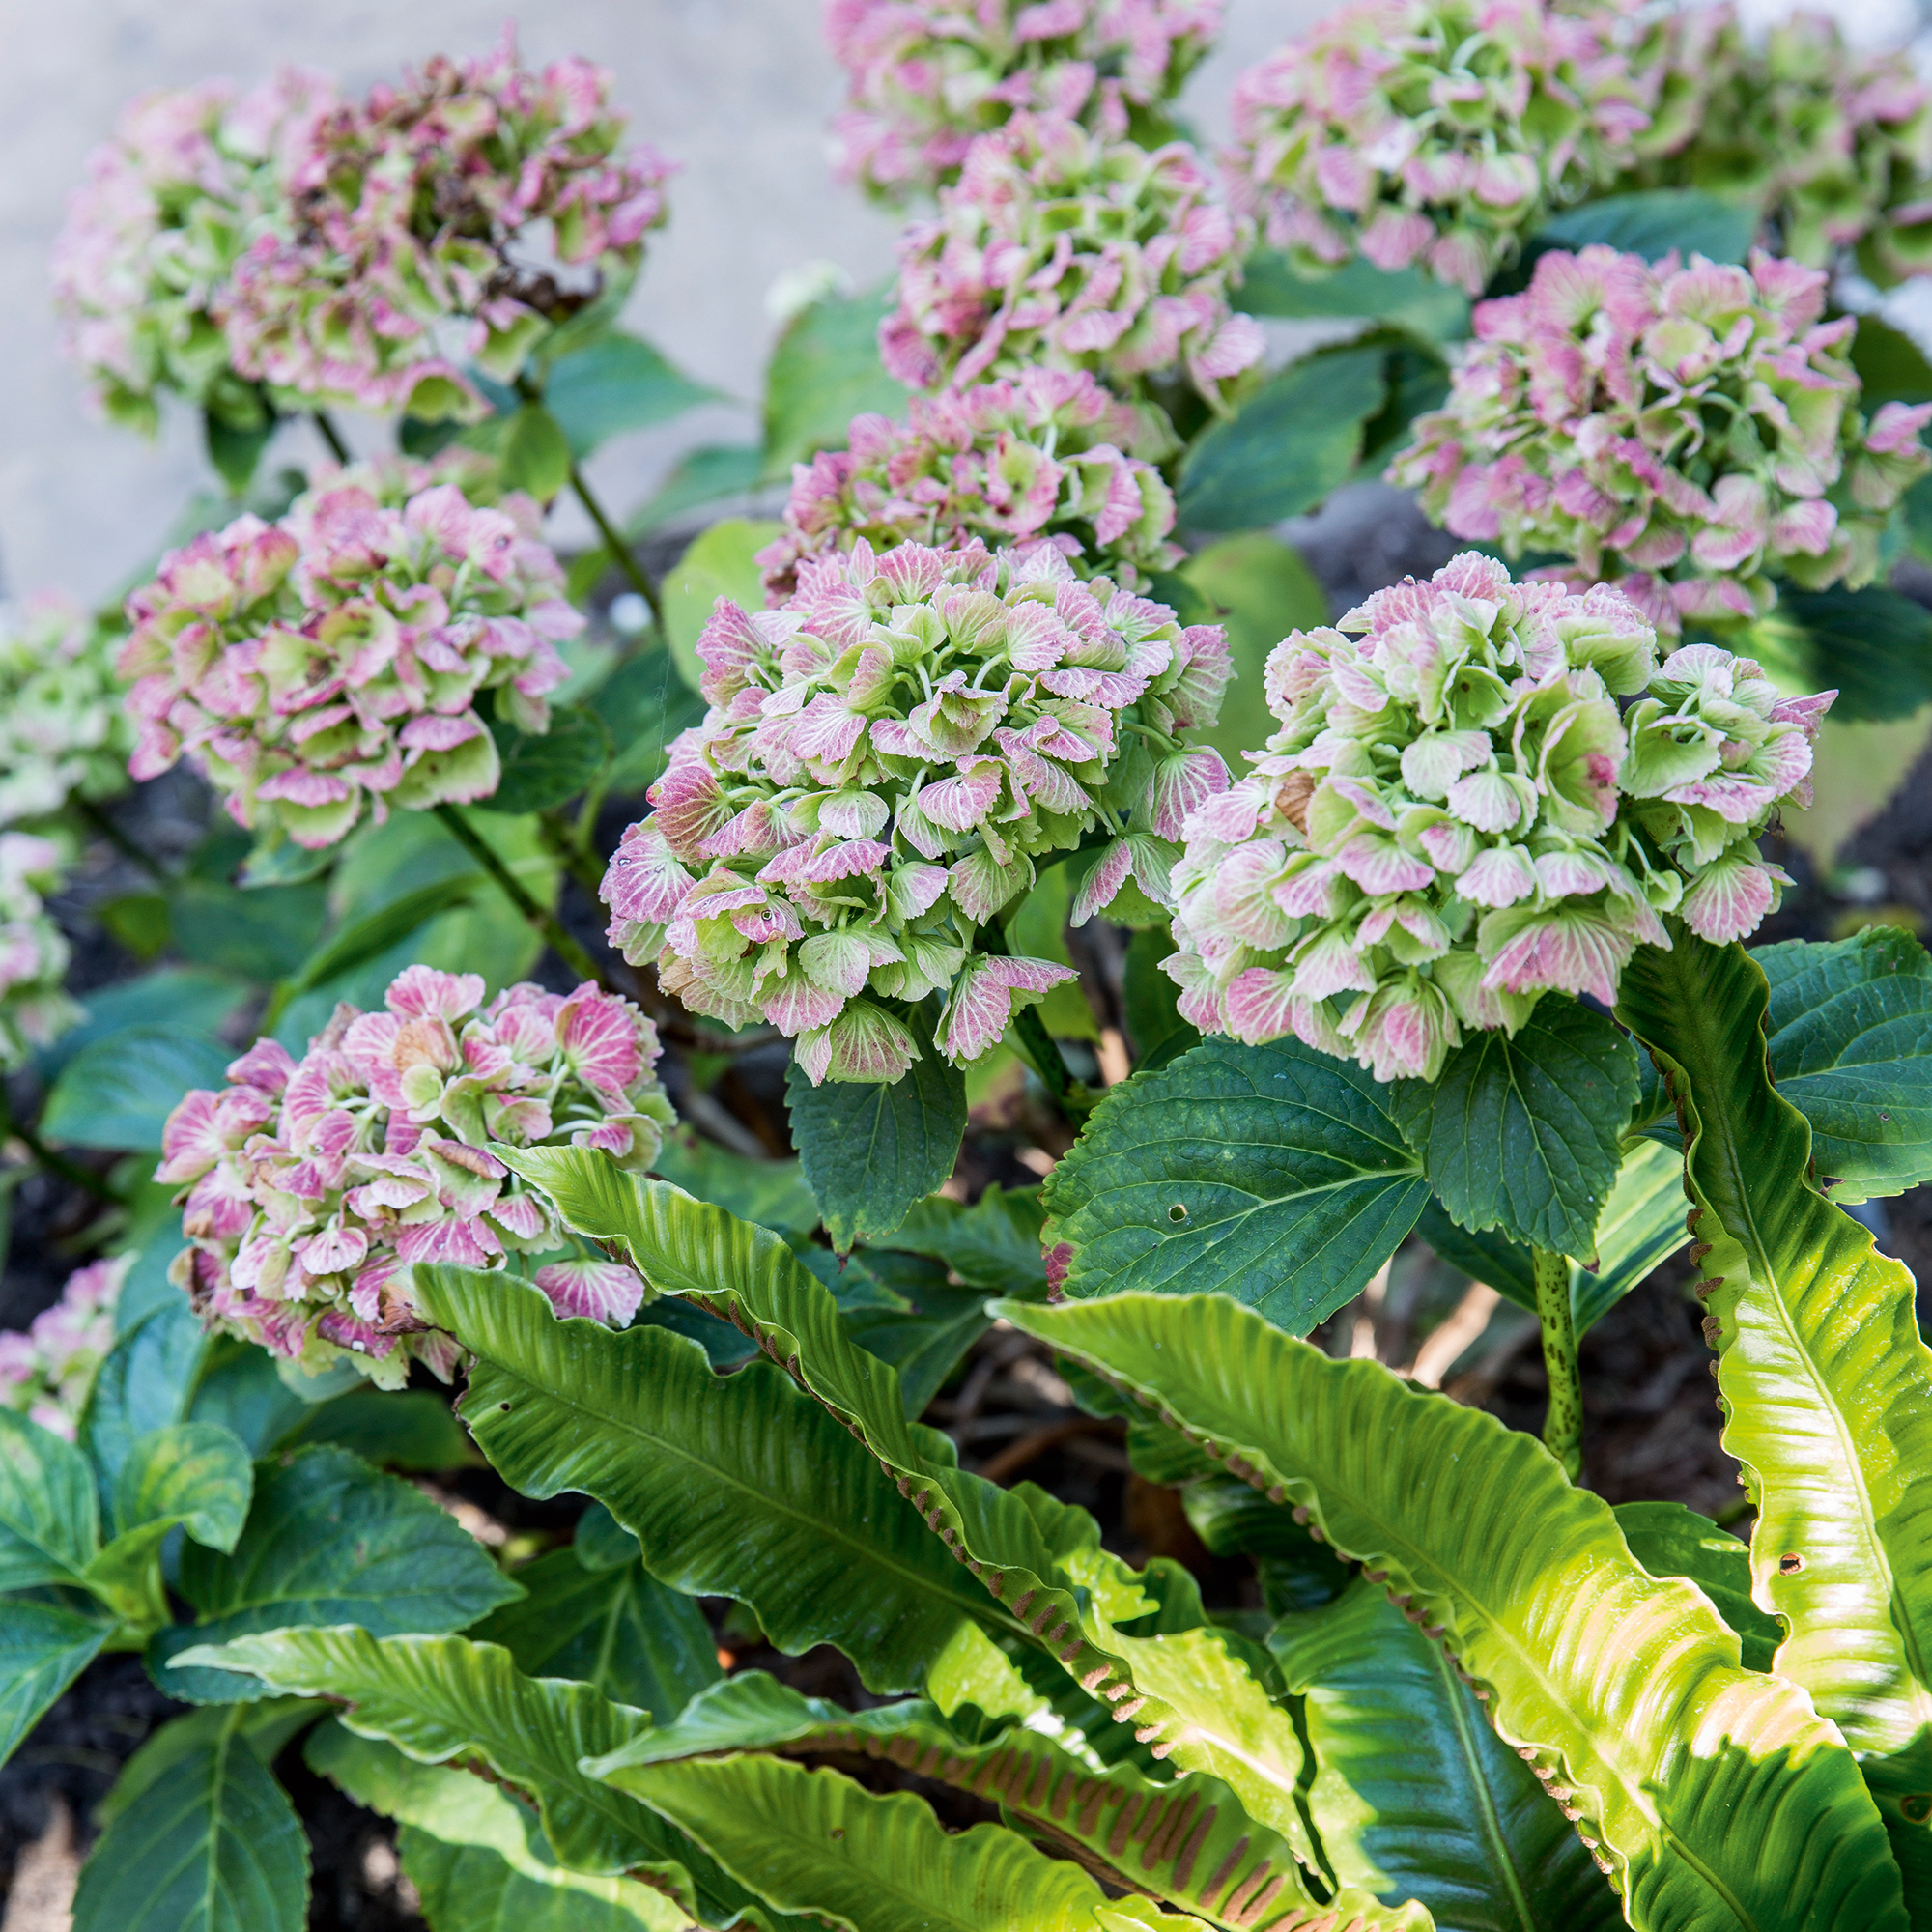
Although you can hang-dry hydrangeas upside down, this can take up a lot of space in your house. And as gardening expert Oliver Johnson at HomeAdviceGuide.com explains, ‘You don’t always need to hang your hydrangeas upside down in order to dry them out. As long as your hydrangeas have sturdy stems, you can dry them in a vase.’ And this is how to do it.
What you’ll need
- Established hydrangea plant
- Pruning scissors
- A vase
- Water
Step-by-step
1. Choose the right time
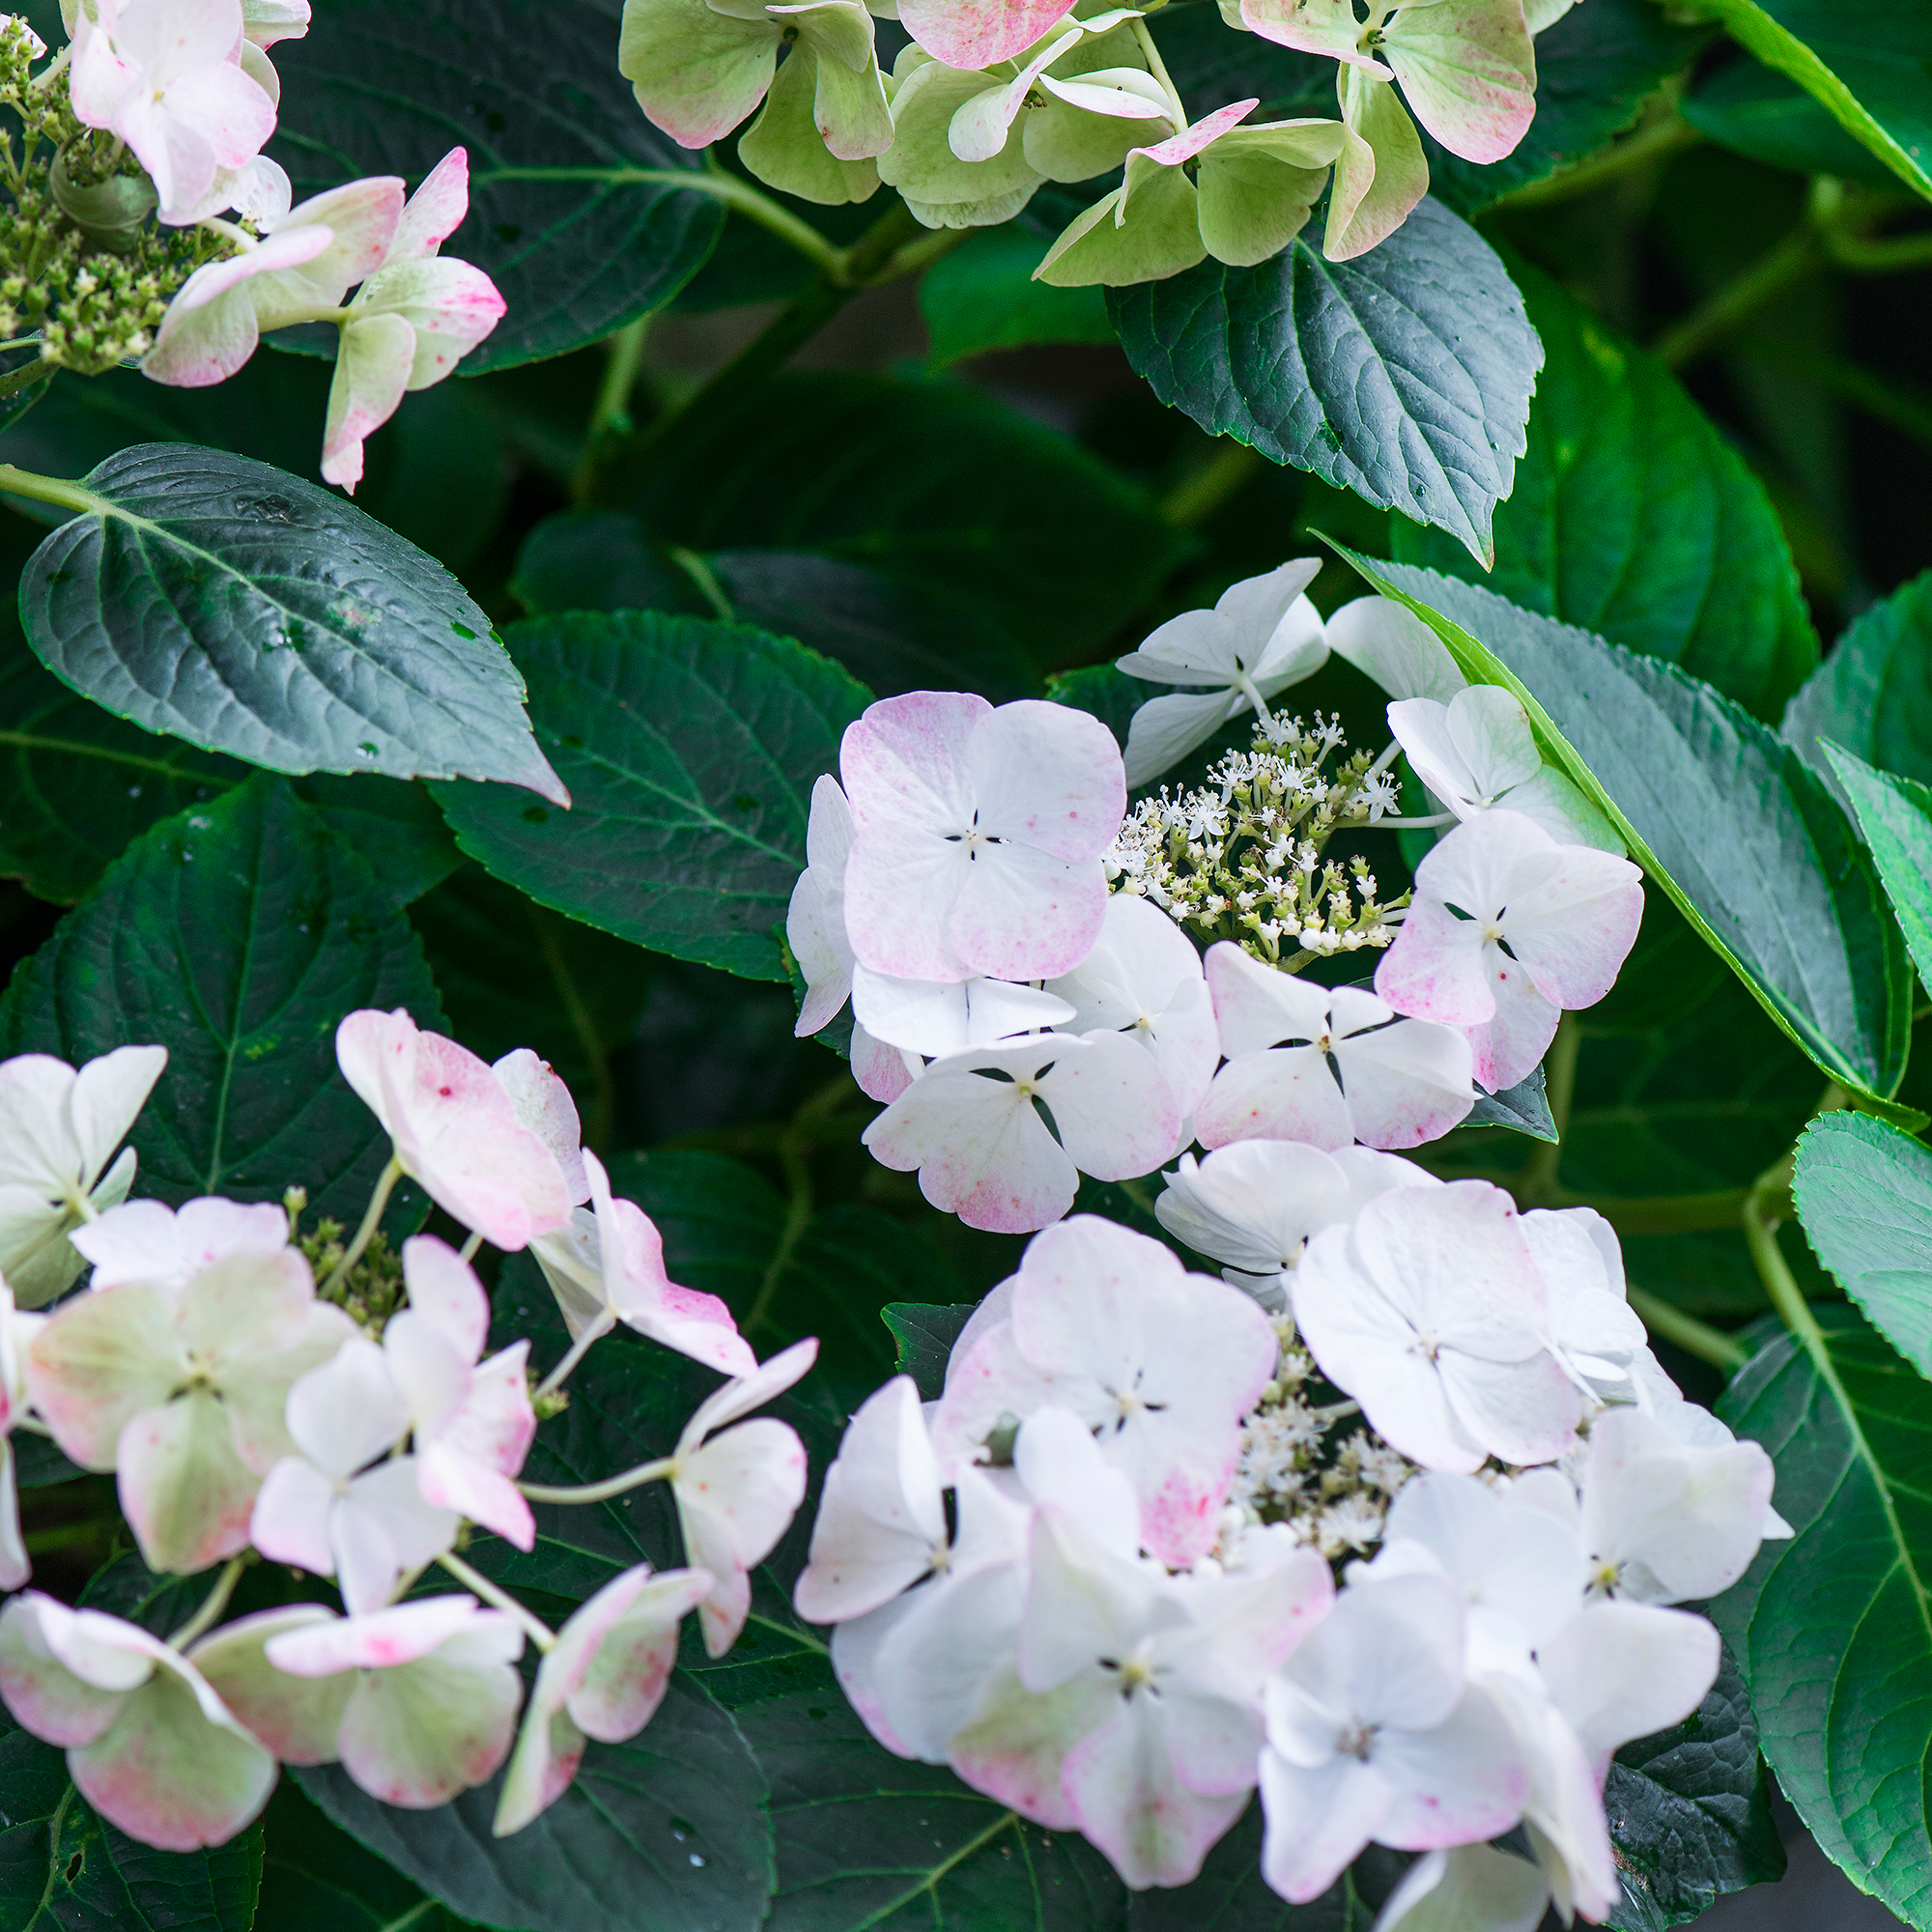
Although hydrangeas have a relatively long blooming time (early spring to early autumn), you can’t take cuttings willy-nilly.
If you choose the wrong time, you’ll most likely be greeted with dried hydrangeas that are brown in colour. But if you choose the right time, you should be able to guarantee that the dried hydrangeas will maintain the vibrant colours they're known for.
So, that’s why it’s best to cut your hydrangea flowerheads between August and October when the petals are starting to feel more like paper. During this time, you may even see smaller flowers on the plant starting to bloom.
Sign up to our newsletter for style inspiration, real homes, project and garden advice and shopping know-how
2. Cut the stems
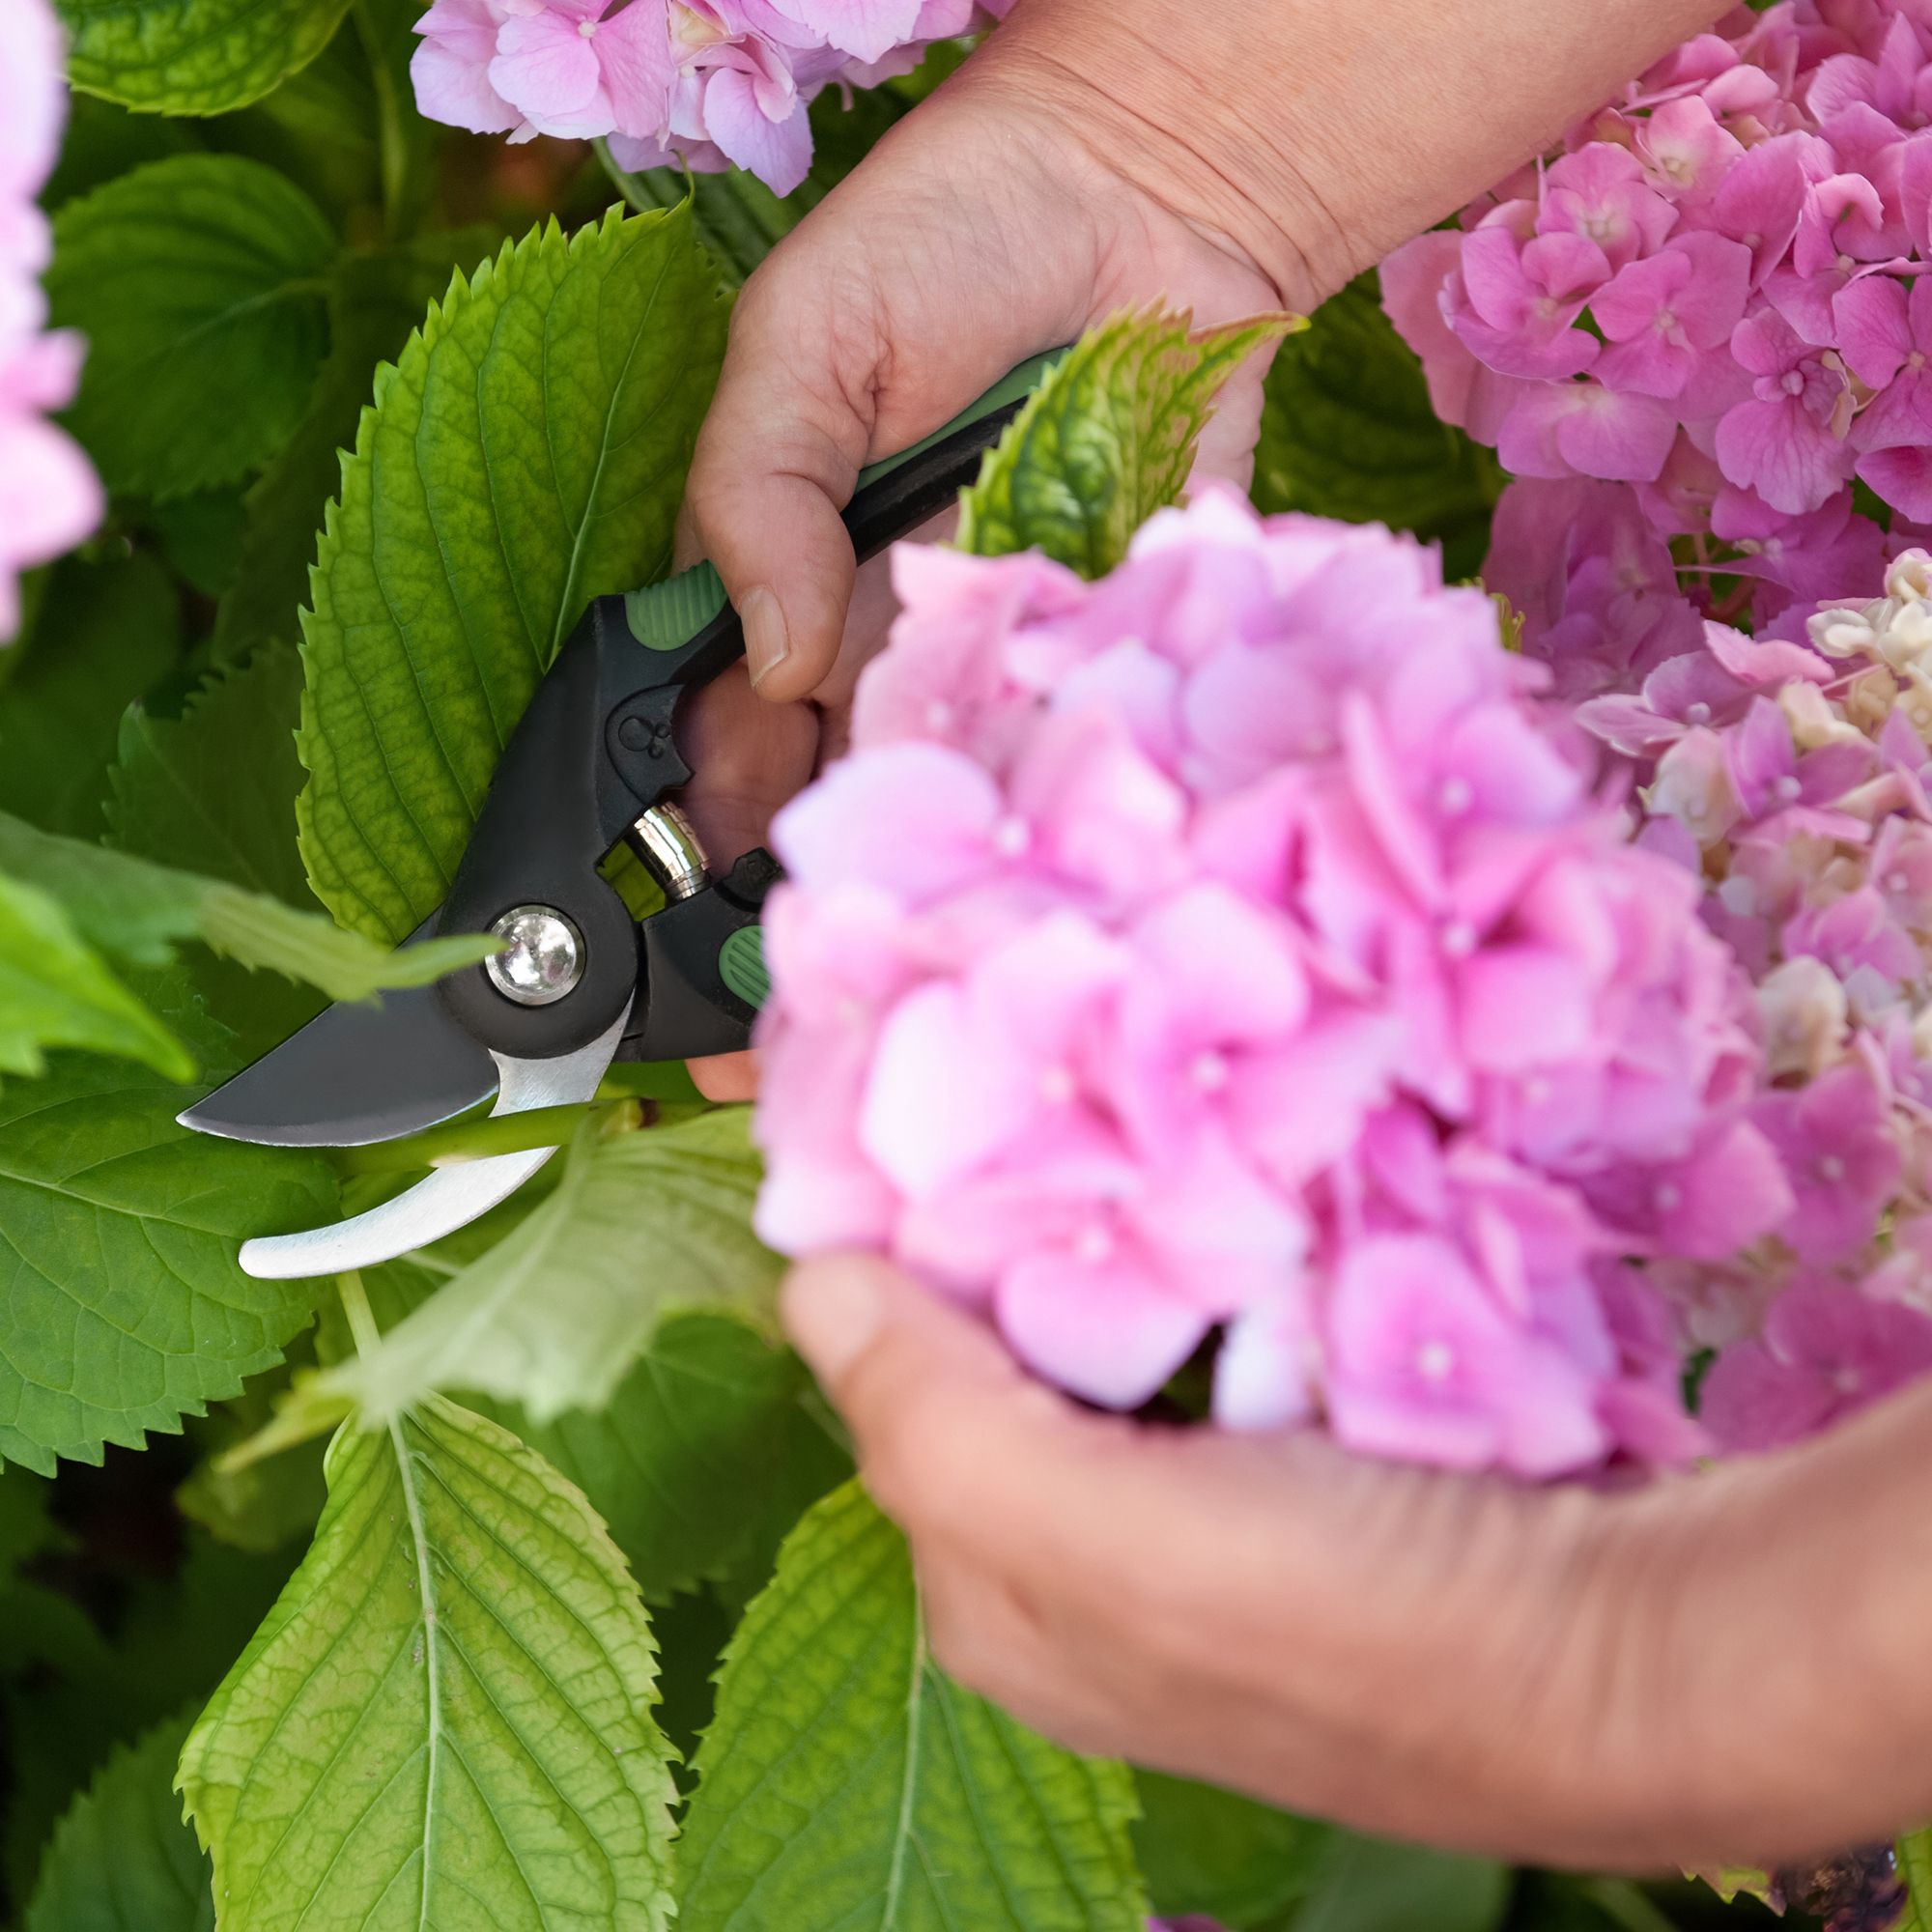
When you’ve settled on the perfect time to dry hydrangeas, you can then get started on cutting the stems. To do this, you’ll want to grab your clean pruning scissors or shears and choose the best blooms from your hydrangea bush.
Steve Chilton, a garden expert from LeisureBench, suggests, ‘Select hydrangea blooms that have matured and achieved a full, robust appearance.’
Then, measure around 12-18 inches down from the flowerhead and cut the stem at an angle. At this point, removing any leaves from the stem is also a good idea, as they’ll just fall off during the drying stage anyway.
3. Place the cuttings in water
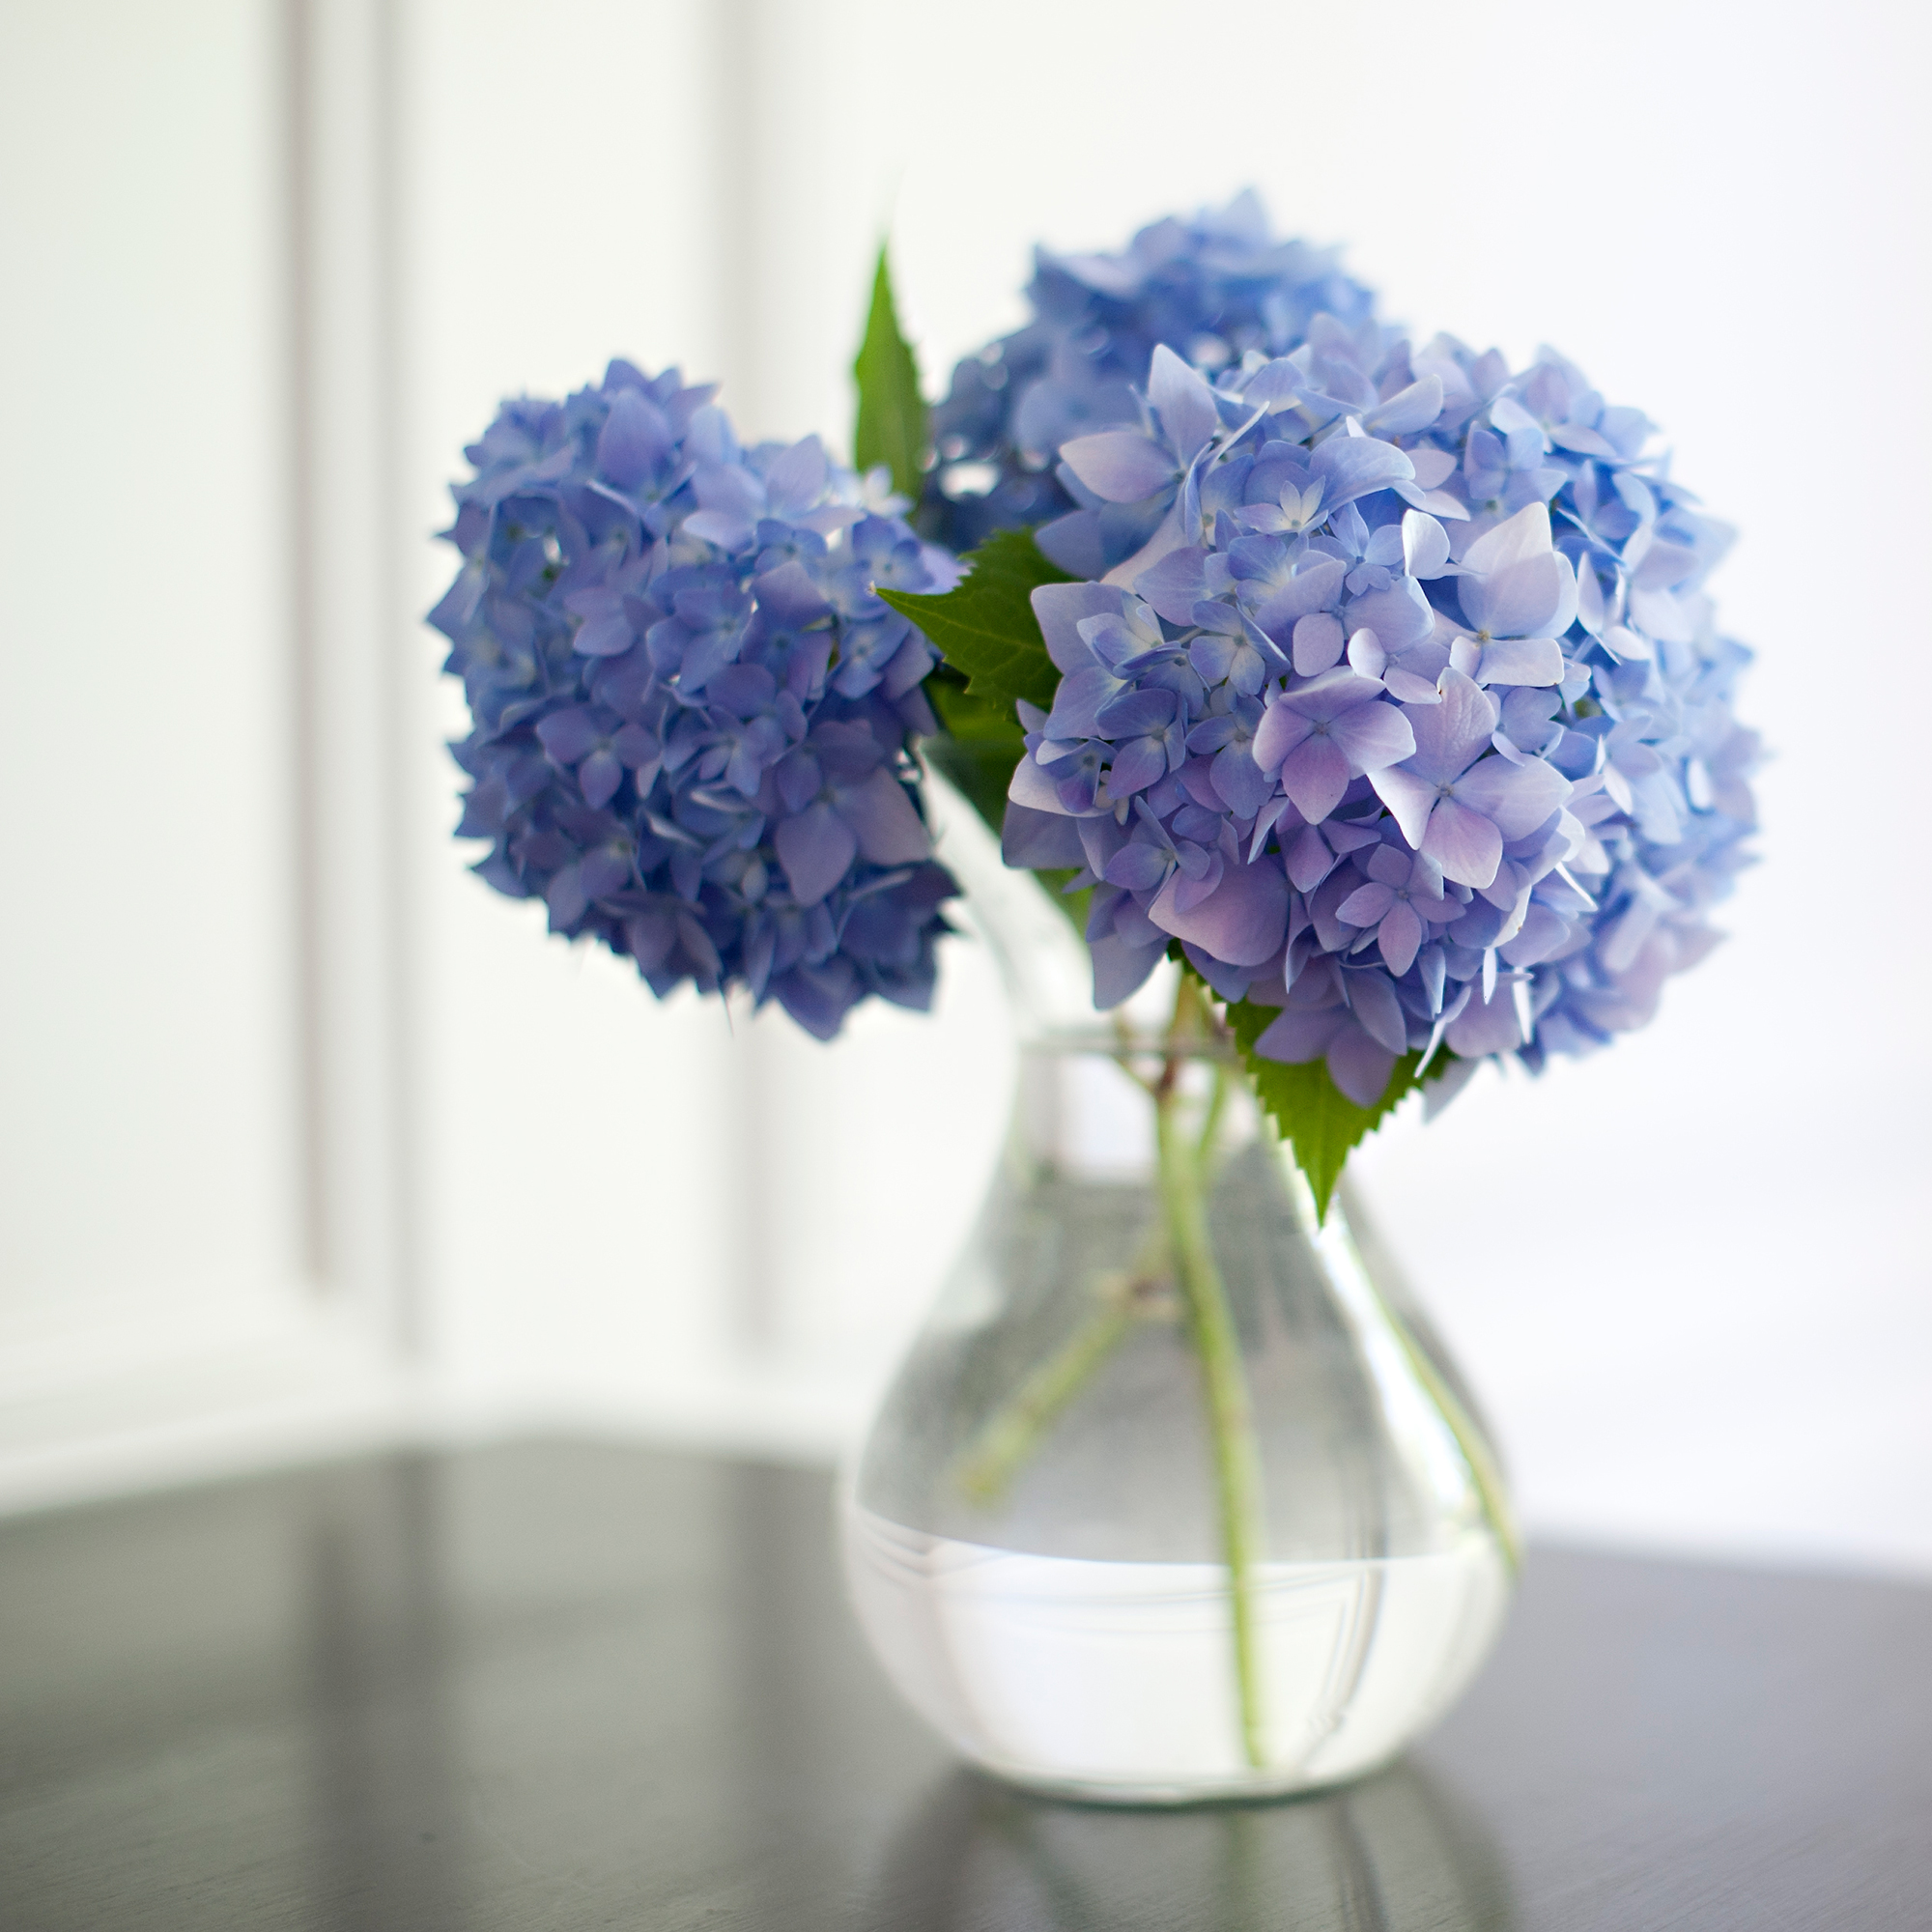
Although it may seem counterintuitive to dry hydrangeas with water, this process works a treat. And when you have your beautiful cuttings in hand, all you need to do is half-fill a vase with water and place the cuttings inside.
However, you don’t want to put too many hydrangea stems into one vase, as this could affect the quality of the dried flowers. Of course, the exact number will depend on the size of the vase, but you ultimately want all of your flowerheads to have space to breathe without being squashed.
4. Keep the vase in a cool spot
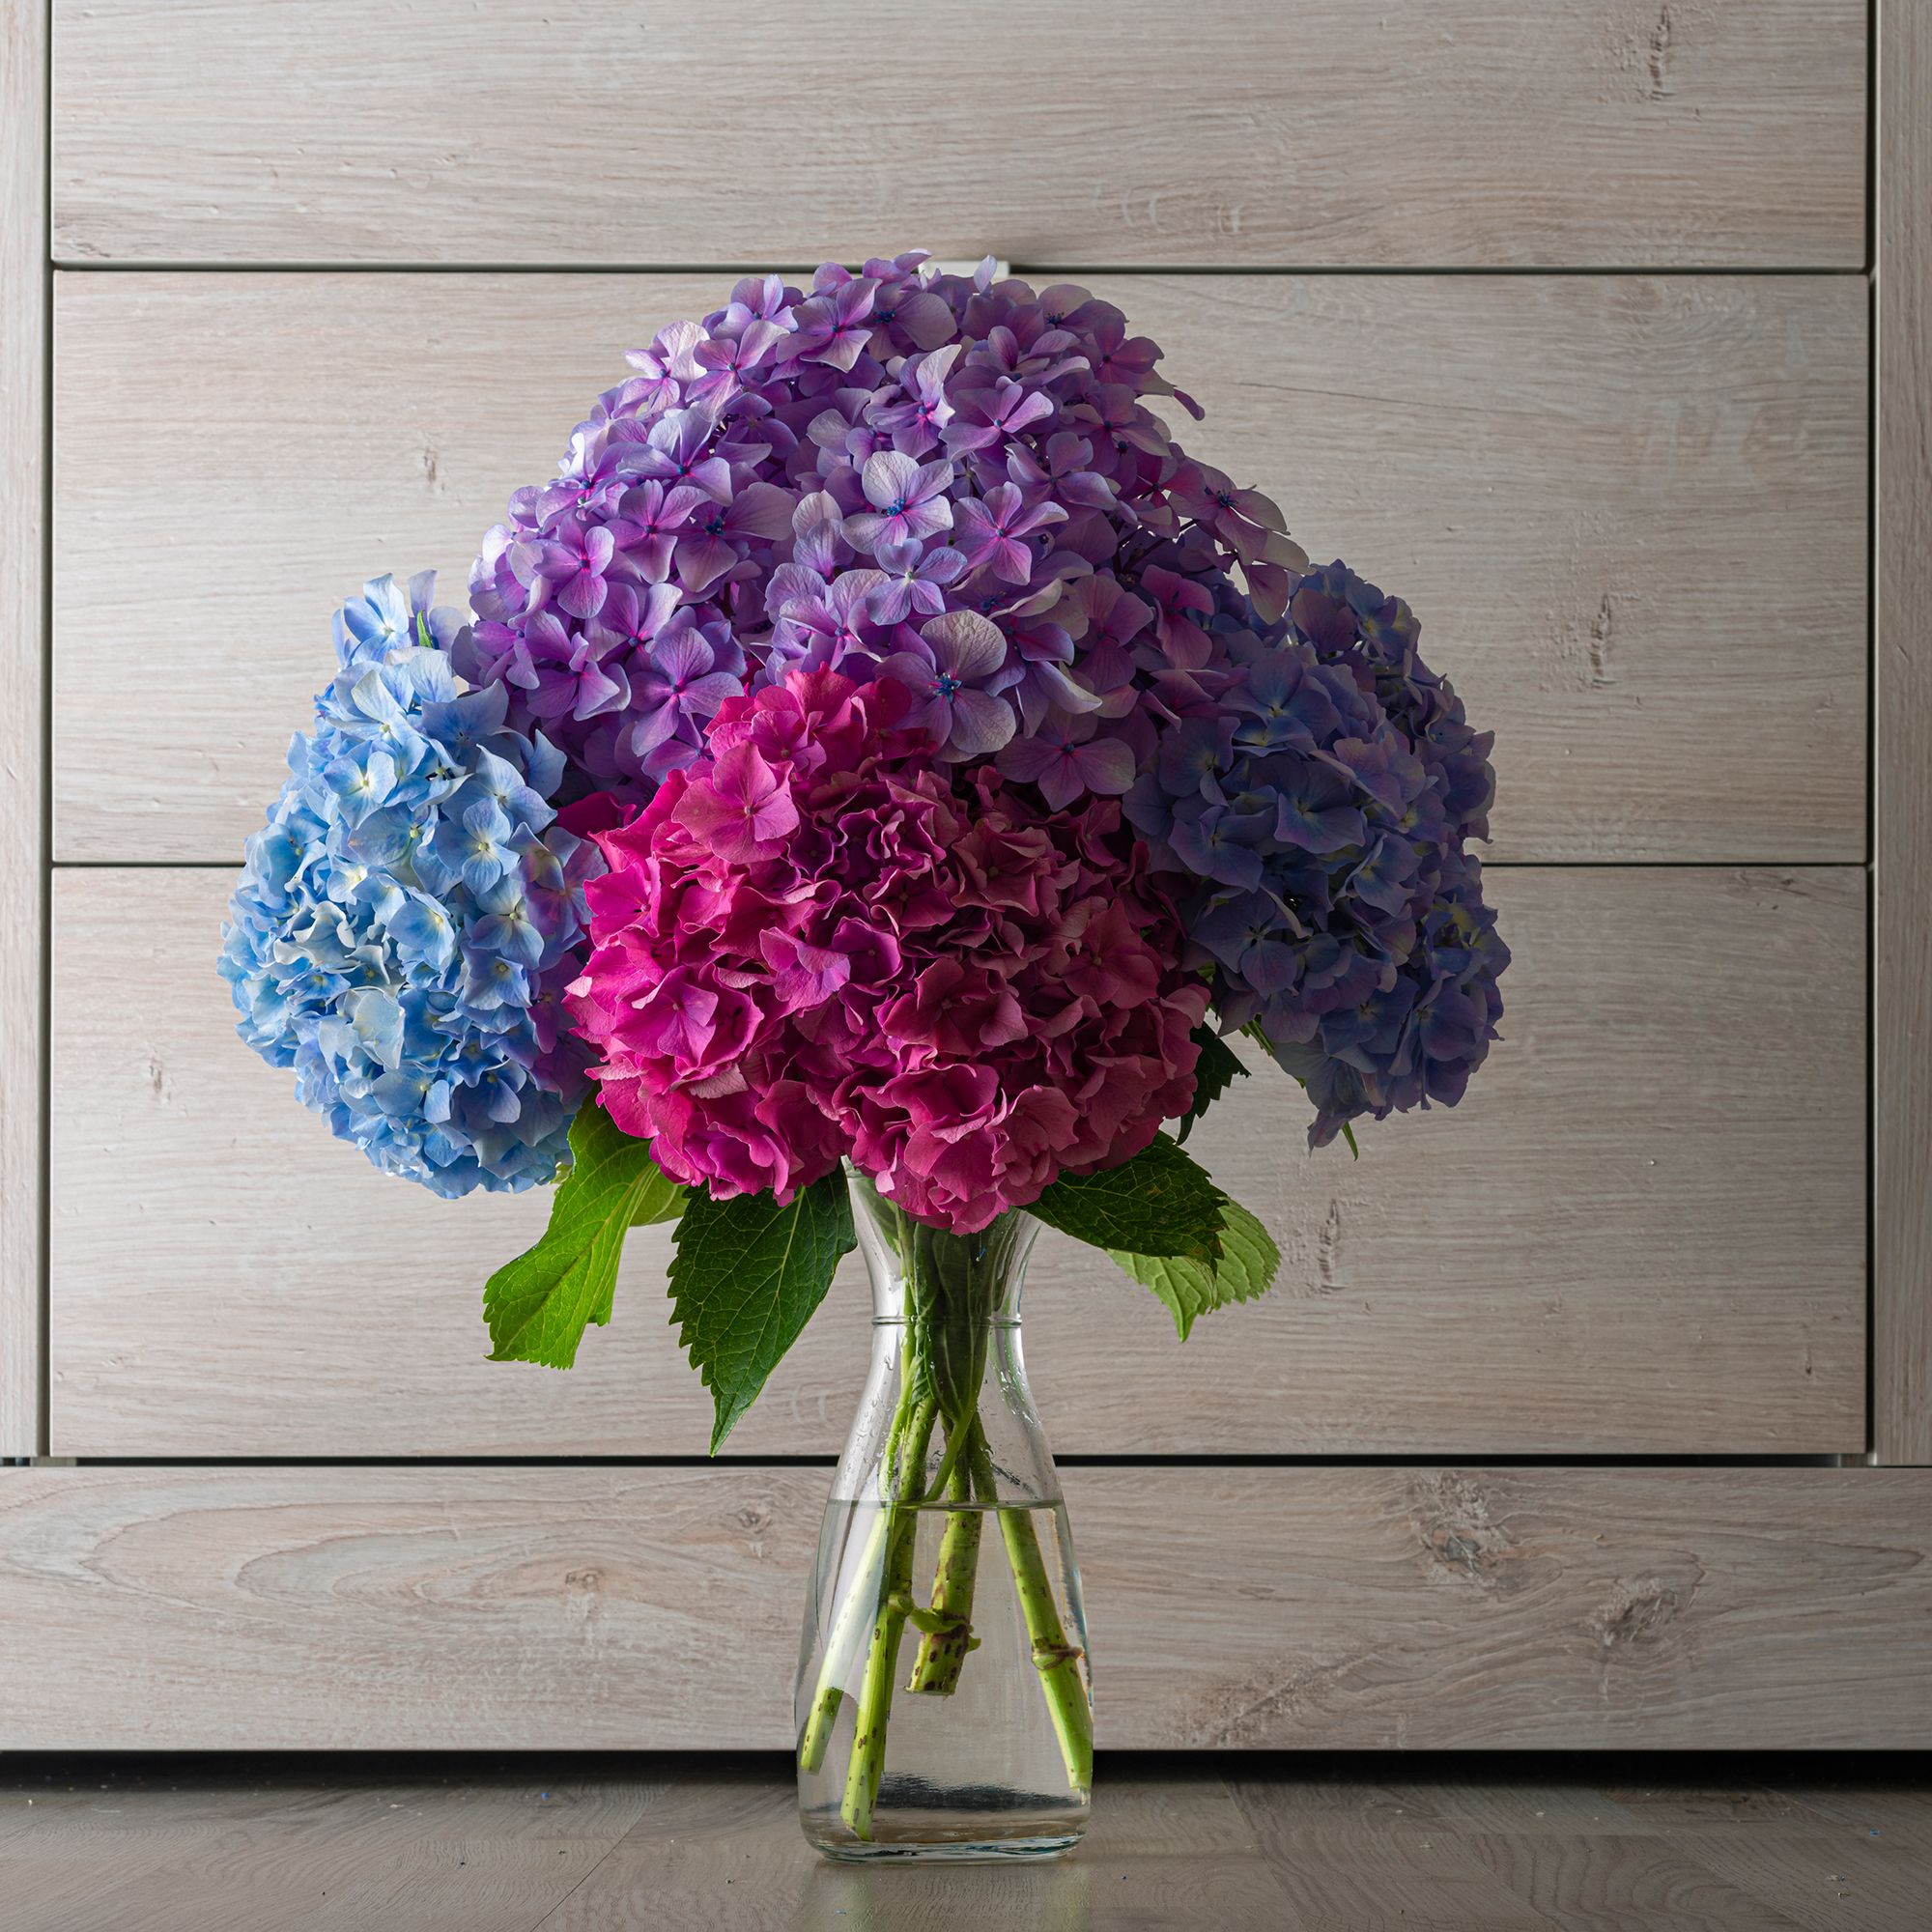
When your cuttings are safely inside the vase, you should then place it in a cool spot away from direct sunlight, as this could cause the leaves to burn and turn brown.
Instead, you want the hydrangeas to dry naturally, soaking up the water as they go. This whole process normally takes around 3-4 weeks.
It’s important to note that this process might not be perfect every time, though. Hydrangeas are fickle plants, and they need to be cut at the perfect time to dry perfectly. So, you may find that the odd flower turns brown or that the colour isn’t as vibrant as you’d like.
This is normal and something to learn from next year.
5. Arrange your dry hydrangeas
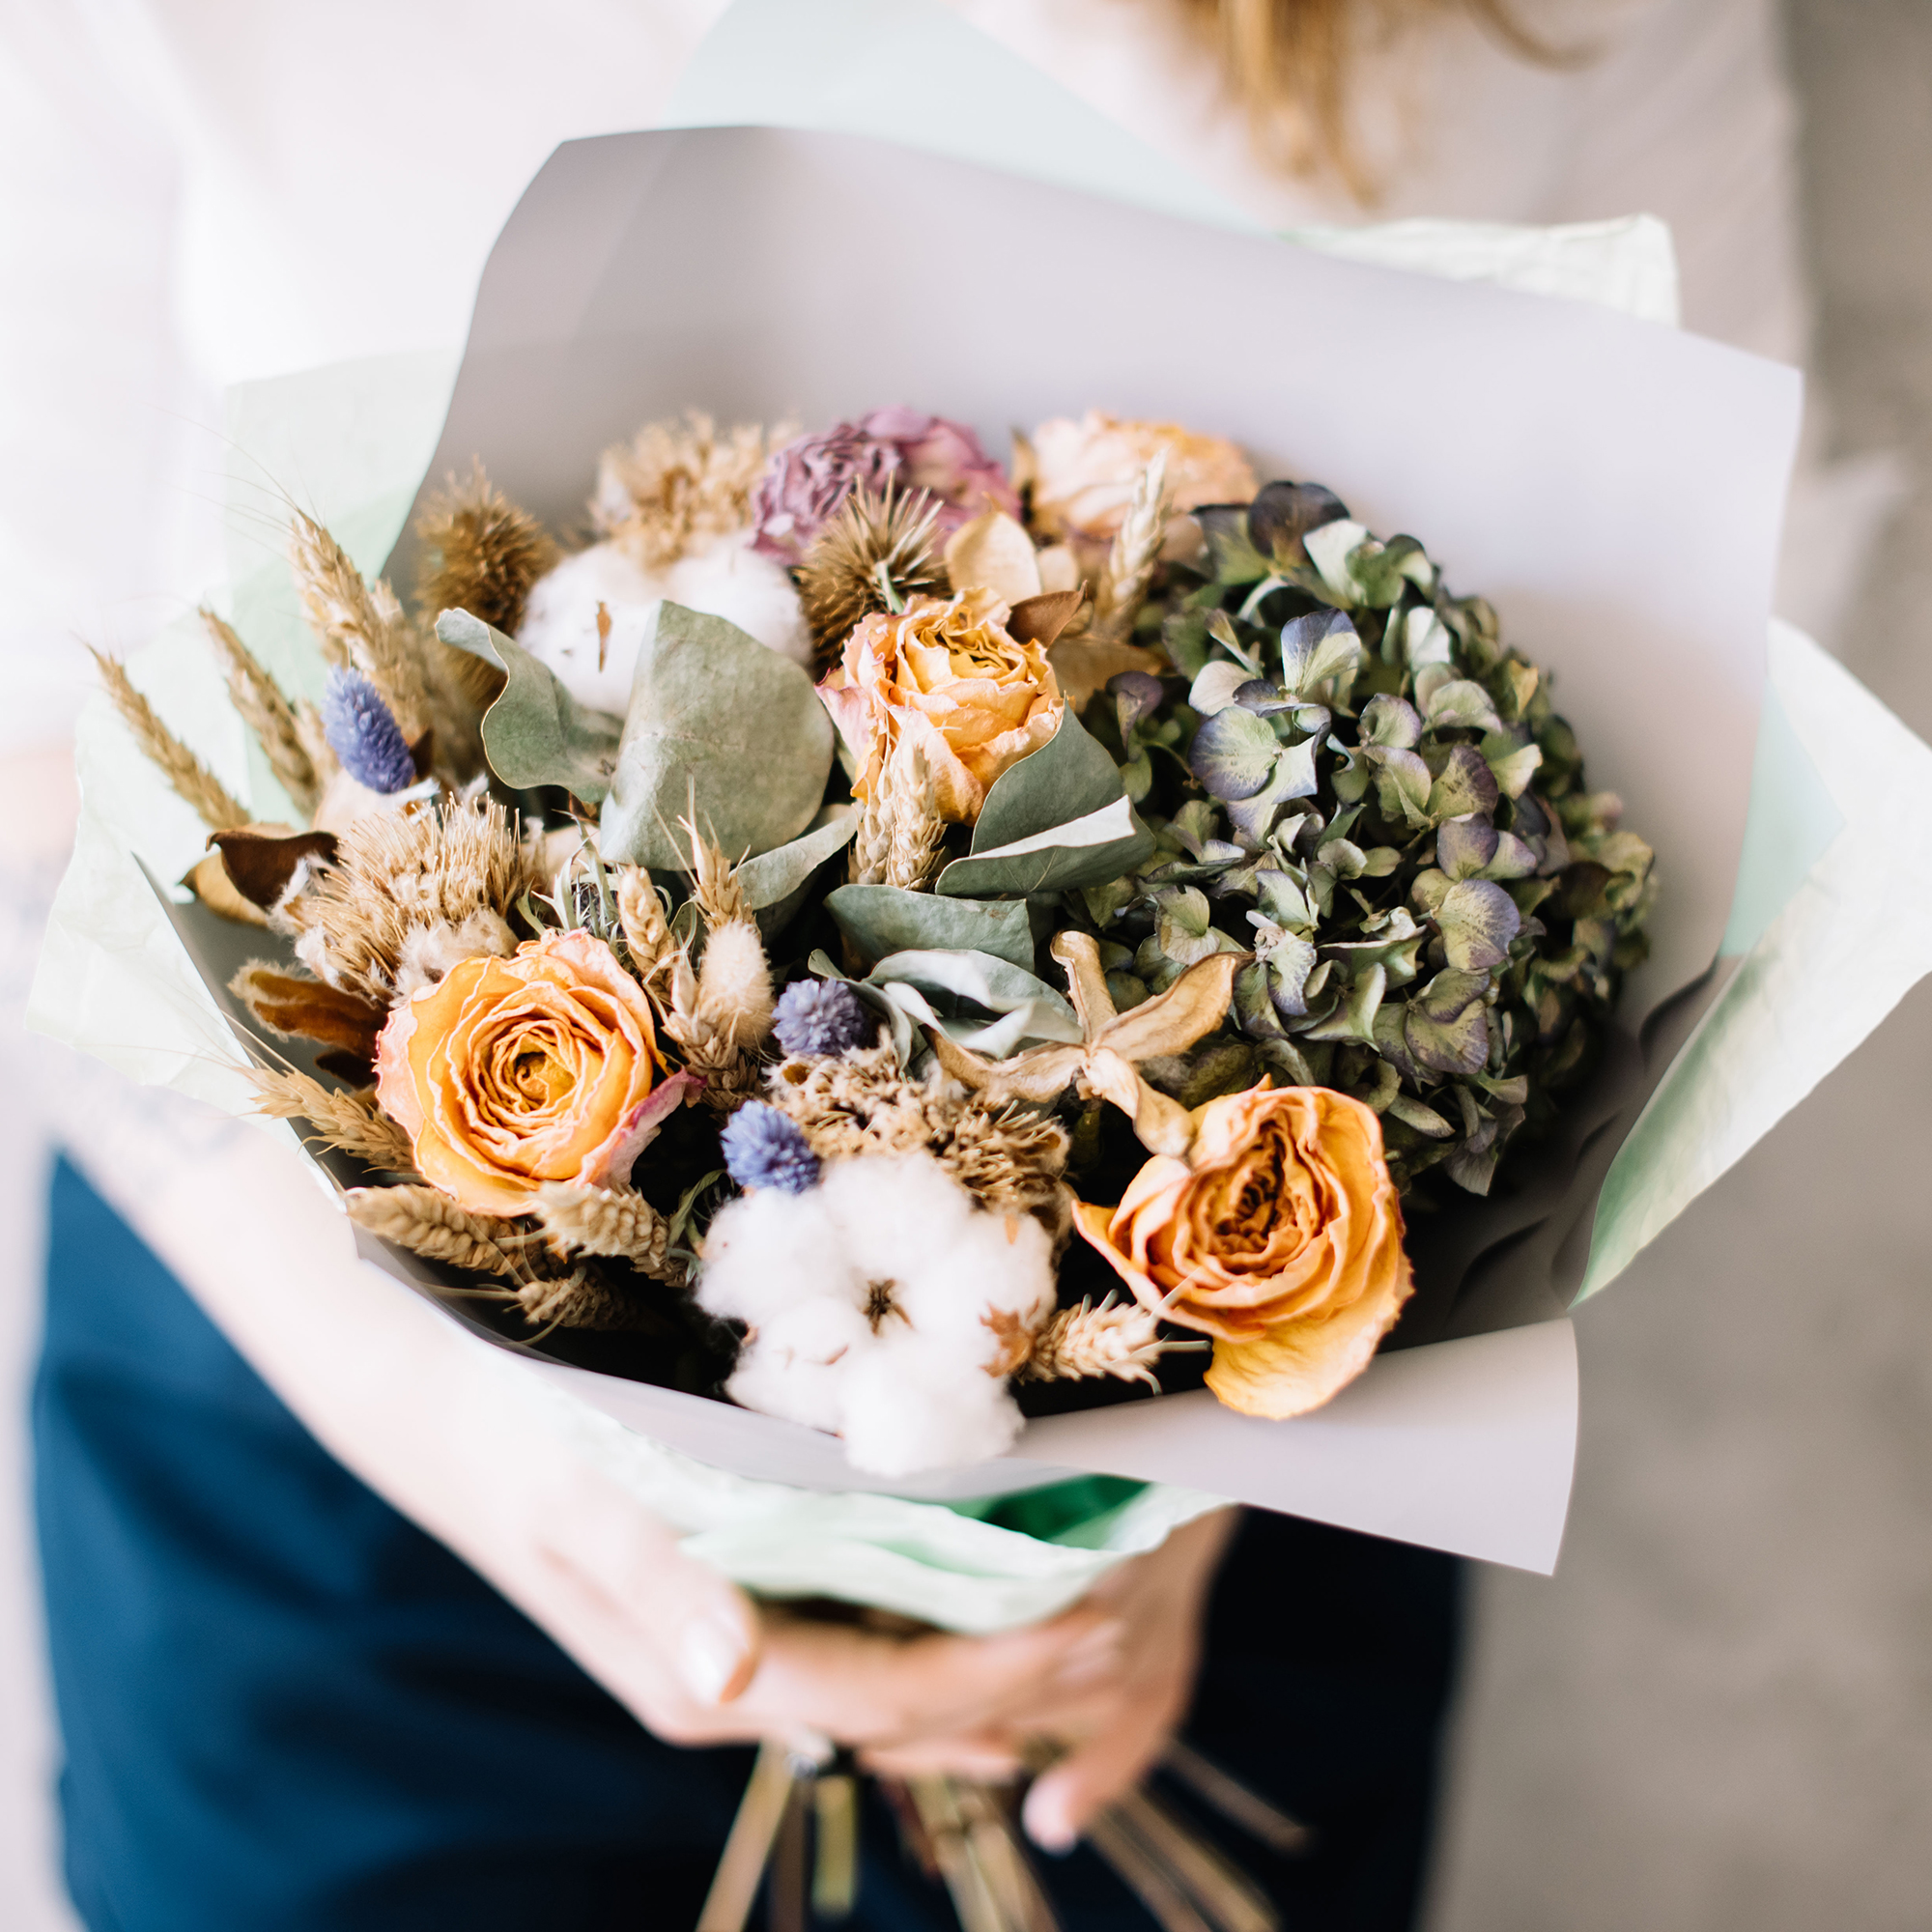
When your hydrangeas are dried, it’s down to you how to use them. You could keep them in the vase as a beautiful centrepiece, add them to a bouquet of dried flowers, or even use them as wedding decor.
'For those looking for table scaping or decor, hydrangeas are super useful as they are a great filler for large spaces,' says Lauren Goodman, Wedding and Floral Expert at Bluebird Creative.
'Placing these with other dried flowers next to wedding signage, bar tops and vases on tables adds a real focal point for guests to enjoy. Dried flowers also make a great keepsake or gift to give to family and friends after the wedding too!'
In fact, you can get as creative as you want with your flowers - and you don't have to worry about them dying on you anytime soon. Generally, dried flowers last anywhere between 1-4 years, depending on where you keep them.
If you want them to last longer, try and keep them out of direct sunlight.
FAQs
How do you dry hydrangeas and keep their colour?
The best way to dry colourful hydrangeas is to dry them in water. And while this may sound extremely counterintuitive, it’s one of the best ways to ensure that your hydrangeas don’t dry out too fast or turn brown.
It’s also important to cut hydrangeas at the right time if you want to dry them. You don’t want to cut them too early in the season, but you also don’t want to cut them too late in the season. Normally, August to October is the perfect time to dry hydrangeas that keep their vibrant colour.
How do you dry hydrangeas and keep them?
The easiest way to dry hydrangeas is to dry them in a vase of water. By doing this, you can let them dry naturally and in their own time without them dying in the process.
To do this, cut a hydrangea stem 12-18 inches from the flowerhead at an angle and pop it into a vase half-filled with water. If you keep the vase in a cool area away from direct sunlight, you should only have to wait around 3-4 weeks for the hydrangeas to dry completely.
Then, you can do whatever you’d like with them.

Lauren Bradbury has been the Content Editor for the House Manual section since January 2025 but worked with the team as a freelancer for a year and a half before that. She graduated with a Bachelor’s degree in English and Creative Writing from the University of Chichester in 2016. Then, she dipped her toe into the world of content writing, primarily focusing on home content. After years of agency work, she decided to take the plunge and become a full-time freelancer for online publications, including Real Homes and Ideal Home, before taking on this permanent role. Now, she spends her days searching for the best decluttering and cleaning hacks and creating handy how-to guides for homeowners and renters alike, as well as testing vacuums as part of her role as the Ideal Home Certified Expert in Training on Vacuums, having spent over 110 hours testing different vacuum models to date!