

Knowing how to felt a shed roof is essential if you want to create and achieve a waterproof shed.
When learning how to install a shed, felting a shed roof is one of the most important components – after all, a shed with a badly felted roof will not be waterproof.
Learning how to felt a shed roof is also a great way to save money on your garden ideas.
If the felt on your shed roof has become loose, then it might be possible to just reattach it. You can use nails to hammer the loose pieces back in or apply Roof Pro roofing felt adhesive.
'Check for cracks and damage. Replace the old or broken felt to prevent leaks and ensure the interior of your shed and the items you have stored remain dry and safe all winter,' says Jenny Davis, head of marketing for Forest Garden.
You will need
- Roofing felt – like Roof Pro shed felt from B&Q
- Clout nails – ensure they are the right depth for the felt chosen
- Claw hammer – like this Stanley one from Amazon
- Metal tape measure or metal metre stick – like this one from Amazon
- Retractable DIY knife – like this Stanley knife from B&Q
1. Remove the existing felt

The first step in how to felt a shed roof is to remove the existing felt – if present. This should be fairly straightforward – just a case of removing the nails. However, some felts may have been fixed with adhesive, which may require more force to remove.
Once you've removed the felt, you can assess the condition of the shed roof – identify any rotten timbers and replacing if needed.
You do not need planning permission for a shed or for refelting a roof.
2. Choose your new felt

There are lots of options for shed felts.
There are also different methods of adhesion including heat and gluing. Heat applied roofing felt can be done on a DIY basis though it requires more safety considerations and the possibility of having to purchase expensive tools. Glueing roofing felt has mixed success rates depending on the adhesive and felt combinations used as well as the amount of adhesive used and the weather while it is drying.
Nails have been a tried and tested method for adhering roofing felting a shed roof – it is cost-effective, efficient and easy to DIY.
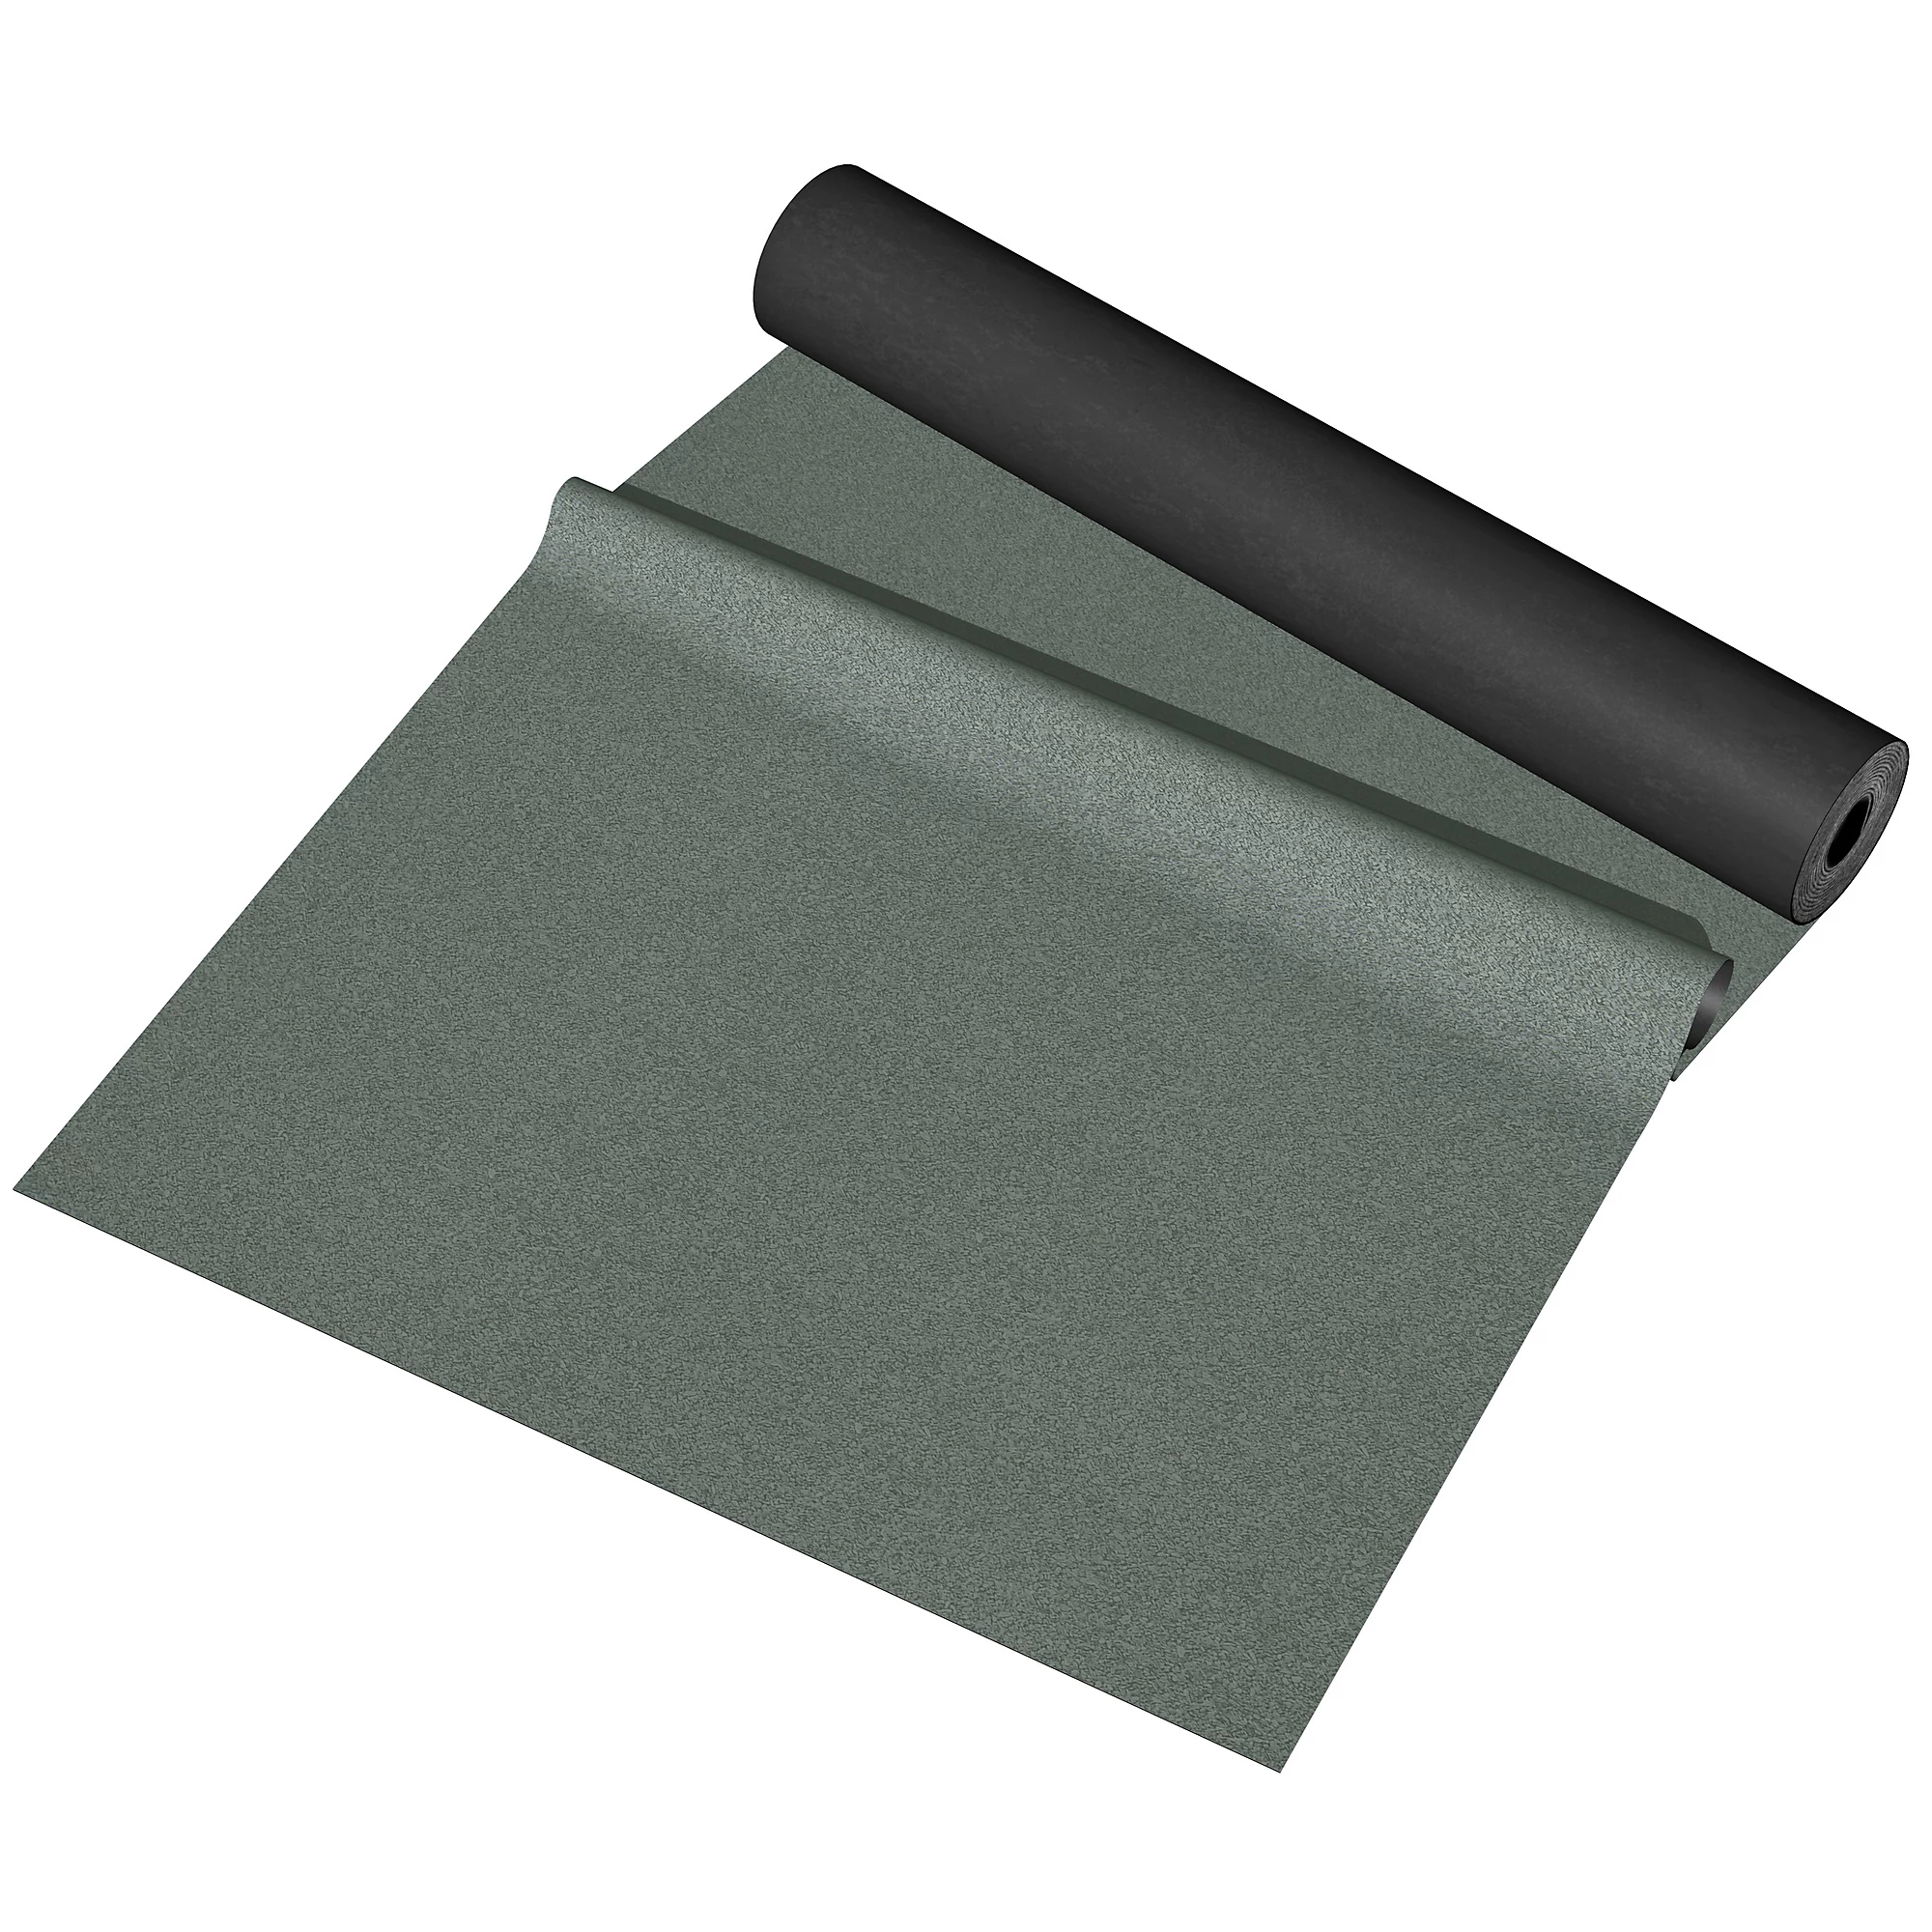
Measuring 10 metres long and 1 metre wide, this Roof Pro green felt comes with a five-year guarantee.
3. Cut the shed felt to size

Start by rolling out the sheld felt. 'Avoid allowing it to fold as this will weaken it,' says Jenny Davis, head of marketing for Forest Garden. 'The roll of shed felt will normally have to be cut into lengths that fit the length of the shed roof and allow for a 50mm overhang at each end and edge.' The easiest way to cut the felt is with a Stanley knife and metre ruler.
Once you've cut the sheets, Jenny recommends starting with the lowest points of the roof first. 'Then working up, with each subsequent sheet overlapping the one below it to ensure water run-off.'5tt
4. Secure the shed felt in place

The easiest way to secure is using clout nails also known as felt tacks. 'Clout nails are self-sealing so when you hit the nail down it creates its own seal in the felt. They also come with a large head to minimise the chance of water leaking through,' says experts from Powersheds.
'Felt tacks should not be tacked into single layers of felt on sections of the roof that are sky-facing. This will risk rainwater getting under the head of the tack and running down the shank into the roof board,' adds Jenny Davis, head of marketing for Forest Garden.
'You would need to overlap the felt by around 4 inches to avoid water running back up the felt (capillary action) which can cause the roof to leak,' says experts from Powersheds.

Made from carbon steel, this pack of 280 nails ensures you won't end up scrimping on the nails and compromising the shed's waterproofing.
5. Secure the sides

'Felt tacks should be into the side of the battens at the bottom edge of the roof board (the eaves). The felt that is folded over the front and back apexes of the shed can be secure in place with the barge boards,' says Jenny Davis, Head of Marketing for Forest Garden.
'The felt tacks that secure the felt on the weather-facing top of the shed will be tacked through the top overlapping layer of felt, through the underlying layer of felt and into the roof boards. This method of tacking through two sheets of felt prevents the problem of water ingress.'
FAQs
Do you nail or glue shed felt?
Nails are a tried and tested methods to felting a shed and easier than gluing – which can be messy. However, gluing can have some benefits, especially when used in conjunction with nails.
Should roof felt be tight?
Yes, roof felt should be tight. It is important to ensure that the roof felt is tight. Any loose areas or gaps can cause water ingress which in turn leads to damp and decay.
-
 George Home's designer look £40 garden lounge chair sold out twice last year - it's back in stock, but not for long
Don't miss it this time around
-
 3 colours to avoid when painting window frames – experts say they might draw the eye, but not in a good way
These are the colours to avoid if you want to transform your window frames from drab to dazzling
-
 What do you do with stuff in your loft if you want to convert it? I’ve got 5 expert-approved solutions for you to try
If you use your loft for storage, what on earth do you do with all the stuff if you want to turn it into living space?

-
George Home's designer look £40 garden lounge chair sold out twice last year - it's back in stock, but not for long
Don't miss it this time around
-
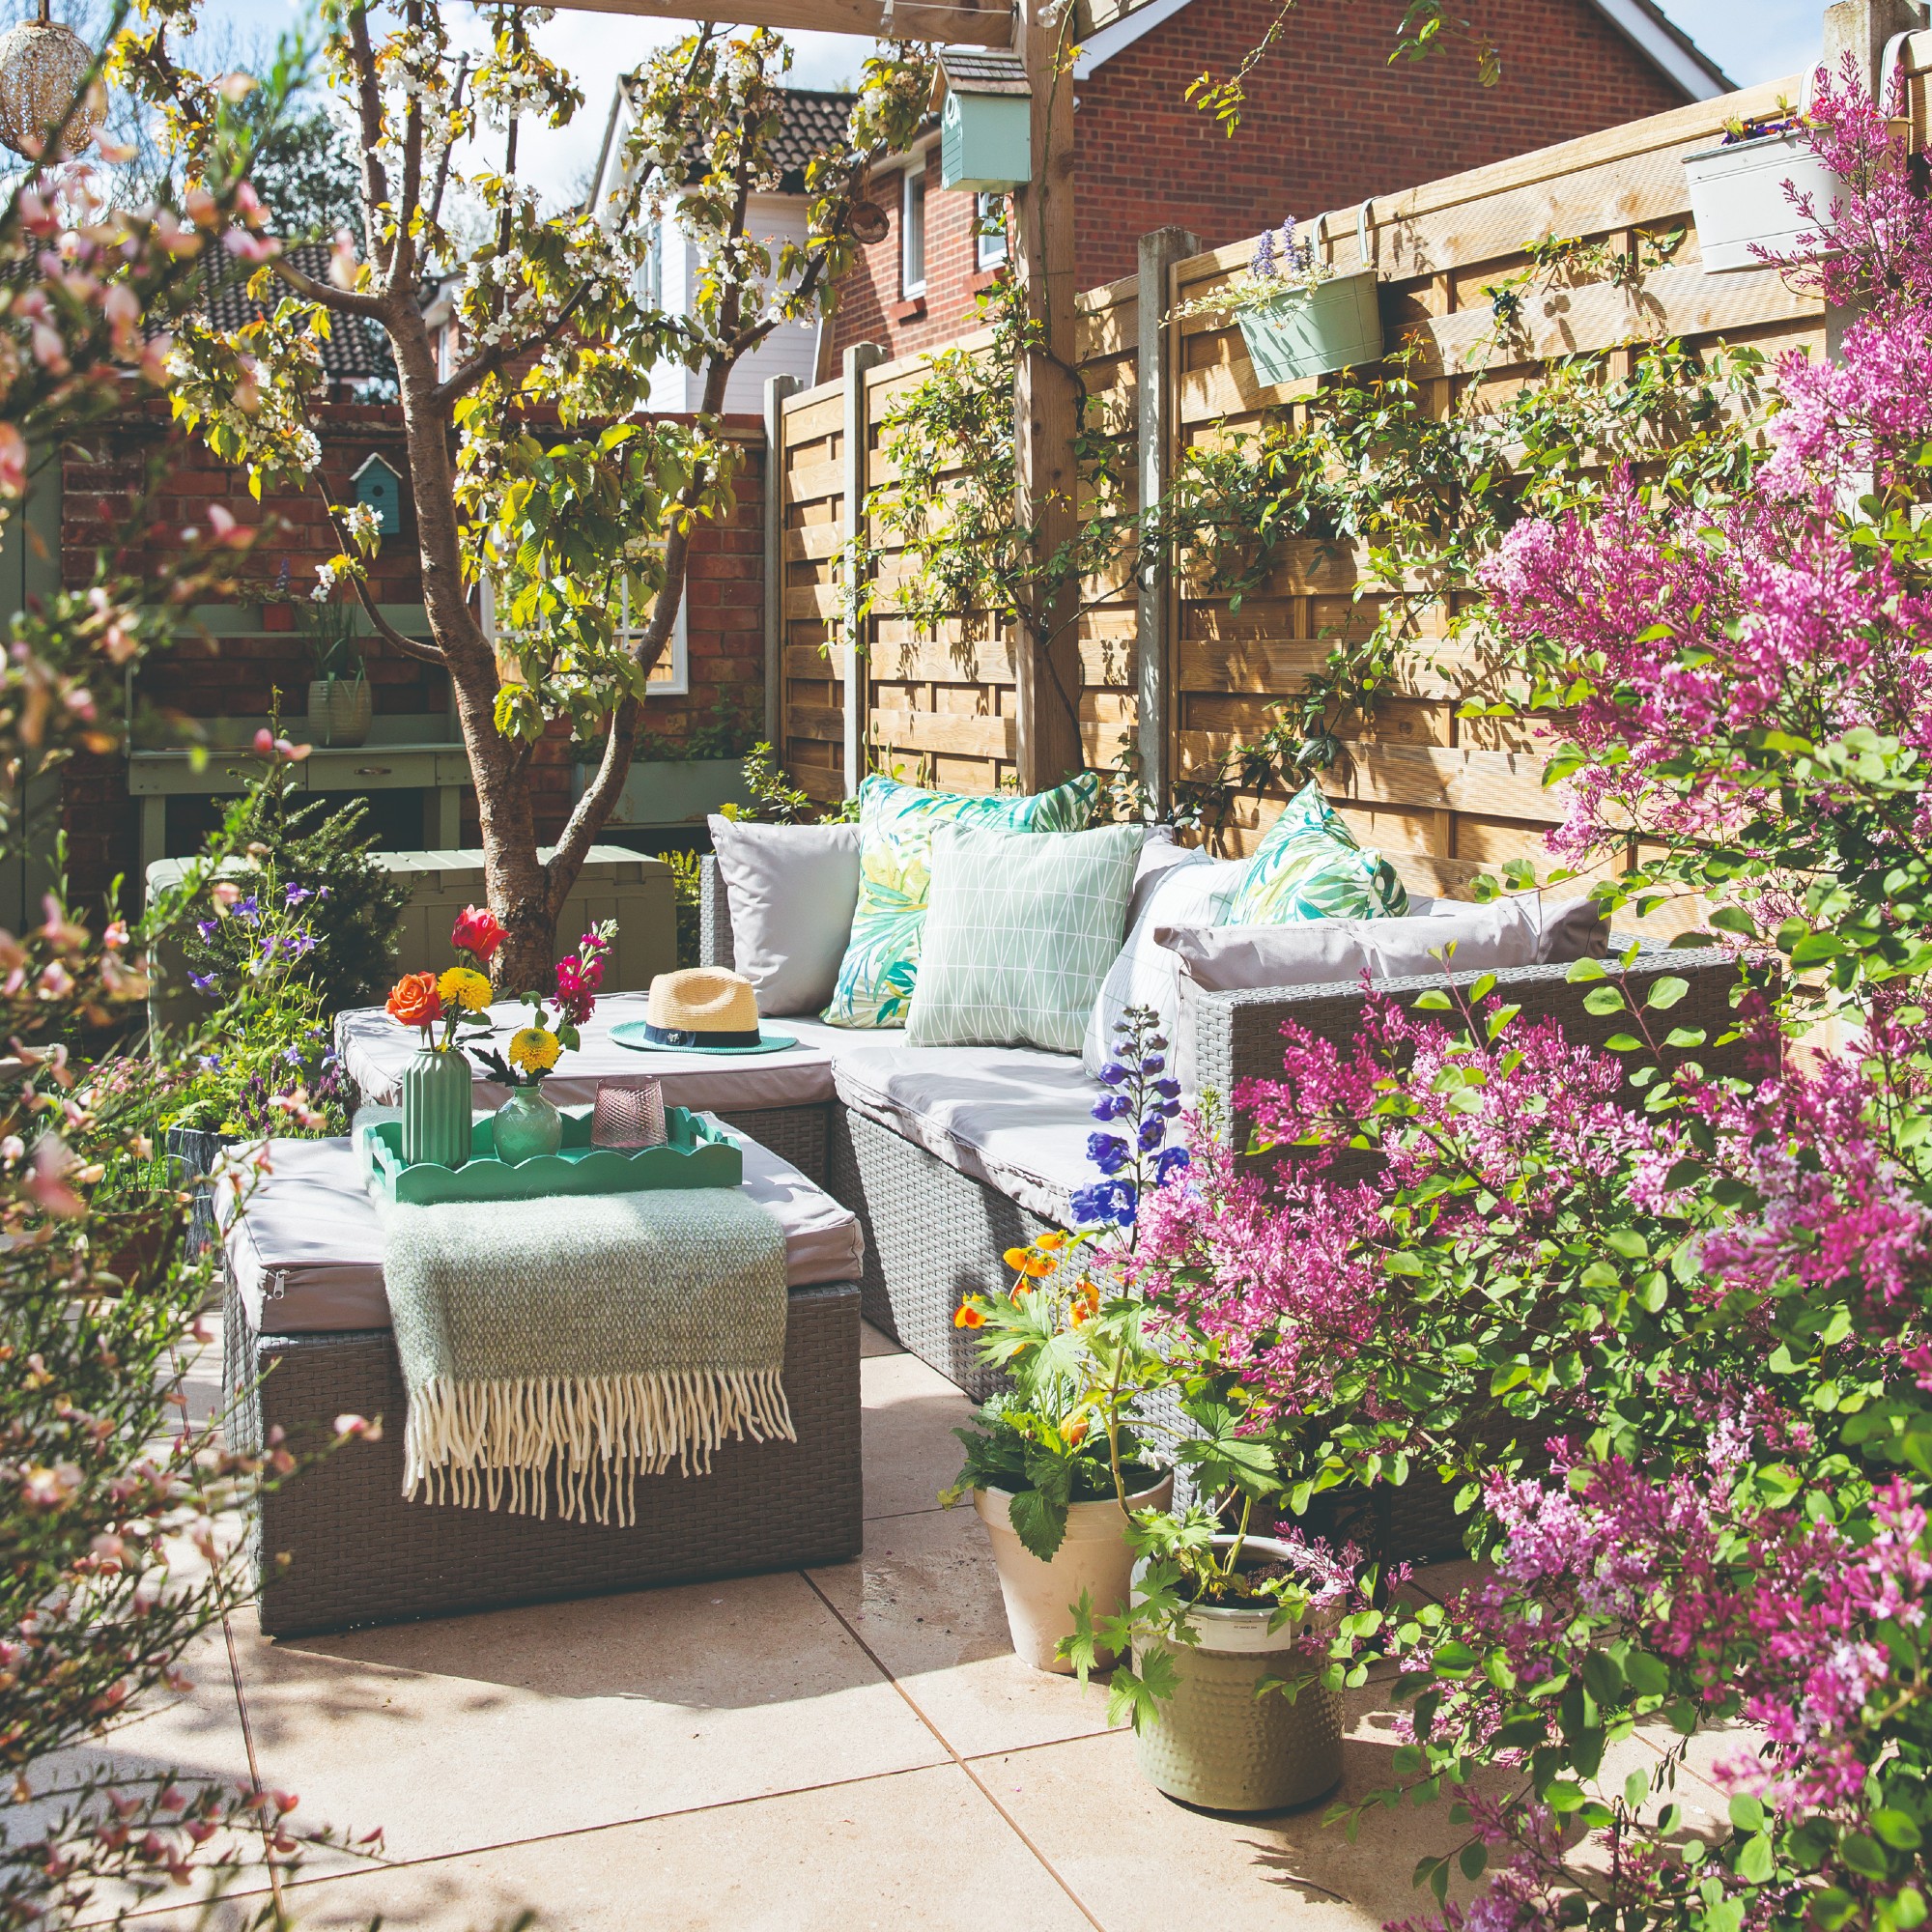 Do you have grey garden furniture? Experts advise against pairing it with this one colour of outdoor cushions
This is why you shouldn’t pair grey outdoor cushions with grey garden furniture – and what shades to go for instead
-
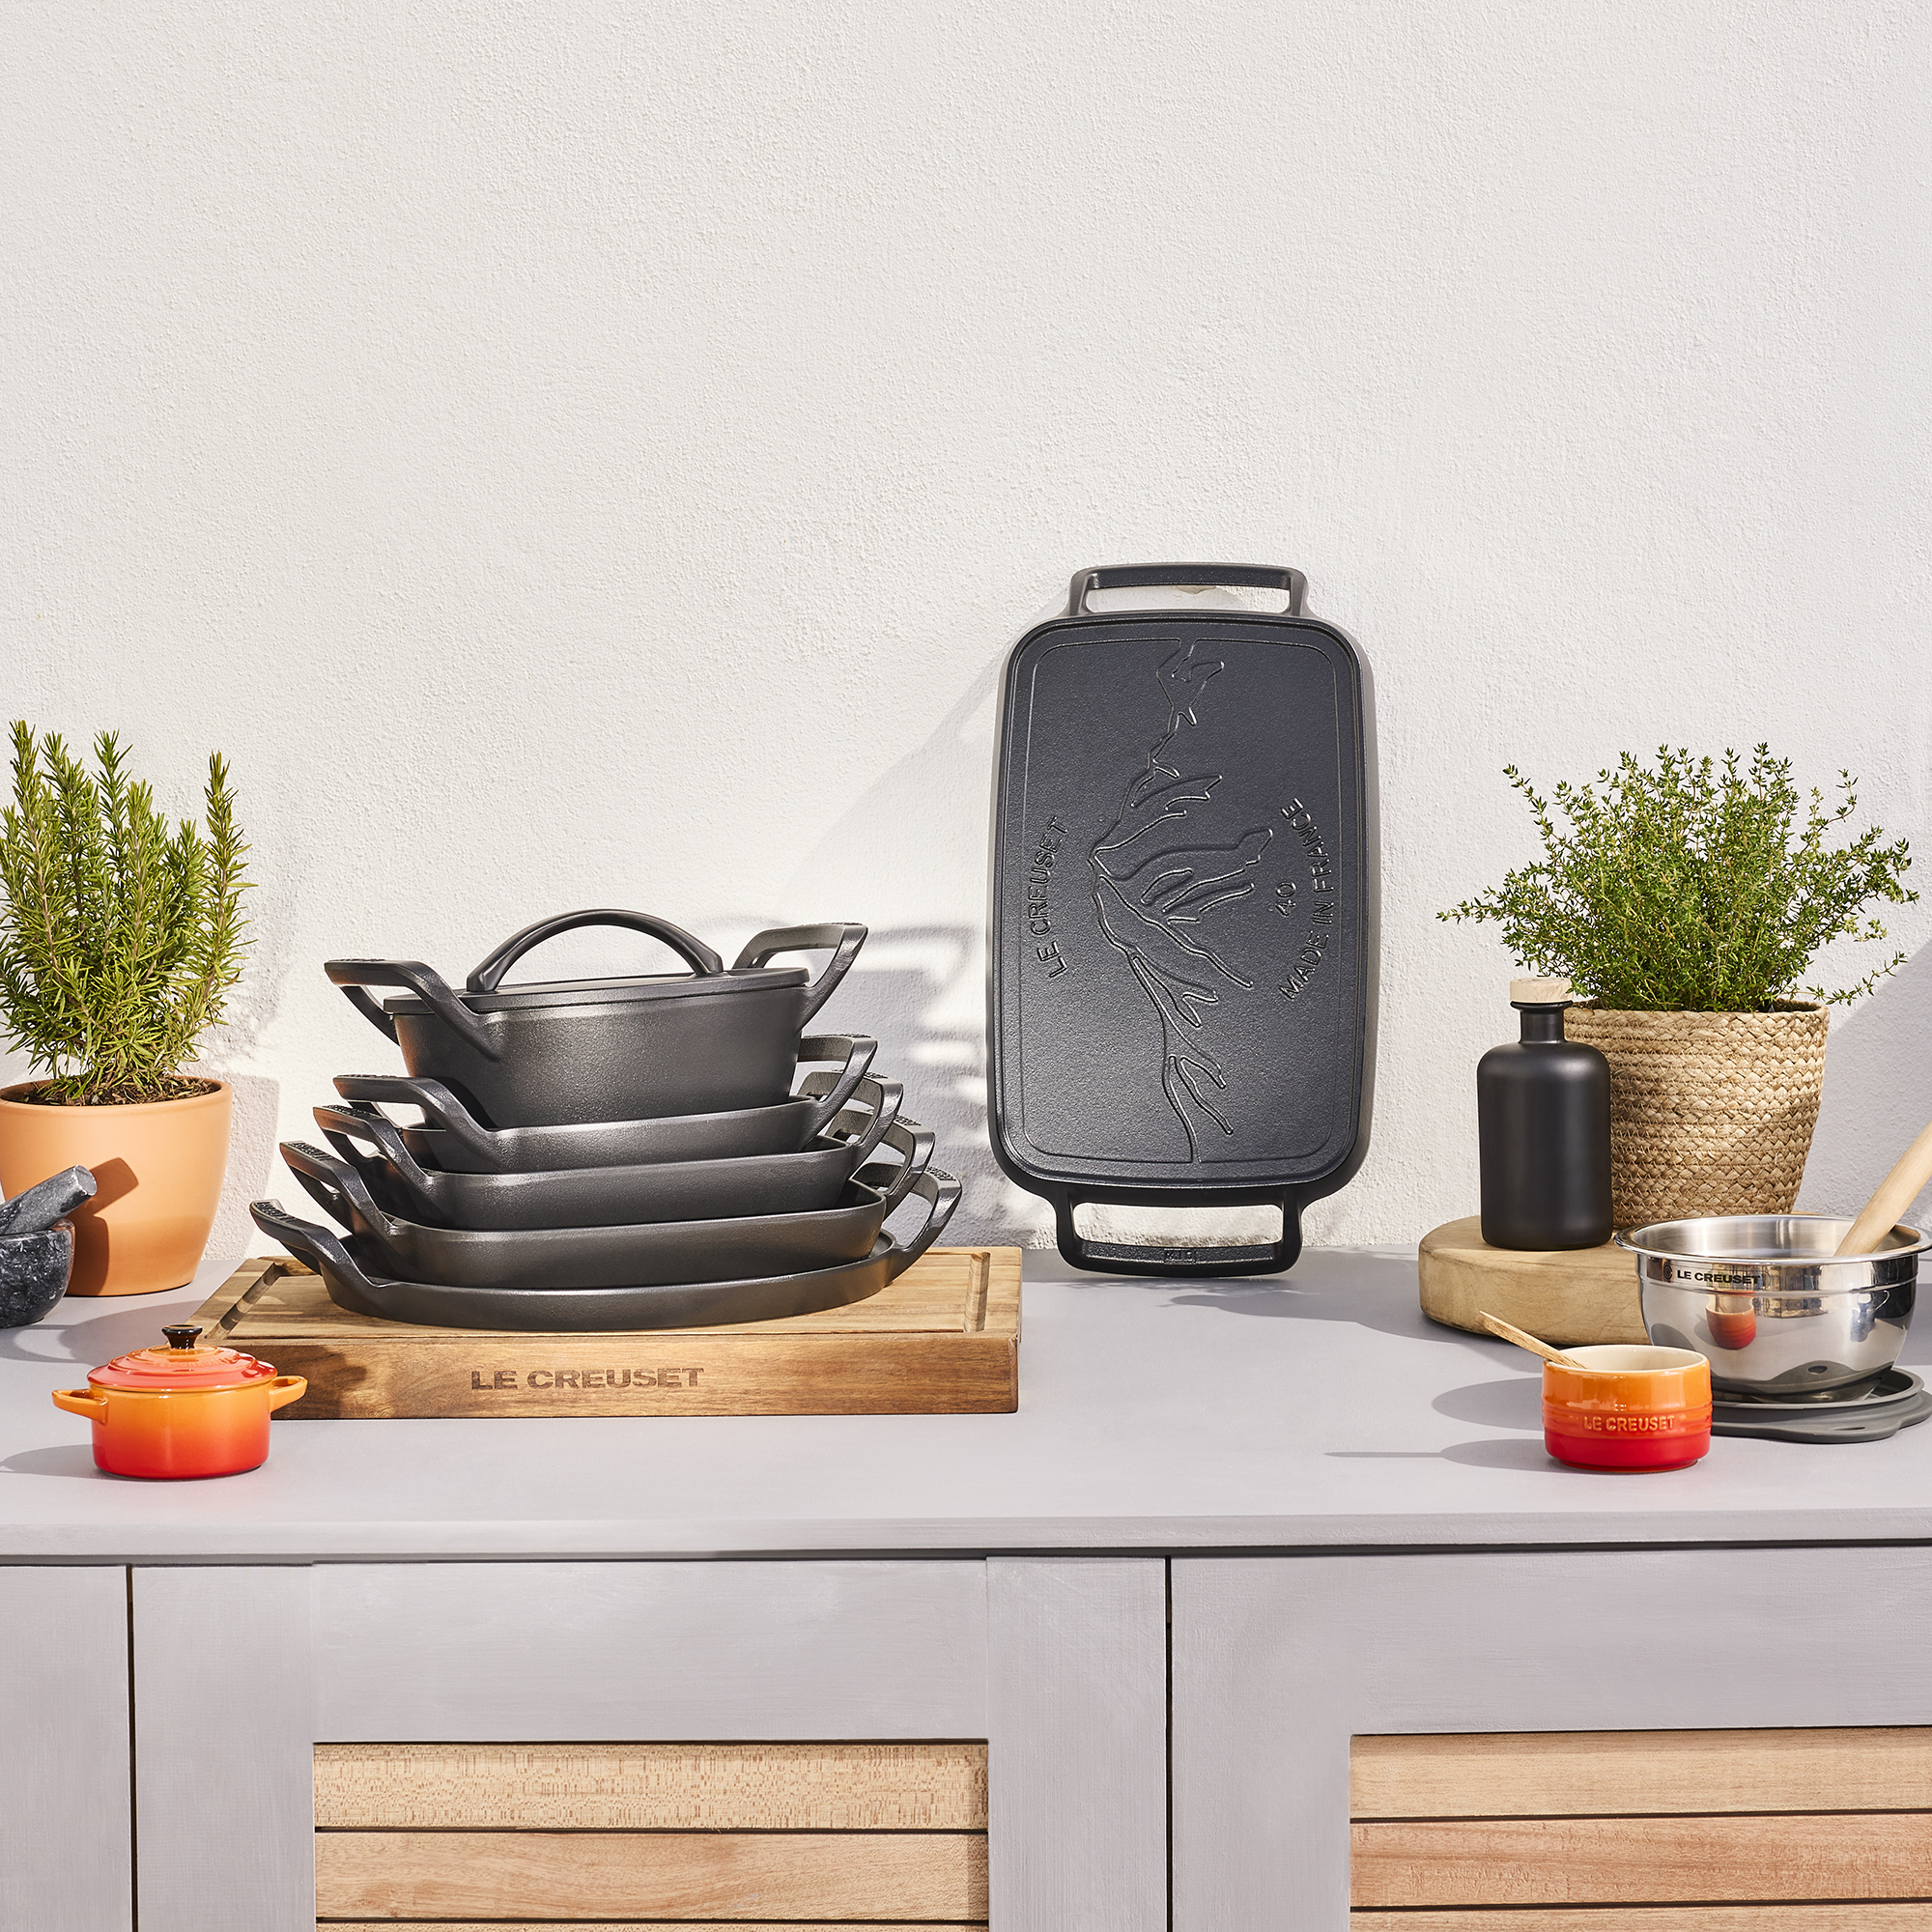 Le Creuset just added some seriously clever BBQ cookware to its cast iron range – I'm already eyeing up the pizza pan
I'm already eyeing up the pizza pan
-
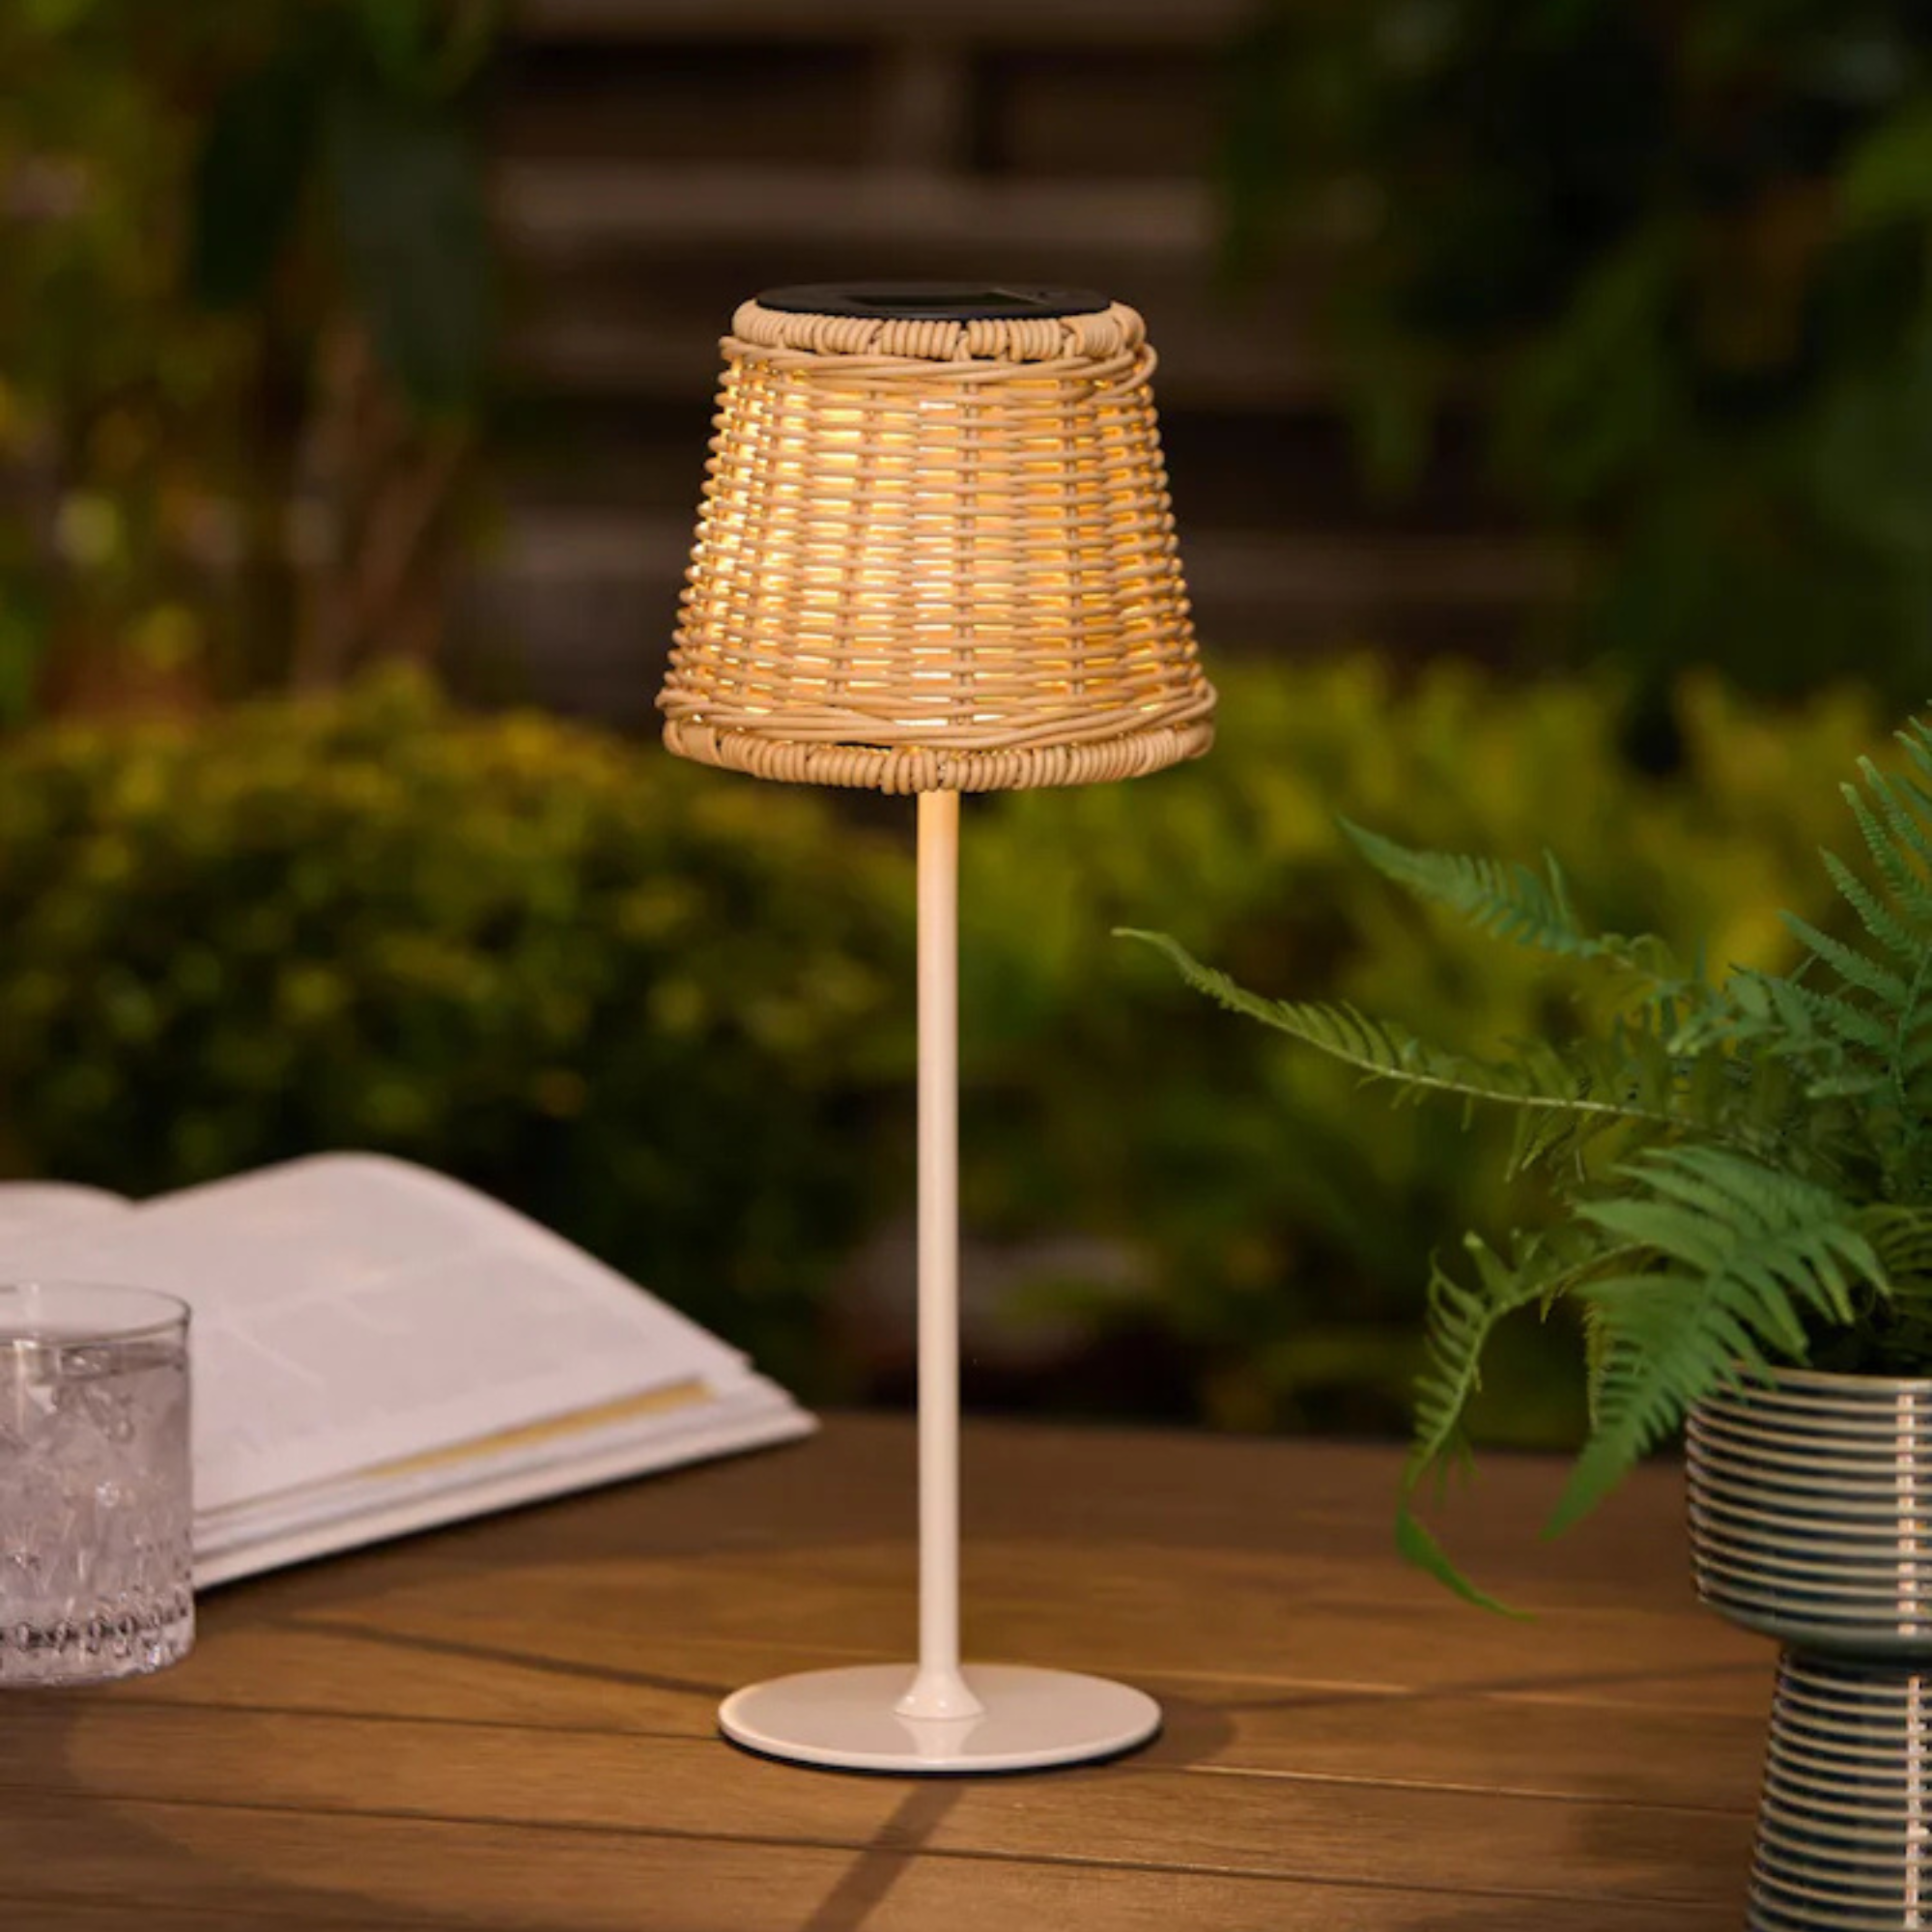
 Habitat's solar ball light nails this year’s breakout outdoor lighting trend - this is how to style it at home
This stunning lamp is easy to style
-
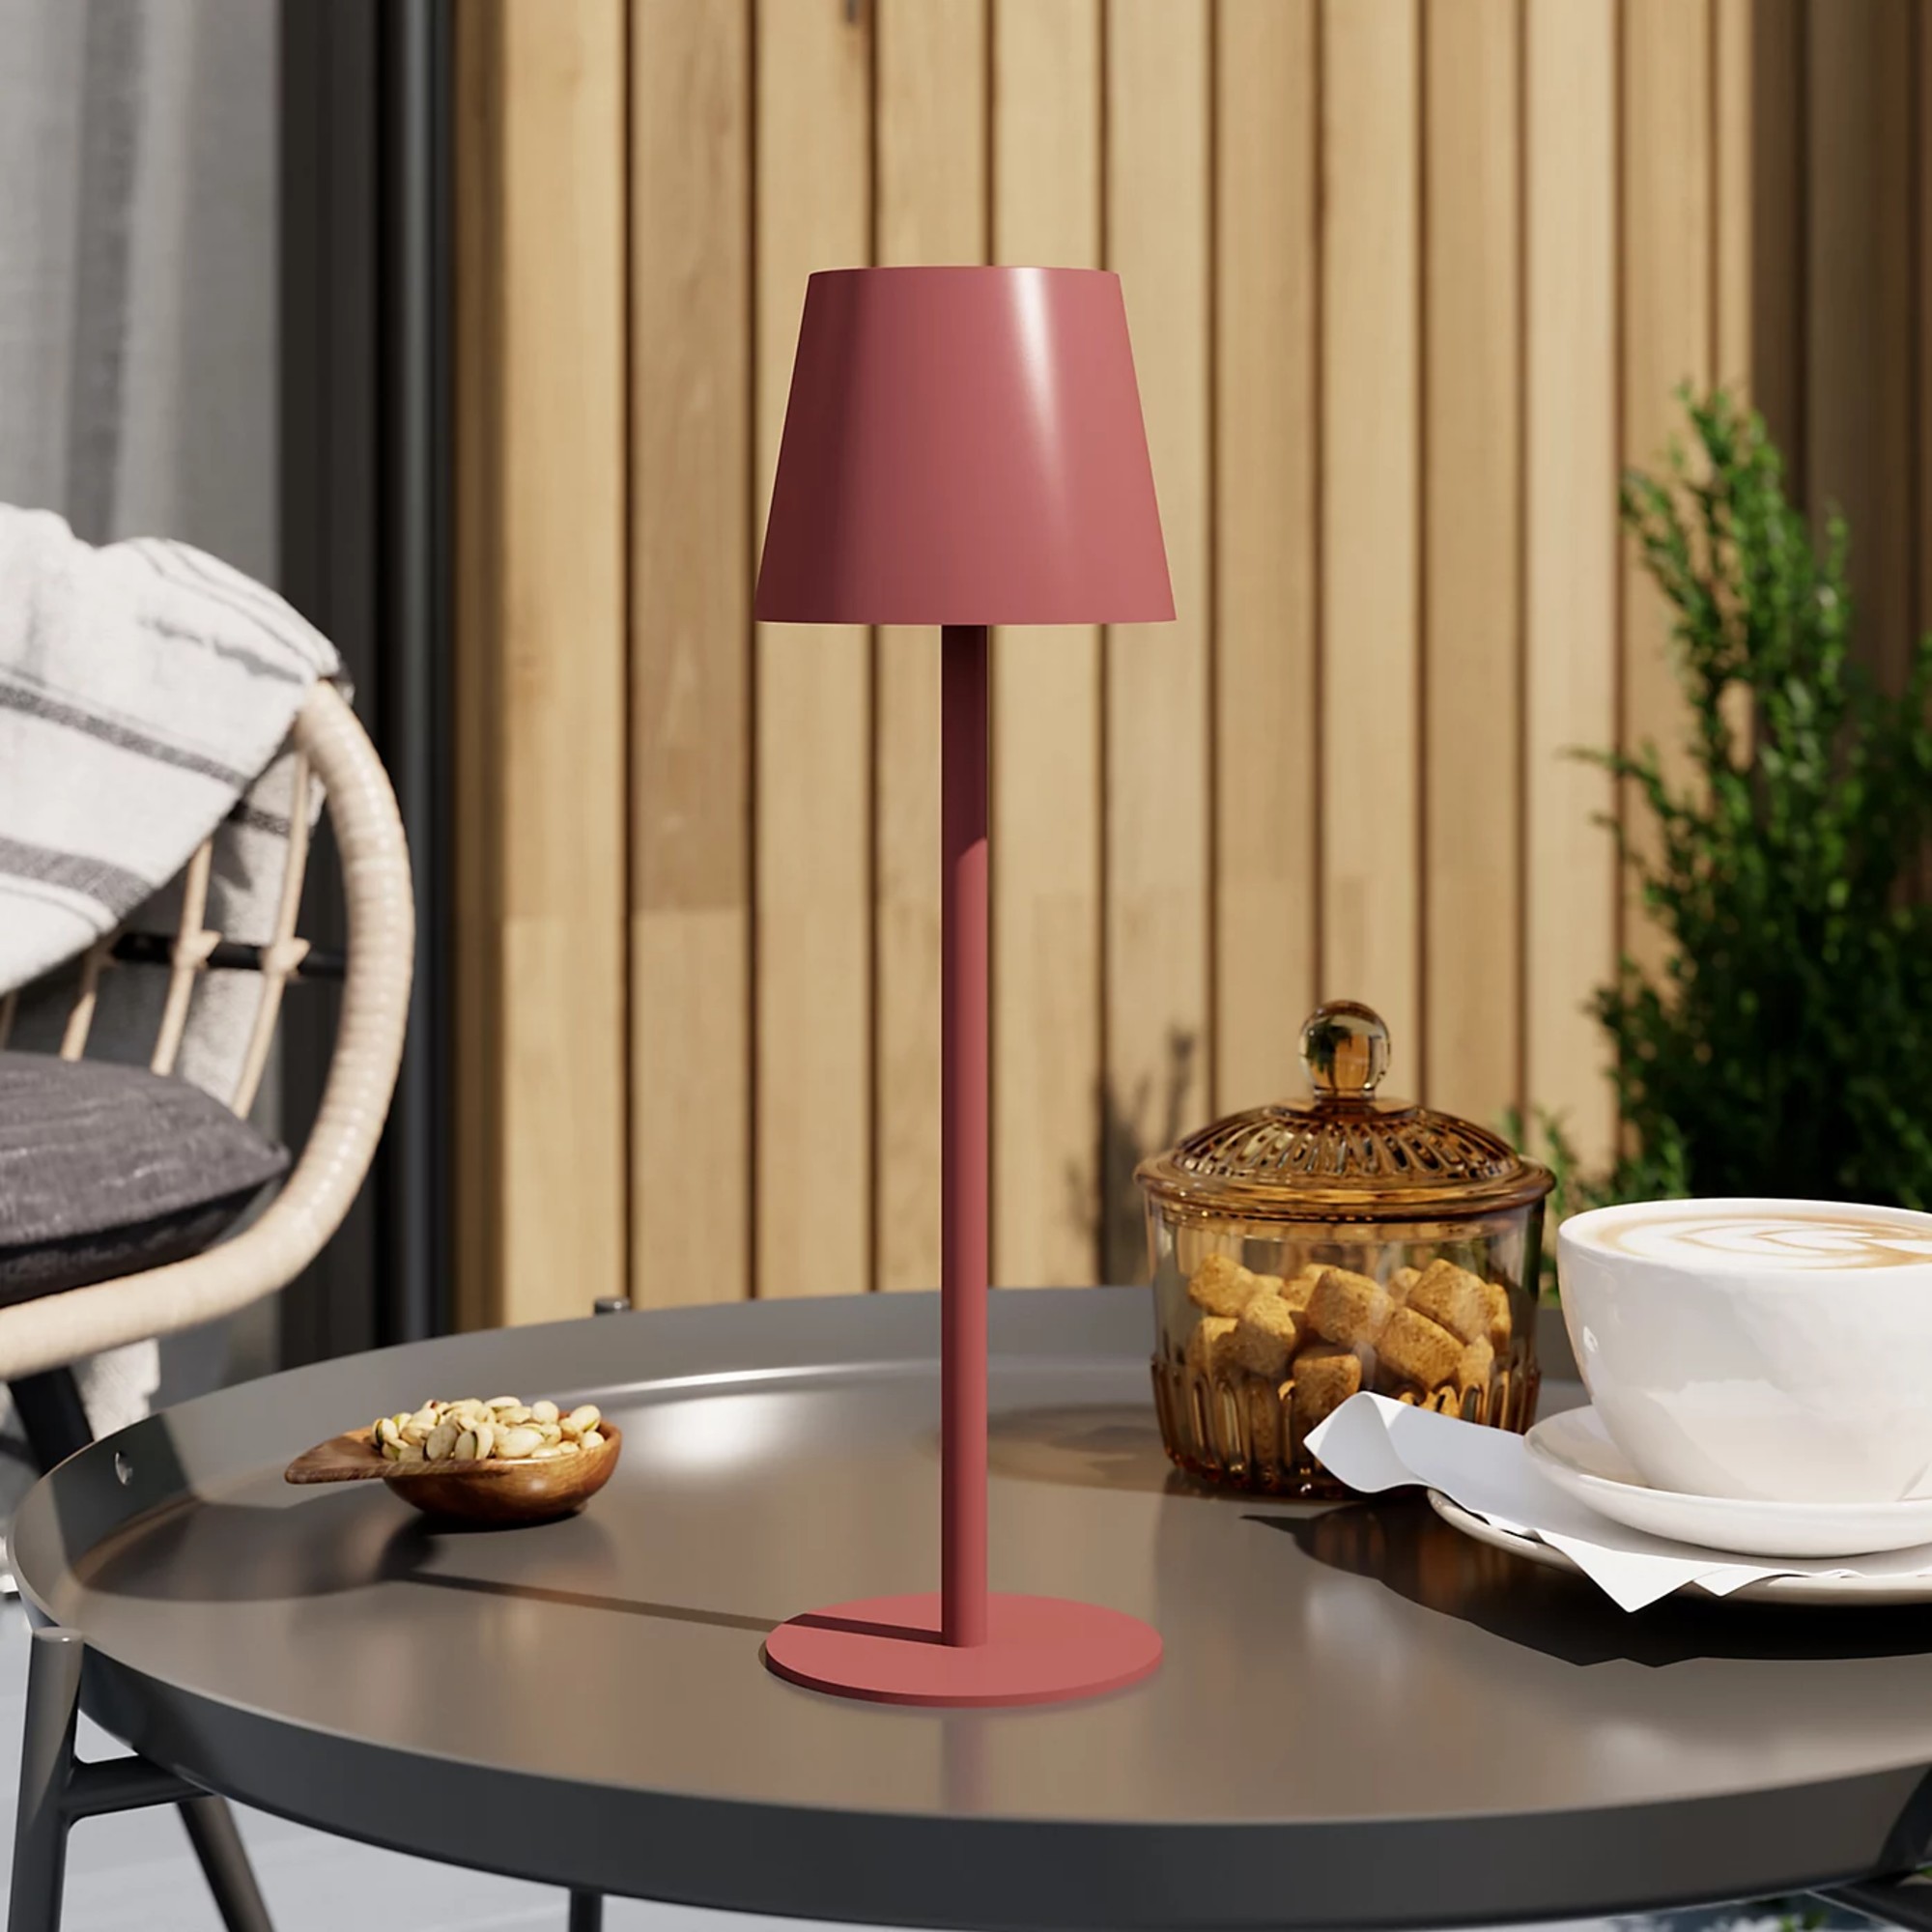 B&Q’s new wireless lamp is the perfect lookalike for Pooky’s popular Scoon lamp – and it’s only £15!
If you like Pooky’s Scoon wireless lamp, you’ll love B&Q’s new lookalike selling for a fifth of the original price
-
 Tom Kerridge says this BBQ staple is ‘a really good little investment’ – and I’ve tracked one down for less than £2
This bargain buy will make all the difference to your barbecuing skills
-
 Next just launched the best-looking outdoor table lamp of the summer - the iconic Pooky scoon lamp has competition
I couldn't believe the table lamp was only £25!
-
 Is Debenhams the new Lidl? I just spotted 3 egg chairs in the sale that are the same price (and cheaper) than Lidl's new hanging chair
I couldn't believe the prices of these stylish chairs...


