How to grow celery from scraps – enjoy a free crop from your leftovers
Follow this simple guide to growing celery from scraps for a budget home harvest of this salad staple
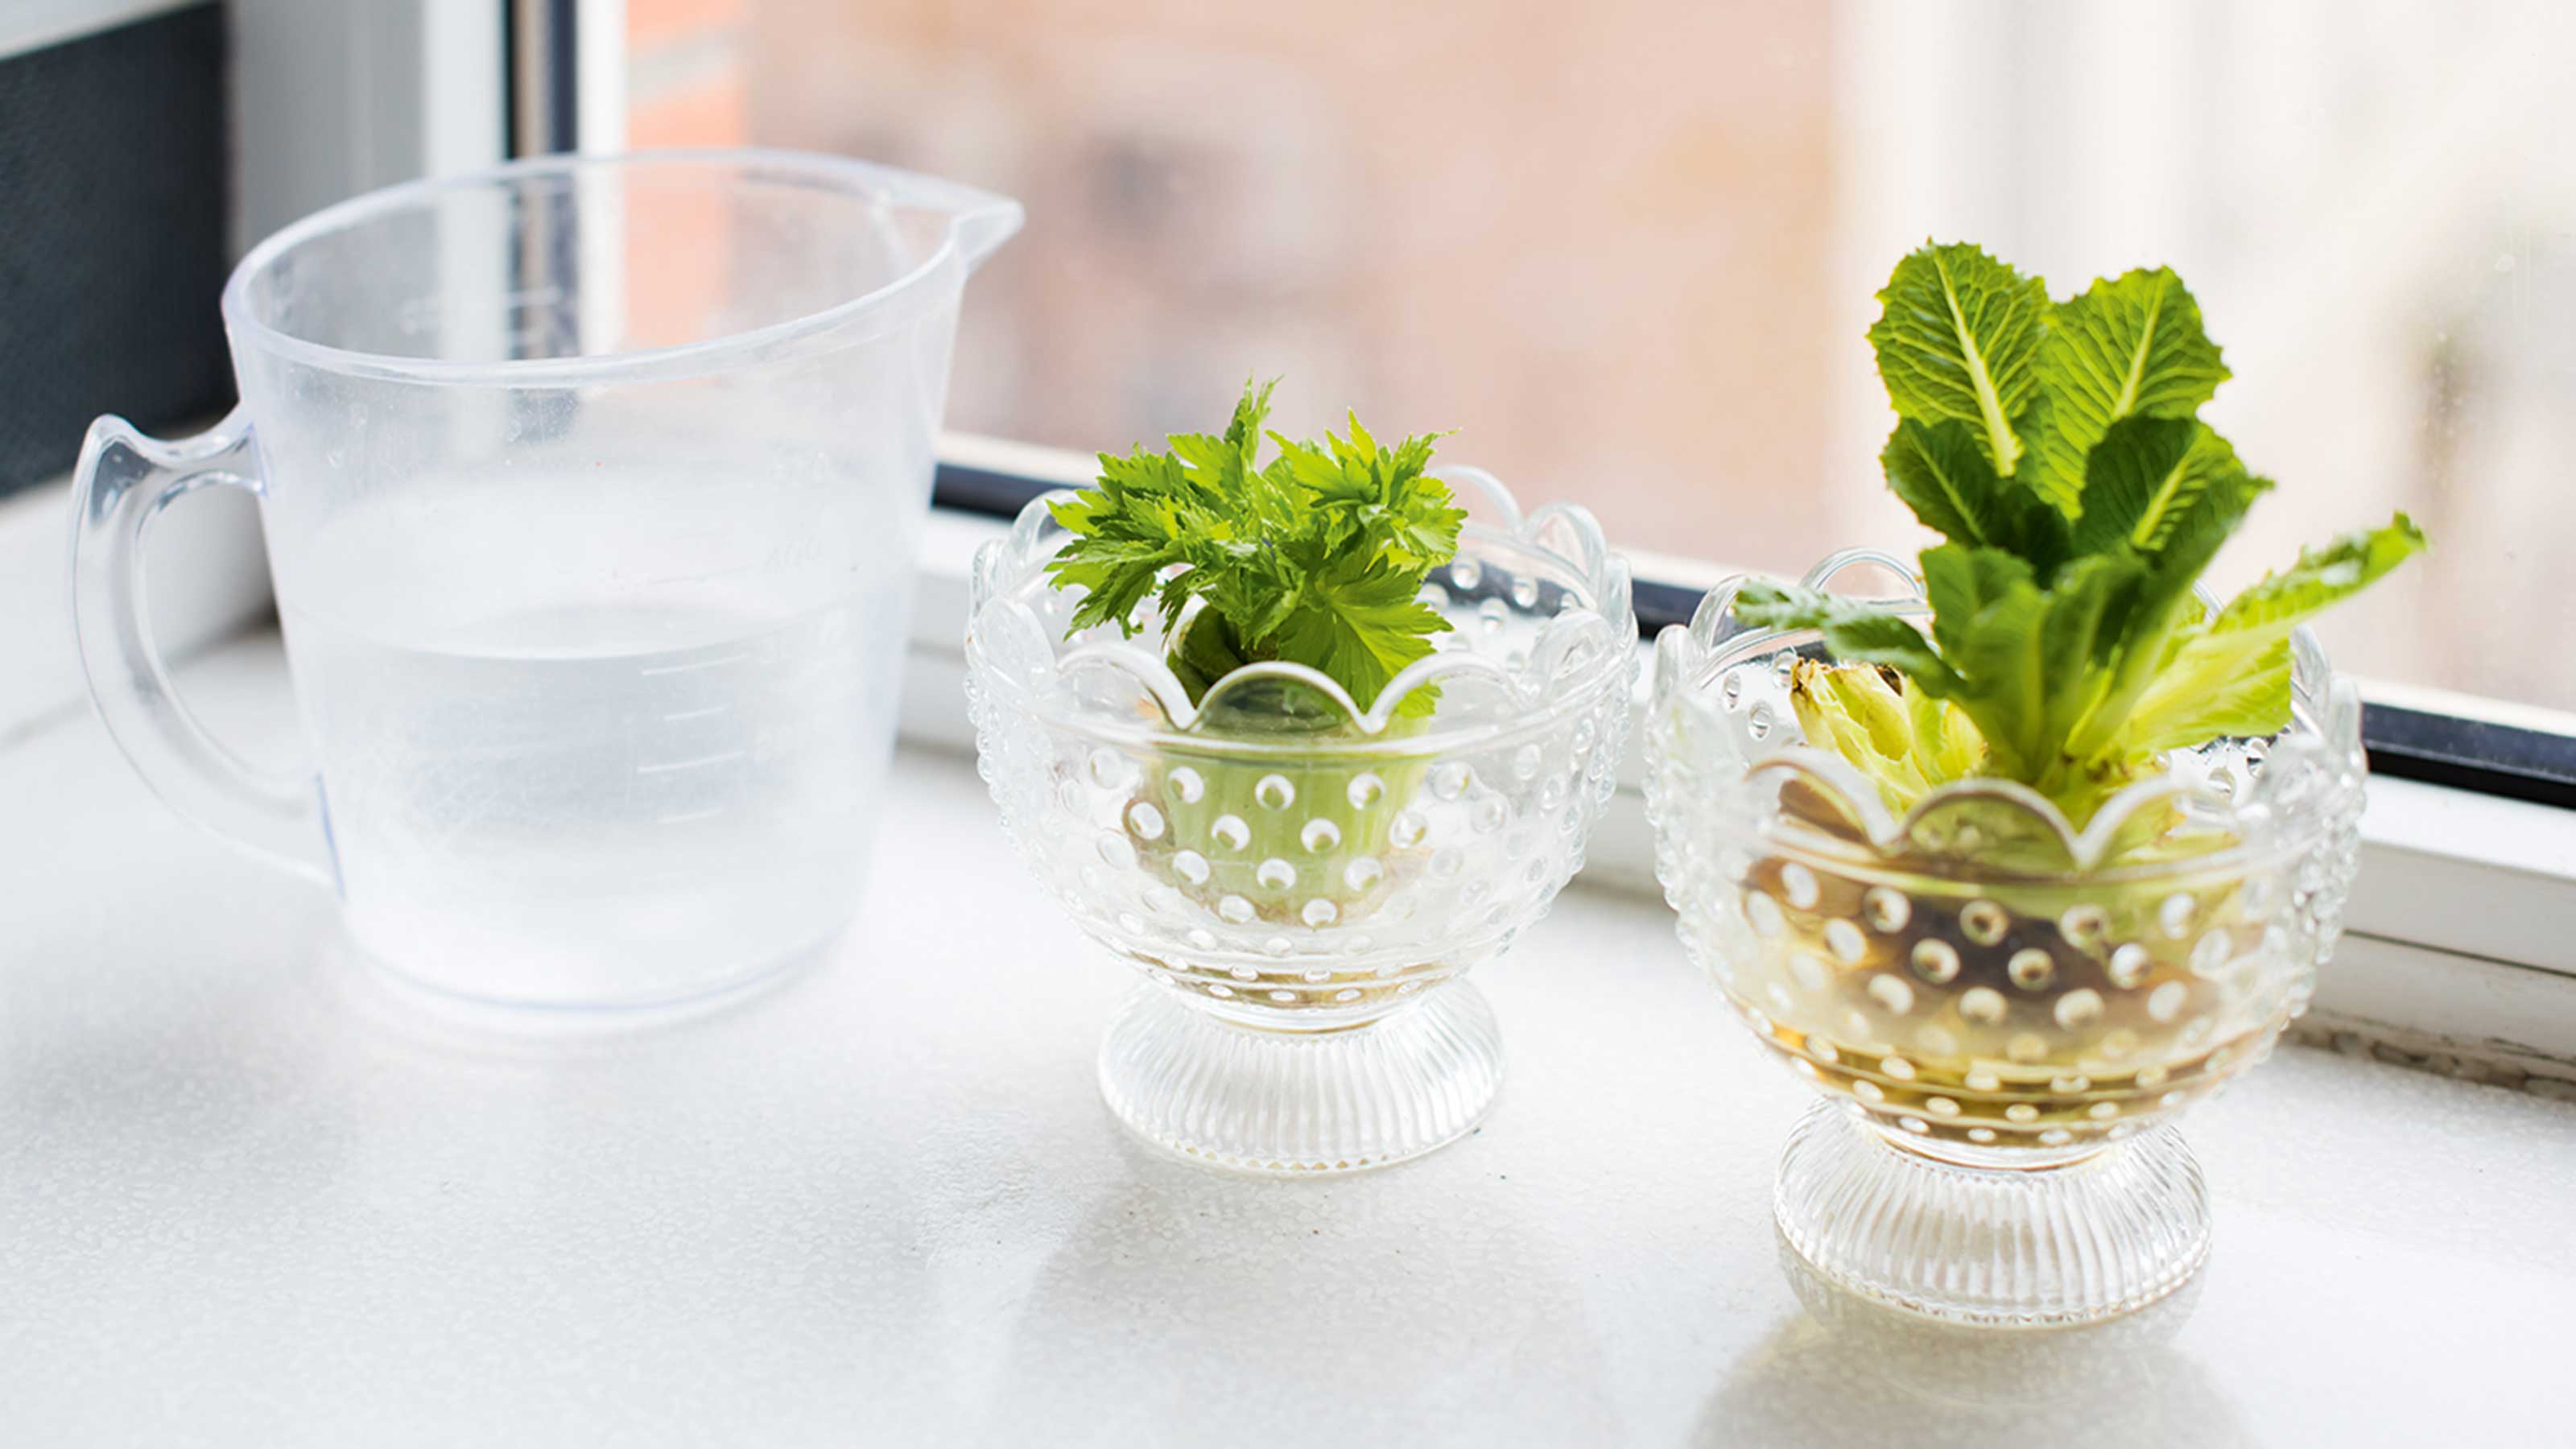

Celery can be a tricky salad vegetable to grow from seed, but once you know how to grow celery from scraps you can enjoy a bountiful homegrown harvest – for free.
Rather than throw away that leftover bulbous end of the bunch of celery stalks, hang on to it and follow the simple steps below for a budget crop.
Celery is a versatile addition to the veg tray – whether for adding a crunchy element to salads, for dipping in cream cheese or humous or adding a piquant note to casseroles, soups and stews. Growing it from scraps will save you money on the weekly supermarket shop, so it makes perfect sense to add this recycled crop to the list of edibles you plan to grow as part of your garden ideas.
Even if you're new when it comes to how to grow your own vegetables, don't be put off as this method requires no prior vegetable-growing experience. It really is that easy, and is a great project to do with children – it might even convince them to eat some celery!
How to grow celery from scraps
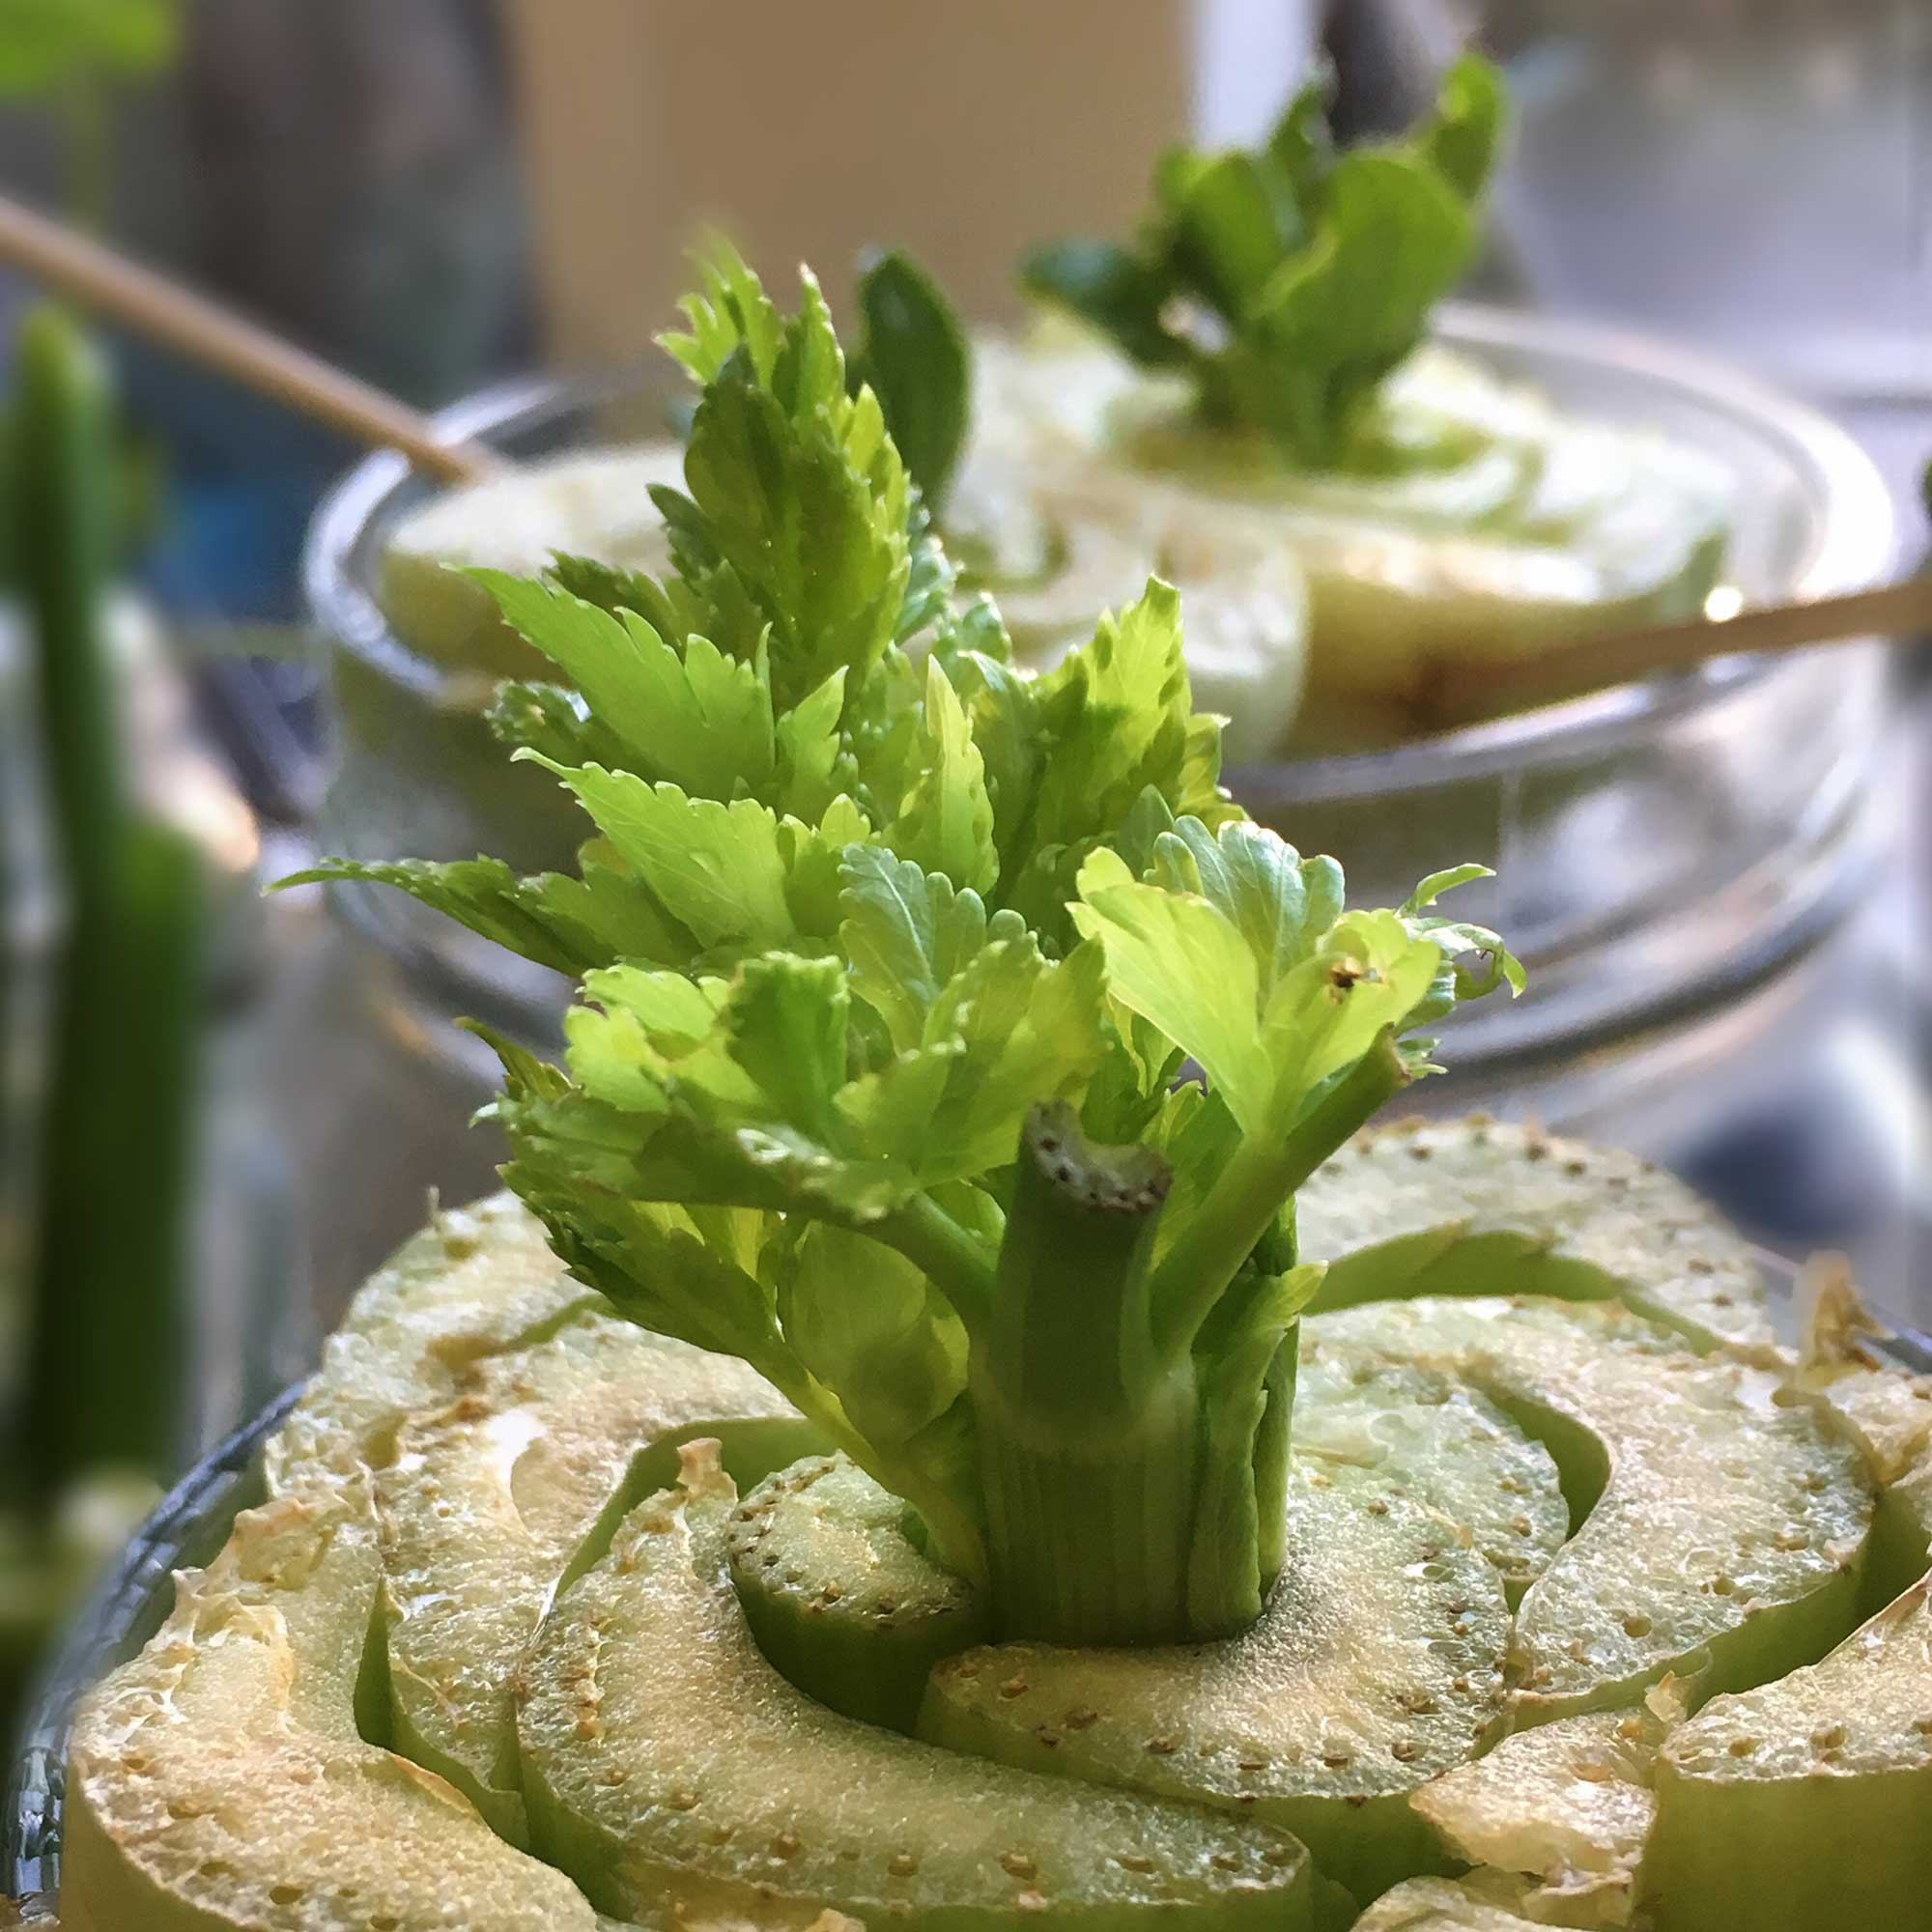
The base of your celery bunch no doubt usually ends up in the bin or on the compost heap, but it can be given a new lease of life by following this guide to how to grow celery from scraps. Given the right conditions, the base will regenerate and grow new stalks.
'Regrowing celery from leftovers is fun, economical and reduces food waste. But note that this method will only work when using the bottom of a celery bunch – it won't if you try planting individual stalks,' advises Holly Reaney, Content Editor and potted veg gardening pro.
What you'll need
- Bottom bulbous end of a celery bunch
- Small glass bowl or jam jar
- Cocktail sticks or skewer
- Plant pot
- Peat-free multipurpose compost
5 steps to growing celery from scraps
All you need to start off growing celery from scraps is a bowl or jam jar, the end of a celery bunch, and a sunny windowsill.
Sign up to our newsletter for style inspiration, real homes, project and garden advice and shopping know-how
1. Submerge the celery base in water
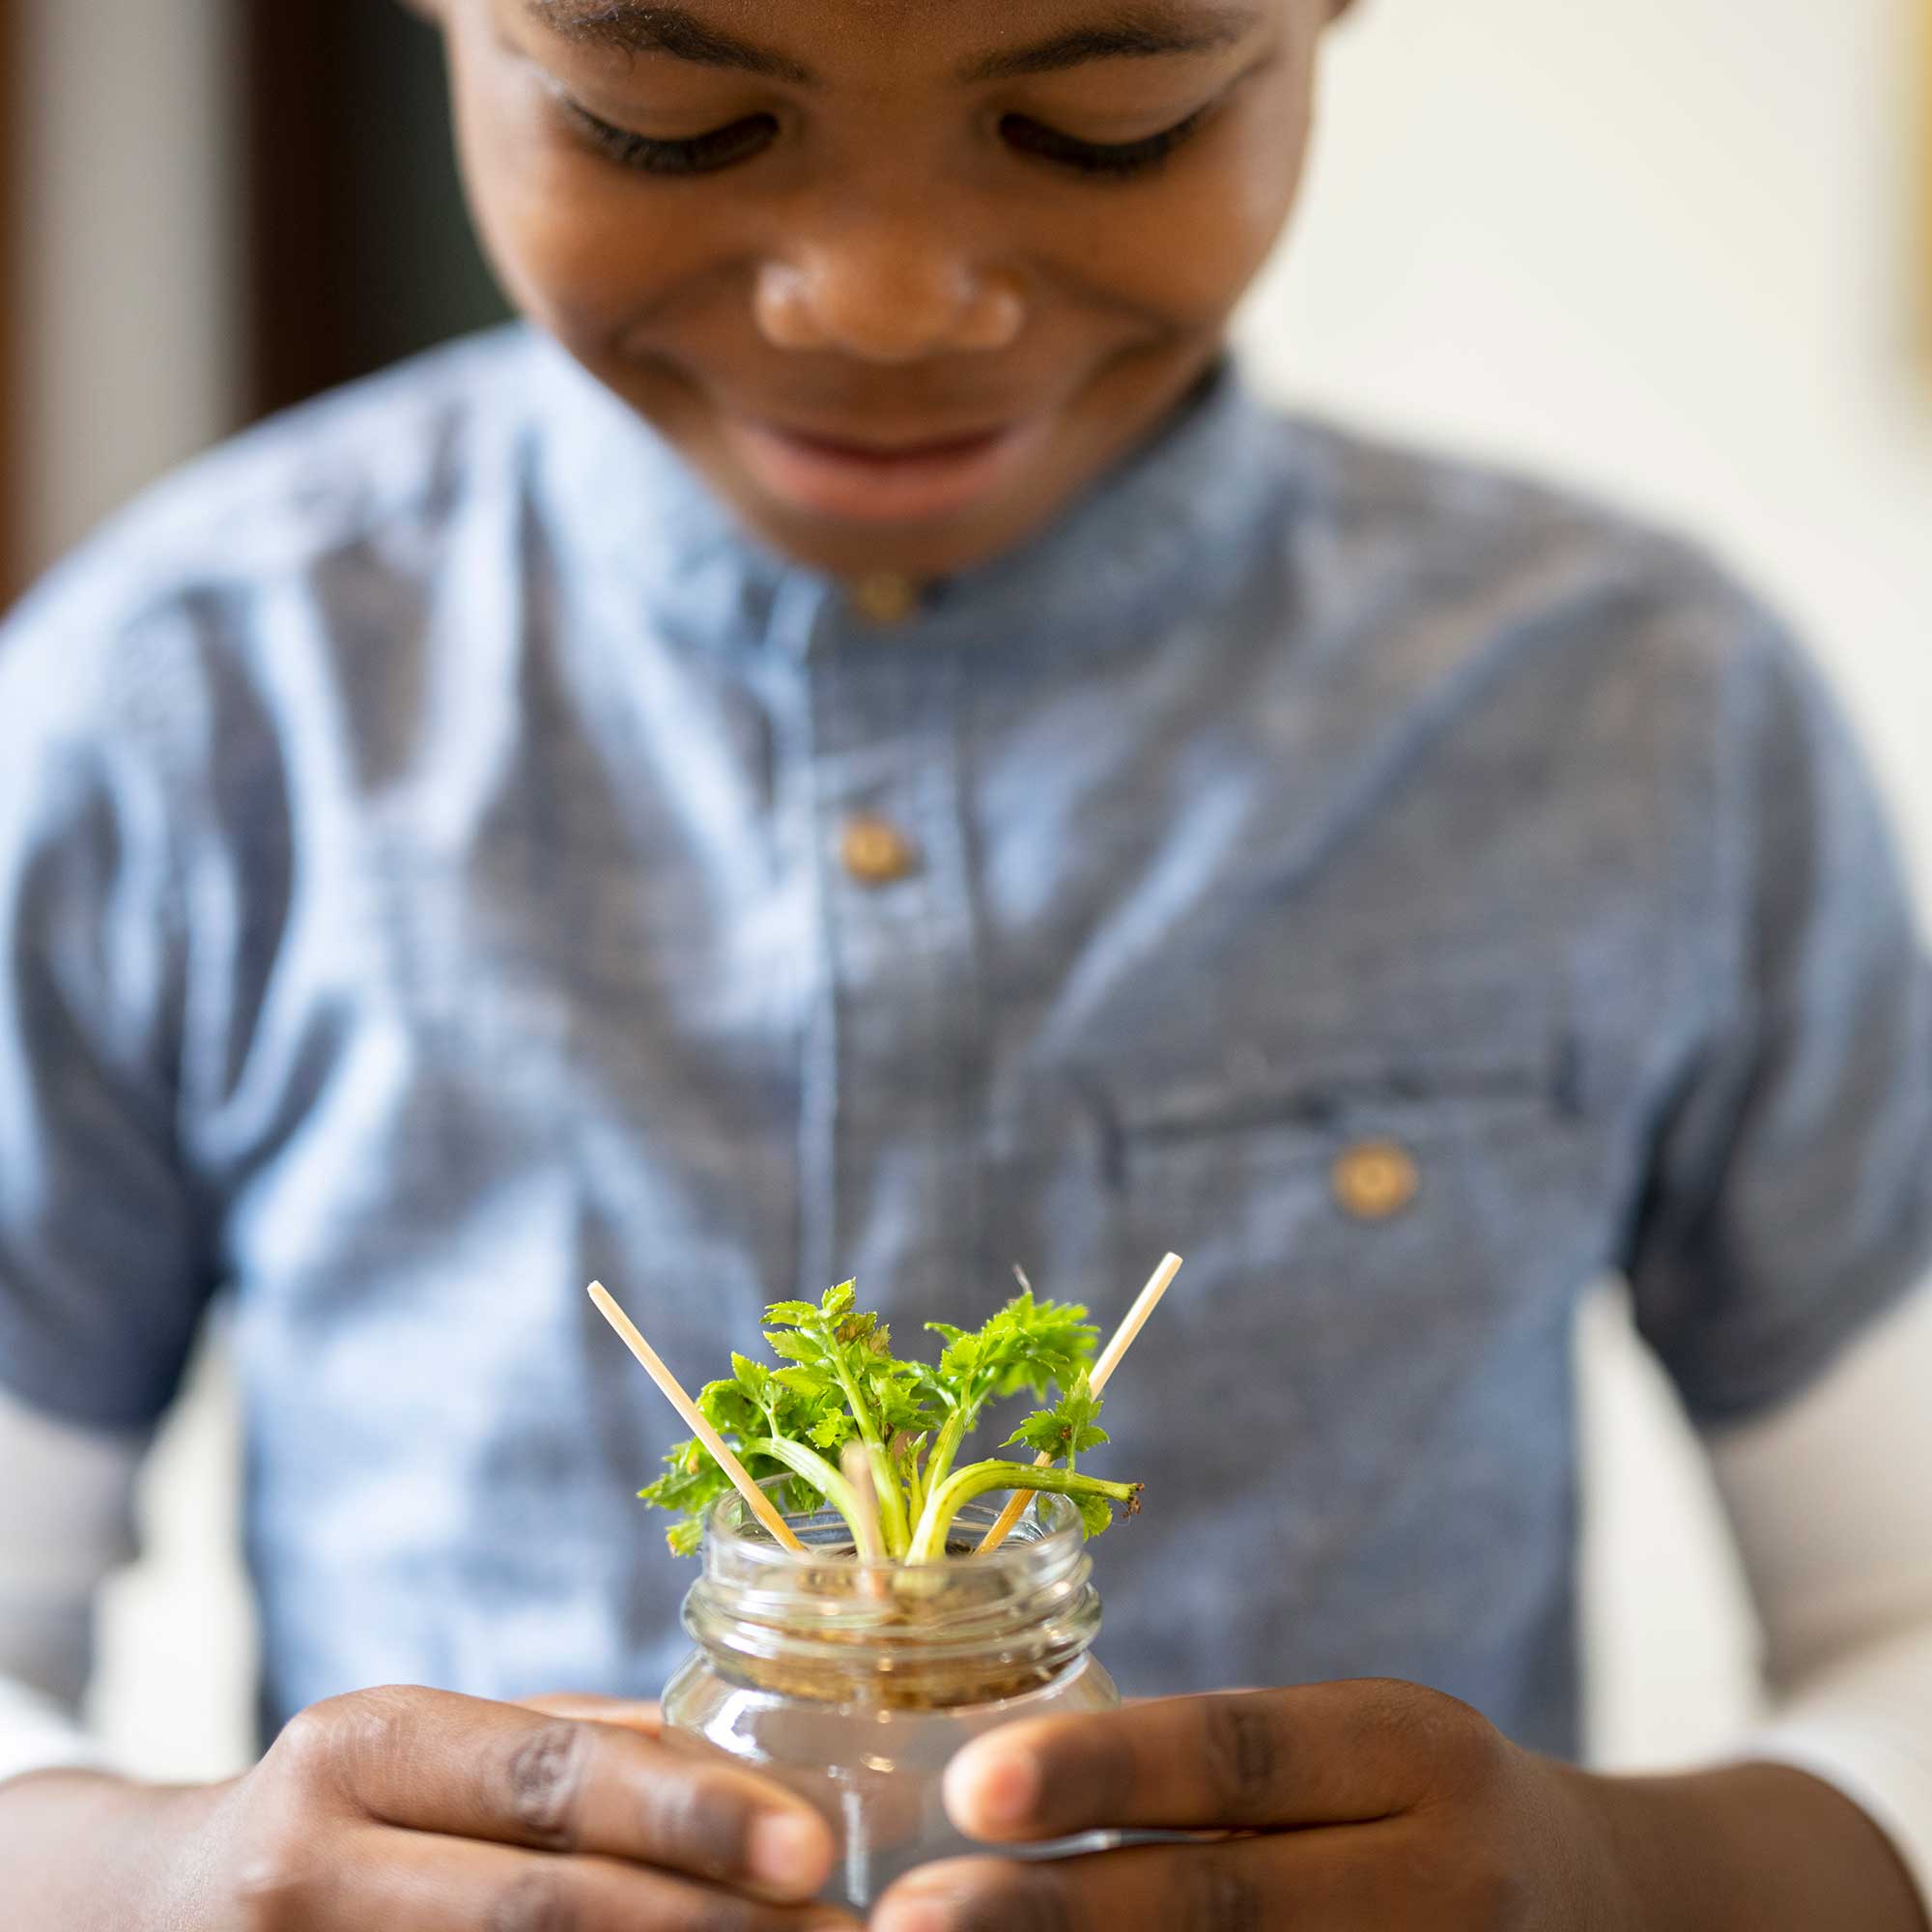
Once you have used the stalks from a celery bunch in salads or for cooking, save the leftover bulbous end, and cut down the ends of the stalks so that they are short stubs – no longer than about 5cm.
Put the base in a small glass bowl or jam jar filled halfway with water (these jam jars from Lakeland are perfect if you don't have an old one that can be reused) – you only want the bottom half of the celery bottom submerged in the water.
'To keep the bulb in place and only half submerged, you can either put a skewer horizontally through the middle of the base so that the two ends rest on either side of the bowl or jar or use two to four cocktail sticks spaced around the bulb base,' advises Holly.
2. Place on a windowsill
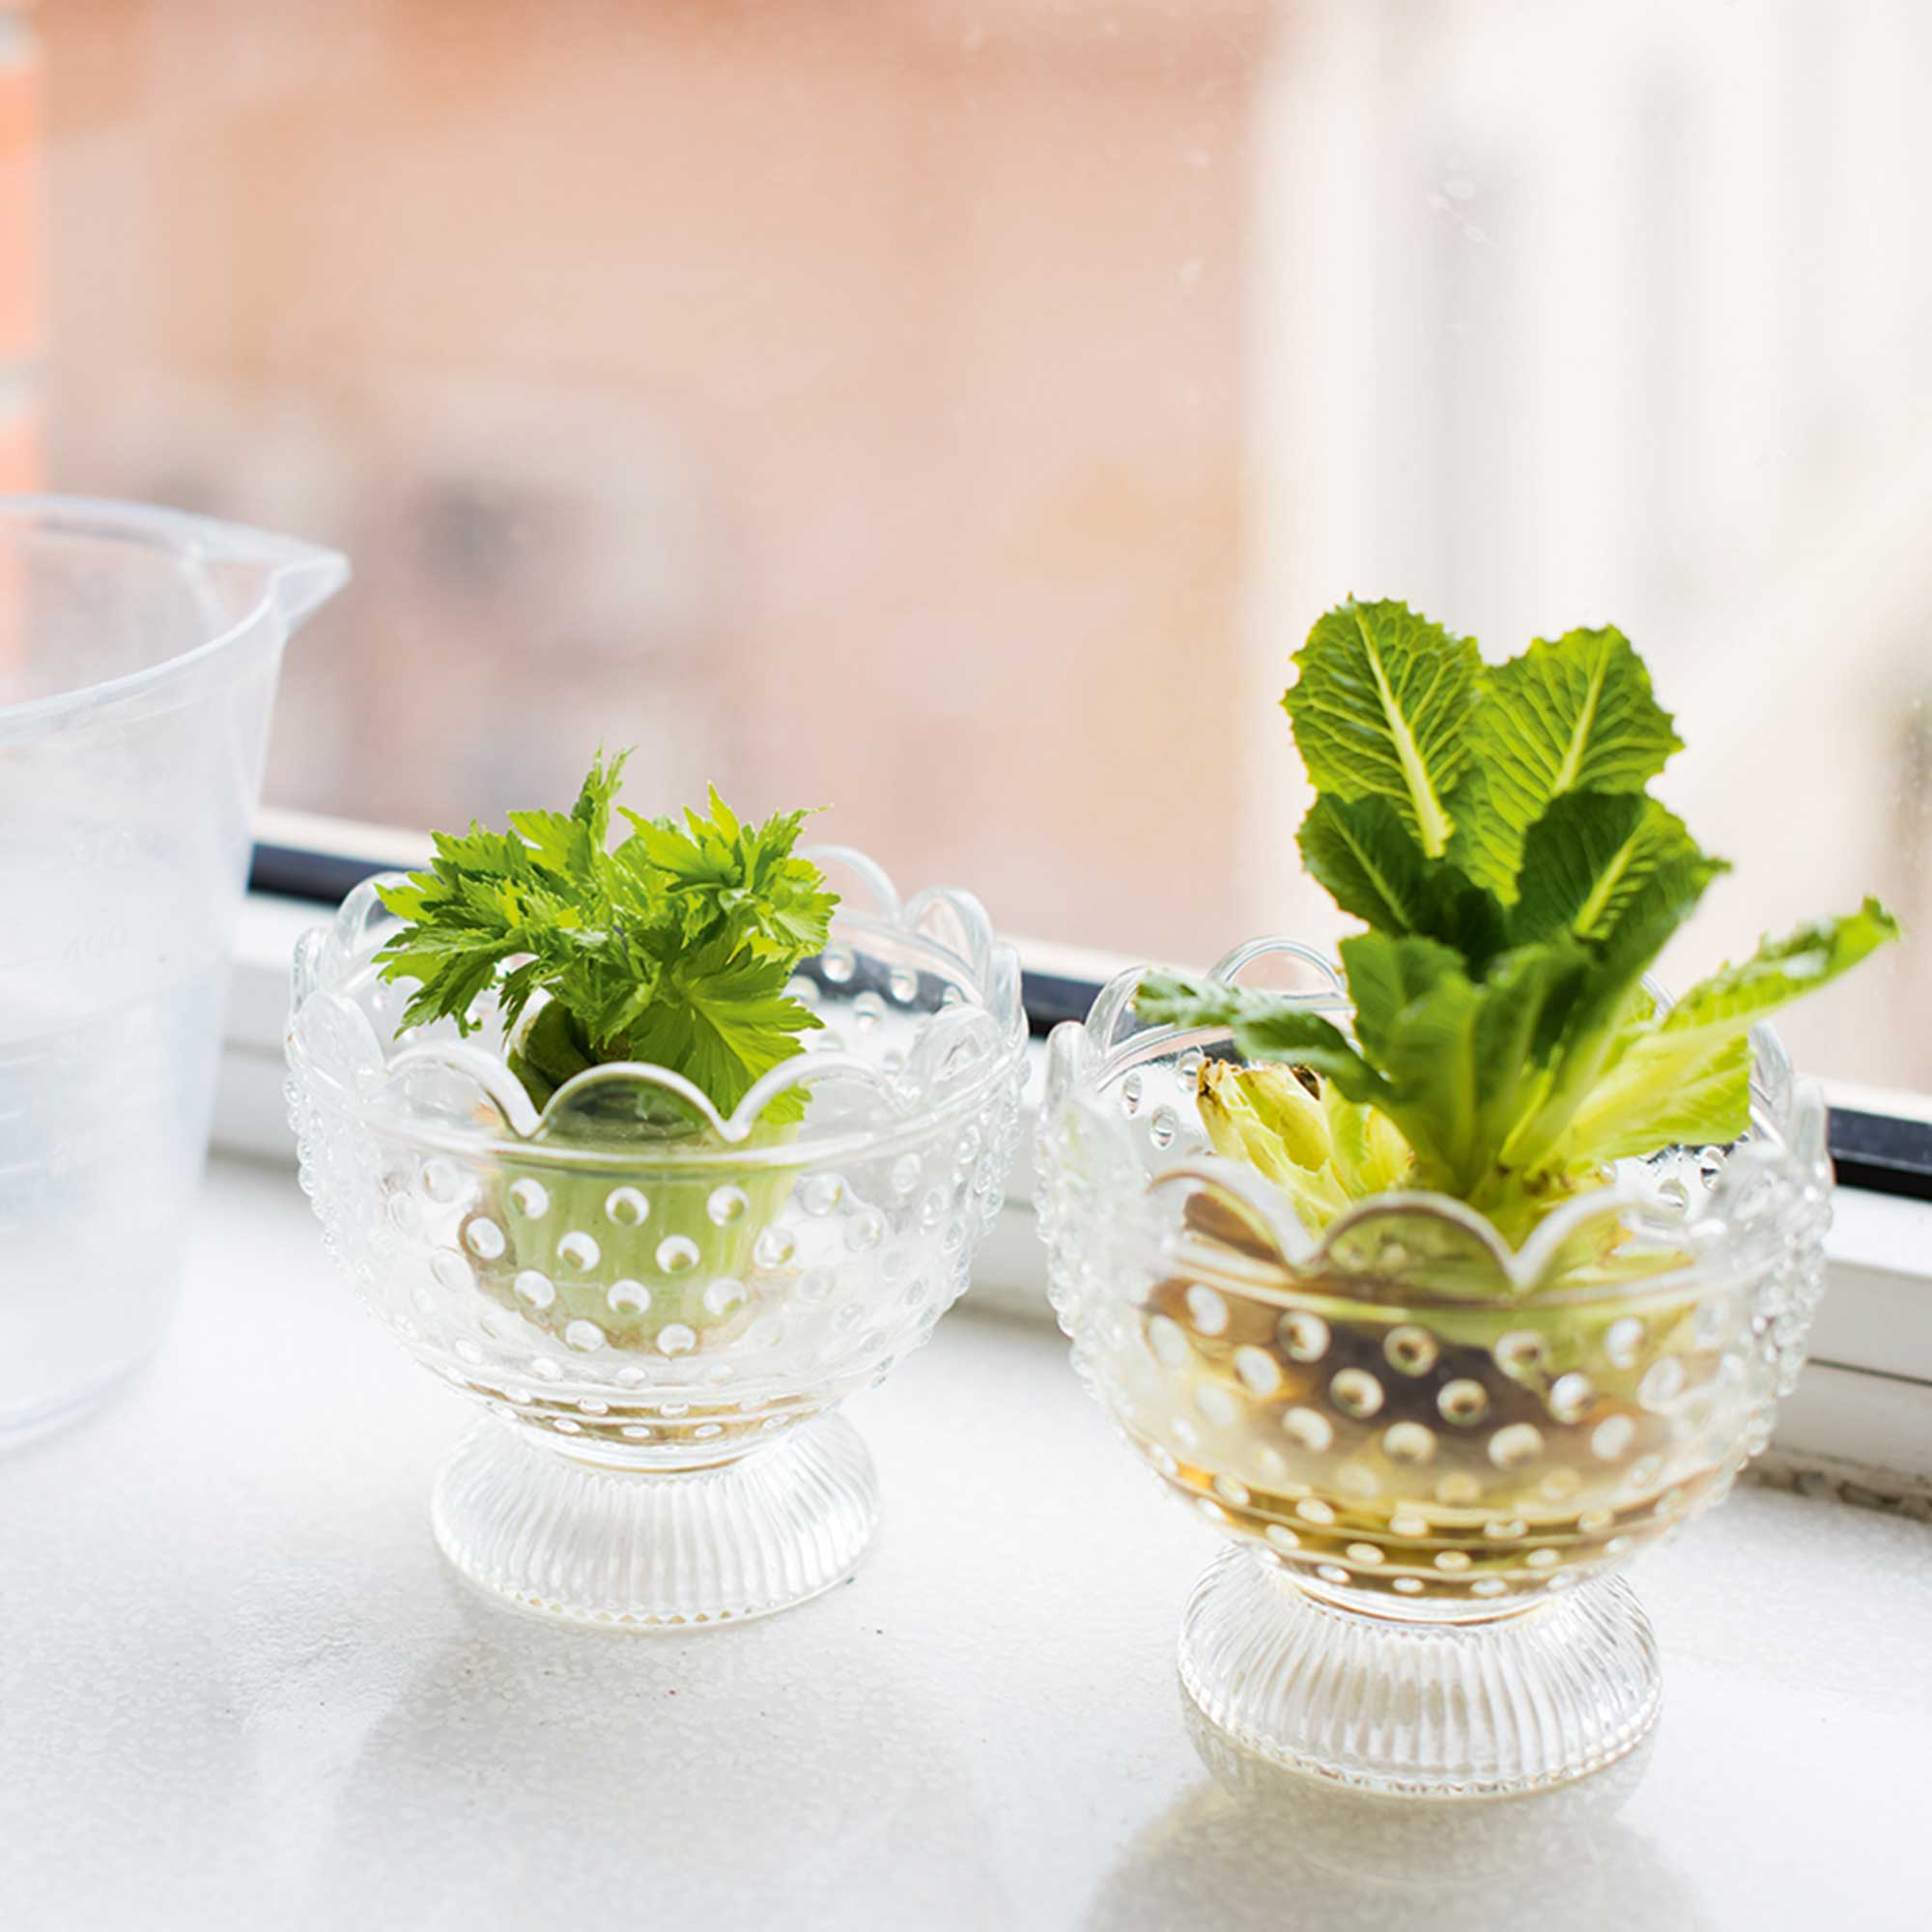
Place the bowl or jar on a sunny windowsill but out of direct sunlight. Unlike some other warmth-loving crops that you can grow indoors in pots, such as if you're growing cucumbers, celery is a cool-weather crop, so doesn't like conditions that are too warm. Therefore don't place it on a south-facing windowsill.
Keep topping up the water every couple of days, as celery loves wet conditions to grow and will keep soaking up the water.
3. Pot up the sprouting celery base
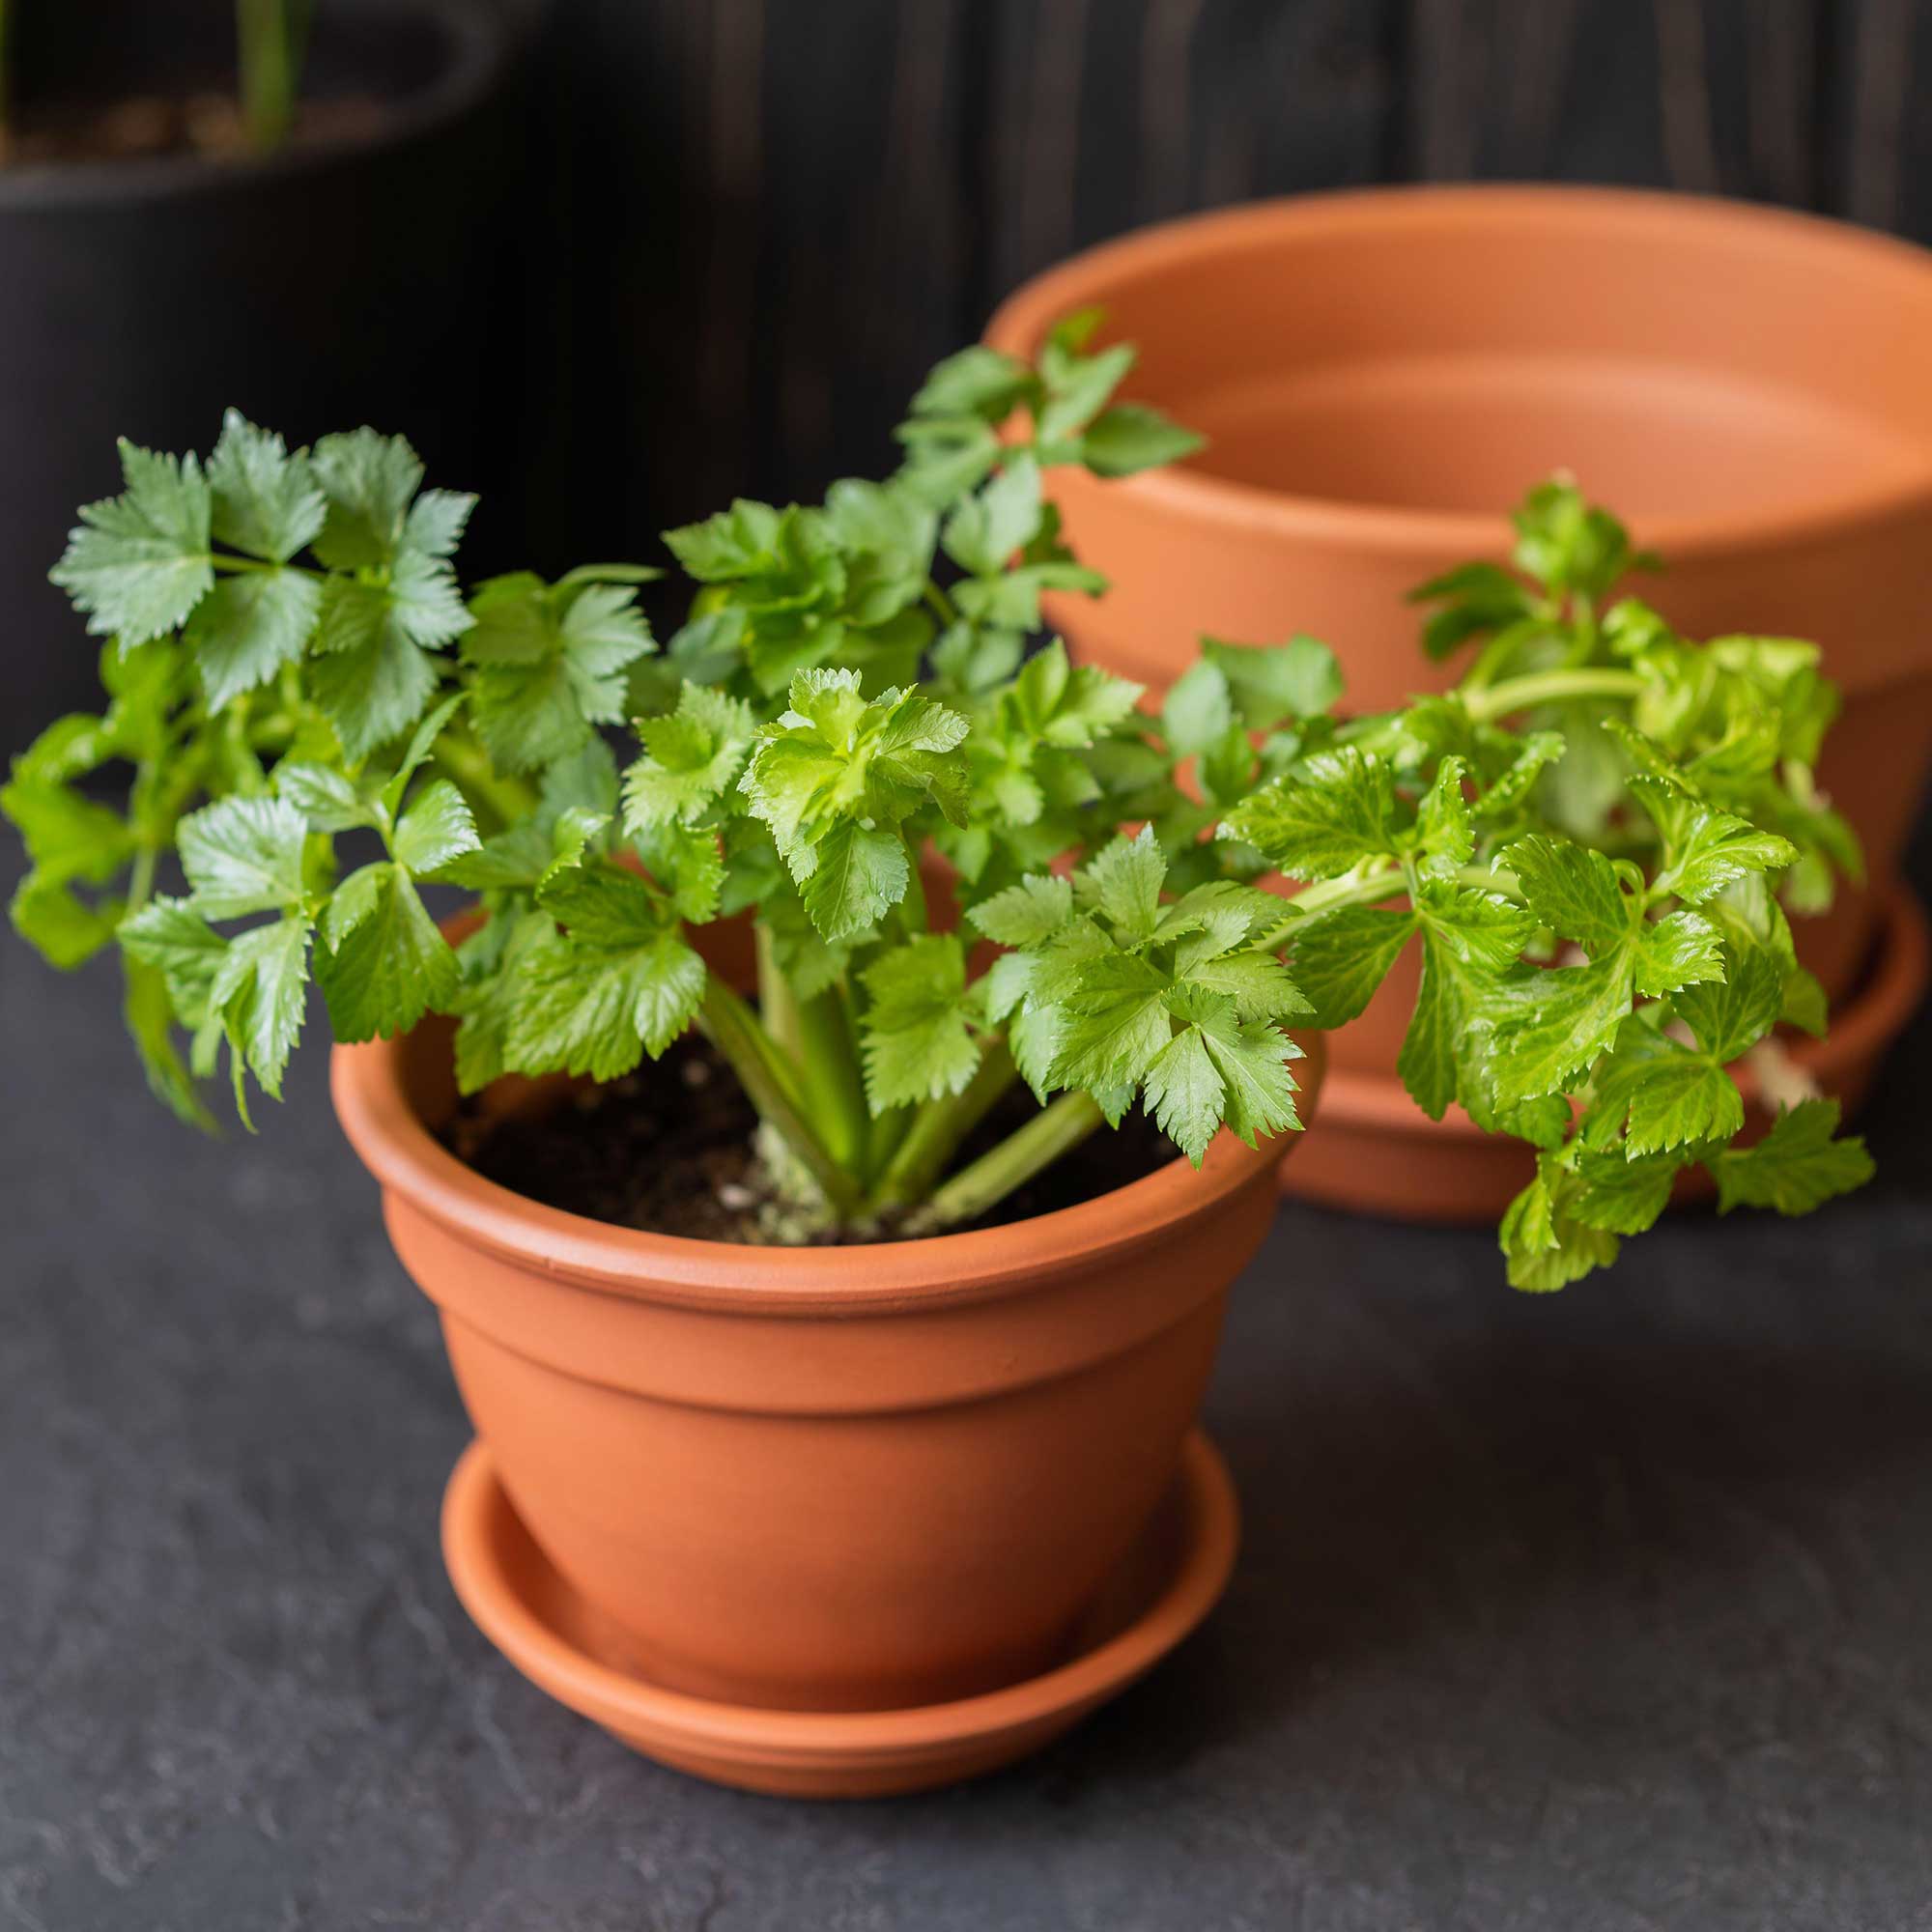
You won't have to wait for long – about a week – before small roots start growing from the bottom and leafy stalks appear out of the bulb top. It's like horticultural magic.
At this point, you will need to plant the sprouting bulb into a pot filled with multi-purpose compost. Create a hole, place the bulb in the centre, and then fill in with compost around the sides – leaving the new leaves above the soil height.
Water it in well and then keep it in a sunny spot out of direct sunlight indoors, or place the pot outdoors from late spring, in a spot that gets about six hours of sunlight a day. Celery prefers cooler conditions, so if the weather turns particularly warm and sunny, move the pot to a shadier spot.
4. Water regularly
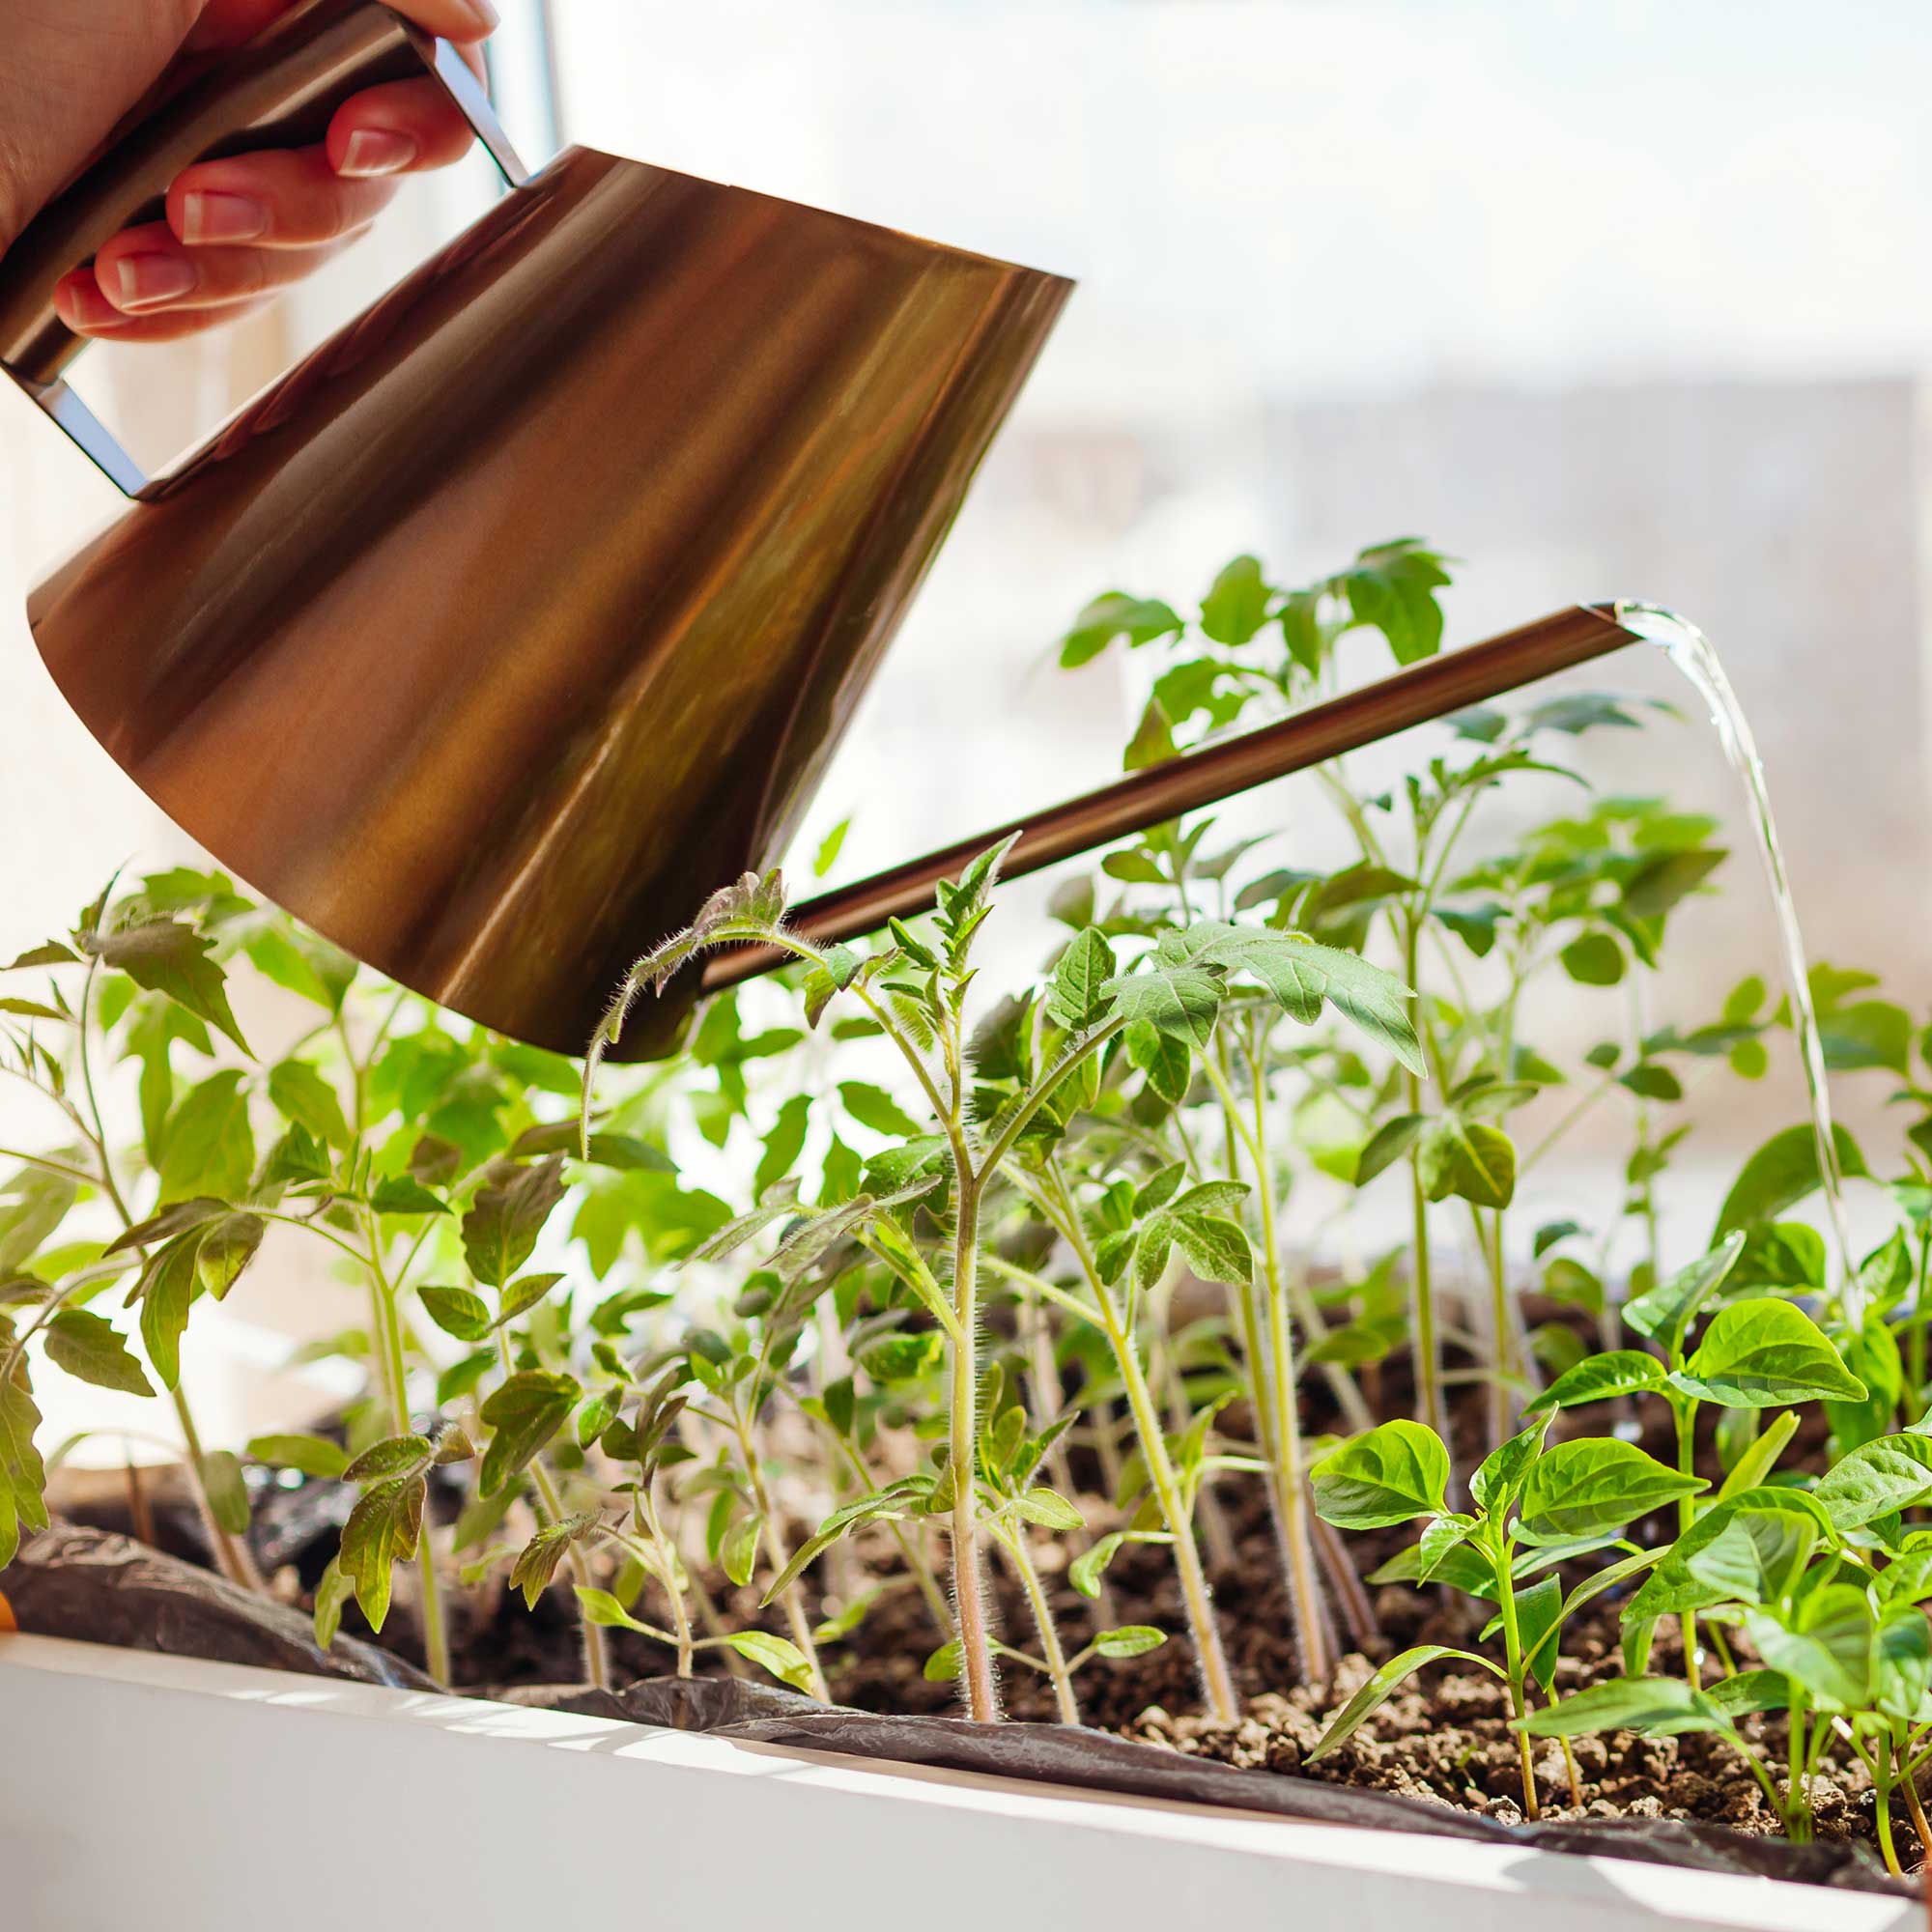
Make sure that you water your celery plant regularly to keep the soil moist, not soggy – celery does not like dry conditions, which is why you will find it growing along boggy riverbanks in the wild. Looking for a watering can that'll make a style statement, too? We love this metal watering can from H&M.
If you're also working on how to grow tomatoes in pots, then place your celery plants alongside these as both crops need regular watering and you can water them at the same time.
Feed the celery plants with a liquid fertiliser every couple of weeks during the growing season.
5. Harvest the celery grown from scraps
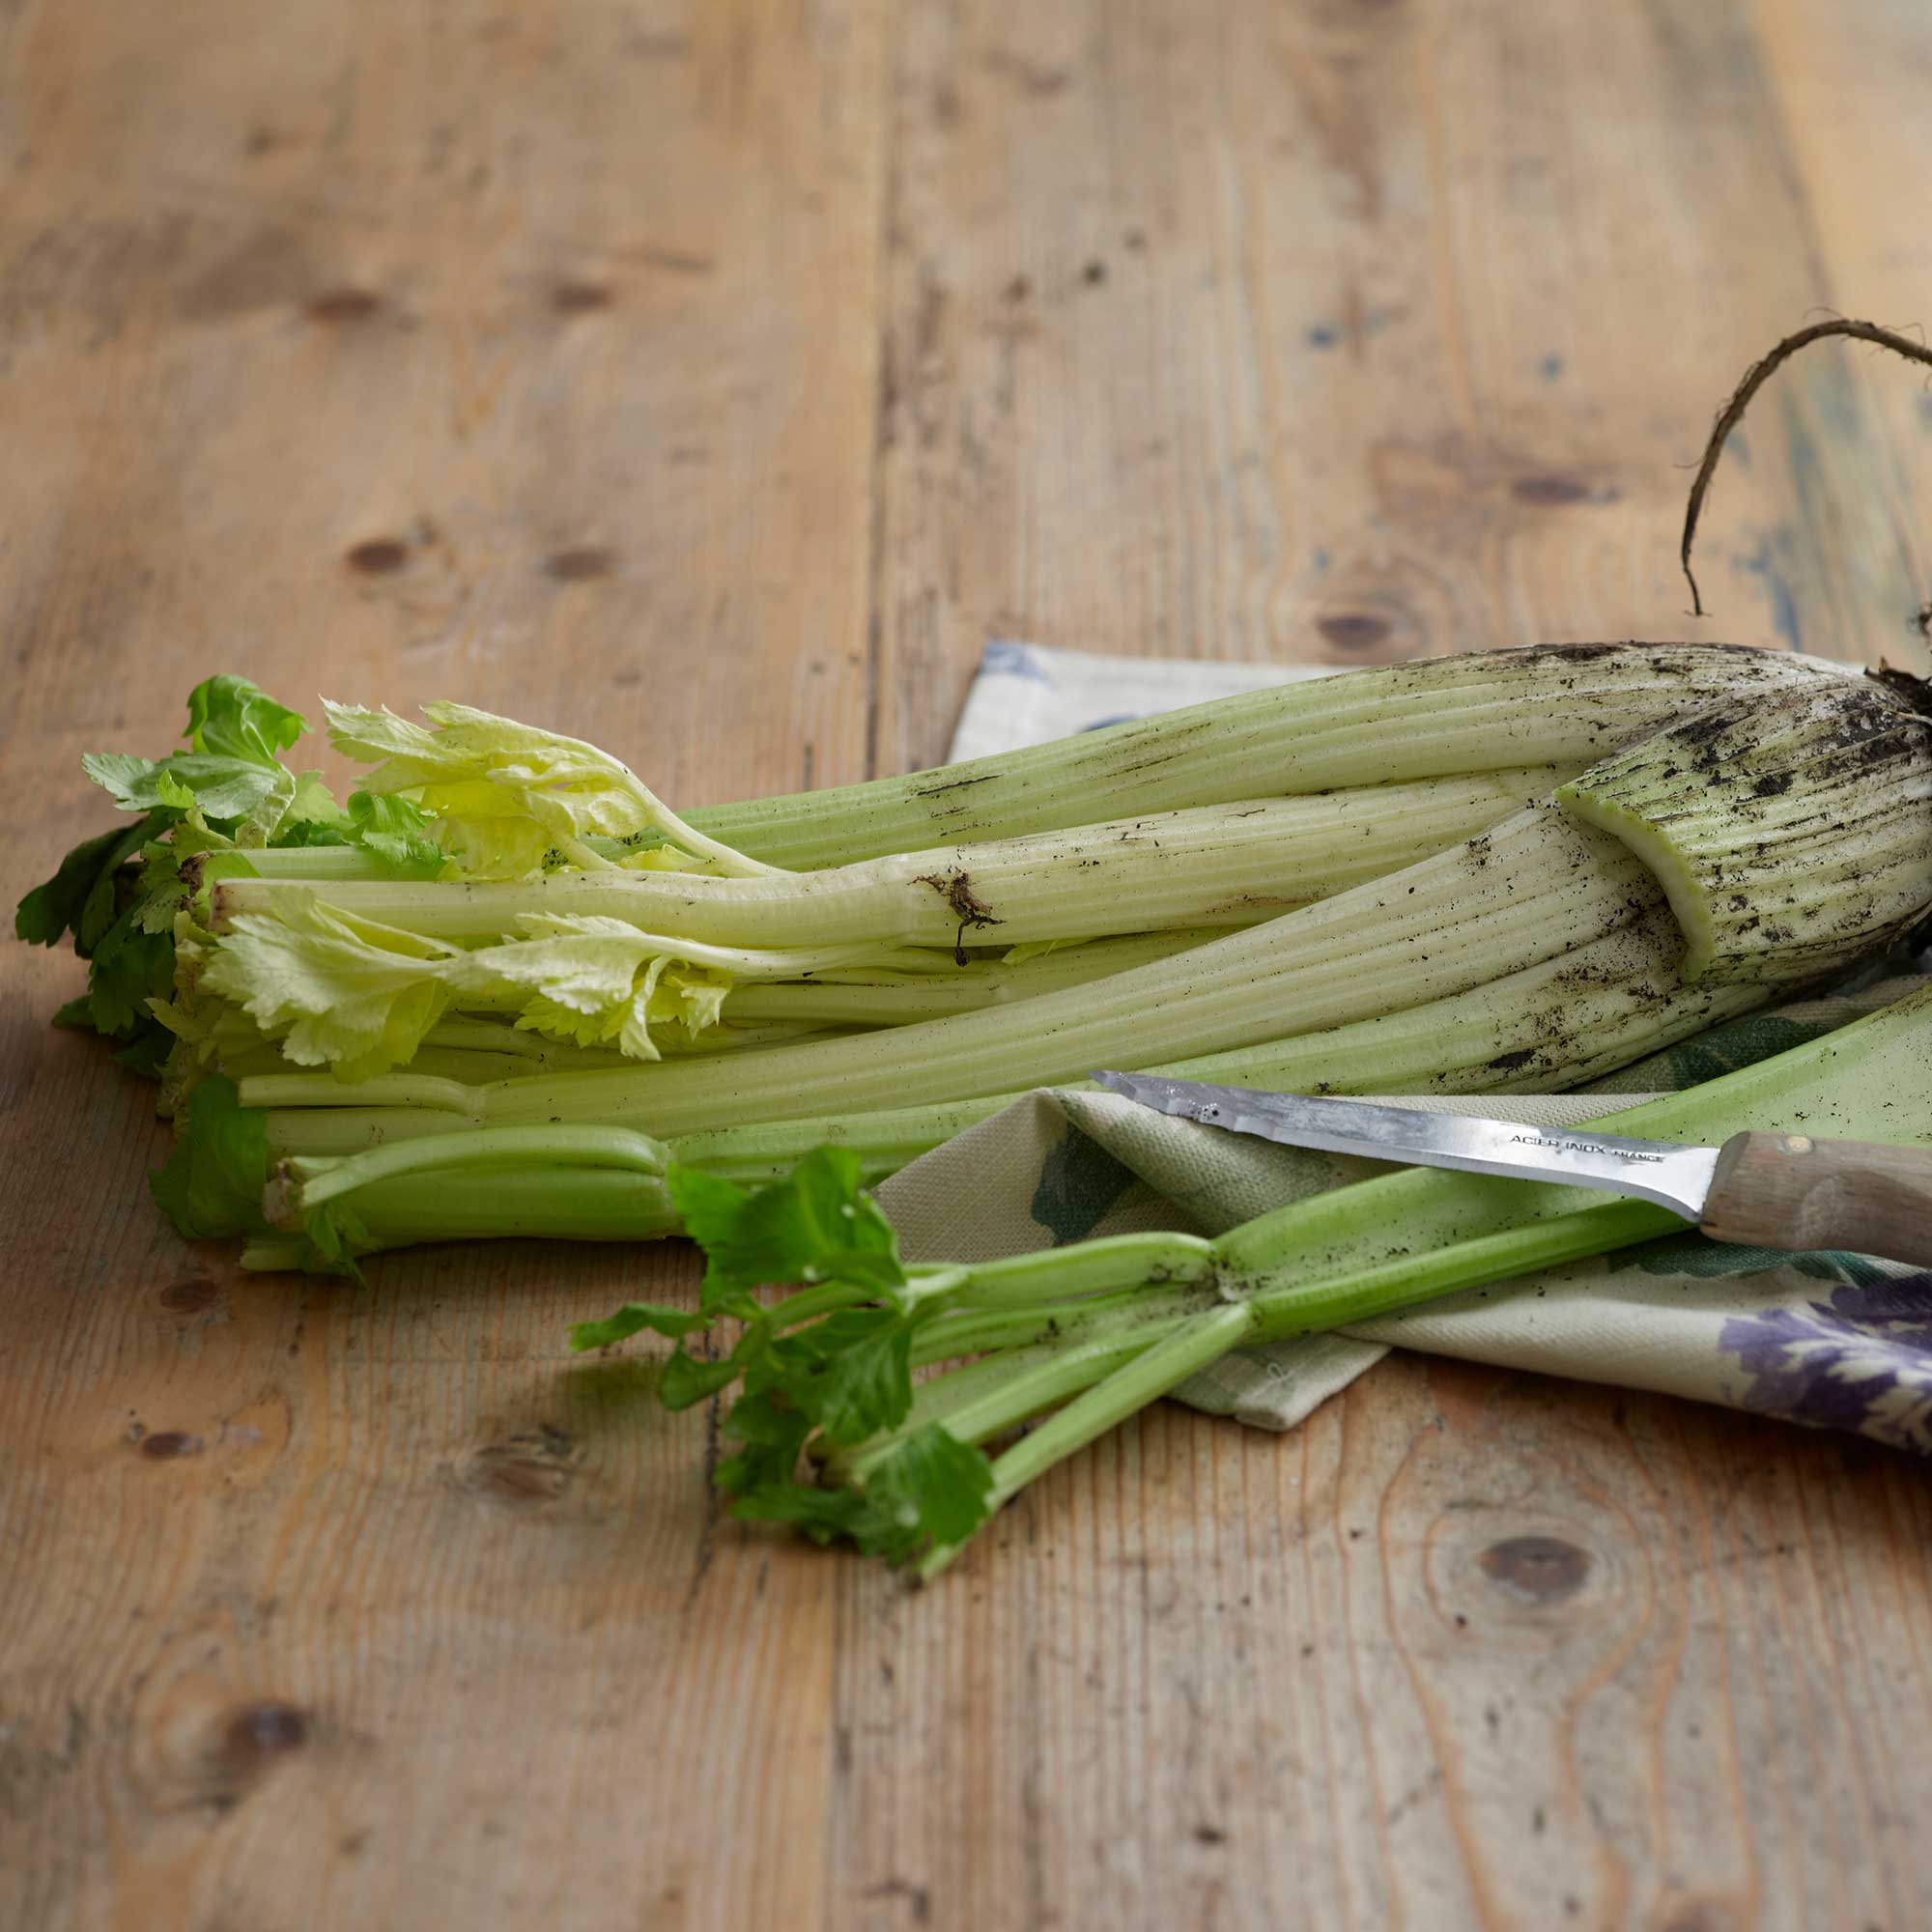
Once you've mastered these steps in how to grow celery from scraps, you should be able to harvest your homegrown stalks about three months after planting.
Harvest when the stalks are about 8cm long and keep cutting them regularly for use in salads and cooking as this will encourage the plant to produce more stems.
FAQs
Can you regrow celery from store bought celery?
Yes, you can regrow celery from store-bought celery, as outlined above. This is the perfect way to reduce food bills, reduce food waste, and add to your homegrown crops for free.
Ideally, grow celery from scraps from an organic bunch, and look for a bunch of celery that is firm, with fresh green leaves.
How many times can you regrow celery?
You can try regrowing from the same celery bulb more than once. After you have harvested all of the stalks, simply pull up the whole plant, and start again. If you don't have success second time around, then just buy another celery bunch and follow the steps outlined above.

Rachel Crow is the editor of Period Living Magazine and a senior content editor, contributing homes and garden content for idealhome.co.uk. She has written for lifestyle magazines for many years, with a particular focus on historic houses, interiors, arts and crafts, and gardening. Rachel started her journalism career on BBC radio, before moving into lifestyle magazines as a freelance writer and editor. She worked on The English Home and The English Garden magazines before joining the Period Living team as features editor and then deputy editor. She was garden editor for Homes & Gardens magazine and homesandgardens.com and contributed articles to Country Homes & Interiors.