How to grow kale — expert tips for growing your own superfood
A staple in the vegetable garden, kale is easy to grow when you know how

As one of the easiest vegetables to grow, learning how to grow kale is a great choice for beginner gardeners, especially if you're pondering how to start your own small vegetable garden.
Knowing how to grow kale will ensure lush, leafy harvests later in the year. And while you wait, they make great edimentals.
How to grow kale
Kale is a must-have for any vegetable patch or garden border, and it’s easy to see why: as a superfood, kale adds plenty of antioxidants and vitamins to your diet.
'Kale is easy to grow, but it is slow going,' says Stephanie Harrod, Founder of Harrod Horticultural. ‘It takes roughly three months to reach picking size.’
That’s why we’ve put together a simple guide to keeping your kale plants happy throughout the growing season, from sowing seeds successfully to planting out.

Founder of Harrod Horticultural, the UK’s leading manufacturer of garden supplies, tools and equipment, Stephanie is a keen gardener with a vision to transform outdoor spaces into havens of beauty and functionality. Combining her love for nature with innovative designs, Stephanie has cultivated a brand synonymous with quality and style, empowering gardeners to flourish in their craft.
What you will need
Kale is most commonly started from seed, so you'll need to get your hands on a packet or two. Or, you could buy plug plants to skip the seedling stage and introduce established young plants to your garden.
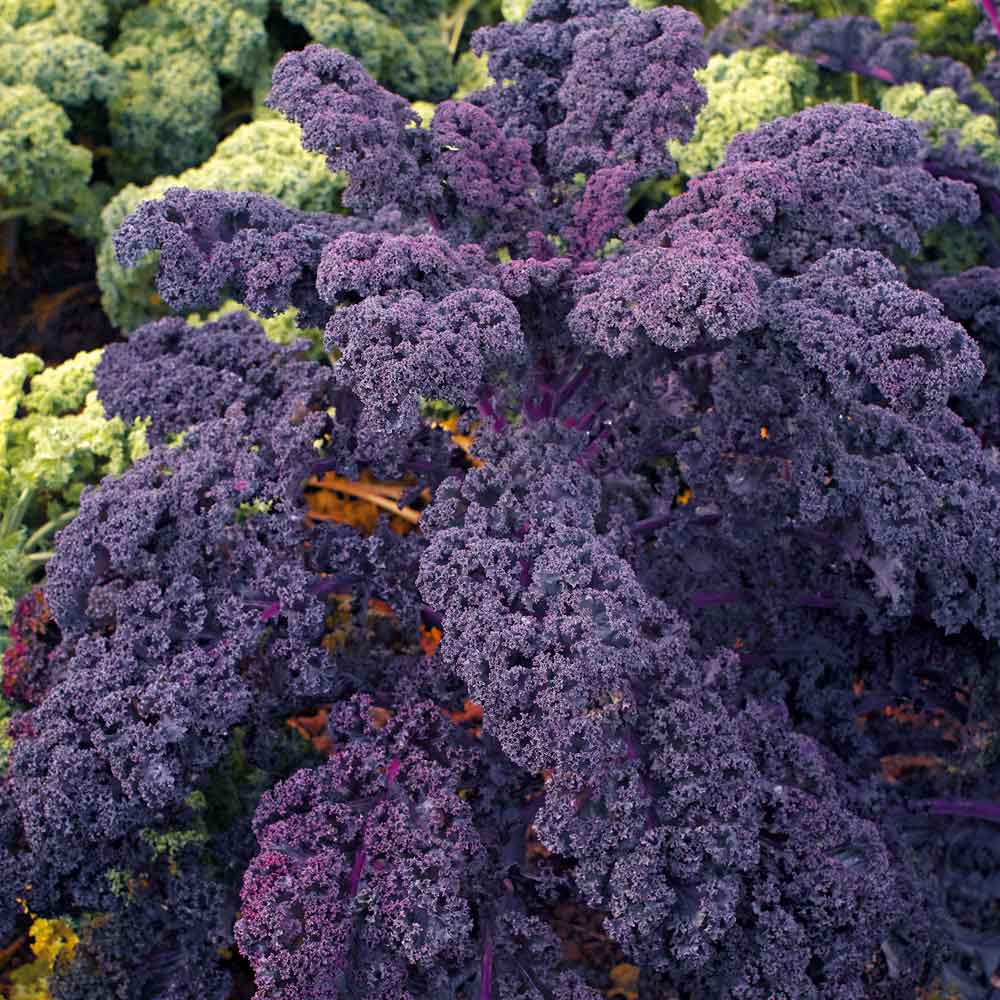
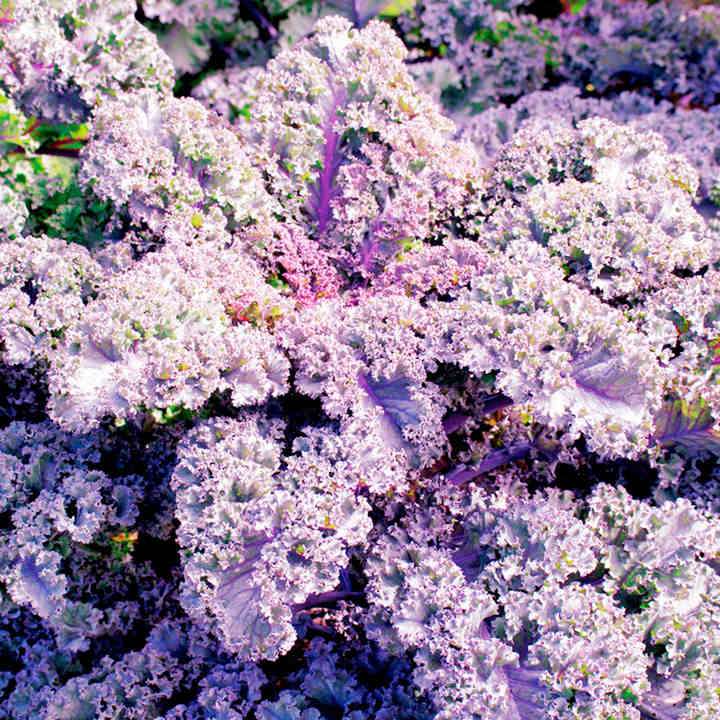
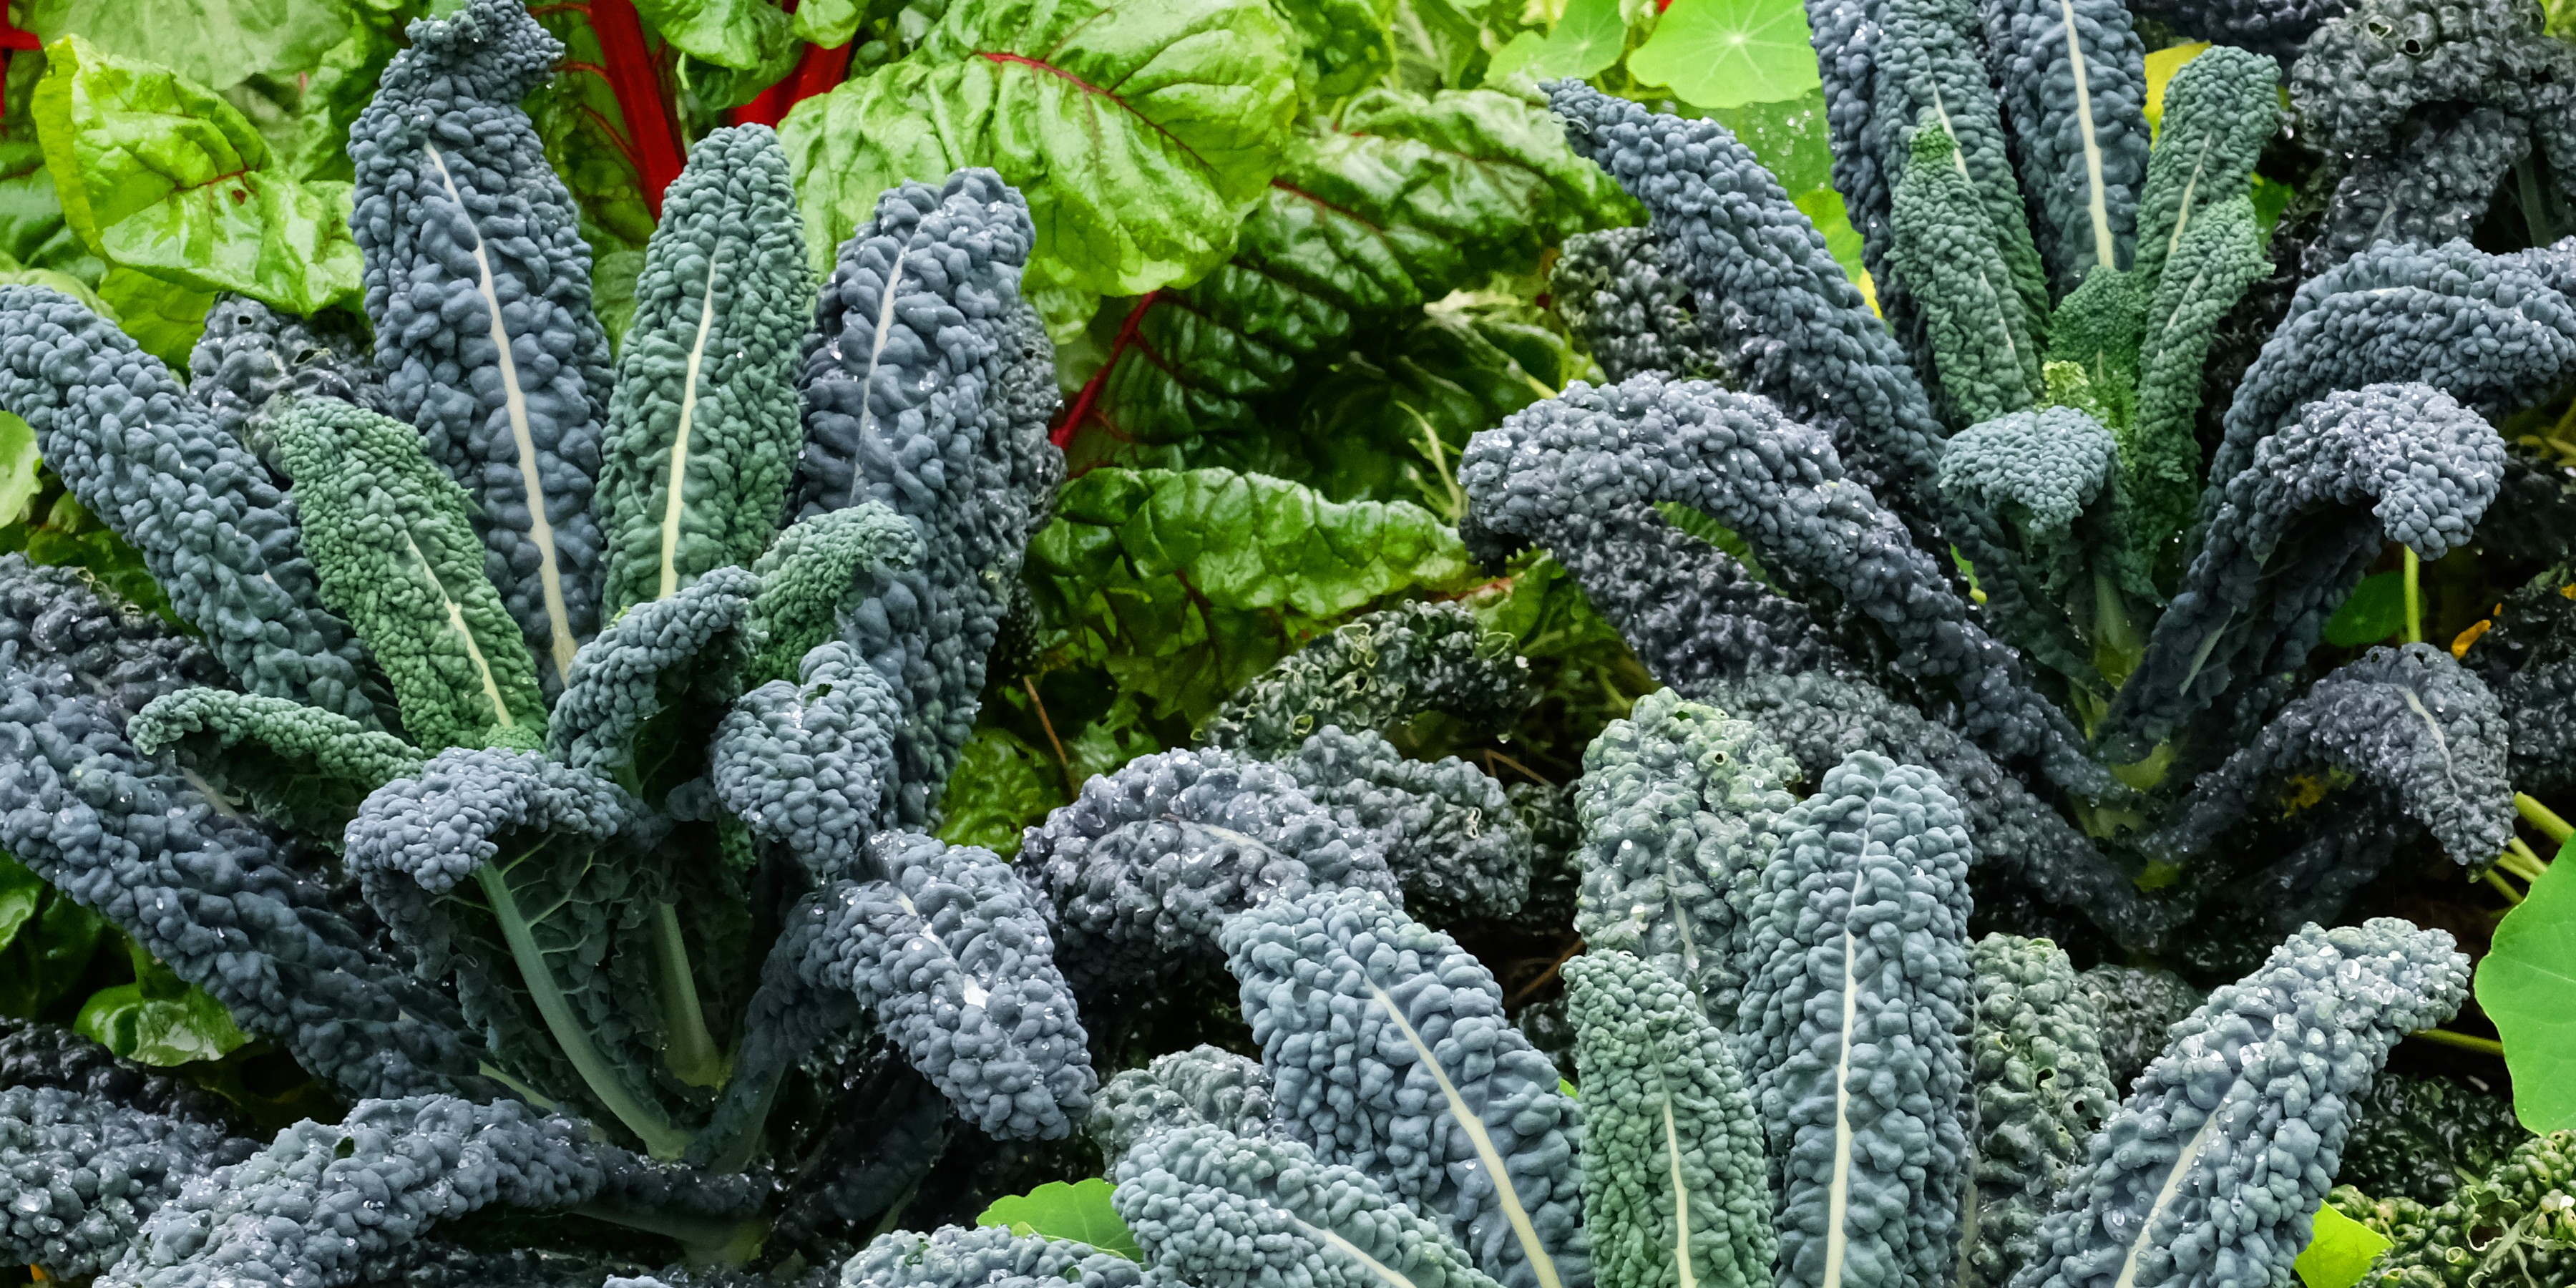
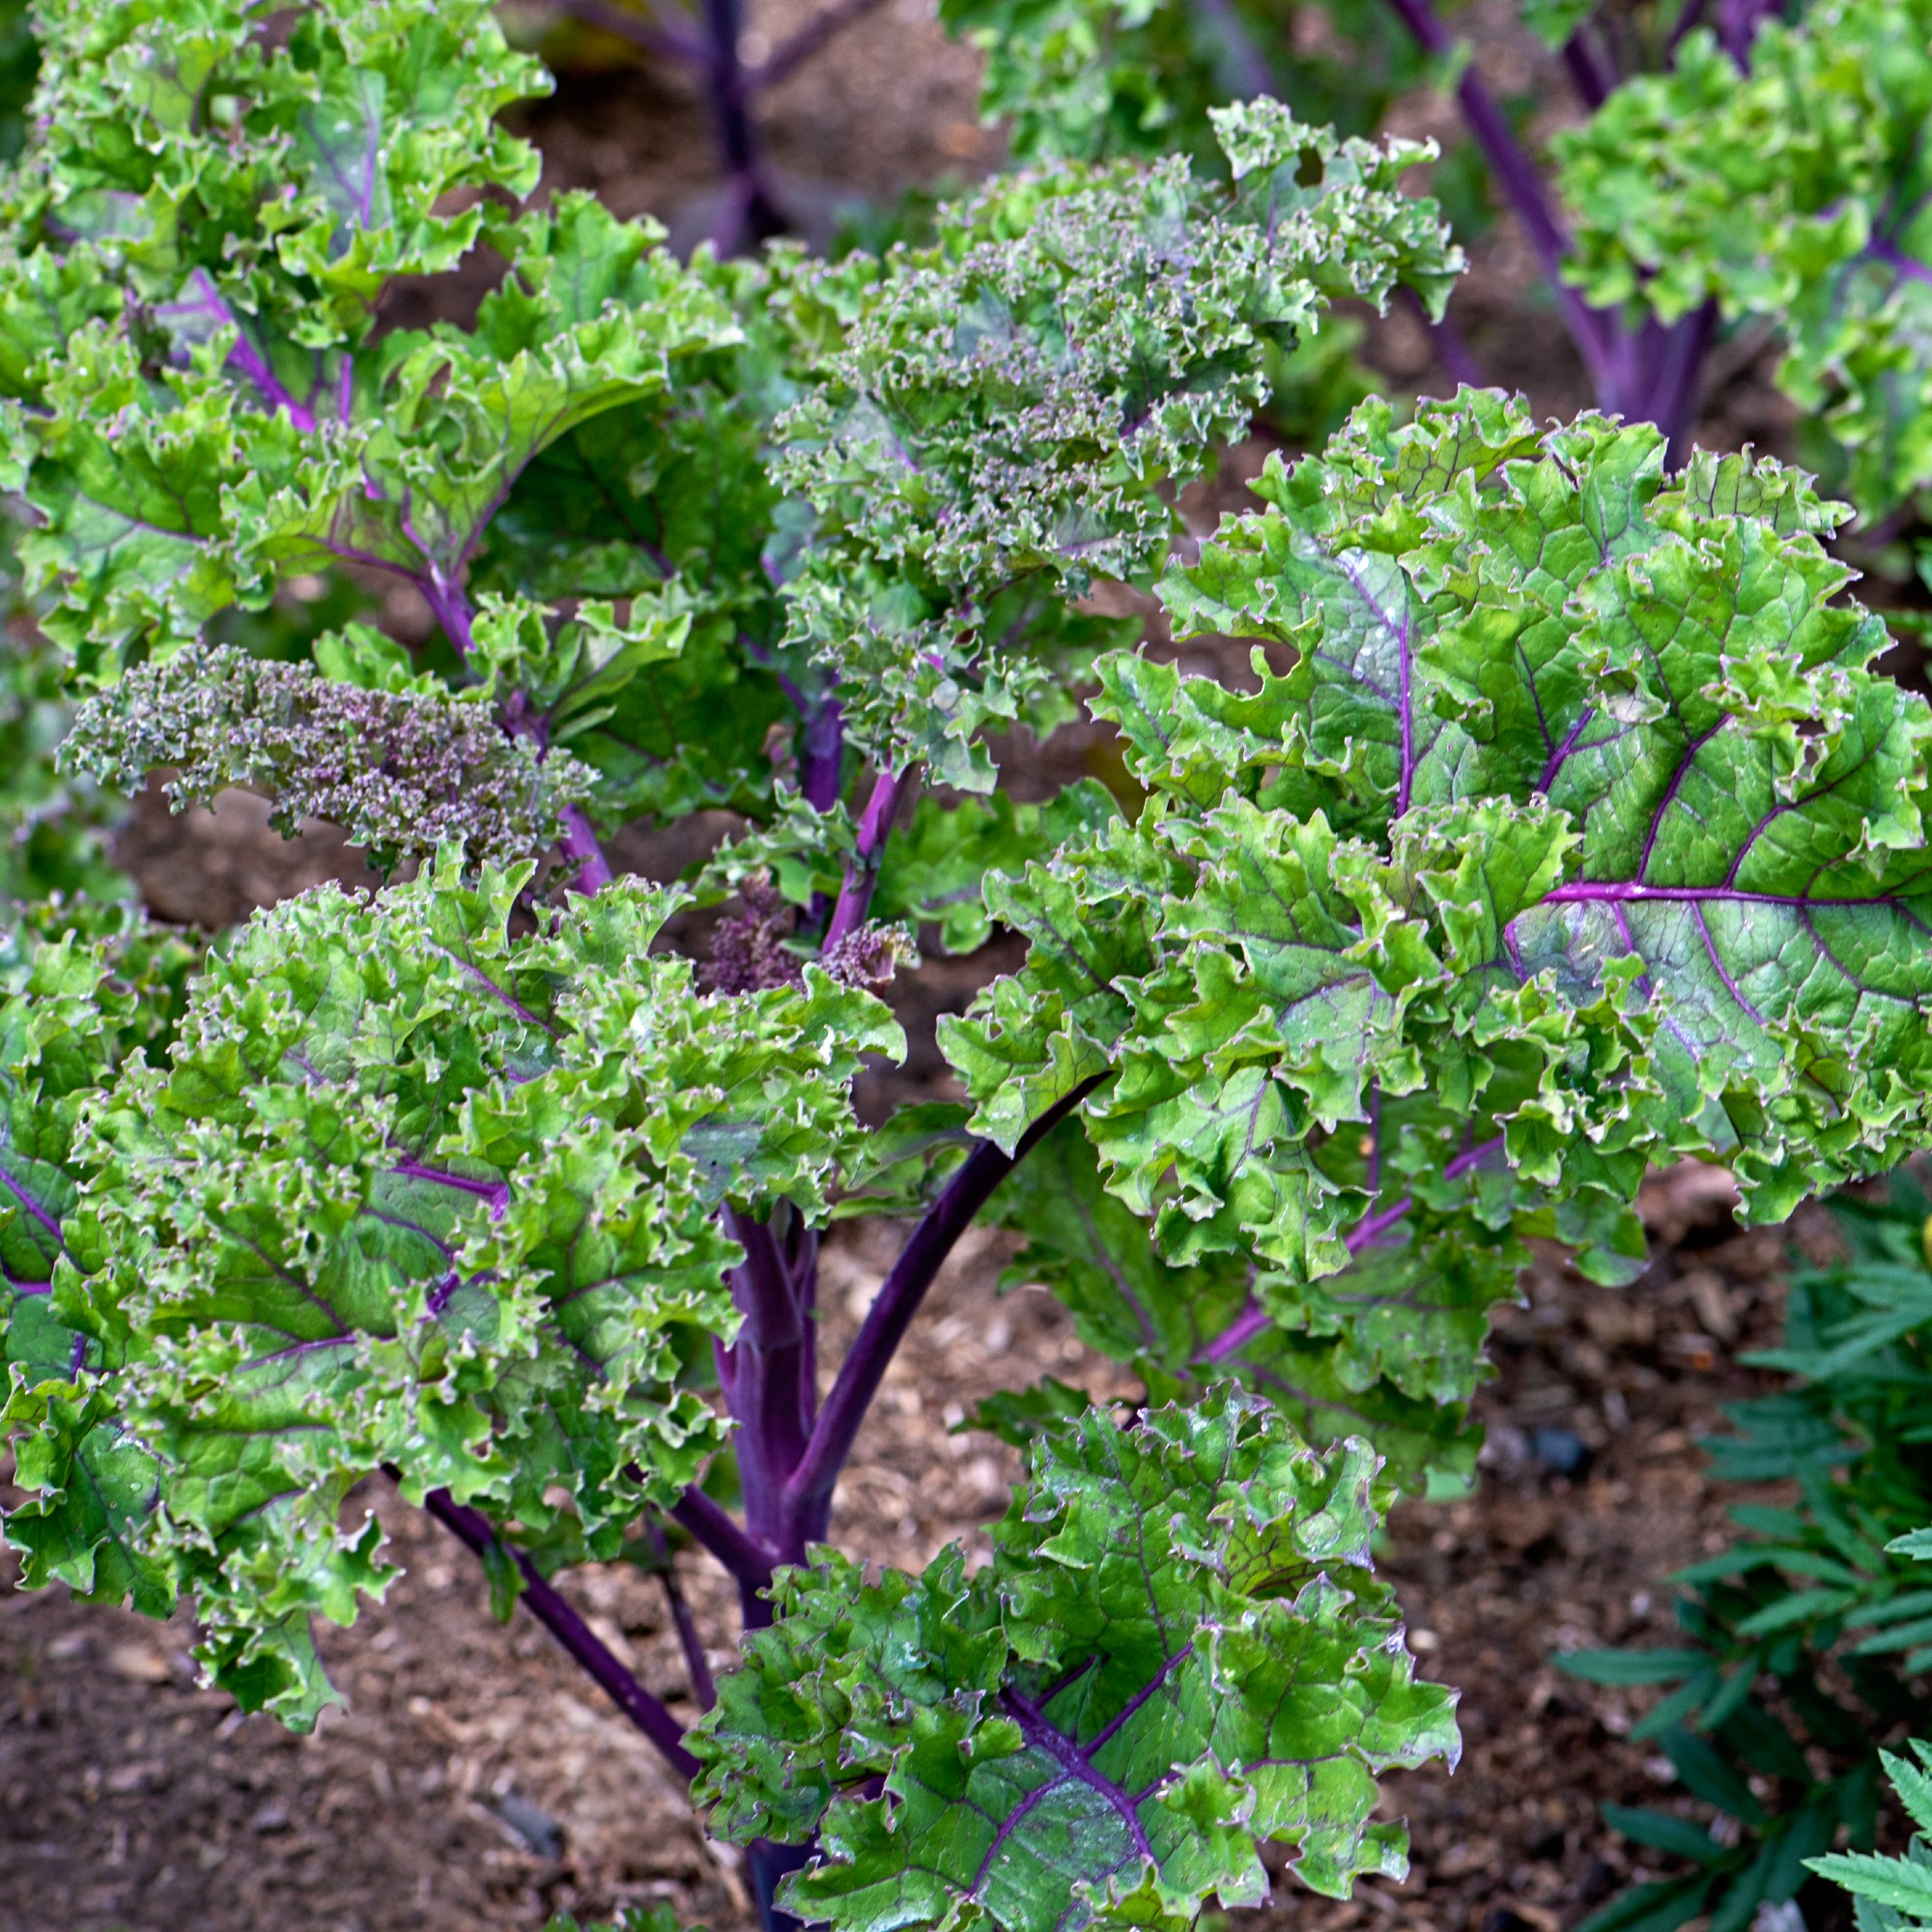
With so many kale varieties to choose from, there are colour and texture options to suit every growing space. You might opt for the ever-popular Kale 'Nero di Toscana' for strap-like, dark-green leaves - or the curly, purple leaves of Kale 'Scarlet' may take your fancy.
Get the Ideal Home Newsletter
Sign up to our newsletter for style and decor inspiration, house makeovers, project advice and more.
Besides seeds, you'll also need:
- A good quality multi-purpose, like Miracle-Gro Peat Free Premium All Purpose Compost from Homebase
- A module tray, like the Primrose 5 Pack Seedling Planter Tray 24 Cells from Primrose
- A rake, like the Kent & Stowe 70100057 Stainless Steel Long Handled Soil Rake from B&Q
- A trowel, like the Spear & Jackson Elements Hand Trowel from Amazon
Three kale varieties to try
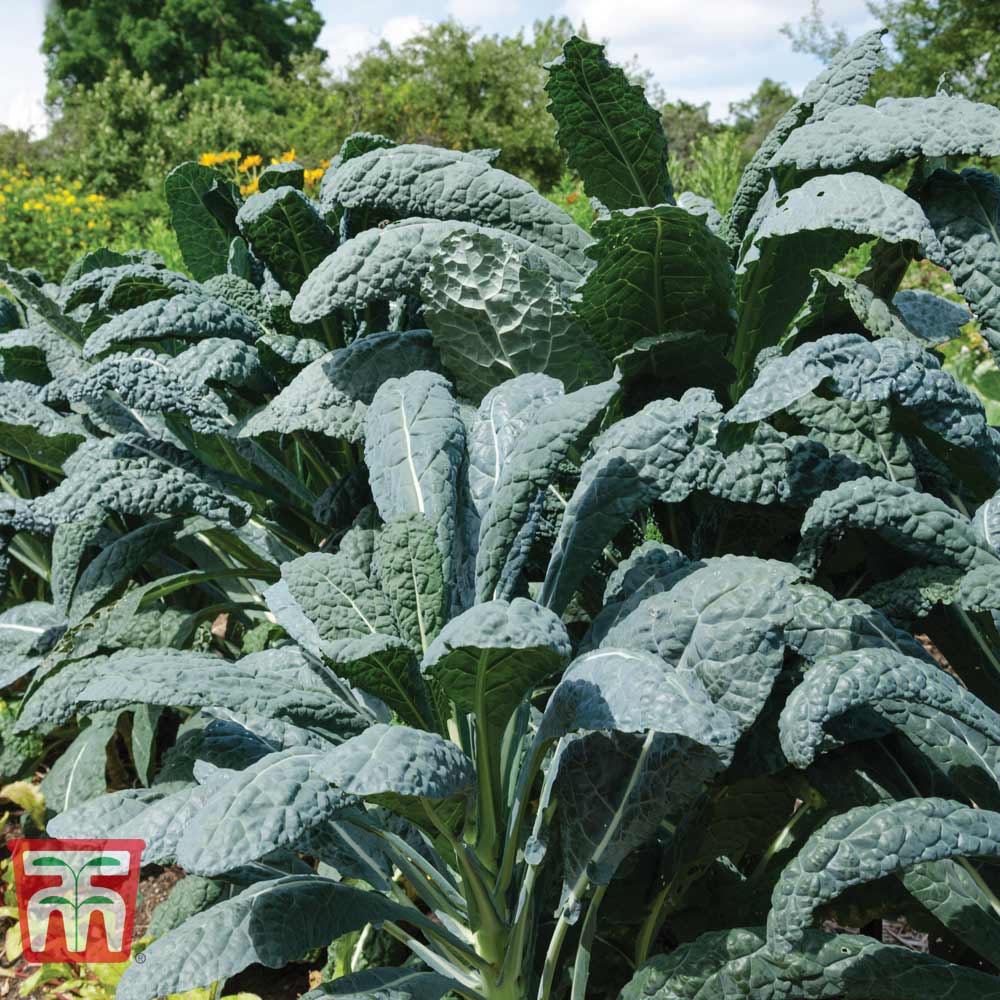
A favourite of gardeners new and experienced, this variety produces attractive savoyed leaves. It's also really hardy during the winter, which takes the pressure off frost protection measures when you're just starting out.
Depending on the time of year, you can sow kale indoors or outdoors.
We're covering both options to make sure you're getting the most out of the growing season.
Sowing kale seeds indoors
For a head start on the year, you can sow kale seeds indoors on a windowsill or in a greenhouse as early as March.
1. Sow your kale seeds
If you'll be sowing your kale indoors, you'll need to plan ahead and make sure you're doing this in mid-spring.
'We often start our kale off in module trays to begin with to save summer growing space and keep them easily watered and away from the sunshine,' says Stephanie.
Lucie Bradley, gardening and greenhouse expert at Two Wests & Elliott, also recommends sowing kale seeds in modules indoors. 'As kale is a brassica, it doesn’t tolerate root disturbance when transplanted. With this in mind, it is best to sow the seeds into modular or plug trays where you can plant two seeds per cell.
'Or, if you have space in your greenhouse, use small pots up to 10cm in diameter, sowing just a couple of seeds into each pot.
'Fill your modules with good-quality multipurpose compost and water it well before making a 1cm hole in each section. Pop a couple of seeds in each module and recover them with a little compost.'
It's important to avoid watering mistakes to ensure successful germination, which means not watering too much or too little.
You’ll need to thin each module by removing the weaker seedling if both seeds germinate.

Encouraged to garden since she was old enough to walk, Lucie has been working at Two Wests & Elliott since 1997. Originally working alongside the original founders, Mr and Mrs West, until they retired, she has now been fortunate enough to become one of the co-owners. She’s also lucky enough to get to talk to their customers, gardeners both amateur and professional, every day of the week and is always learning as she believes that you can never know everything about gardening as it is always evolving.
2. Keep the conditions right
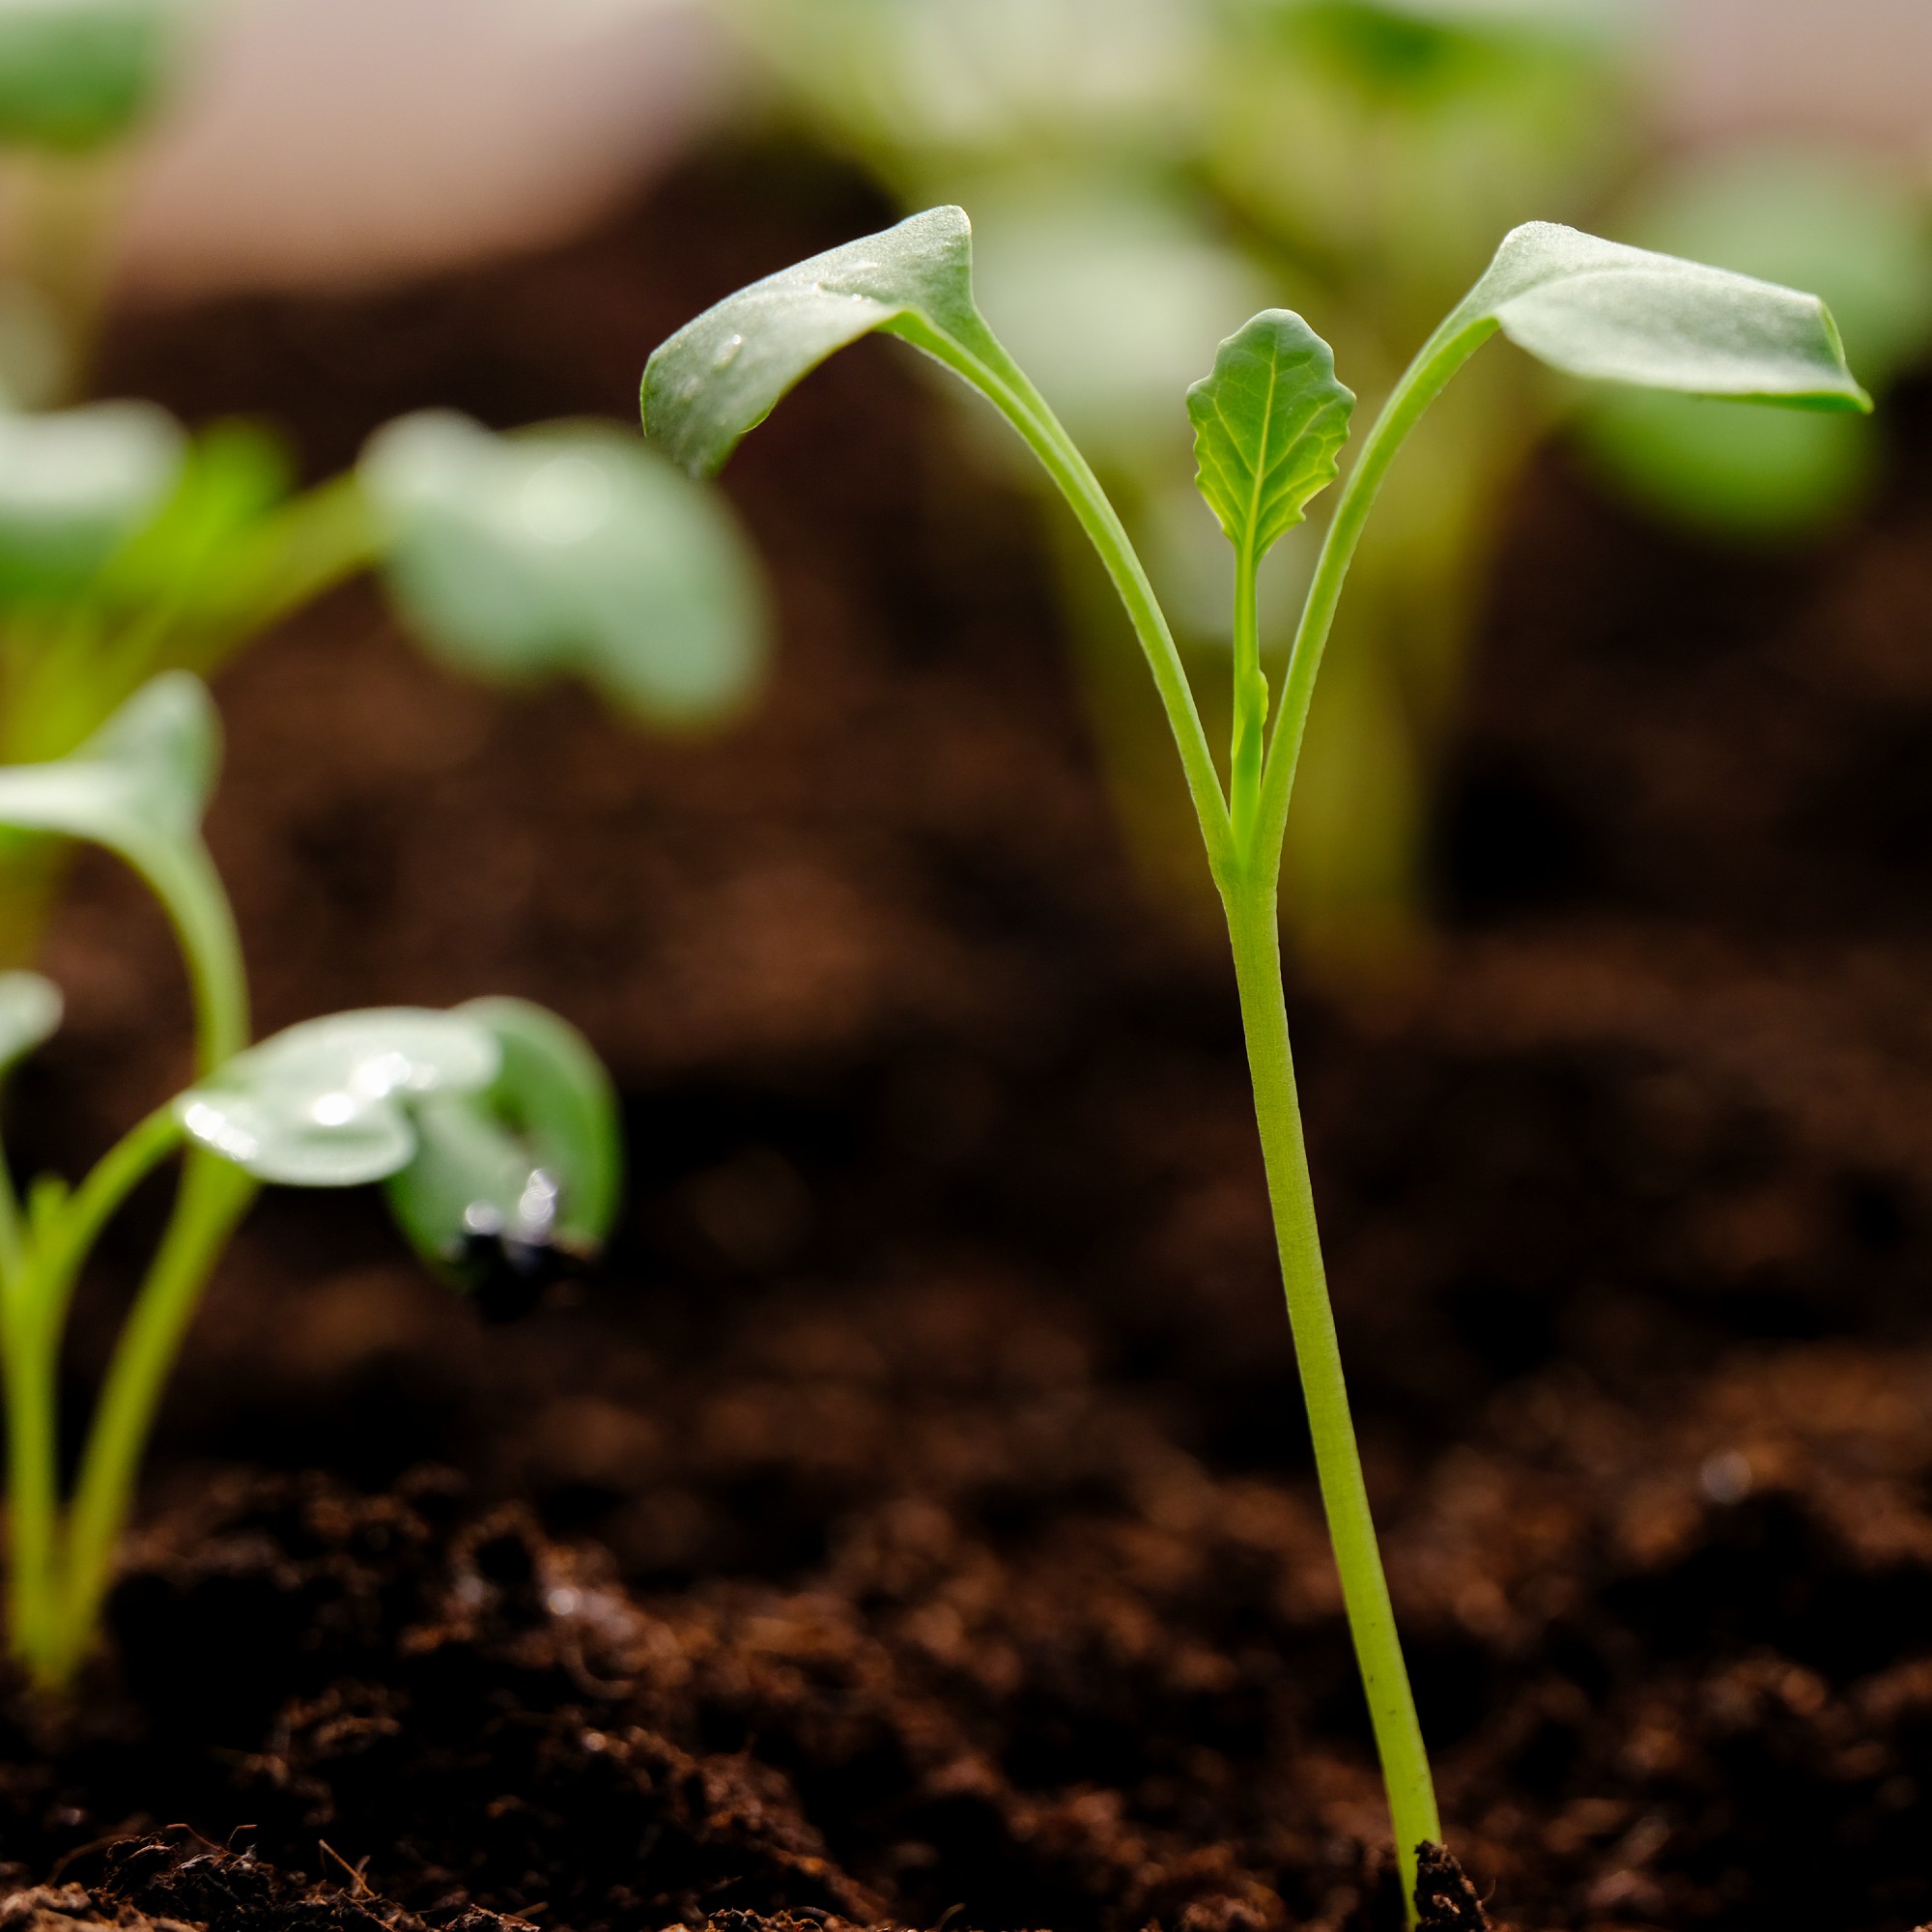
If you want your kale seeds to germinate successfully, you'll need to make sure you're watering them regularly.
Remember to check in on your module trays as often as you can, making sure that the soil hasn't dried out, but also that it isn't wet, either — overwatering can spell disaster for your seeds.
Left in a cool (but not cold) place indoors, your kale seedlings should start to emerge within a week or two. Keep them well-watered as they grow into young plants.
3. Plant out your kale seedlings
Once your young kale plants are bigger, and when the weather is warm enough, you can plant them outdoors.
'Wait until the seedlings have developed some sturdy stems, and are around 10-15 cm tall,' says John Clifford, Director at Gardenstone. 'Now, you can begin transplanting them outdoors. This is typically from late March to early June for spring planting, or late summer.
Ideally, you'll need to harden the plants off first. 'Gradually get the seedlings used to outdoor conditions,' advises John. 'Do this over the space of around one week before planting, starting with a few hours of exposure to outdoor conditions and gradually increasing the time each day.'
'Make sure to dig the holes just slightly deeper than the root ball of each of the seedlings. Once you've planted them, firm the soil around the roots to keep them sturdy and settled.'
Sowing kale seeds outdoors
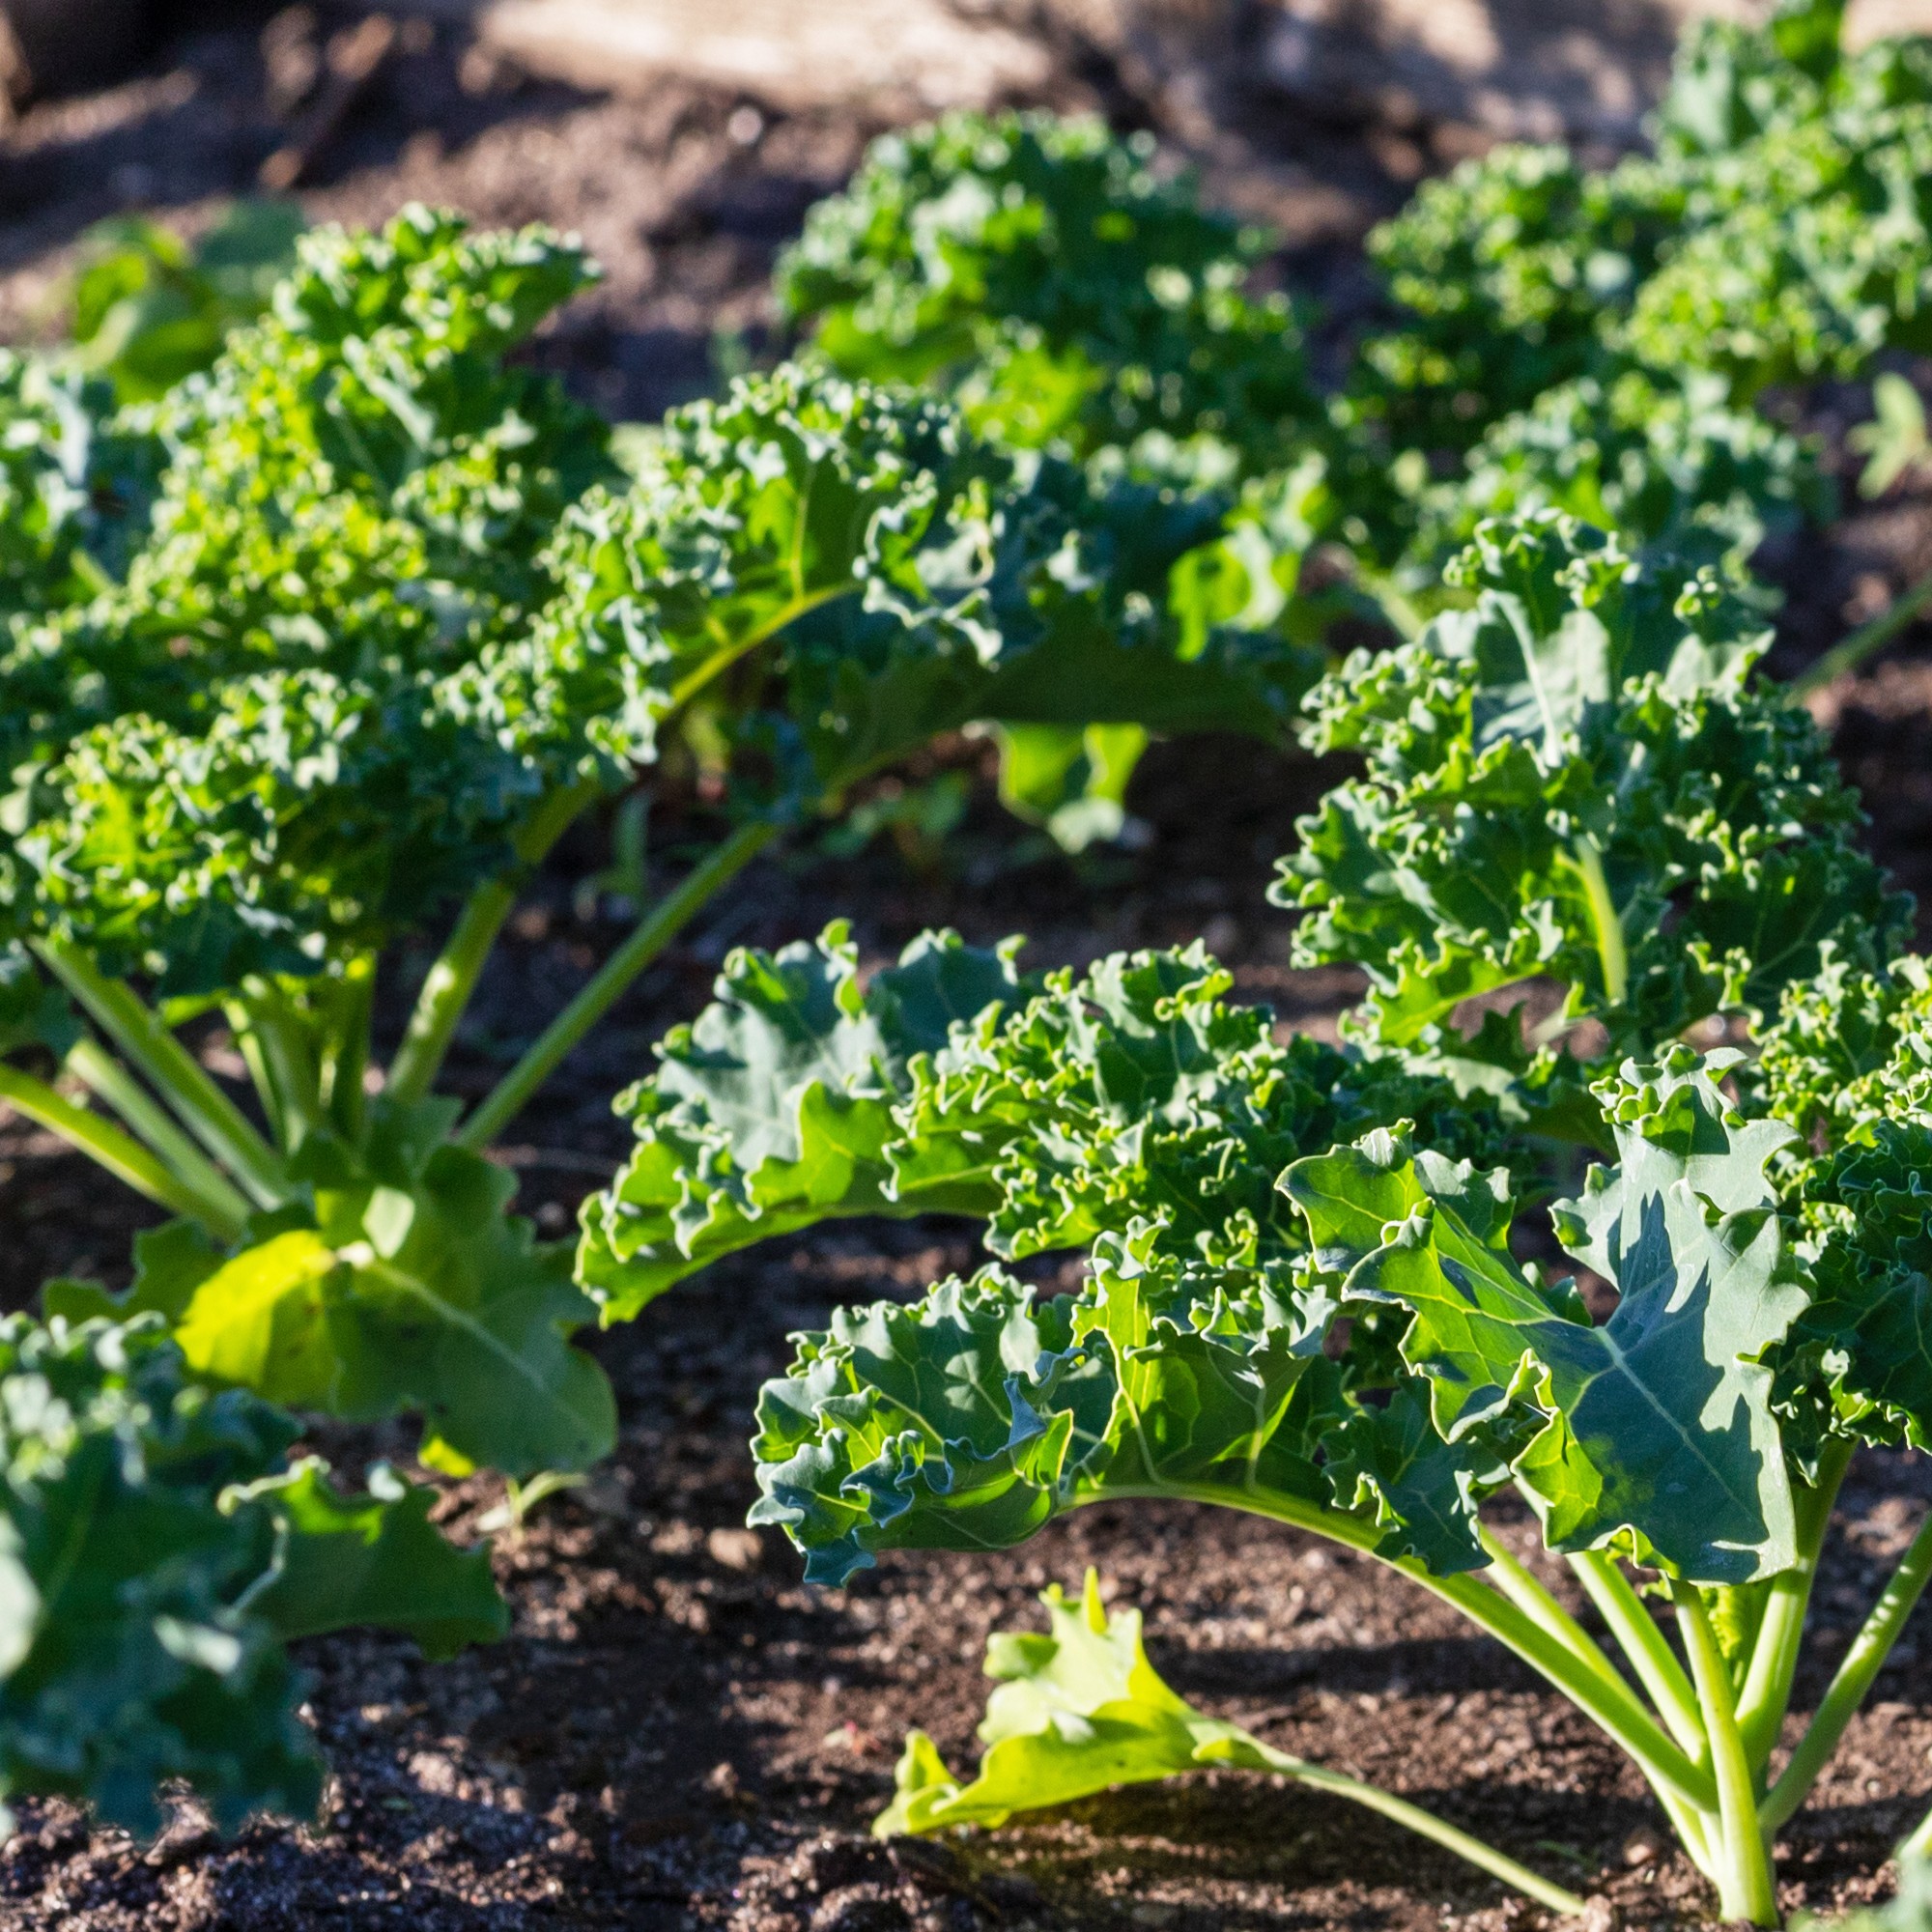
From May, or once the ground is warm enough, you can sow kale seeds directly outdoors.
1. Prepare your soil
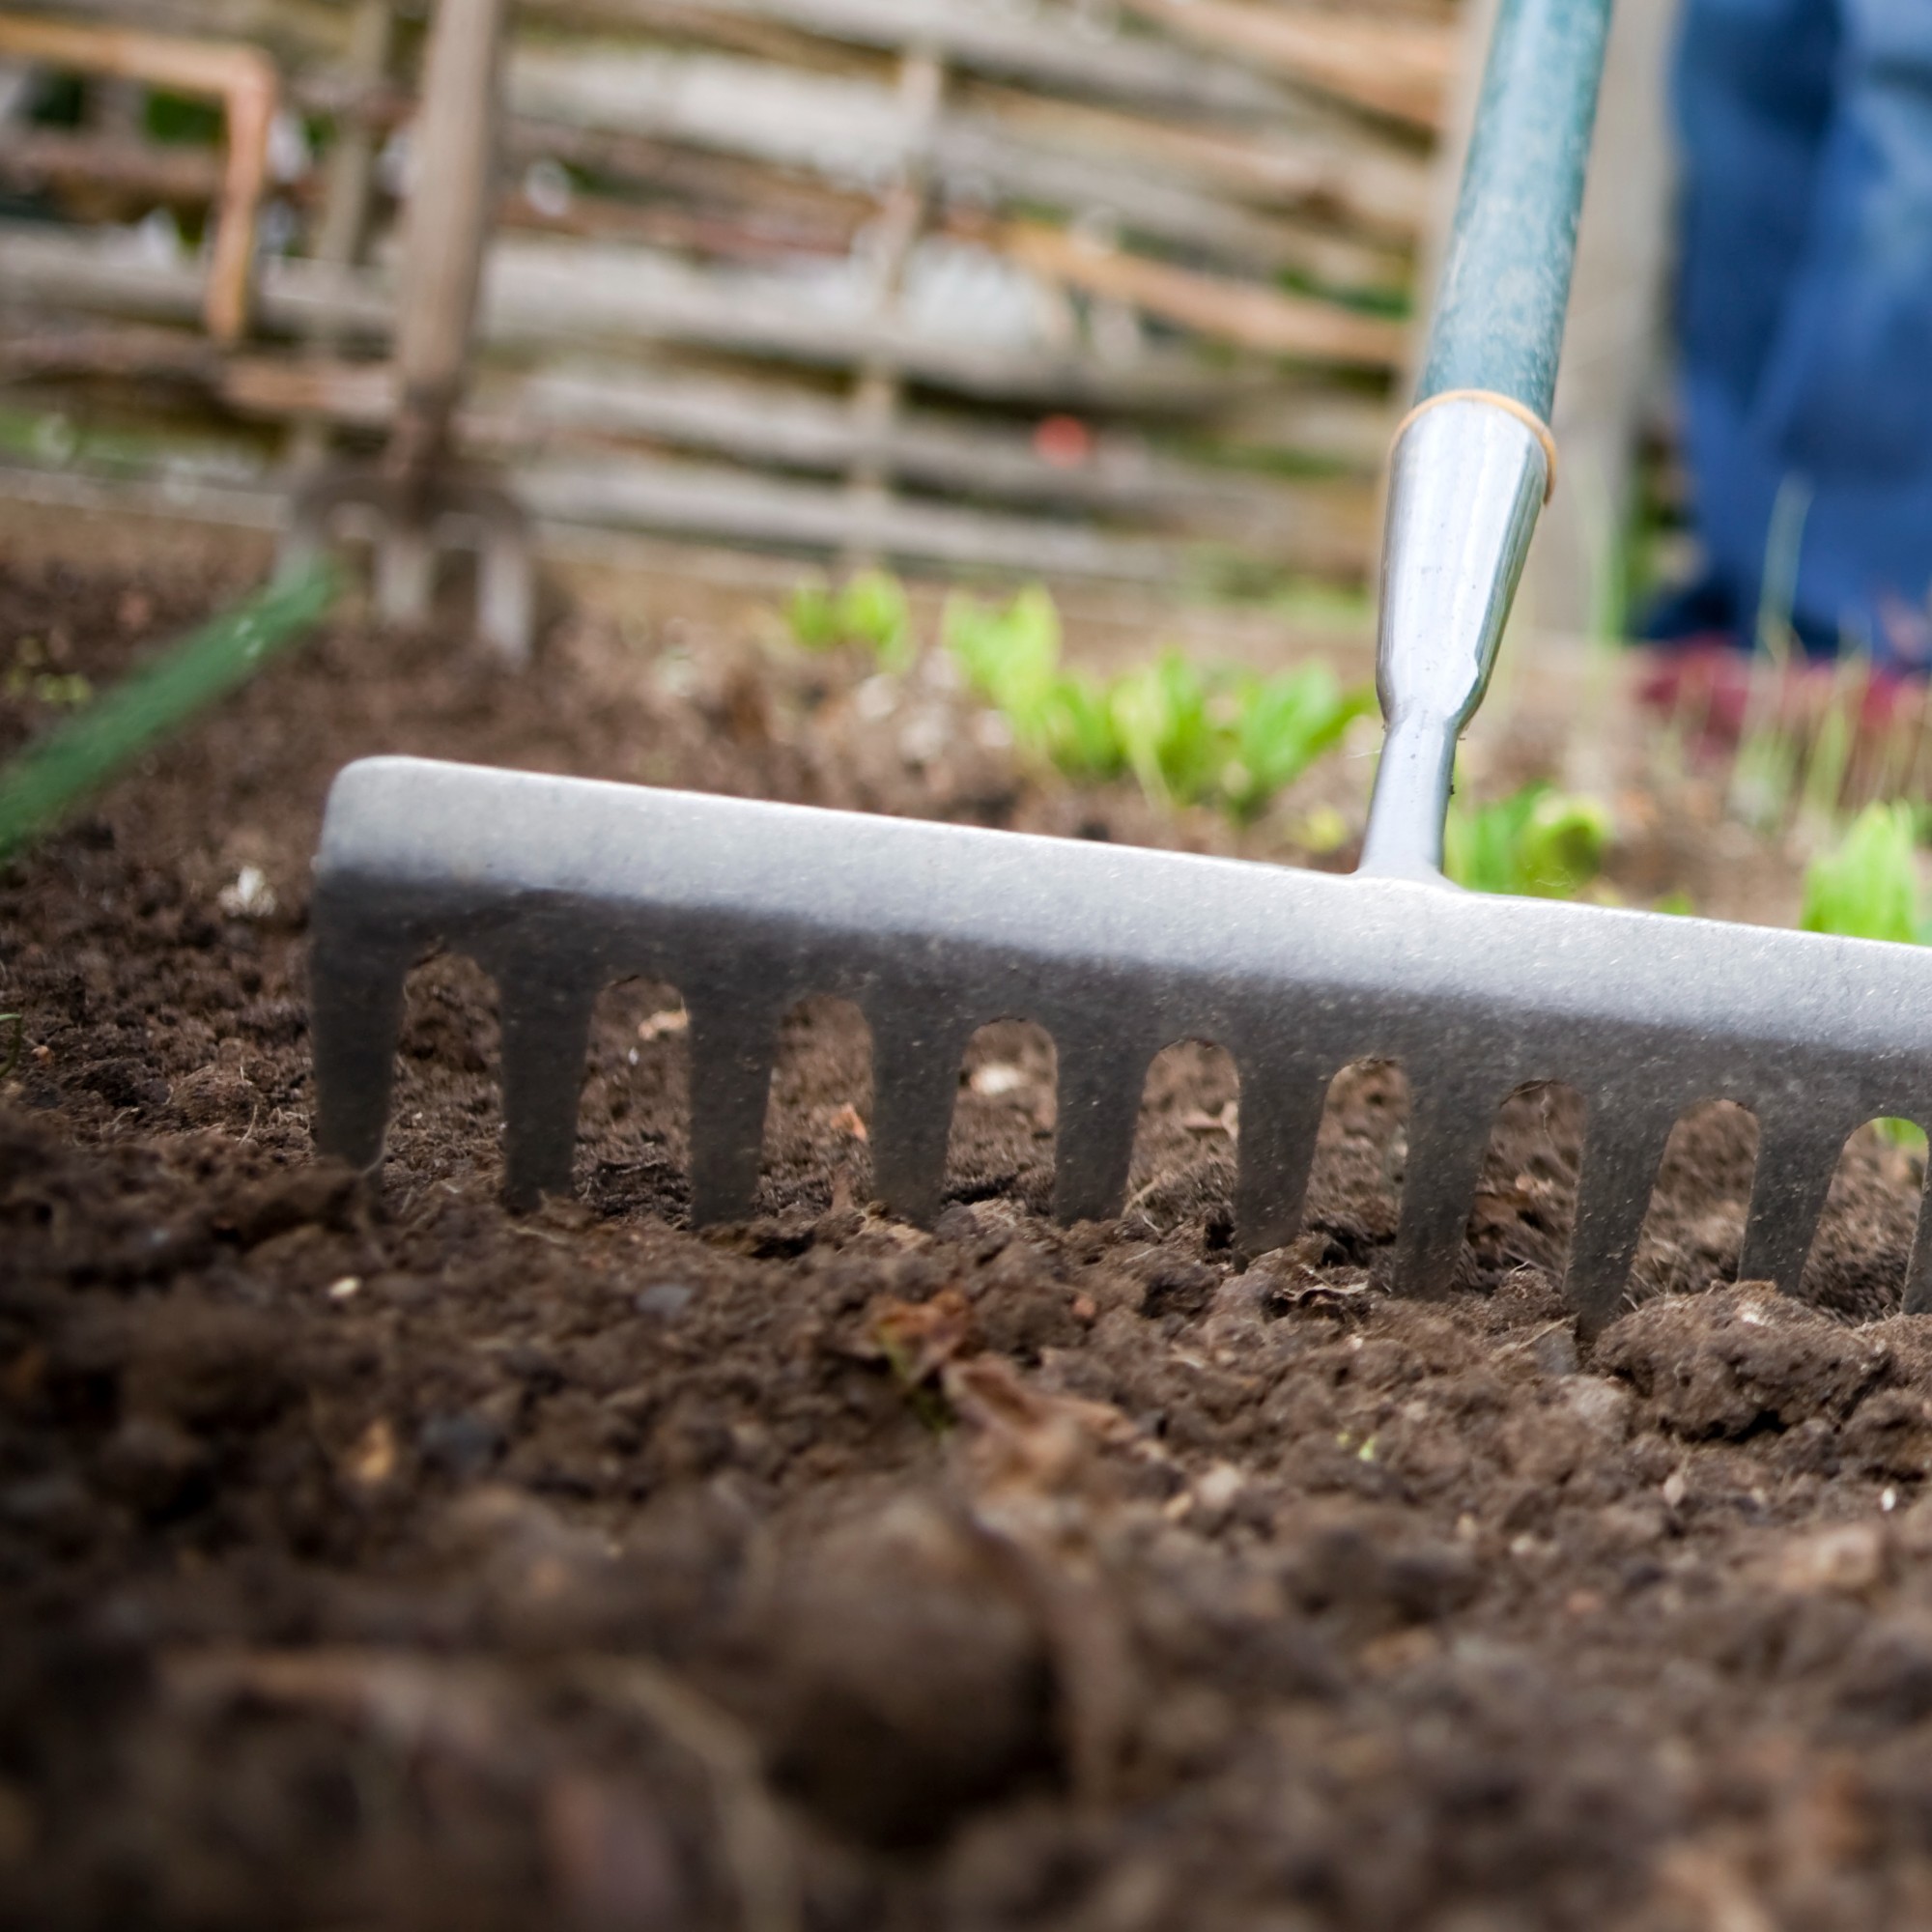
If you're going to be sowing kale seeds directly into the ground, you need to make sure the soil is well-prepared for optimal germination and growth.
Make sure you remove any weeds, taking care not to make any common weeding mistakes in the process. then dig in some home-made compost to feed your garden and give your kale all the nutrients it needs to thrive.
Finally, rake the soil over to level the growing area.
2. Sow your kale seeds outdoors
Make a shallow 1cm-deep drill and water. You can do this using a trowel or even a pole or stick. If you’re growing kale in rows, make sure you leave at least 15cm between drills.
Then, scatter the kale seeds thinly along the drill and cover them with a fine layer of soil or compost.
3. Thin your seedlings
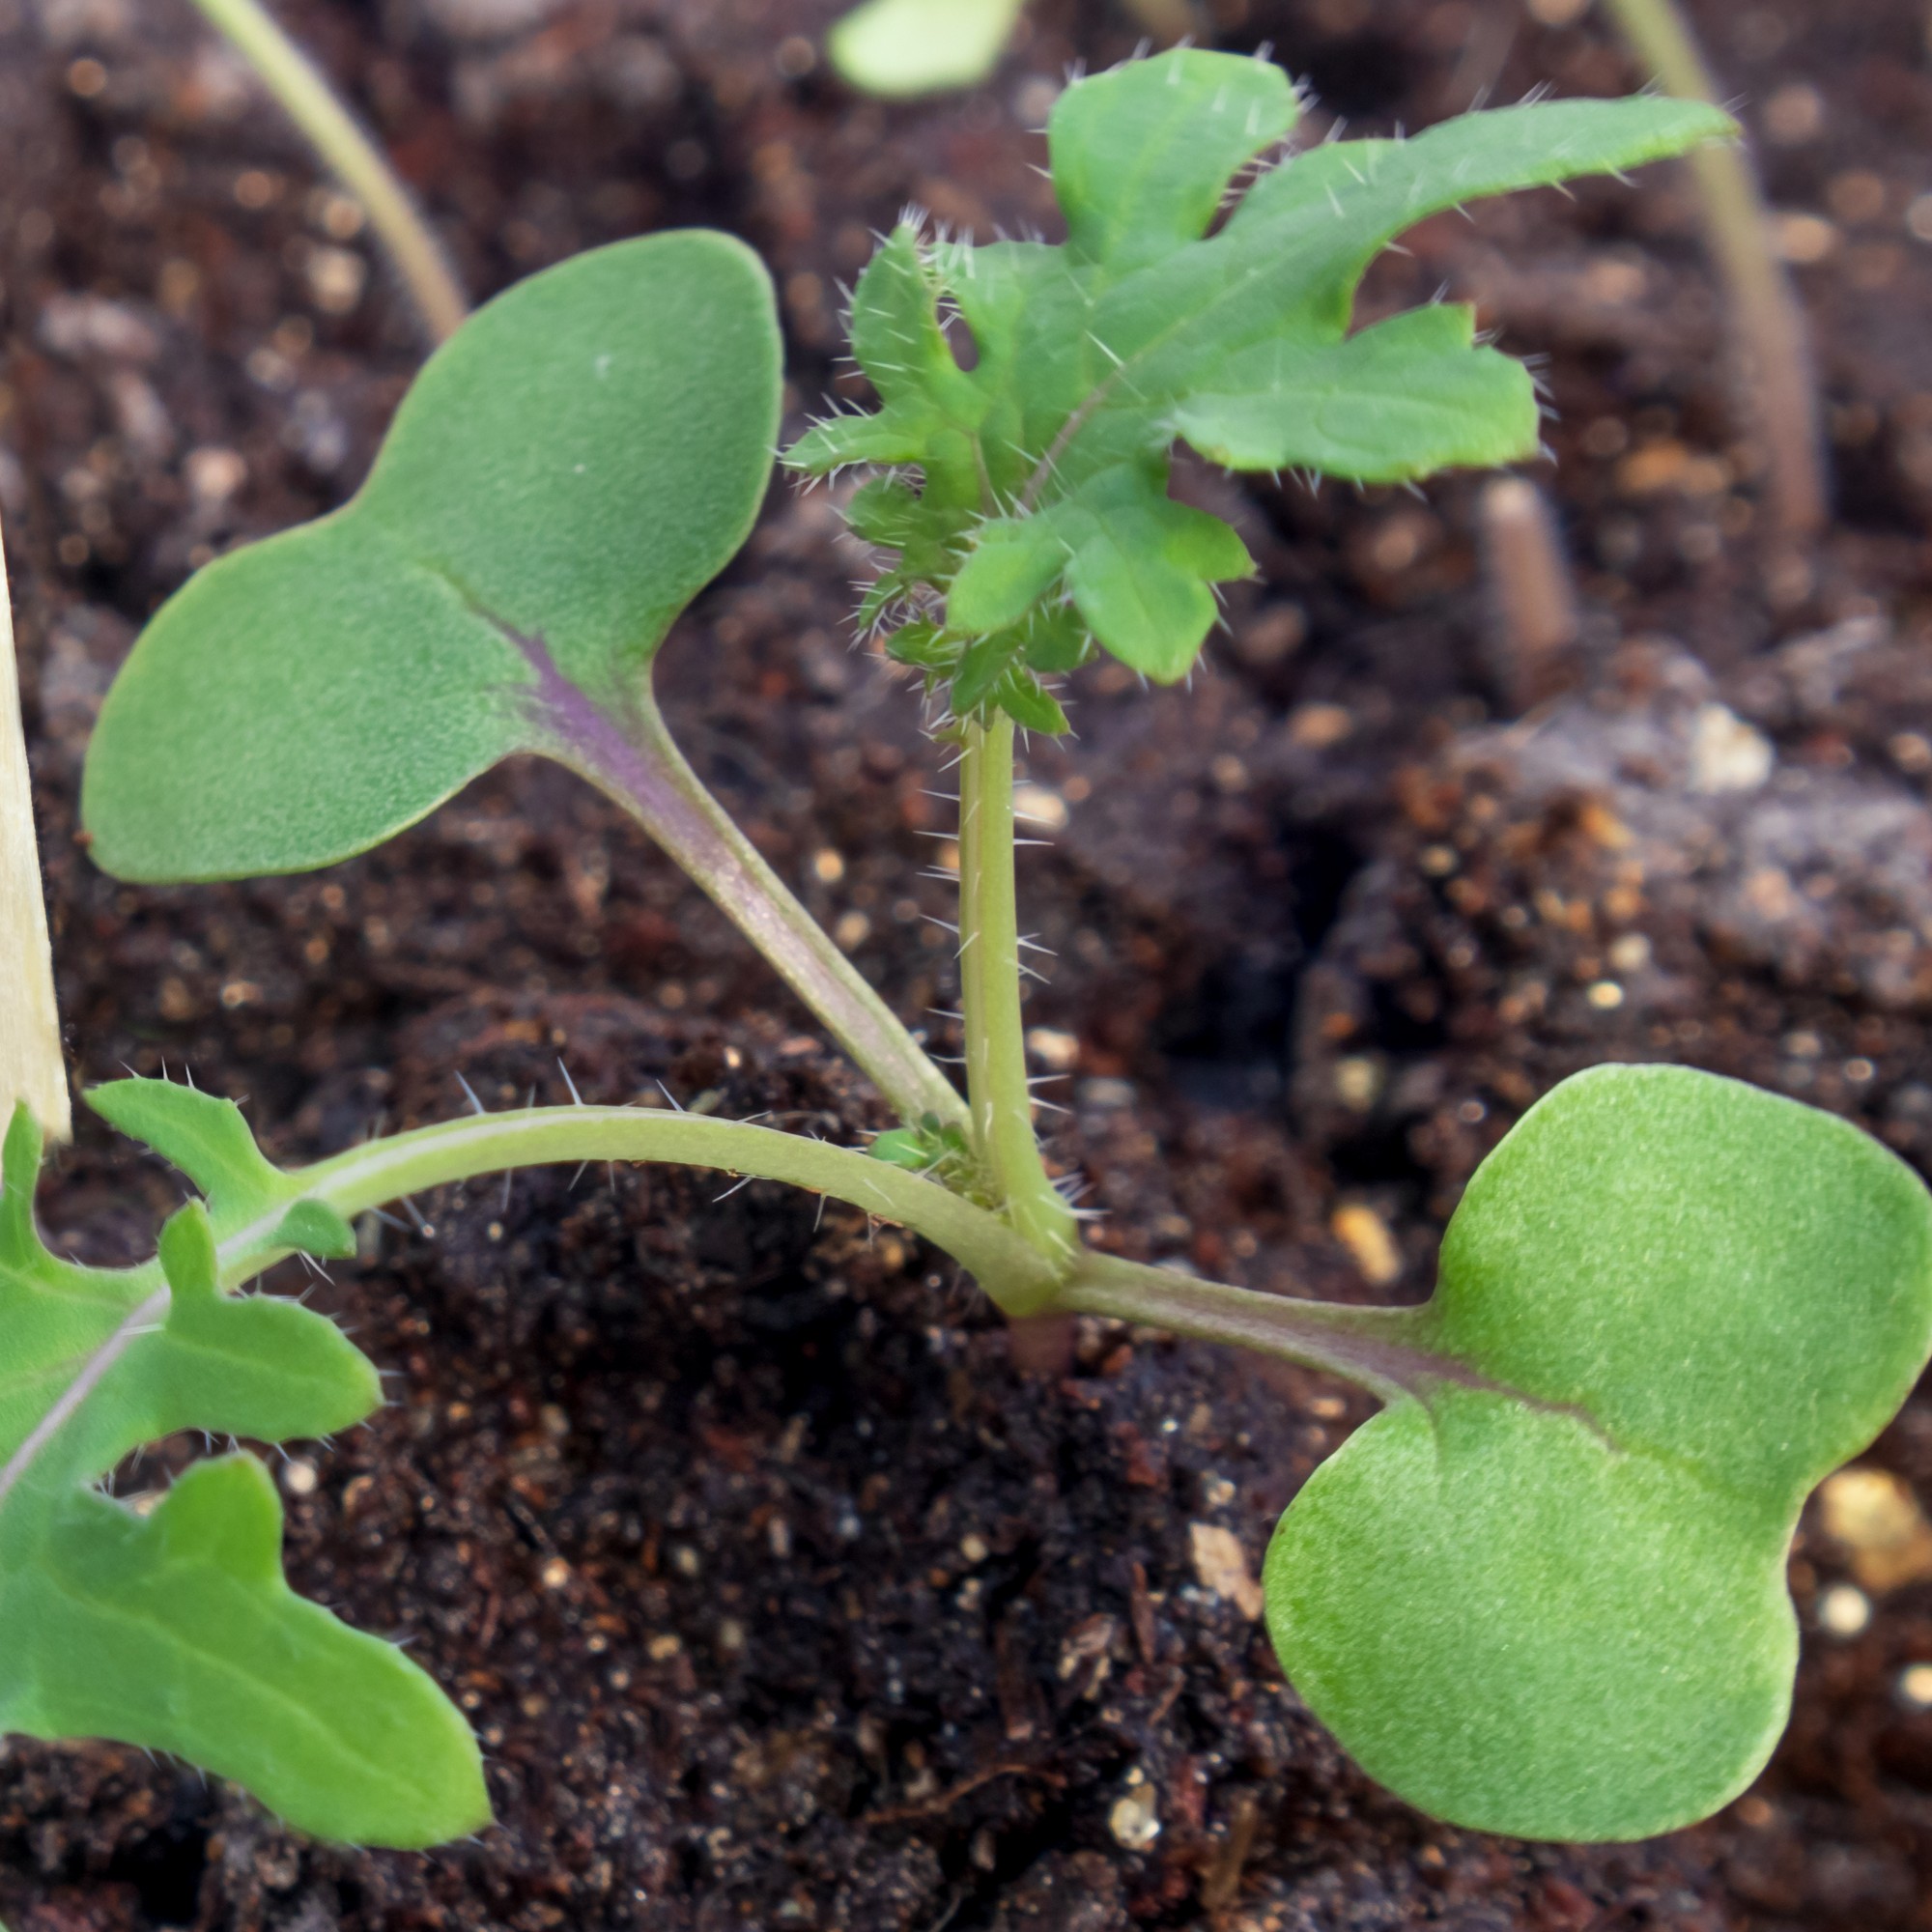
When kale seedlings begin to emerge, you'll usually see lots growing together, depending on how thinly you sowed.
Remove the weaker-looking seedlings, aiming to leave 7.5cm gaps between each remaining seedling.
You can even use the thinnings in salads, so don't let them go to waste!
4. Thinning or transplanting
Once your kale plants become well-established, it's time to either thin them down again or transplant them to a space where they'll have more room to grow into a mature plant.
If you decide to transplant them but are wondering how to move plants in the garden without killing them, make sure you water the plants thoroughly the day before the move.
When transplanting the young plants, make sure you plant them in holes slightly larger than their root balls,' advises Morris Hankinson, Founder and Managing Director of Hopes Grove Nurseries. 'Lift them carefully, trying not to disturb the roots, then set them in their new planting hole. Make sure you cover the roots up to the first set of leaves.'
'Space plants 18 inches apart and water generously to settle the roots in.'
If you decide to remove the weaker plants from the row instead, make sure you leave 18-inch gaps between each plant you leave to grow on.

Morris Hankinson is the Founder and Managing Director of Hopes Grove Nurseries Ltd, the UK’s only specialist grower-retailer of hedging plants. After graduating with a Commercial Horticulture Degree from Writtle College, Essex in 1992 Morris established the nursery the same year on a half-acre plot at the 25-acre family farm in Tenterden, Kent. The business soon grew to cover the whole farm and now grows hedging plants across three nursery sites in the beautiful Weald of Kent totaling 130 acres, employing 20 full-time local staff, and serving over 17000 customers each year.
4. Harvest your kale
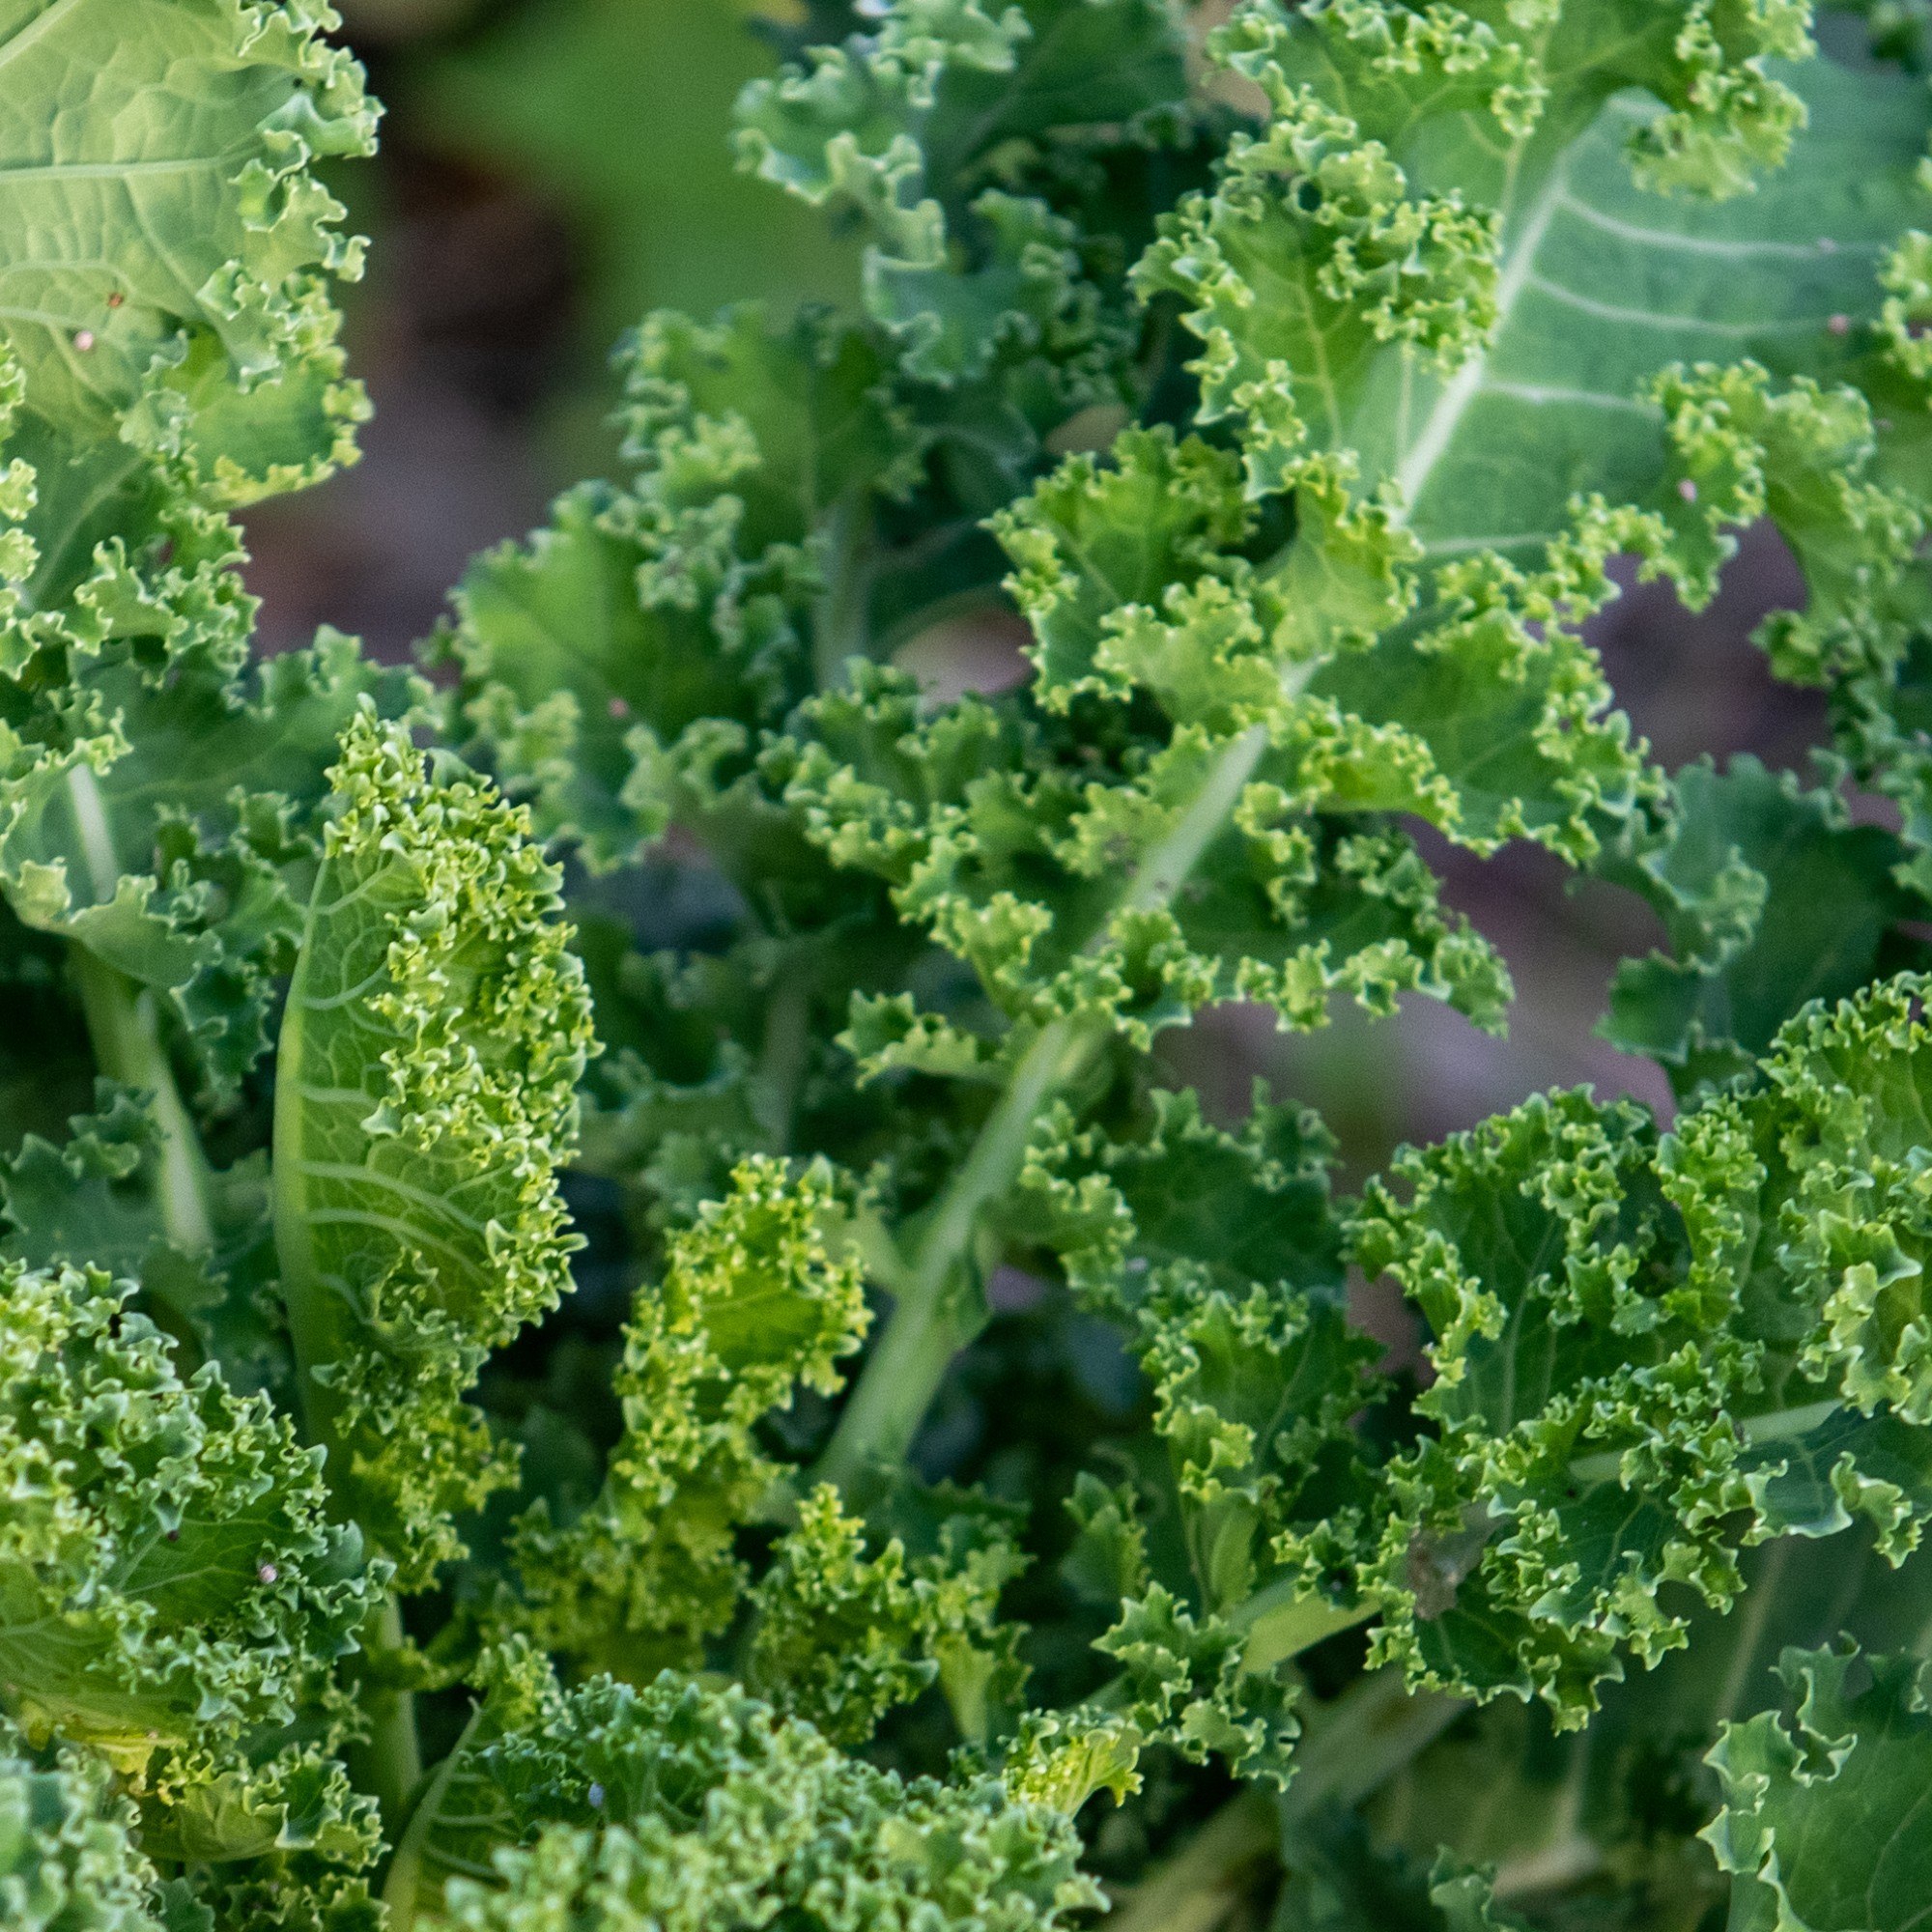
Now it's time for the fun part: picking the leaves!
Kale takes around three months to reach picking size, according to Stephanie, which usually means you can harvest the leaves from September. The plants can be left in the ground for a lot longer than that, though.
'The plants can be left and picked as required for hearty soups and stews throughout winter,' says Stephanie. 'In fact, like sprouts, the flavour of kale can be enhanced with a touch of frost.'
FAQs
Does kale grow better in sun or shade?
Kale is a versatile vegetable and can be grown in a variety of conditions. 'While it mainly prefers full sun, it is also a vegetable that can grow in shade, says John Clifford, Director at Gardenstone. 'I would recommend it grows in the sun if possible, however if it isn't, then partial shade will be okay for it.
'Around 6-8 hours of sunlight a day is preferred, although if the sun is particularly intense, it will benefit from being moved into a slightly shaded area for the hottest parts of the day.
'This is important in summer, as too much sun can completely dry out the soil, which can cause bolting (when a plant prematurely goes to seed instead of flowering).'
Does kale regrow after cutting?
Kale is very much like other leafy vegetables like basil, which needs to be harvested so it keeps growing.
'Kale generally does re-grow after cutting, which makes it really versatile and handy to have in the garden,' says John.
'To make sure that it does re-grow, when you pick the kale leaves, only cut the outer leaves off, making sure you leave the small central leaves and the top growing part of the plant. This way, the plant can keep growing new leaves.'
'You could also pick the leaves from the bottom of the plant first, leaving the top growing point alone. This way, the Kale plant keeps producing new leaves from the centre.'
How do you protect kale from pests?
Kale is tempting for a range of pests, so it's important to consider precautions to keep them protected.
'To protect the plants from pests, use row covers and monitor for common issues like aphids and cabbage worms,' advises Morris.
You could even try out some companion planting ideas to attract beneficial insects to your garden and ward off the less helpful ones.
Knowing how to grow kale offers a fast track to a superfood supply from your very own garden. Why not give it a try?

Sophie joined the Ideal Home team as Gardens Editor in June 2024. After studying English at Royal Holloway, University of London, she began writing for Grow Your Own, which spurred on her love of gardening. She's tried growing almost every vegetable under the sun, and has a soft spot for roses and dinnerplate dahlias.
As Gardens Editor, Sophie's always on the lookout for the latest garden trend. She loves sharing growing hacks for every space, from herbaceous borders to balconies.
-
 I finally got my hands on the sellout Morris & Co armchair from Habitat, and it looks even better in person
It's back in stock, and well worth the wait
By Rebecca Knight
-
 How to stratify seeds – gardening pros swear by this secret to a thriving garden
This little-known secret is a must for a lush garden this year
By Kayleigh Dray
-
 Cinema sofas are this year's breakout furniture trend, but are you a fan of this controversial sofa style?
Let us know in the comments
By Rebecca Knight
-
 I’ve found the best solution for cleaning stains from a patio - and it’s only £8 on Amazon
The stains practically vanish!
By Kezia Reynolds
-
 Lidl’s £15 sun sail is everything you need to create a shady oasis in your garden – and it’s on sale right now
With two stylish colours available, the sun sail will make a chic yet practical addition to any of your garden.
By Kezia Reynolds
-
 B&M has nailed 2025's breakout garden furniture trend - it's one of the most affordable and stylish I've seen
Get the luxe look for less
By Kezia Reynolds
-
 I was shocked to discover a treasure-trove of designer-look garden furniture at La Redoute on sale right now – 6 chic standouts
Give your garden that high-end look
By Sara Hesikova
-
 Lidl garden range includes a genius hack to instantly make a patio look more expensive – and it's only £17
Is your patio decking looking a little tired? We suggest you head to your nearest Lidl right away
By Kezia Reynolds
-
 Aldi's BBQ top pizza oven is back in time for summer – and it's even cheaper than last year
Any budding dough-spinners would be foolish to miss out on this bargain buy
By Kezia Reynolds
-
 George Home's curved garden furniture collection has nailed this year’s hottest seating trend – these are our top picks from the collection
It's both comfortable and stylish
By Kezia Reynolds
-
 IKEA's mini greenhouse has just launched in a stunning on-trend colourway – and it's only £15
The striking new blue colourway is perfect for seeing in the spring in style
By Kezia Reynolds
