How to grow potatoes – a simple guide for homegrown spuds
Learn how to grow potatoes like a pro and you'll enjoy a homegrown crop of this versatile veg in no time
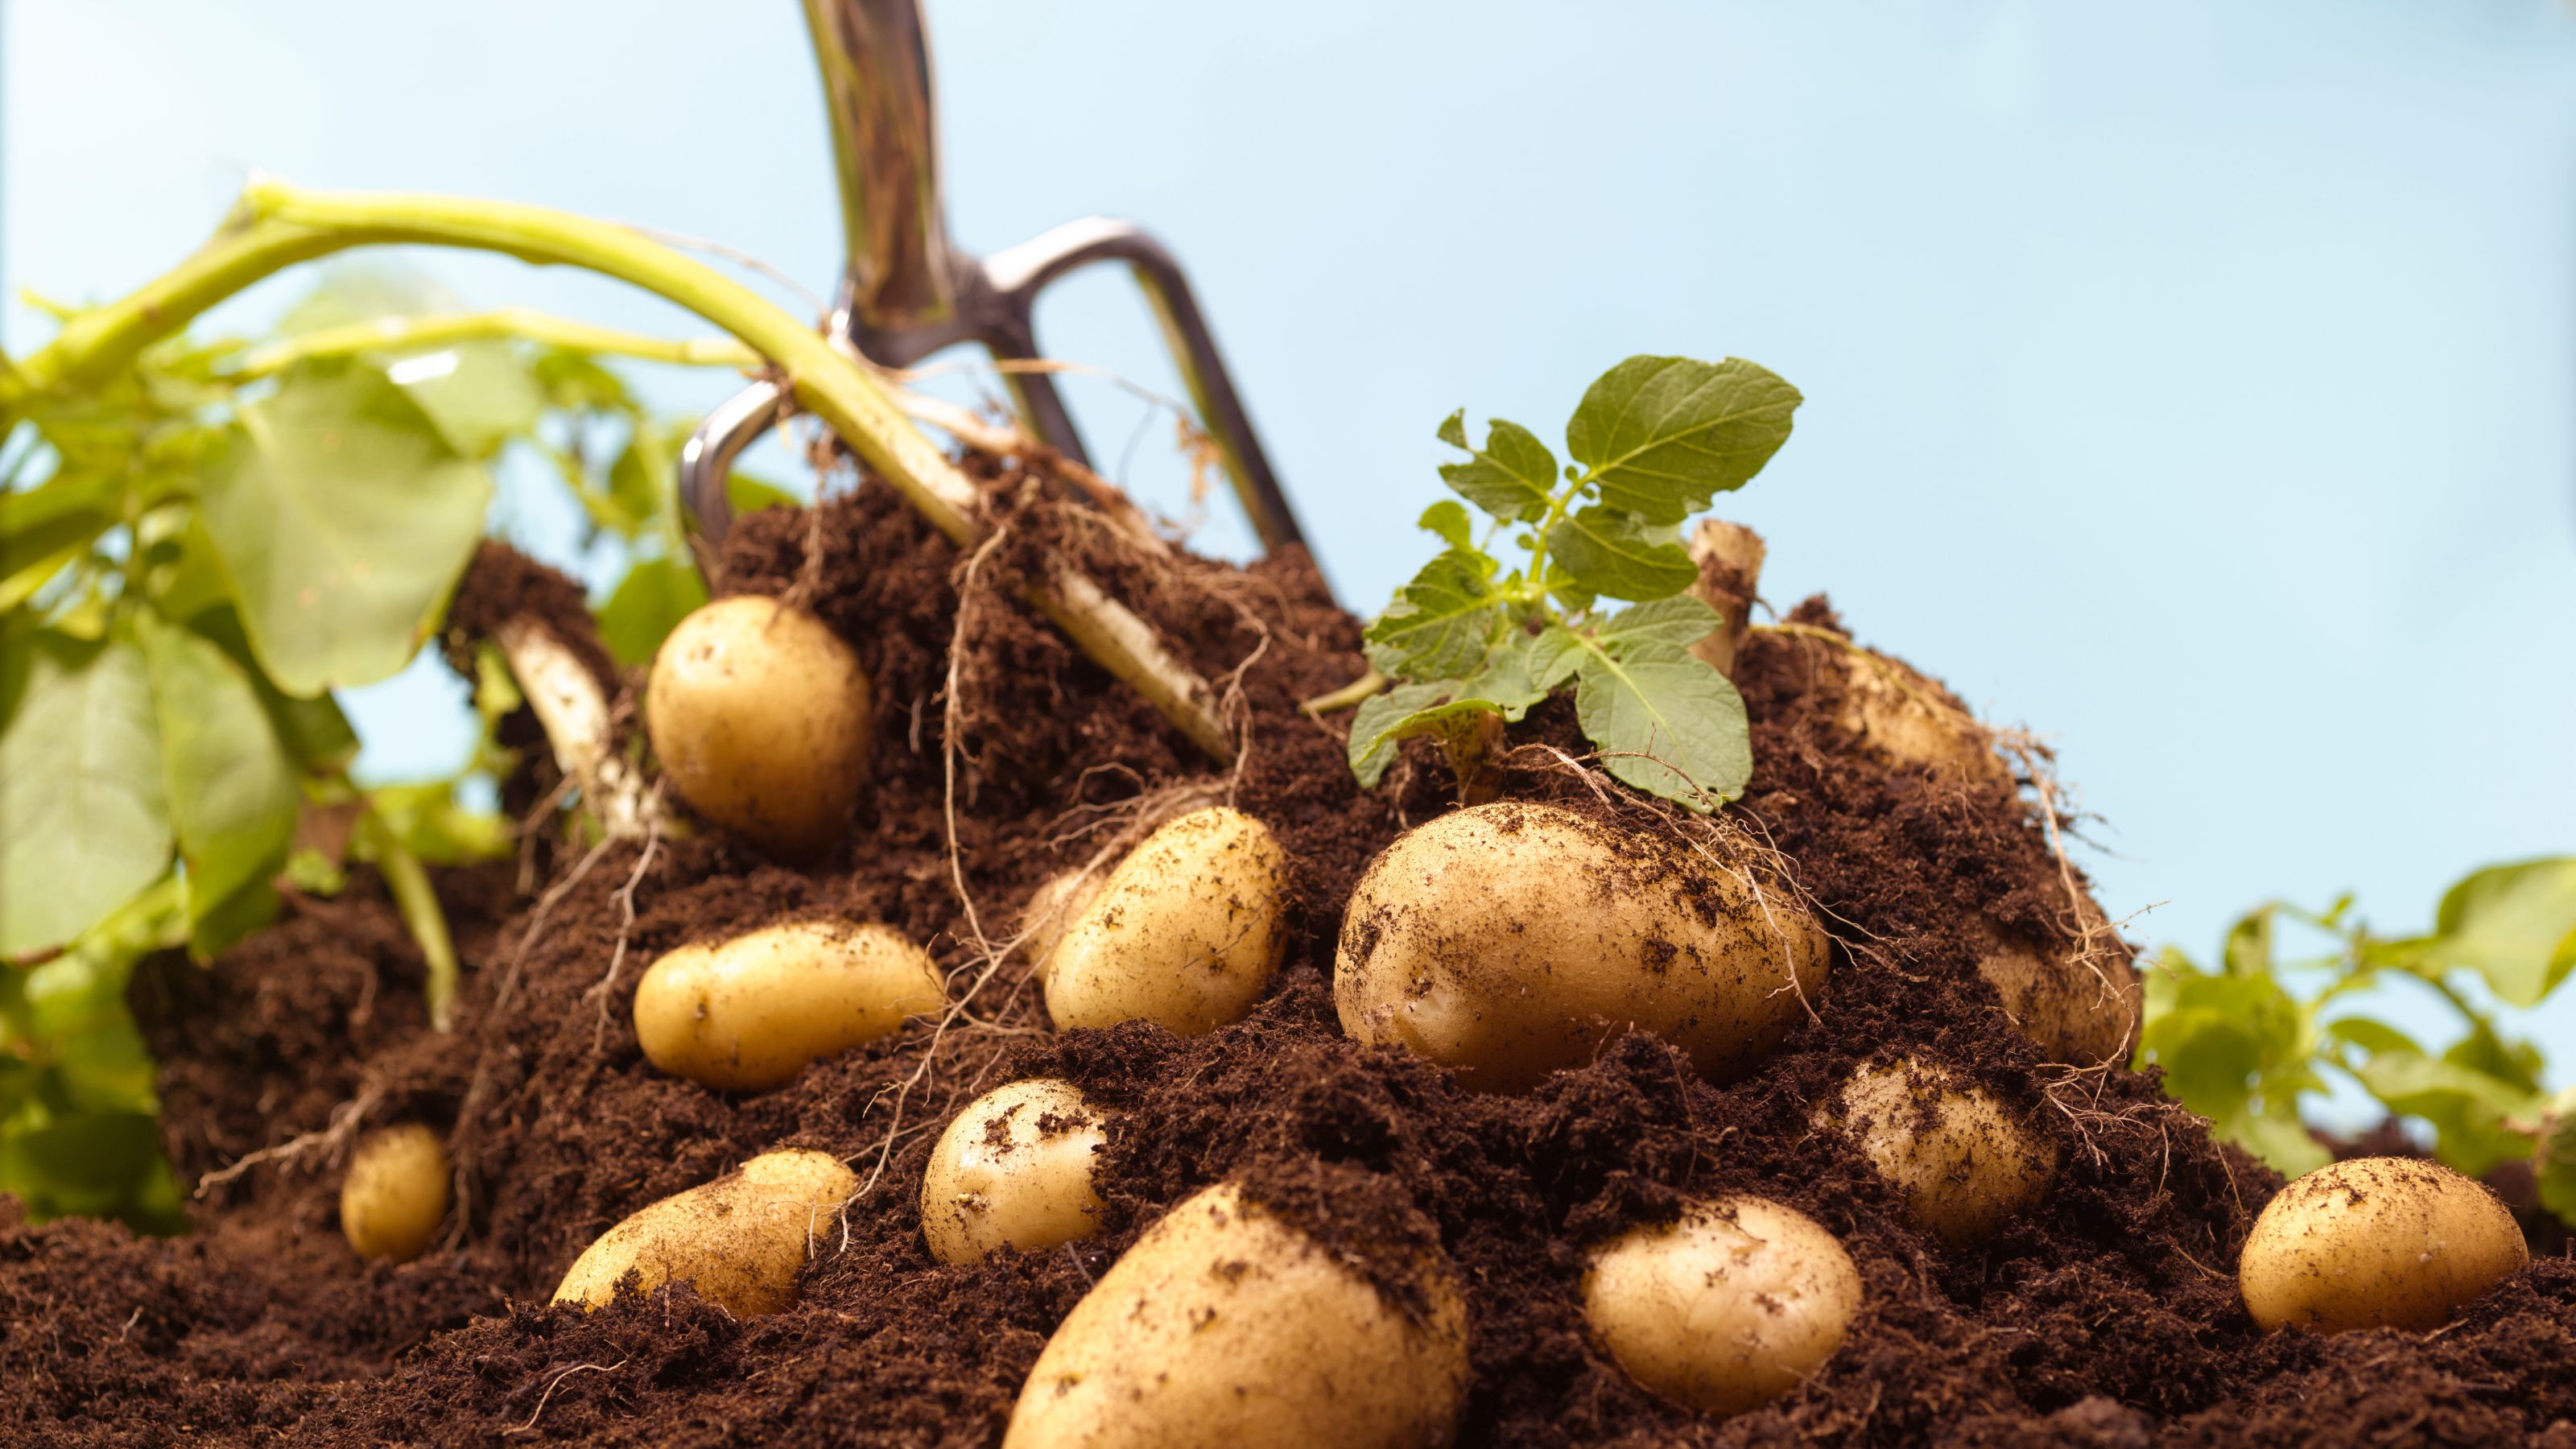

One of the most low-maintenance crops around, it's well worth learning how to grow potatoes – especially as they're one of the best things to plant in a small vegetable garden.
Once you've discovered how much more flavoursome a simple home-grown spud can be compared to supermarket supplies, you won't look back. And, fun fact, potatoes are one of the easiest vegetables to grow, even for total beginners.
That's right: you can grow potatoes anywhere, even in the tiniest of outdoor spaces, which means you can even grow them in pots, if you so wish.
How to grow potatoes
'Nothing beats the feeling of growing your own spuds. Potatoes are an excellent crop for both beginner gardeners and experienced vegetable growers, as they’re easy to grow and produce a bumper harvest every time,' explains Cassie King, PR officer for British Garden Centres, the UK’s largest family-owned garden centre group.
Cassie is the PR officer at British Garden Centres, working across its 62 stores, and has been working in the garden industry since 201, so has a true passion for all things plants!
'They can be grown outdoors in any setting, and even in pots or bags if you are short of space,' she adds.
This means that you can carve out a little corner of your patio, courtyard or garden for your potatoes (just as you would if you were growing cucumbers, peppers or tomatoes.
Types of potatoes and when to plant them
A key part of learning how to grow potatoes is knowing when to plant your tubers. For this, you need to understand the different potato types, as the time for planting – and for harvesting – can differ slightly for each variety.
'There are four types of potatoes: first and second earlies, main crop, and autumn second crop, so called due to the time they are harvested,' explains Boyd.
- First earlies – plant between February and April and harvest in May-July
- Second earlier – plant March to April and harvest July-August
- Main crop – plant March to May and harvest August-October
- Autumn (late season) – plant in August and harvest October-November
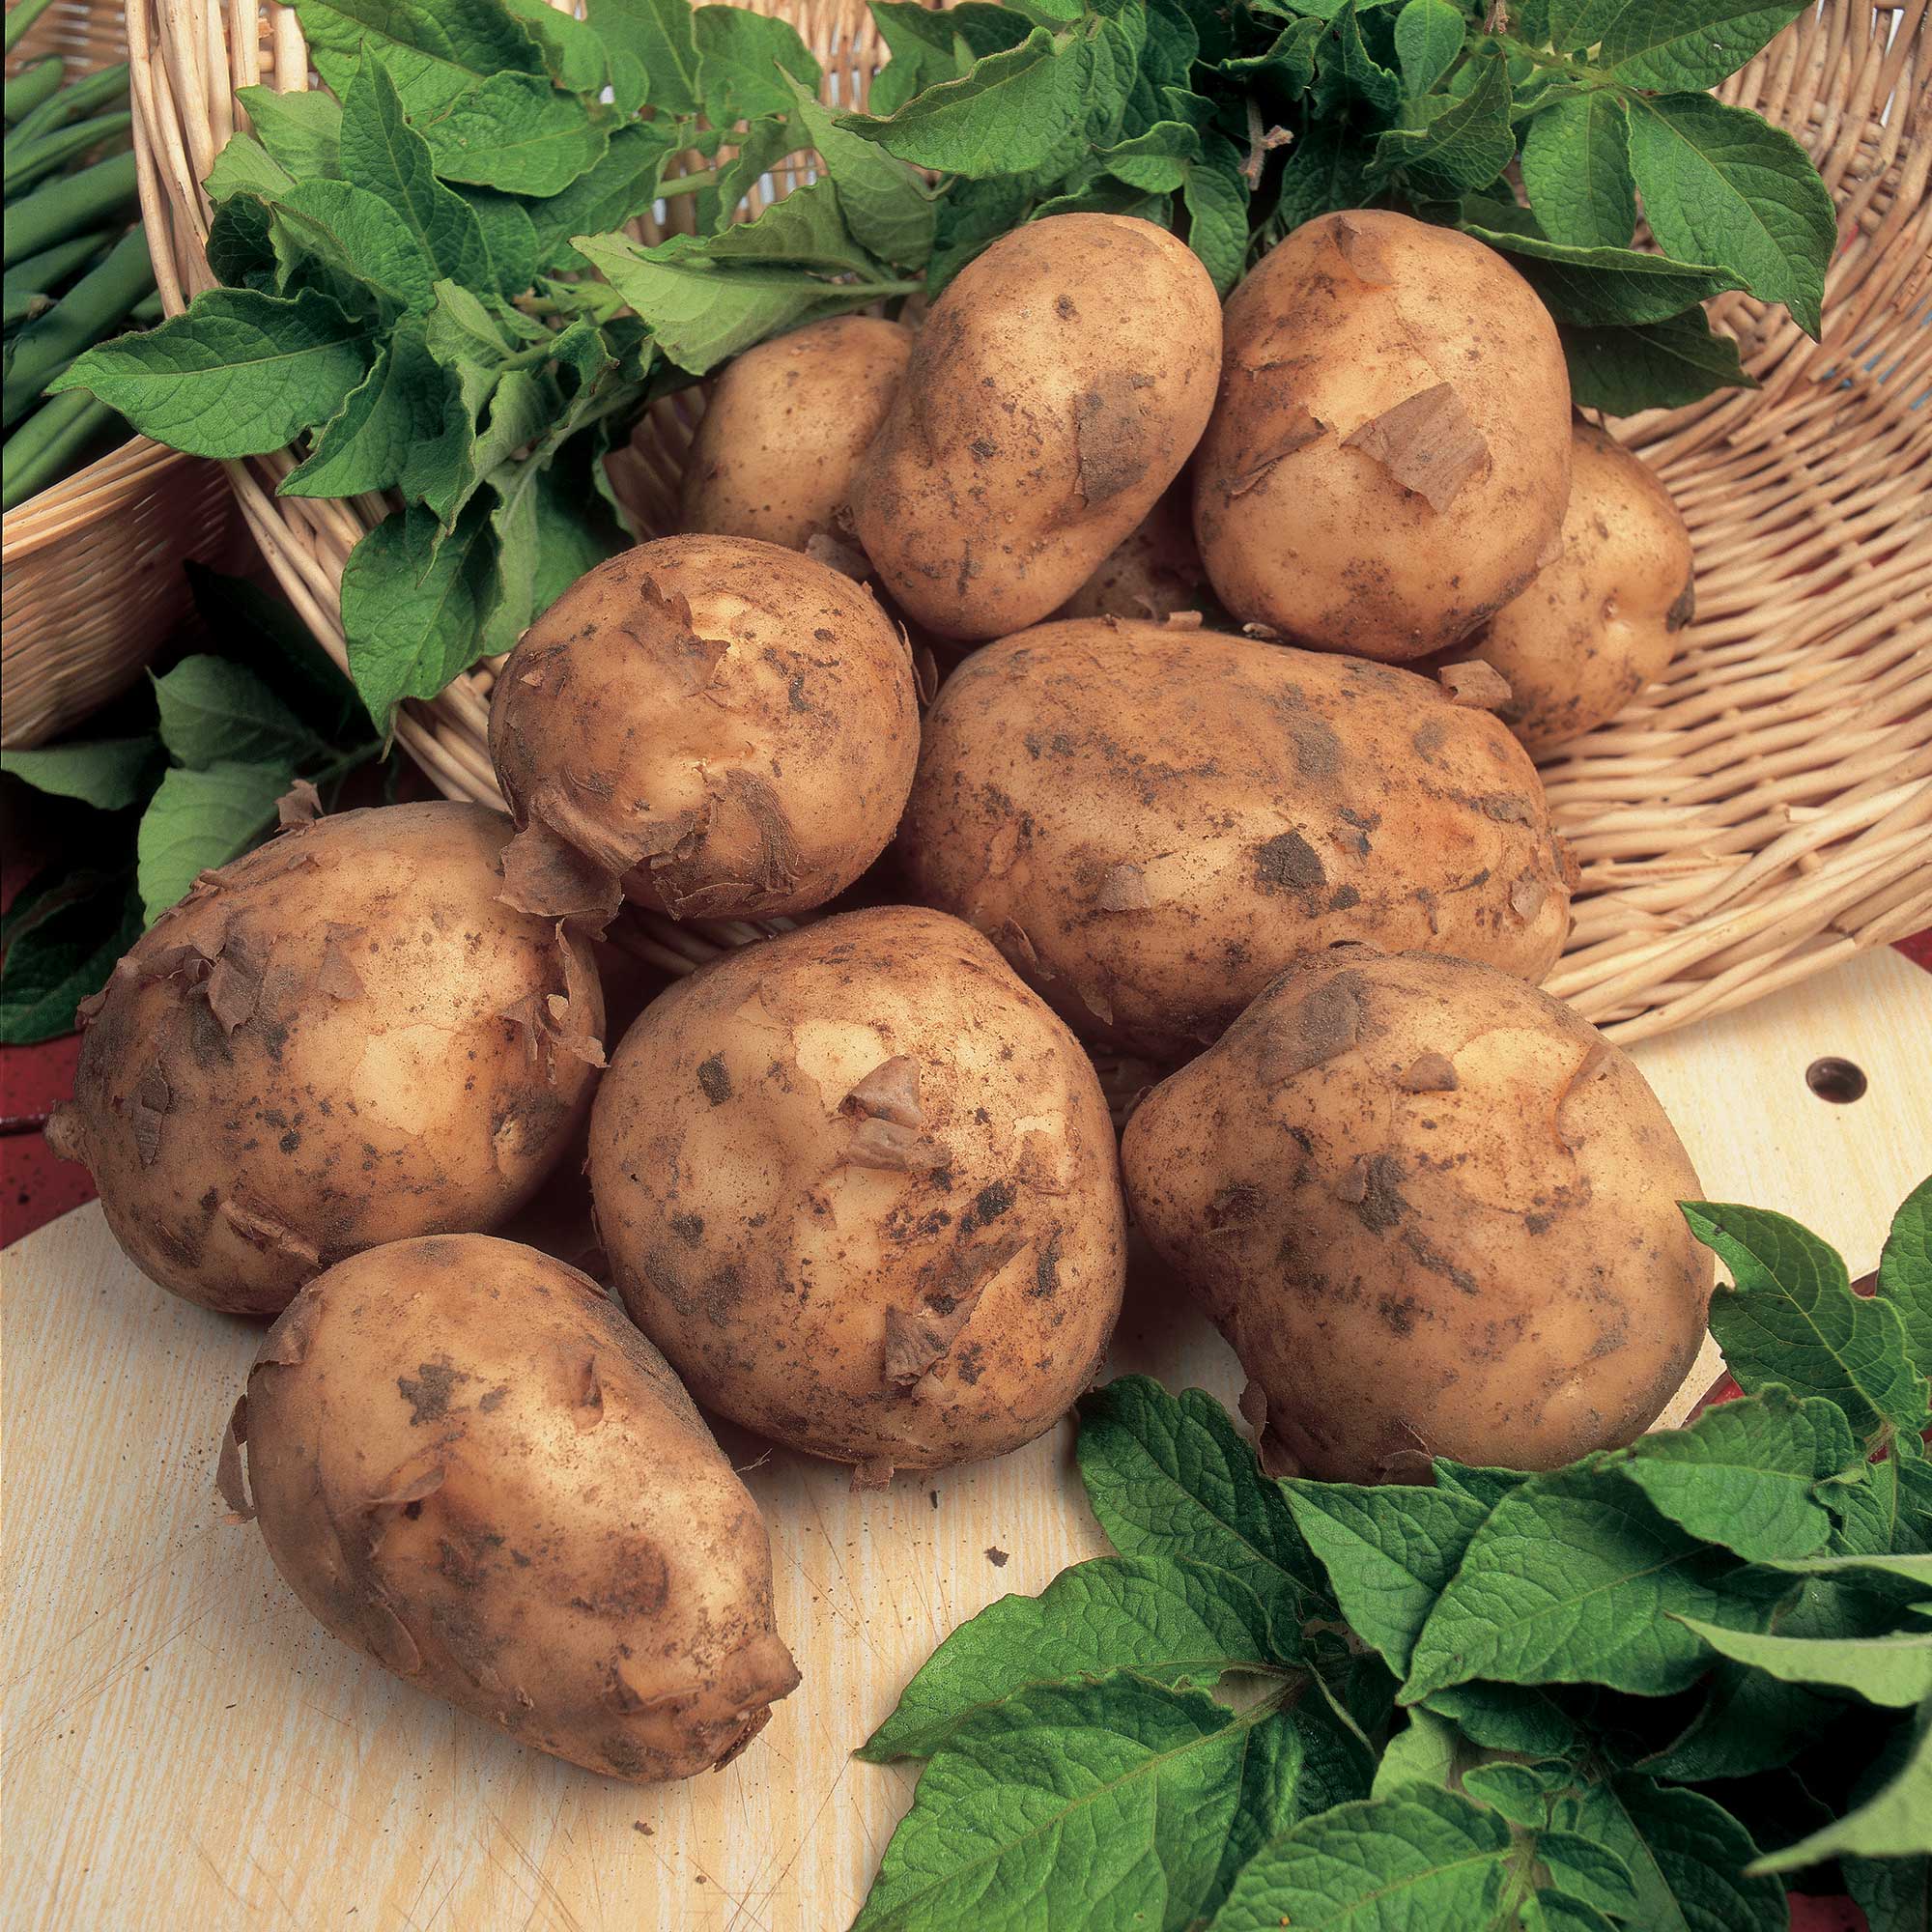
Ideally, you'll want to plant at least three different types of seed potato, so you have potatoes throughout the summer season and even into autumn and winter.
Rob Smith, product development manager at vegetable seed suppliers, Suttons, advises on varieties of the different potato types to try:
'A good first early potato to grow is ‘Maris Bard’, which will provide large crops of new potatoes – delicious served warm with butter or cold in salads.
'A classic second early potato with an RHS Award of Garden Merit is ‘Pink Fir Apple’. This variety produces knobbly, long pink tubers, which taste delicious in salads.
'For an excellent all-rounder, try the main crop variety ‘Maris Piper’, whereas if you want a late harvest between October and Christmas then choose a late-season potato and plant at the end of August. Try ‘Charlotte’ for its good blight tolerance and excellent flavour,' Rob explains.
Rob is development manager for Suttons, and a passionate vegetable gardener and writer.
What you will need
- Seed potatoes – 'choose seed potatoes based on flavour, intended use and harvest time,' says Rob.
- A good quality multi-purpose compost
- Seed trays or empty egg boxes
- Trowel or spade
- Potato planting bag, old compost sack, grow bag, large bucket or another type of container – about 40 litres in size, ideally
- Fork or potato harvesting scoop
- Paper bags or hessian sack
Your step-by-step guide
If you're ready to learn how to grow potatoes, you're in luck: it's incredibly easy – especially if you follow our expert advice.
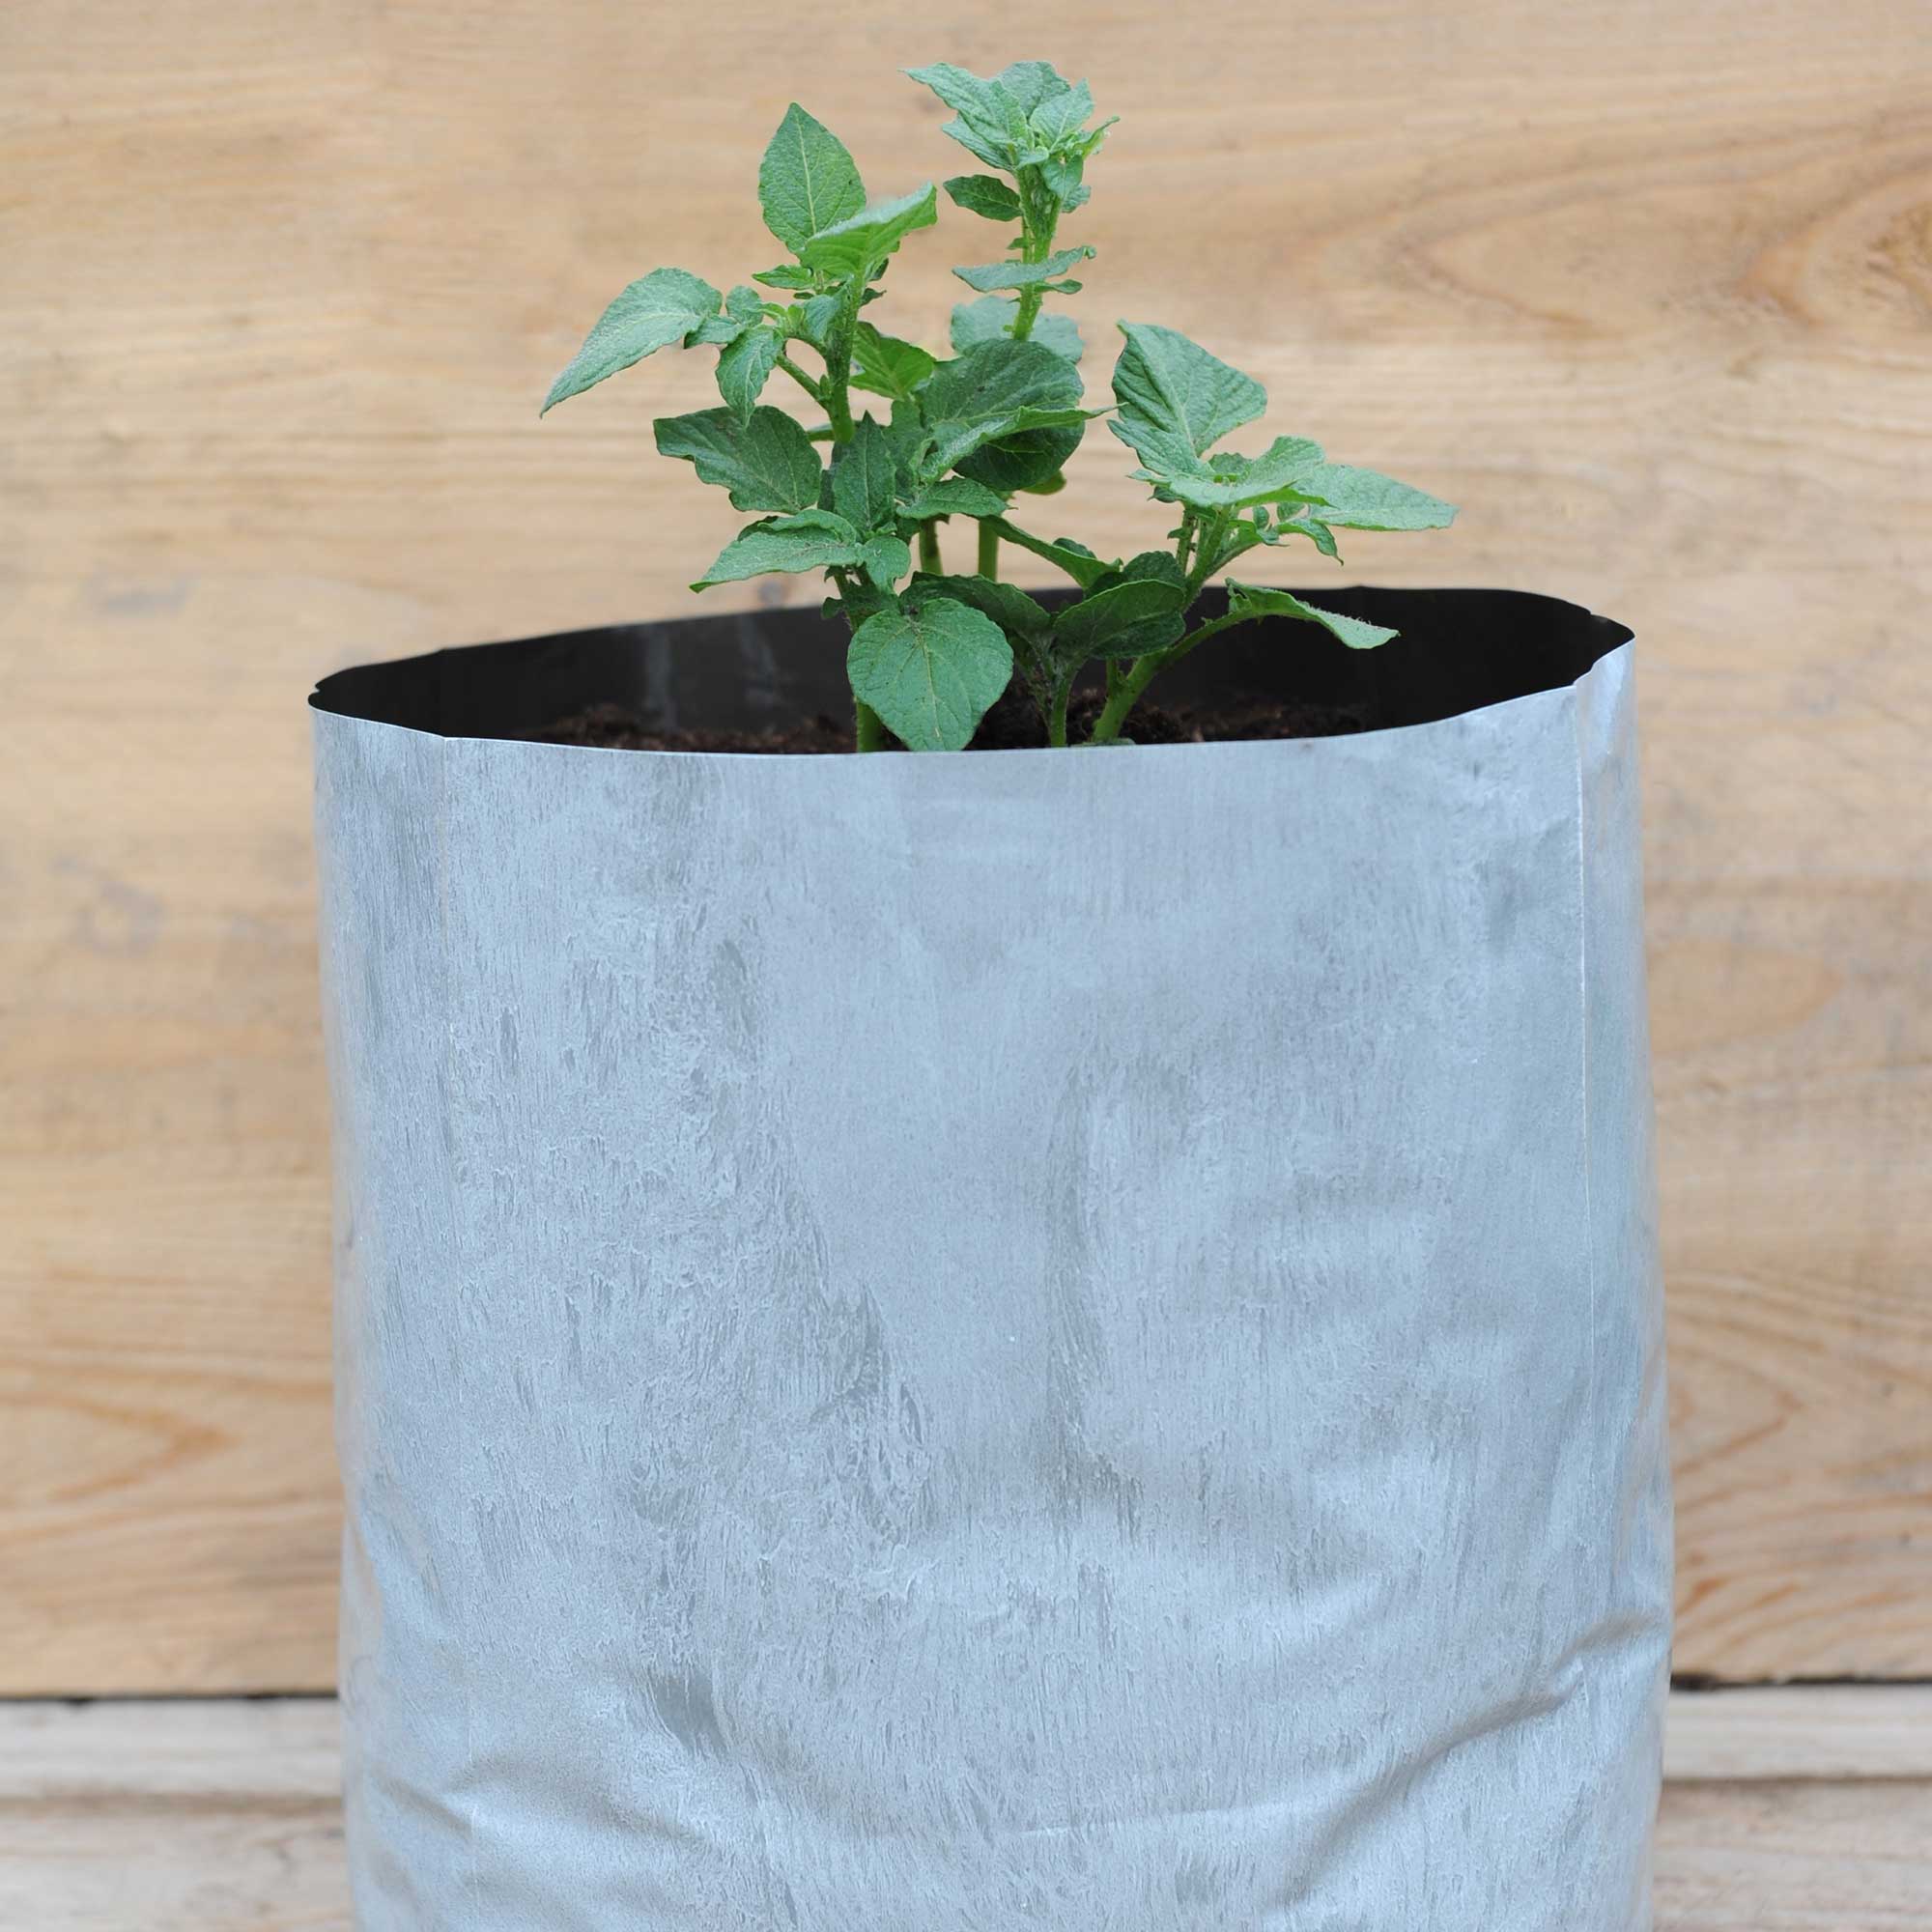
1. Find the perfect planting spot
Whether you're planting them in the ground, in a raised bed, or a container that's at least 30cm deep and 30cm in diameter, potatoes need an open and sunny growing site – one which is filled with rich soil and that isn't prone to late frosts.
'As long as the potato plants receive at least six hours of sunlight per day and frost isn’t likely to get to them, they will be as right as rain,' explains Jeremy Oatey, Ginster's farming partner at Hay Farm in Cornwall, and provider of the 'Sow Your Own Slice' service, which gives people the opportunity to have potato and onion seeds sown on their behalf at the farm.

Jeremy Oatey is Ginsters’ farming partner at Hay Farm in Cornwall. With many years' experience of growing potatoes and other vegetables, he has a bounty of knowledge when it comes to growing food.
2. Chit the potatoes
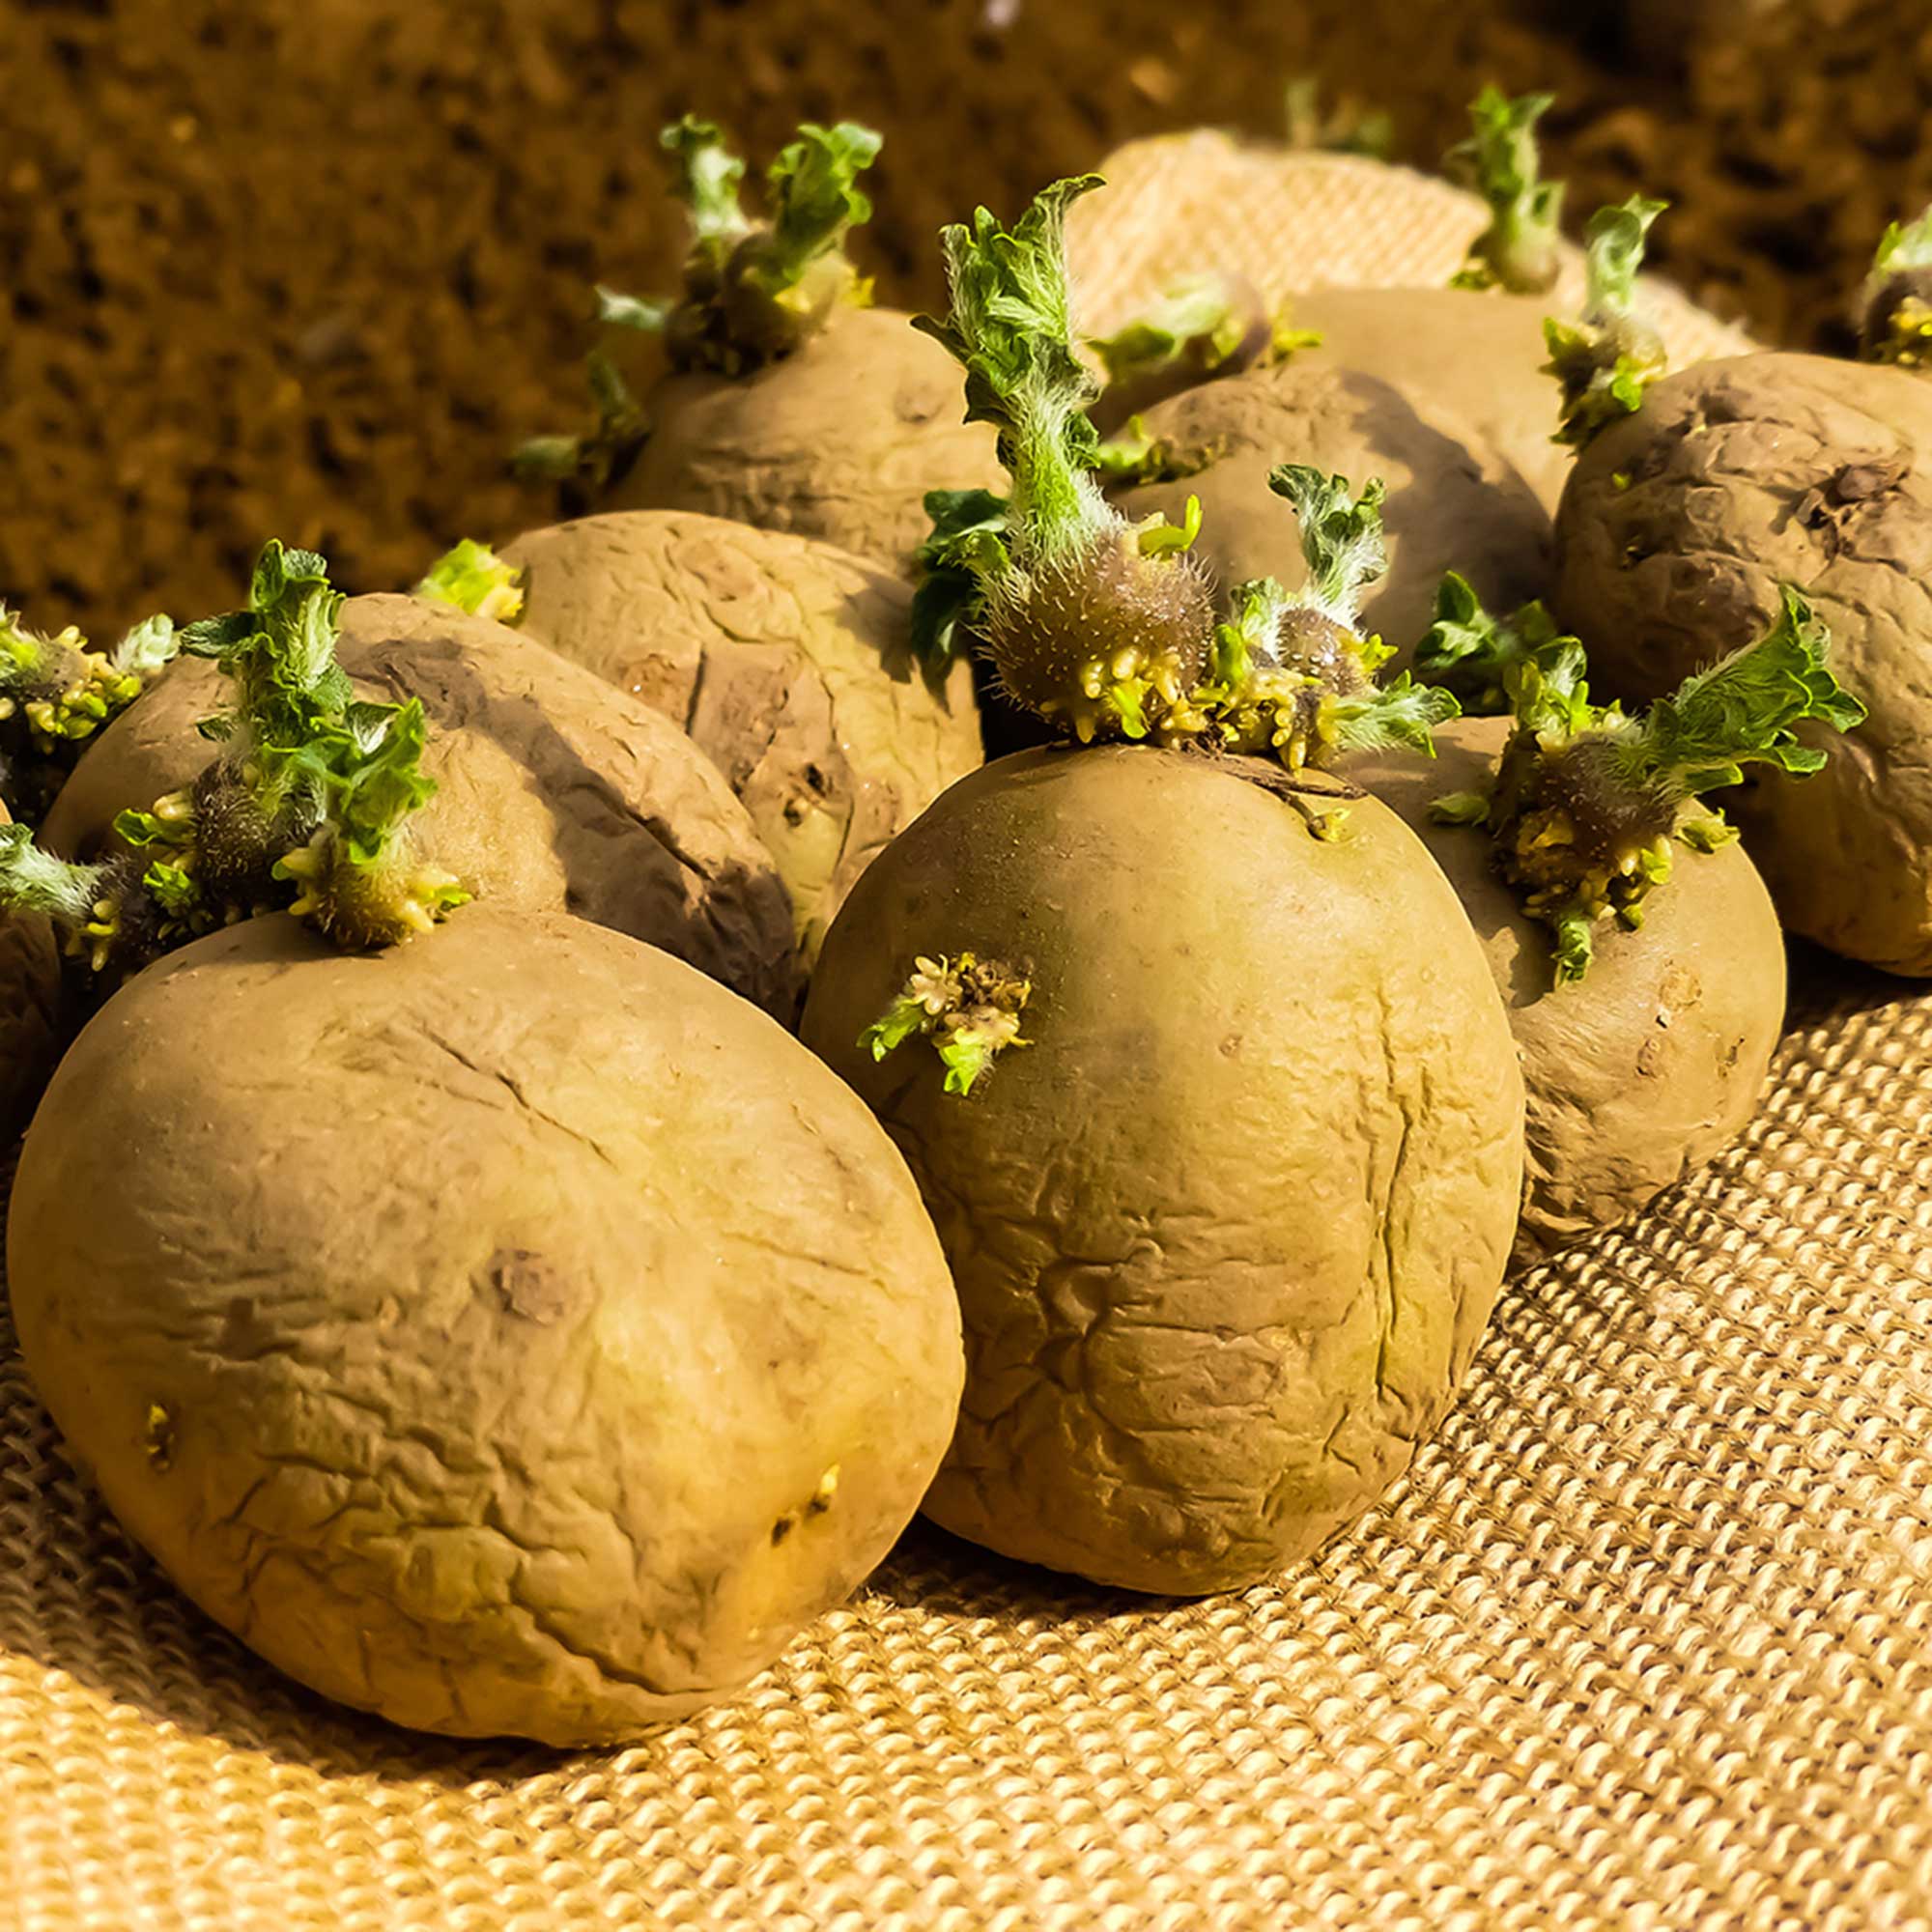
Once you have chosen your variety, you'll need to learn how to chit seed potatoes.
Each seed potato tuber you plant will send out lots of side shoots – chits – which all swell and become individual potatoes.
About four to six weeks before planting your seed potatoes, 'arrange a single layer of seed potatoes in trays or empty egg boxes, with the rose ends – those with the most ‘eyes’ – pointing upwards. Place them in a cool, but sunny spot where there’s no risk of frost. Short, dark green ‘chits’ will form in a few weeks,' explains Rob Smith.
The potato tubers are ready to plant when the sprouts are approximately 2.5cm long.
3. Plant the potatoes
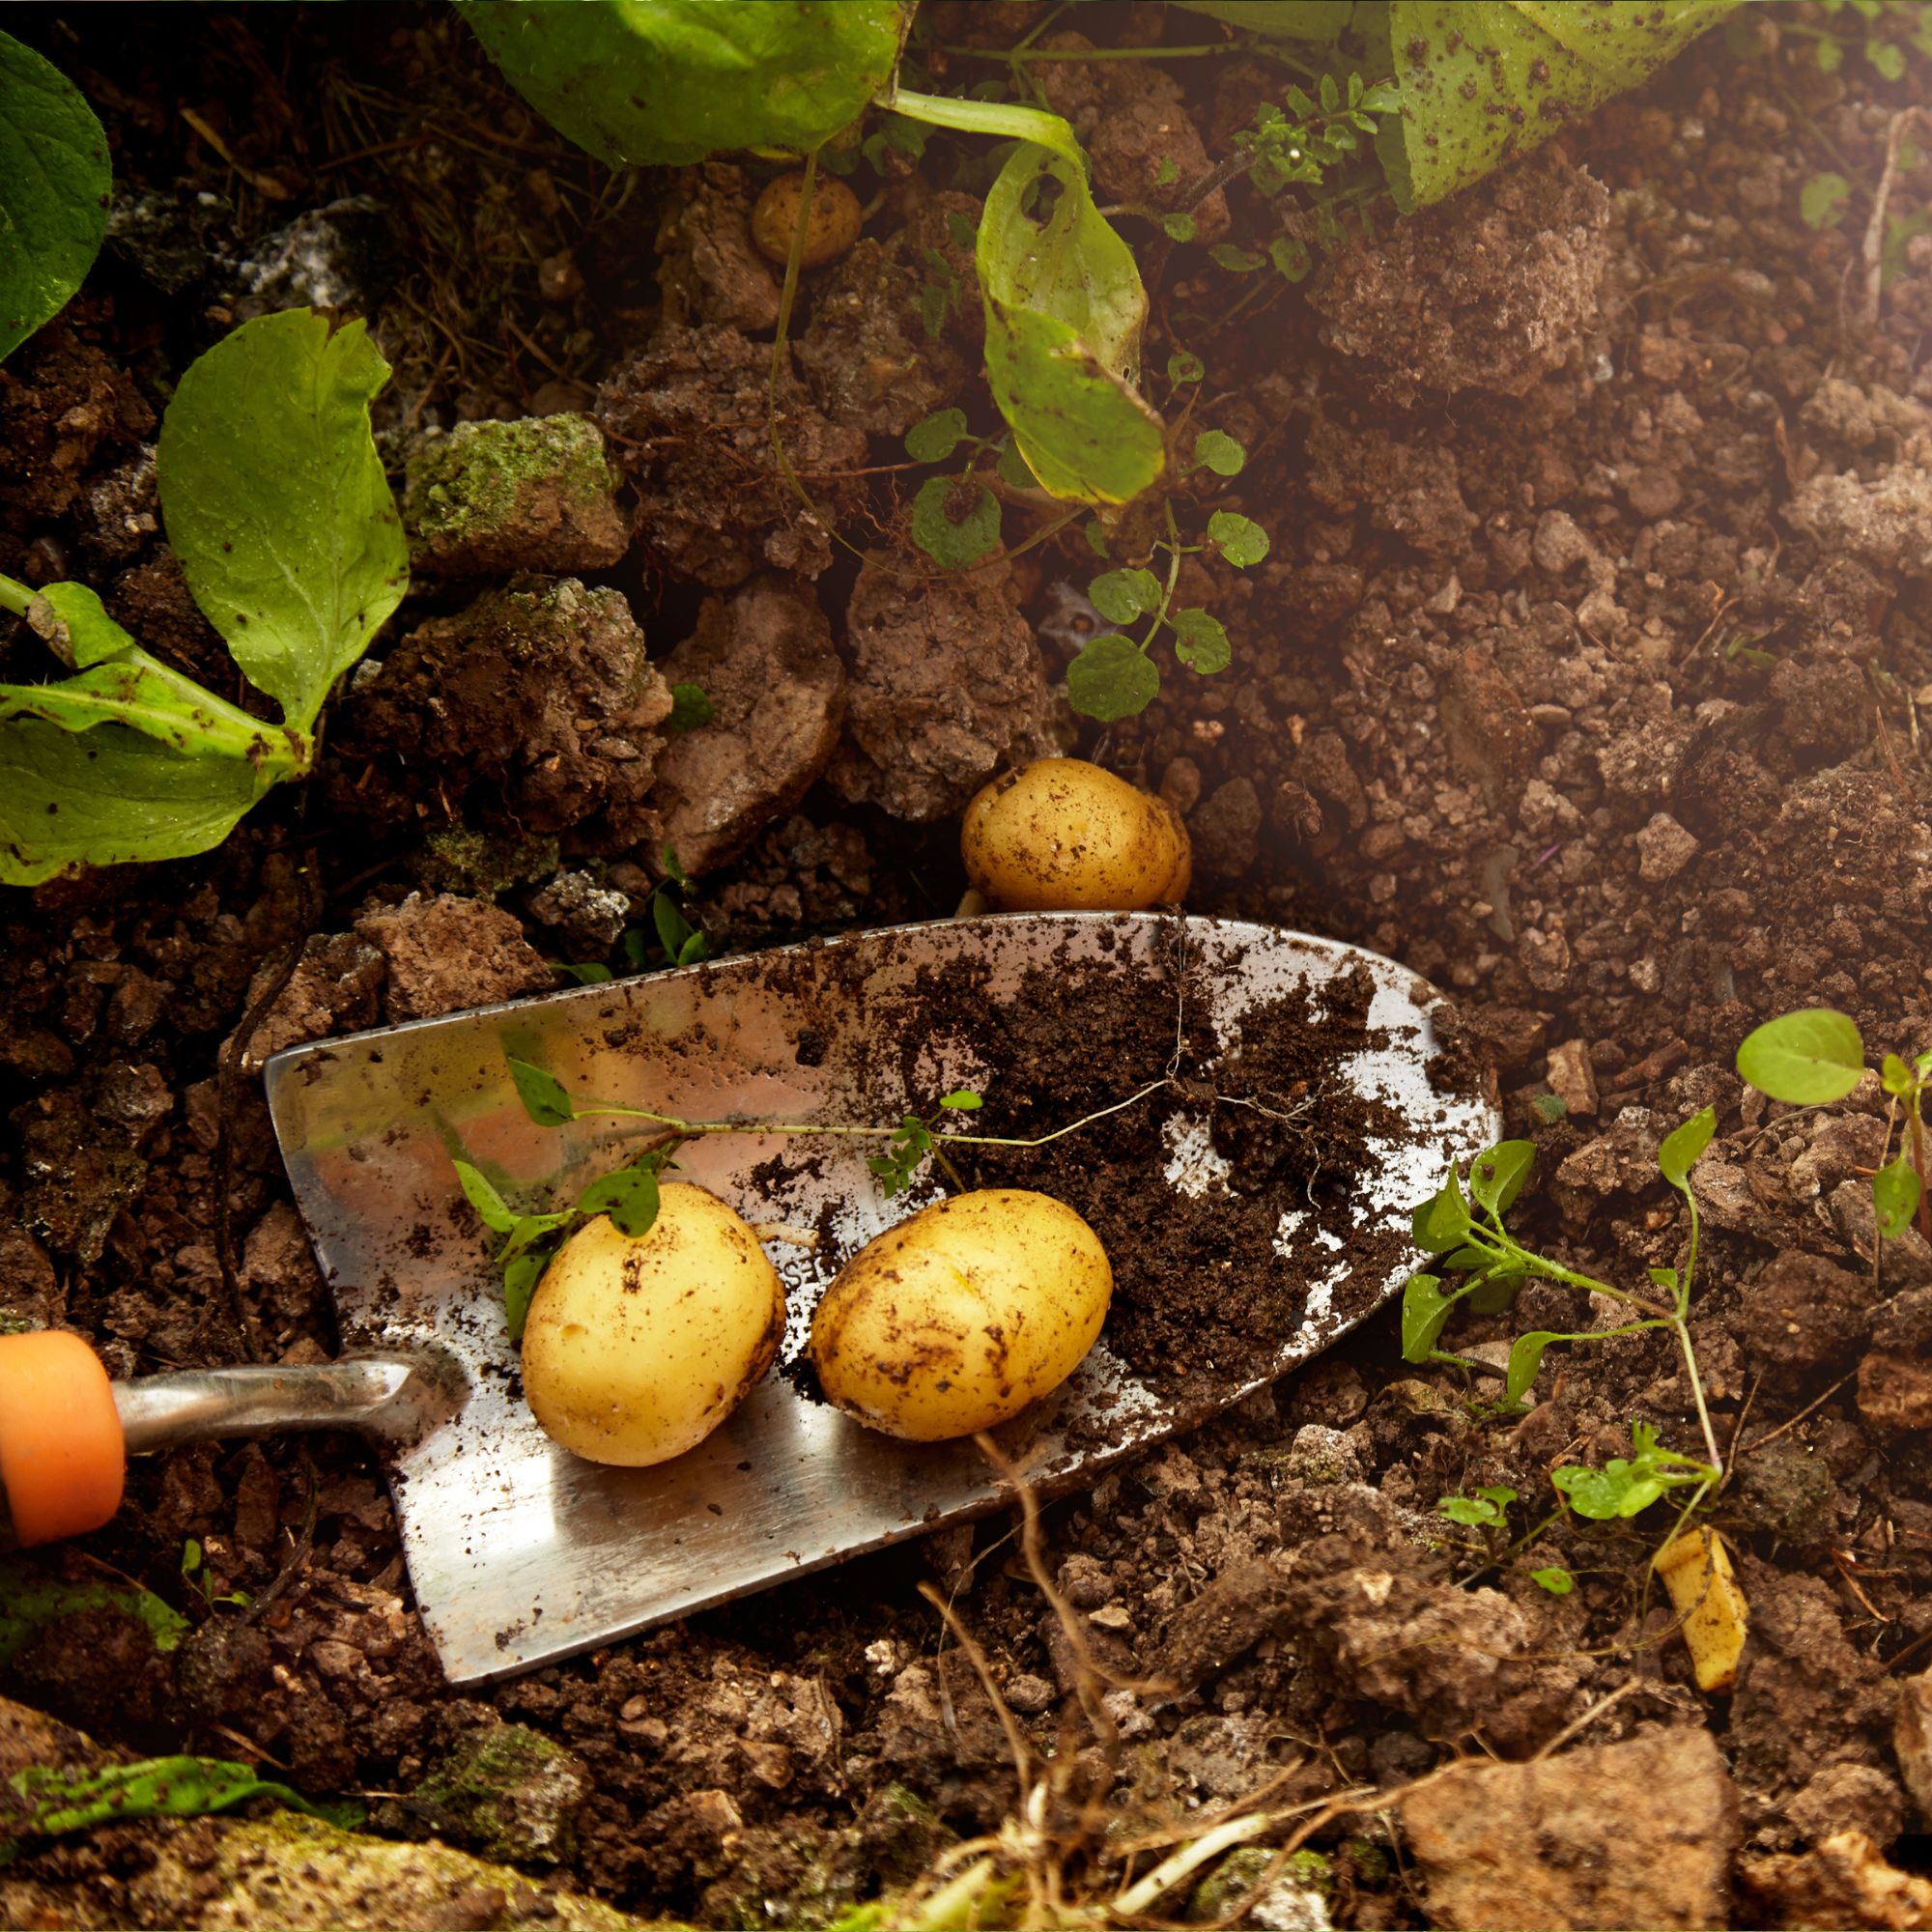
'Find a sunny and frost-free spot for your potatoes, and be sure to dig in plenty of well-rotted manure or multipurpose compost,' says Rob Smith, who adds that you could even learn how to make compost to make this even cheaper.
'Add your chitted potatoes with the sprouts pointing upwards, making sure they have a bit of space around them – about 15cm – and cover with another 10cm layer of compost and water well,' says Jeremy Oatey. Alternatively, you can dig individual holes for each seed potato.
'Make sure that none of the potatoes is exposed to sunlight,' adds Cassie.
4. Top up the container
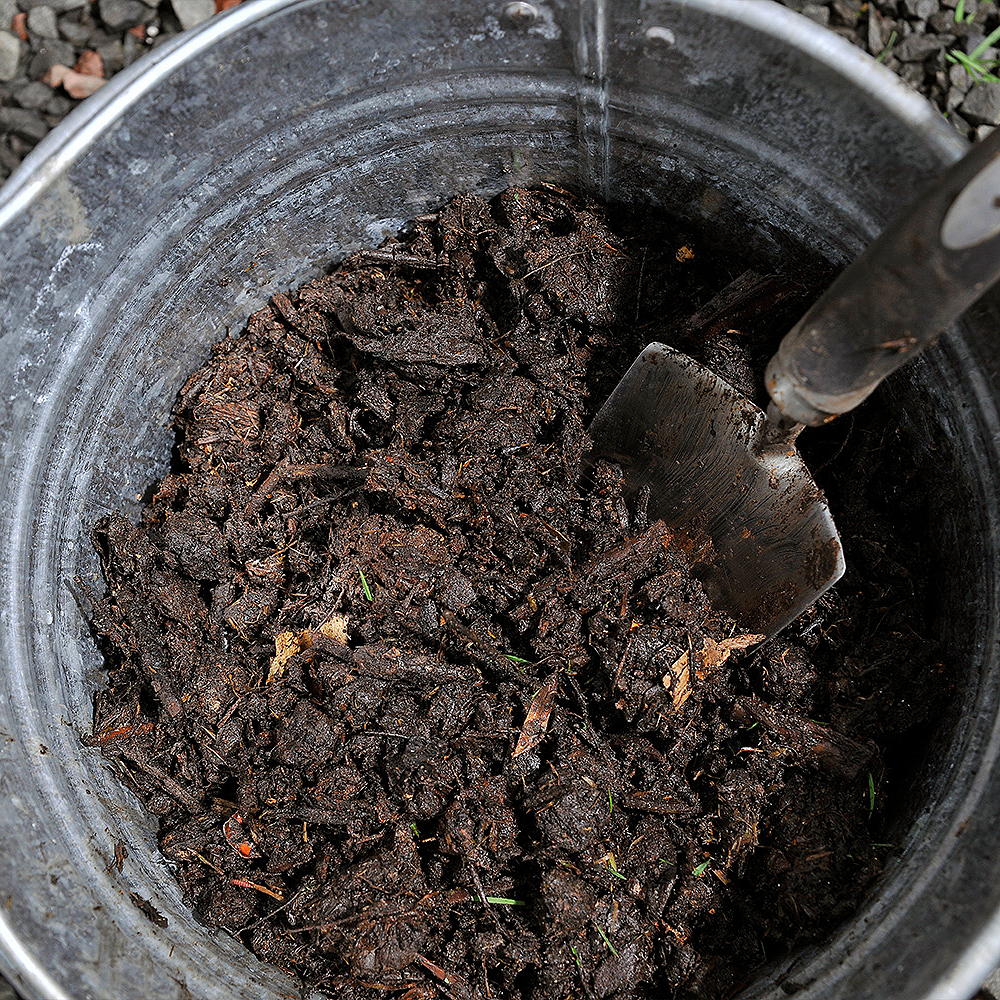
'Once shoots have sprouted around 10cm through the soil, add another 10cm of soil or compost – with the sprouts still above the surface – and water again. Keep doing this every few weeks, taking care to water every three days or so,' explains Jeremy.
'This is known as “earthing up”,' adds Cassie. 'Repeat this until the final height of the ridge is around 20–30cm. This will reduce the risk of light exposure, which turns potatoes green,' he adds.
5. Water and fertilise the potato plants
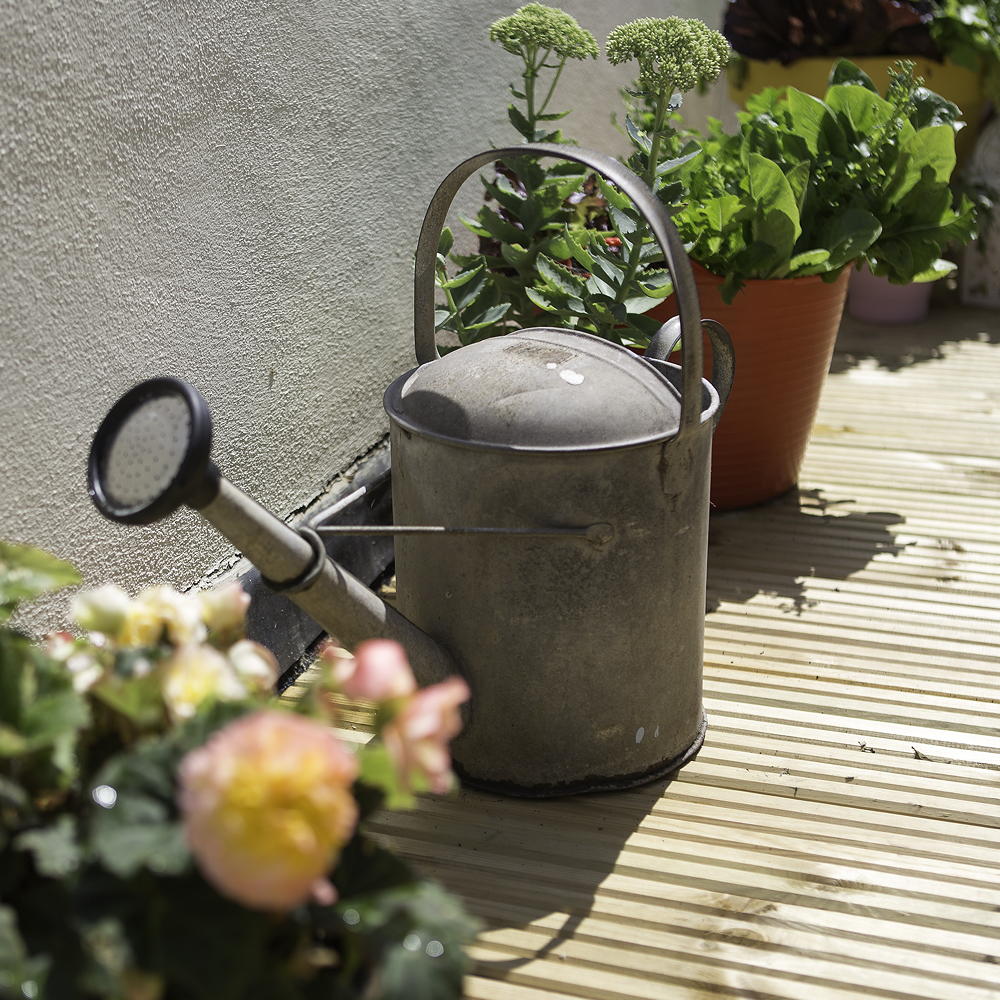
Once planted, looking after your potato plant is very easy. 'Simply water regularly, making sure that the soil is always slightly moist and never dries out. If your plants start wilting, they need more water,' says Jeremy.
'In dry weather, water plants in the early morning or late evening. After about a month, start adding liquid tomato feed when watering,' adds Rob Smith.
6. Harvest the potatoes
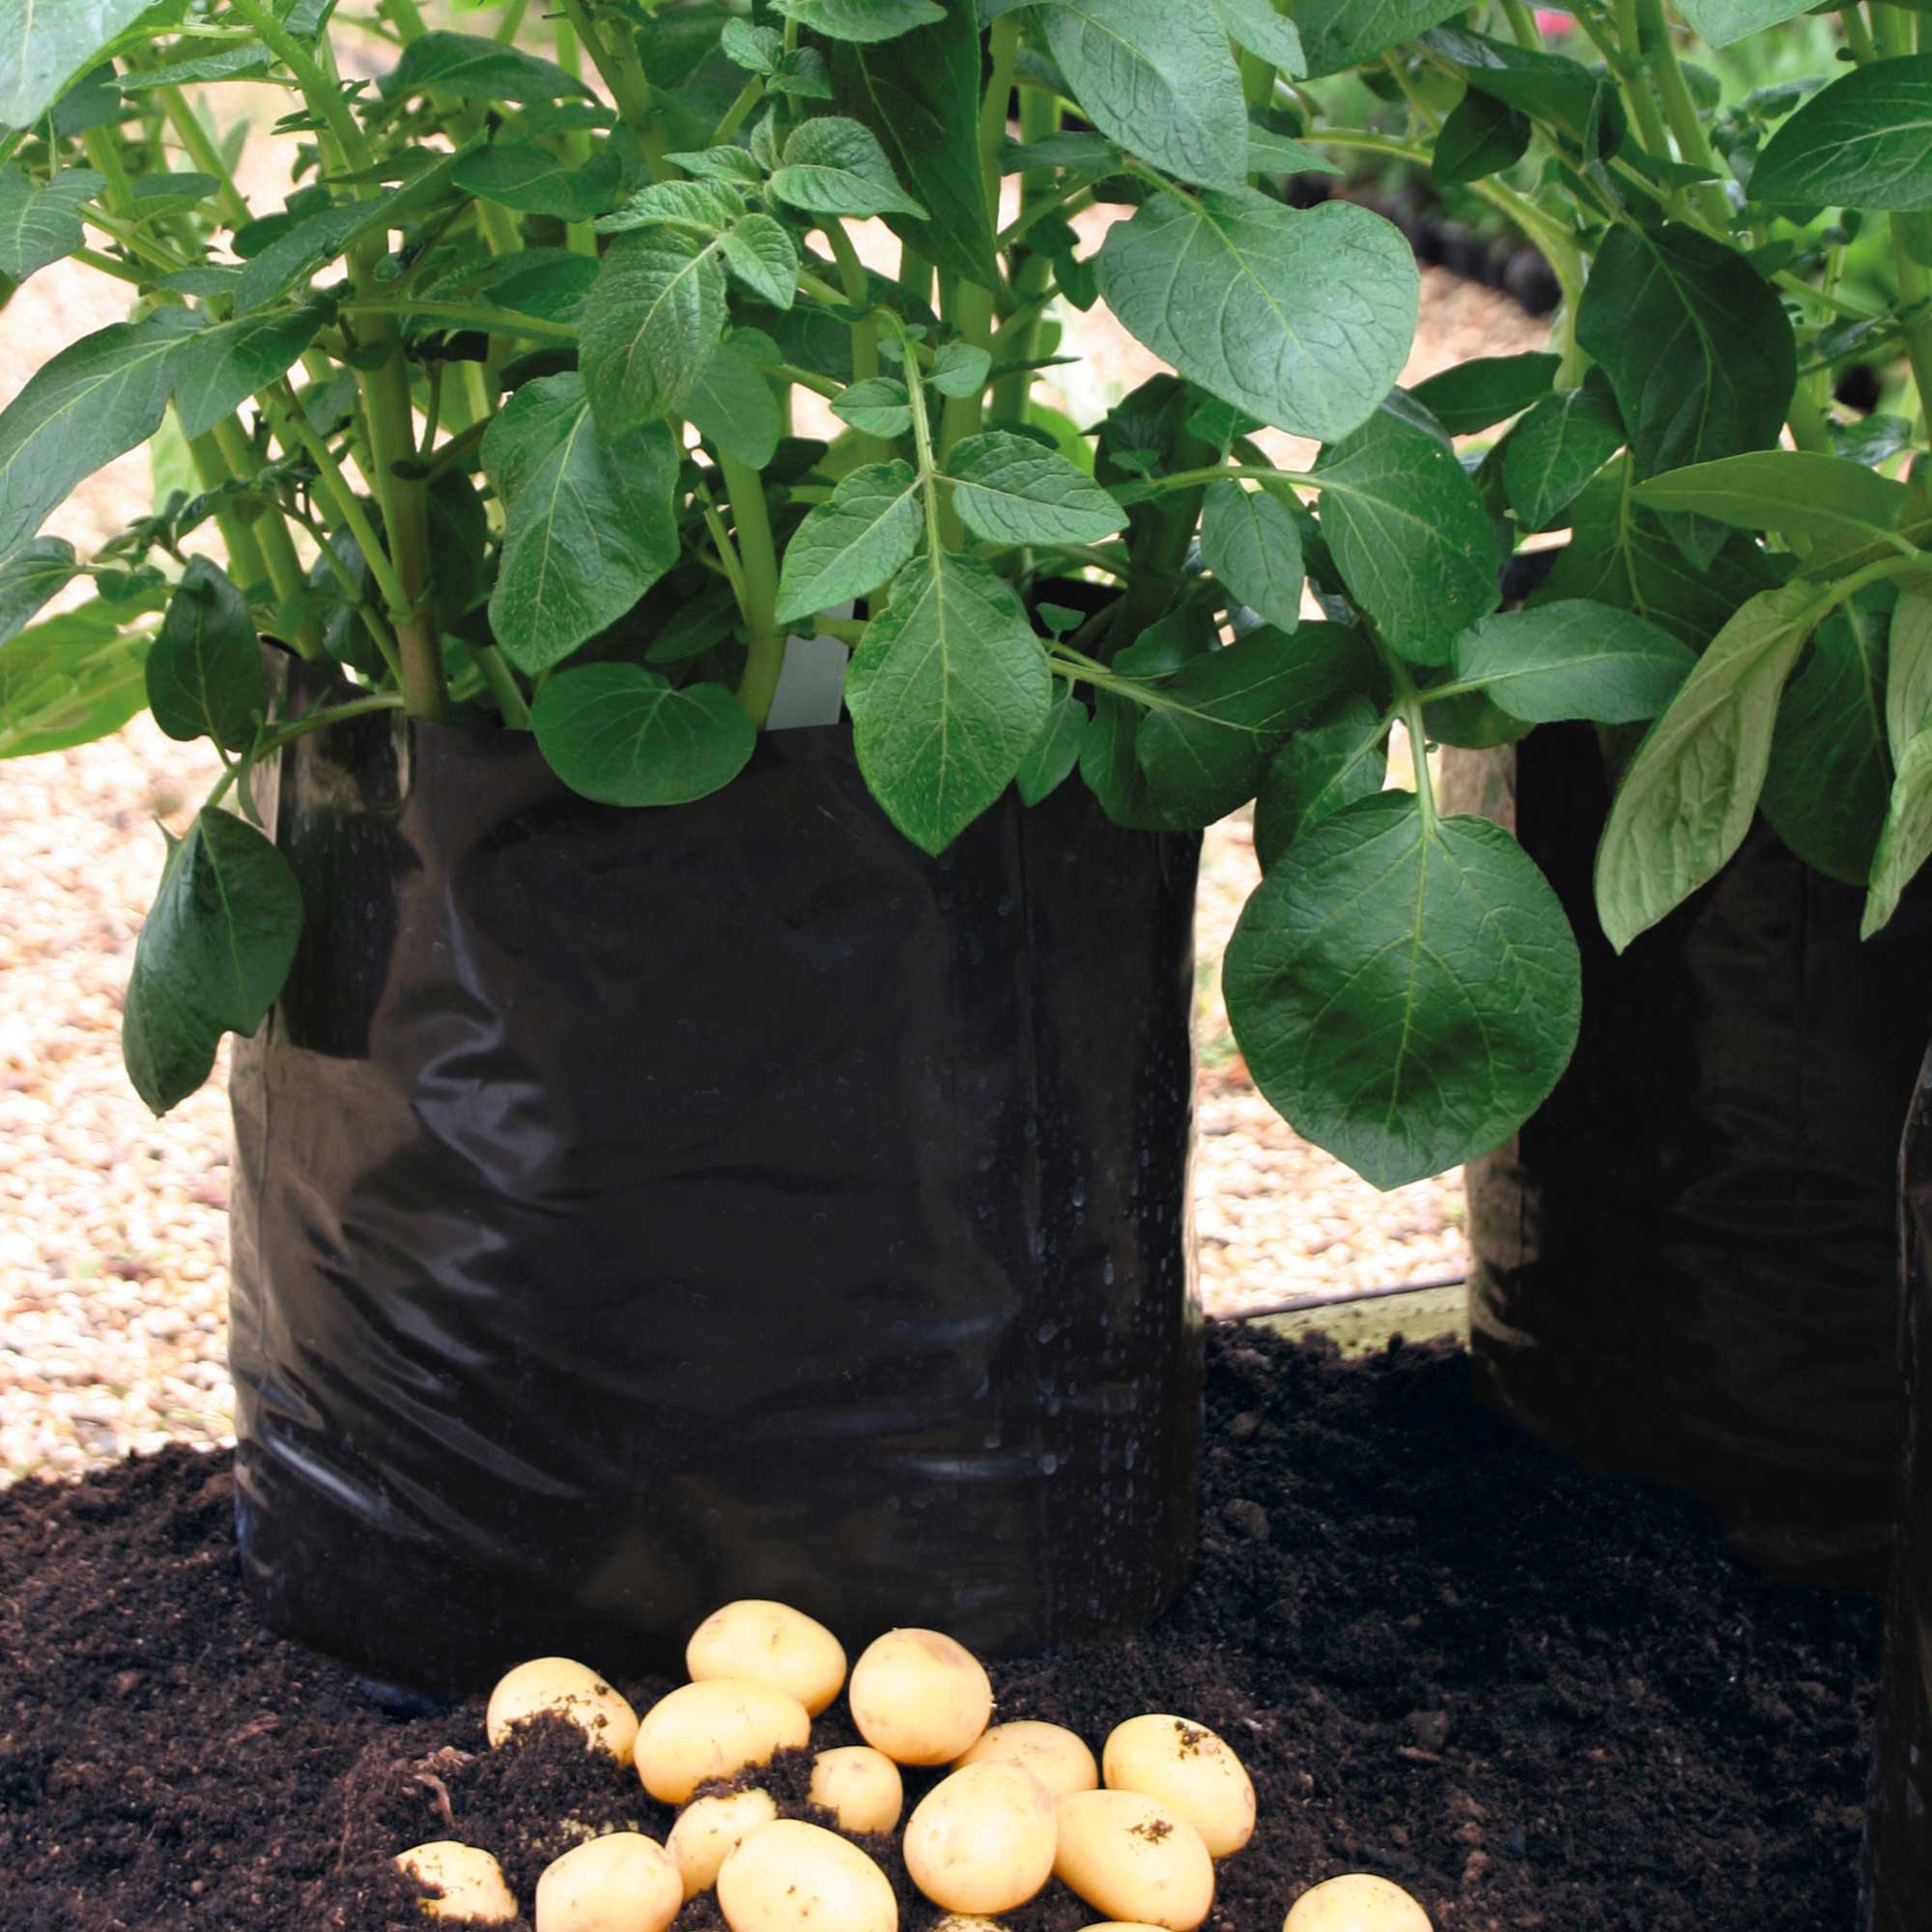
When flowers start to appear on the potato plants, or the leaves of your plants begin to turn yellow and die back, your homegrown potatoes are ready to harvest.
'To be certain, gently dig in the compost with your hand and check the size of the potatoes. Although the foliage will turn yellow and die off when your crop is ready, your potatoes can remain in the compost for 2-3 weeks, so you can simply dig them up as you need them,' says Rob Smith.
Remember: any green potatoes are inedible and you should discard them!
7. Store potatoes correctly
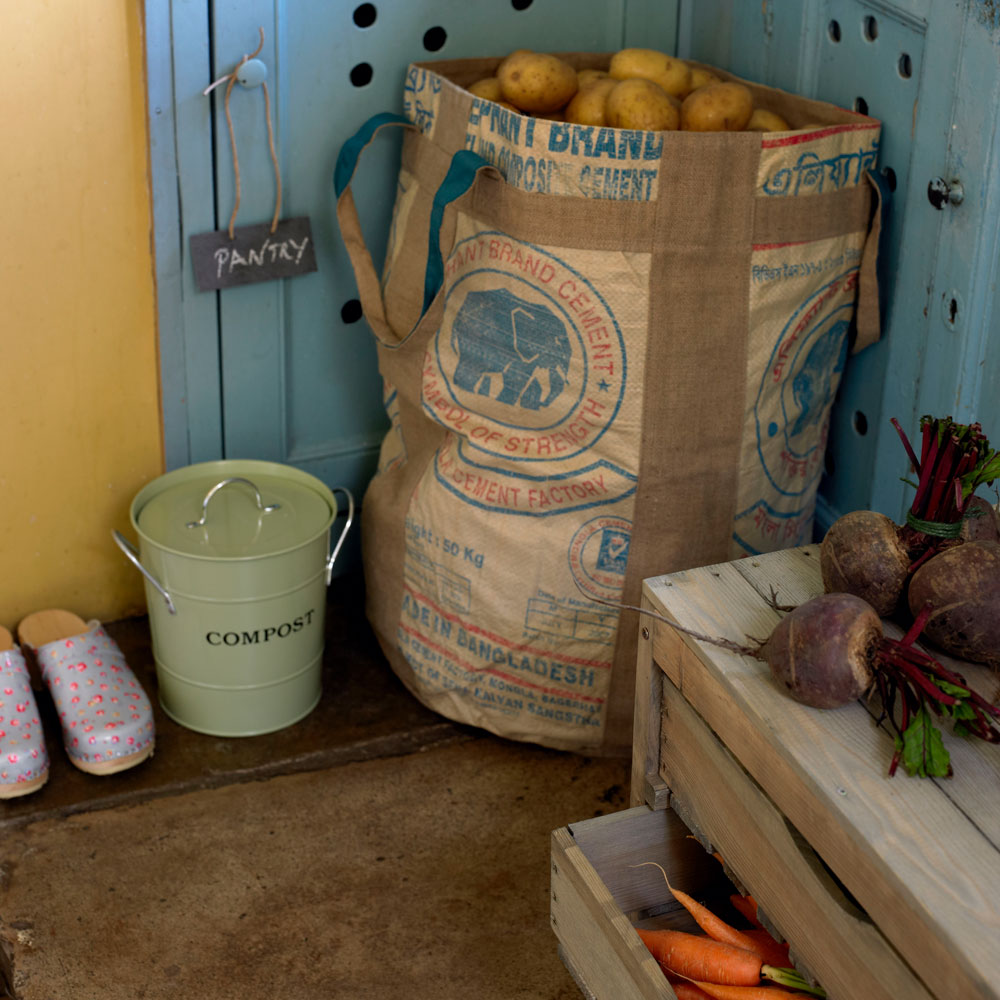
'Once your harvest potatoes are dry, store them in paper potato sacks and place them somewhere dark, cool, and frost-free. Avoid storing potatoes in polythene bags because this can cause them to rot,' says Rob Smith.
Then all there is to do is prepare and cook these eminently versatile, and delicious homegrown spuds.
FAQ
How long do potatoes take to grow?
How long potatoes take to grow depends on the variety you choose to grow.
'Choosing which variety of potato to grow at home largely depends on when you’re looking to harvest and also what type you would like to eat. If you’re looking to plant and wait as little time as possible, choose Arran Pilot or Rocket potatoes. Both are harvestable after just 10 weeks and are delicious in a summer salad,' says Jeremy Oatey.
'Those patient enough to wait an extra 3 weeks could plant a Charlotte potato or perhaps a British Queen potato. For those looking to get ahead on autumn dinners and don’t mind waiting the full 20 weeks, they can try Maris Piper or King Edwards – both are easy to grow, will be fuller in size and would make great chips or mash,' Jeremy adds.
Now that you know how to grow potatoes, all that's left to do is make sure you have enough recipes to hand to use them all up in a variety of delicious and mouth-watering ways.
We'll meet you over a plate of potato gratin!
Get the Ideal Home Newsletter
Sign up to our newsletter for style and decor inspiration, house makeovers, project advice and more.

Rachel Crow is the editor of Period Living Magazine and a senior content editor, contributing homes and garden content for idealhome.co.uk. She has written for lifestyle magazines for many years, with a particular focus on historic houses, interiors, arts and crafts, and gardening. Rachel started her journalism career on BBC radio, before moving into lifestyle magazines as a freelance writer and editor. She worked on The English Home and The English Garden magazines before joining the Period Living team as features editor and then deputy editor. She was garden editor for Homes & Gardens magazine and homesandgardens.com and contributed articles to Country Homes & Interiors.
- Kayleigh DrayActing Content Editor
- Amy CutmoreContributor
-
 Typhur Dome 2 air fryer review – a glimpse into the future of air frying
The Typhur Dome 2 cooks food brilliantly and has all sorts of benefits, but is it worth the £499 price tag?
By Ellen Manning
-
 In creating their lush multi-use garden, the owners have cleverly futureproofed the space for years to come
With a zone for dining, a veg plot, a relaxing sun trap, and space for quiet contemplation
By Ginevra Benedetti
-
 5 reasons why your grass seed isn’t growing and what you can do to help, according to garden experts
For a lush, green lawn, you have to ensure the conditions are just right
By Kezia Reynolds