How to grow tomatoes in pots - a beginners guide to grow your own easily
Learn how to grow tomatoes in pots and cultivate a delicious crop on your patio or balcony
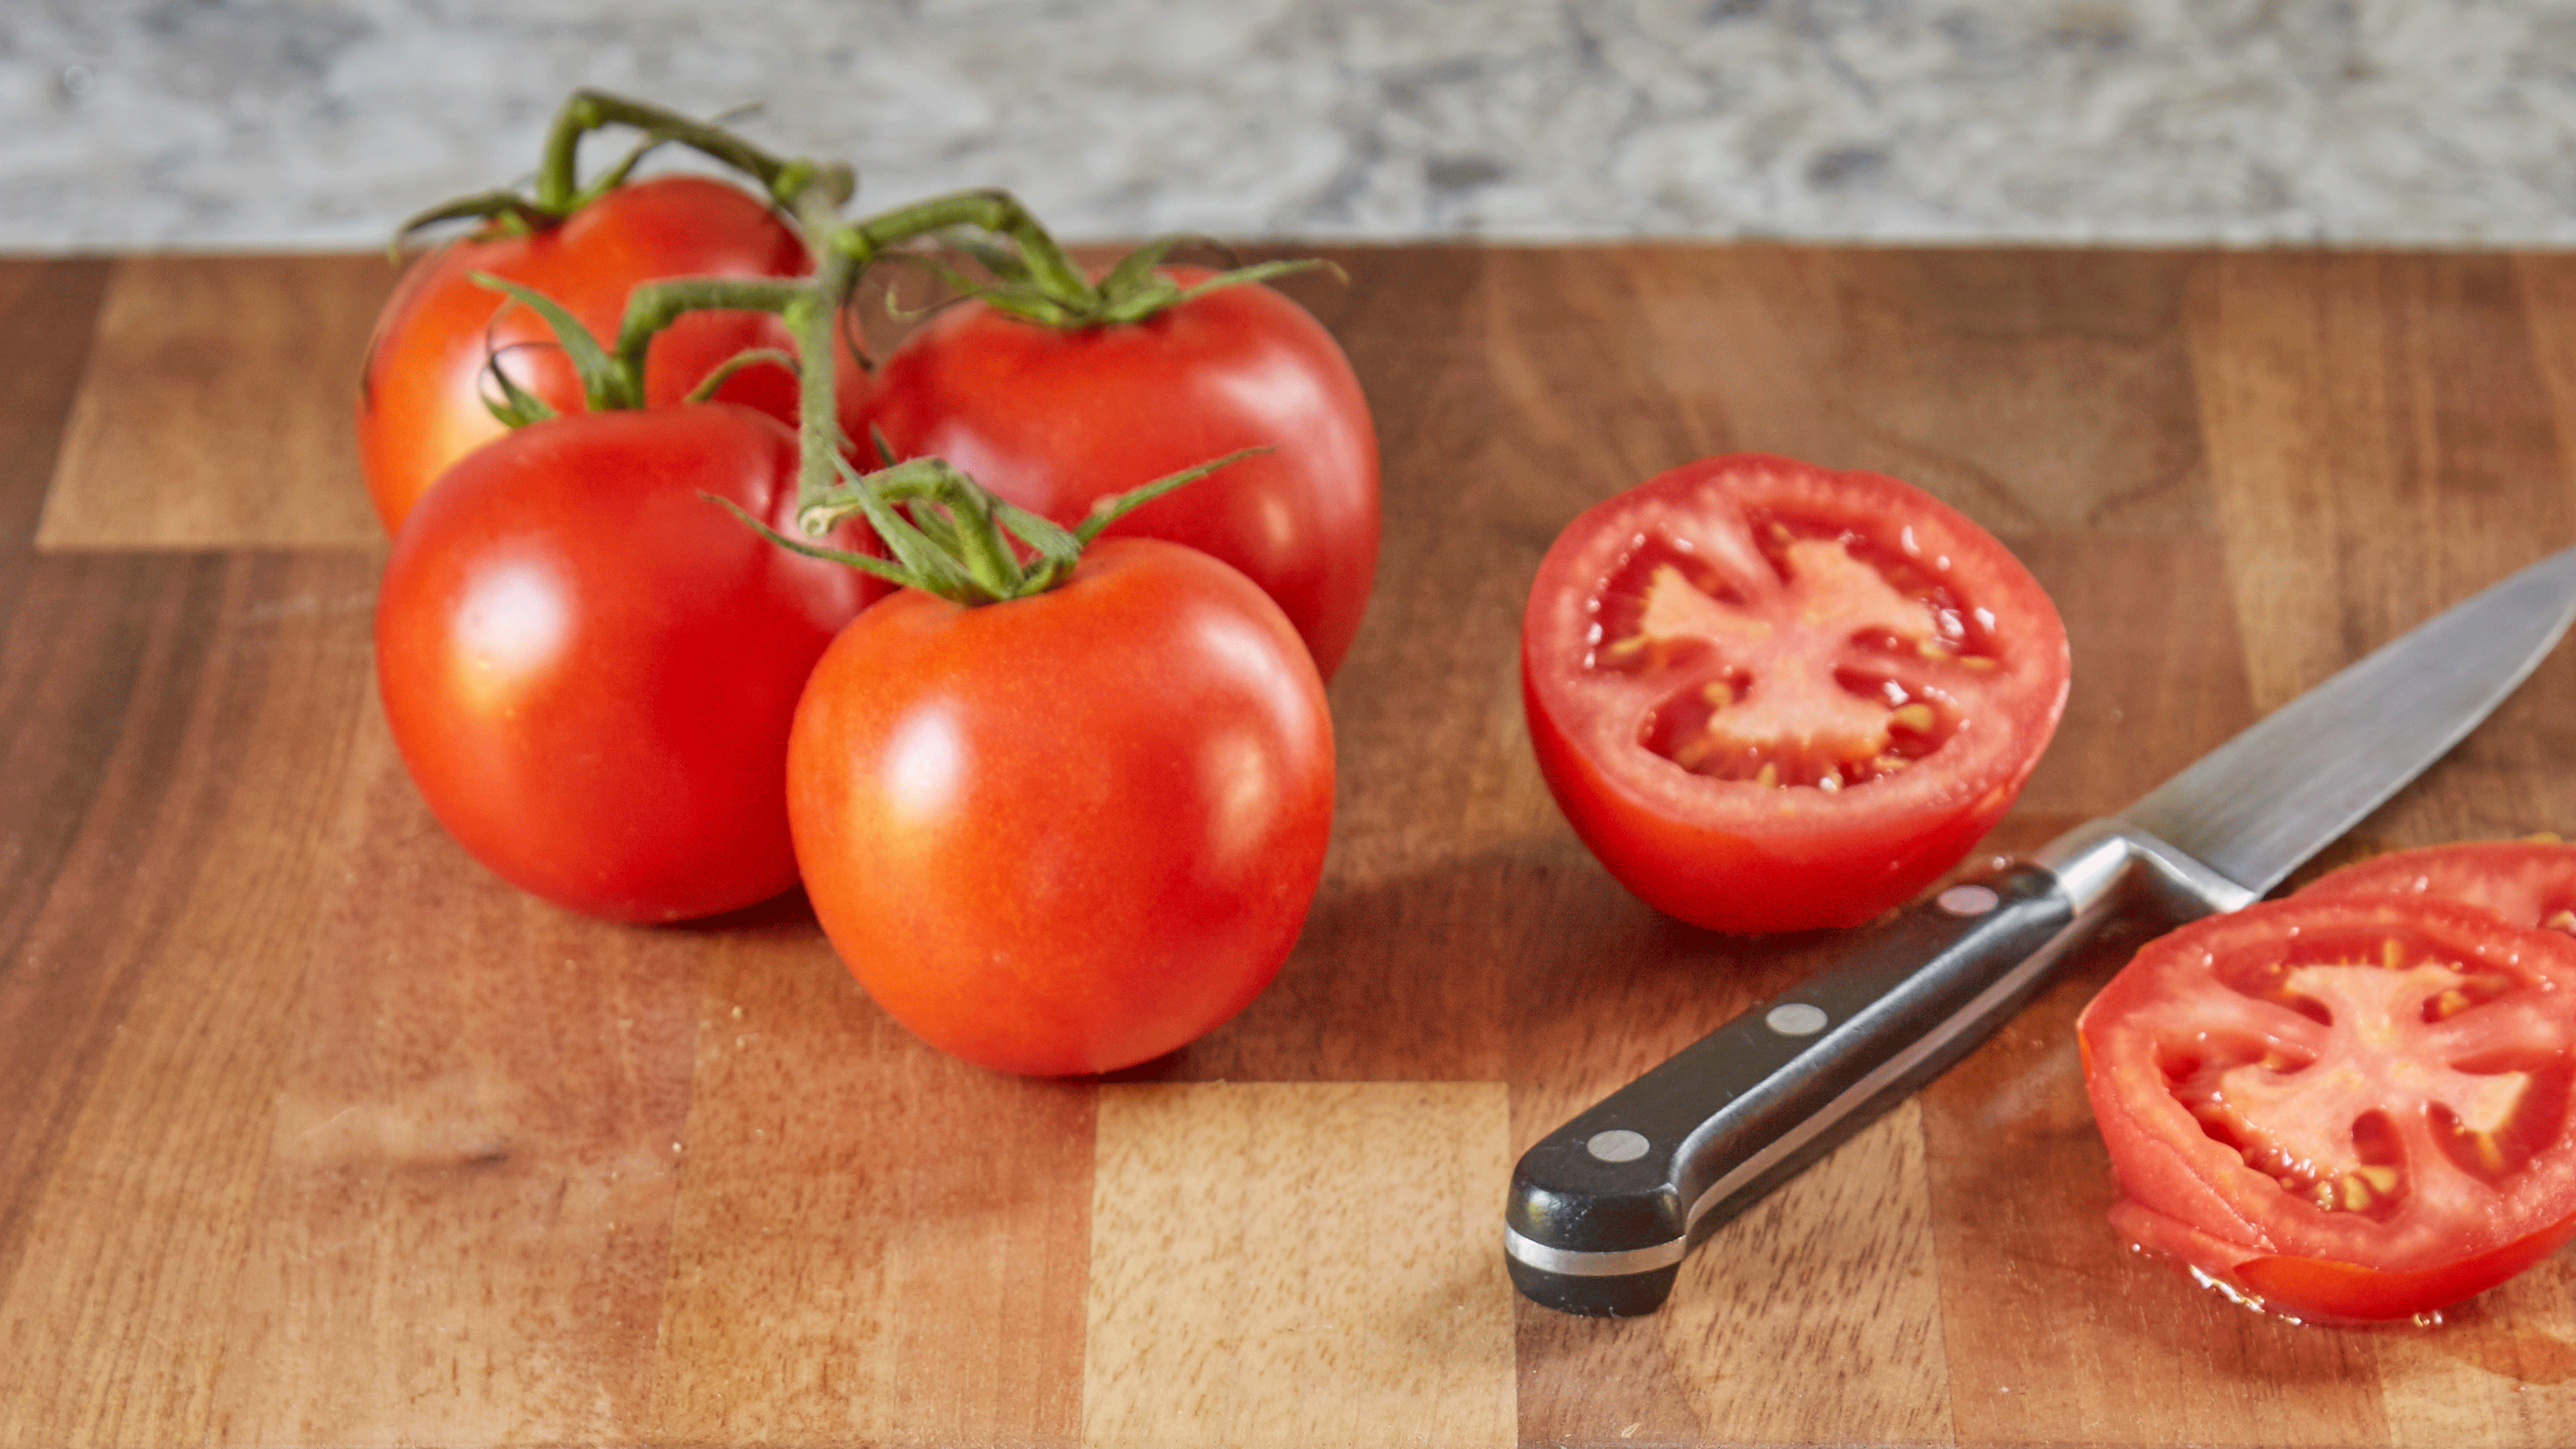

You don’t need to carve out a large space in your garden ideas to learn how to grow tomatoes in pots. All you need is a seed tray, an 18-inch pot, a bag of tomato compost and some tomato seeds – it couldn’t be easier to grow a bountiful crop of our favourite vegetables.
Growing tomatoes in pots will be cheaper in the long run than buying fresh and they will taste better than shop-bought too.
Tomatoes make up the basis of a lot of our favourite meals and, with their recent absence in our supermarkets, there has never been a better time to start growing vegetables in pots.
How to grow tomatoes in pots
Learning how to grow tomatoes in pots is surprisingly easy – perfect for adding to courtyard garden ideas. They are also one of the best vegetables to grow for beginners, so if you're looking for self-sufficient living ideas this is a great starting place. You could even incorporate tomatoes into your window box planting.
Late January to early April is the perfect time to sow your tomato seeds. That means now is the perfect time to get started.
What you'll need
- Seed tray with cells
- 18-inch diameter pot
- Well draining compost
- Pack of tomato seeds
- Drip tray
- Trellis or stakes
- Tomato fertiliser
How to grow tomatoes step-by-step
1. Prepare your seed tray
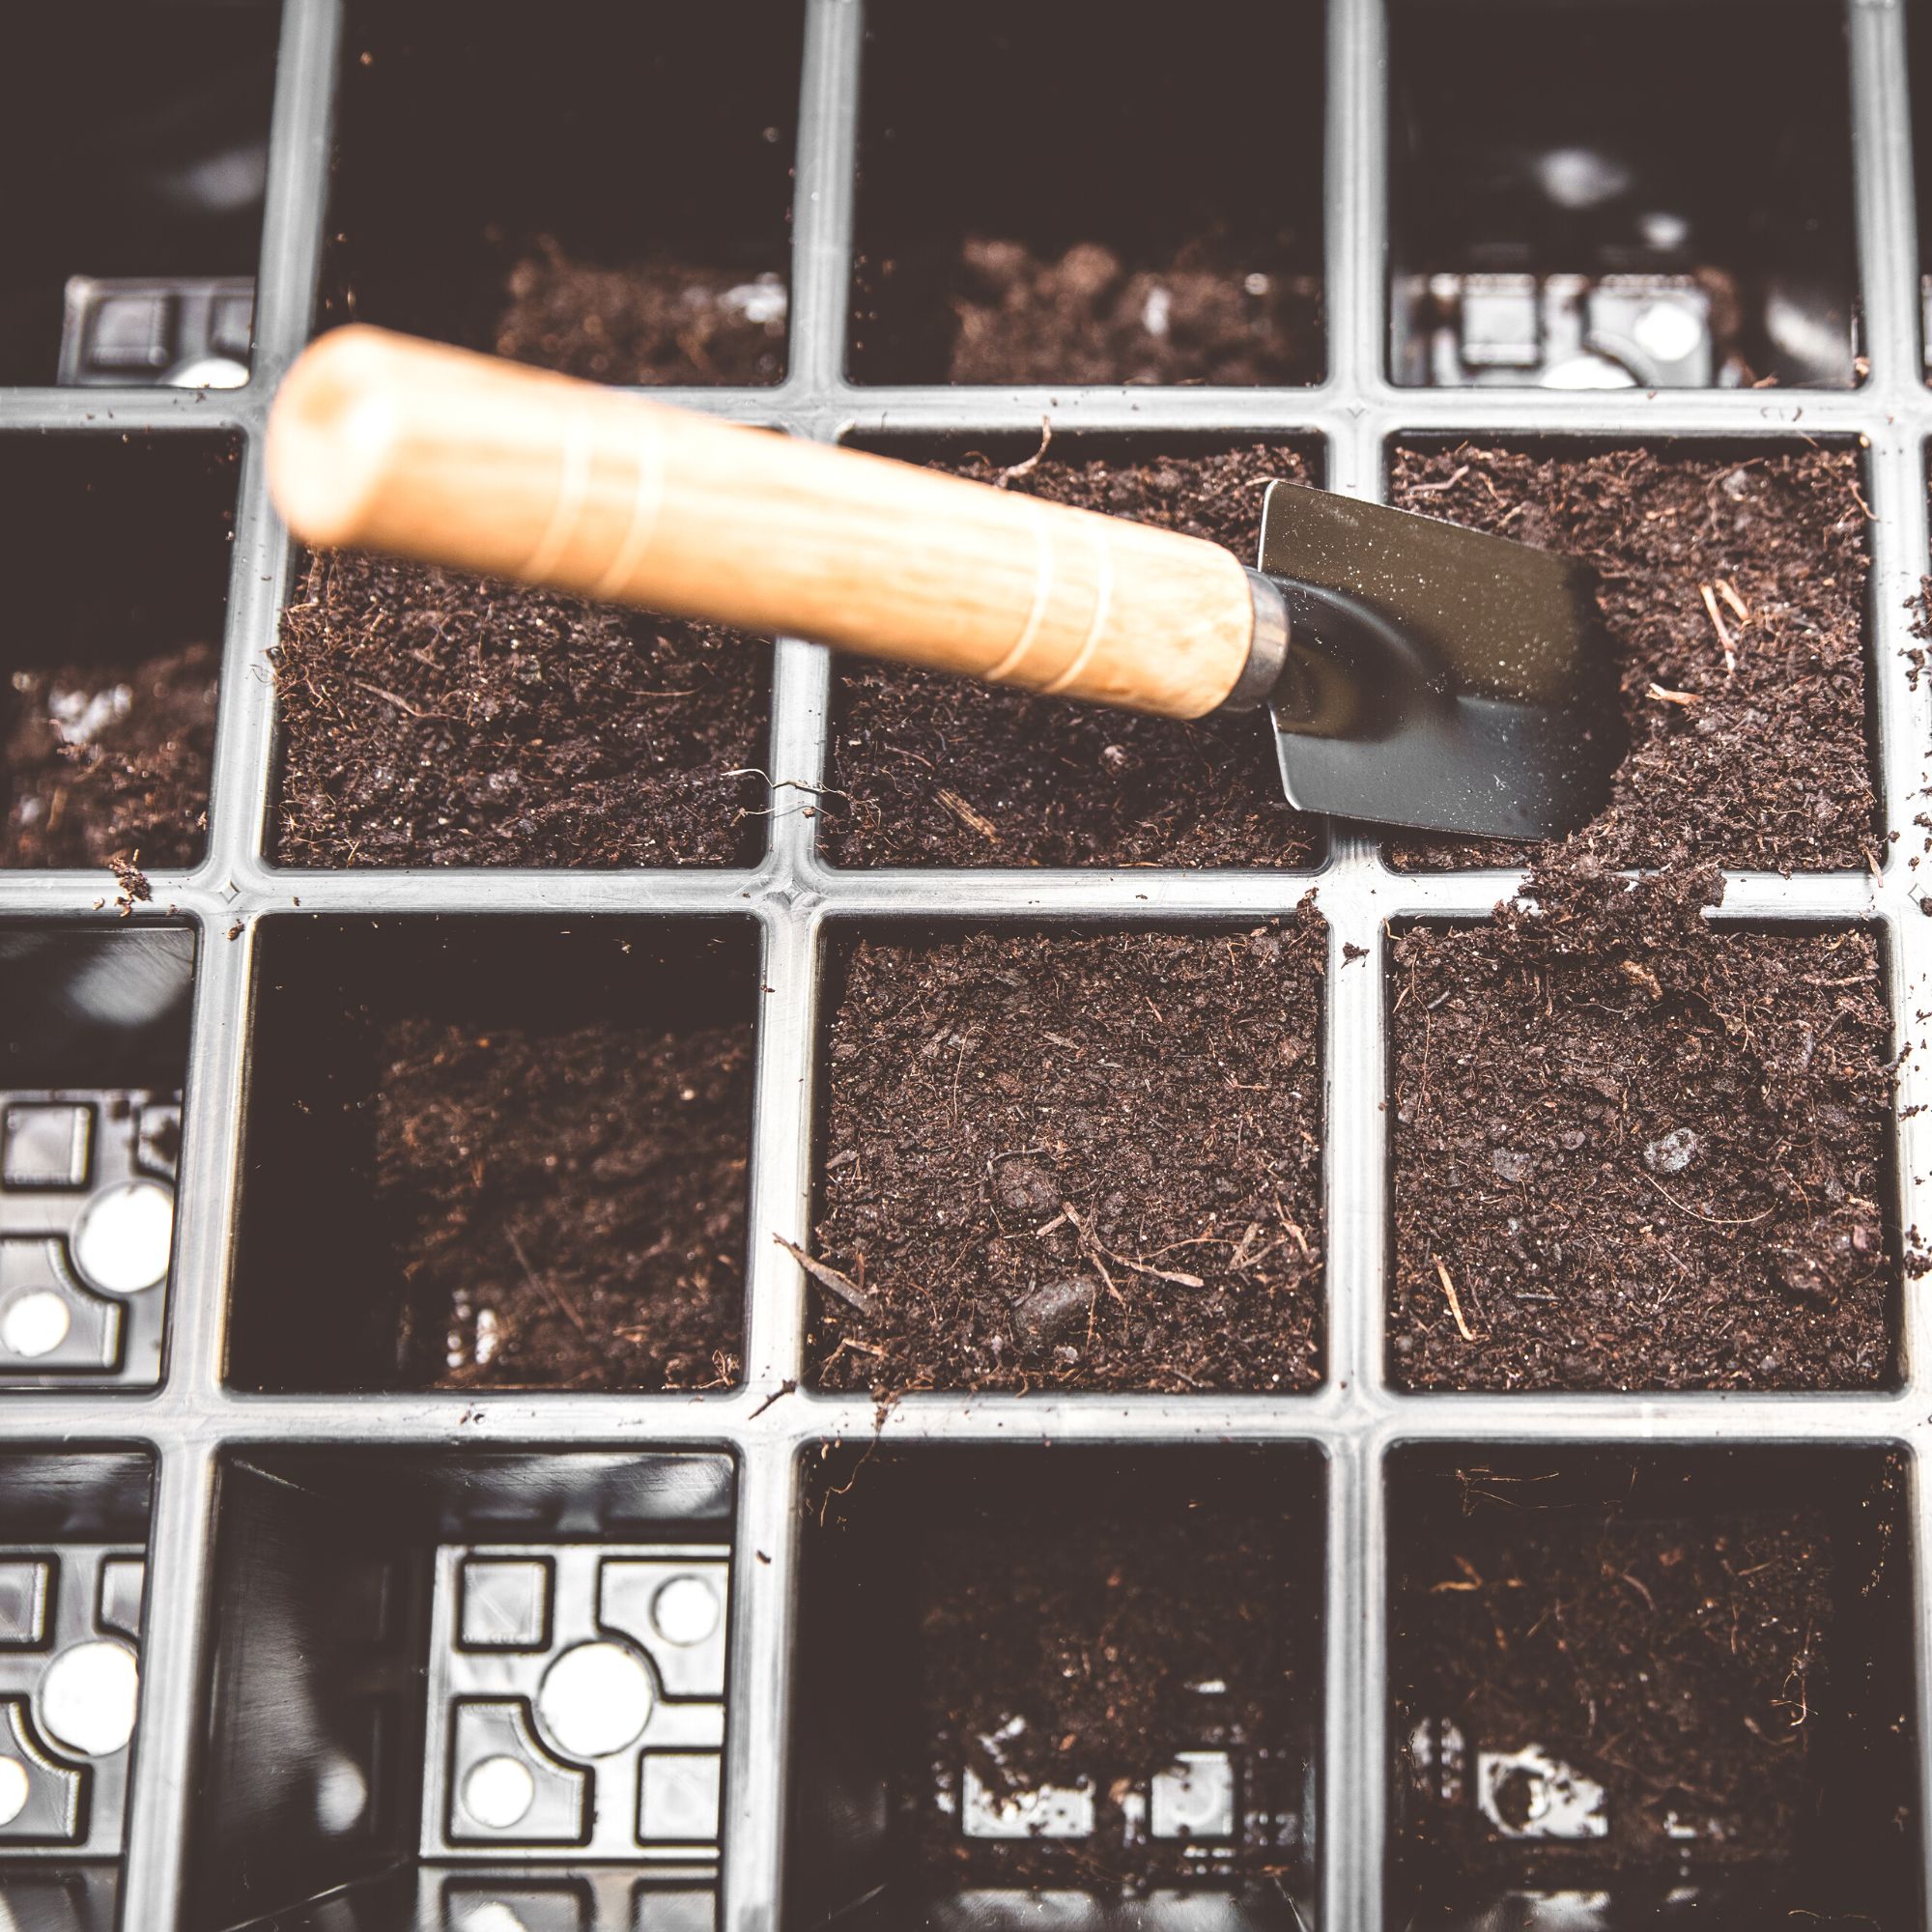
Opt for a seed tray that has cells – this will enable you to easily grow and transplant your seedlings and will prevent you from wasting money by having to prick out and discard unwanted seedlings. Fill a seed tray – such as this Bosmere Garden Seed Tray from Amazon – with seed compost.
Alternatively, you can use any small plastic pots – clean yoghurt pots with holes in the bottom work well.
2. Water your compost
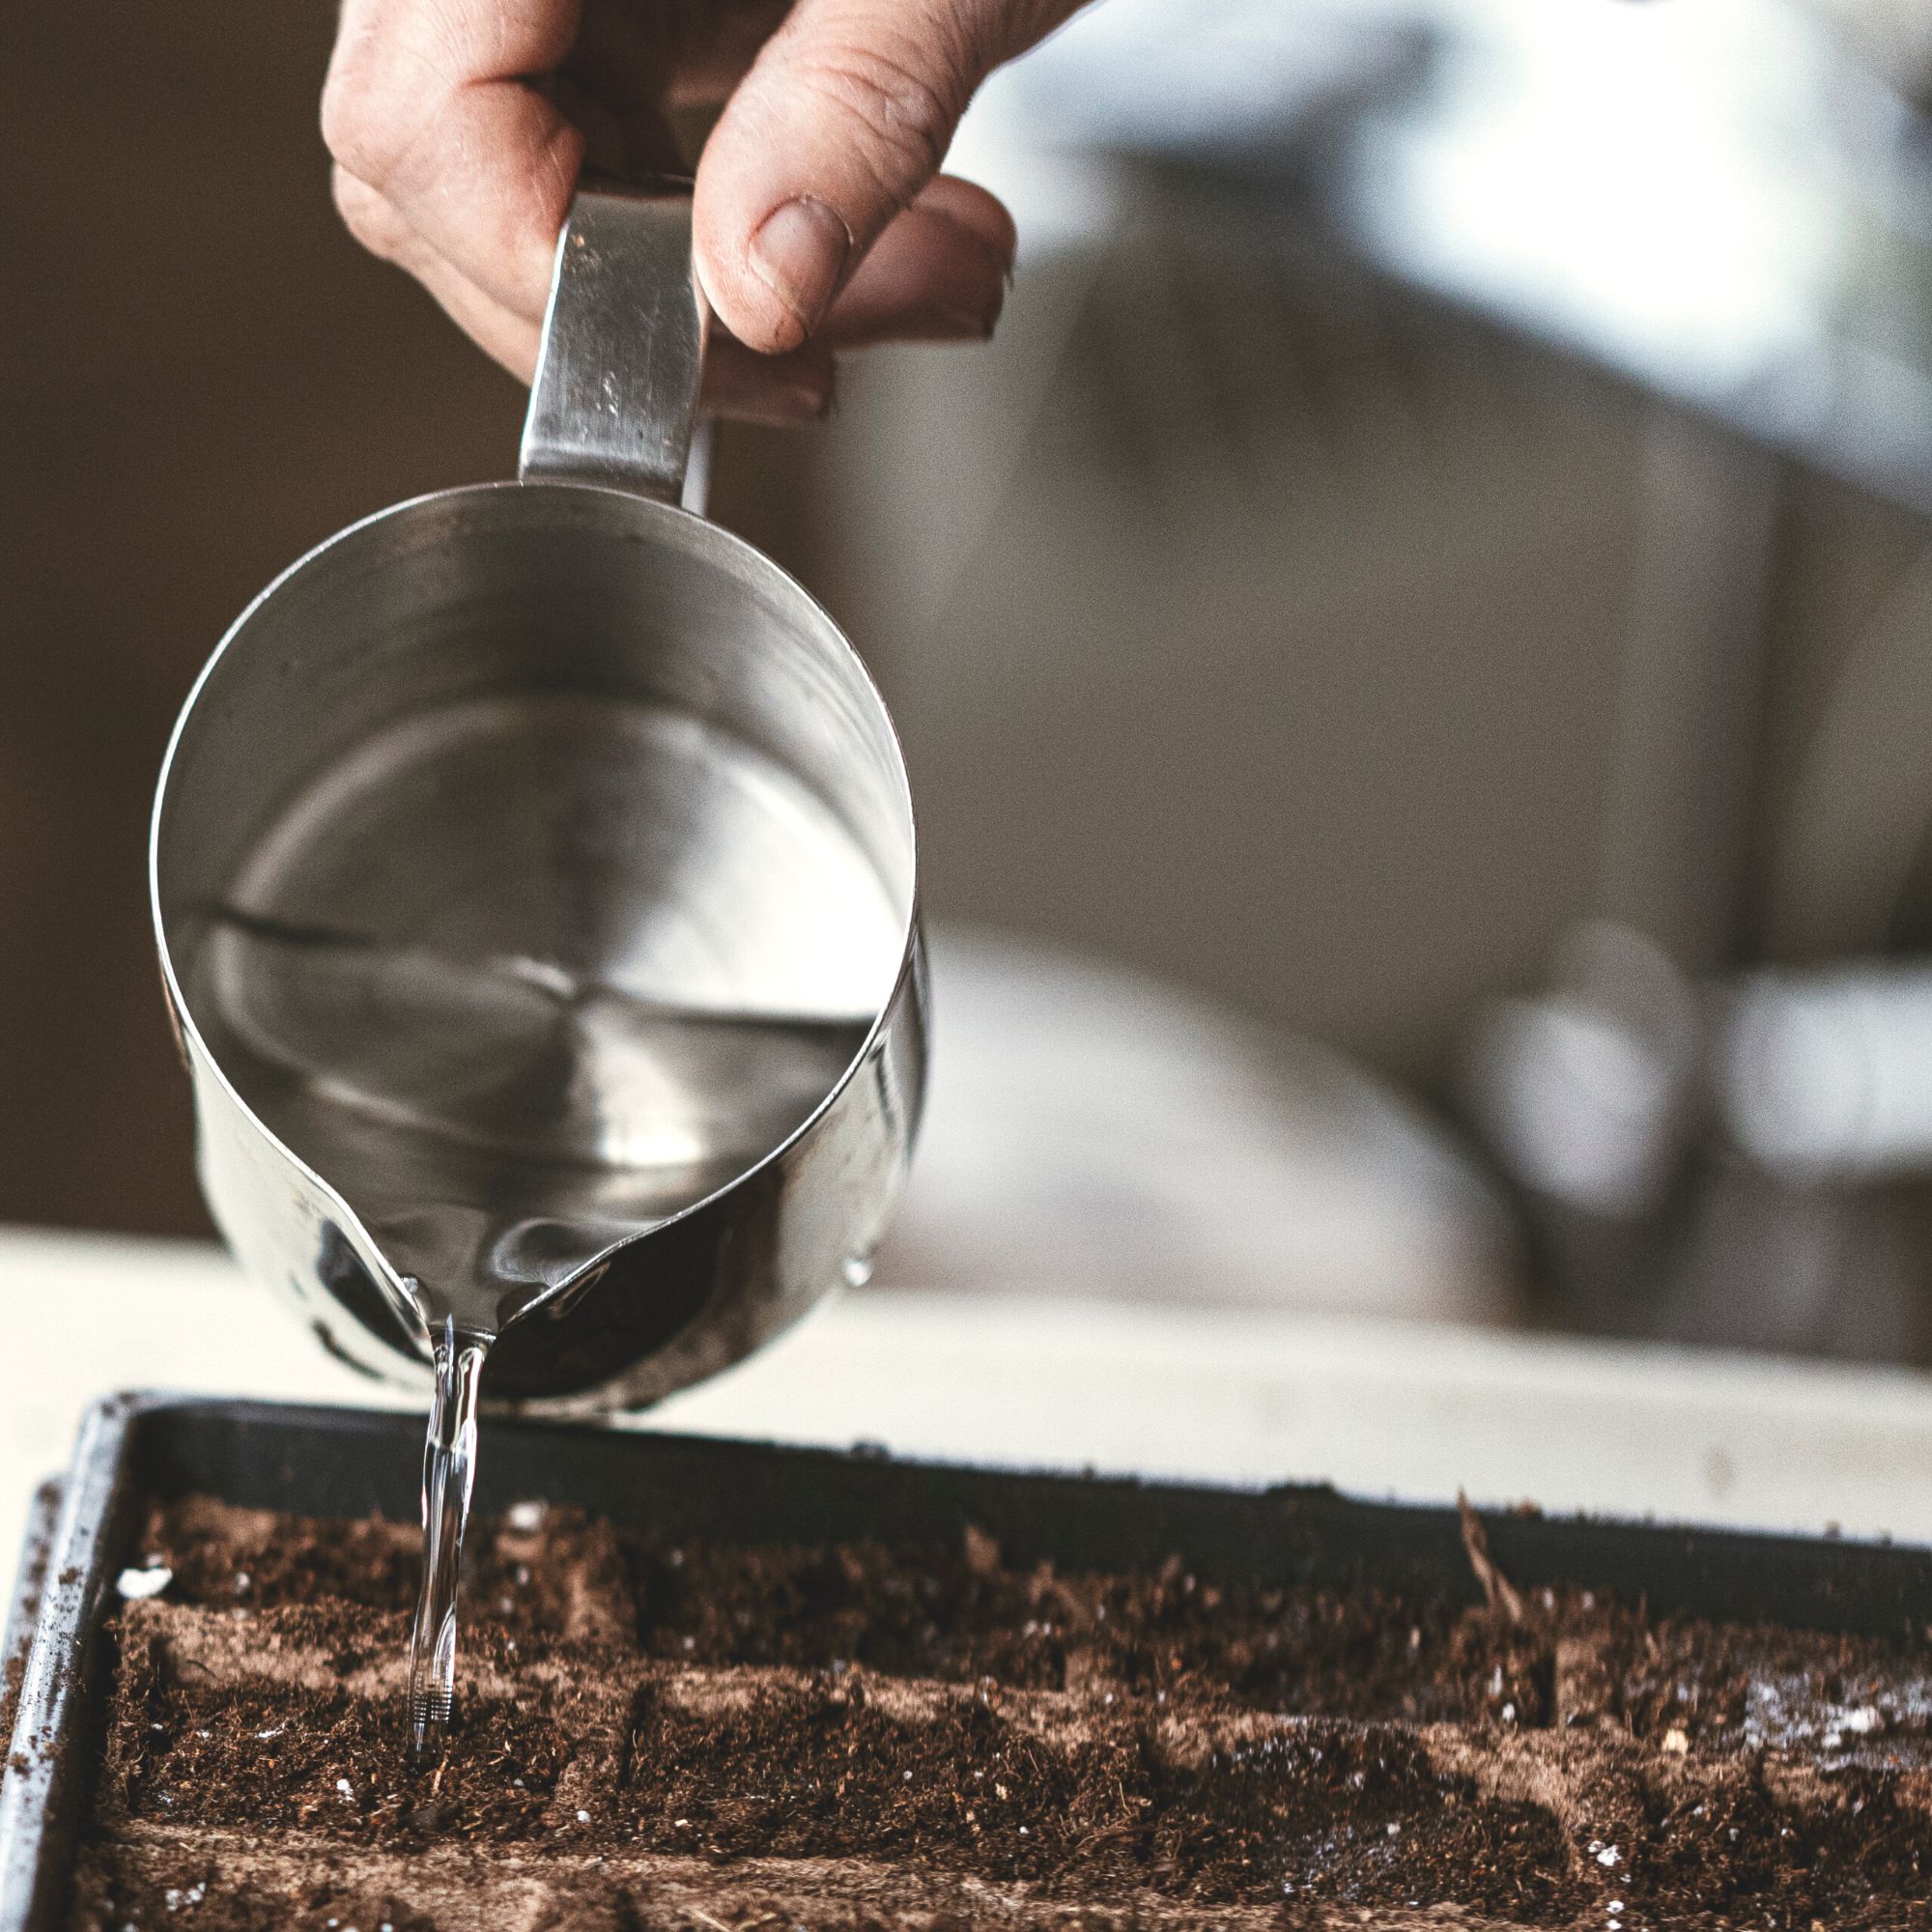
Water your compost before sowing your seeds, this will ensure that your seeds stay in the right position once you've sowed them and will help to create a warm moist environment that will aid germination.
3. Sow seeds
Choosing the right seeds are essential for success. Purchase seeds from reputable stockists or from your local garden centre. Opt for varieties that are designed for growing in pots – words like patio or container are good indicators.
'For beginners, we recommend tomato moneymaker seeds – available from Gardeners Dream. They are one of the most reliable varieties of tomatoes, popular for being easy to grow and producing heavy crops of delicious tomatoes,' advises Craig Wilson, gardening expert from Gardeners Dream.
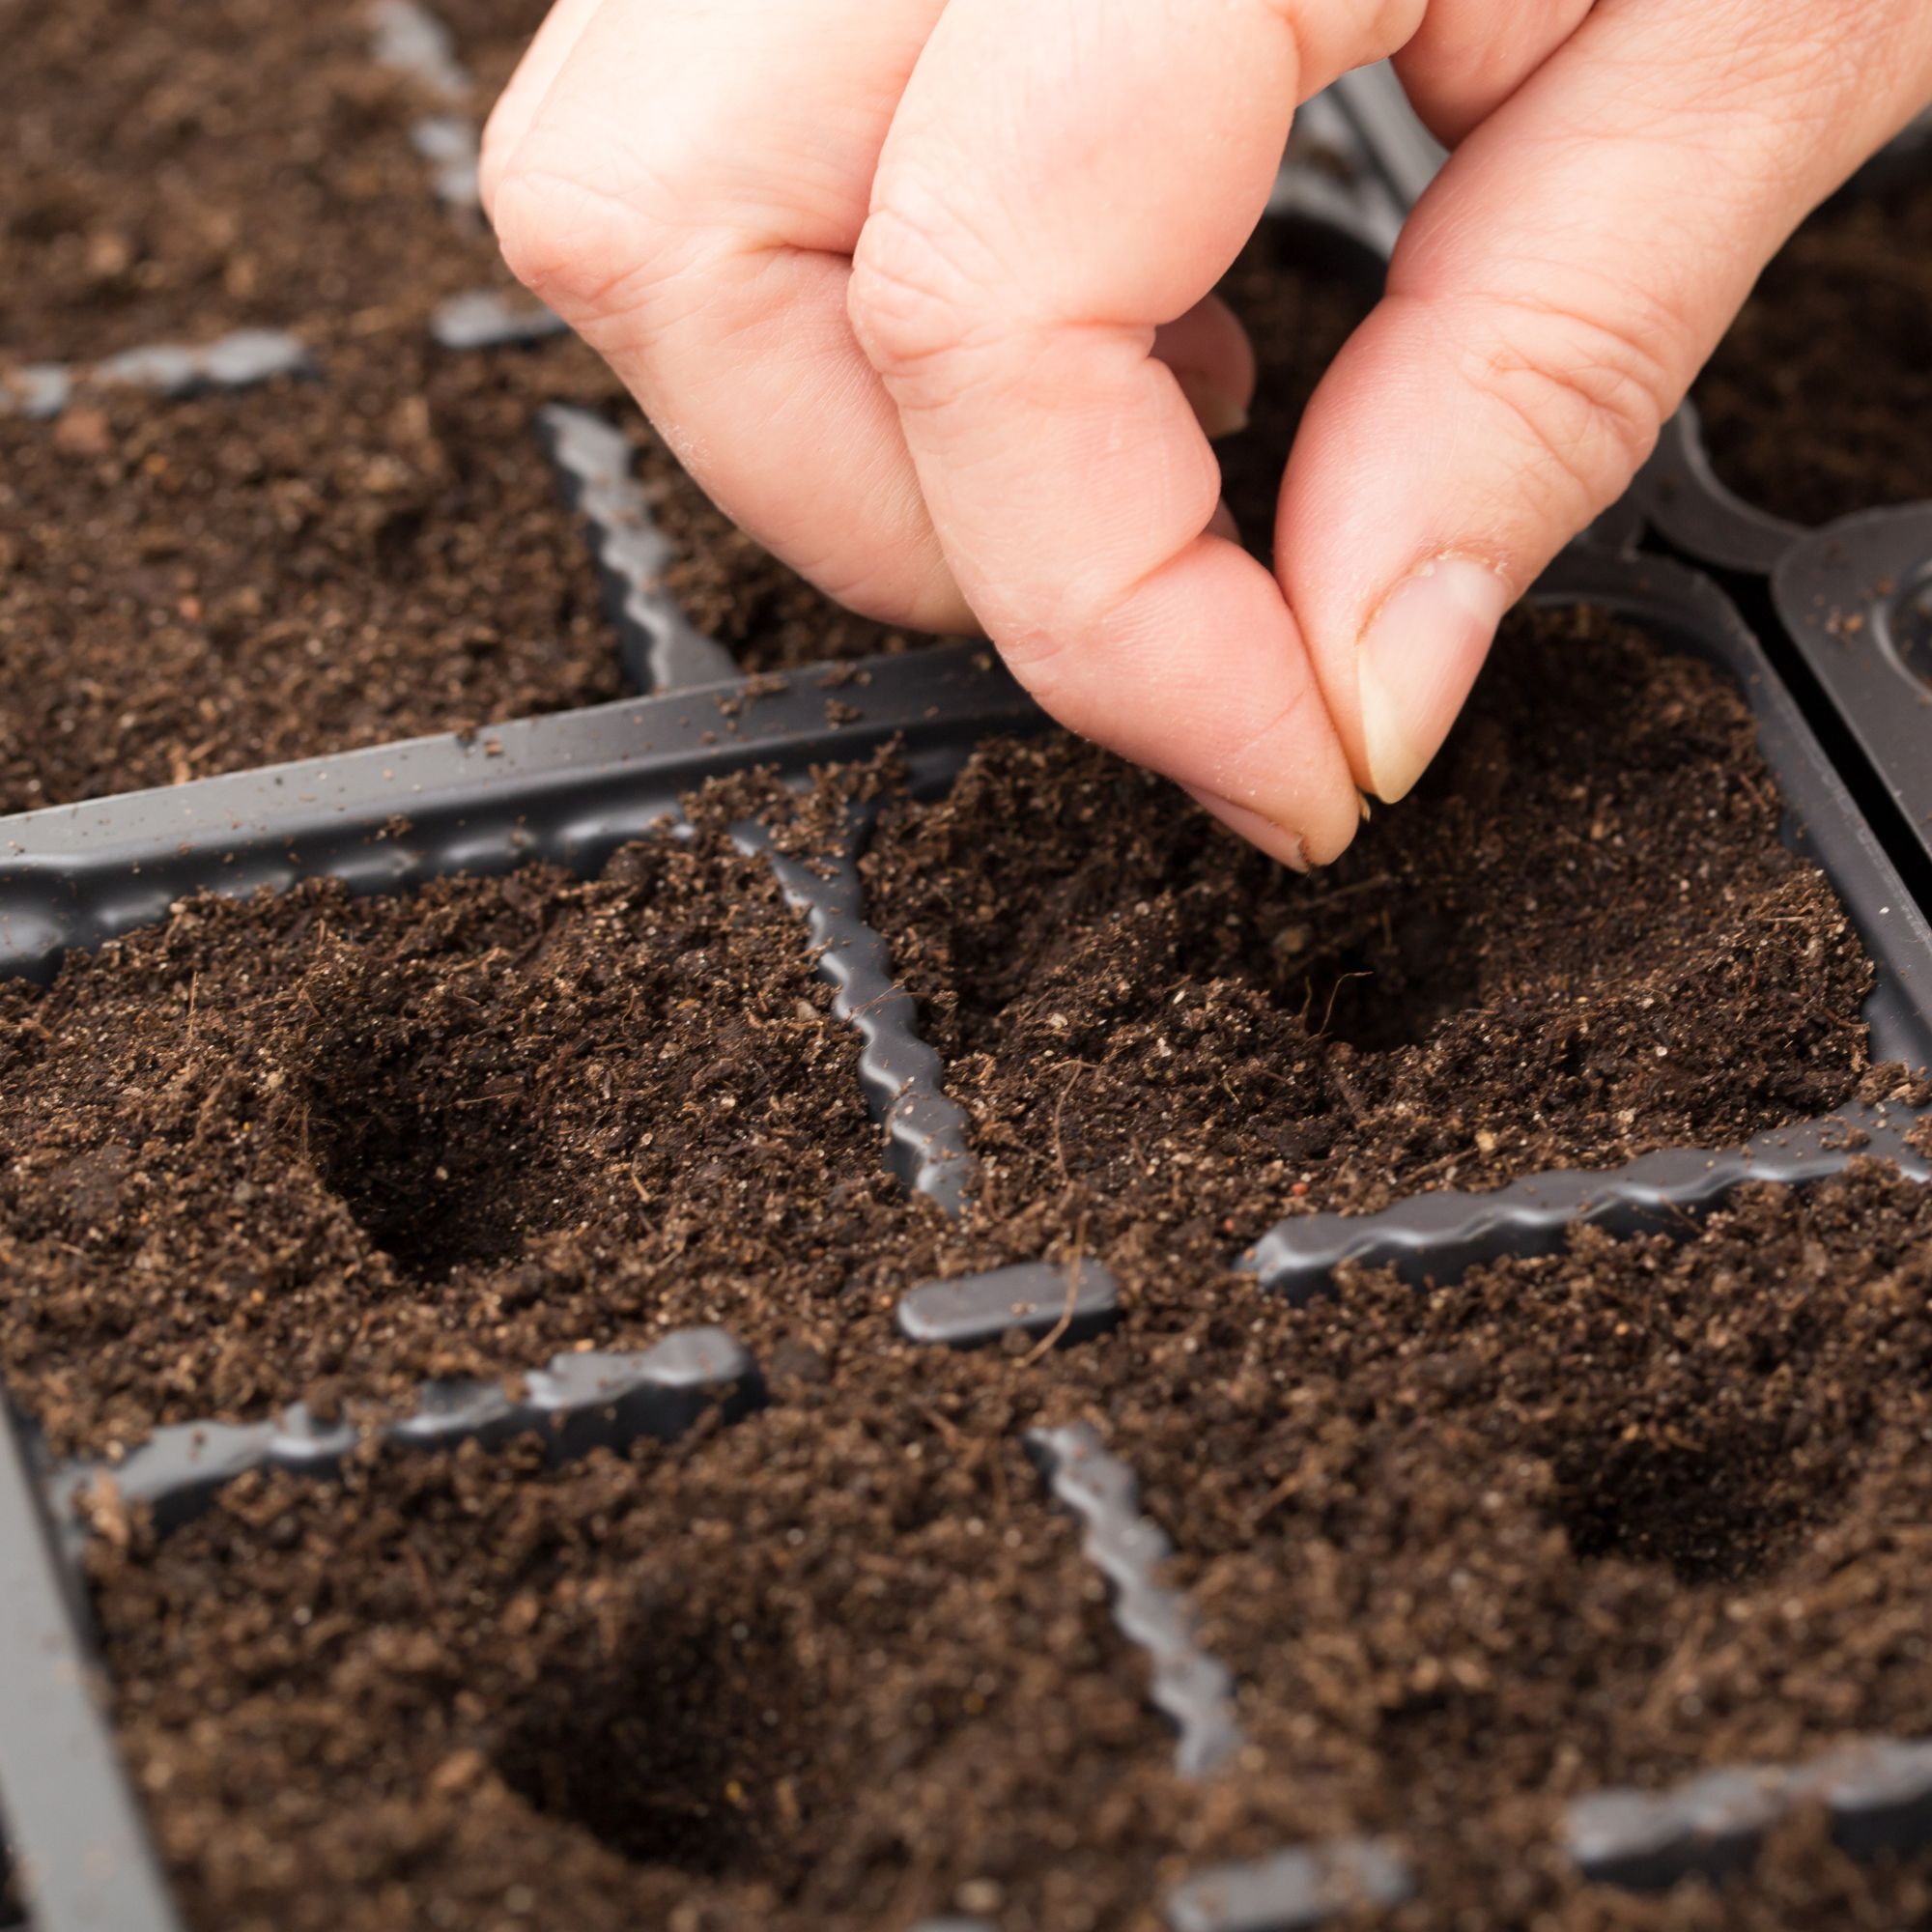
In each cell, create an indent of about 0.5cm deep with your finger (or a dibber) and then place one seed in each. Gently cover with compost – this is similar to how to grow lettuce.
4. Wait for germination
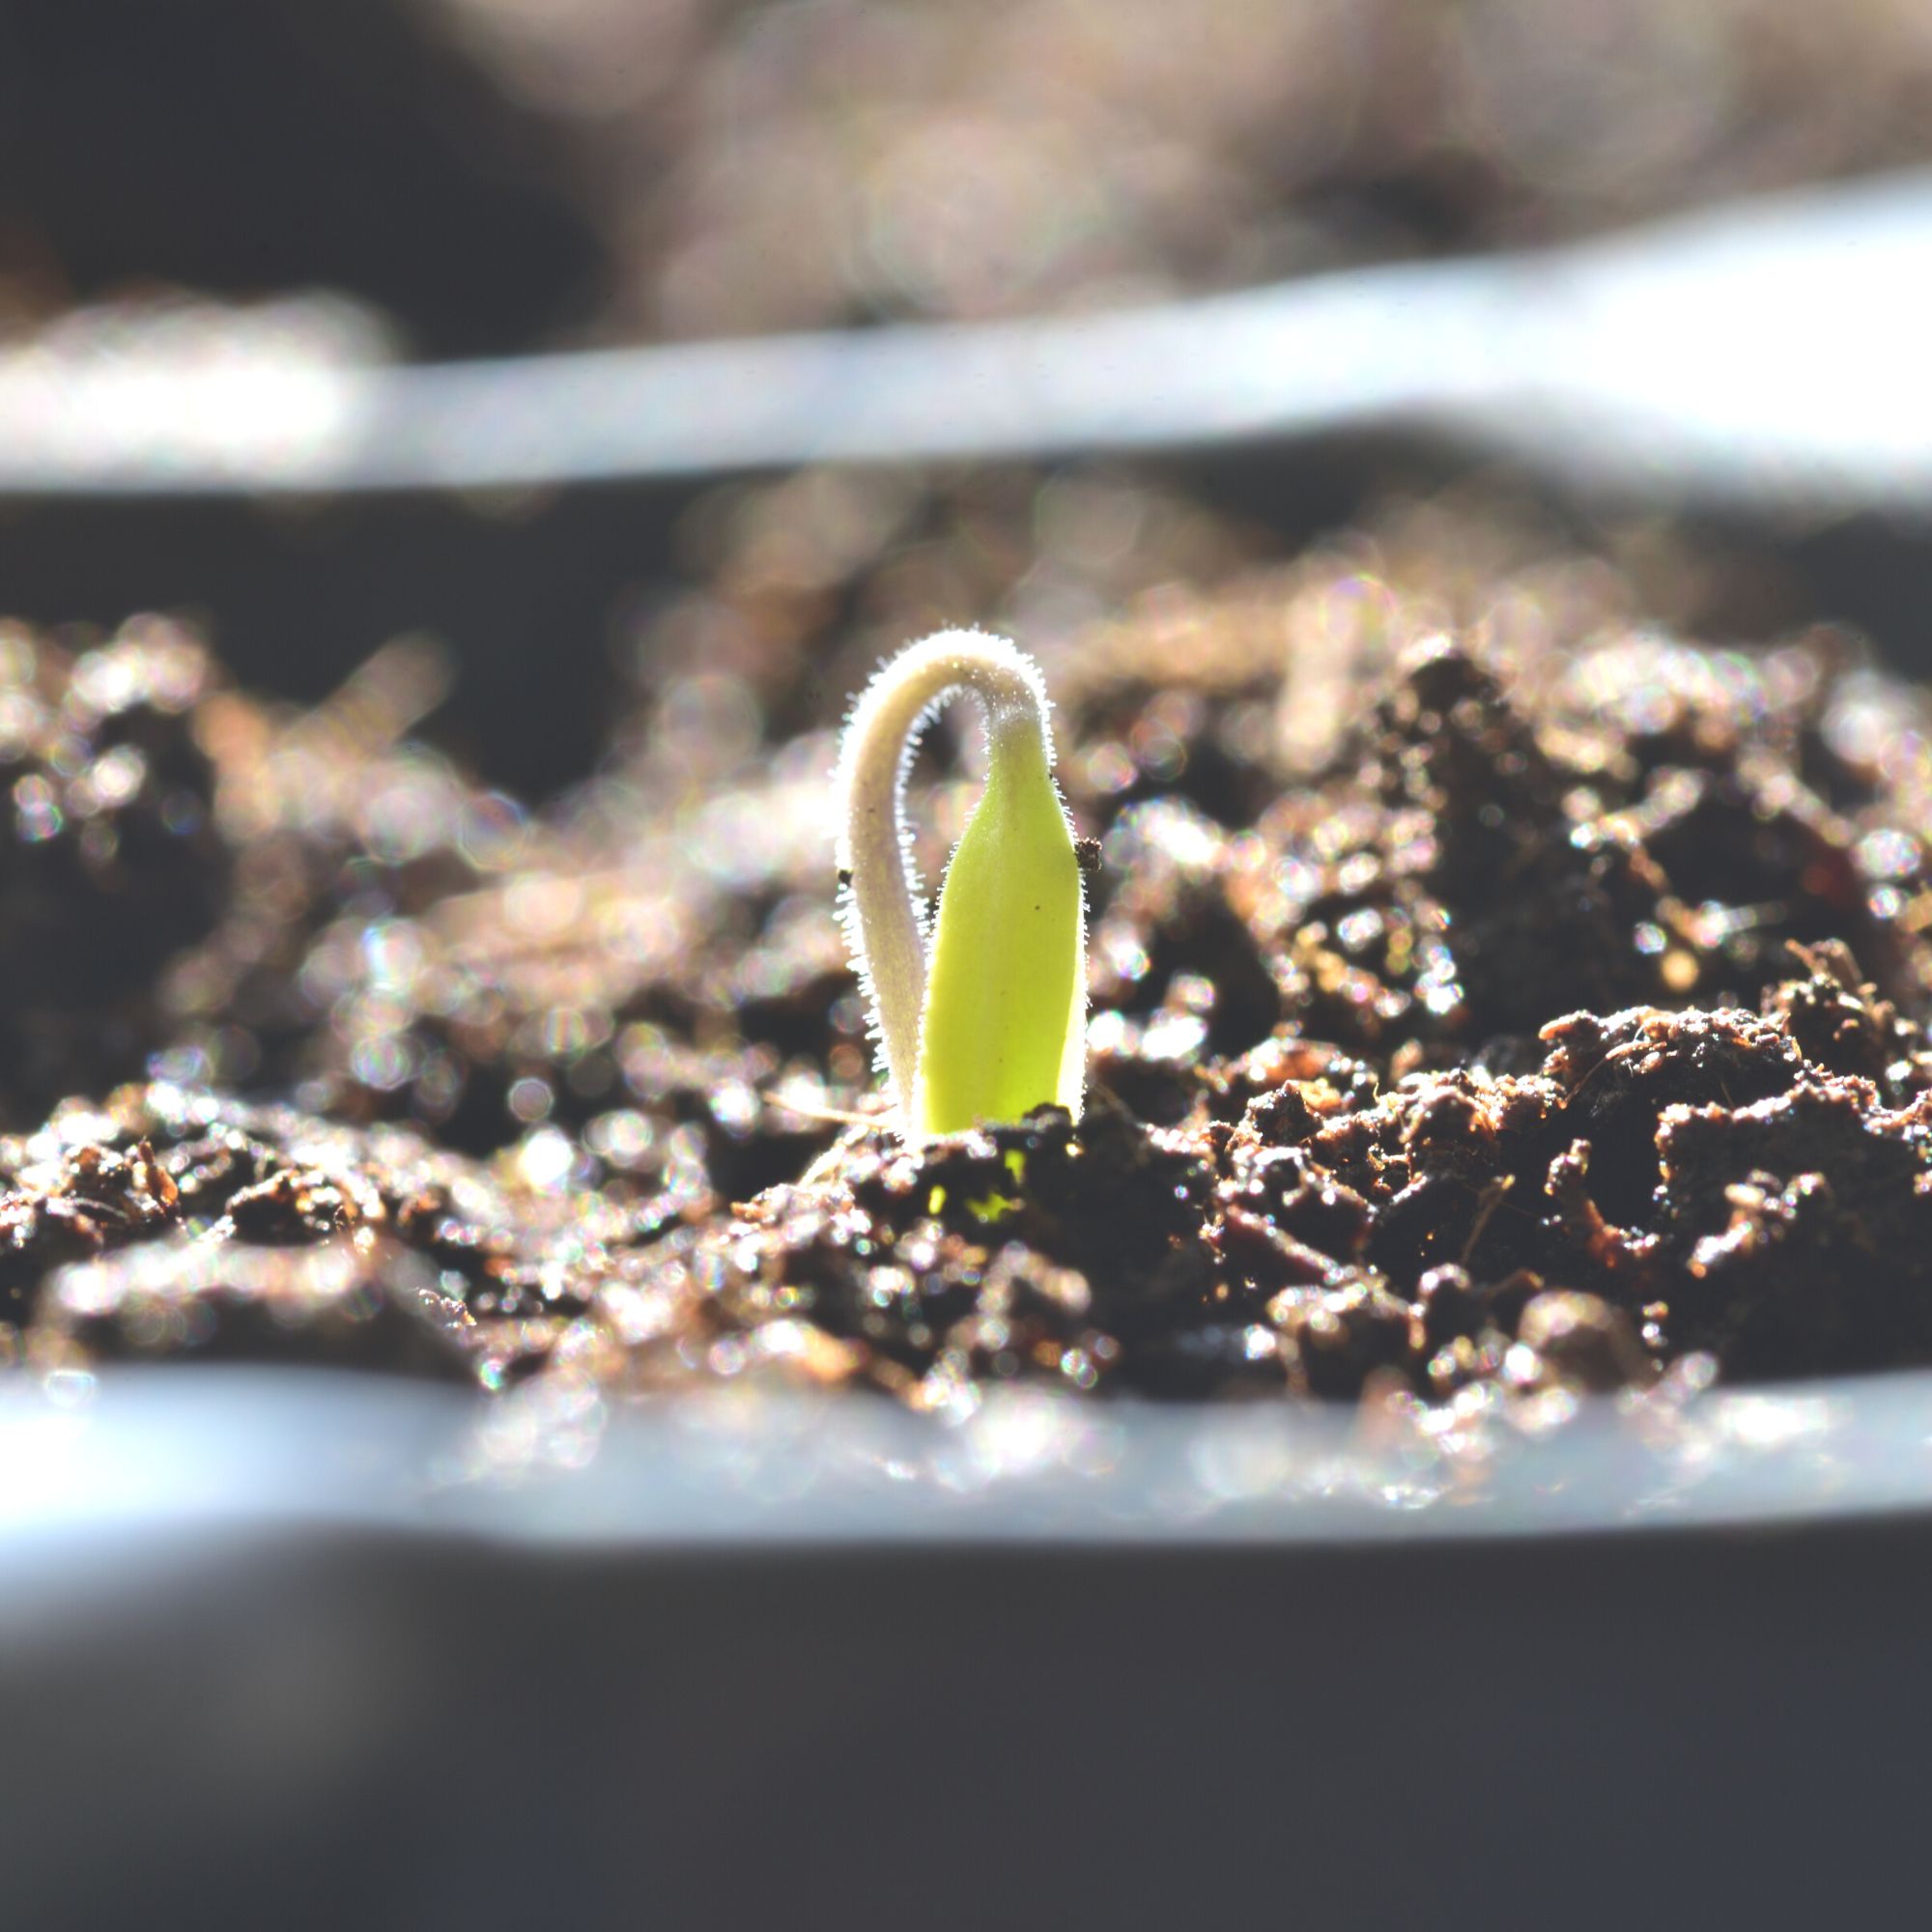
‘Cover the seeds with a polythene bag or pop them in a propagator. This maintains an even temperature for germination, keeping the compost moist. Place the seeds in a spot with plenty of sunlight to allow them to germinate – a window sill is ideal,’ says Daniel Carruthers from Cultivar Greenhouses.
‘Tomato seeds need warmth to germinate (around 21 degrees Celsius) and take on average between seven to 14 days to germinate,’ adds Matt Jordan, gardening expert for The Greenhouse People.
5. Keep the soil moist
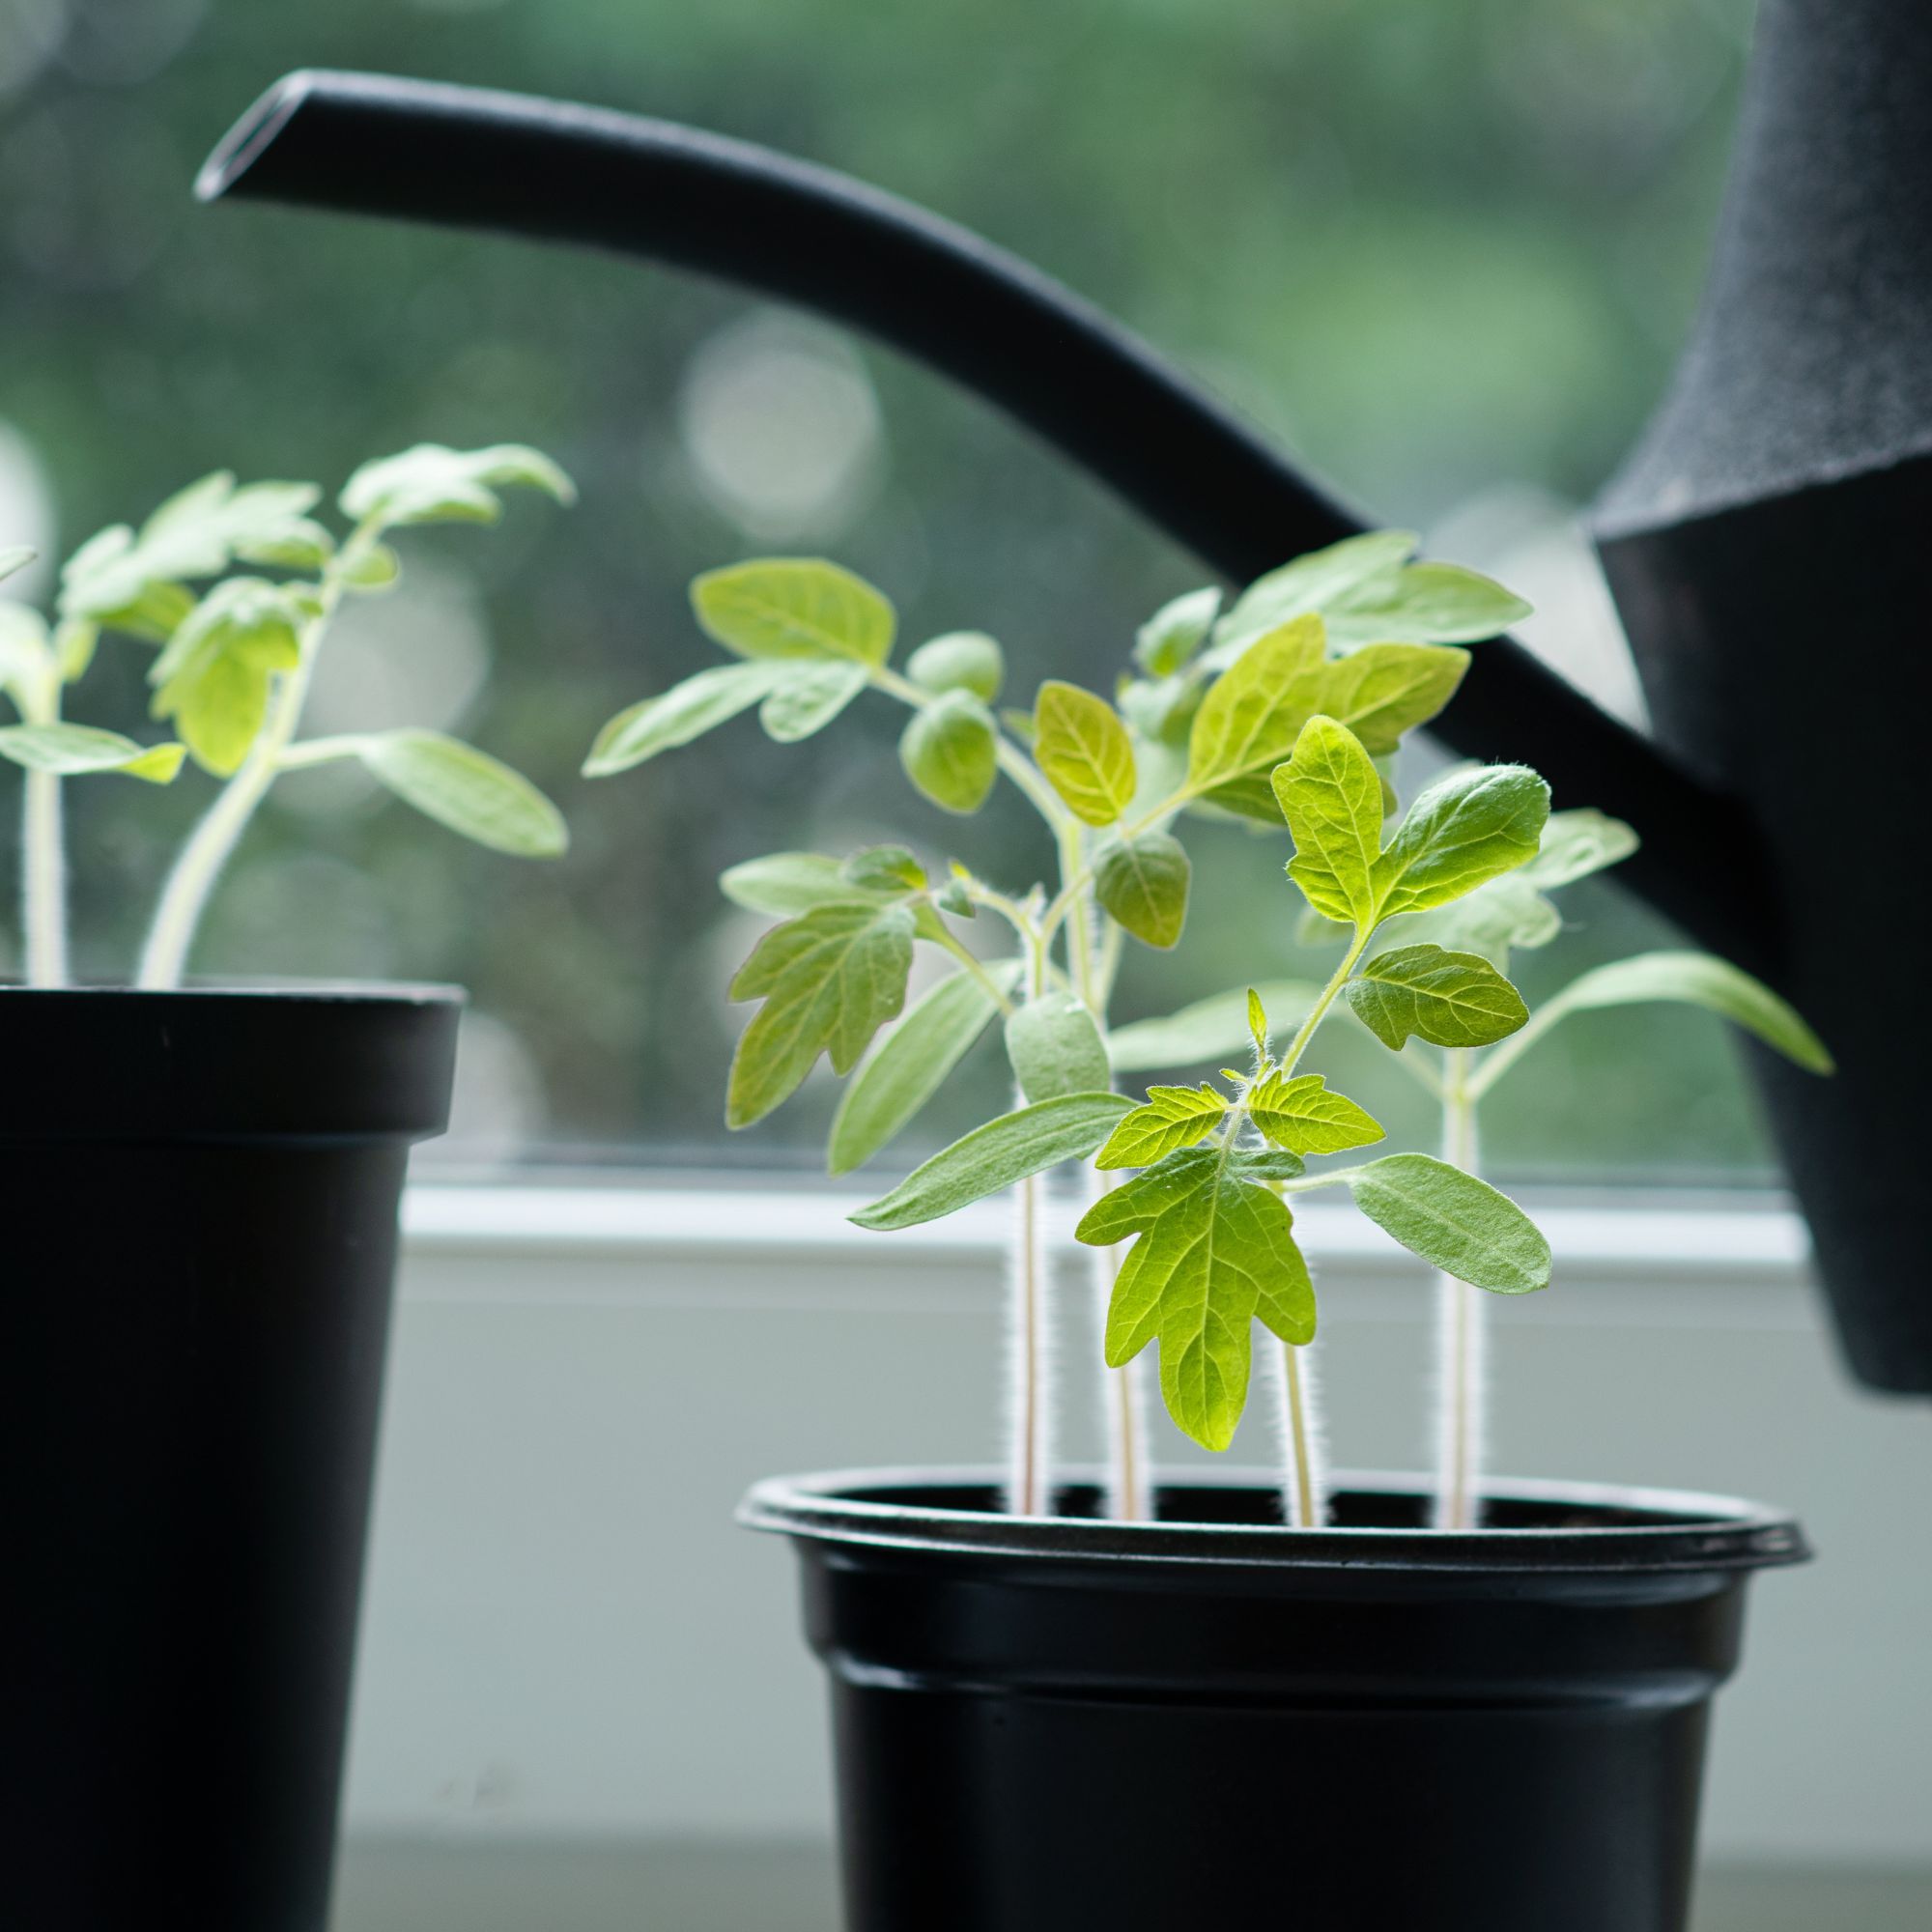
‘While waiting for your seedlings to grow, remember to keep the compost moist at all times. If possible, use water from your tap, instead of a water butt as this could contain diseases which can potentially affect germination.
As soon as the seeds have germinated, and you can see the seedlings growing out of the compost, remove the plastic covering and allow them to continue to grow in a warm place indoors,' advises Daniel Carruthers from Cultivar Greenhouses.
6. Harden off your seedlings
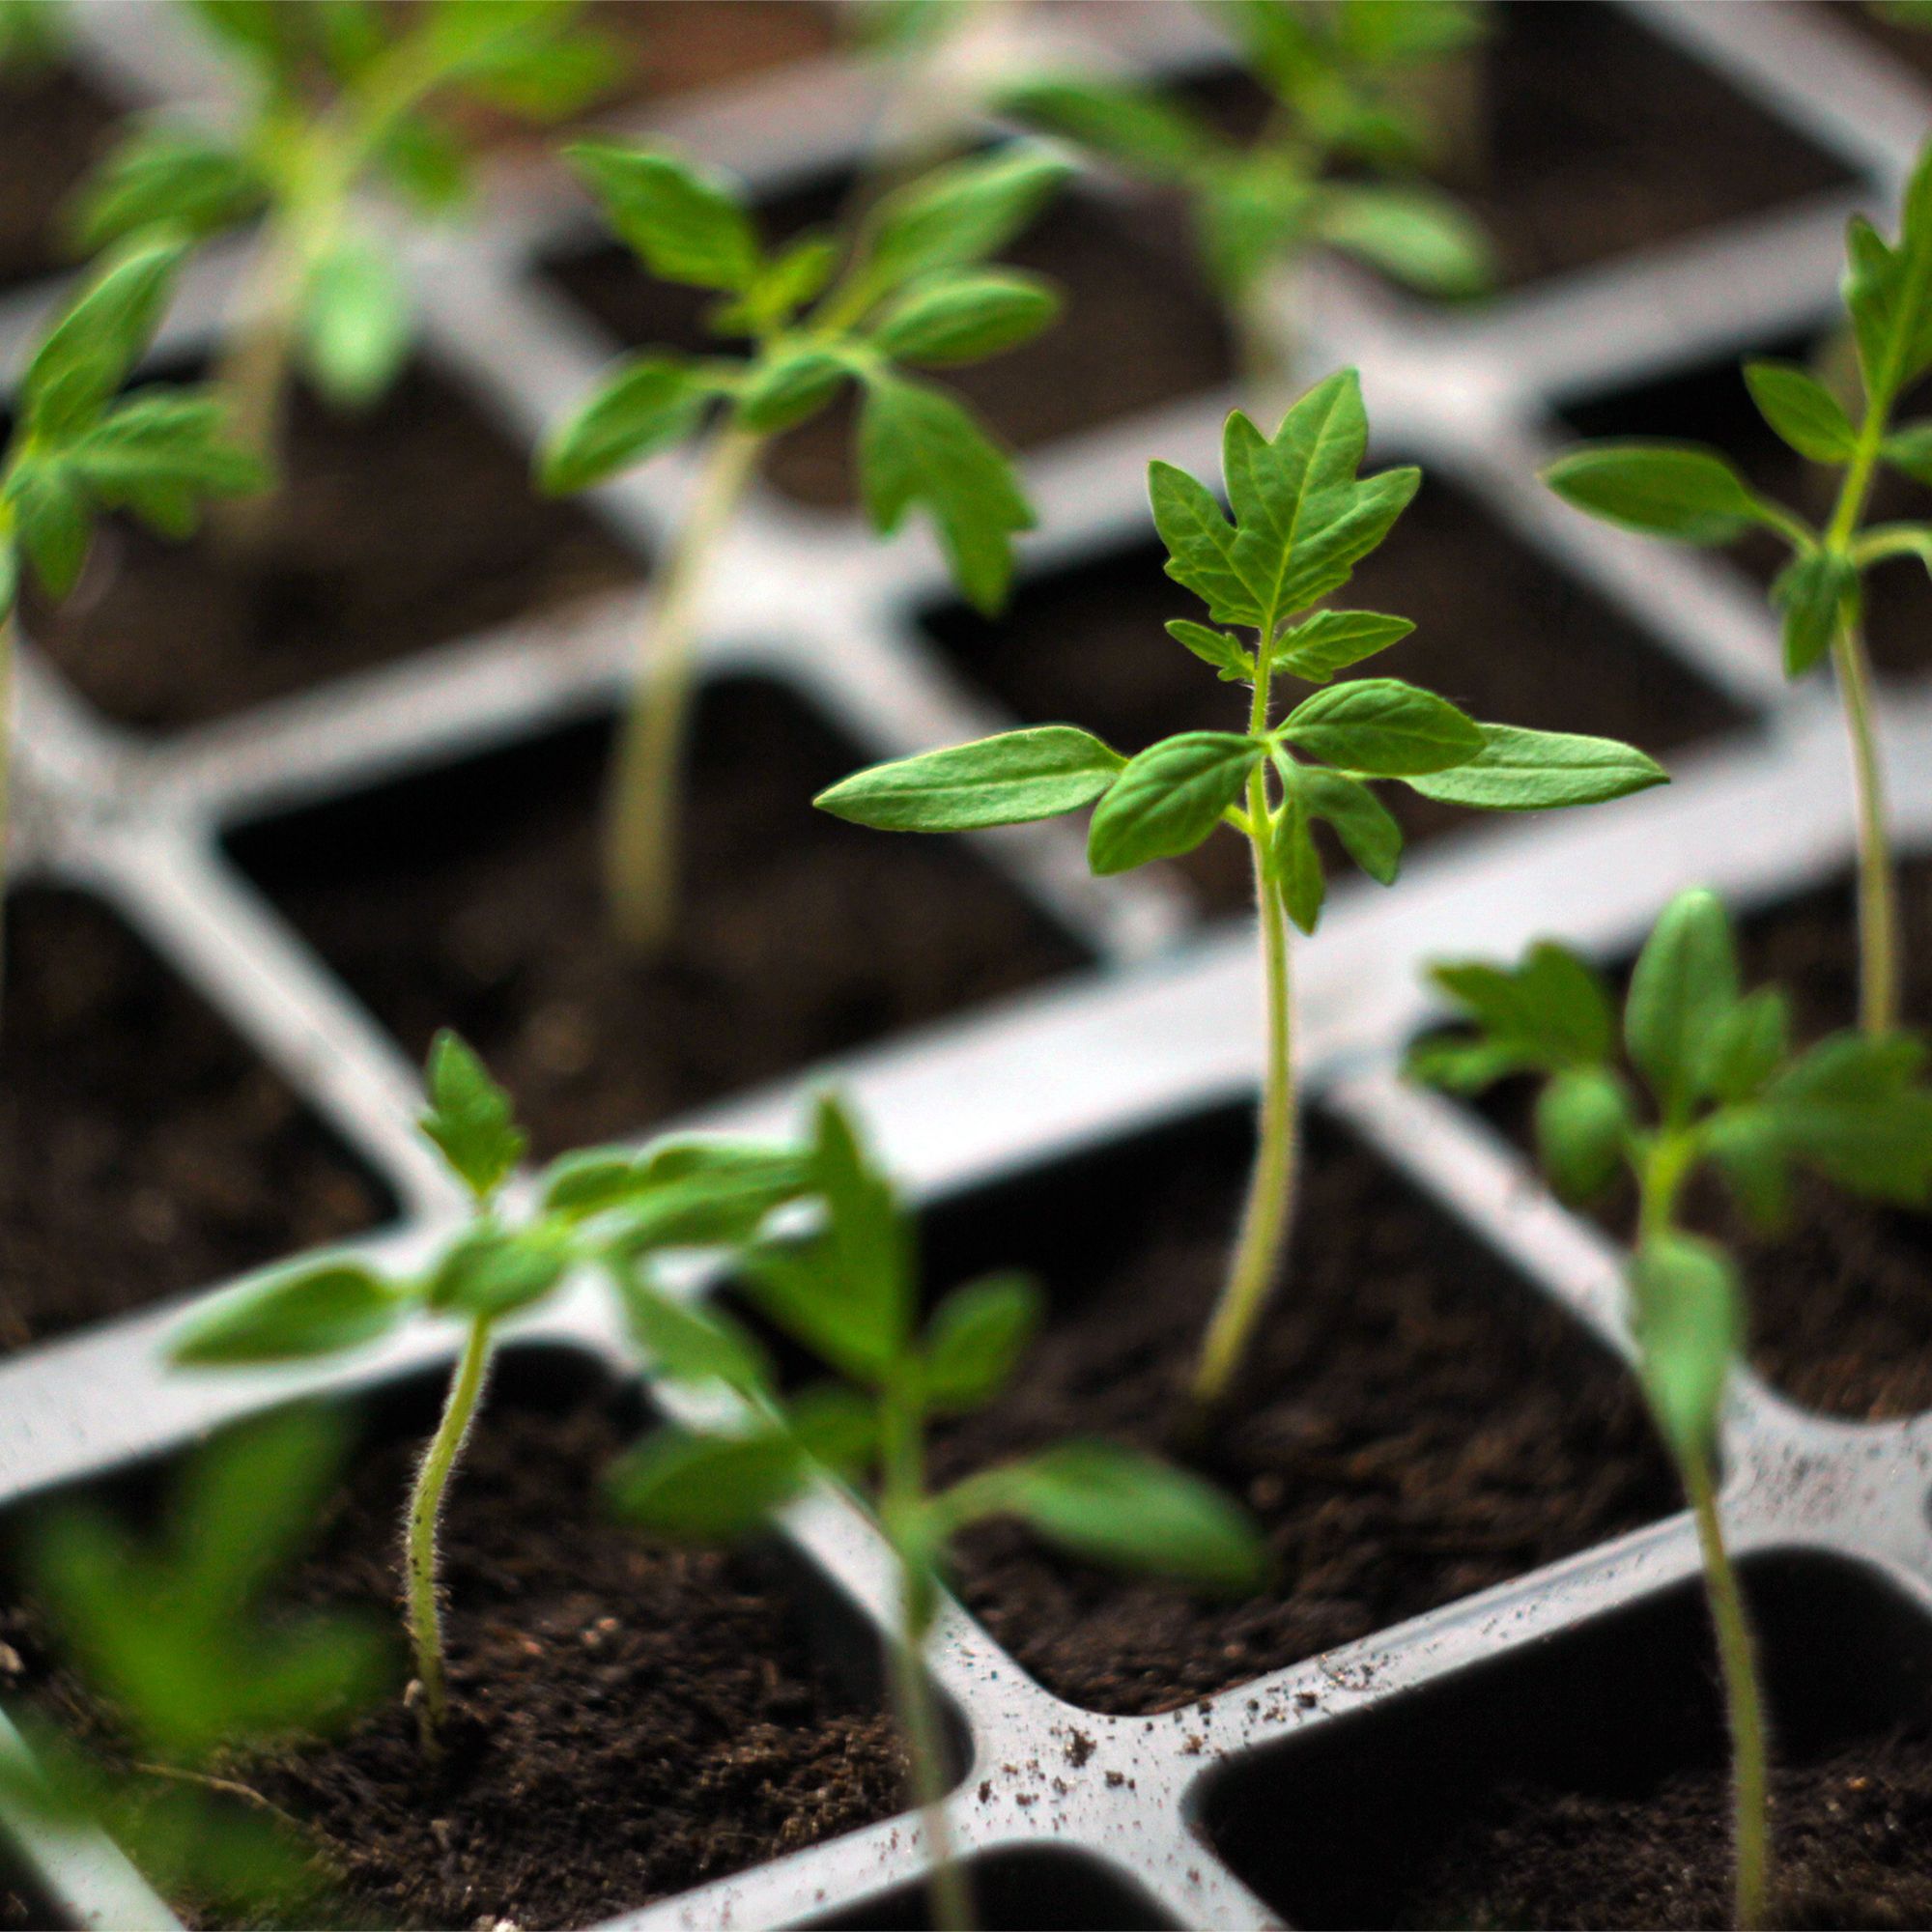
Once your seedlings have got two pairs of true leaves (the ones that look like spikey tomato leaves rather than the rounded leaves which first appeared when they germinated), they are ready to move outside.
Start by putting your tomato seedlings in front of an open window for a few days (closing at nighttime). After a few days, put your seedlings outside. Wait until a warm, dry day with no rain or strong winds. Keep out of the full sun for the first few days. Over the following few weeks, increase the amount of time and sunlight the seedlings are exposed to, always bringing them in at nightfall. After two to three weeks they should be ready to permanently move outside.
If you are growing your tomatoes inside you can skip this step.
7. Prepare your pot
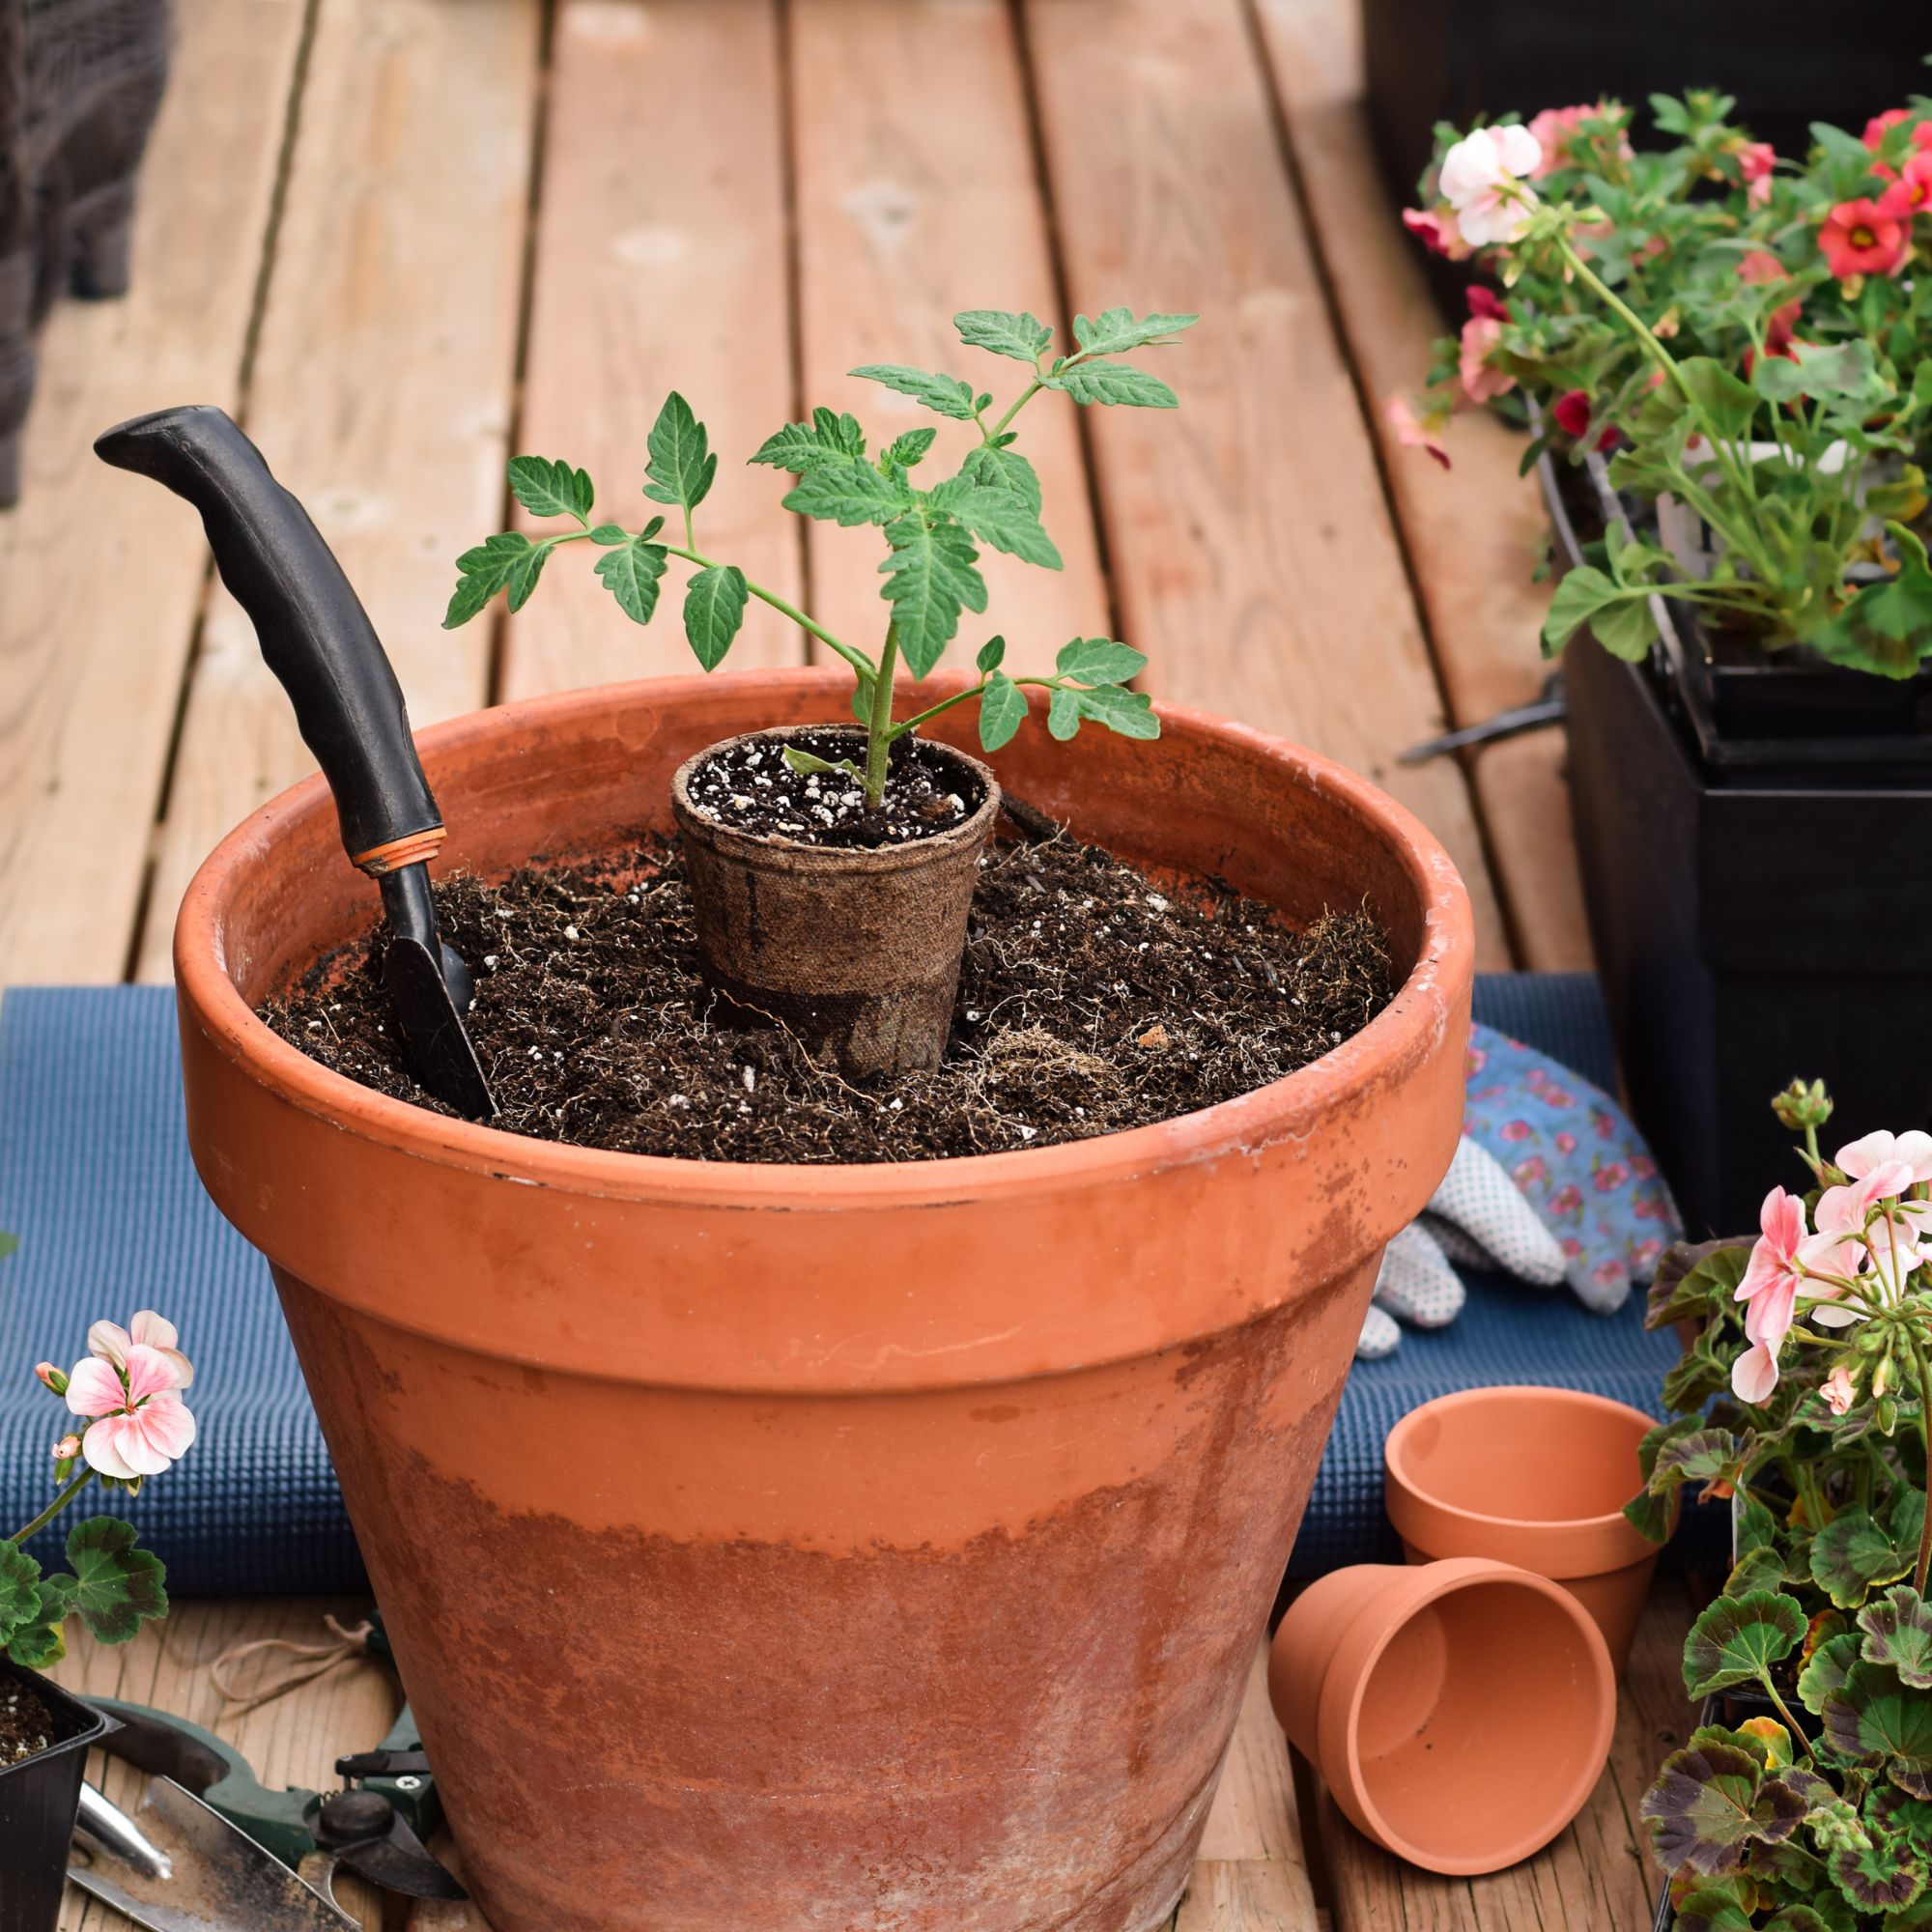
Once your tomatoes are fully hardened to the outside, then it's time to repot. If you are growing indoors, look to repot once your seedlings are around 15cm tall.
Select a pot with at least an 18-inch diameter – slightly larger also works. ‘Containers of this size provide enough room to allow for adequate root growth,’ explains David Cohen, the CEO of Flower Station. If the pot is too small, the plant won't crop.
This pot is to be the tomato plant's permanent home, as once the tomatoes start to mature it will be very difficult to repot. 'Plastic is the most common option and is very affordable but lots of gardeners are recommending fabric pots.
‘The best pot for growing tomatoes is a large container made of breathable material such as terracotta, plastic, or fabric. These materials allow for proper drainage and aeration, which are essential for healthy root growth,’ adds David Cohen.
Regardless of the material, fill your pot with well-draining compost, then dig a small hole in the centre. This hole should be about half the size of the tomato's current pot – you can place the pot in the middle to help you.
‘Tomatoes favour well-draining soil. So, work in rich in organic matter compost, aged manure, or other organic material into the soil to improve its fertility and drainage,’ says Matt Jordan, gardening expert for The Greenhouse People. Alternatively, a good-quality potting mix specifically designed for growing tomatoes in pots – such as this Westland Gro-Sure Tomato from B&Q – is a great option. Don't worry about repurposing the compost from a tomato grow bag either as this is often cheaper.
8. Transplant your seedlings
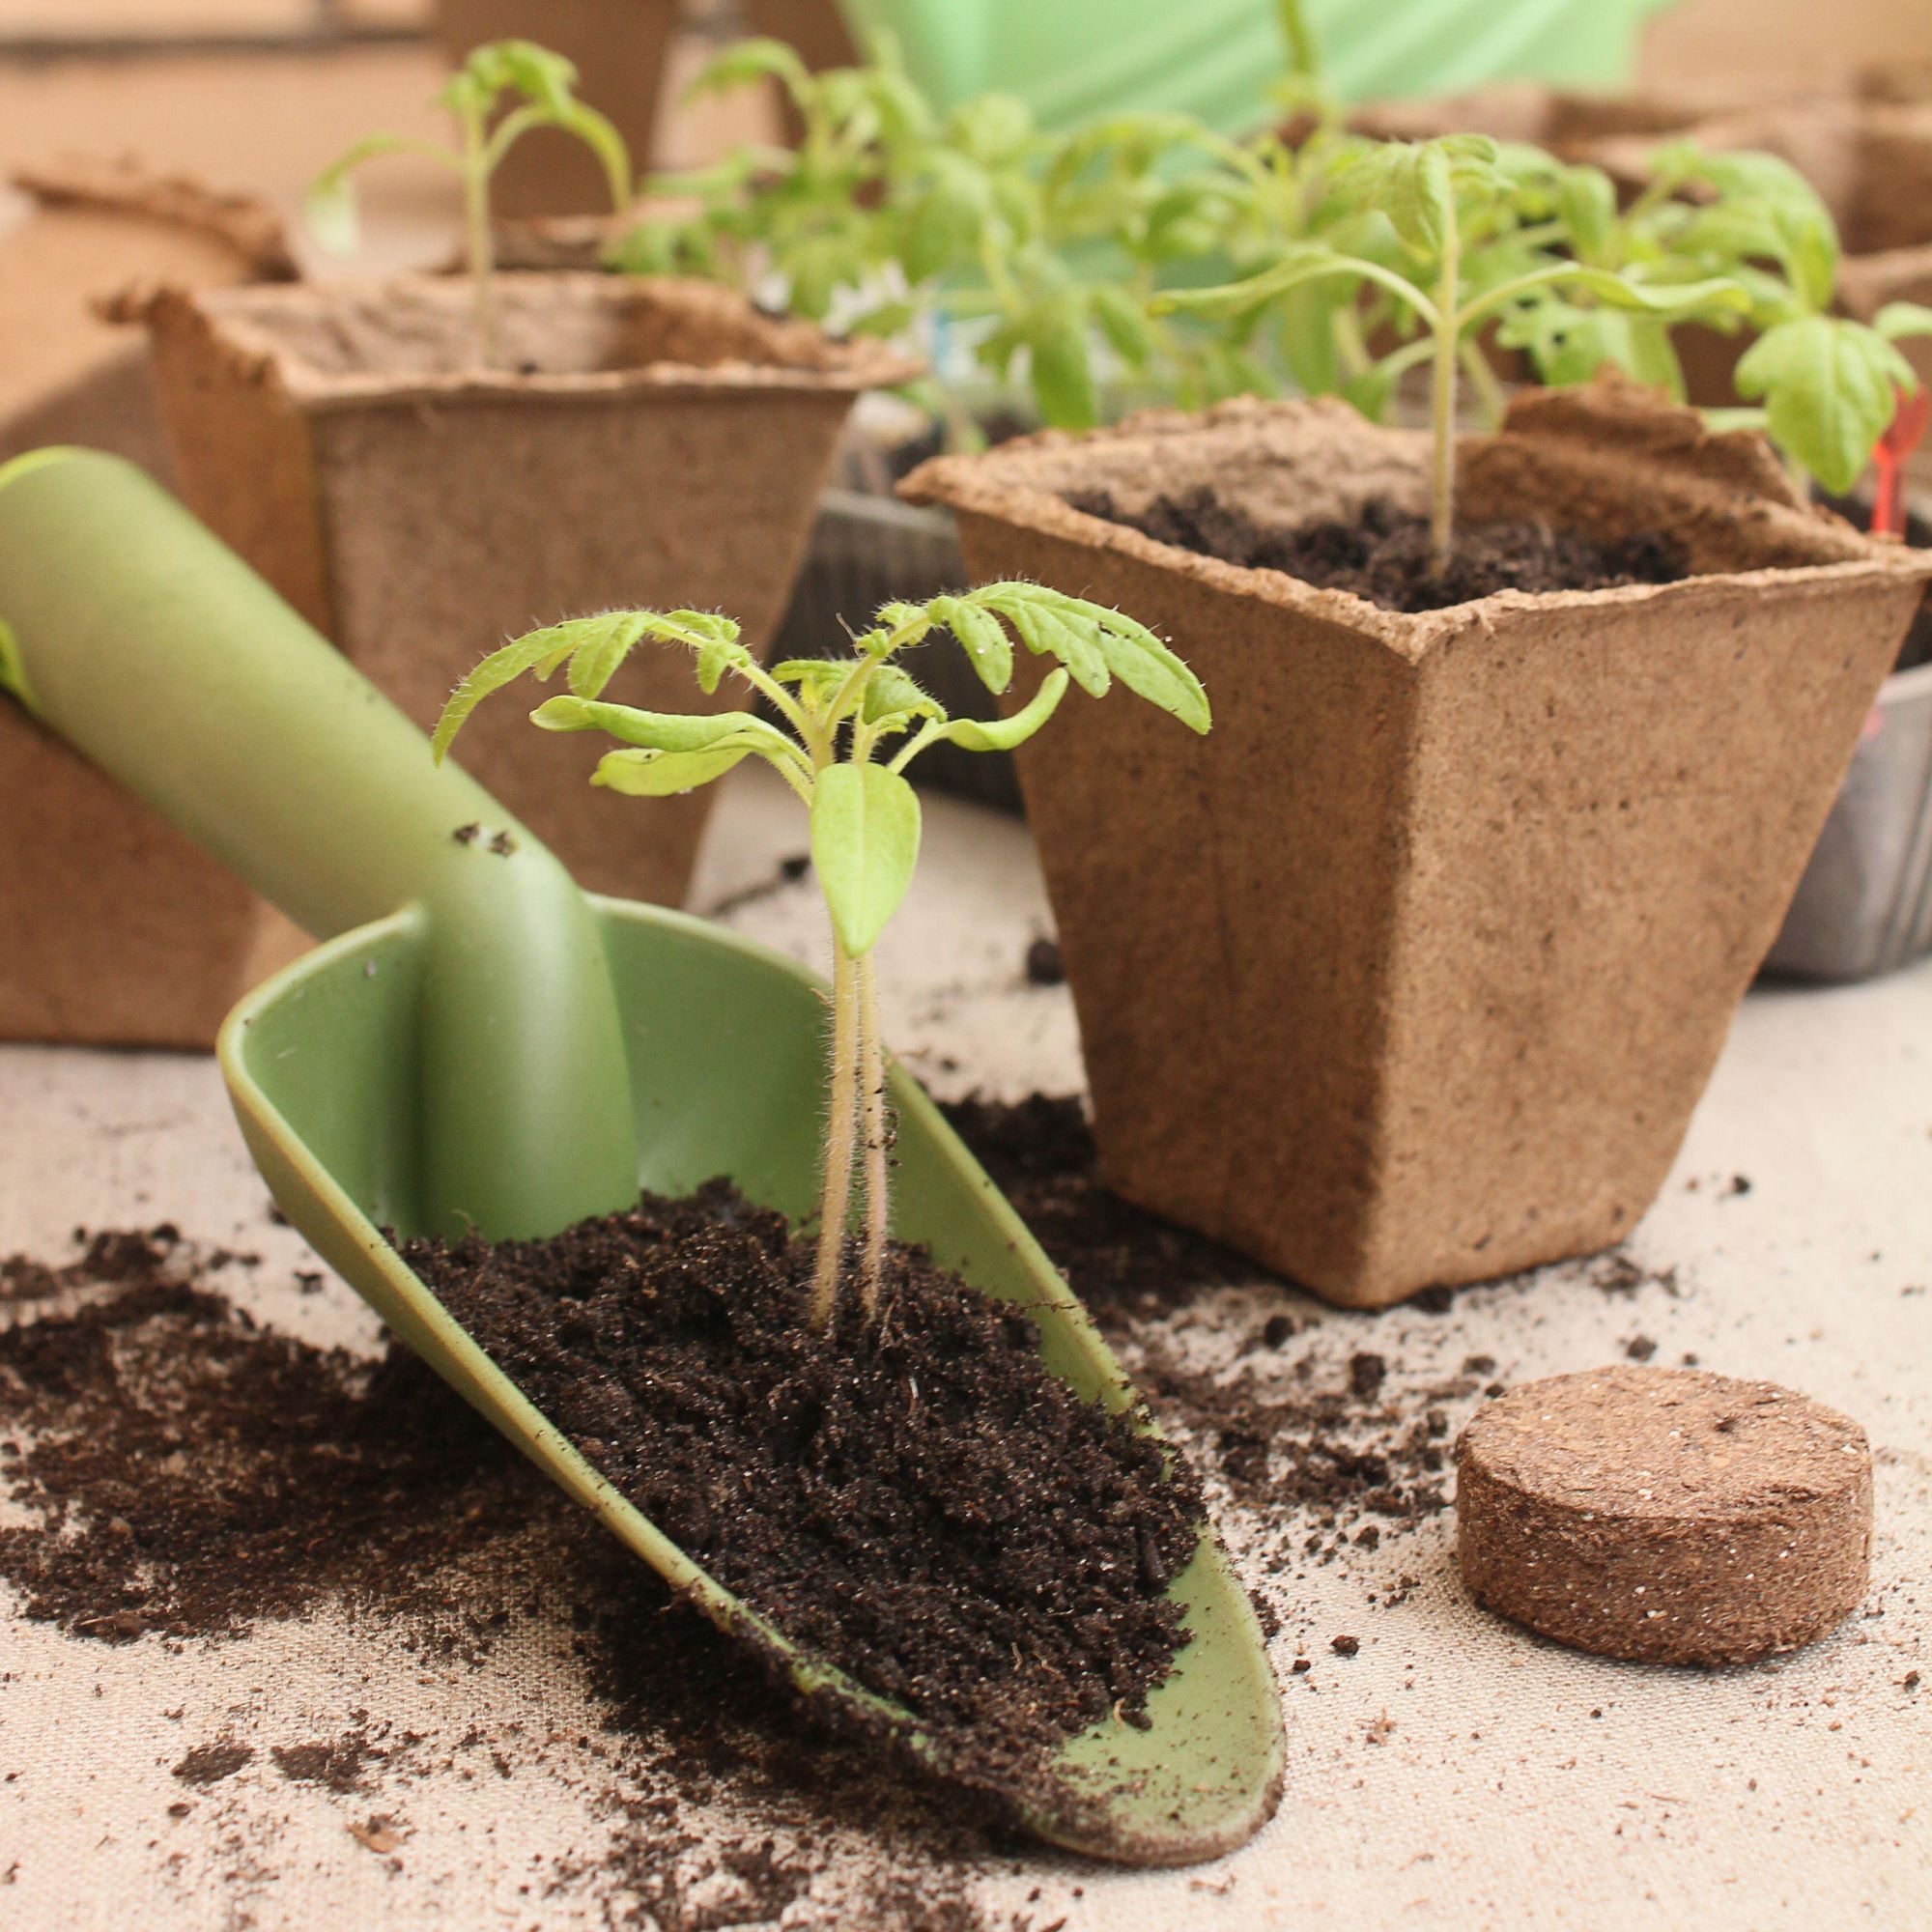
Carefully unpot your tomato seedling. Do this by gently squeezing the outsides of the pot or cell to dislodge the whole unit. Move seedlings and soil together, planting them in the new pot.
‘The compost should cover about two-thirds of the plant which will encourage strong roots and healthy growth,’ says Craig Wilson, gardening expert at Gardeners Dream. Ensure you only have one tomato plant per pot.
9. Place in its final spot
If you are growing your tomatoes outside you can place your pot in its final spot – this should receive at least six hours of sunlight. Keep an eye on the temperatures as your tomatoes may need covering with fleece or moving into a shed if a frost is predicted overnight. Potted tomatoes are a great addition to herb garden ideas or cottage garden ideas.
Of course, you don’t have to place them outside if you don’t have a garden. ‘Tomatoes need at least six hours of sunlight per day to grow and produce fruit. Place your pots in a sunny location, such as a south-facing balcony or as part of your patio ideas,’ says David Cohen, the CEO of Flower Station.
If you are growing your tomatoes inside, then position them in front of a window where they will receive at least 6 hours of indirect sunlight.
10. Stake your tomatoes as they grow
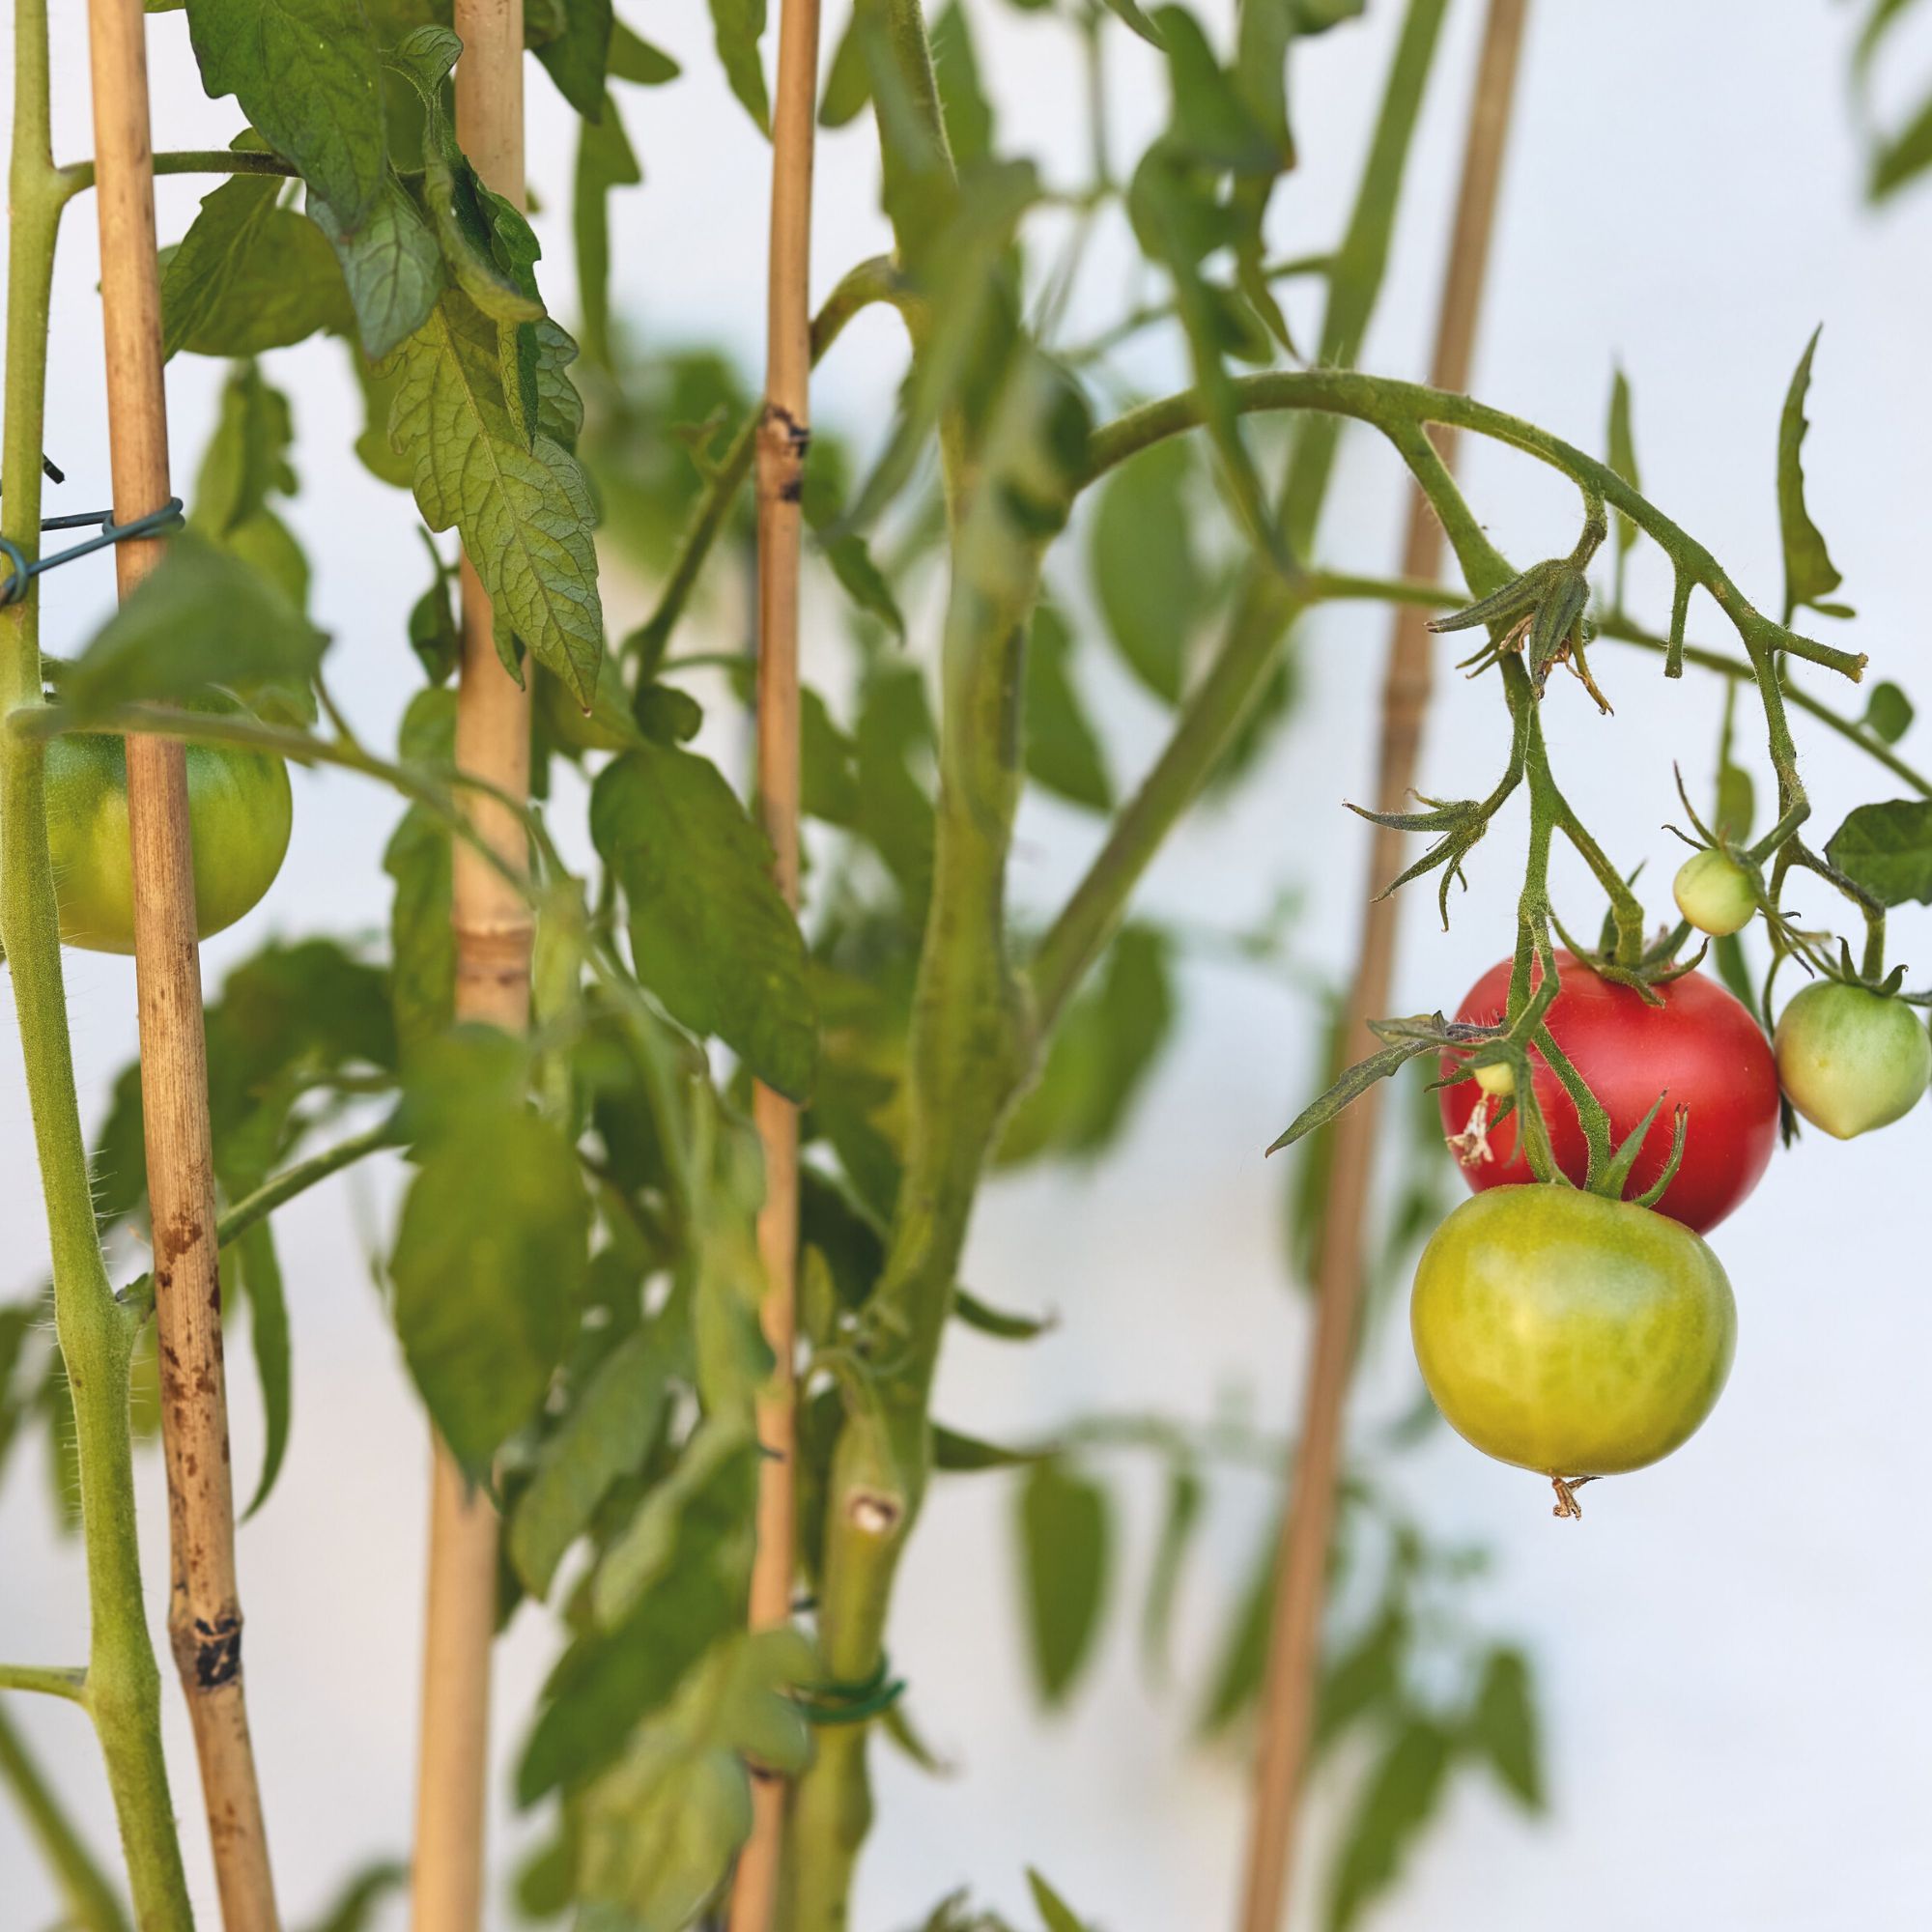
Add a stake alongside the plant – bamboo sticks such as these canes from Homebase work best – this will provide support as the tomato climbs and grows. It will also stop the plant from bending when it becomes laden with tomatoes. As your tomato grows, loosely tie the stem onto the stick with garden twine or string – this will keep it upright.
‘Side shoots may appear on your tomato plants. You can prune these, which helps reduce the risk of disease and how much support is needed, but it’s not necessary,’ says Craig Wilson, a gardening expert from Gardeners Dream.
11. Water regularly
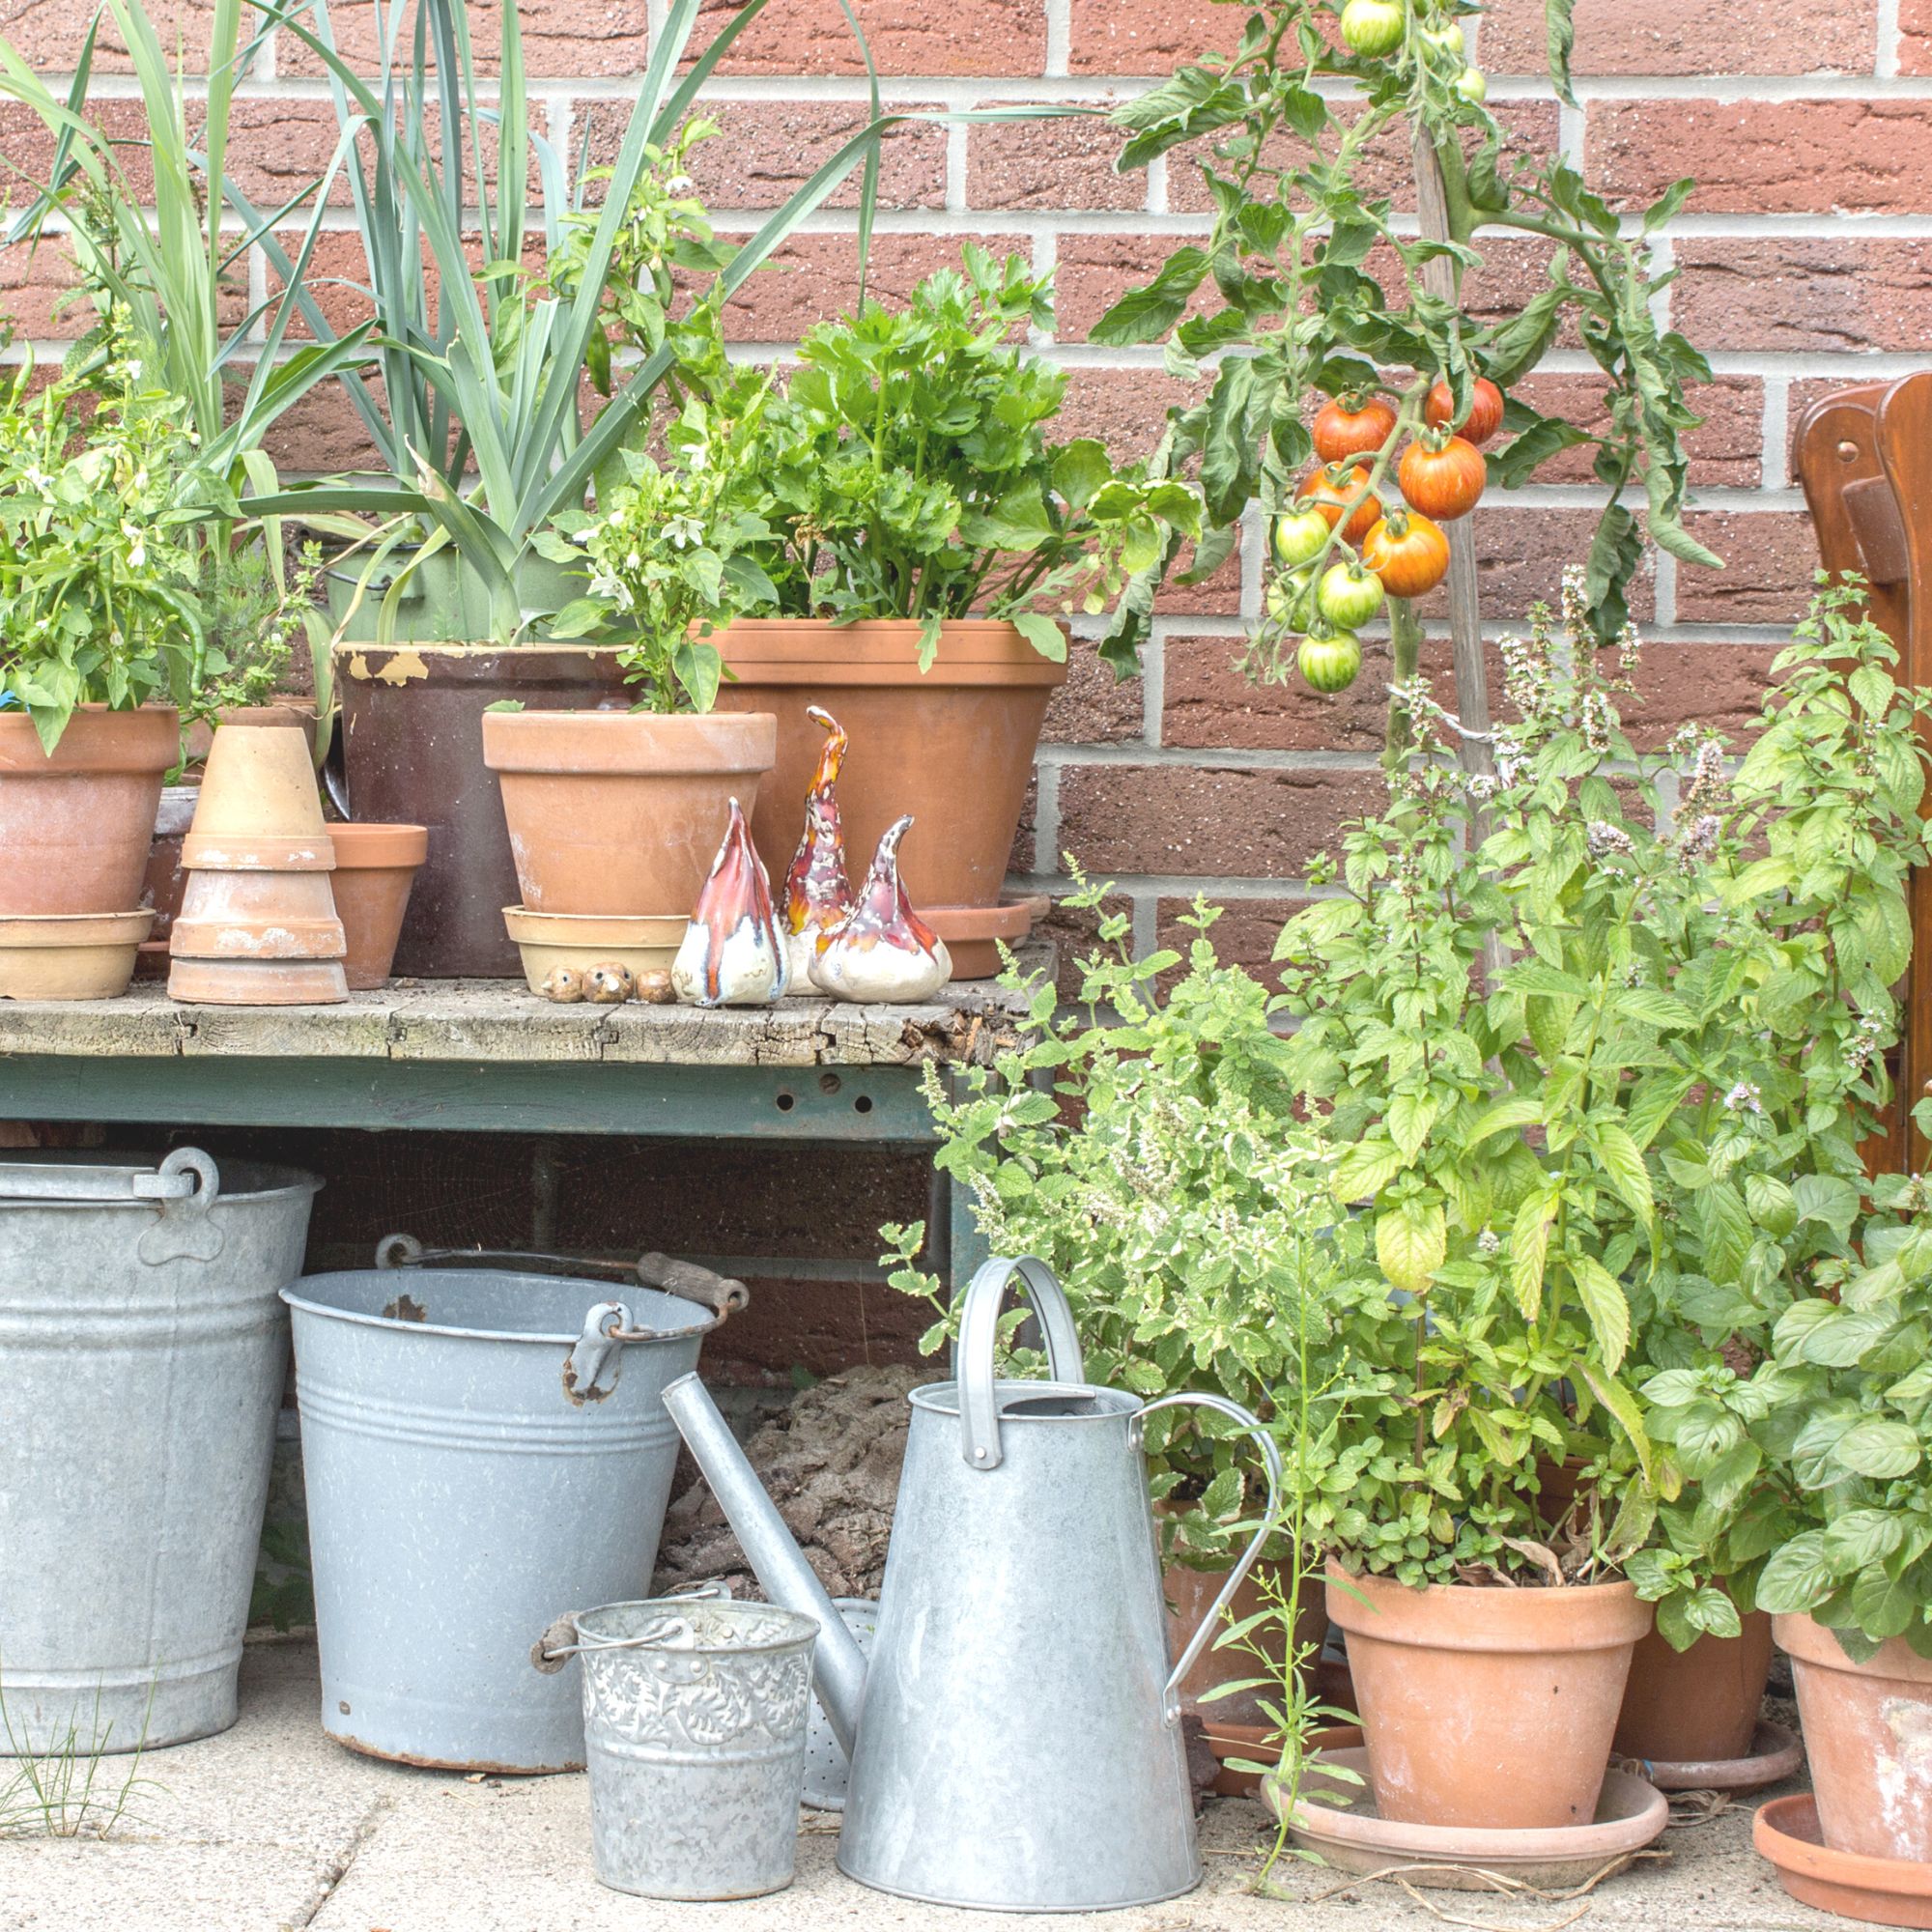
When planting in containers, watering is vital. This is because the soil is lighter than that in the ground and so dries out more quickly.
‘Tomatoes require consistent watering – about an inch of water per week – and will need even more if they’re being grown in a pot. However, be wary of over-watering your tomatoes. Too much water can lead to root rot while irregular watering and fluctuating moisture levels can damage the tomato fruit, affecting the taste. Be sure to keep the soil moist, but not waterlogged. Watering at the base of the plant can help here, taking care to avoid the leaves,’ says Matt Jordan, gardening expert for The Greenhouse People.
Stand your pots on a drip tray to collect the water and prevent the plant from drying out.
12. Ferterlise
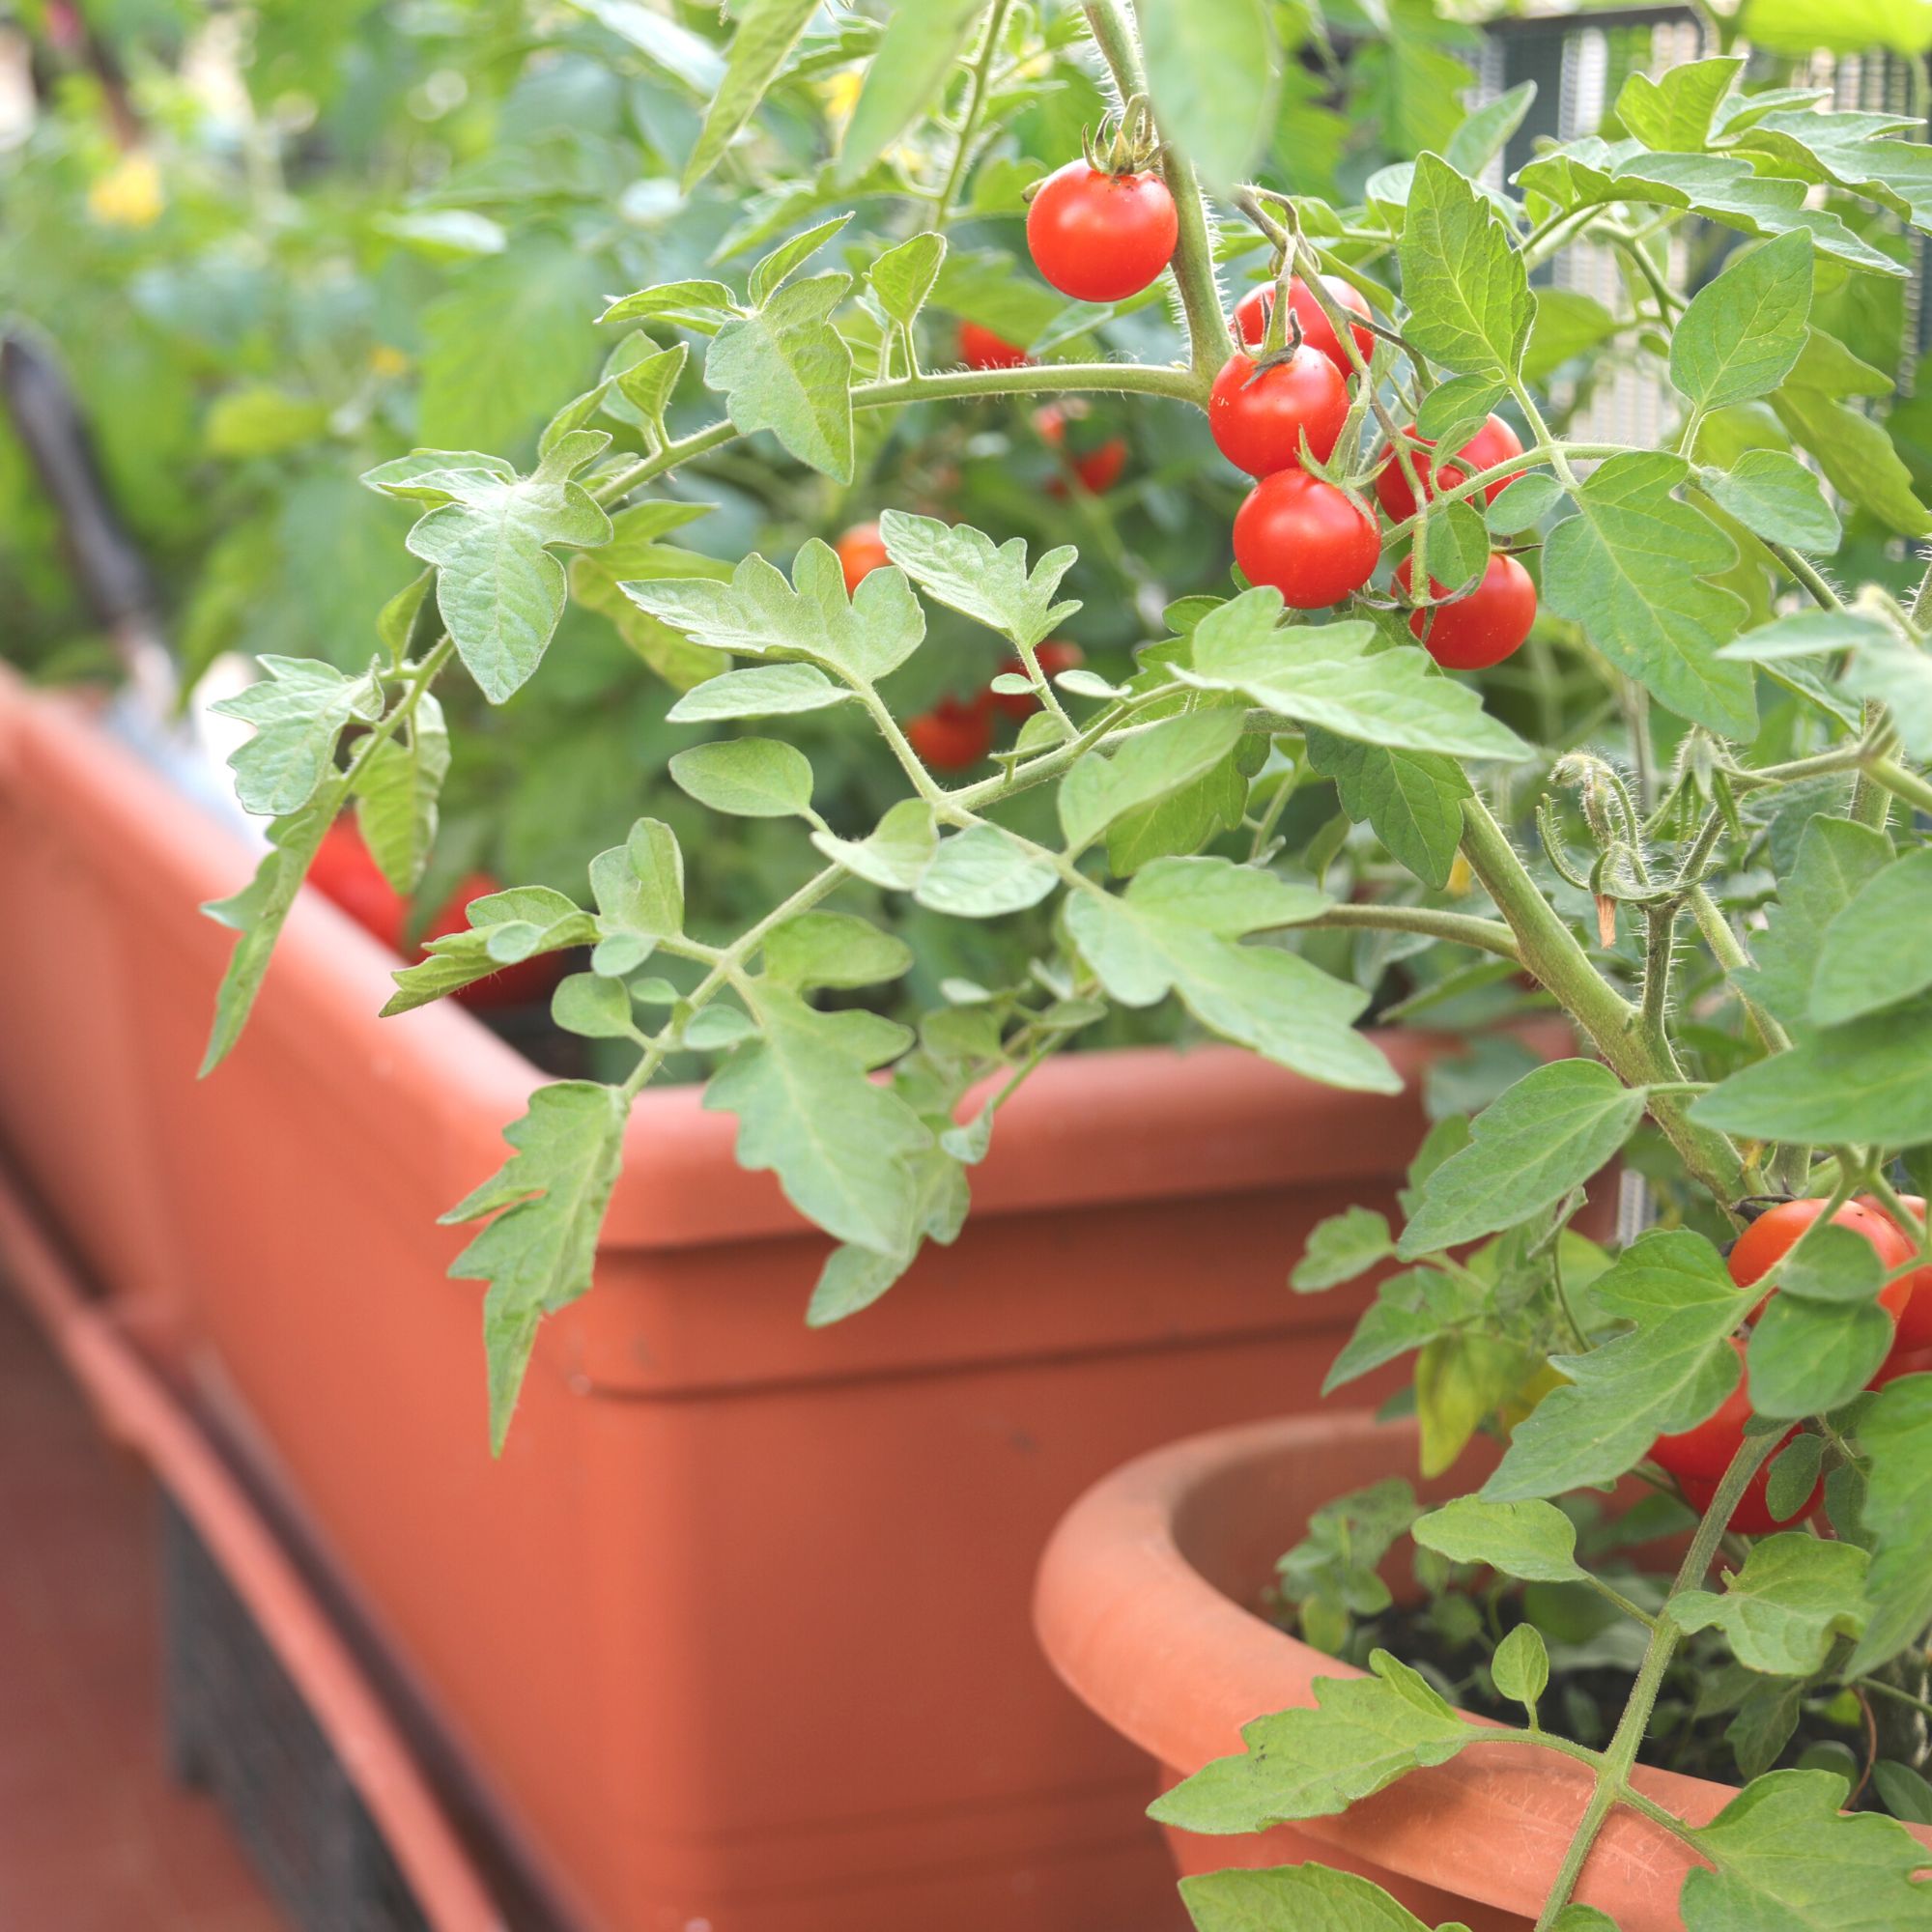
Fertiliser is essential when growing tomatoes in pots.
'The leaves and fruits of a tomato plant consume a lot of nutrients, so it’s essential you feed your plants using a specialist fertiliser. Look for a fertiliser that has an N-P-K of 3-2-7 – such as Phostrogen Organic Tomato Food on Amazon – this will help to increase your yield,' says Angharad James, product manager at Phostrogen.
'Simply mix the recommended dosage into your watering can and water weekly for best results. When it comes to watering, try not to wet the leaves as this can encourage disease such as blight to spread, but ensure that tomato plants aren’t allowed to dry out as this increases the risk of blossom end rot.'
13. Harvest
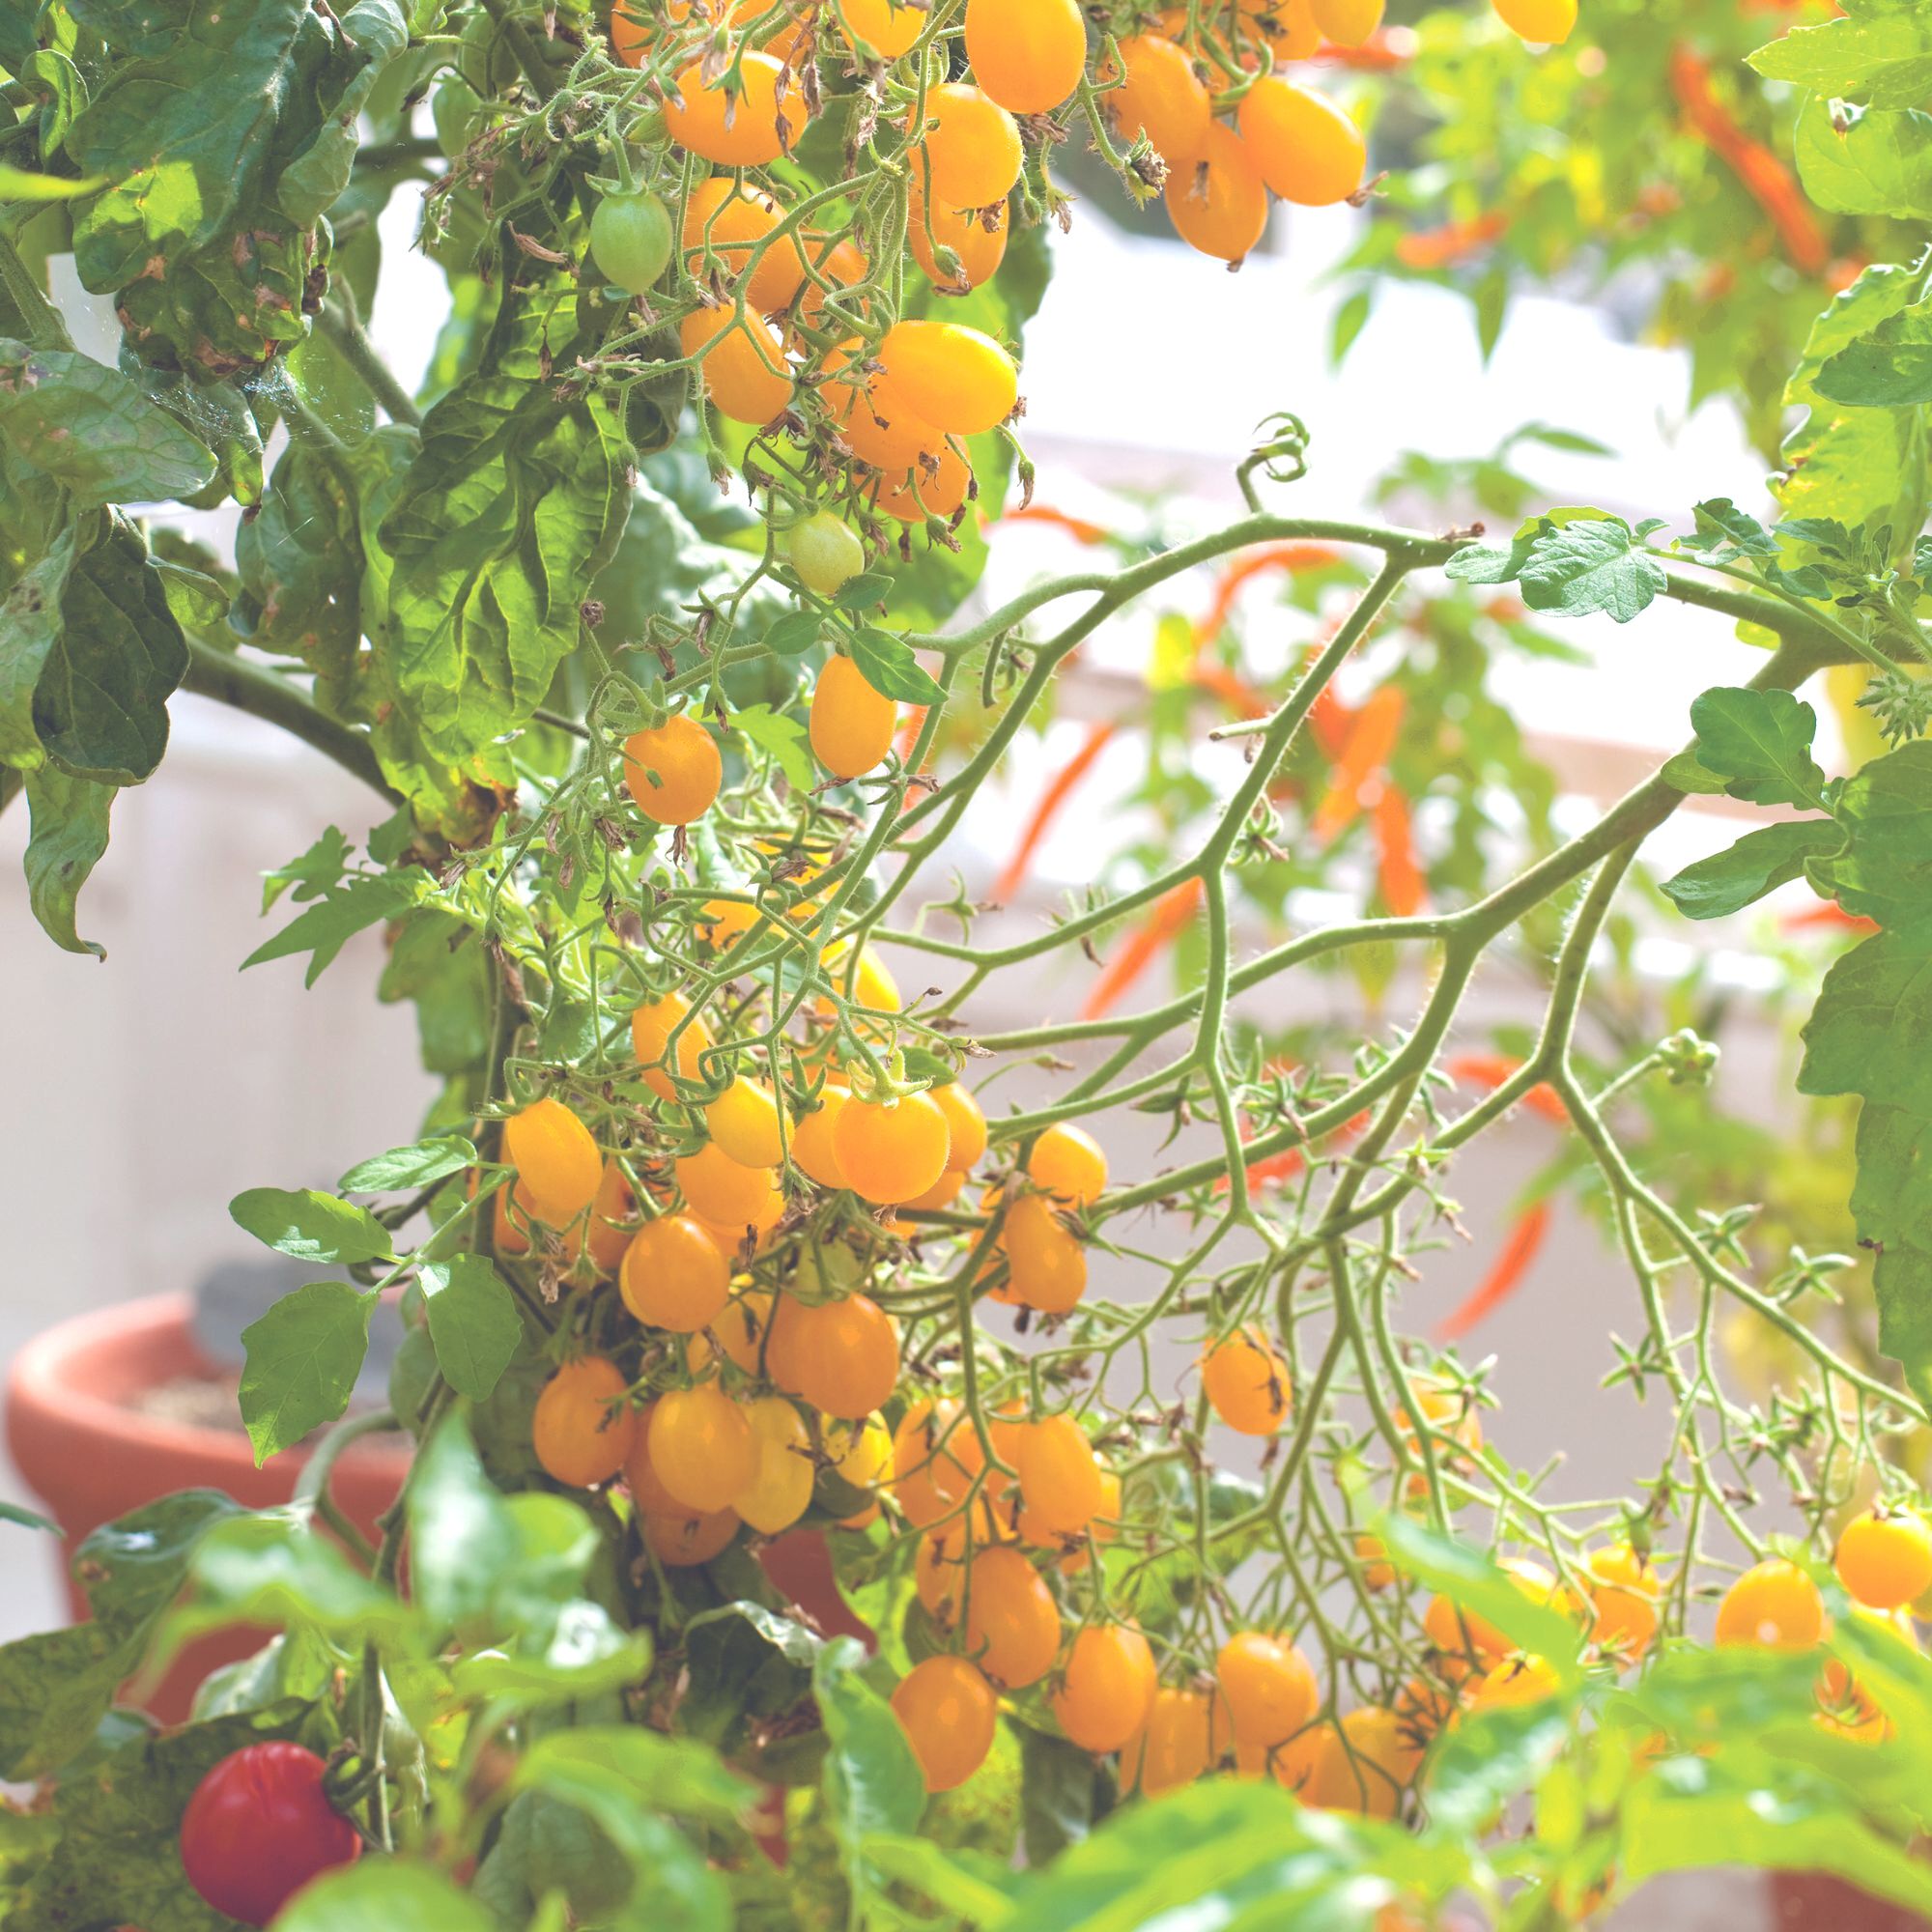
The best bit of growing your own is enjoying your own harvest.
‘It is safe to harvest tomatoes in the summer, from July to October. Tomatoes ripen after picking but wait until they are beginning to change colour before harvesting. They should come off the vine easily. If not quite ripe, keep them in a well-ventilated area at home until they are ready to eat,’ explains Craig Wilson, gardening expert from Gardeners Dream.
Growing FAQs
What type of tomatoes can you grow in pots?
You can grow most types of tomatoes in pots but those described as patio varieties will work best. ‘Popular varieties to try include Brandywine tomatoes, known for their large, beefsteak-shaped fruit and delicious taste, and Tigerella, a favourite which has a beautiful red and orange striped skin,’ says Daniel Carruthers from Cultivar Greenhouses.
How long do tomatoes take to grow in pots?
‘It takes about five months from seedling to harvest, so they should be ready in time for the summer,’ says Craig Wilson, a gardening expert from Gardeners Dream. ‘You can grow them indoors as early as January, transferring to the garden after two months when the weather is milder.’
Get the Ideal Home Newsletter
Sign up to our newsletter for style and decor inspiration, house makeovers, project advice and more.

Holly is one of Ideal Home’s content editors. Starting her career in 2018 as a feature writer and sub-editor for Period Living magazine, she has continued this role also adding regular features for Country Homes & Interiors and the Ideal Home website to her roster. Holly has a passion for traditional and country-inspired interiors – especially kitchen design – and is happiest when exploring the countryside and hills of the Lake District. A keen gardener, she is a strong believer that you can never have too many houseplants.
-
 Will a conservatory add value to your home and how can you maximise it?
This is what the pros say
By Amy Reeves
-
 I’ve been looking for a new signature scent for my home and The White Company's new fragrance is the exact summer holiday smell I needed
Santorini smells fresh, summery and sophisticated
By Kezia Reynolds
-
 How to remove algae from garden walls in five steps – and the cleaning product experts rave about for tackling it fast
Experts share their top tips for getting garden walls algae-free
By Katie Sims