Stop buying watercress from the supermarket - follow these easy steps to grow watercress from cuttings instead
Ready for an endless supply of peppery goodness?
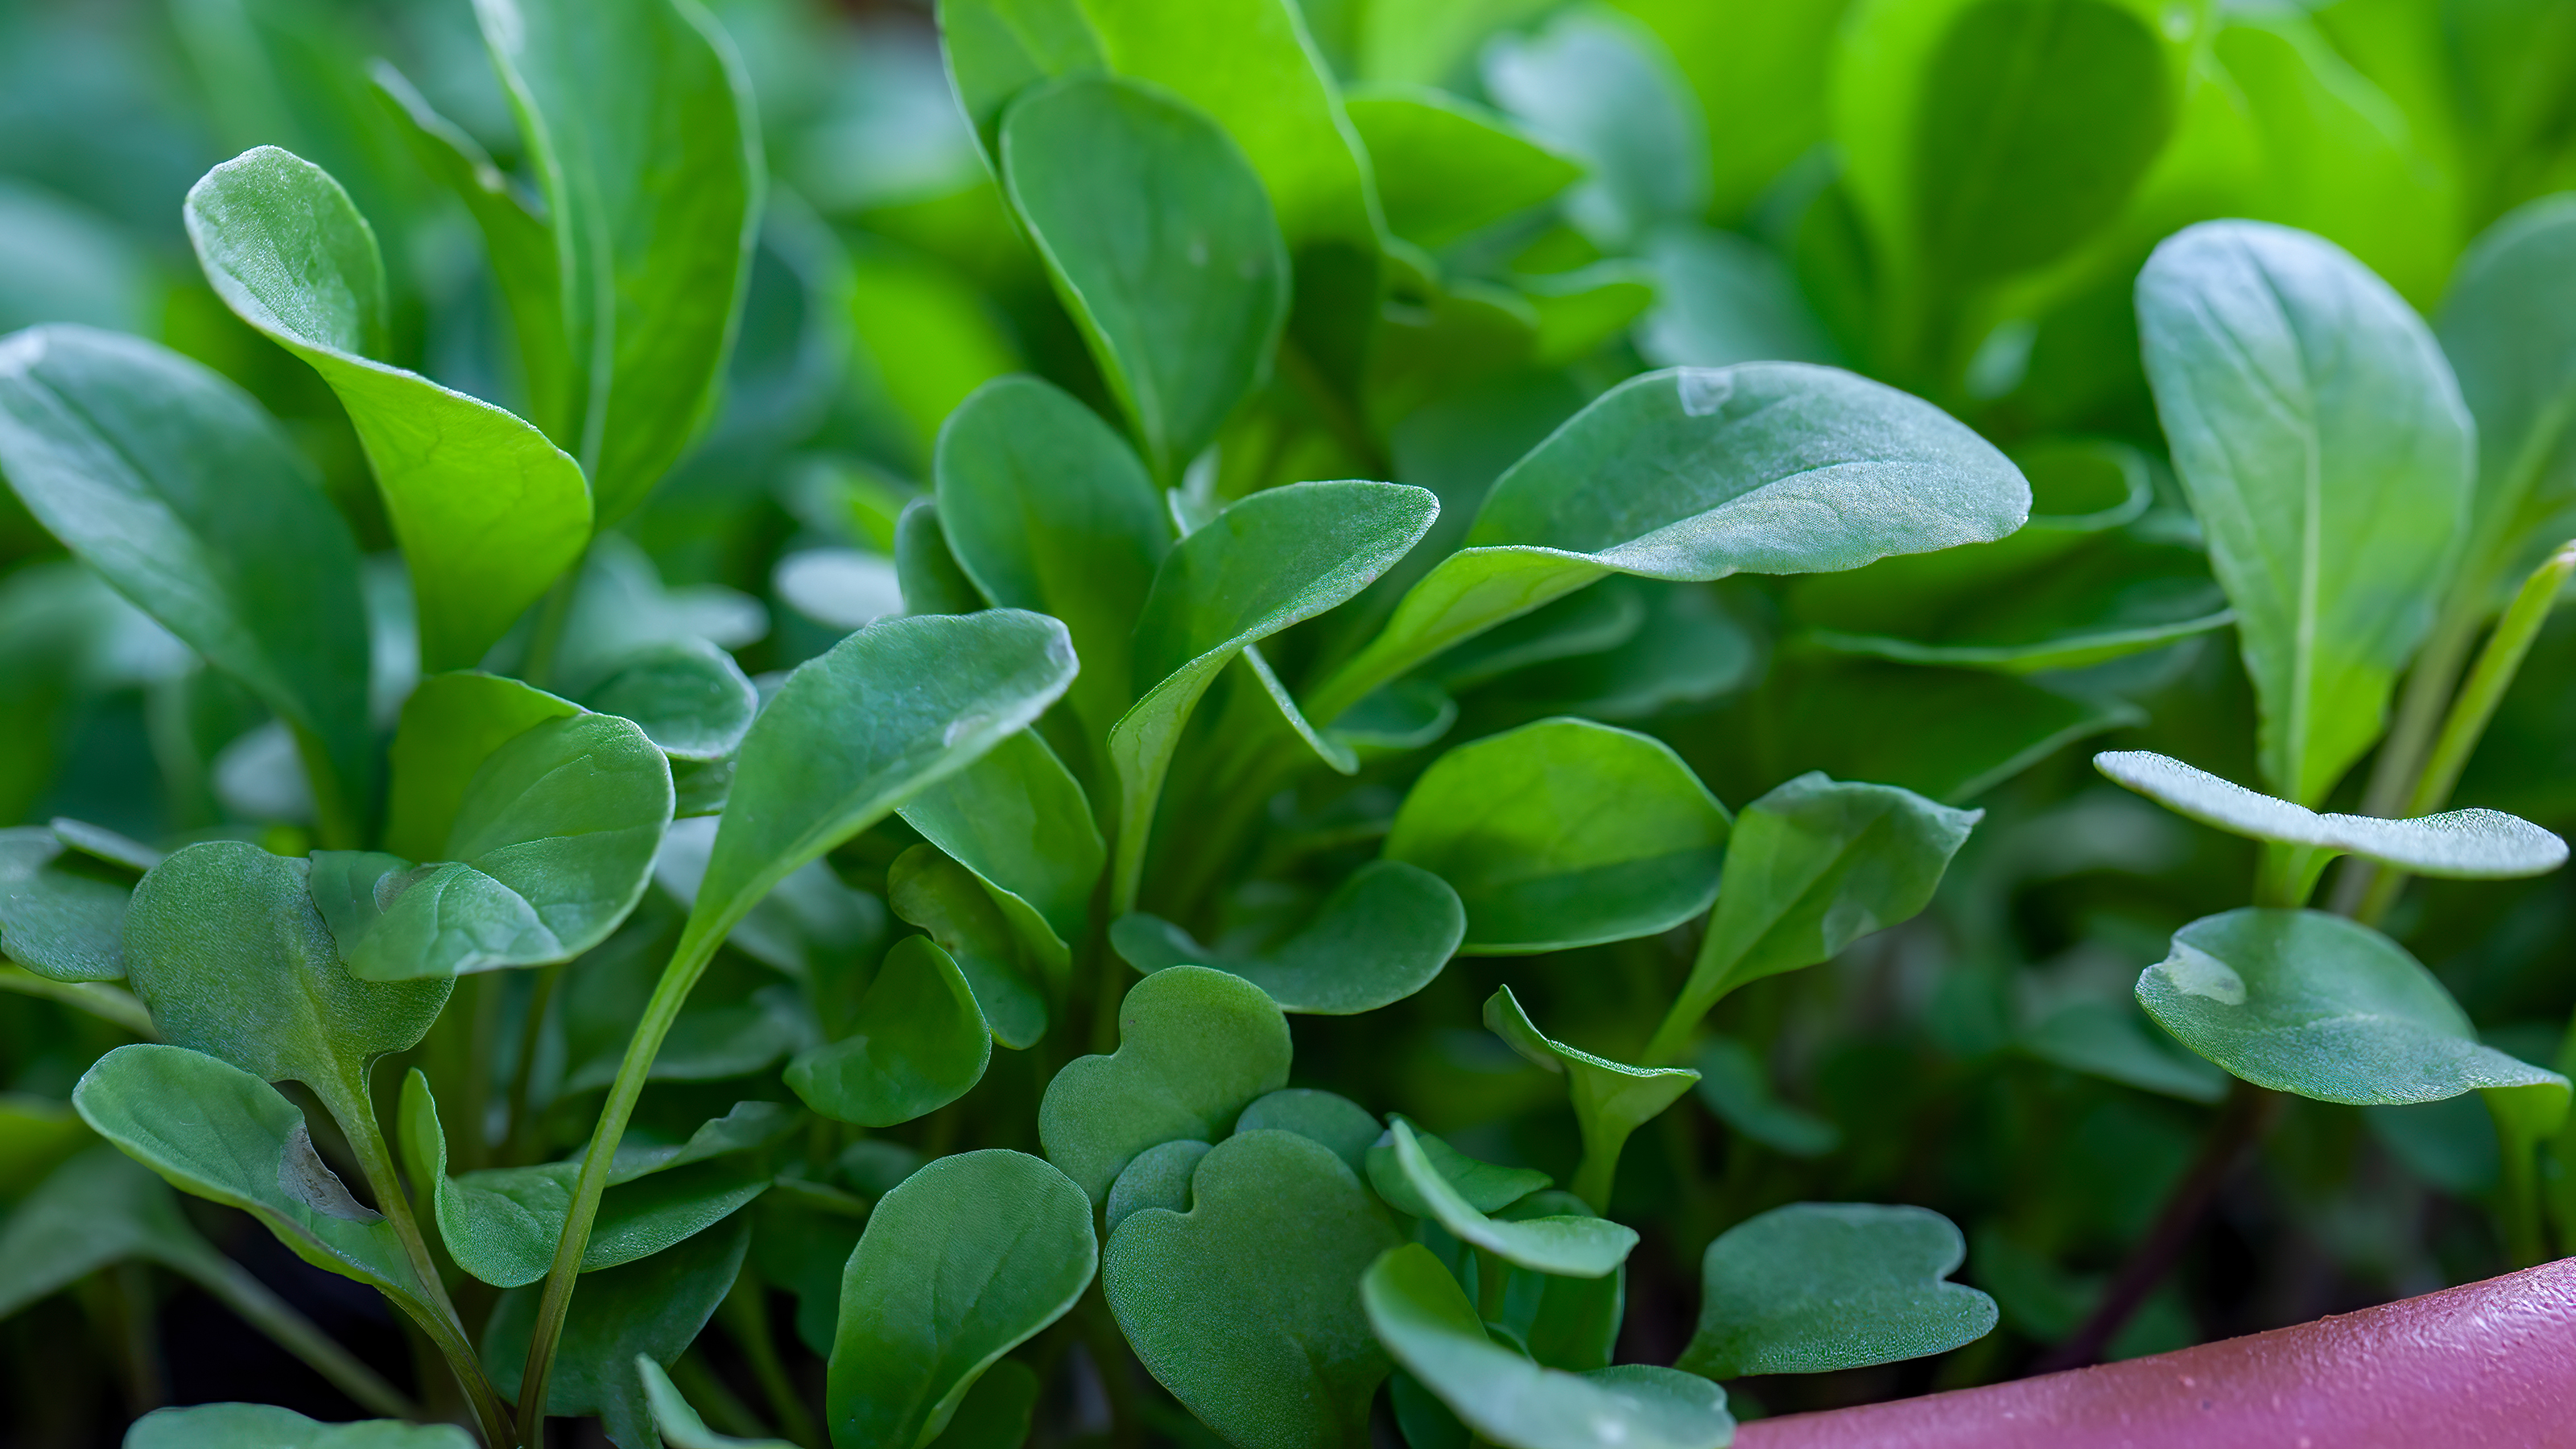

If you’re wondering how to grow watercress, we can only assume that you’re a fan of this peppery vegetable. And if you’re sick of spending so much money on it, growing your own vegetables could help you save some serious pennies.
As a keen watercress lover myself, I’m always adding watercress to my shopping cart. But did you know that it’s impossible to buy a bag of watercress for under £1 in any of the ‘Big Four’ supermarkets? Considering this vegetable only lasts for around 2-3 days in the fridge, that’s an extortionate amount of money.
But just as you can grow your own spinach and grow your own mushrooms from scraps from the supermarket, you can also grow your own watercress from cuttings. All you need to do is pay for watercress one last time and then prepare yourself for a lifetime of freebies.
How to grow watercress from cuttings
‘There are several ways you can grow watercress at home,’ explains Steve Chilton, garden expert from LeisureBench. You don’t need to worry about the changing weather, either. ‘You can grow watercress in pots on a windowsill at any time of year, as long as they are kept in the sun.’ And for this step-by-step, we’re going to use the cuttings method.
What you’ll need
- Organic watercress
- Shallow container
- Rocks
- Water
- Compost
Step-by-step
1. Buy a bunch of organic watercress
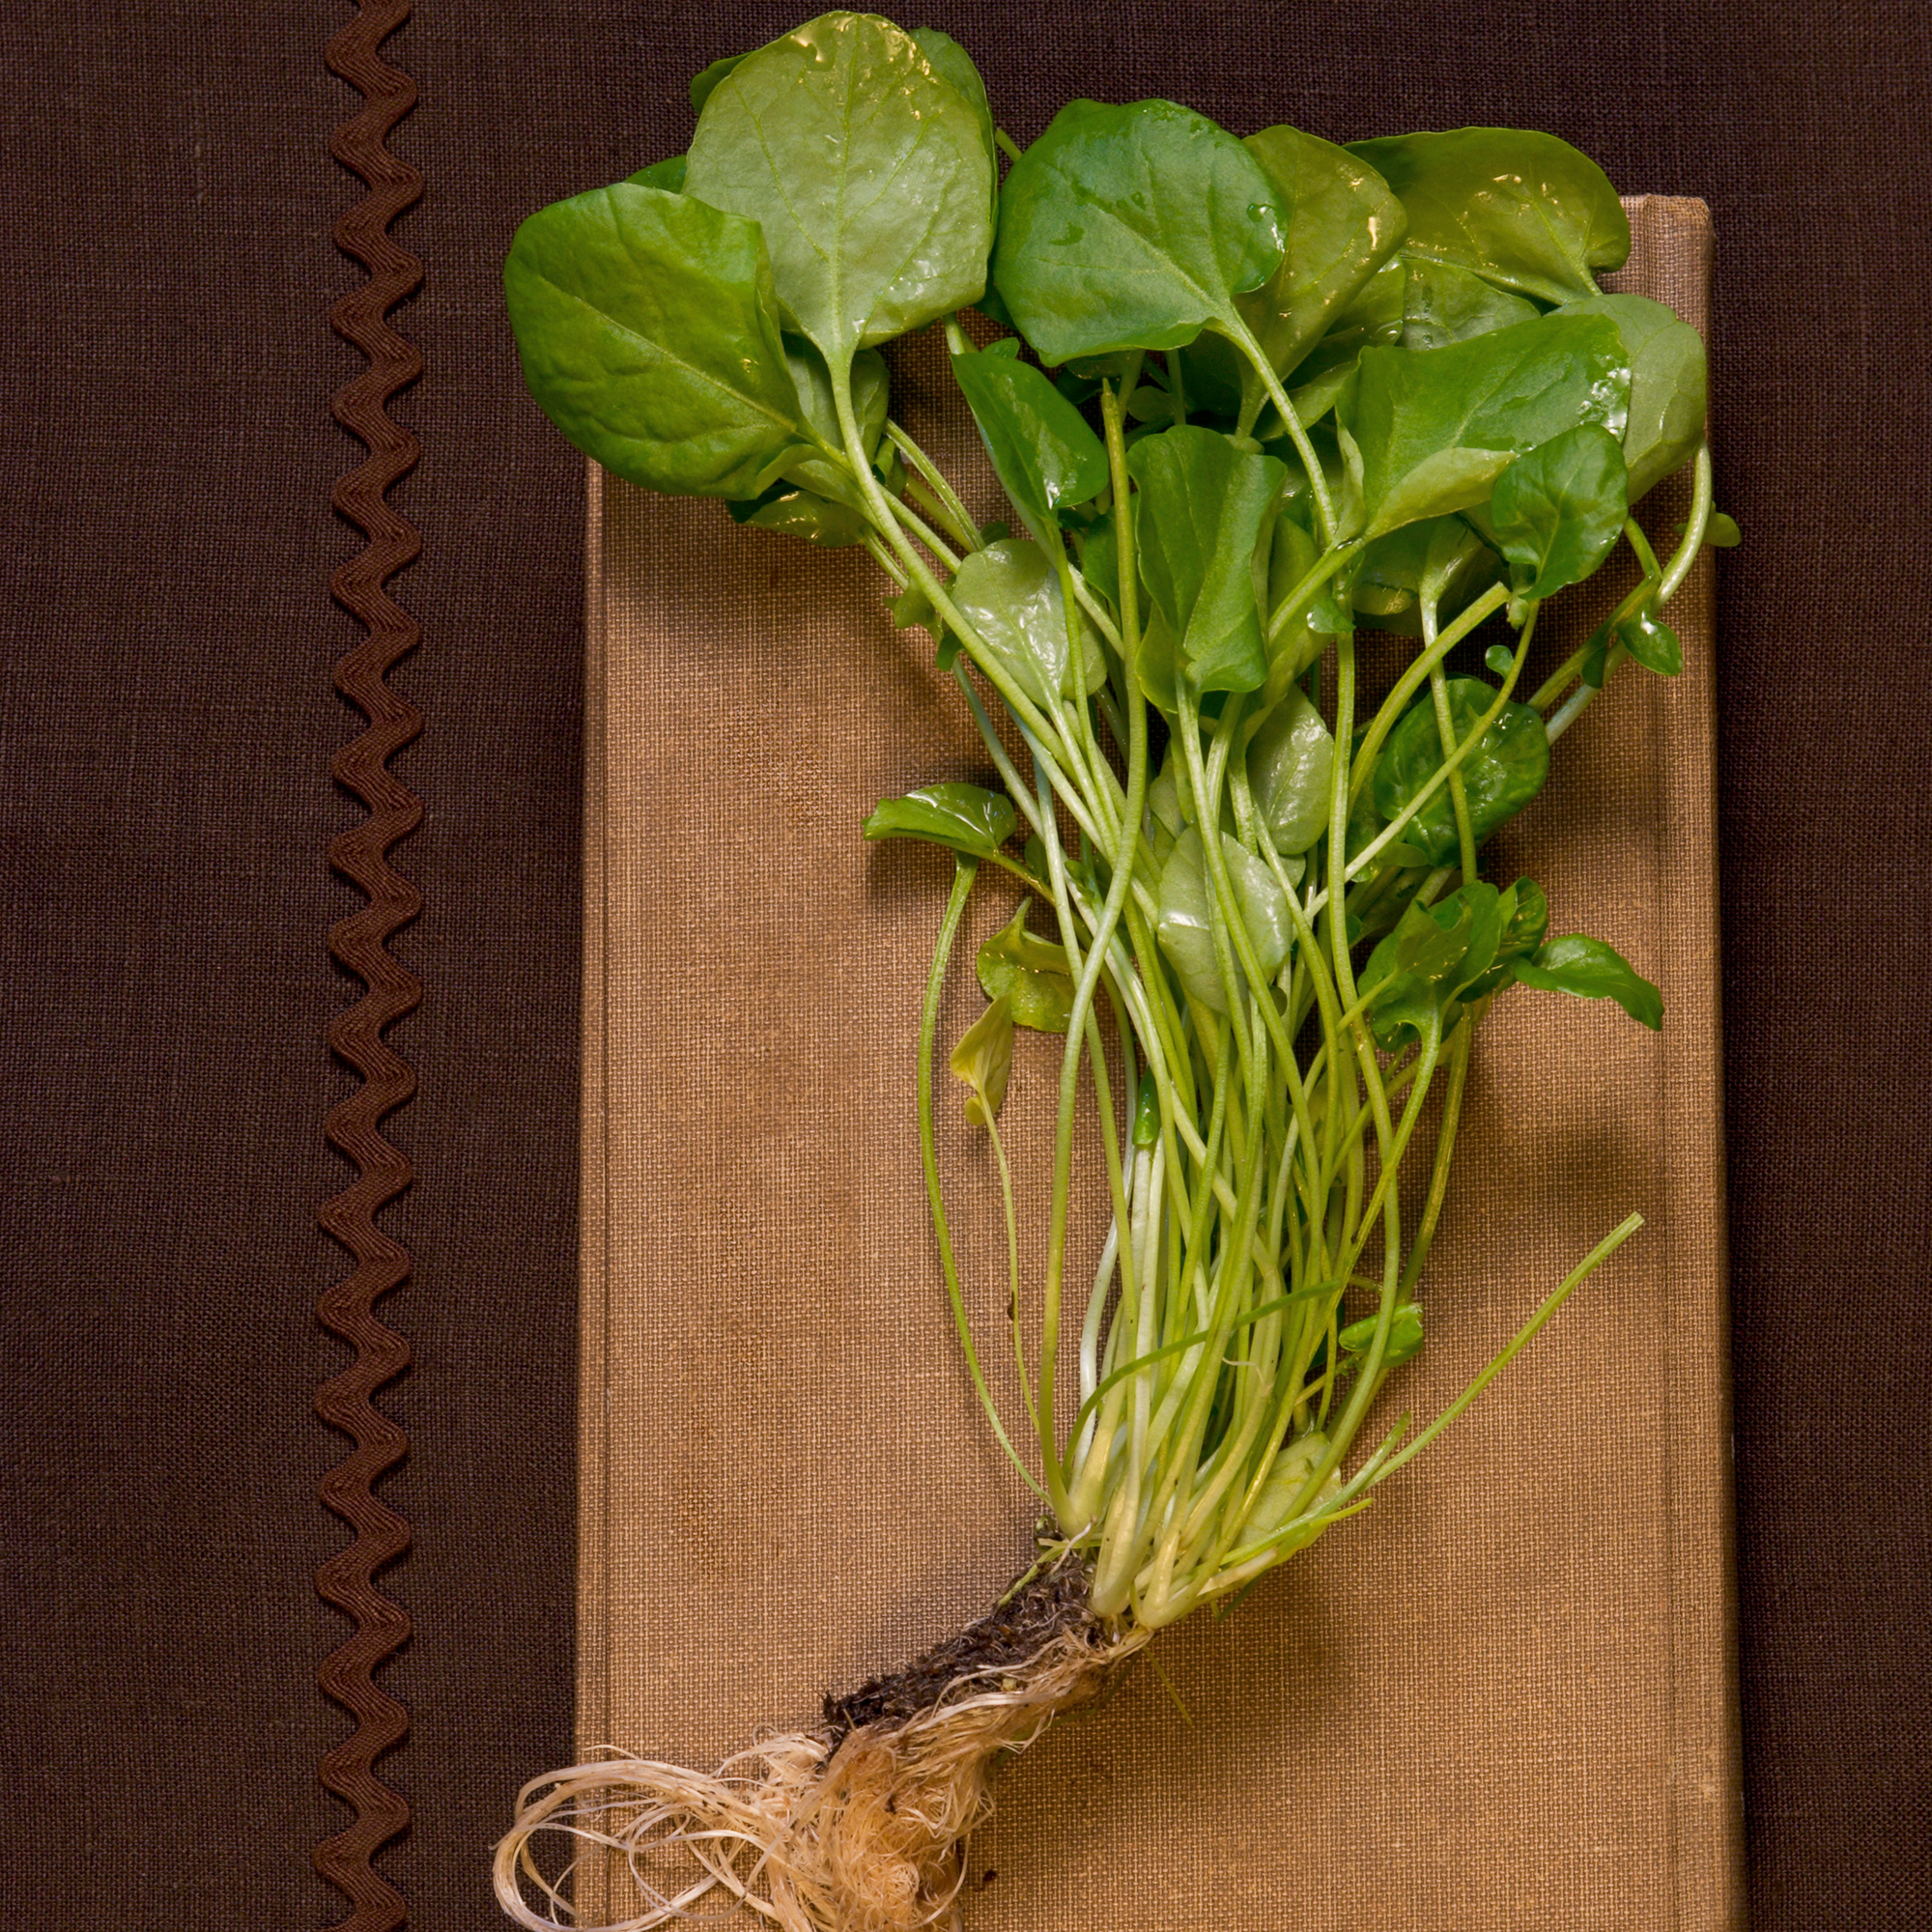
Although we want you to have an endless supply of watercress so you can stop spending at the supermarket, this can’t be done without buying one last bunch. So, head to your nearest vegetable aisle and grab a bunch of watercress - but make sure it’s organic!
It’s also a good idea to inspect the watercress before you head to the checkout. For the best chances of success, you should ideally start with a watercress that has already grown some visible white roots.
When you’ve bought a bunch with visible roots, you can then work on removing any lower leaves that will ultimately rot when submerged during the next few steps. You should just be able to pick these off.
2. Prepare your container
If you want a happy and healthy watercress plant, you need to give it the right home. And if you want to grow watercress from cuttings, it’s important that you use a shallow container. Then, you should place some rocks at the bottom of the container before filling it with water.
That’s because - as suggested by the name - watercress likes to be wet. Some varieties can even grow in a pond (although this variety isn't edible), and the kind you find in the supermarket needs this moisture during the initial rooting process.
3. Submerge the roots into the water
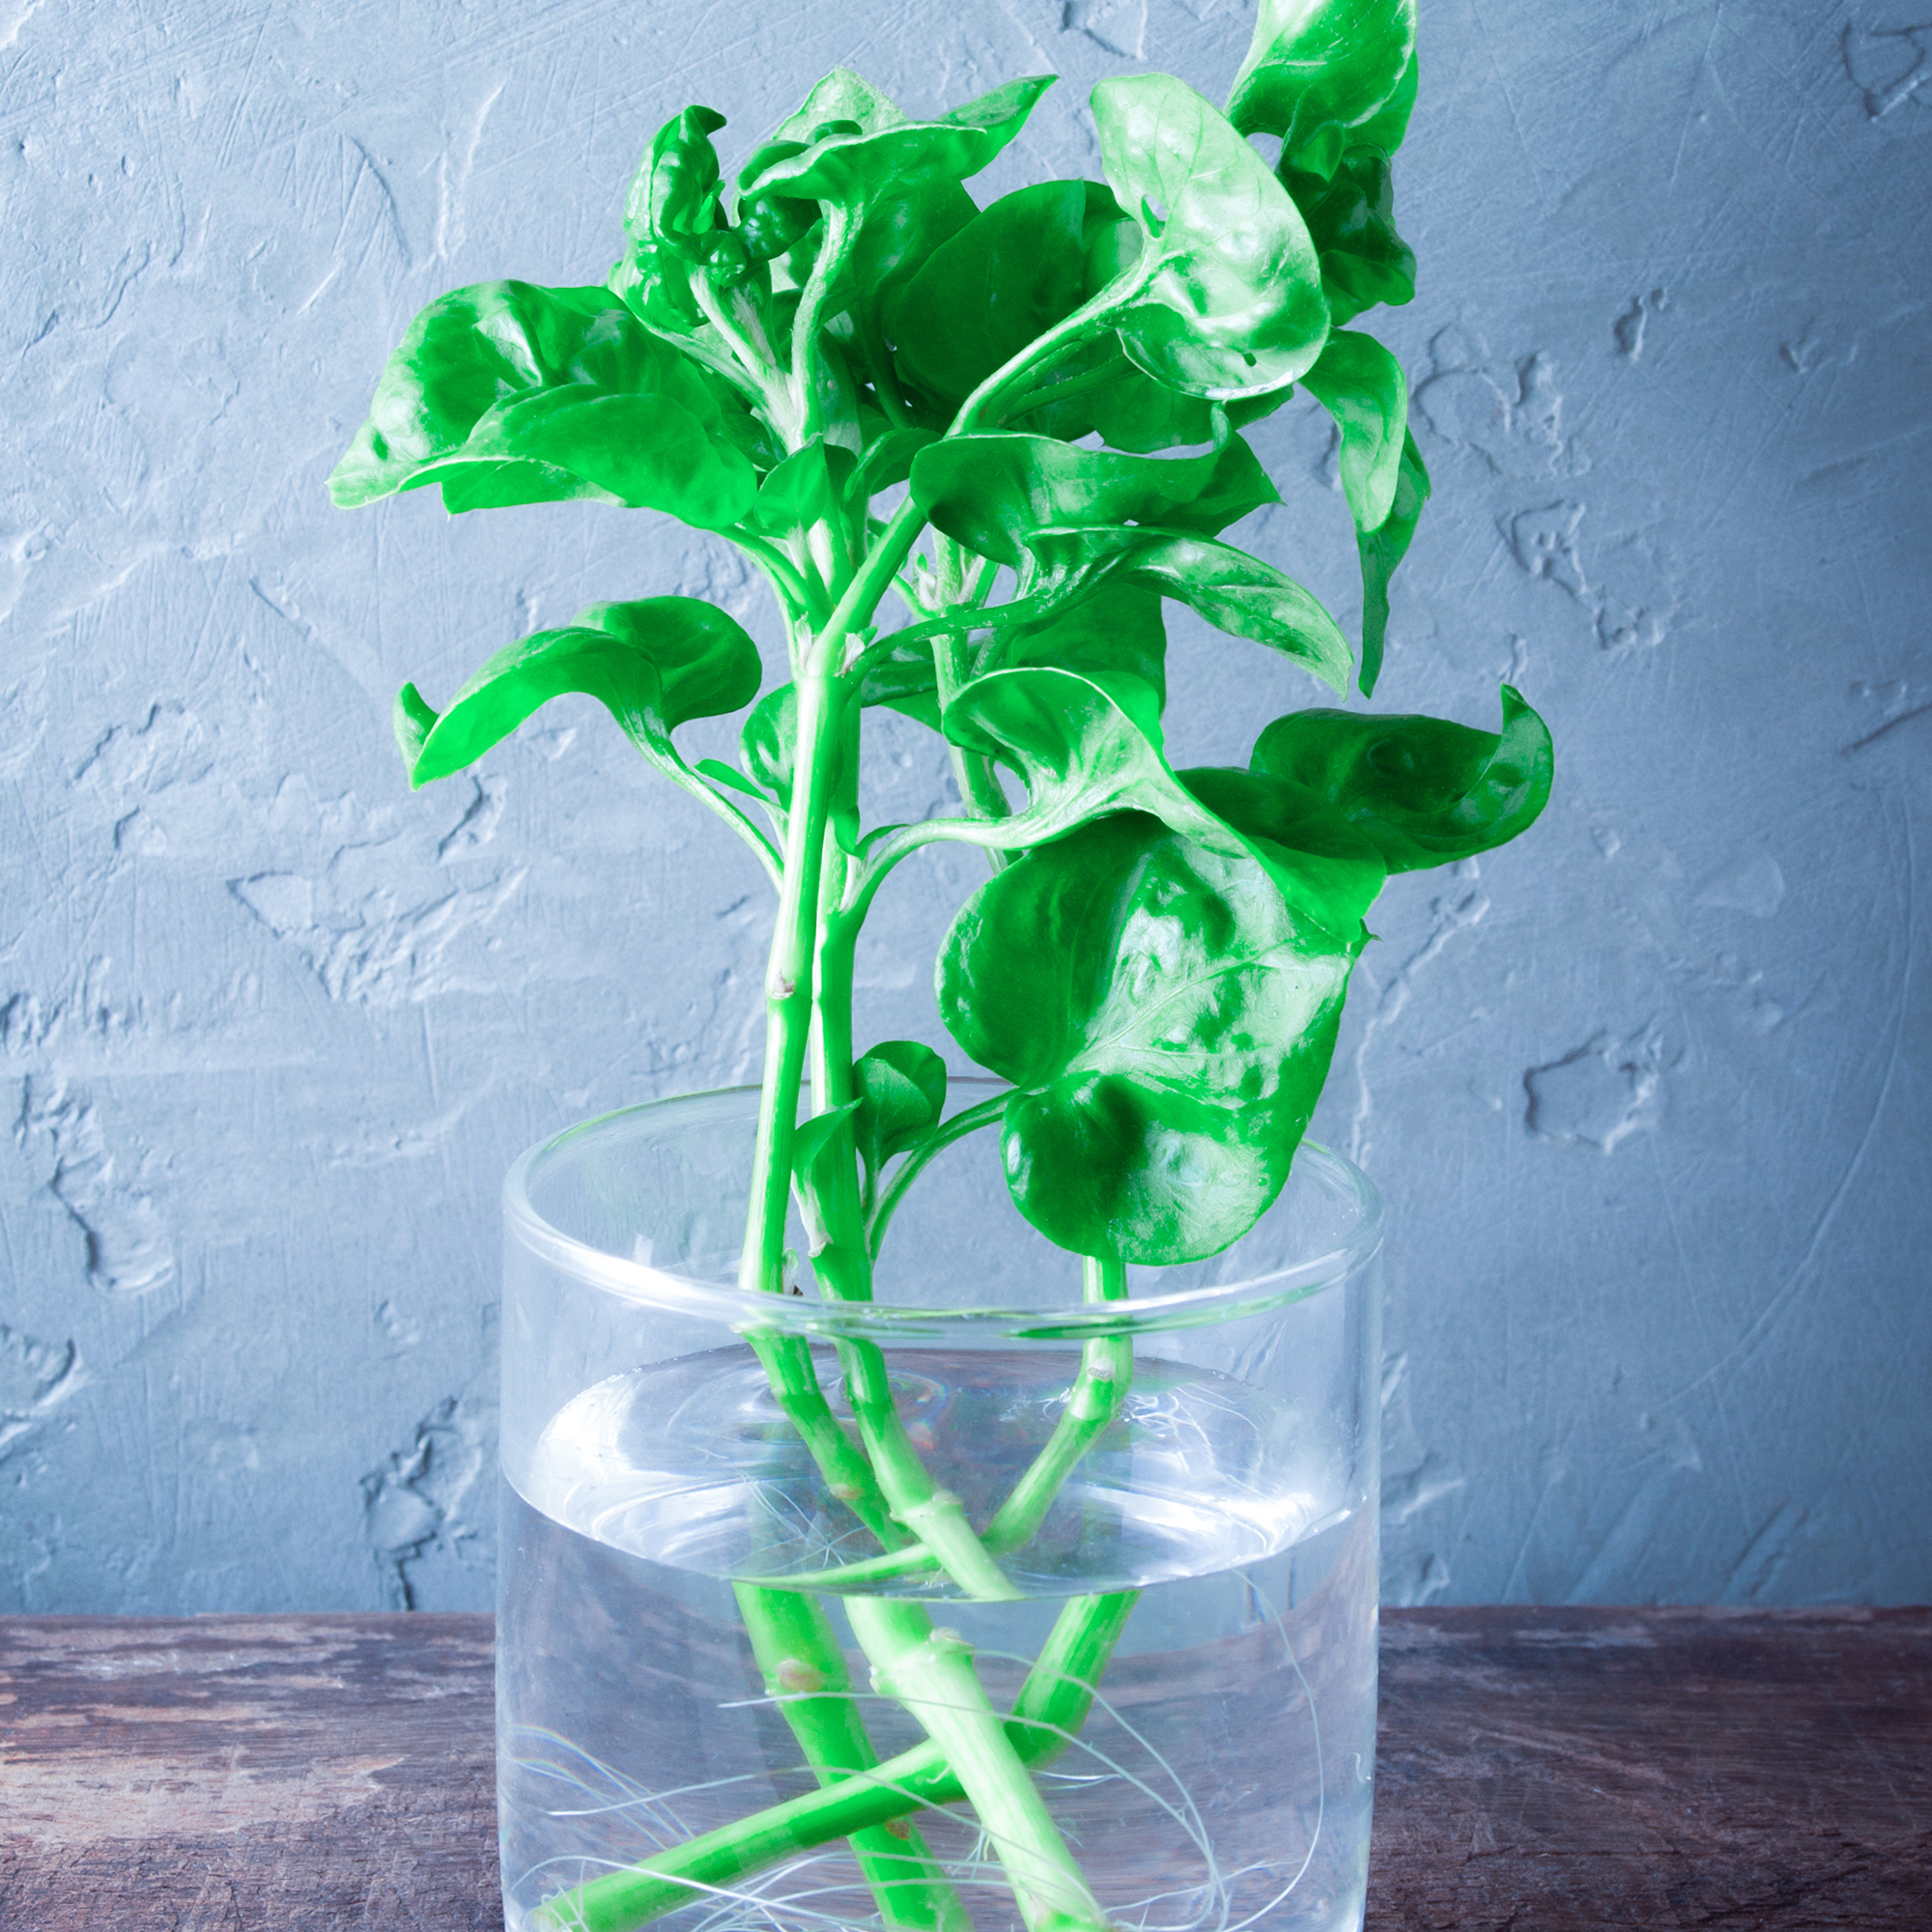
When you’ve prepared your container, you can then submerge the roots in the water. This will encourage even more root growth. However, it’s important that you keep an eye on your watercress during this time.
Left in dirty water, watercress roots can become thin and weak - making it even harder for you to grow water successfully. Because of this, you should change the water every few days to keep it fresh.
4. Swap the water with compost
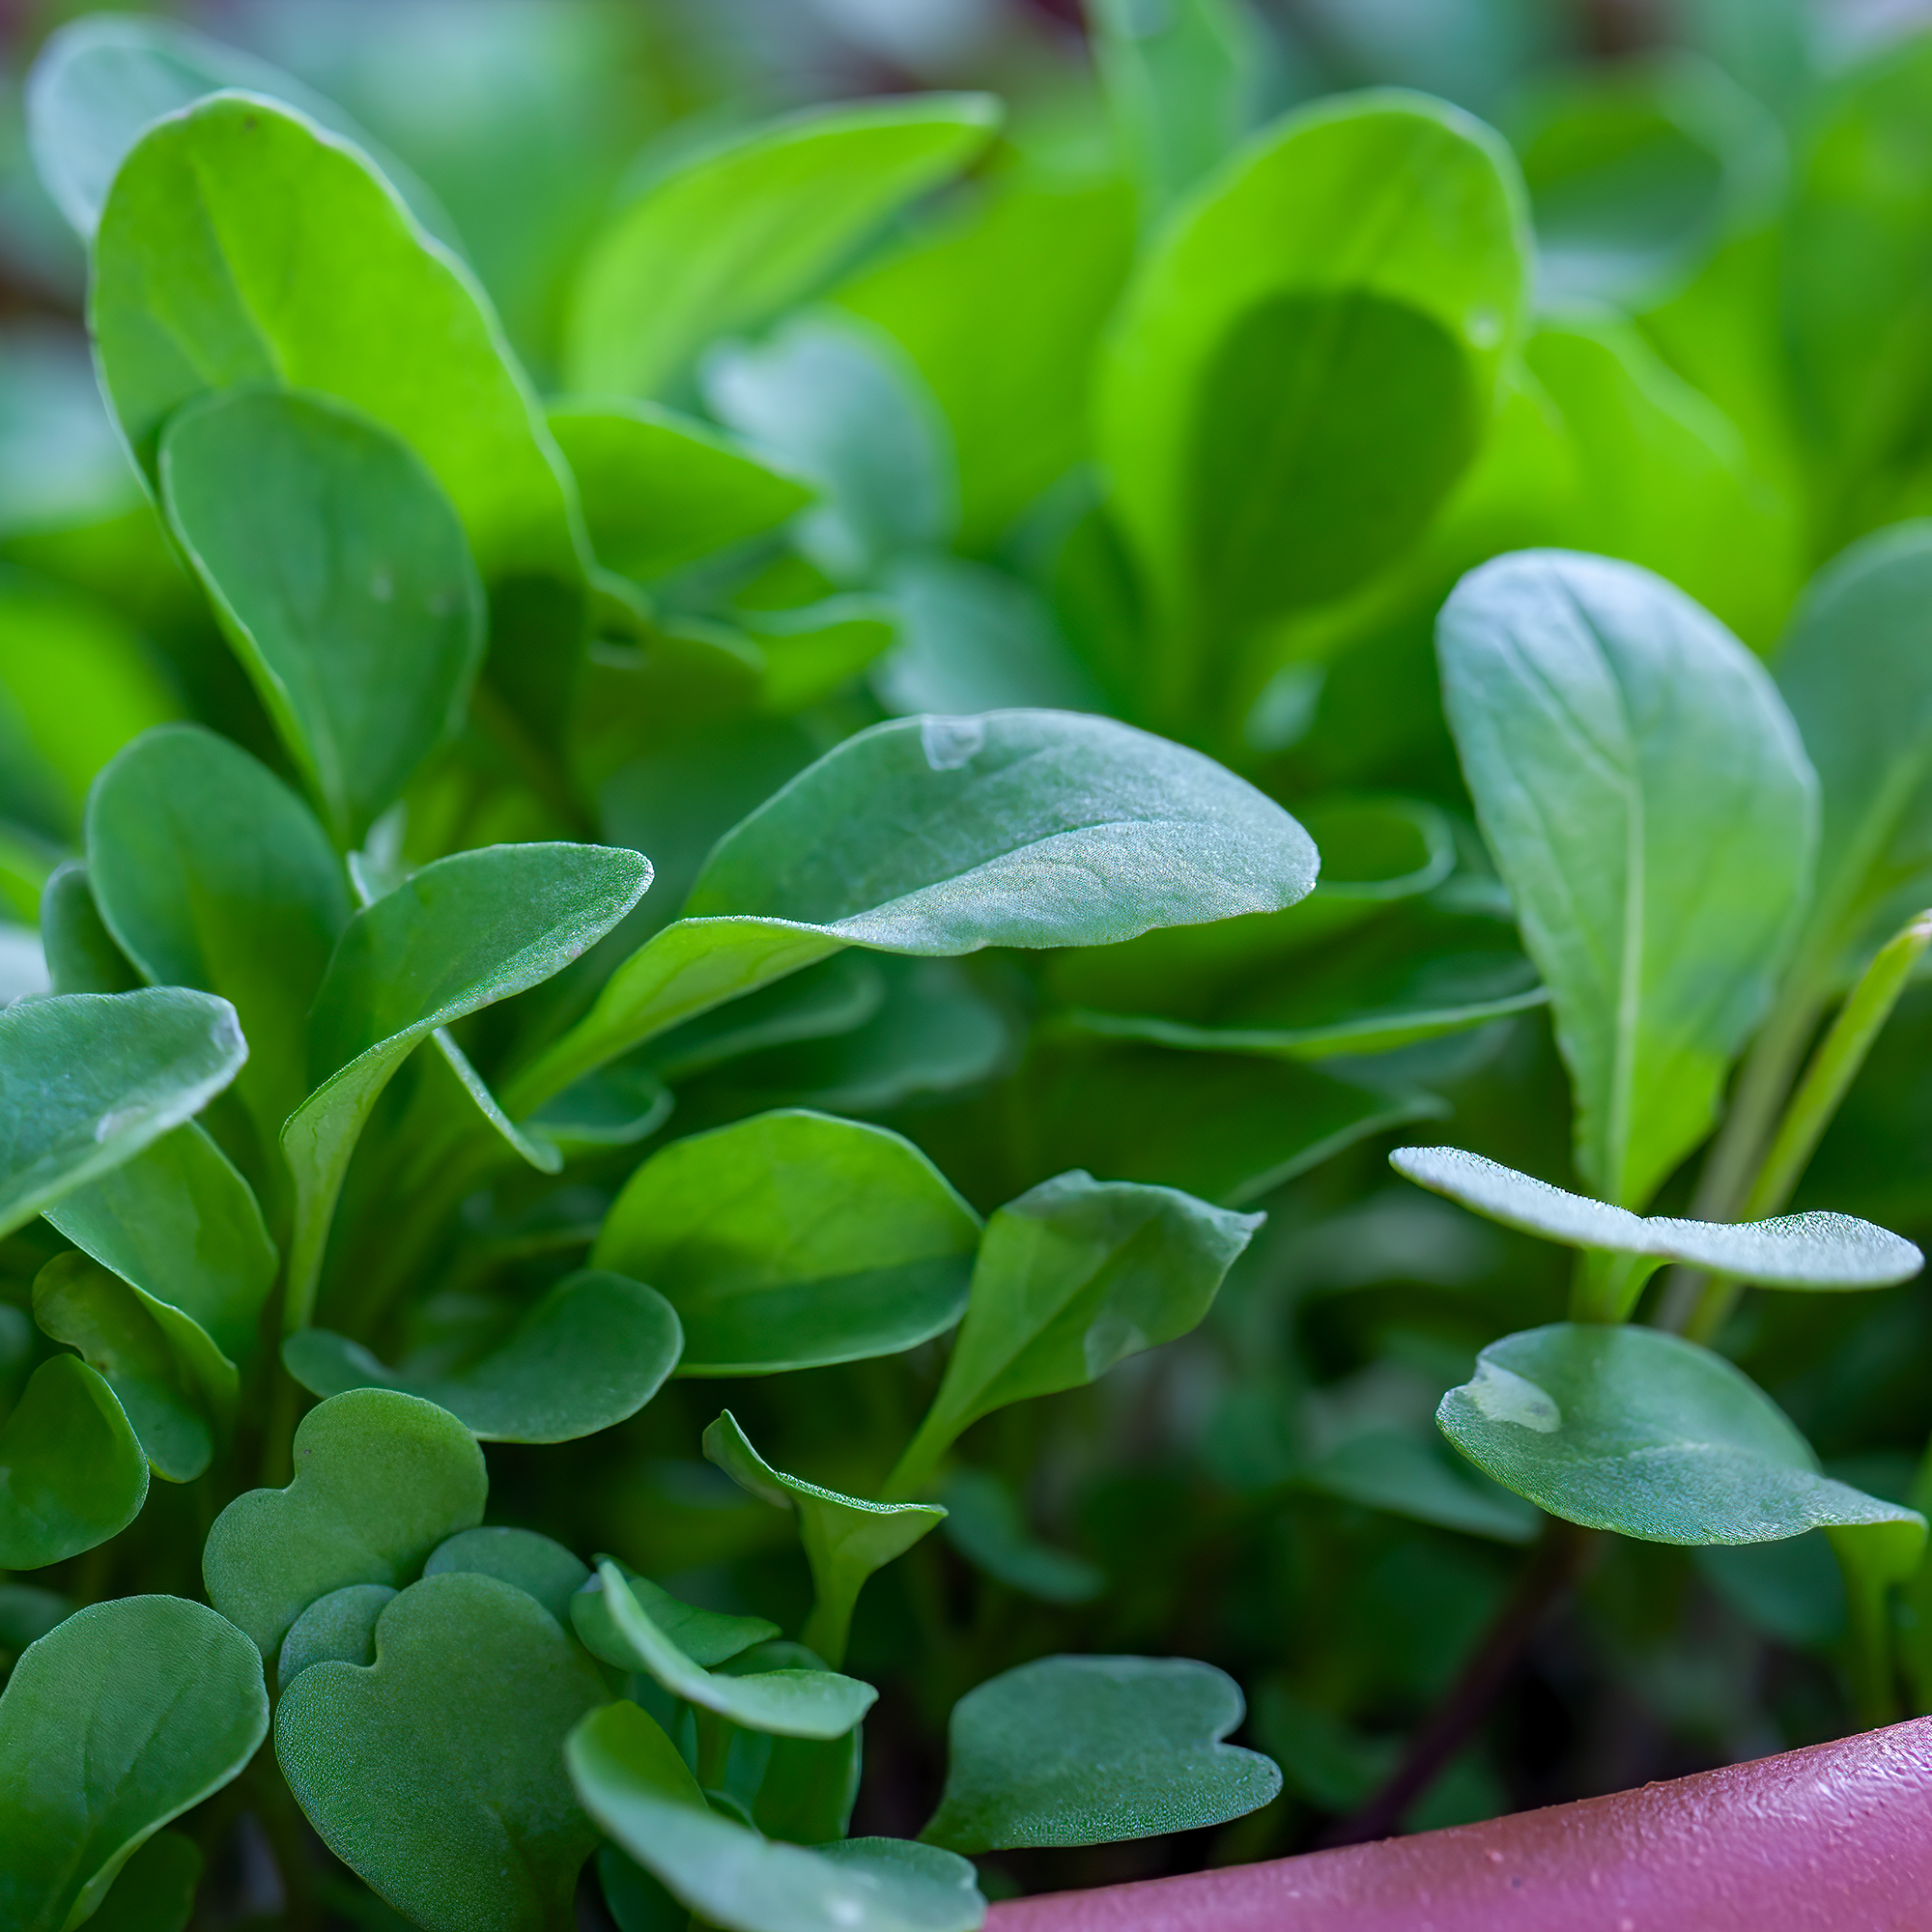
After a few days, the roots of the watercress should have grown exponentially - and you might even see new leaves on the bunch. When this happens, you’re ready to plant your watercress into compost.
You don’t have to buy a whole new container, though. Simply pour out the water from the original container, keep the rocks at the bottom, fill it with compost, and plant your watercress root-down into the soil.
If you keep the soil moist throughout the growing process, it should be ready to harvest in around 20-30 days.
5. Harvest your watercress
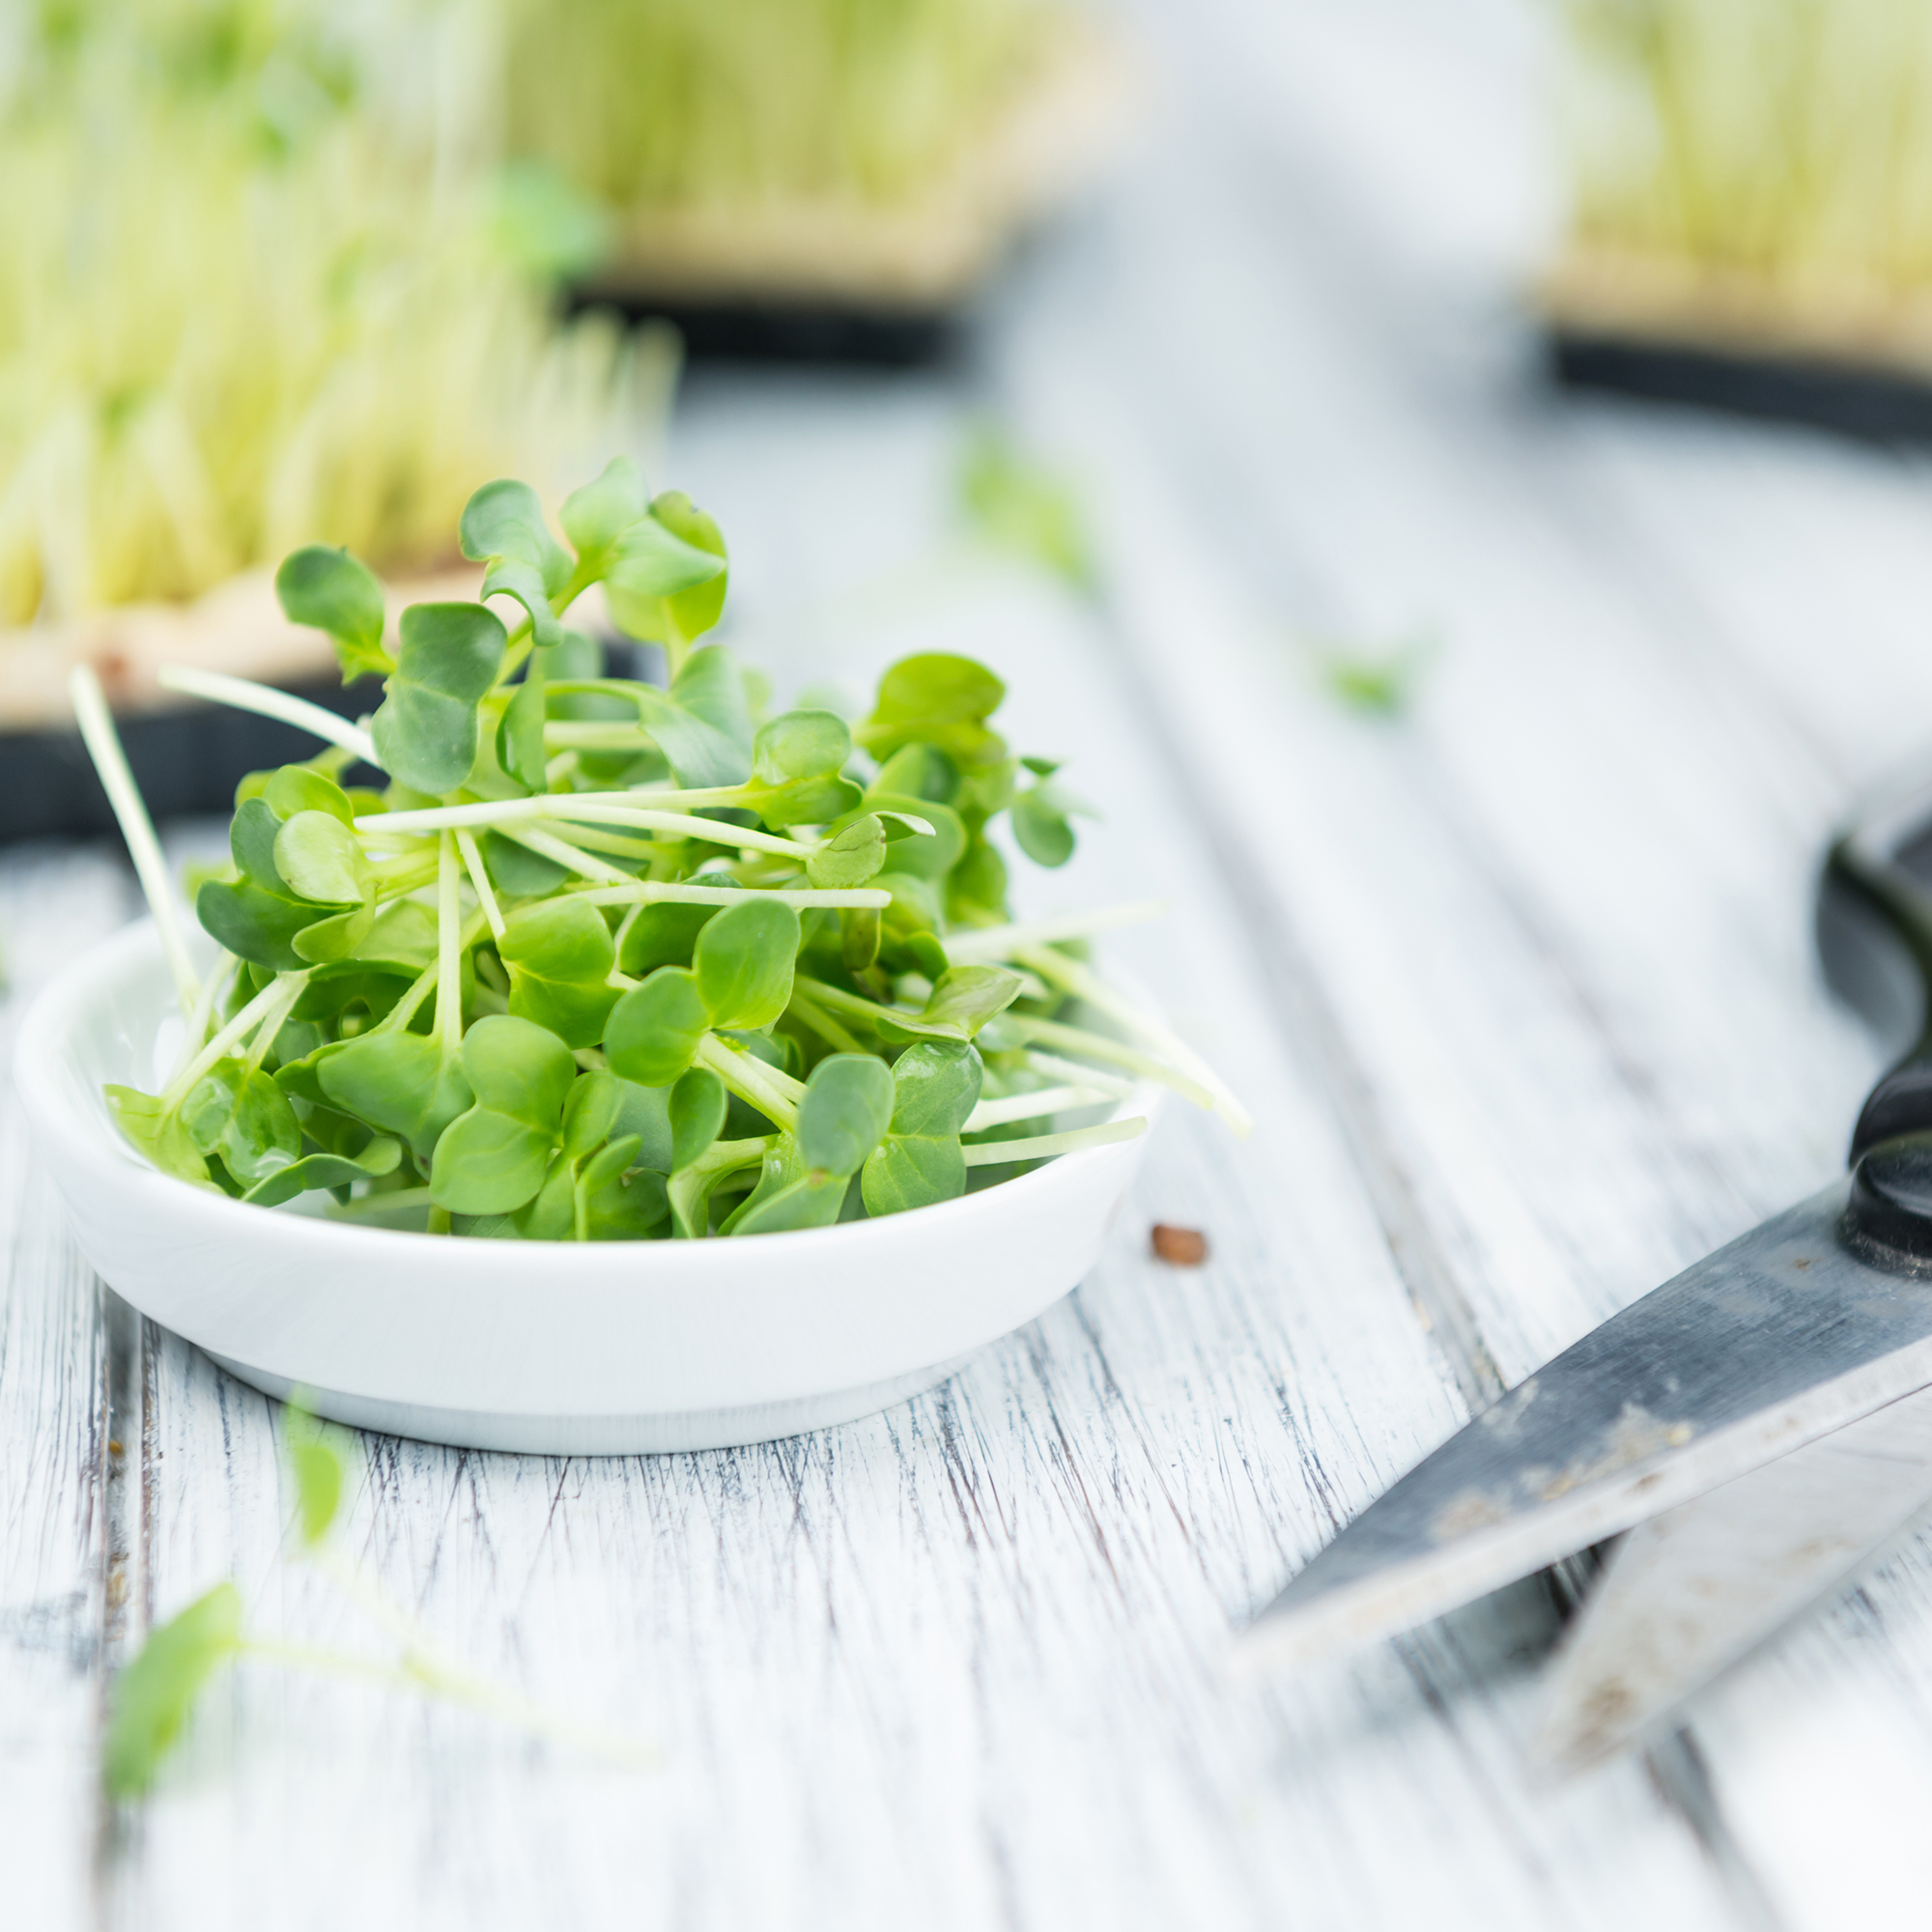
Watercress is a ‘cut and come again crop,’ which means that you can have an endless supply if you tend to your plant correctly. But in order for it to keep growing, you need to make sure that you don’t cut too much off.
Instead, you should opt to pinch or cut off the tops, being careful not to cut the whole stem. This way, you allow room for continual growth!
Alternative ways to grow watercress at home
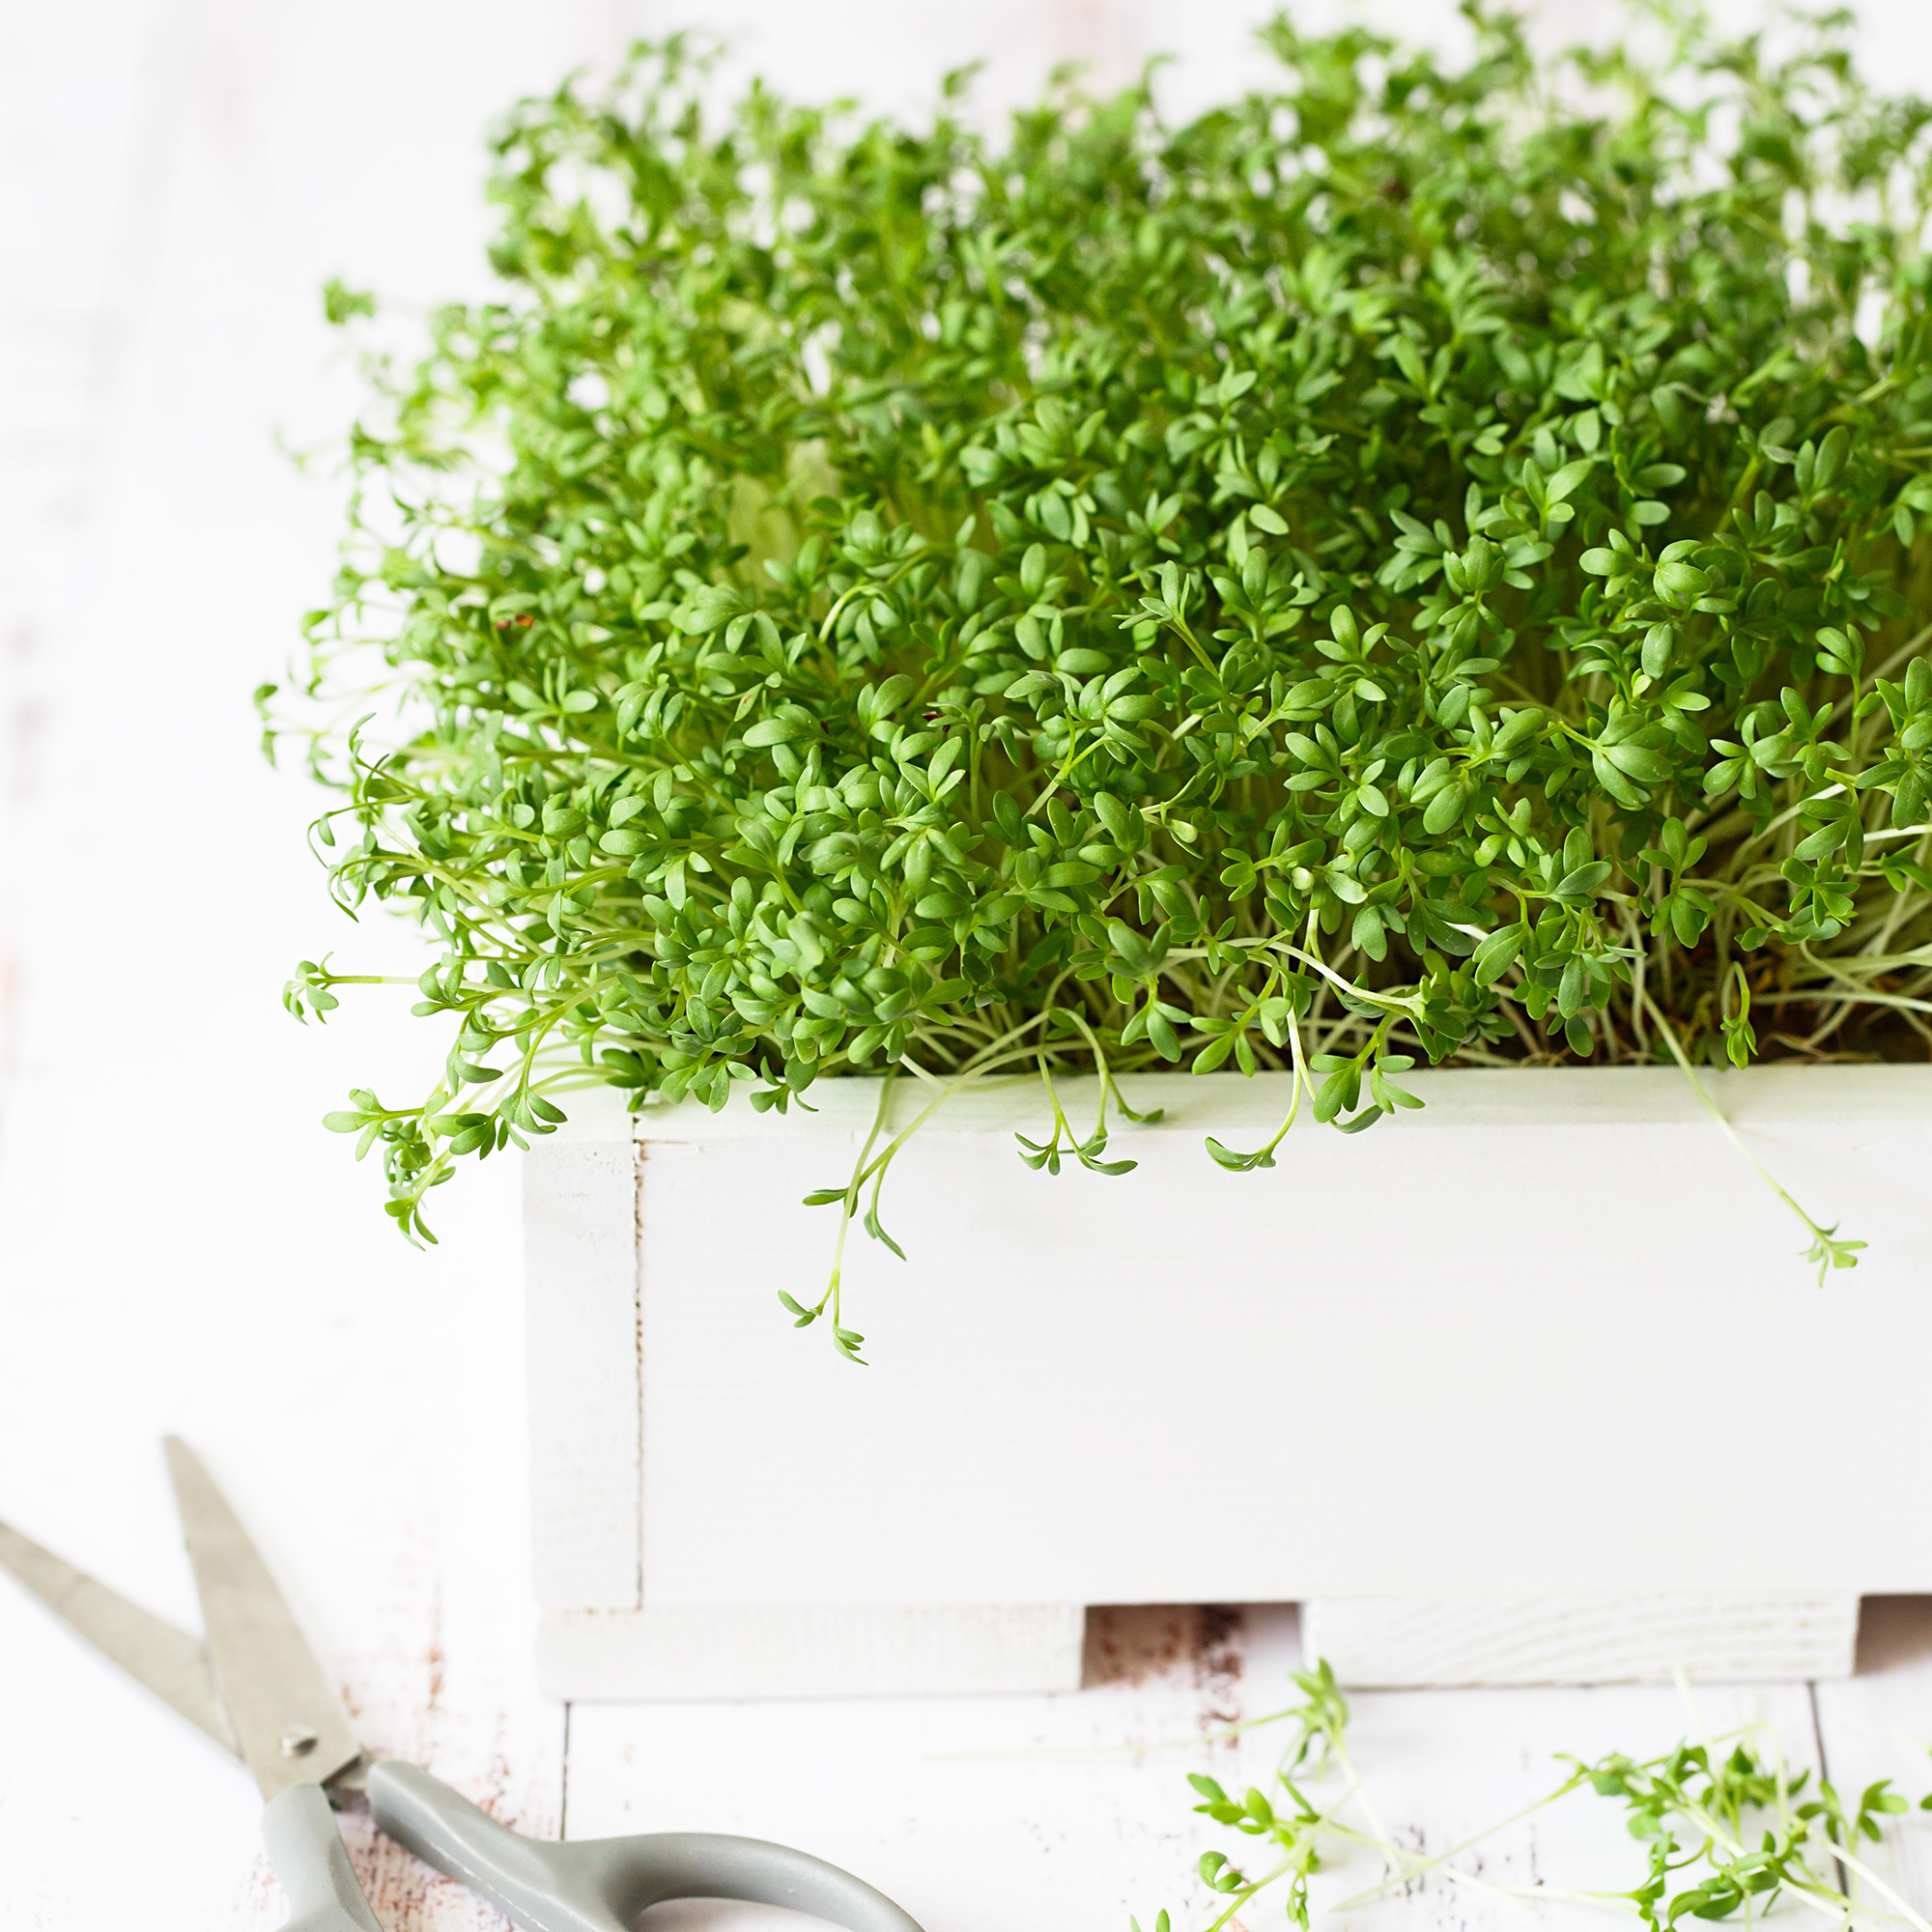
Growing watercress from cuttings is arguably the easiest (and fastest) way to grow watercress - especially if you’re used to buying bunches from the supermarket - but it’s not the only way. Here are some alternative methods:
Growing watercress from seed - It’s not hard to come across watercress seeds. You can find them in your local supermarket, you can find them at the garden centre, and you can find them everywhere on the internet. And this is how you grow watercress from seed.
- Fill a pot with compost, press it down firmly, and give it a good water so that the soil is moist.
- Sprinkle over your watercress seeds.
- Place the pot on a saucer and fill the saucer with water.
- Keep the pot in a sunny place, ideally away from dry heat (i.e. away from radiators).
- Make sure the saucer is full of water at all times.
- Wait around four weeks before harvesting.
Grow watercress as a microgreen - Watercress is often used as a delicious microgreen, and this is great news for people who want to grow more on their windowsills. But while it’s incredibly easy to grow microgreens, there are a few things you need to consider. So, this is how you can do it:
- Fill a container with compost. We love the Chef'n Growing Kit from Wayfair.
- Sprinkle over the seeds and keep in a sunny spot.
- Water the compost daily.
- When the watercress grows to around 5cm high, cut off the tops with scissors.
- Continue to harvest the smaller microgreens.
FAQs
How long does watercress take to grow?
Watercress is very quick-growing, but how long this takes depends on the method you use to grow watercress at home.
If you sow seeds directly into compost, you can expect to harvest your first bunches of watercress in around 4 weeks. However, if you grow watercress from cuttings, it won’t take as long as that.
In fact, watercress grown from cuttings can be ready to harvest in around 20-30 days.
Can you grow watercress at home?
Yes, it’s incredibly easy to grow watercress at home. You could either choose to buy seeds and sow these in pots, grow it as a microgreen, or grow it from cuttings.
Whatever option you choose, it’s always a good idea to make sure that you’re tending to your watercress. Although it’s not a high-maintenance plant, it does need constant access to water to thrive.
Get the Ideal Home Newsletter
Sign up to our newsletter for style and decor inspiration, house makeovers, project advice and more.

Lauren Bradbury has been the Content Editor for the House Manual section since January 2025 but worked with the team as a freelancer for a year and a half before that. She graduated with a Bachelor’s degree in English and Creative Writing from the University of Chichester in 2016. Then, she dipped her toe into the world of content writing, primarily focusing on home content. After years of agency work, she decided to take the plunge and become a full-time freelancer for online publications, including Real Homes and Ideal Home, before taking on this permanent role. Now, she spends her days searching for the best decluttering and cleaning hacks and creating handy how-to guides for homeowners and renters alike, as well as testing vacuums as part of her role as the Ideal Home Certified Expert in Training on Vacuums, having spent over 110 hours testing different vacuum models to date!
-
 Zoe Ball's colourful kitchen island shows how easy it is to create a characterful cooking space - here's how she did it
Being brave with colour will reap huge rewards
By Holly Cockburn
-
 7 plants that will make your patio smell gorgeous - the top fragrant picks experts recommend potting up
From aromatic flowers to fragrant herbs
By Kayleigh Dray
-
 I won't gatekeep - Magimix's new small kitchen-friendly mini chopper is my secret to delicious lazy dinners
My homemade pesto pasta has never been better
By Holly Cockburn