How to level a lawn - an easy guide to get rid of lumps, dips and slopes
Prevent waterlogging and improve the health of your grass


If you want to improve the health and appearance of your lawn or prepare your outside space for a new shed or decked area, knowing how to level a lawn is essential.
Having a bumpy or sloping lawn can instantly ruin the looks of any garden, but it can cause waterlogging. This can kill your flowers and crops, and it can also damage even the best lawnmowers on the market. That’s why levelling your lawn is the only option if you want to restore the health of your garden and improve its appearance.
And while this task may sound daunting, we’ve spoken to garden and lawn care experts who all agree that levelling a lawn is easier than you’d think. So, we’ve put together a step-by-step guide to make levelling a lawn a breeze.
How to level a lawn
‘Many lawns feel lumpy and bumpy under our feet, and it's completely normal,’ explains Steve Chilton, garden expert at LeisureBench. ‘However, having an uneven lawn can cause many different problems, such as swamp-like conditions, difficulty when placing outdoor furniture, difficulty laying paving and decking, danger for children and, of course, an unattractive appearance.’ So, this is how you can level a lawn.

Steve is a passionate and knowledgeable garden expert with several years of experience within the field and has developed strong expertise for all things nature and plants. Steve is a keen educator and loves to share this knowledge with others. He strives to simplify complex garden practices and encourage eco-friendly gardening.
What you’ll need
- Lawnmower
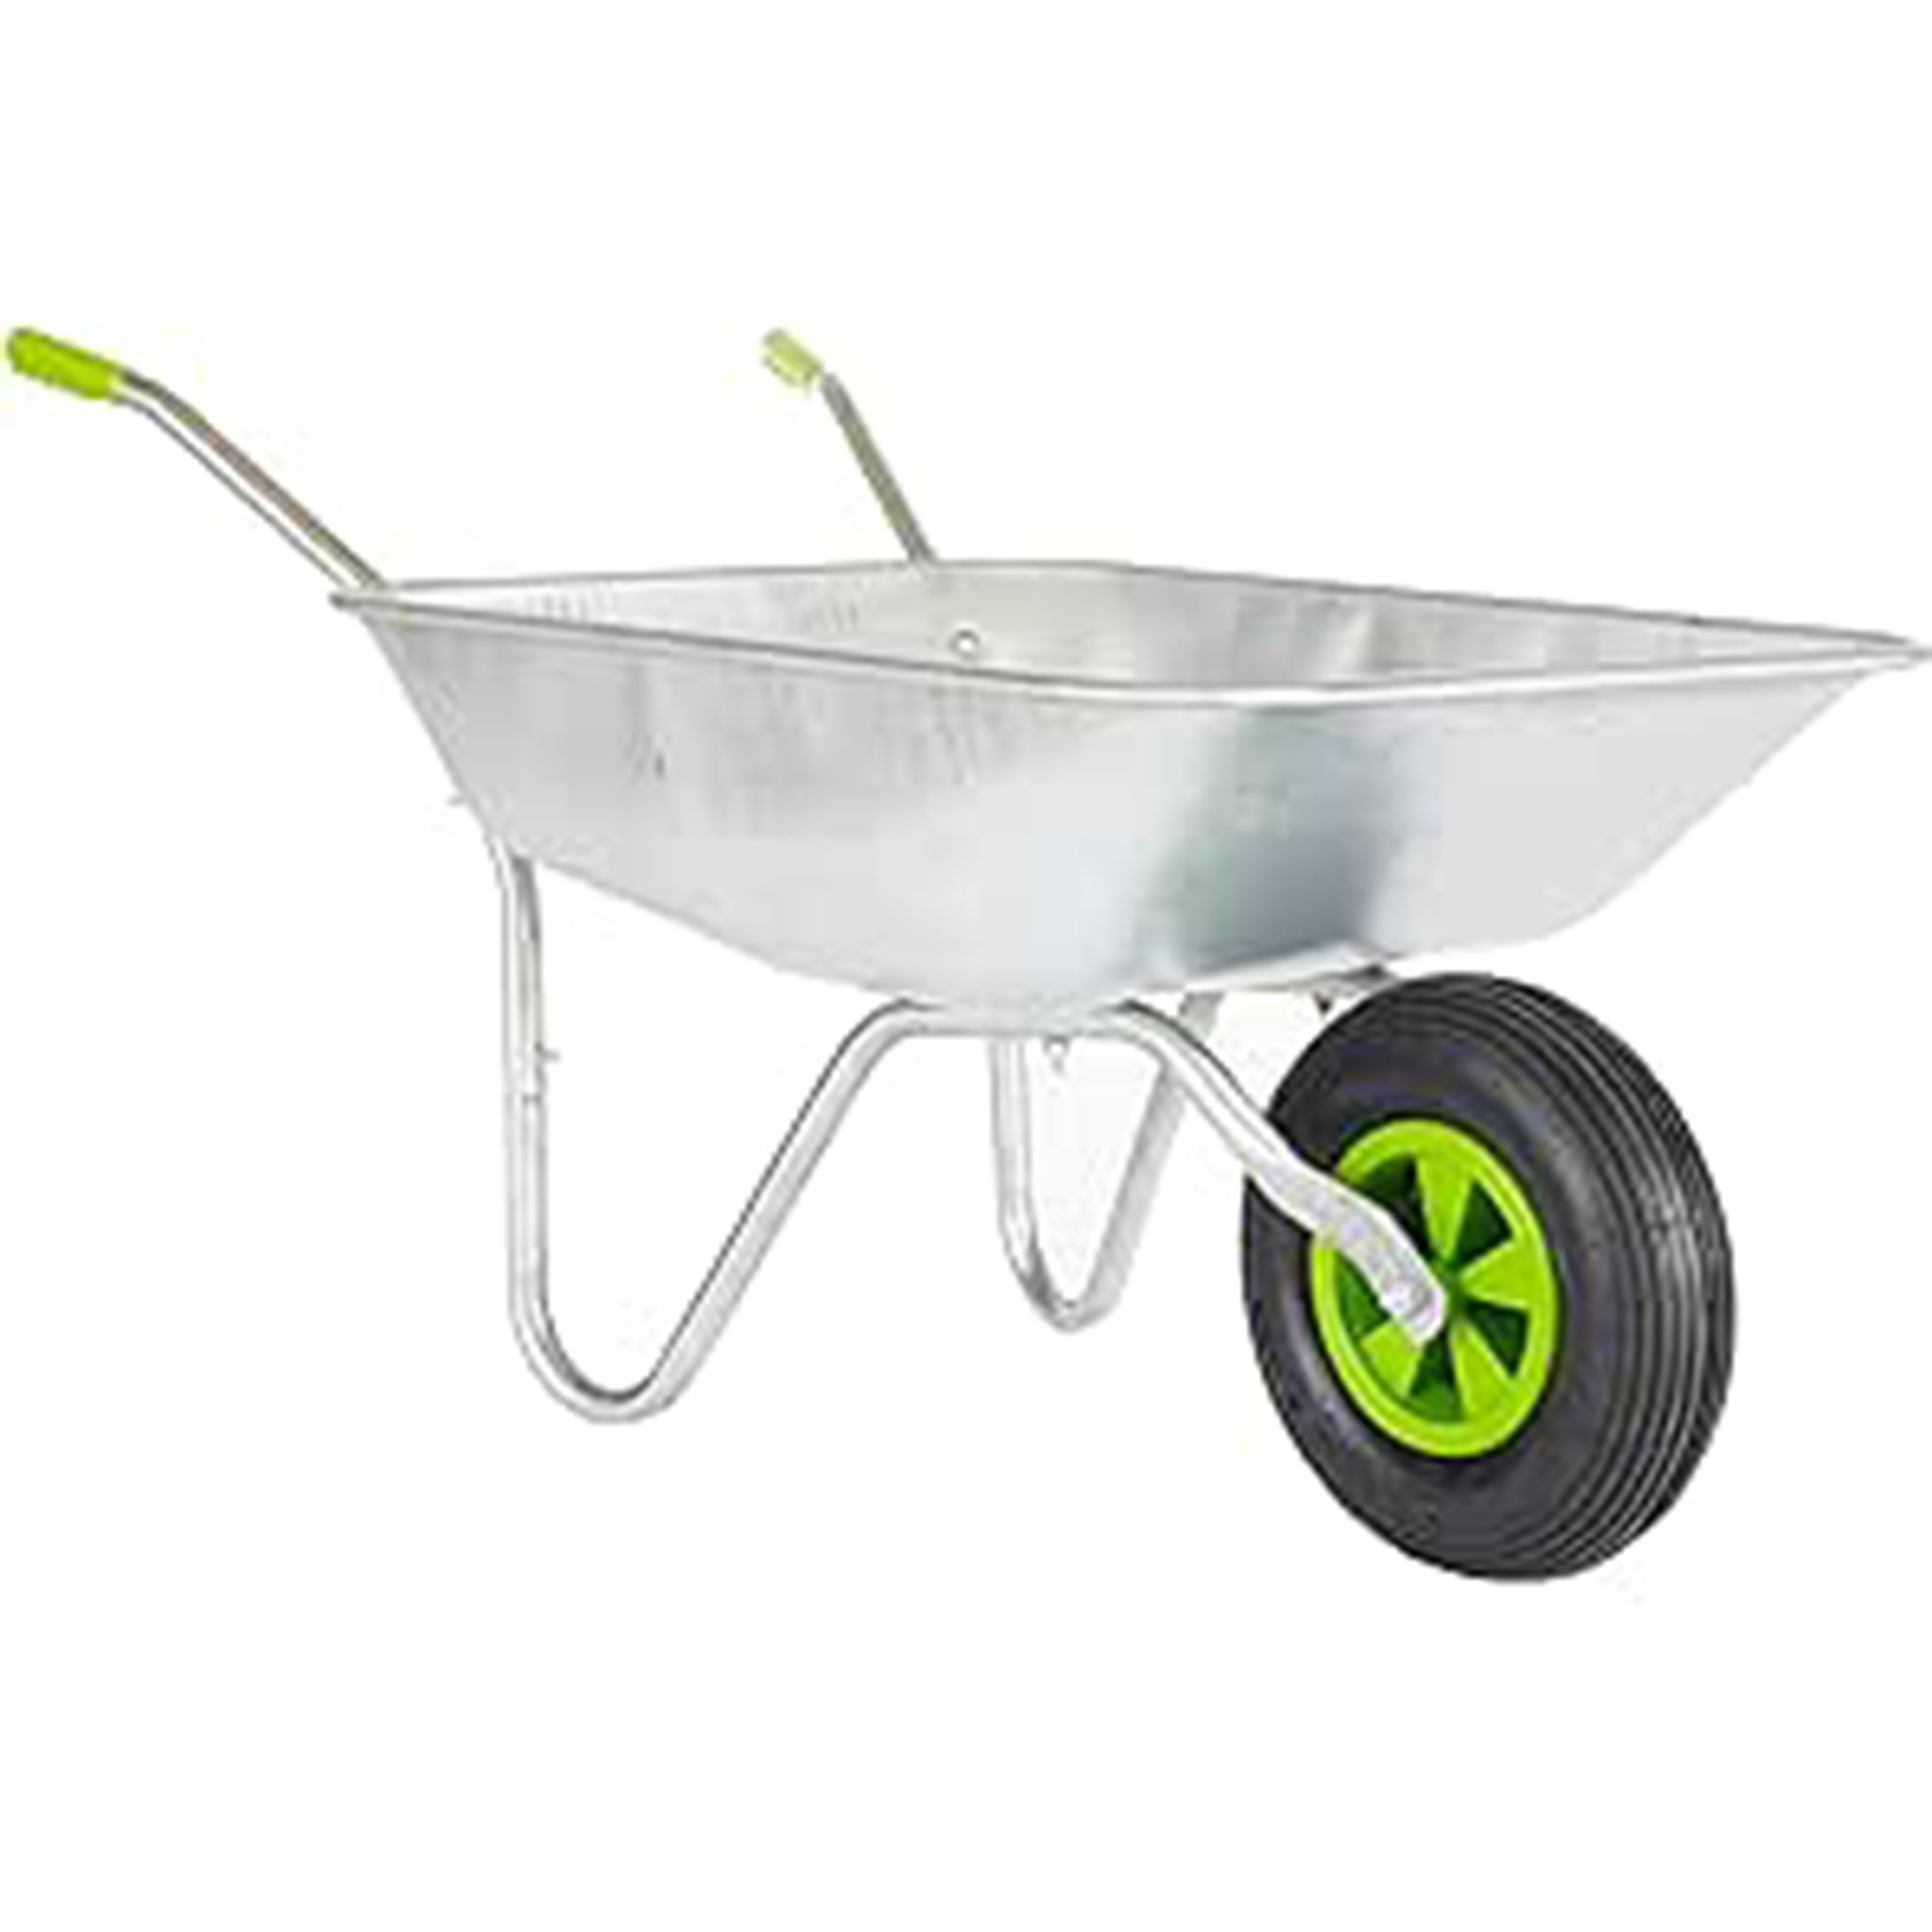
- Wheelbarrow
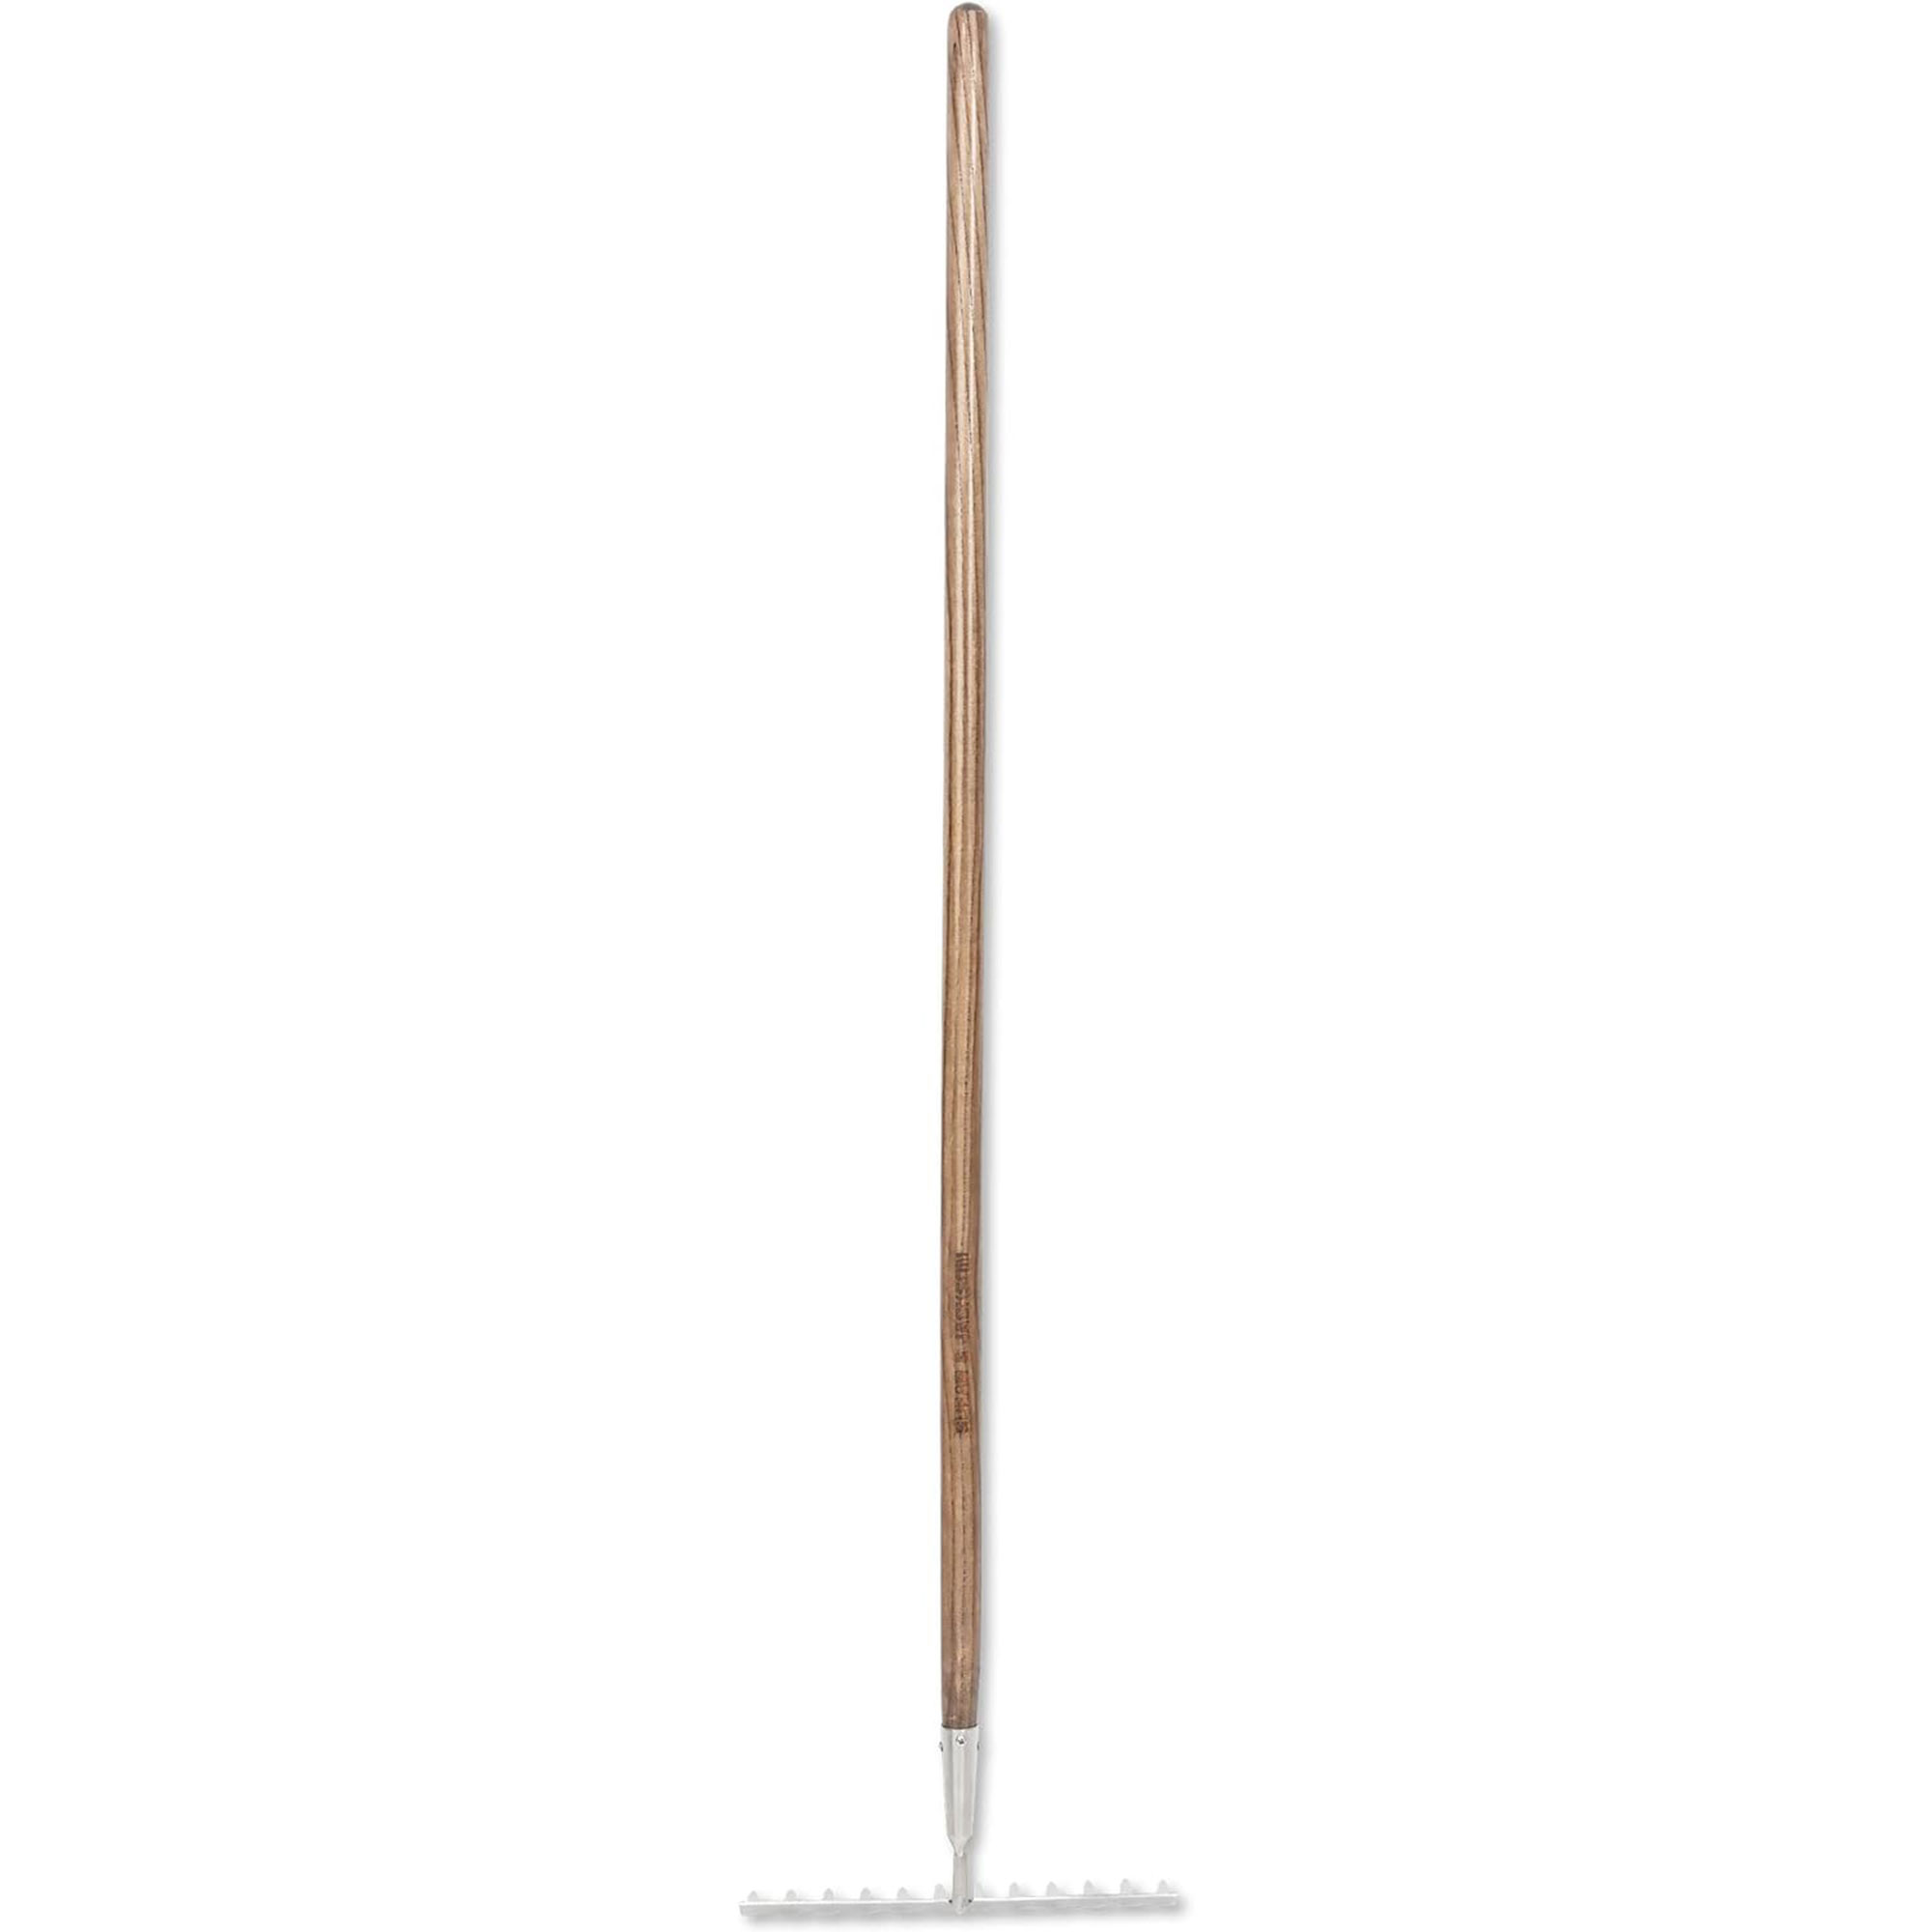
- Rake
- Fork
- Shovel
- Watering can or hose
- Grass seed
- Sand
- Compost
- Topsoil (available to buy online at B&Q)
Step-by-step
1. Prepare your lawn
When you’ve added levelling your lawn to your list of jobs to do in the garden in May, you then need to prepare your lawn for this task.
Firstly, you need to mow your lawn on the lowest setting possible. Jamie Shipley, gardening expert and Managing Director of Hedges Directsuggests to, 'Trim the grass to a height of about 1.5 to 2 inches.'
While this may be shorter than you’ve ever cut it before, this short-back-and-sides haircut will allow you to look properly at the ground and see which spots need levelling out.
When you’ve done that, grab your garden rake and scarify your lawn. Steve explains, ‘I recommend using a rake to remove excess thatch on your lawn, which can prevent the grass from having a healthy airflow.’
Of course, remove all of this debris before moving on to the next step.

2. Combine your levelling mixture
Next, you’ll want to prepare your levelling mixture. Most experts agree that a 2:2:1 mixture of topsoil, sand, and compost is perfect for this job, all of these can be picked up from stores such as B&Q or delivered straight to your home from Amazon.
Combine this mixture in a wheelbarrow if you have one available, and wheel it onto the grass next to you. By doing this, you won’t have to walk back and forth to grab shovels of the levelling mixture, and you can easily move it from one area of the lawn to the next.
3. Level the shallow spots first
When you have your levelling mixture ready, you then need to inspect your lawn. If you spot any shallow holes, dips or slopes that are around 1-2cm deep, aim to level them first.
Jamie says, 'Spread a thin layer of topsoil or compost over the entire lawn using a shovel or a spreader. This will help to even out the surface and improve soil quality.'
You should then smooth it with the back of your shovel or a rake and stamp on it to compact it further. If you need to add more to fill the hole completely, just repeat this process.
After a few days, water the patch of levelling mixture and keep an eye on it. If the patch seems to shrink in size, you need to add more. If it stays level, you can then sow your grass seed and sprinkle a little bit of levelling mixture on top.
Then, water the grass seed according to the instructions on the pack.

4. Then, level deeper spots
If you spot any holes or dips that are over 2-3cm deep, things get a little more complicated. That’s because you actually need to put the levelling mixture underneath the lawn rather than on top of it.
A few hours before you begin, water the grass to ensure that there’s enough moisture in the soil. Then, grab your shovel and dig around 4cm down into the soil and underneath the grassroots in a cross shape. You should try and do this horizontally so you don’t cut a huge chunk out of your lawn.
In fact, the aim here isn’t to lift the turf out from the lawn at all. Instead, you want to dig in a way that allows you to create a flap and then pull it back.
When you’ve done that, repeat the same steps as you did with the shallow spots. Fill the hole with the levelling mixture, compact it down, and add more if necessary. Then, roll back the flap of turf to cover it.
Of course, the cross marks will be visible at this point - but it’s easy to solve this aesthetic problem. Simply fill the cracks with more of the levelling mixture and top with some grass seed before watering as recommended.
5. Level raised areas
While many people choose to level their lawns due to holes and dips in their grass, some also want to tackle raised areas, too.
To do this, simply lift the turf as you would to fill deeper spots and shovel some of the excess soil out from underneath it. You can then dispose of the soil, compact the remaining soil with your feet, flip the turf back over and scatter some more grass seed.
Steve then says, ‘Over the next days, weeks, and months, keep an eye on how your lawn is growing back. Keep checking for new lumps and bumps, and make sure that new grass is growing.’
If it isn’t, or the lumps and bumps return, it’s best to consult a professional.
FAQs
How do you level an uneven lawn?
If you have shallow holes or dips in your lawn, the best way to level them is to fill them with a levelling mixture and then top with grass seed.
If you have a deeper hole, though, you need to lift up a flap of turf and then add the levelling mixture underneath the grass. When you’ve flipped it back over, you can then add more grass seed into the cracks.
Thankfully, it’s much easier to level a lawn if you have raised areas. All you need to do is cut into the turf and remove some of the soil underneath.
Can you level a lawn without removing grass?
If the dips in your lawn are around 1-2cm deep, you can absolutely level a lawn without removing grass. All you need to do is fill the hole with a levelling mixture and then add grass seed.
However, this can’t be done if the dips are deeper than 3-4cm. In that instance, you’d need to lift up a flap of grass and fill underneath the lawn.
It sounds complicated, but this just goes to show that levelling a lawn isn’t as hard as it seems.
Get the Ideal Home Newsletter
Sign up to our newsletter for style and decor inspiration, house makeovers, project advice and more.

Lauren Bradbury has been the Content Editor for the House Manual section since January 2025 but worked with the team as a freelancer for a year and a half before that. She graduated with a Bachelor’s degree in English and Creative Writing from the University of Chichester in 2016. Then, she dipped her toe into the world of content writing, primarily focusing on home content. After years of agency work, she decided to take the plunge and become a full-time freelancer for online publications, including Real Homes and Ideal Home, before taking on this permanent role. Now, she spends her days searching for the best decluttering and cleaning hacks and creating handy how-to guides for homeowners and renters alike, as well as testing vacuums as part of her role as the Ideal Home Certified Expert in Training on Vacuums, having spent over 110 hours testing different vacuum models to date!
-
 Crown Paint has launched new wall colours for the first time in three years, and changed how I think about neutral shades
Is terracotta the ultimate neutral?
By Rebecca Knight
-
 How to protect seedlings from birds – experts say there's a kind and clever way to stop them pecking
Yes, you can protect seedlings from birds without harming your feathered friends...
By Kayleigh Dray
-
 We tried the viral napkin bunny ears hack – it only takes five minutes and will take your Easter table to the next level
This Easter craft is not only beautiful, but really easy to do
By Kezia Reynolds
