Rain pots are making waves as an attractive water butt alternative - here’s how to make one for your own garden
You’ve heard of water butts… but have you heard of rain pots?

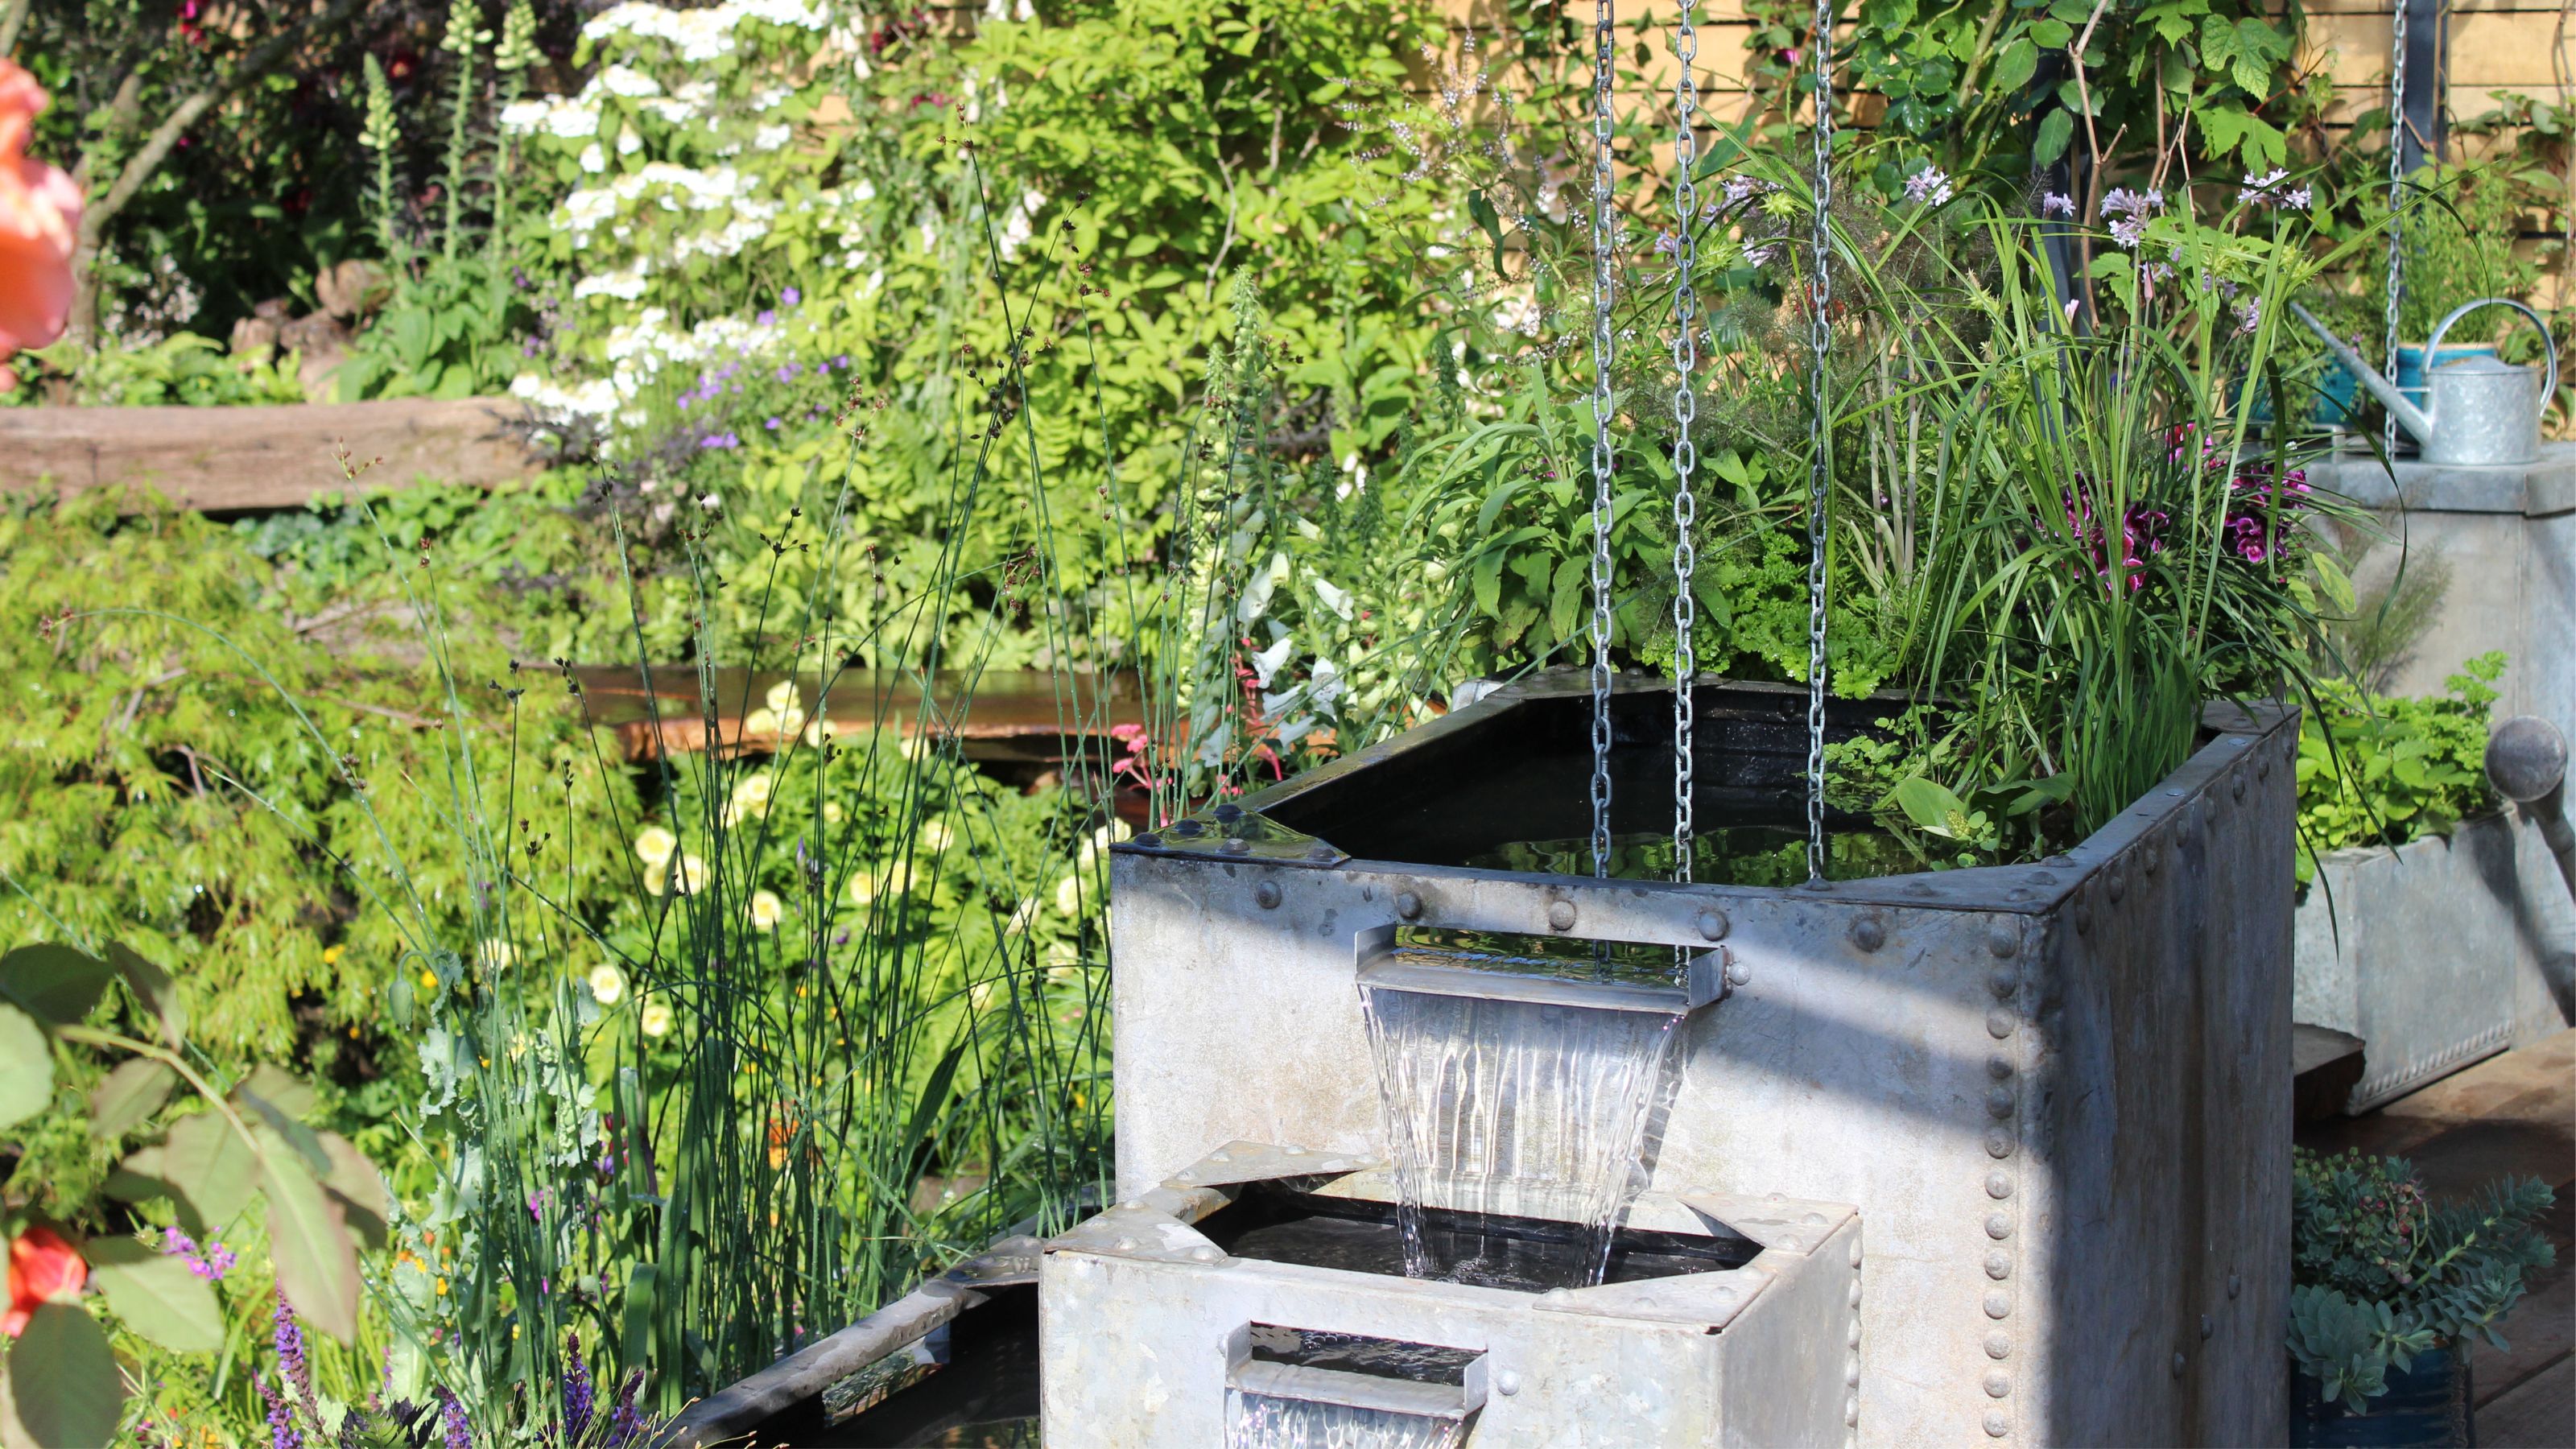
In a world where everything is getting more and more expensive, there’s never been a better time to take advantage of a freebie. And why wouldn’t you want to take advantage of free water to keep your garden hydrated? That’s why our latest obsession is DIY rain pots.
Of course, we all know that a water butt can help you save money on your water bill, but you probably don’t need us to tell you that water butts aren’t the most aesthetic additions to your garden. And while you can try your hardest to make a cheap water butt look more attractive, we’ve discovered an even better alternative when harvesting rainwater.
Introducing… rain pots. Michaela Shoebridge (AKA @mishkashoe on Instagram) brought this DIY rain harvesting idea to our attention, and we had to learn more. So, we decided to ask the experts how to make a rain pot so you can do the same in your garden.
What you'll need
- Large pot - like this Terracotta Pot from Crocus.
- Rain chain - like this Shrader Metal Rain Chain from Wayfair.
- Hanging basket bracket - like this 360mm Hanging Basket Bracket from B&Q.
- Outdoor tap - like this RMTL Outdoor Garden Tap from Amazon.
- Drill - like this Black + Decker Cordless Hammer Drill with Battery from Argos.
- Cement - like this POLYCELL 20204 Polycell Quick Set Cement Polyfilla from Amazon.
Step-by-step
1. Find the best location
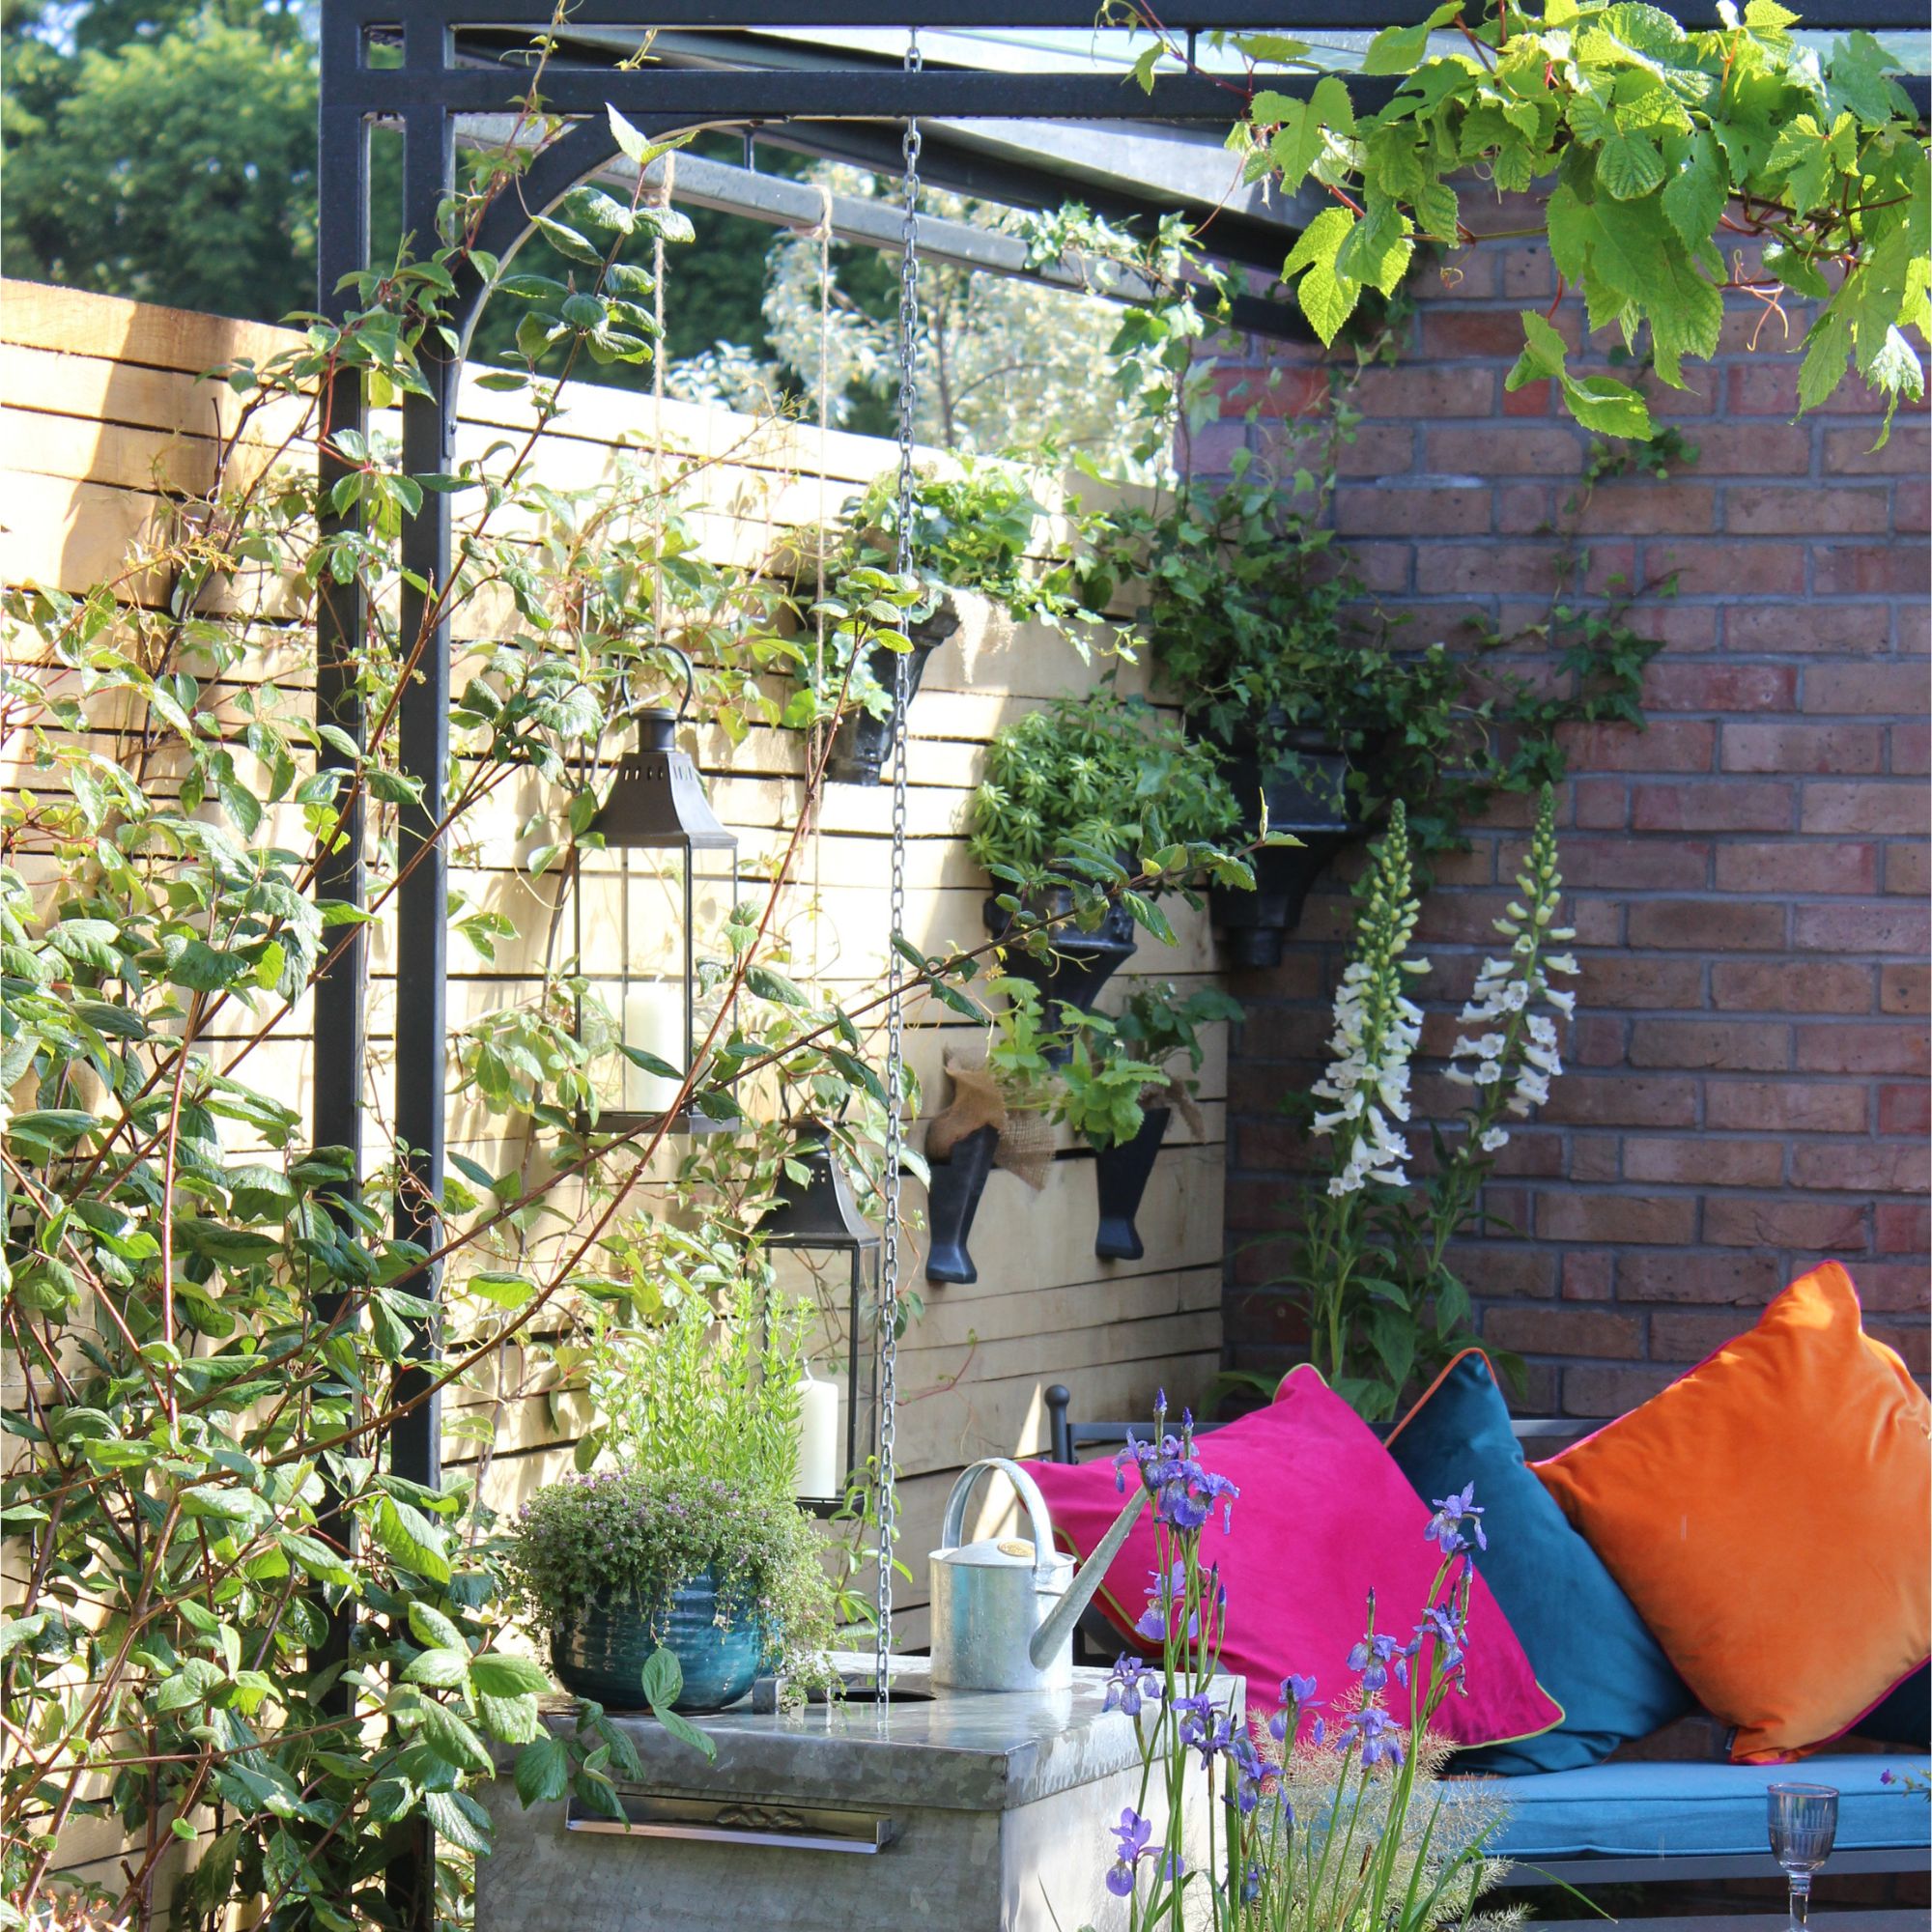
Building and installing a rain pot is a little different to installing a water butt - but that’s what makes it so handy. Although you can attach your rain pot to your existing guttering (using something like this Monarch Aluminum 3-Piece Rain Chain Installation Kit from Amazon), you don’t necessarily have to.
You can instead fill up your rain pot using a hanging basket bracket that you install as you would if you were hanging a hanging basket. Alternatively, you could use an outdoor hook - like these Command Outdoor Black Stainless Steel Wire Hooks from B&Q.
Of course, attaching to your guttering will always be the most effective way to fill up your rain pot as quickly as possible, but using a hanging basket bracket gives you flexibility when it comes to the location of your rain pot.
You could attach the bracket to your pergola, on the side of your shed, from the roof of your balcony, on your front porch, or anywhere you can safely hang the bracket. Just make sure you choose an area that’s not completely undercover - otherwise, it will be pointless.
Sign up to our newsletter for style inspiration, real homes, project and garden advice and shopping know-how
This is echoed by Morris Hankinson, Managing Director of Hopes Grove Nurseries, who says, ‘You should place your pot somewhere free of shelter, especially from tree branches and leaves. If foliage gets into your water butt, it can cause the spread of disease due to water contamination.’

Morris Hankinson is the founder and managing director of Hopes Grove Nurseries Ltd, the UK’s only specialist grower-retailer of hedging plants. He established the thriving business in 1992, shortly after graduating with a Commercial Horticulture Degree from Writtle College, Essex.
2. Choose your pot
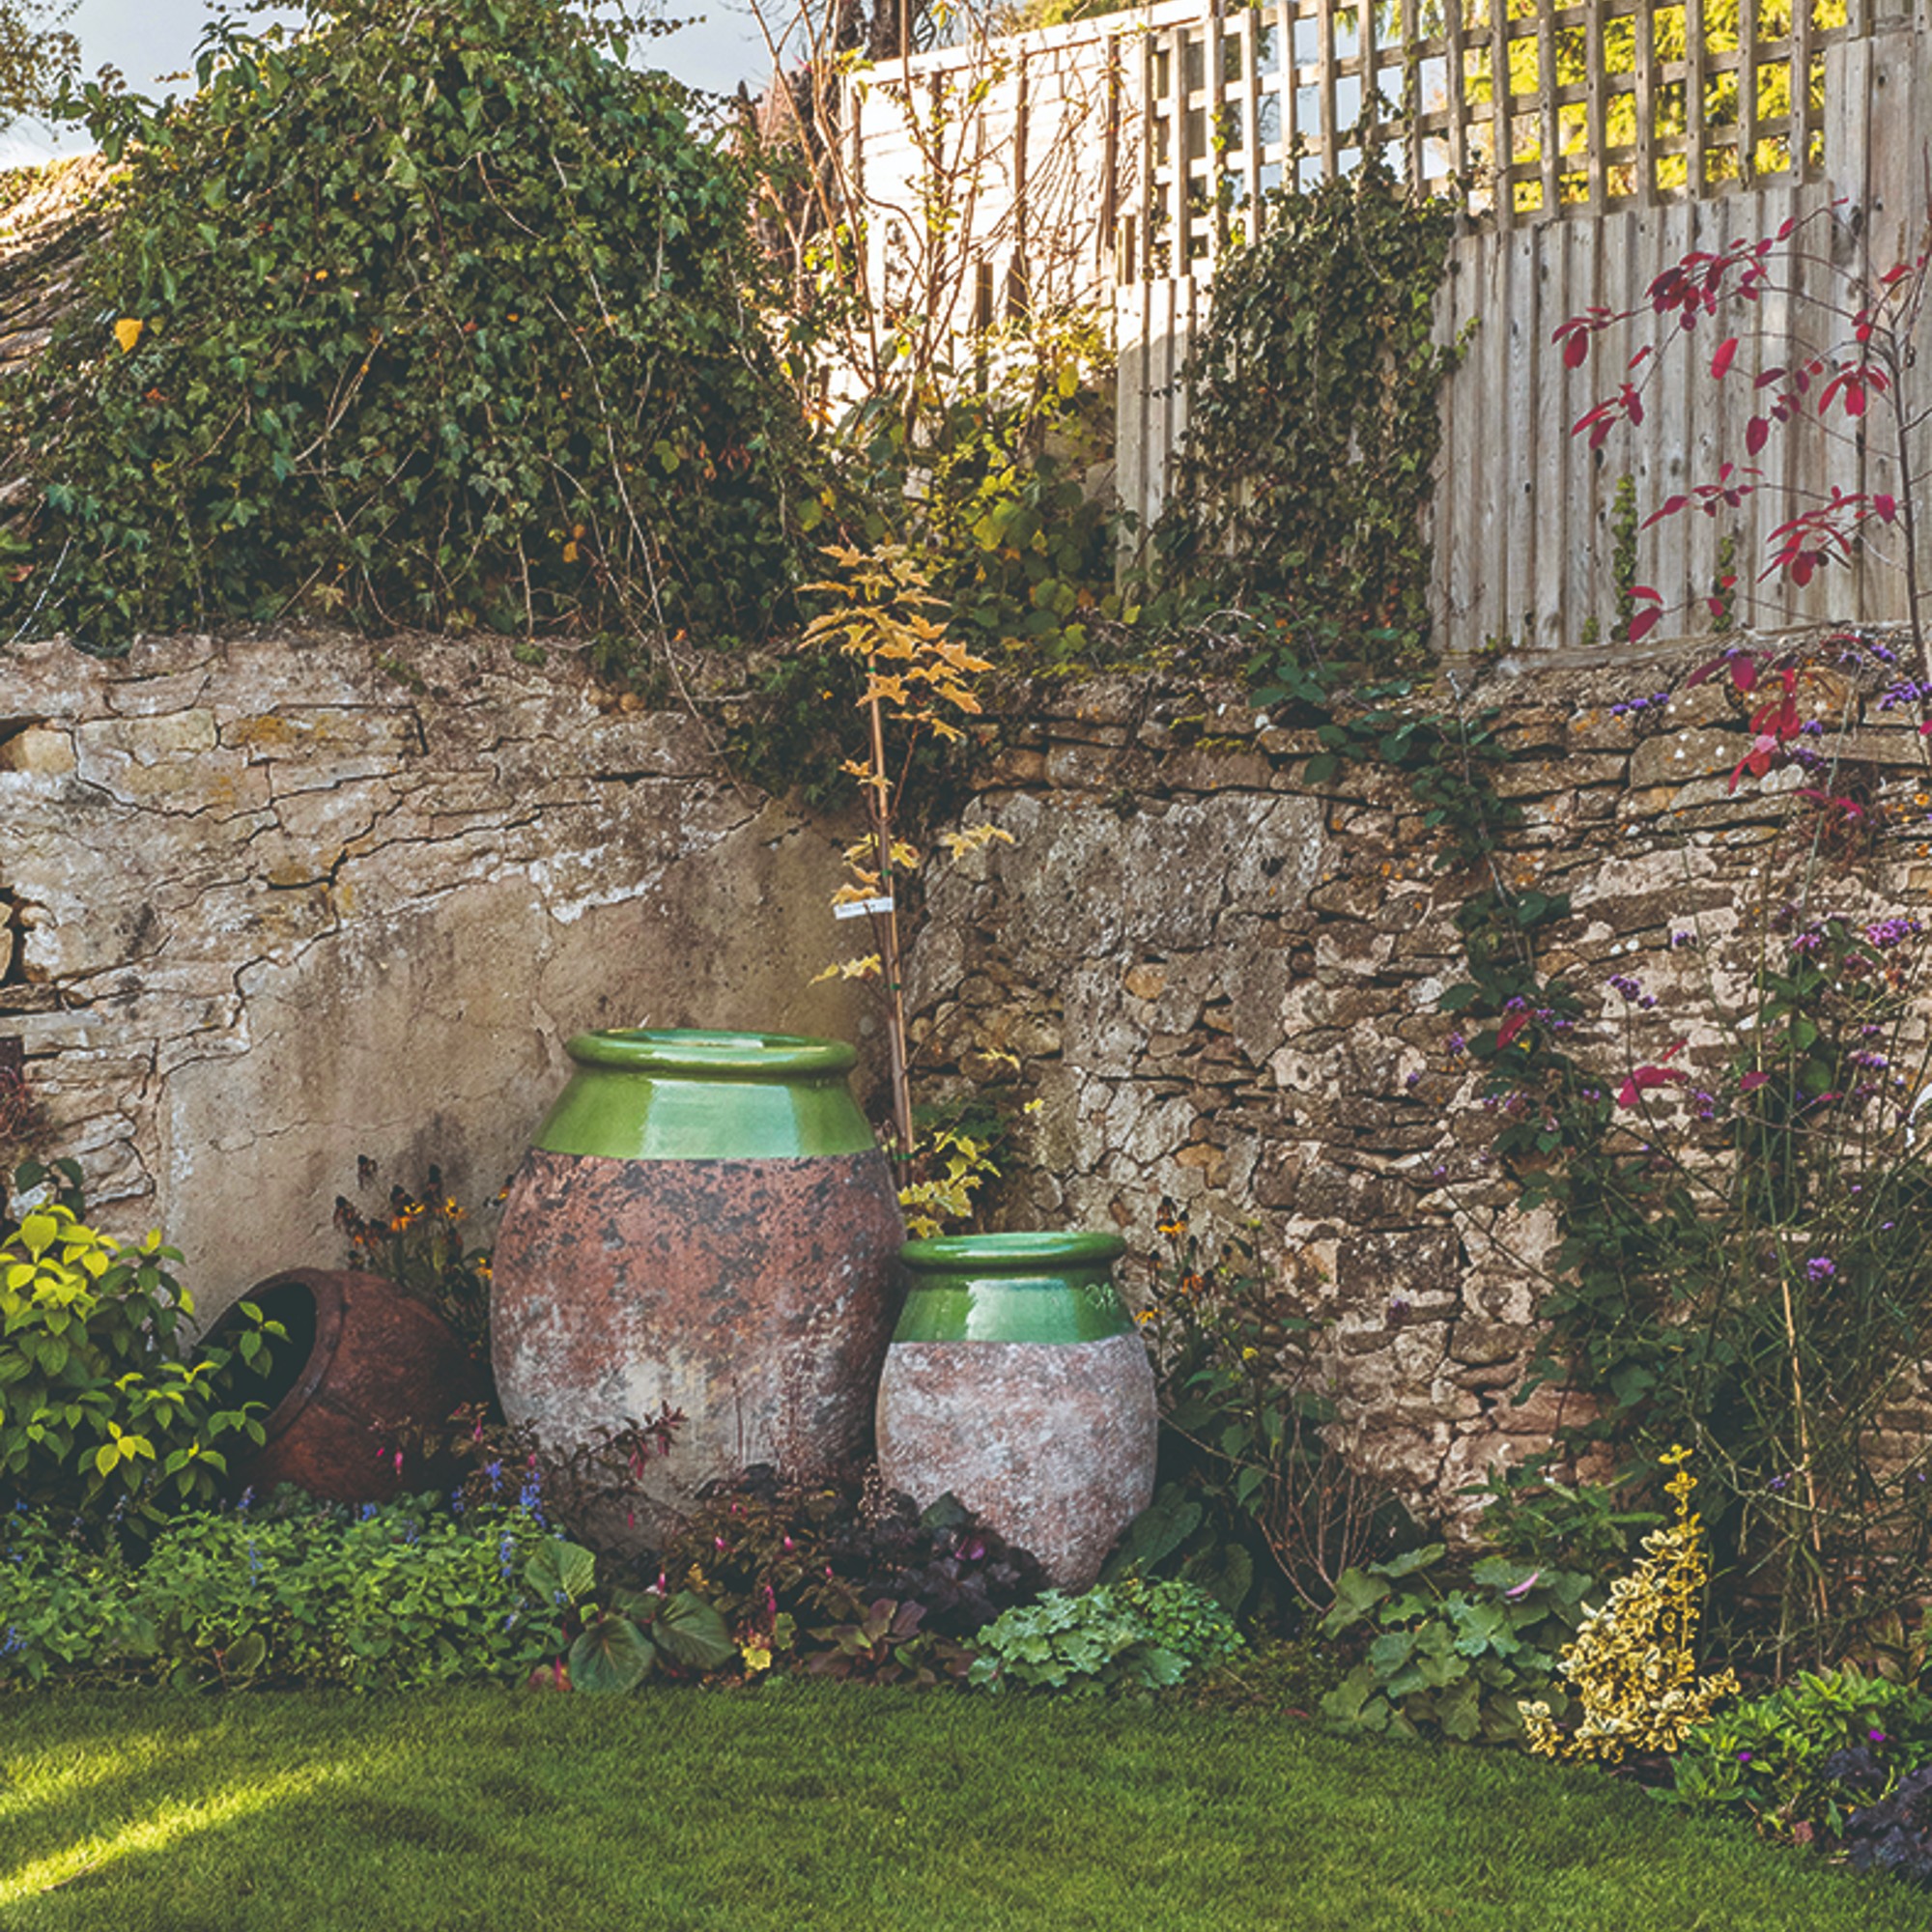
The beauty of a DIY rain pot is that you’re in charge. Instead of opting for a cheap plastic water butt, you can choose a pot that suits your garden idea - no matter whether you want to opt for something modern like this IDEALIST 57cm Tall Planter from B&Q or something more rustic like these Strata 43cm Moroccan Planters from Argos.
You don’t even have to go for the typical water butt shape, either. Instead of choosing a vertical water butt, you could go rogue and build a rain trough instead. The rain pot world really is your oyster.
Just be wary of the fact that you’ll need to drill into the pot to install the tap, so don’t choose a material that will break or snap during this step. Morris says, ‘We’d recommend you go for a narrow and tall planter, either plastic or terracotta would work.’
You may need to take a few extra steps to ensure you can use a terracotta pot, though. Sean Lade, Managing Director of Easy Garden Irrigation explains, ‘Terracotta pots, while attractive, are porous, so they will lose water over time.’
‘To mitigate this, you could line the inside of the pot with a waterproof sealant or plastic liner. Since this will be a prominent feature in your garden, consider choosing a pot that complements your garden design, selecting a pot that adds a visual appeal whilst being functional.’

Sean is the managing director of Easy Garden Irrigation, which creates a variety of irrigation and watering systems to make gardening effortless. Sean’s 14+ years in gardening and irrigation combine a passion for bringing solutions and drive for sustainability to UK gardeners all year round.
3. Fill drainage holes and install the tap
Normally, buying a plant pot with drainage holes would be a positive. These drainage holes prevent root rot and promote a happy and healthy plant. But these drainage holes aren't so great when buying one to make a rain pot.
So, next, you need to fill these drainage holes. Taping over the hole and then filling it with cement is the easiest way to do this. When the cement sets, it’ll block any water that tries to come through.
Just make sure that you test its effectiveness with a watering can full of water before hanging your rain chain, as you don’t want to be caught out when it’s too late.
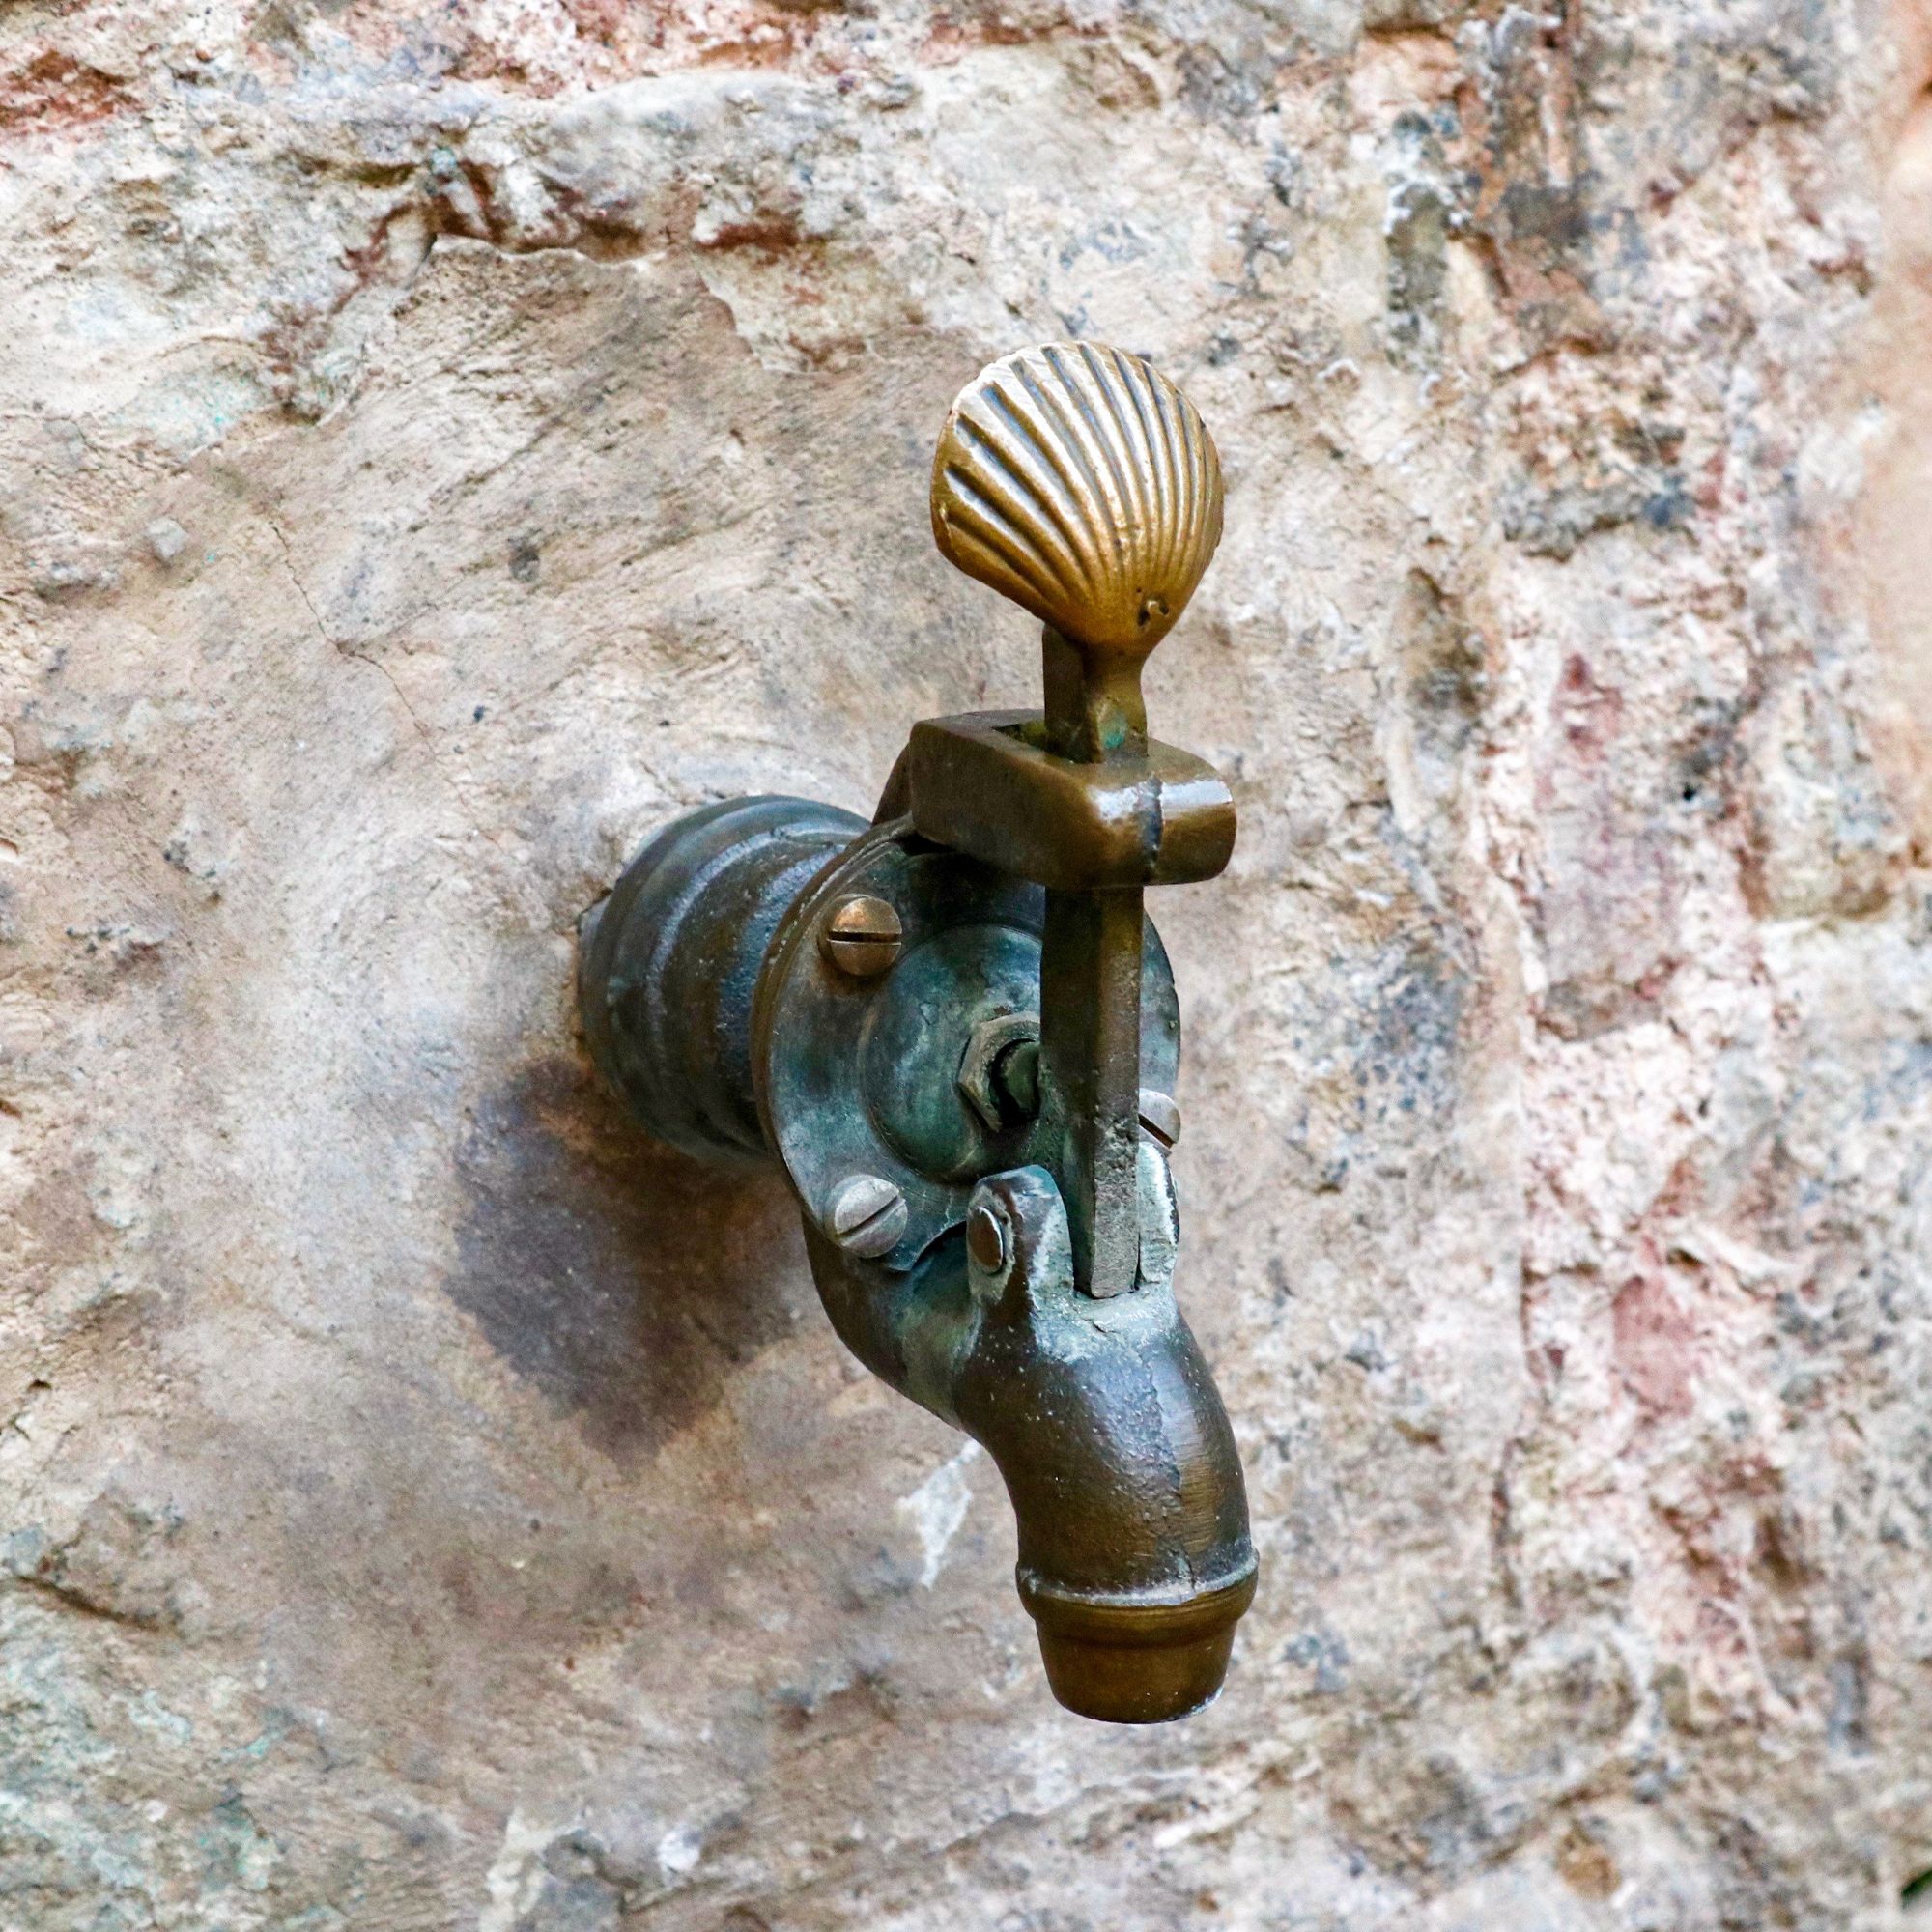
When you’ve done that, you can then install the tap. To do this, you should measure the circumference of the tap and drill a hole of the same size in the side of the pot. This can be daunting, and you may feel some resistance but don’t worry; keep drilling!
You should be wary of where you install the tap, though. Morris explains, ‘You want the hole for your tap to be located as close to the bottom as possible, preferably four inches high. This will help with water pressure to encourage water flow.’
Finish by installing the tap. You may find that the tap you buy also comes with a rubber O-ring or washer to seal the gap between the pipe and the pot. If not, or if you want some extra peace of mind, you could use sealant - like this Soudal All Weather Sealant from B&Q to ensure no water escapes.
4. Hang the rain chain

Once you have your pot set up, it’s time to hang your rain chain. How you do this depends on whether you’re attaching it to your guttering or from a hanging basket bracket, but most rain chains can be easily hooked on.
In both cases, the idea is to hang the rain chain from above and ensure it falls into the pot. Sean says, ‘Rain chains guide the water downwards in a controlled manner. Place your decorative pot directly underneath the rain chain to collect the water. Ensure the top of the pot is wide enough to catch the water effectively.’
You can get creative with your rain chains, too. You could go more traditional like this Rain Chains Direct Oval Loop Chain from Amazon or opt for something more decorative like this Watering Can Rain Chain Chime from Etsy.
5. Keep an eye on it
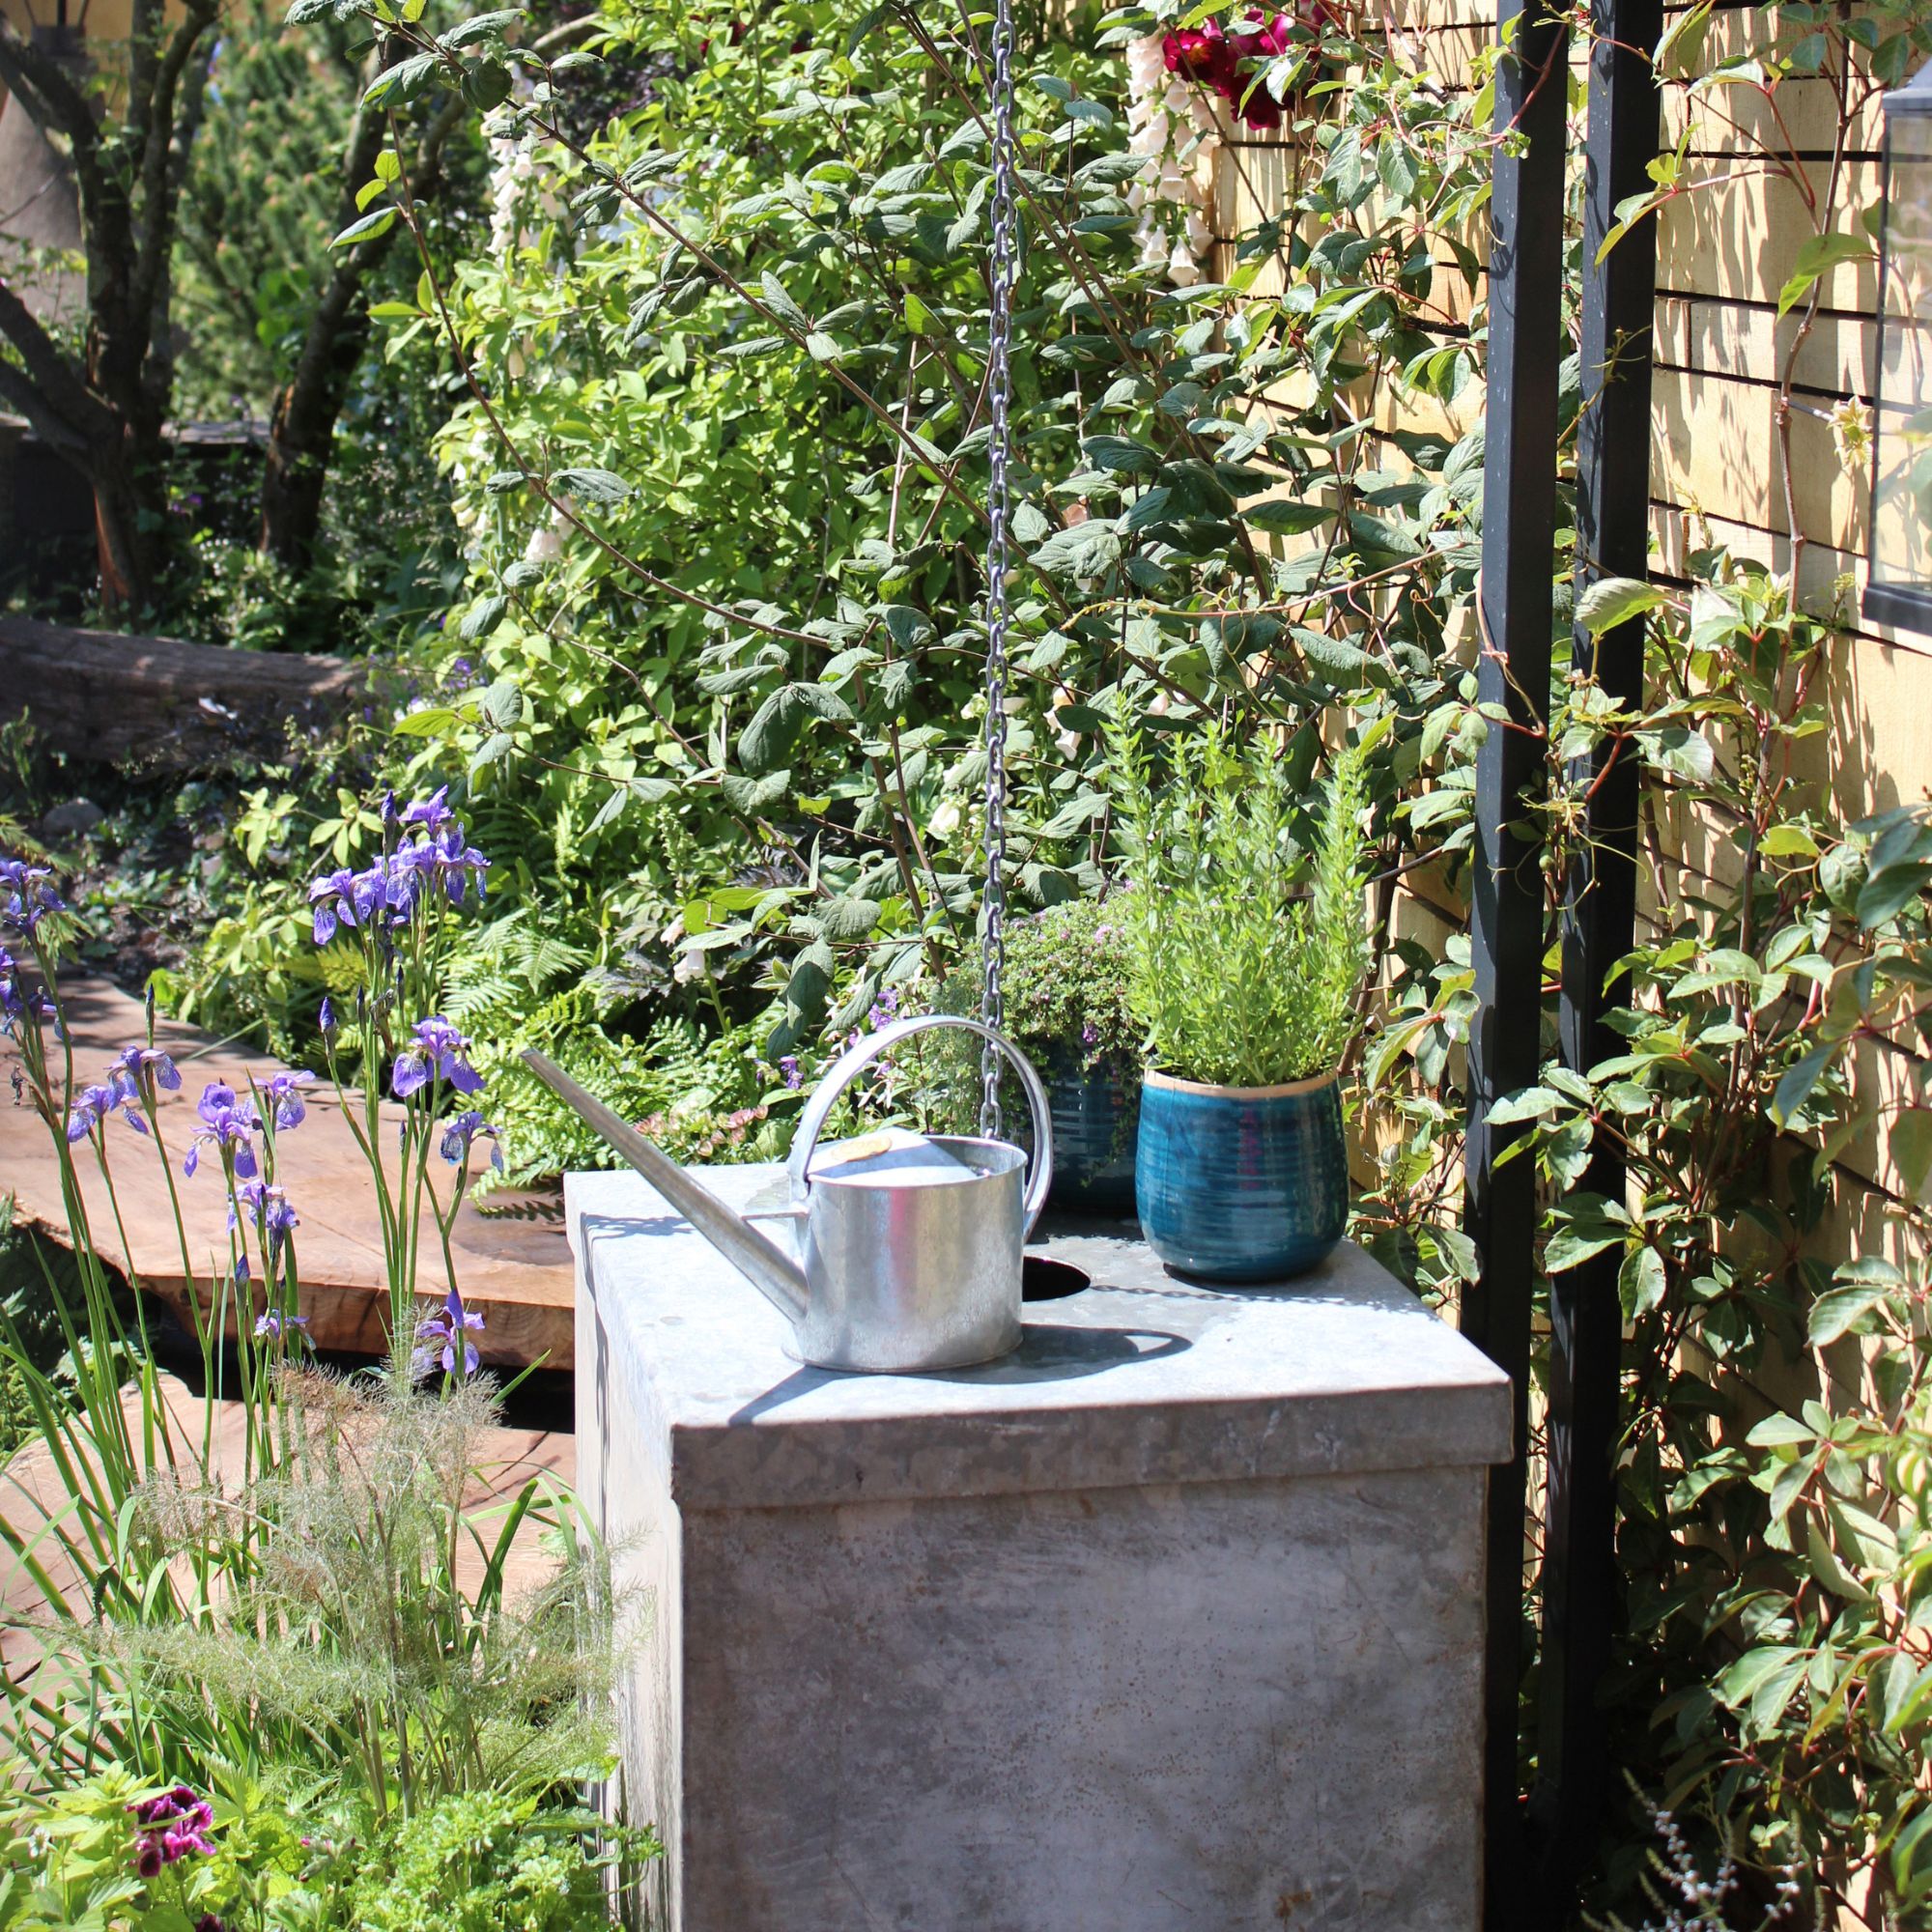
Once you’ve completed the above, you just need to wait for the rain to come along so you can harvest your water and use it to hydrate your garden. But it’s still a good idea to keep an eye on it as the weeks and months go by - especially if you wake up to a flooded garden.
The last thing you want is for your rain pot to overflow, so if you’re worried that your pot is too small, it might be worth installing an overflow tap and attaching another pot. In fact, you could build a whole collection of rain pots similar to how you’d make a container garden.
If you have a particularly large watering can, you may find that you struggle to harvest the water from your rain pot. In this instance, Morris advises, ‘If your water tap is too low to fit a water can underneath, simply stack some stepping stones or bricks up to create a little platform for your rain pot.’
It’s also worth checking the water quality in your rain pot, too. Sean says, ’Regularly check and clean the pot, especially around the inlet and outlet, to prevent blockages. Remove any algae and any accumulated debris, helping to maintain the water quality.’
He also advises to ‘Periodically check any connections, such as hoses or taps, to ensure they are secure and free of leaks. Replace worn-out washers and seals to maintain a watertight system.’
FAQs
Do you still need to water plants if it rains?
Ultimately, this all depends on the intensity of the rain and the plants you have in your garden. If you’ve only experienced a short bout of rain, it’s unlikely that it would water your plants effectively or as much as they need to be watered. In this instance, you’ll still need to water your plants.
If you’ve experienced extreme flooding and you can feel that the water is moist and wet, you shouldn’t need to water your plants after rain.
If you want to ensure you’re watering your plants as much as they need to be watered, it’s best to buy a soil moisture tester - like this flintronic Soil Moisture Meter from Amazon.
What is a rain planter?
A rain planter is slightly different from a rain pot, as rain planters are used to harvest water and grow plants simultaneously.
Rain planters are like raised rain gardens, where you use a collection of gravel, soil, and plants that like waterlogging to collect water and divert the runoff to a tap. Sometimes, they are attached to guttering, but they don’t have to be.
In most cases, these rain planters also come with a tap so that you can then use the stored water to water the rest of your garden.
So, will you be adding a rain pot to your garden?

Lauren Bradbury has been the Content Editor for the House Manual section since January 2025 but worked with the team as a freelancer for a year and a half before that. She graduated with a Bachelor’s degree in English and Creative Writing from the University of Chichester in 2016. Then, she dipped her toe into the world of content writing, primarily focusing on home content. After years of agency work, she decided to take the plunge and become a full-time freelancer for online publications, including Real Homes and Ideal Home, before taking on this permanent role. Now, she spends her days searching for the best decluttering and cleaning hacks and creating handy how-to guides for homeowners and renters alike, as well as testing vacuums as part of her role as the Ideal Home Certified Expert in Training on Vacuums, having spent over 110 hours testing different vacuum models to date!