How to move plants in a garden without killing them in the process - our experts share their top tips
Choo choo… All aboard the plant mover express!

If you’re wondering how to move plants in the garden, you’ve come to the right place. We’ve got the low-down on the best ways to move your plants without sending them to the plant graveyard in the process.
After all, we know that some people aren’t content with just twiddling their green thumbs. They want to switch up their garden ideas, they want to change the layout of their plants and garden border ideas, and sometimes they even want to rectify their mistakes (but shhh, don’t tell them we said that).
But while many people assume that plants are forever bound to the pot or flower bed they’re planted in, we’re here to tell you that isn’t the case. Yes, you’ll be happy to learn that it’s (relatively) easy to move plants in the garden without killing them in the process. From perennials to climbers, we’ve got you covered.
How to move plants in the garden
‘However well you plan, there will always be a plant that isn’t quite in the right place in your garden. Maybe it’s not doing well in the spot you planted it, or maybe you fancy a change in that area. Whatever the reason, you can move plants if you’re careful,’ says Neil Miller, head gardener at Hever Castle & Gardens.
But while moving them may be the only option for your garden, it’s important to note that exposing the roots to the air can be extremely stressful for a plant. Because of this, you need to move plants according to their type.
Not only that, but you also need to understand whether you should transplant when the soil is wet or dry.
How to move a perennial
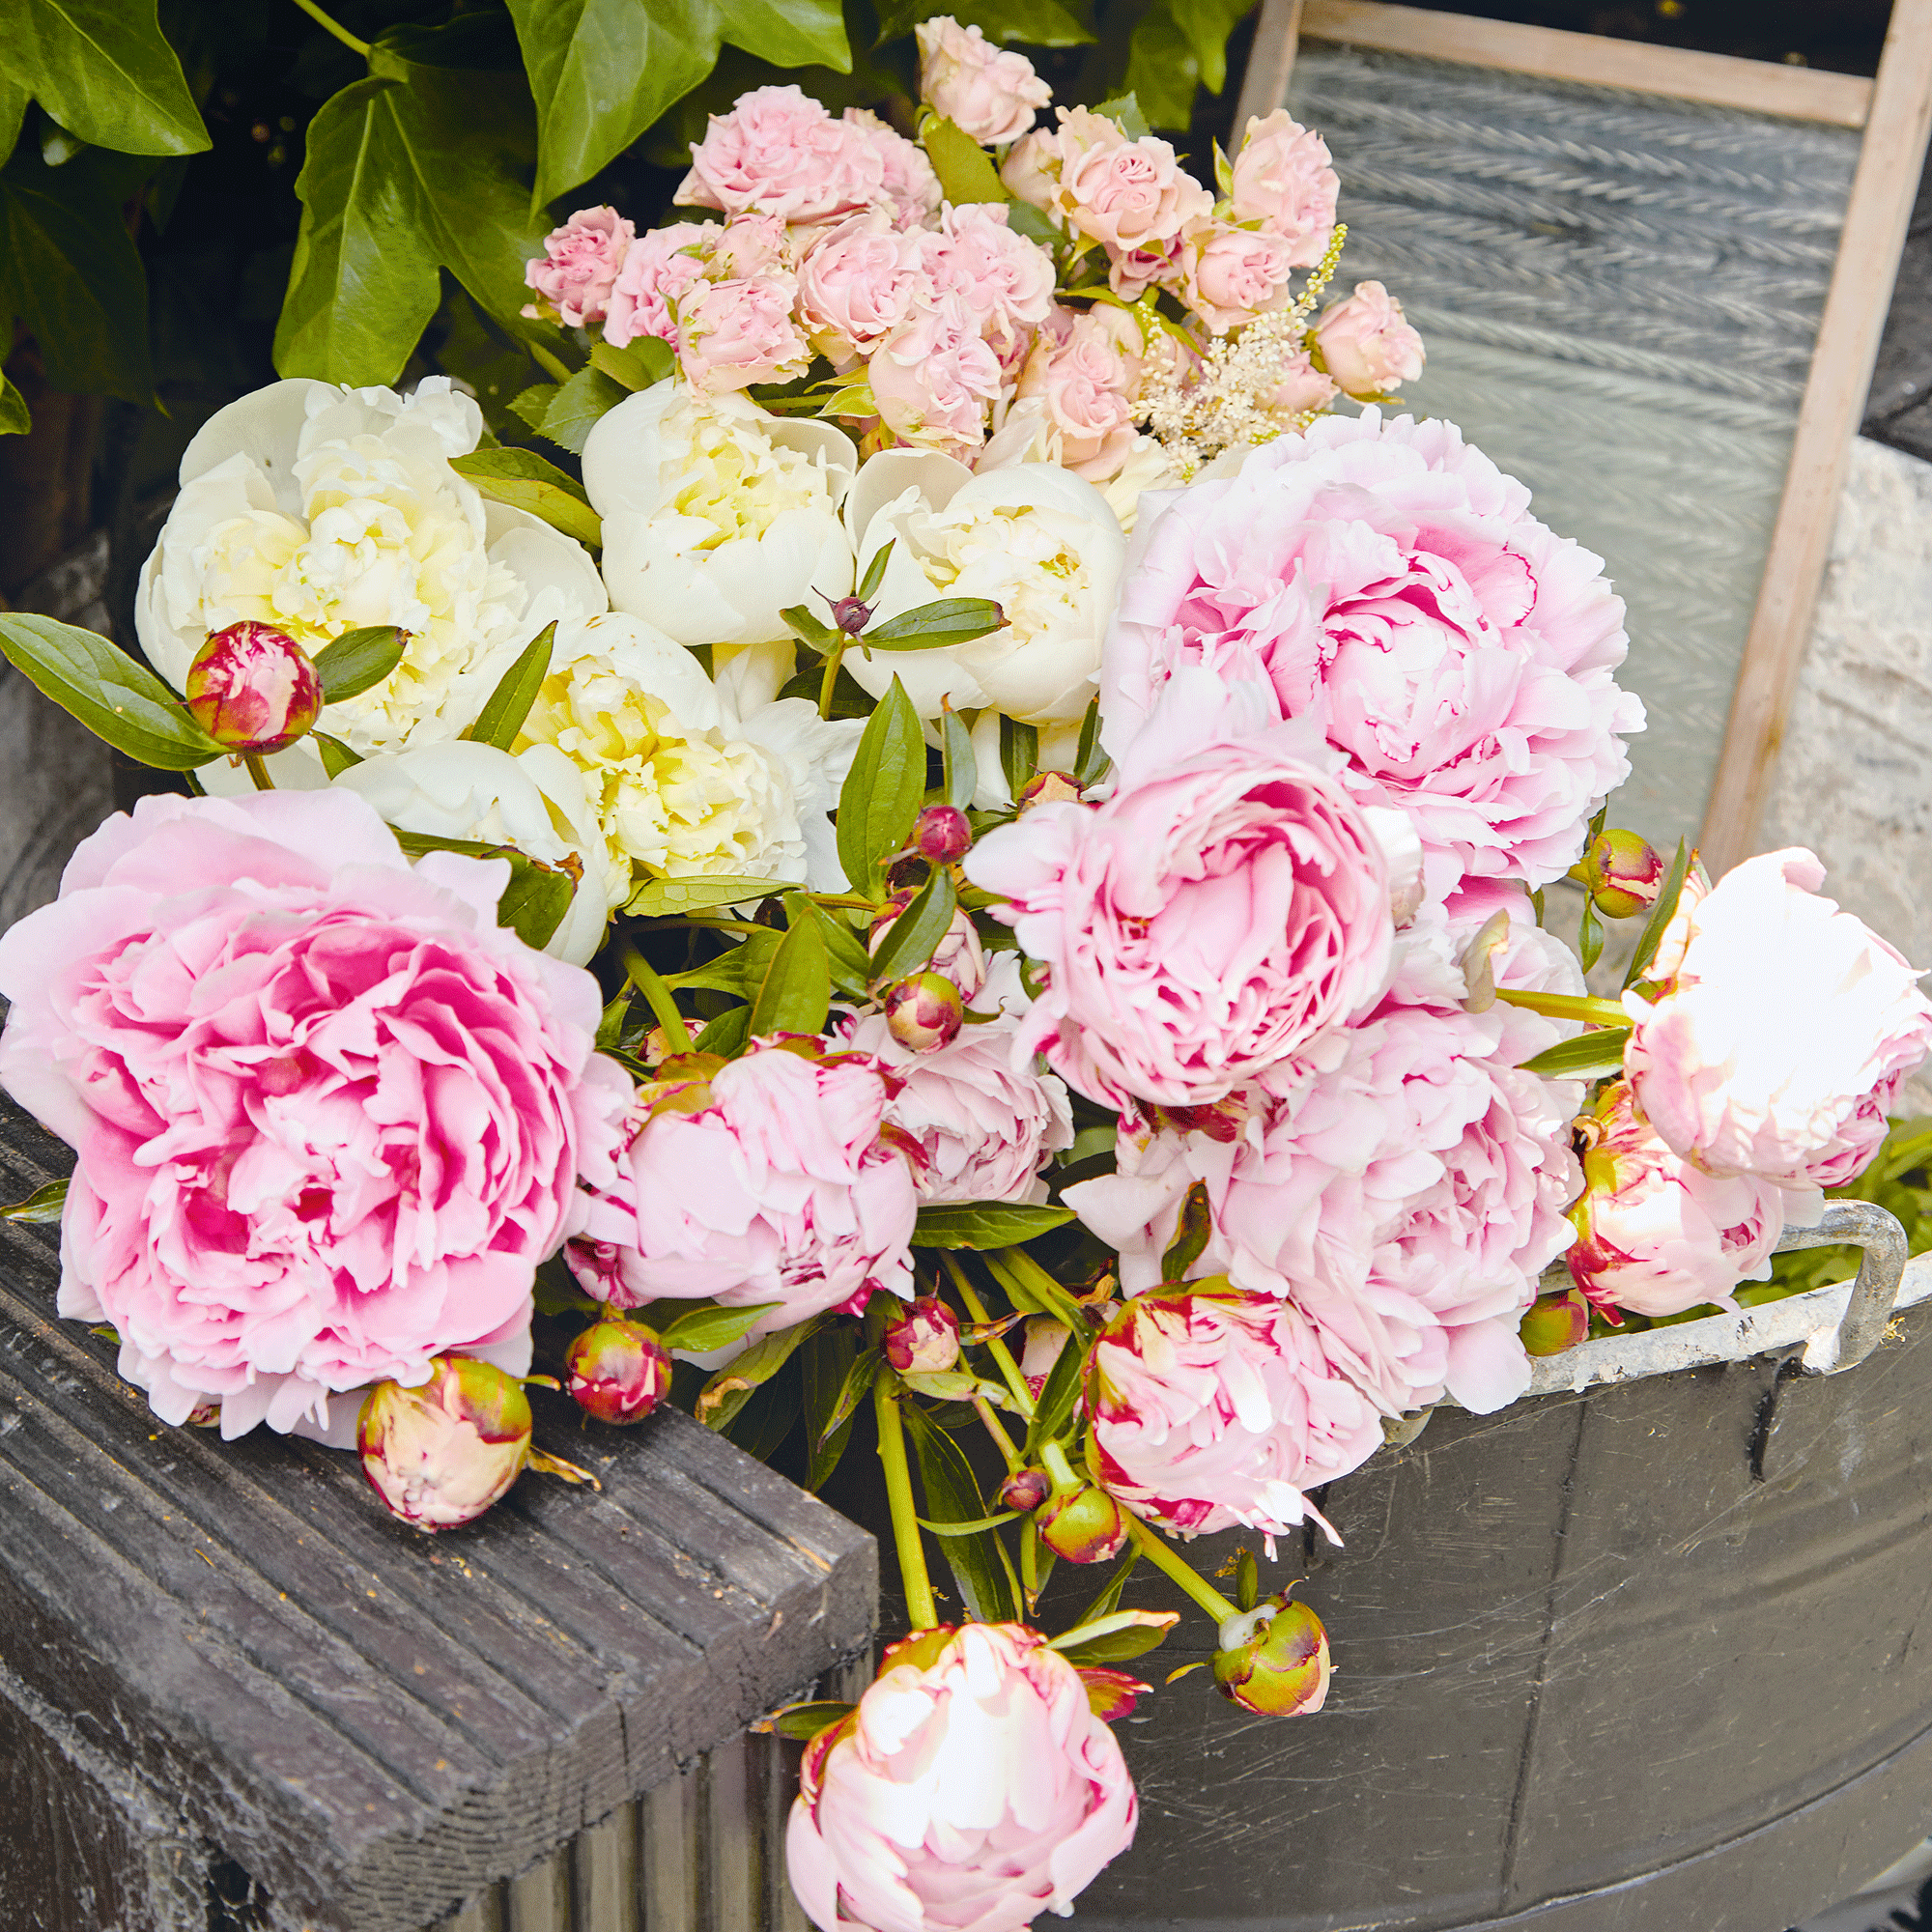
Unlike annuals, perennials can live up to 15 years, which makes them a perfect candidate for moving around the garden. And, sometimes, you may even find that you have no choice but to move your perennials. After all, peonies struggle when they are overcrowded, and geraniums love being in full sun. So, you need to cater to their needs.
What you will need
- Trowel or garden spade
- Warm, soapy water
- Organic mulch
When to transplant a perennial
When it comes to transplanting a perennial, you need to be careful. ‘Never move a perennial if it’s in flower - be patient and wait for a few weeks after it’s finished blooming before beginning the move,’ says Neil. It’s also a good idea to wait for a day that's not too hot when there’s rain on the horizon.
What to do
As the process of moving perennials involves cutting into the root ball and the stem of the plant, it’s important that you wash your tools before getting started. This will reduce the chances of bacterial transmission, which could ultimately kill your plant.
Then, you’ll want to prepare your perennial’s new home. Find somewhere that gives your plant space to grow, and research its required growing conditions to find somewhere that has just the right amount of sunlight/shade. When you’ve done this, take a rough measurement of the plant and dig a hole of a similar size in the new spot.
Next, dig down into the soil and dig out as much of the root ball as possible before placing it in the freshly dug hole. Be careful not to push down on the perennial, as this could crush its roots. Instead, loosely cover it with soil, organic mulch, and water generously. Continue watering every time you feel the soil is dry.
How to move trees and shrubs
It is possible to move trees and shrubs. However, whether you should do this depends entirely on the specific plant. For example, magnolias don’t like to be moved at all, roses prefer not to be moved, and hydrangeas may experience transplant shock if you move them at the wrong time. Despite this, ‘It is possible if you pick the right time and water well for a few days prior to moving,’ explains Neil.
What you will need
- Trowel or garden spade
- Tarpaulin
- Tape measure
- Organic mulch
When to transplant trees and shrubs
When you can transplant a tree or shrub will depend entirely on when that particular plant flowers. ‘If you’re moving a spring flowering tree or shrub, it’s best to do it in the autumn, and if you’re moving an autumn flowering shrub, then move it in early spring so it has time to re-establish itself,’ explains Neil. In both cases, it’s best to avoid the peak summer and winter months, as the weather conditions will be too extreme.
What to do
To transplant a tree or shrub, you first need to get a general idea of how big the root ball is and how big of a hole you need to dig. You can either do this by eye, or you could use a tape measure.
‘To dig up the plant, use a clean, sharp spade and dig around the plant’s drip line deep enough to extract the root ball without damaging any roots,’ says Charlotte McGrattan, HNS Buyer at Hillier Garden Centres. ‘It’s best to be cautious when doing this and dig further away than you think rather than closer. Hold the plant at the top with one hand and, using the other, slowly and gently pull the plant free from the soil, keeping as much soil as possible in place to protect the root ball.’
Once you’ve done this, place it on the tarpaulin and get started on digging the new hole in its new location as soon as possible.
Then, drag the tarpaulin over to the new location and slide it into the new hole. Finish by filling the hole with soil and then placing a layer of organic mulch on top of the newly placed tree or shrub. Water well for the next few weeks.
How to move climbers
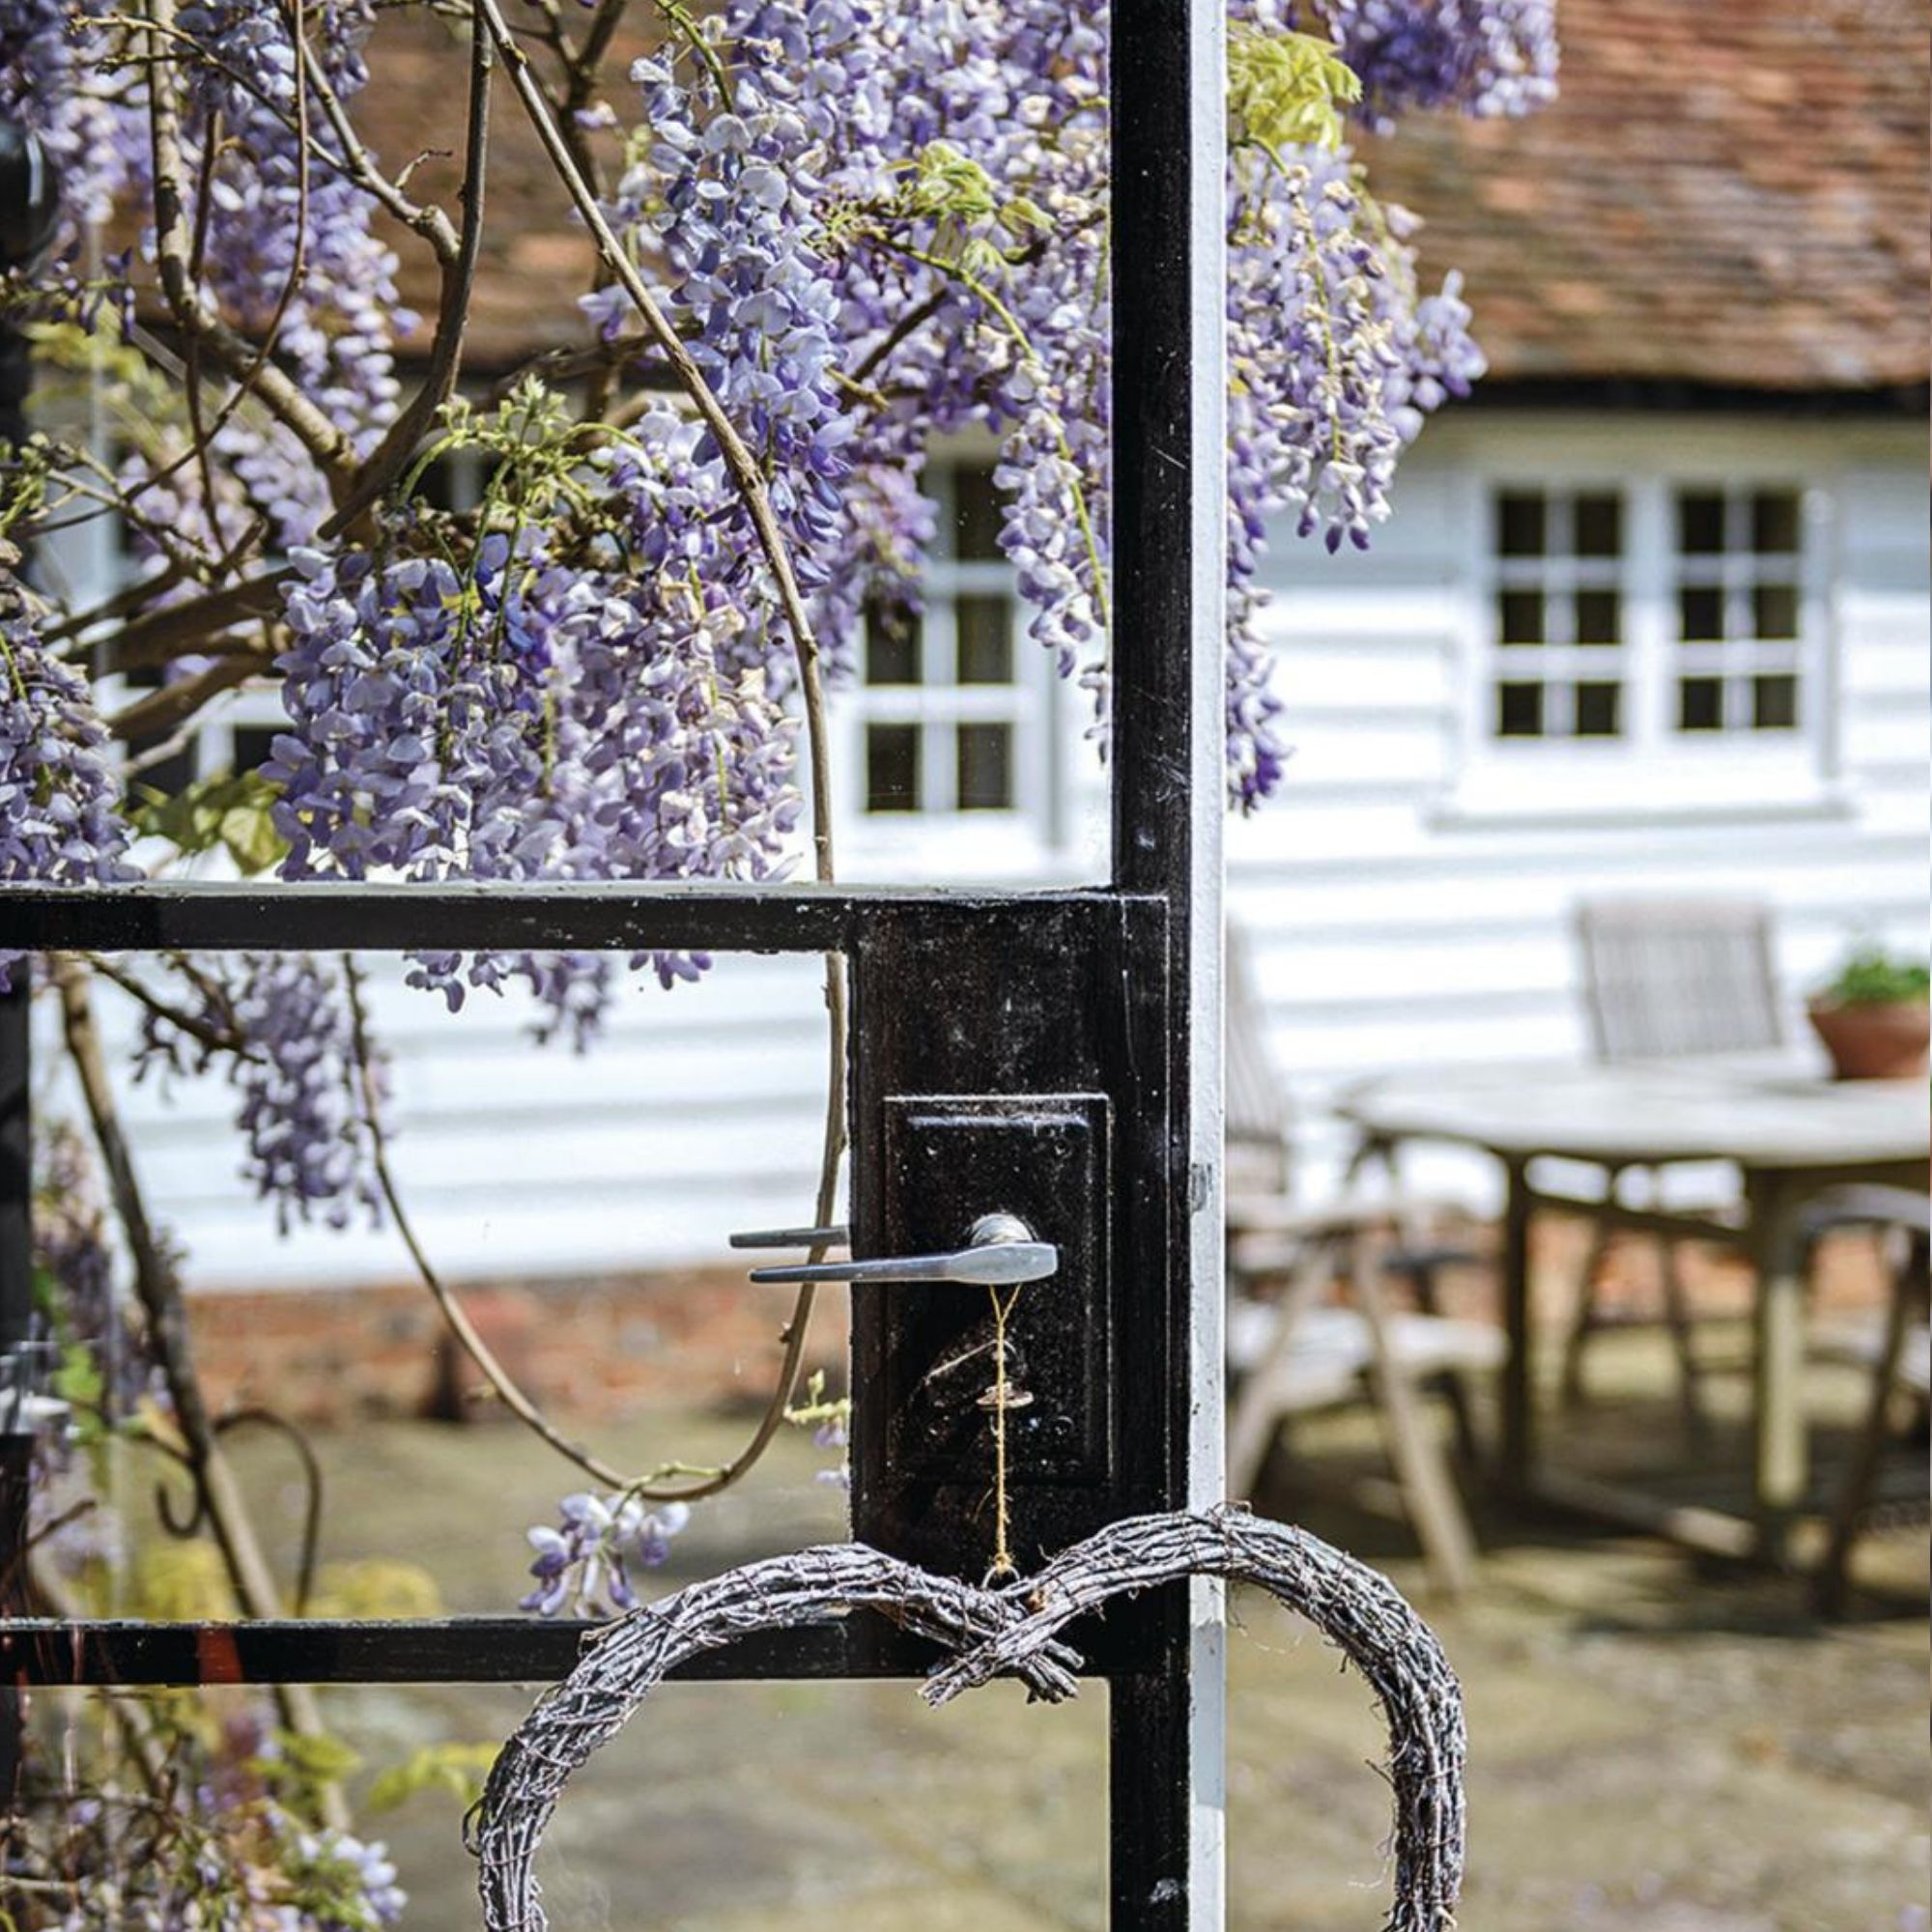
Climbing plants are a great addition to any garden, but they can quickly get out of hand. So, if you’ve decided that you’d rather your clematis or wisteria climb up your fence rather than the side of your house, you’ll be happy to know that it’s possible to move them - even when the vines are overgrown and tangled. Of course, the bigger they are, the trickier they will be.
What you will need
- Trowel or garden spade
- Garden shears
- Organic mulch
When to transplant climbers
Although it’s possible to transplant a climbing plant at any time of the year, it’s best to avoid the harsh summer and winter months as this could result in transplant shock. Instead, aim to transplant a climber in early spring, when the plant is just waking up from its dormant winter period.
What to do
Before you start transplanting your climber, you need to make sure that it’s primed and ready for its new position. To do this, consider a hard prune of your climber. And ideally, you’ll be left with a plant that’s just a few feet tall.
‘Pruning any unruly parts of the plant not only promotes plant health but also makes it lighter to move,’ explains Charlotte.
When you’ve done this, it’s time to dig a new hole. You should always do this before digging up the plant, as you want to limit how much time it spends outside of the ground. Plus, you should also make sure that the hole is big enough to cater for the climber. According to Charlotte, ‘It’s crucial that the plant sits at the same height as before.’
Then, dig all the way around the drip line of the climbing plant and lift the root ball out of the ground, being careful not to rip too many roots in the process. When the root ball is free, simply re-plant it in the hole, backfill it with soil, and then cover it with some extra mulch. Then, water occasionally to keep the soil moist.
FAQs
How do you move plants without killing them?
The best way to transplant your plants without killing them is to act quickly. This process is extremely stressful for the plant, and the longer you expose the roots to the air, the higher the failure rate.
So, it’s always a good idea to prep the new location and dig the new hole before you dig up the old plant. When you’ve done this, you should be able to move it over fairly quickly, and get it back in a safe place.
How do you move an established plant?
It’s much easier to move a younger plant, but that doesn’t mean that it’s impossible to move an established plant. However, you have to make sure that you choose the right time. For example, you should never move a flowering plant while it’s still in bloom.
To move an established plant, you want to prepare the new hole, before digging around the plant and using a shovel to pull it up. You should aim to keep all of the root ball intact, before placing it into the new hole.
For a higher success rate, keep as much of the original soil around the root ball, while adding in some organic mulch to the top for extra nutrients.
Get the Ideal Home Newsletter
Sign up to our newsletter for style and decor inspiration, house makeovers, project advice and more.

Lauren Bradbury has been the Content Editor for the House Manual section since January 2025 but worked with the team as a freelancer for a year and a half before that. She graduated with a Bachelor’s degree in English and Creative Writing from the University of Chichester in 2016. Then, she dipped her toe into the world of content writing, primarily focusing on home content. After years of agency work, she decided to take the plunge and become a full-time freelancer for online publications, including Real Homes and Ideal Home, before taking on this permanent role. Now, she spends her days searching for the best decluttering and cleaning hacks and creating handy how-to guides for homeowners and renters alike, as well as testing vacuums as part of her role as the Ideal Home Certified Expert in Training on Vacuums, having spent over 110 hours testing different vacuum models to date!
-
 Wood drenching is the calming new twist on the colour drenching trend – here’s how to make the look work in your home
It’s easier than ever to embrace natural materials
By Maddie Balcombe
-
 Aldi is launching a £200 day bed with four different features - its sleek design is suited to the whole family
You don't want to miss out on this Specialbuy
By Kezia Reynolds
-
 How to set up a drip watering system that saves water and a lot of effort
Keep your plants hydrated (and your water bill down) with this clever garden watering solution
By Natalie Osborn