

Learning how to propagate a fern is a fun way to make more of this favourite houseplant. These methods should work for the vast majority of fern plants including Boston ferns, button ferns and bird's nest ferns.
Propagating is one of our favourite houseplant ideas. Not only does it help you increase your houseplant collection for free, but it's always so exciting to see the small plants growing their first roots and then becoming established in their own right.
1. Splitting the rhizome
The easiest way to propagate a fern is by dividing the rhizome. This is the same method as when propagating spider plants or propagating anthurium and is surprisingly easy and the most successful method. However, it is important to only try propagating this way in spring or summer and ideally when the fern already needs repotting.

To propagate a fern by division, start by removing the plant from the pot and inspecting the rootball. ‘Look for natural divisions in the root ball – this will be obvious assuming the plant is mature enough, then using your hands, slowly tear the rhizomes into smaller sections. If you find this difficult try using scissors, but I find it’s less stressful for the plant if you just use your hands,' says Richard Cale, founder of Leaf Culture.
The split plants should then each have a healthy root system and a few fronds. These can then be repotted into smaller pots. ‘Give the new plants a good water and place them away from direct sunlight. If they begin to look a little sorry for themselves, pop a clear bag over the pots so you can help them retain moisture and humidity while they recover and establish themselves,’ adds Richard.
2. Collecting spores
In the wild, ferns propagate via spores – which are then dispersed through the wind. You can mimic this at home.
Start by looking at the underside of the leaves. If you see stripes or small brown or orange dots, then you've got spores.
Examples of fern spores


To propagate your button fern through spores carefully remove the stem in question and place it in a plastic bag. Wait until the spores have fallen to the bottom of the bag. ‘Fill a pot with potting mix and then pour the spores onto the surface. Place the pots in a warm, humid and moist environment – covering the pot with cling film can help,’ advises Andy Little, Houseplant Buyer at British Garden Centres.
Patience is required as germination can take several weeks. ‘Once the seedlings have developed a few fronds, you can repot them,’ adds Andy.

3. With a stem cutting
Ferns can also be propagated in water. This is an easy method but will take some time for the roots to develop.

Cut a healthy stem from your fern, using clean sterilised scissors or secateurs so as not to introduce infection. Cut just below a leaf node. Then fill a clean glass or cup – or propagation station – with water and add your fern cutting. Replace the water once a week – thoroughly clean out the vessel when you do so.
Just as when propagating monstera, patience is then required as it can take several weeks for the roots to grow. Once they are around 8cm long, you can then pot into free-draining compost. Of course, you also need to know how to care for your fern once it's in the pot – our guide to caring for a button fern will give you a good basis.
The success of propagating this way is lower than splitting the rhizome and it will take more time – however, it can be fun to try.
What you'll need

A propagation stand like this one is a nice way to make your ferns into a feature as you wait for the roots to grow on cuttings.

These compost bricks are brilliant if you don't have much outdoor or indoor space to store potting mix, you just need to rehydrate the coir before use.

These little pots are the perfect size for planting up seedling ferns and have plenty of drainage holes and a little dish so you don't need to invest in additional decorative pots.
FAQs
What are the dots on the underside of fern leaves?
The dots on the underside of fern leaves are likely to be the spores. This is how the ferns reproduce in the wild. You can use the spores to propagate a fern but if you don't want to then the spores are harmless to the plant – in fact, they are a sign that your fern is doing well.
When to divide ferns in the UK?
It is best to divide ferns in the UK in spring – when all threat of frosts have passed. The plant will then be in the growing stage meaning that they will be able to quickly bounce back and continue growing as independent plants.
Start propagating now and you should be ready to gift friends (or yourself) some lovely new fern plants in time for Christmas.
-
 George Home's designer look £40 garden lounge chair sold out twice last year - it's back in stock, but not for long
Don't miss it this time around
-
 3 colours to avoid when painting window frames – experts say they might draw the eye, but not in a good way
These are the colours to avoid if you want to transform your window frames from drab to dazzling
-
 What do you do with stuff in your loft if you want to convert it? I’ve got 5 expert-approved solutions for you to try
If you use your loft for storage, what on earth do you do with all the stuff if you want to turn it into living space?

-
George Home's designer look £40 garden lounge chair sold out twice last year - it's back in stock, but not for long
Don't miss it this time around
-
 Do you have grey garden furniture? Experts advise against pairing it with this one colour of outdoor cushions
This is why you shouldn’t pair grey outdoor cushions with grey garden furniture – and what shades to go for instead
-
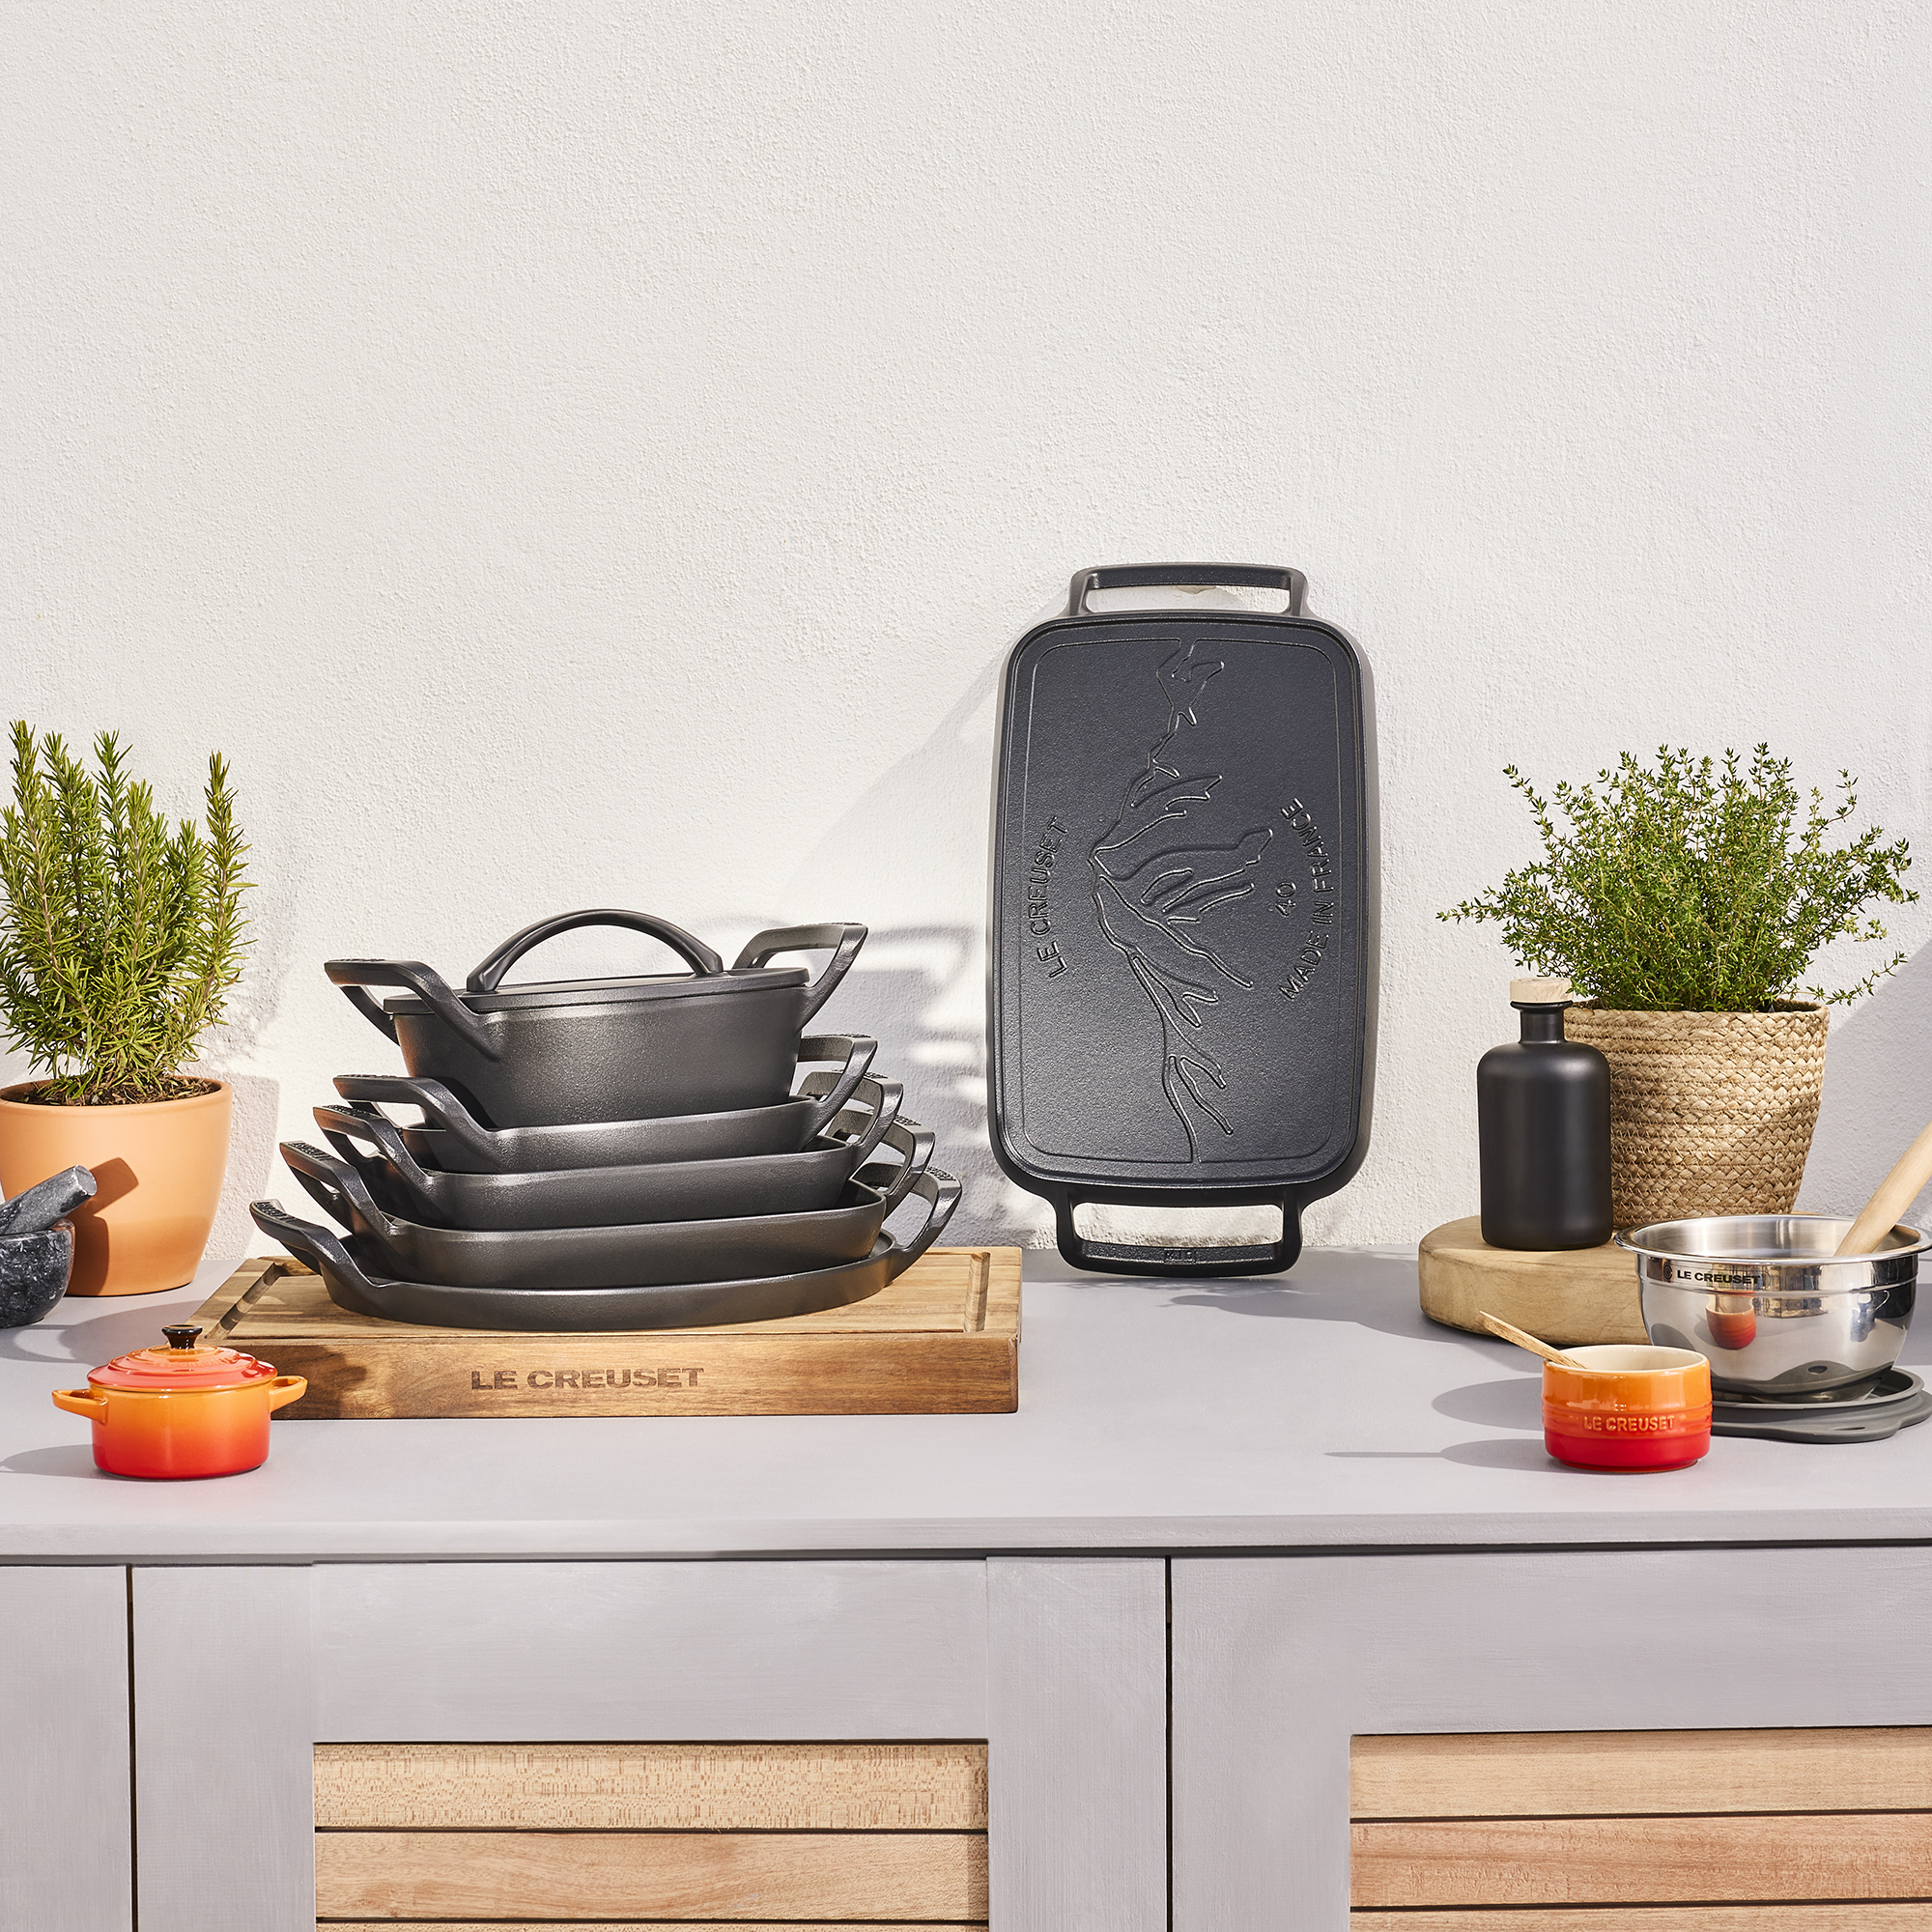 Le Creuset just added some seriously clever BBQ cookware to its cast iron range – I'm already eyeing up the pizza pan
I'm already eyeing up the pizza pan
-
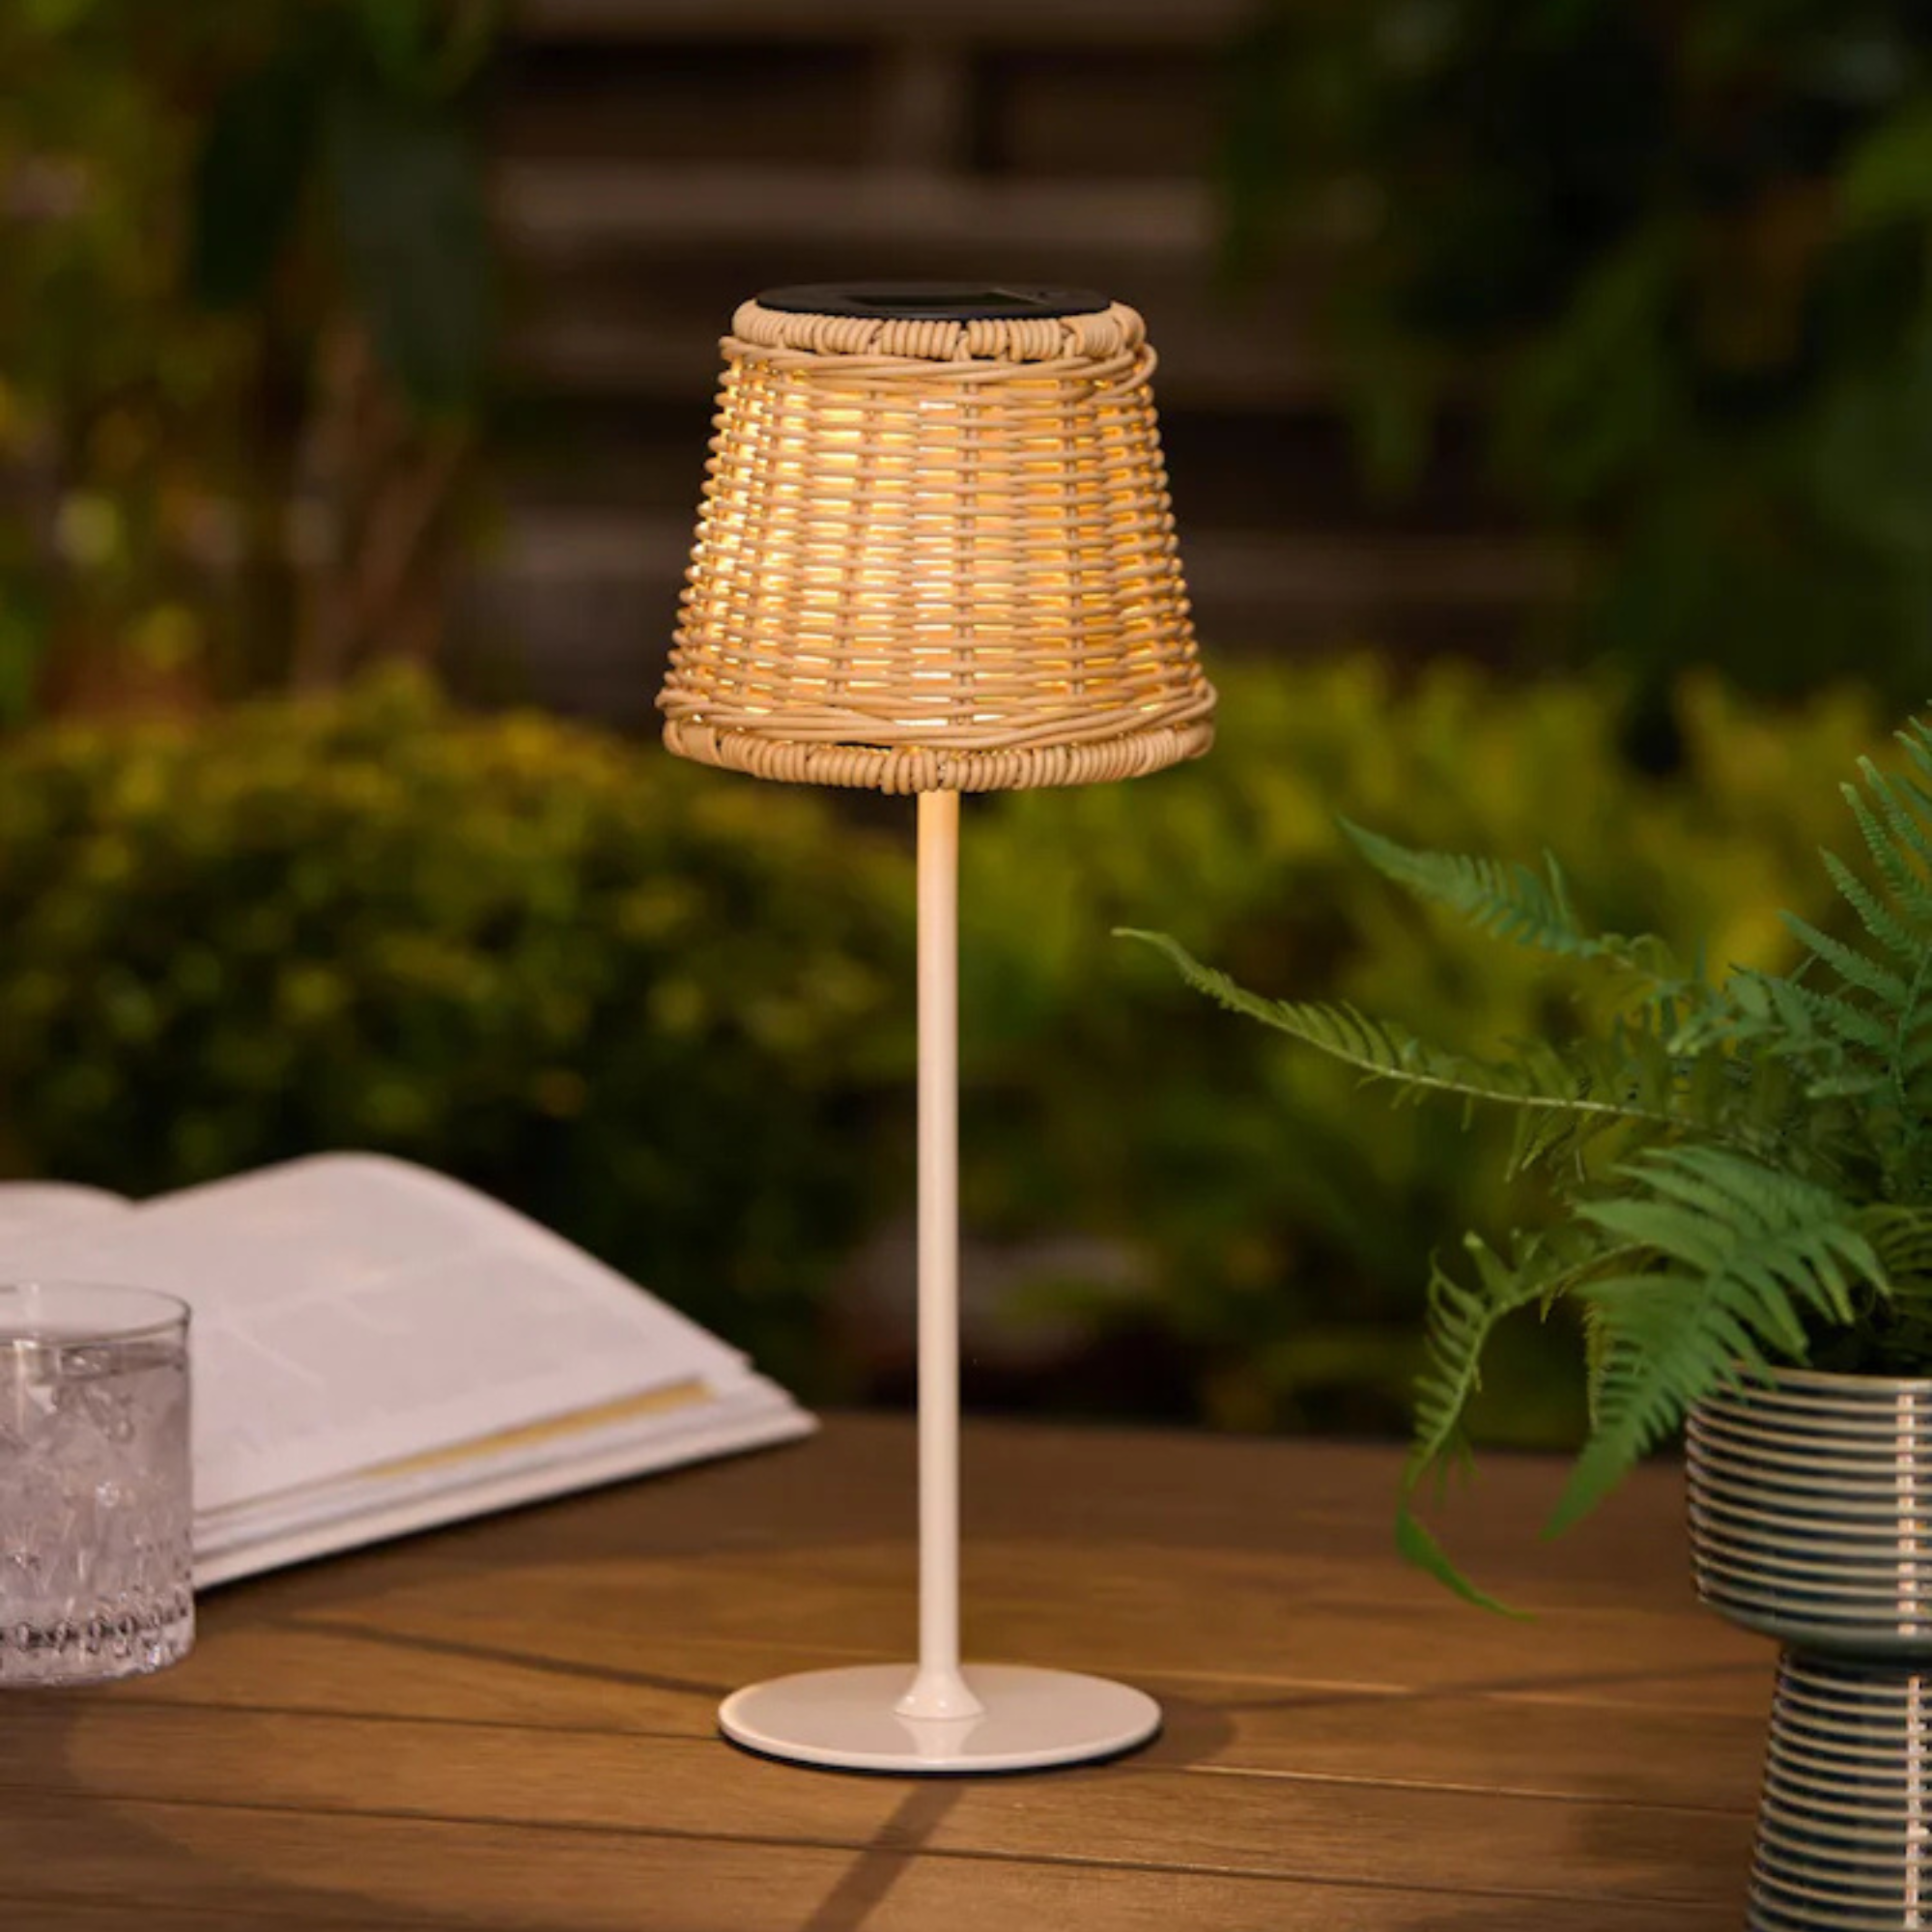
 Habitat's solar ball light nails this year’s breakout outdoor lighting trend - this is how to style it at home
This stunning lamp is easy to style
-
 B&Q’s new wireless lamp is the perfect lookalike for Pooky’s popular Scoon lamp – and it’s only £15!
If you like Pooky’s Scoon wireless lamp, you’ll love B&Q’s new lookalike selling for a fifth of the original price
-
 Tom Kerridge says this BBQ staple is ‘a really good little investment’ – and I’ve tracked one down for less than £2
This bargain buy will make all the difference to your barbecuing skills
-
 Next just launched the best-looking outdoor table lamp of the summer - the iconic Pooky scoon lamp has competition
I couldn't believe the table lamp was only £25!
-
 Is Debenhams the new Lidl? I just spotted 3 egg chairs in the sale that are the same price (and cheaper) than Lidl's new hanging chair
I couldn't believe the prices of these stylish chairs...


