How to prune hedges - a simple step-by-step process to cut them back safely and efficiently
Pruning hedges isn’t as daunting as it seems
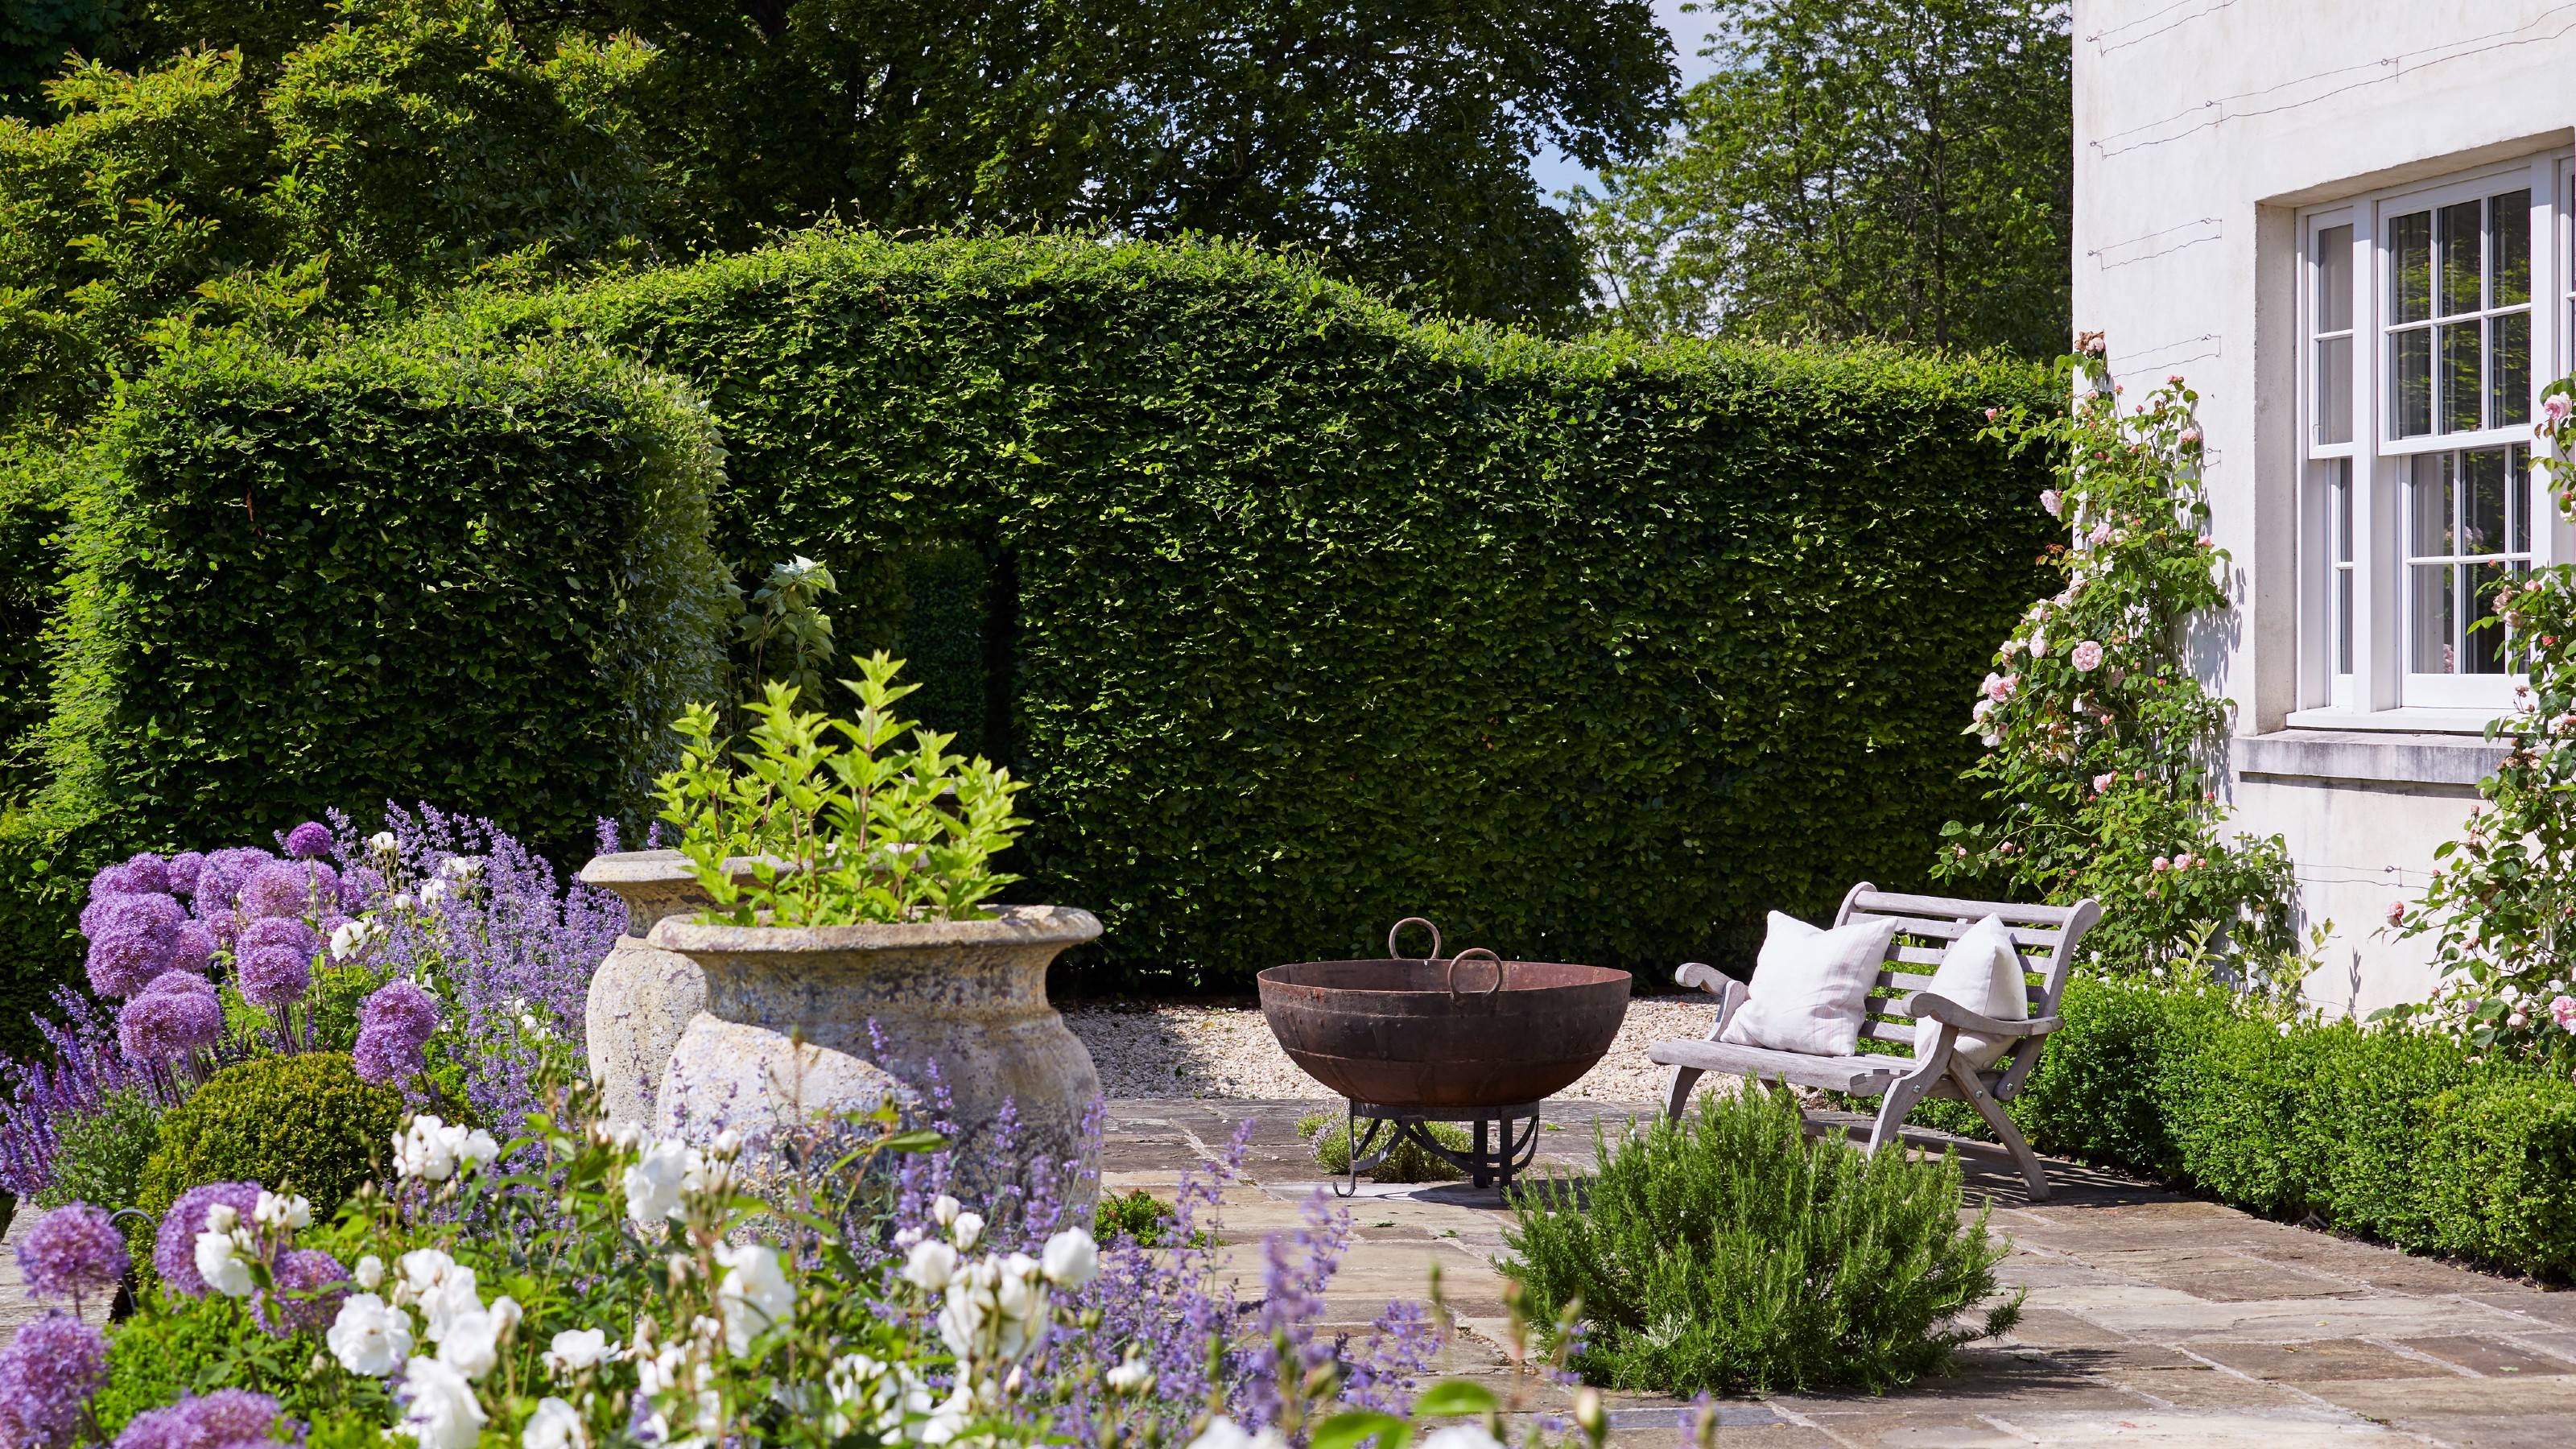

Want to know how to prune hedges? Don’t worry, it’s not as hard as it seems. And while this garden task is something that you can do without a professional, you still need to make sure that you’re doing it properly.
Yes, whether you’ve decked out your garden with the best hedging plants or you specifically want to know how to trim a box hedge, pruning your hedges can improve both the aesthetics and the health of your hedges. But we understand that the process can be daunting, which is why many people put it off for as long as possible.
This task isn’t as bad as it seems, though. As Owen Simpson, Managing Director at Henchman, says, ‘Generally, hedges are very low maintenance and only require light trimming two or three times a year, depending on the variety.’ And if you know exactly how to prune hedges, it’ll be easy-peasy.
What you'll need
- Eye goggles - like these HQRP UV Protective Safety Goggles from Amazon.
- Heavy-duty gloves - like these Thornproof & Cut-Resistant Suede Leather Gardening Gloves from B&Q.
- Ladder - like this Henchman 3 Leg Adjustable Platform Tripod Ladder from Amazon.
- Tarpaulin - like this Streetwize Heavy Duty Waterproof Tarpaulin from Argos.
- Shears - like these Spear & Jackson Razorsharp Hand Shears from Argos.
- Hedge trimmer - like this Bosch Power Cordless 450mm Hedge Trimmer from B&Q.
- Lopper - like this Spear & Jackson Razorsharp Active Bypass Lopper from Amazon.
- Rake - like this Leaf Rake from B&Q.
Step-by-step
1. Choose the right time
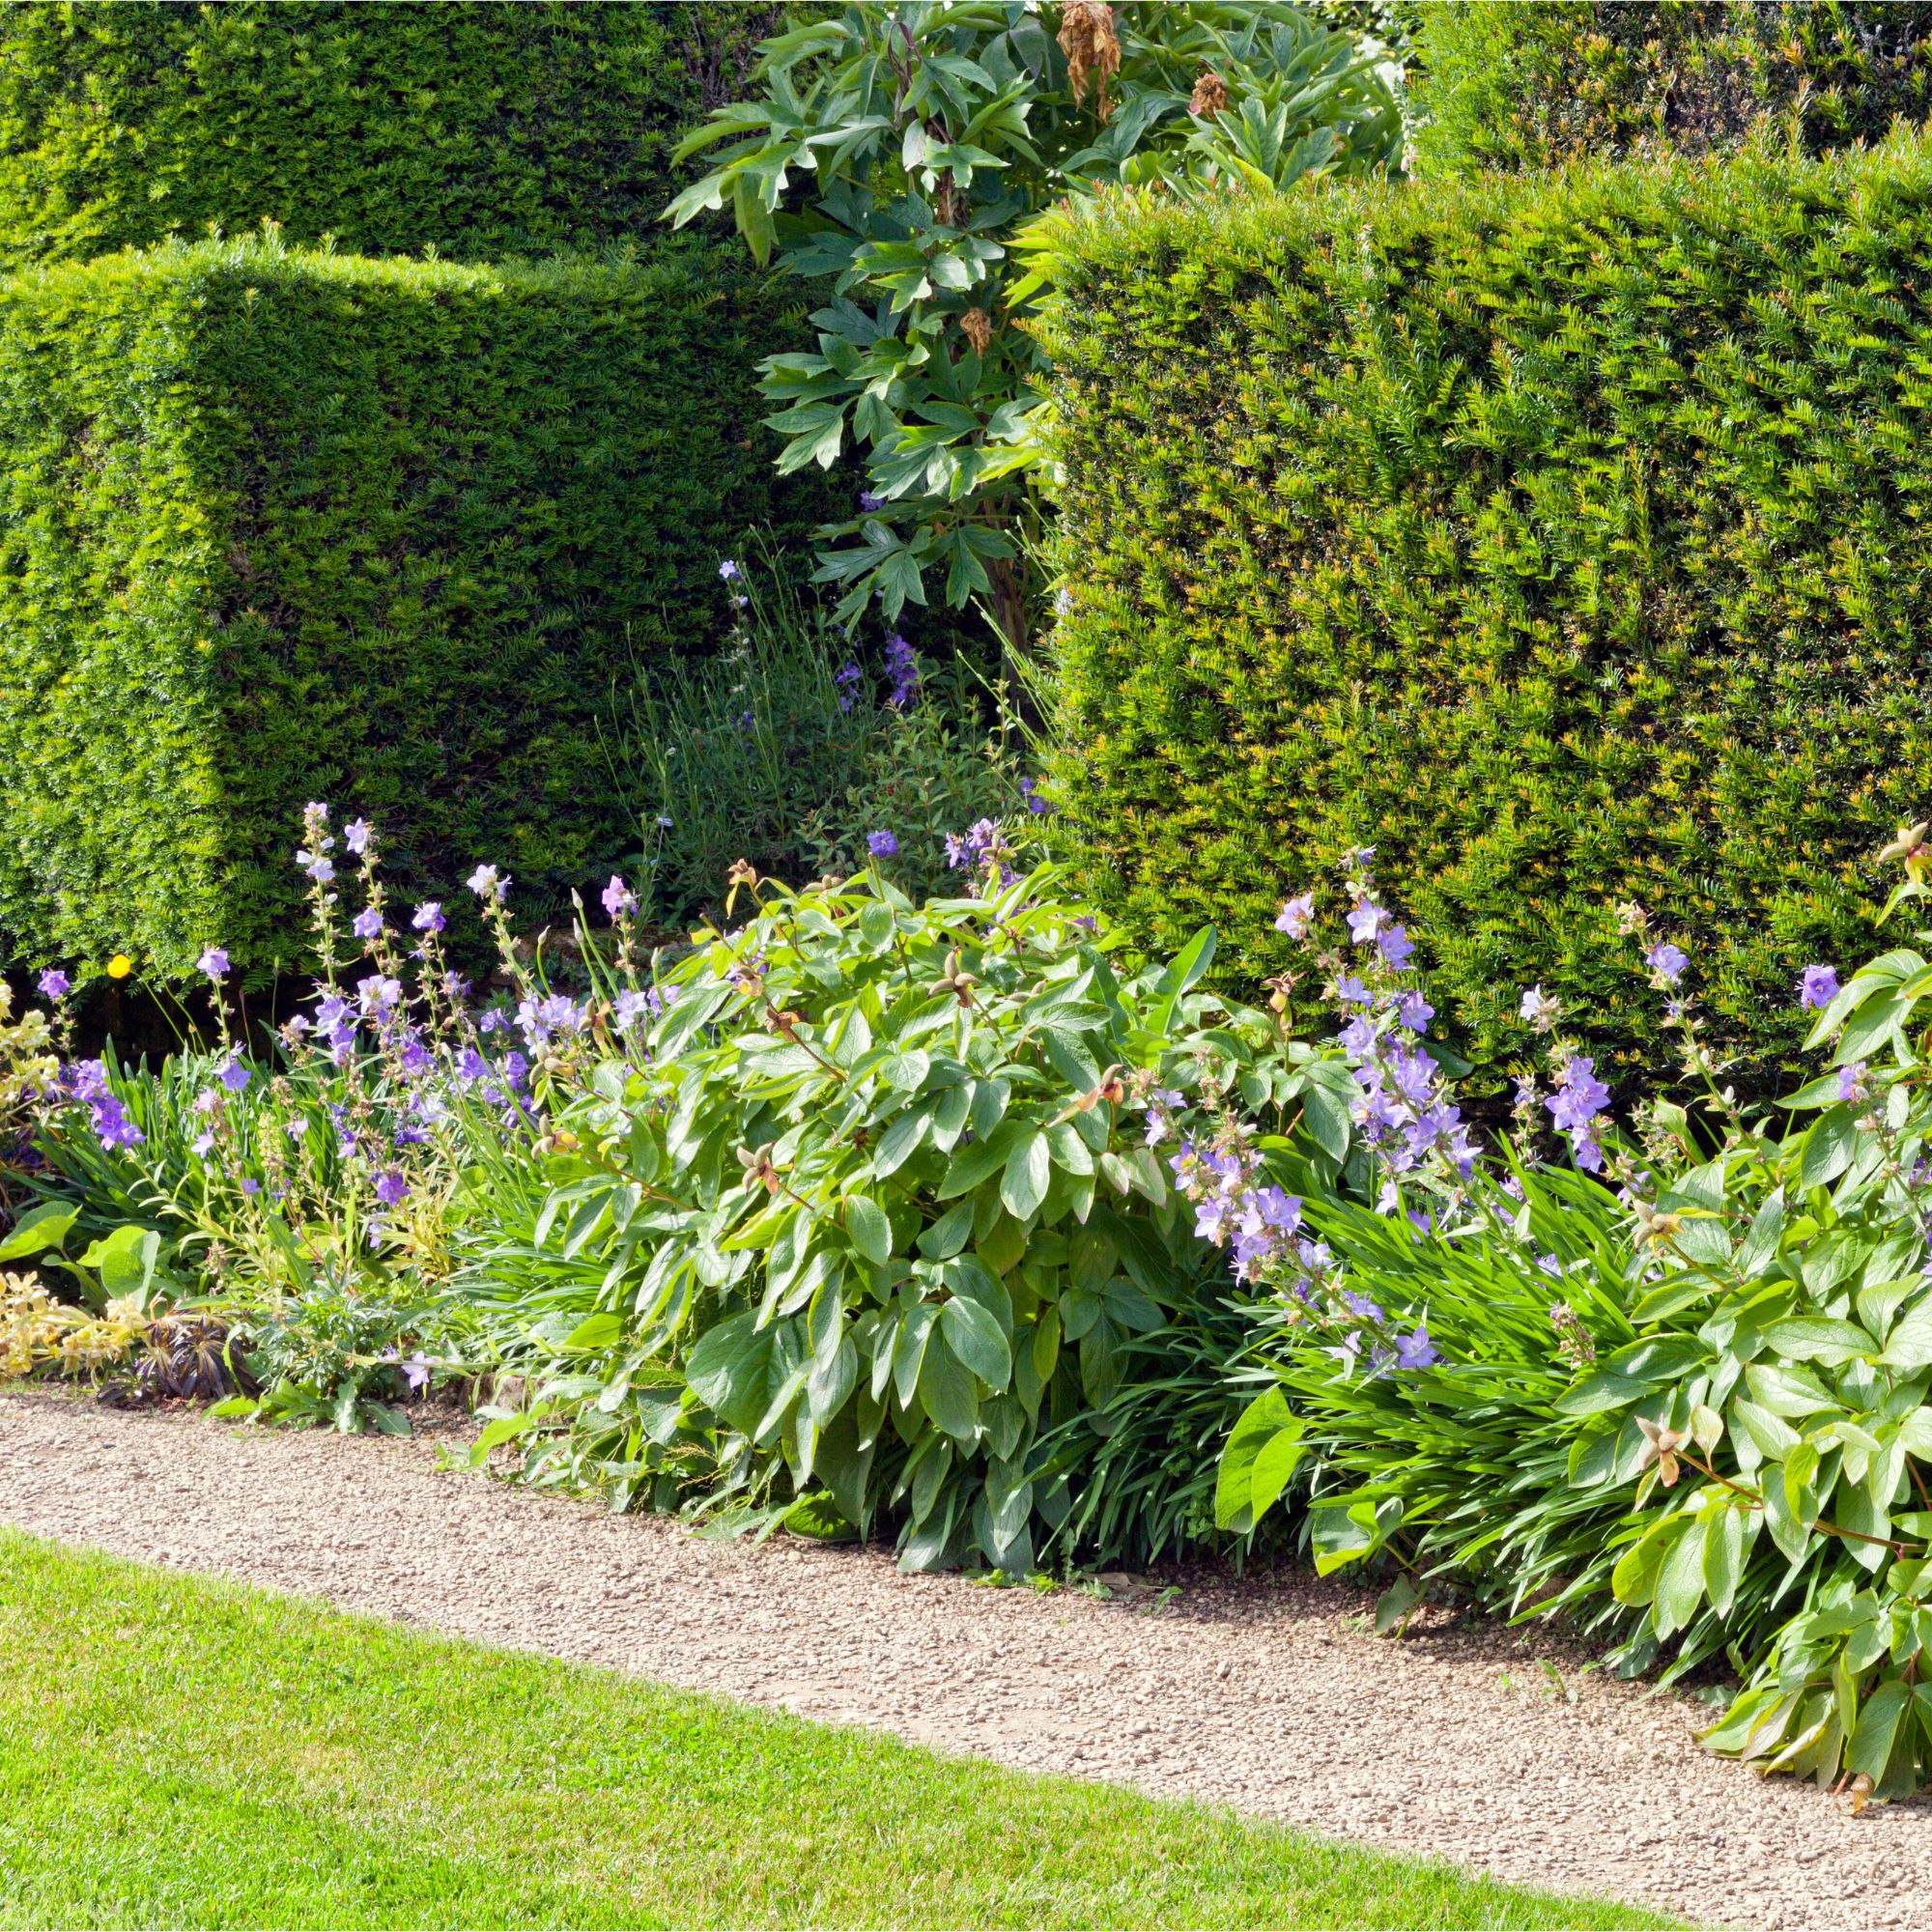
When you spot something amiss in your garden - like an overgrown hedge that needs some attention - you may feel inclined to whip out your ladder and start pruning as soon as possible. But you need to be careful when pruning hedges, as pruning at the wrong time can actually leave you with a hefty fine.
Legally, you should never prune hedges during bird nesting season, which is typically March to September. Instead, you should either prune hedges in spring or wait until autumn to complete this garden task. Which time you choose does depend on the type of hedge that you have, though.
Owen explains, ‘There are a whole host of hedges out there, from floral varieties such as forsythia, viburnum and jasmine, to evergreens such as English yew, privet, beech and box. The type of hedge at hand will decide when it needs to be trimmed. For example, flowering shrubs should be cut back after they bloom, but yew and privet prefer to be pruned in autumn after active growth has ended.’
Because of this, you should always know what type of hedge you’re working with before you start pruning - and make sure you complete this task on a mild, overcast day to reduce shock and stress.
Sign up to our newsletter for style inspiration, real homes, project and garden advice and shopping know-how
2. Prepare the area and yourself
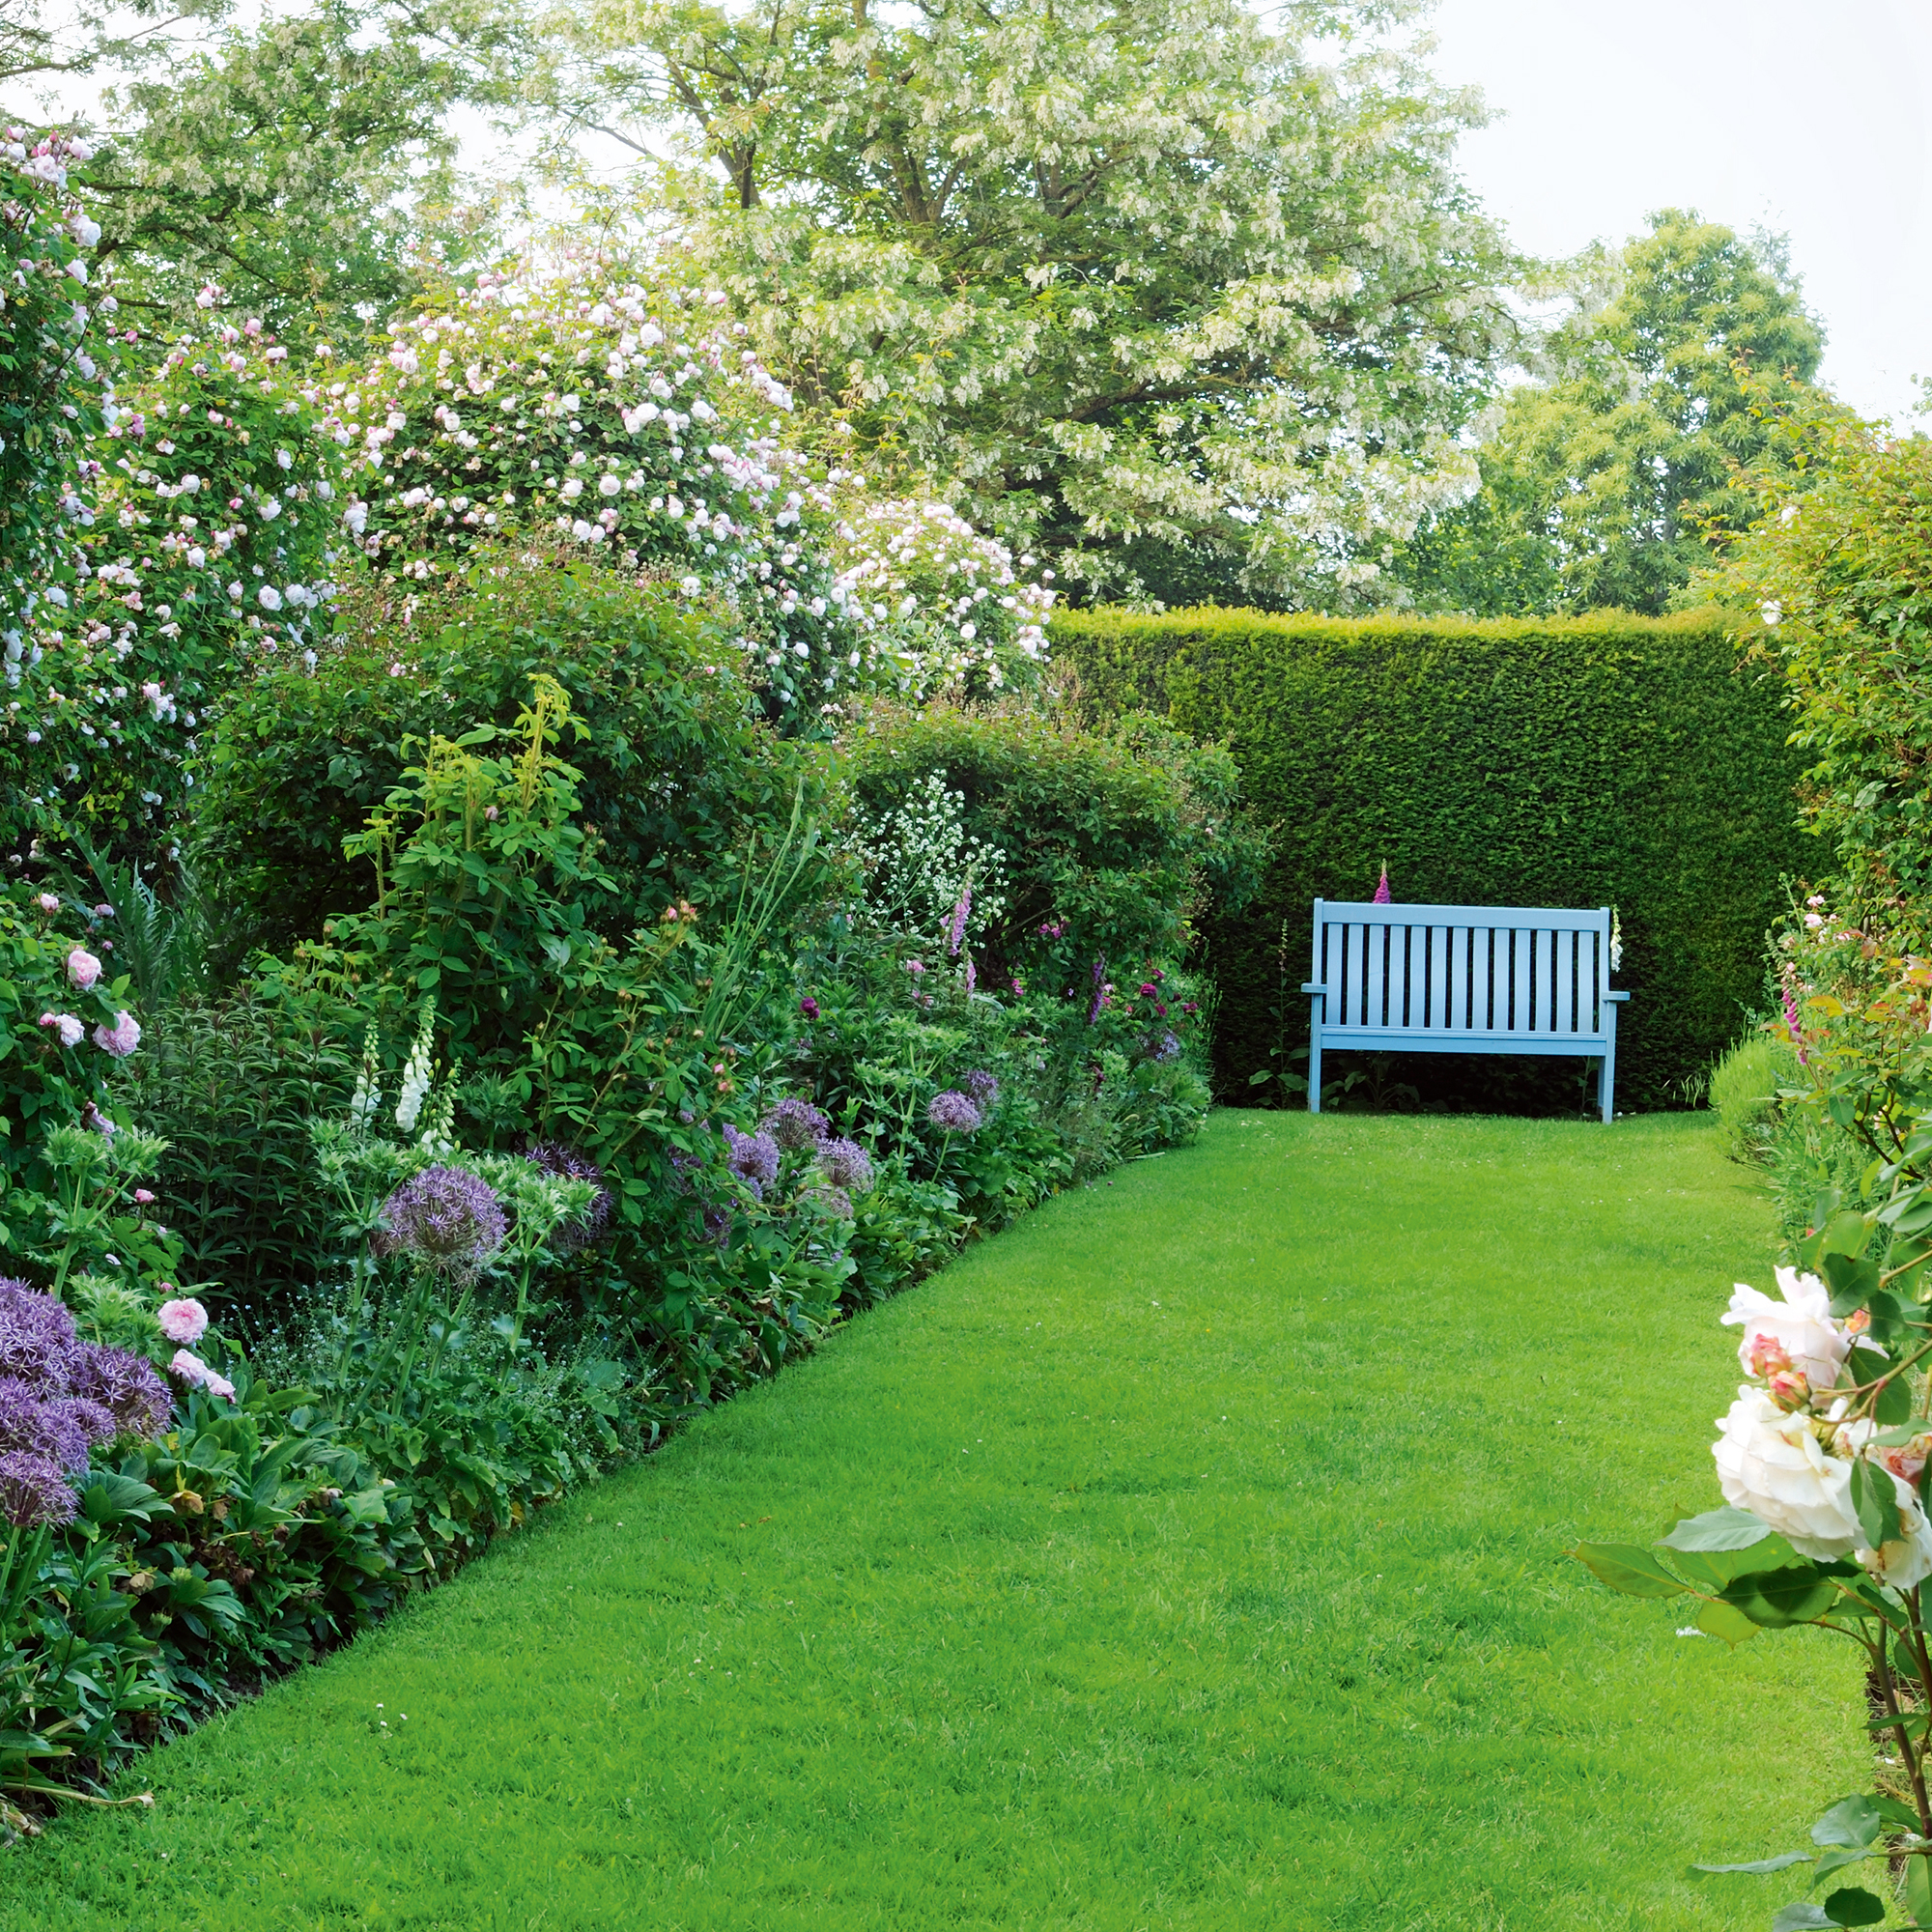
Pruning hedges can be a dangerous job, so always prepare yourself and the area before getting started. Wear heavy-duty gardening gloves and wear safety goggles to protect your eyes, and it's also a good idea to wear a long-sleeved shirt and trousers, so you don’t get scratched.
Then, you can prepare the area by putting down a tarp to collect the trimmings as they fall. If you have border plants underneath your hedge, though, you might want to check out this hedge-trimming hack that protects your plants to keep them safe.
While you’re still in the prep stages, use this time to ensure that your ladder is secure and you have the right tools at your disposal. Depending on the hedge you’re trimming, you may need to use hand shears (normally suitable for smaller hedges) or an electric hedge trimmer (for larger, more established hedges).
It may also be handy to have some loppers on hand for lower growth and fine-pruning when you’re finished. Just make sure that they’re all sharp and clean before starting.
3. Start trimming from the bottom
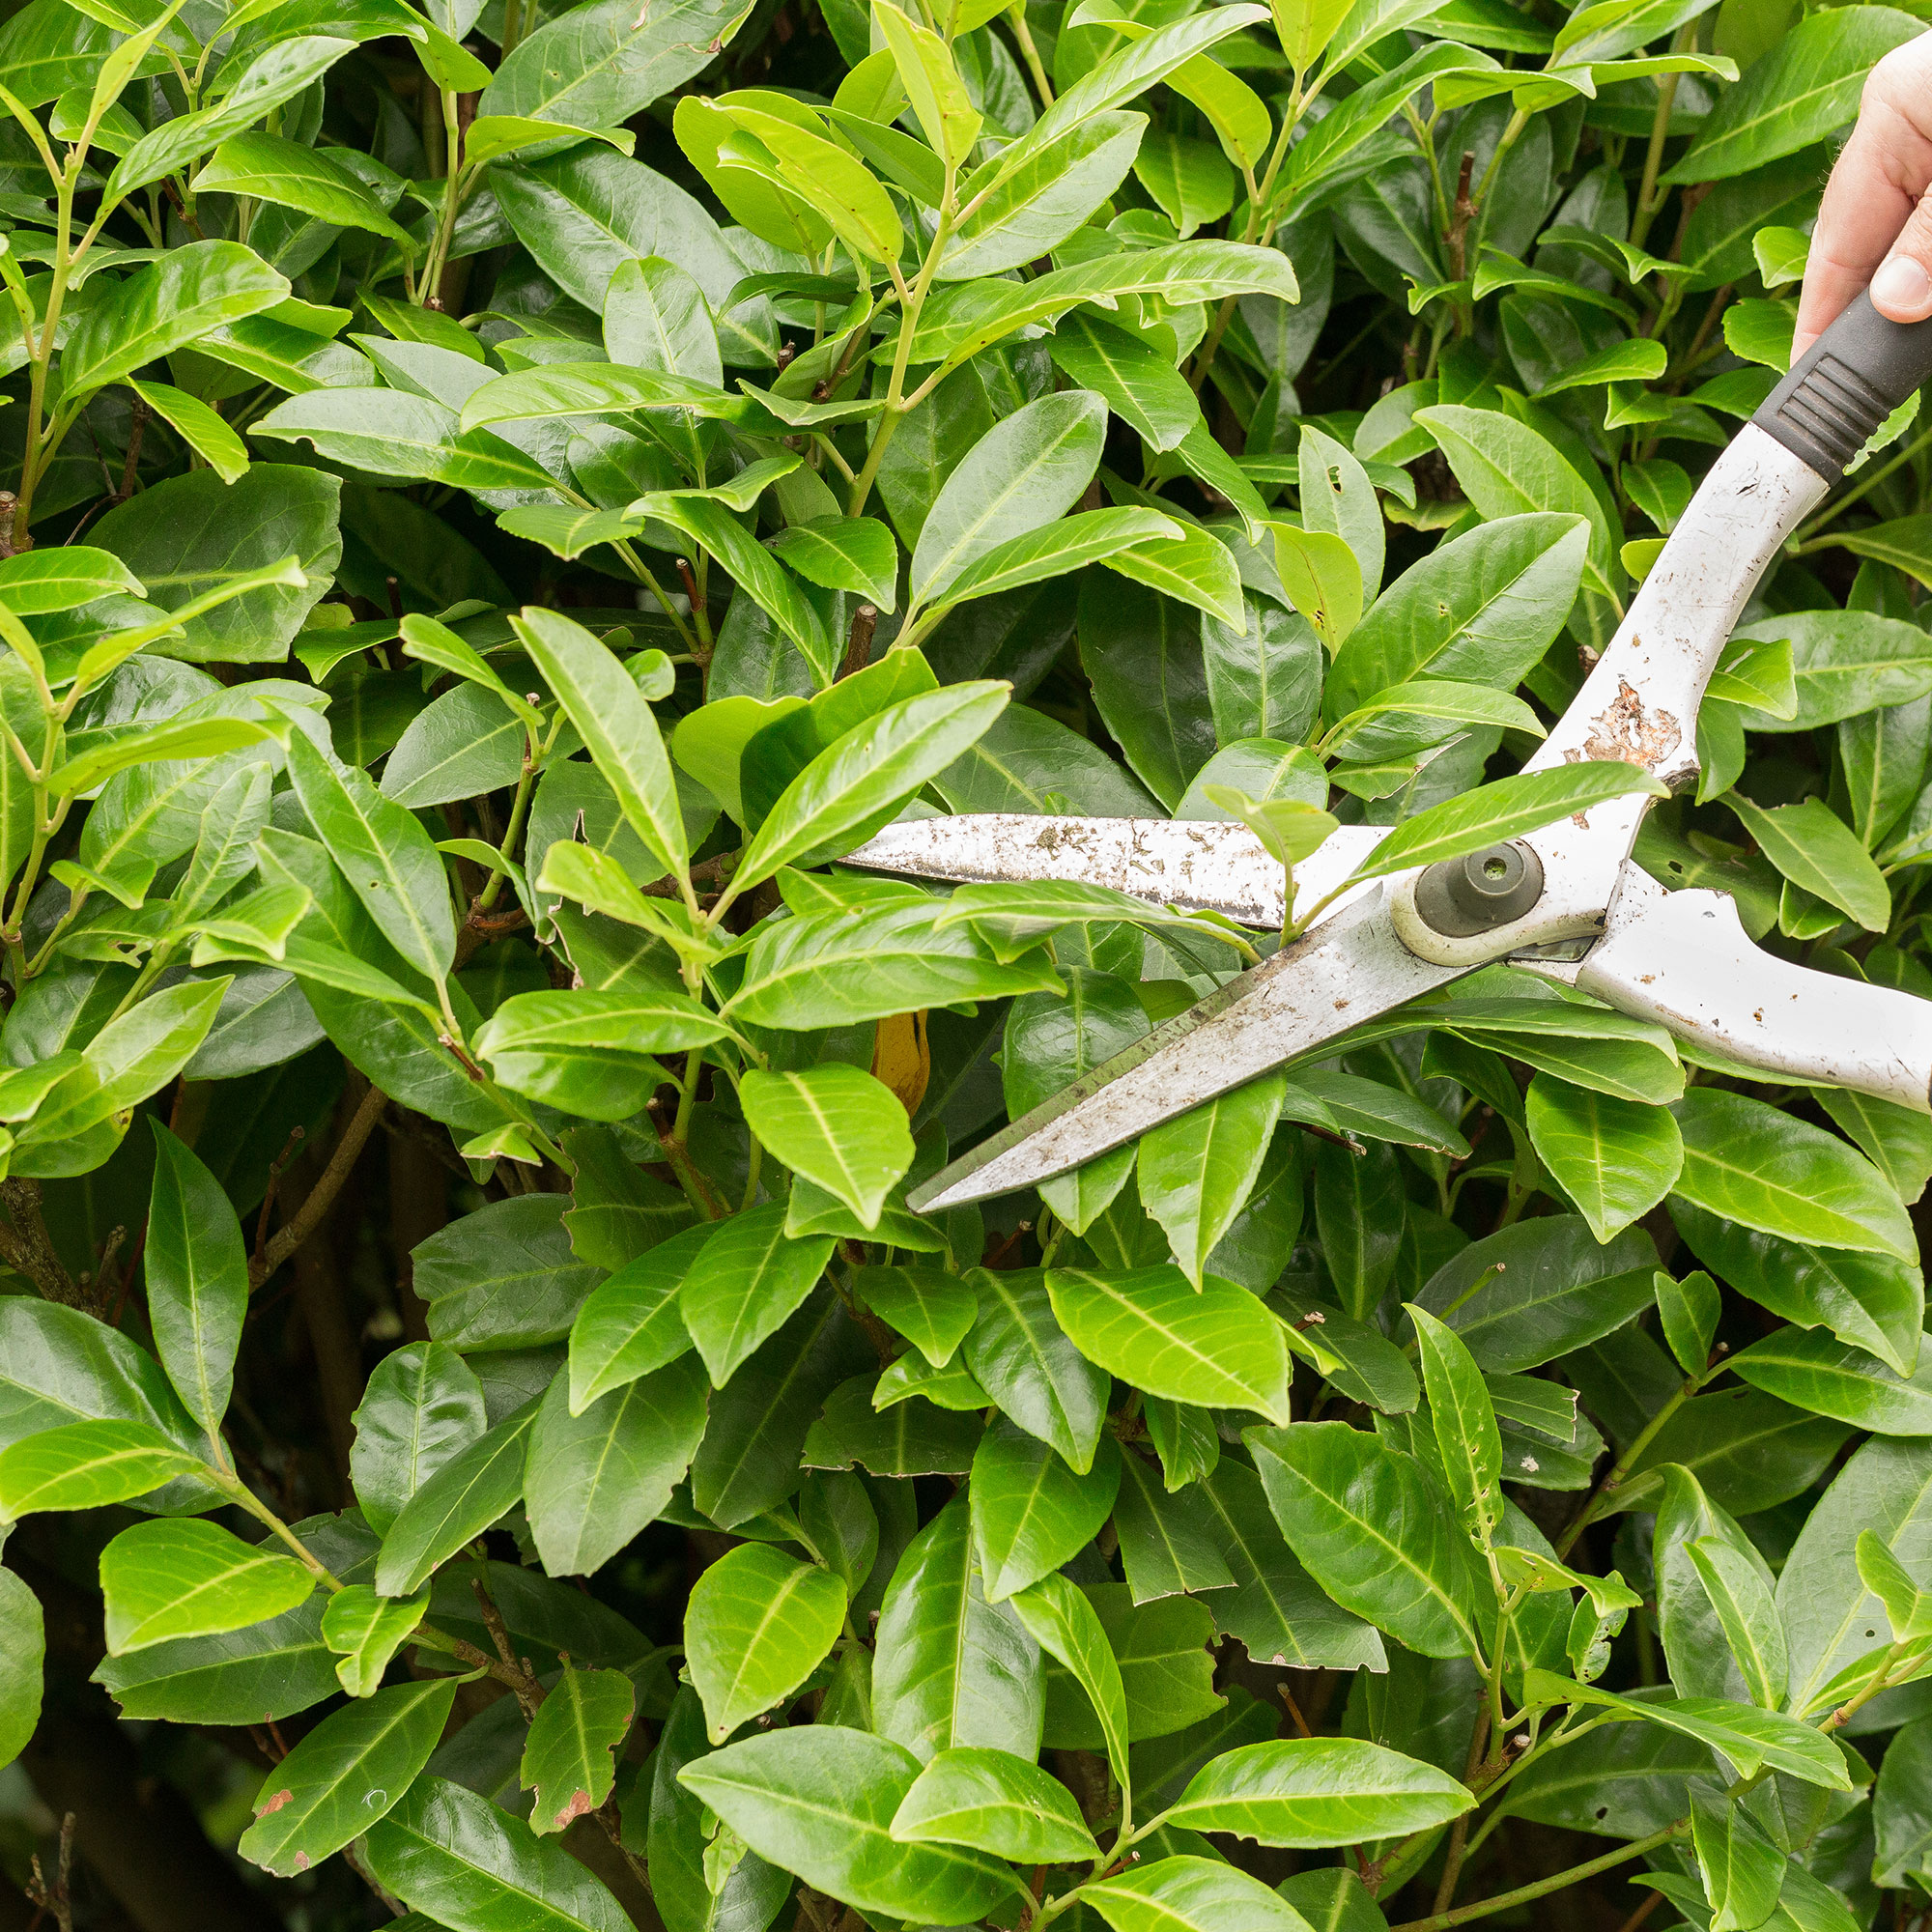
When you know when to prune your hedge, and you’ve prepared yourself and the area, you can then get started. Always start trimming from the bottom rather than the top, as the top is typically always much wider than the bottom as it receives more sunlight than the rest of the hedge.
Owen advises, ‘To counteract this, shear the hedge so that the base is wider than the top, at such an angle that the top starts off narrower than the bottom of the hedge.’
This is echoed by Morris Hankinson, Director of Hopes Grove Nurseries, who says, ‘When trimming the hedge, we would always recommend tapering the sides a little so that its base is slightly wider than the top. This way, daylight will always reach the lower parts of the hedge; you’ll keep the growth dense and bushy all the way up and avoid unsightly gaps at the base.’
Just make sure that you don’t go overboard, either. Although most hedges can tolerate a fair amount of pruning, you don’t want to prune too hard, which may affect future growth. Instead, focus on the two-thirds rule and never cut more than that.
If you’re worried you’ll prune too much, just take a step back every so often to assess your work and reevaluate if you have to.
During this stage, you should also cut off any dead or diseased branches. Morris says, ‘If you do see any diseased or crossing branches, cut these off as a matter of maintenance during hedge trimming but at other times of the year if it’s causing problems for hedge growth.’

Morris Hankinson is the founder and managing director of Hopes Grove Nurseries Ltd, the UK’s only specialist grower-retailer of hedging plants. He established the thriving business in 1992, shortly after graduating with a Commercial Horticulture Degree from Writtle College, Essex.
4. Neaten up the top
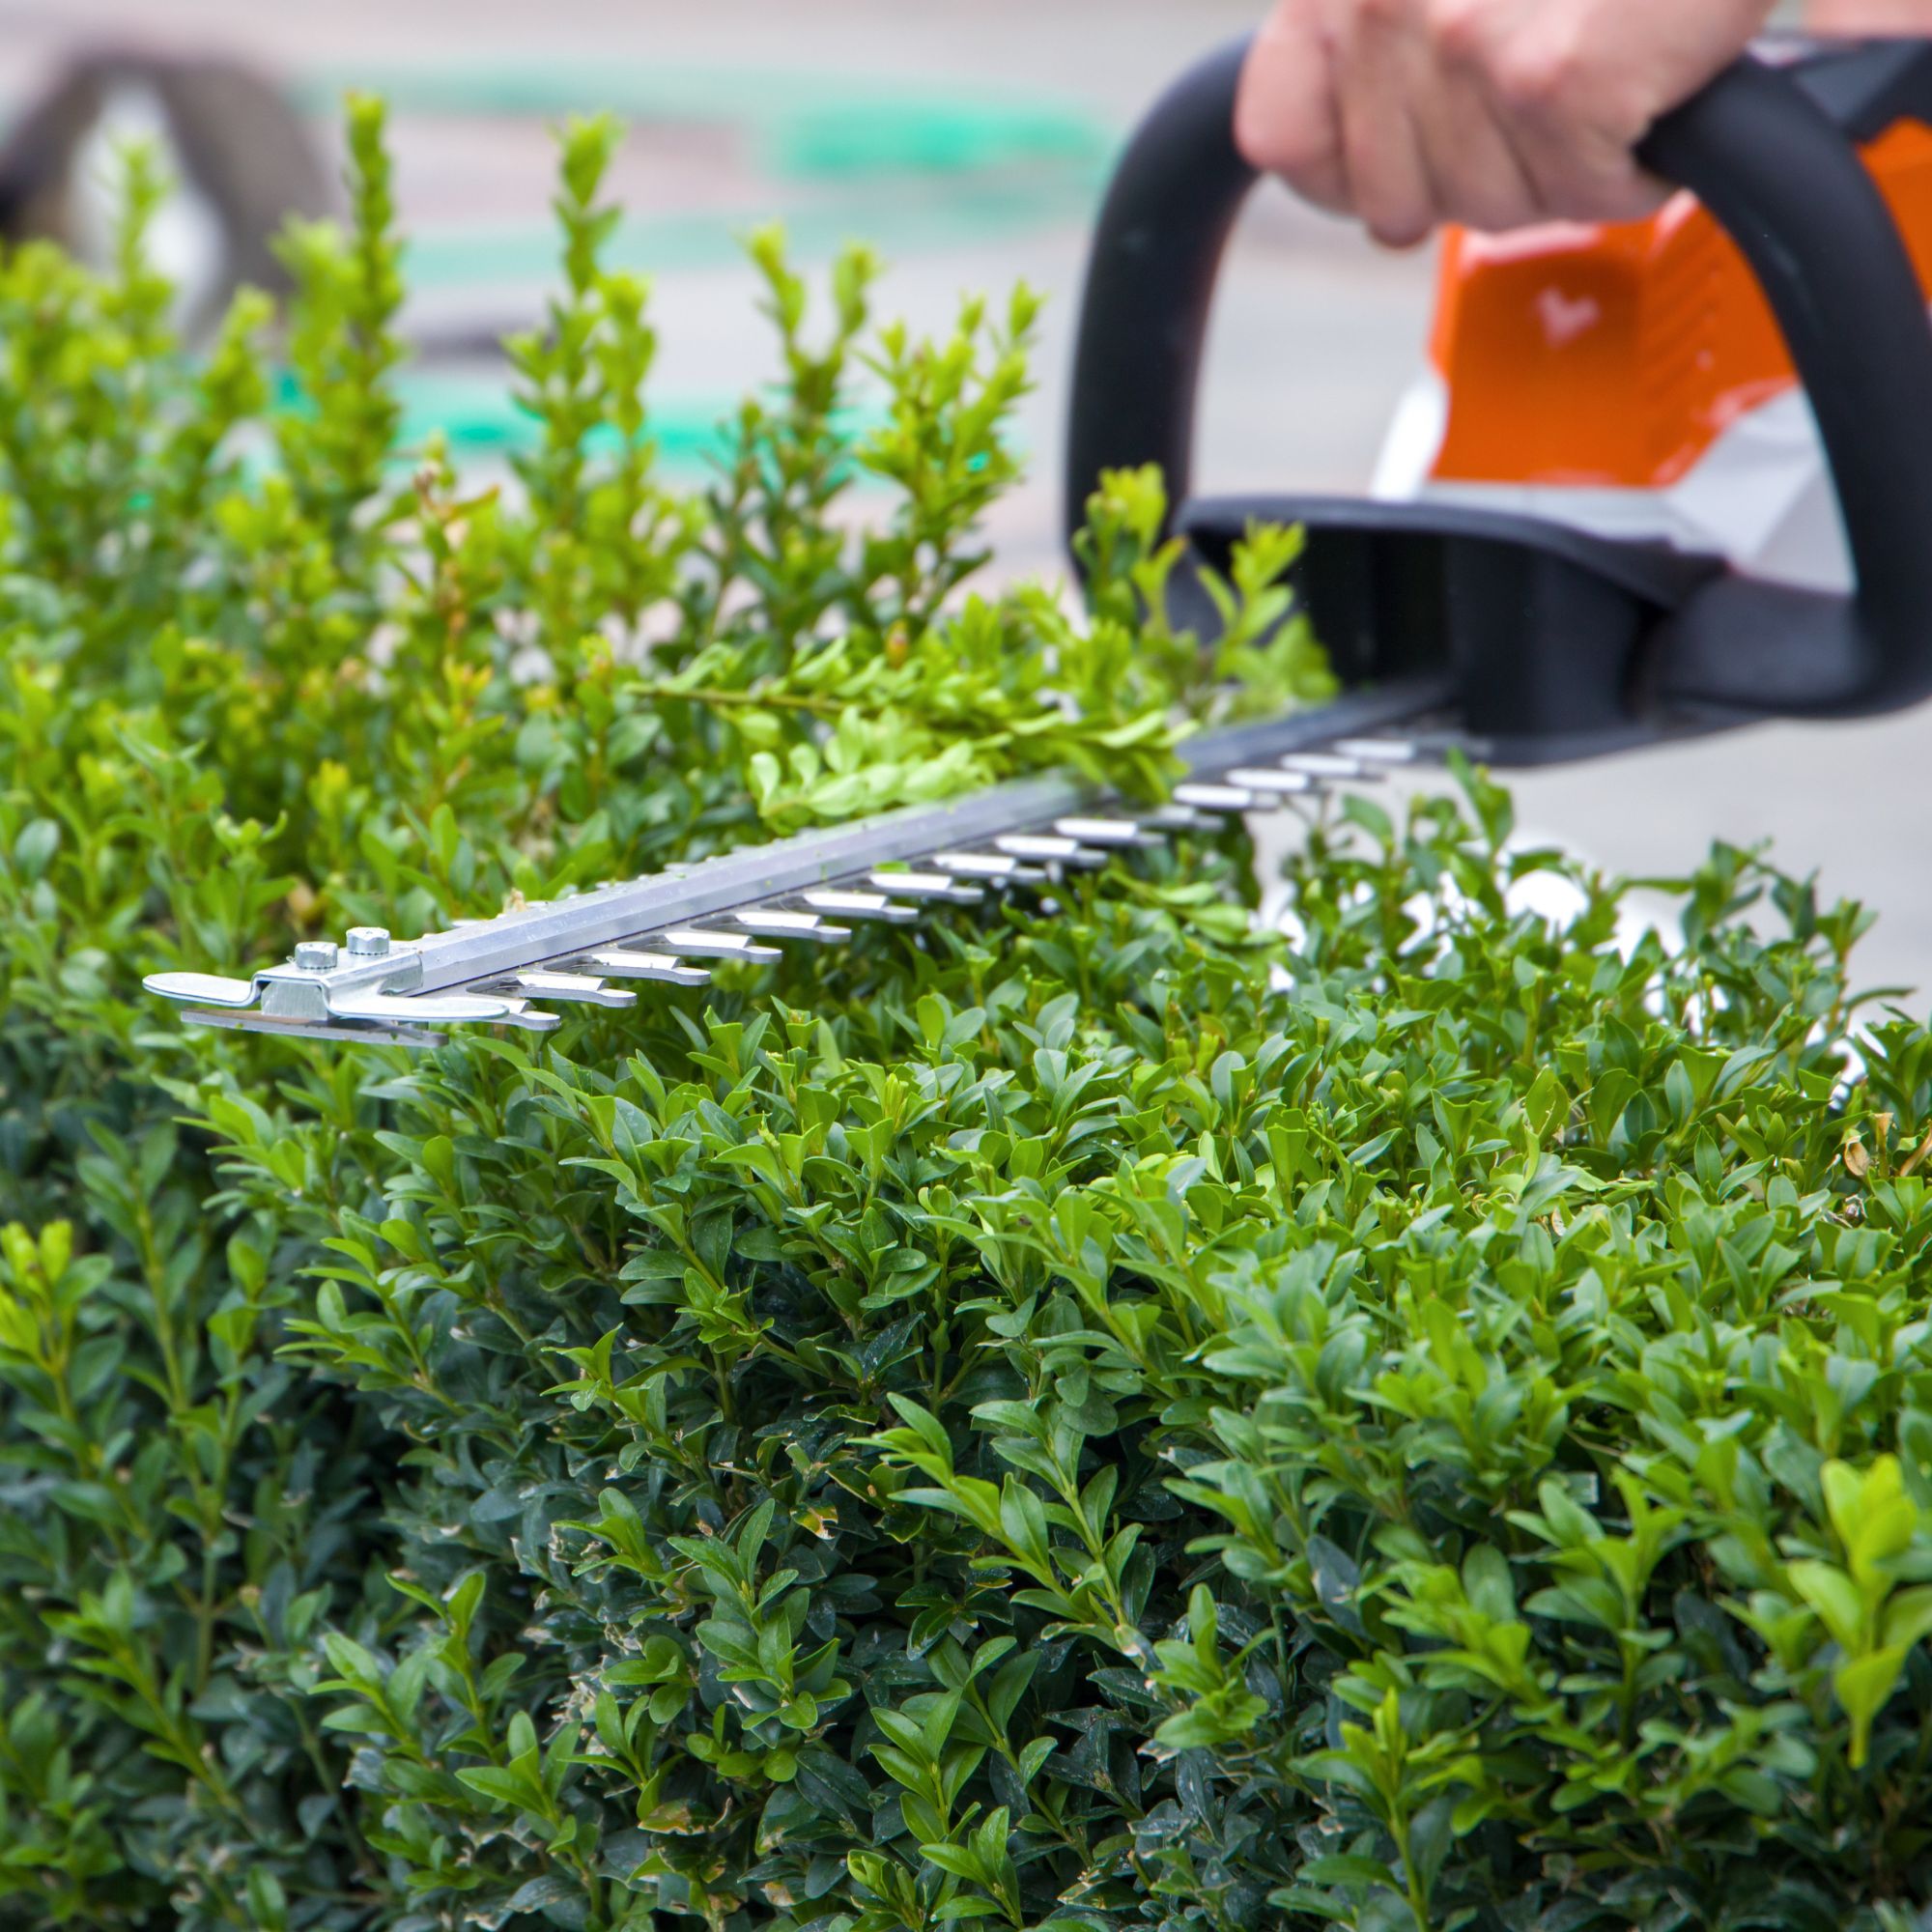
Once you’ve pruned the sides of your hedge, you can then move on to the top. And if you have a hedge that’s waist height - say, as part of your front garden idea - it should be relatively easy to neaten up the top of your hedge.
All you have to do is move your hedge trimmer or your shears from side to side rather than from bottom to top. If you want to ensure a perfectly straight line, you also have the option to tie some string to two stake canes and plant them in the ground so you can use them as a guide.
If the top of your hedge is much taller, however, you may struggle. And while you may be able to complete this job with a tall ladder, be wary of your own skills for this step. If at any point you’re concerned about the height and your safety, contact a professional to complete the job.
Of course, if you don't want to neaten up the top and plan to venture into the world of topiary, you can also prune in a way that works for you and your vision.
5. Clear up

When you’ve finished pruning your hedges, and you’re happy with the result, you then need to start tidying up. If you used a tarpaulin, you should be able to pick up the edges of the tarp and bring all of the clippings together.
If not, you can use either a broom or a rake to push the clippings into a pile. Then, dispose of the clippings in an environmentally friendly manner.
If you can, add the clippings to your compost heap and then give the whole thing a turn to ensure they decompose as efficiently as possible. You can then use the compost to feed your garden when needed.
If this isn’t an option, however, you can either pop the clippings in your garden waste bin or take them to your local tip to recycle with other garden waste.
FAQs
Does trimming the top of a hedge make it grow thicker?
When you trim the top of a hedge, you’re creating better airflow and allowing the sides and the bottom to receive more sunlight. As a result, your hedge should grow much thicker over the next few months.
Because of this, it’s always a good idea to prune the top of your hedge during a trimming session - even if you just planned on pruning the sides.
In fact, the easiest way to understand hedges is to think of them as hair. Although you might not necessarily want to cut the length of your hair, doing so can make it grow faster and make it thicker and healthier.
How can I reduce the height of my hedge?
When reducing the height of your hedge, aim to only cut around one-third of the height at one time. Any more than that, and you run the risk of killing your hedge through shock and stress.
And while it can be enticing to cut more than that, reducing the height by just one-third can make a huge difference - especially as the extra air circulation and sunlight should allow the hedge to focus on thickening out the bottom of the hedge rather than growing taller in height.
You can also use a hedge trimmer or shears for this job, but always ensure that you do this safely.
Now you know how to prune hedges, you should have everything you need to complete this task yourself.

Lauren Bradbury has been the Content Editor for the House Manual section since January 2025 but worked with the team as a freelancer for a year and a half before that. She graduated with a Bachelor’s degree in English and Creative Writing from the University of Chichester in 2016. Then, she dipped her toe into the world of content writing, primarily focusing on home content. After years of agency work, she decided to take the plunge and become a full-time freelancer for online publications, including Real Homes and Ideal Home, before taking on this permanent role. Now, she spends her days searching for the best decluttering and cleaning hacks and creating handy how-to guides for homeowners and renters alike, as well as testing vacuums as part of her role as the Ideal Home Certified Expert in Training on Vacuums, having spent over 110 hours testing different vacuum models to date!