How to repot an orchid without killing it - in 6 simple steps
You should add this task to your to-do list every two to three years


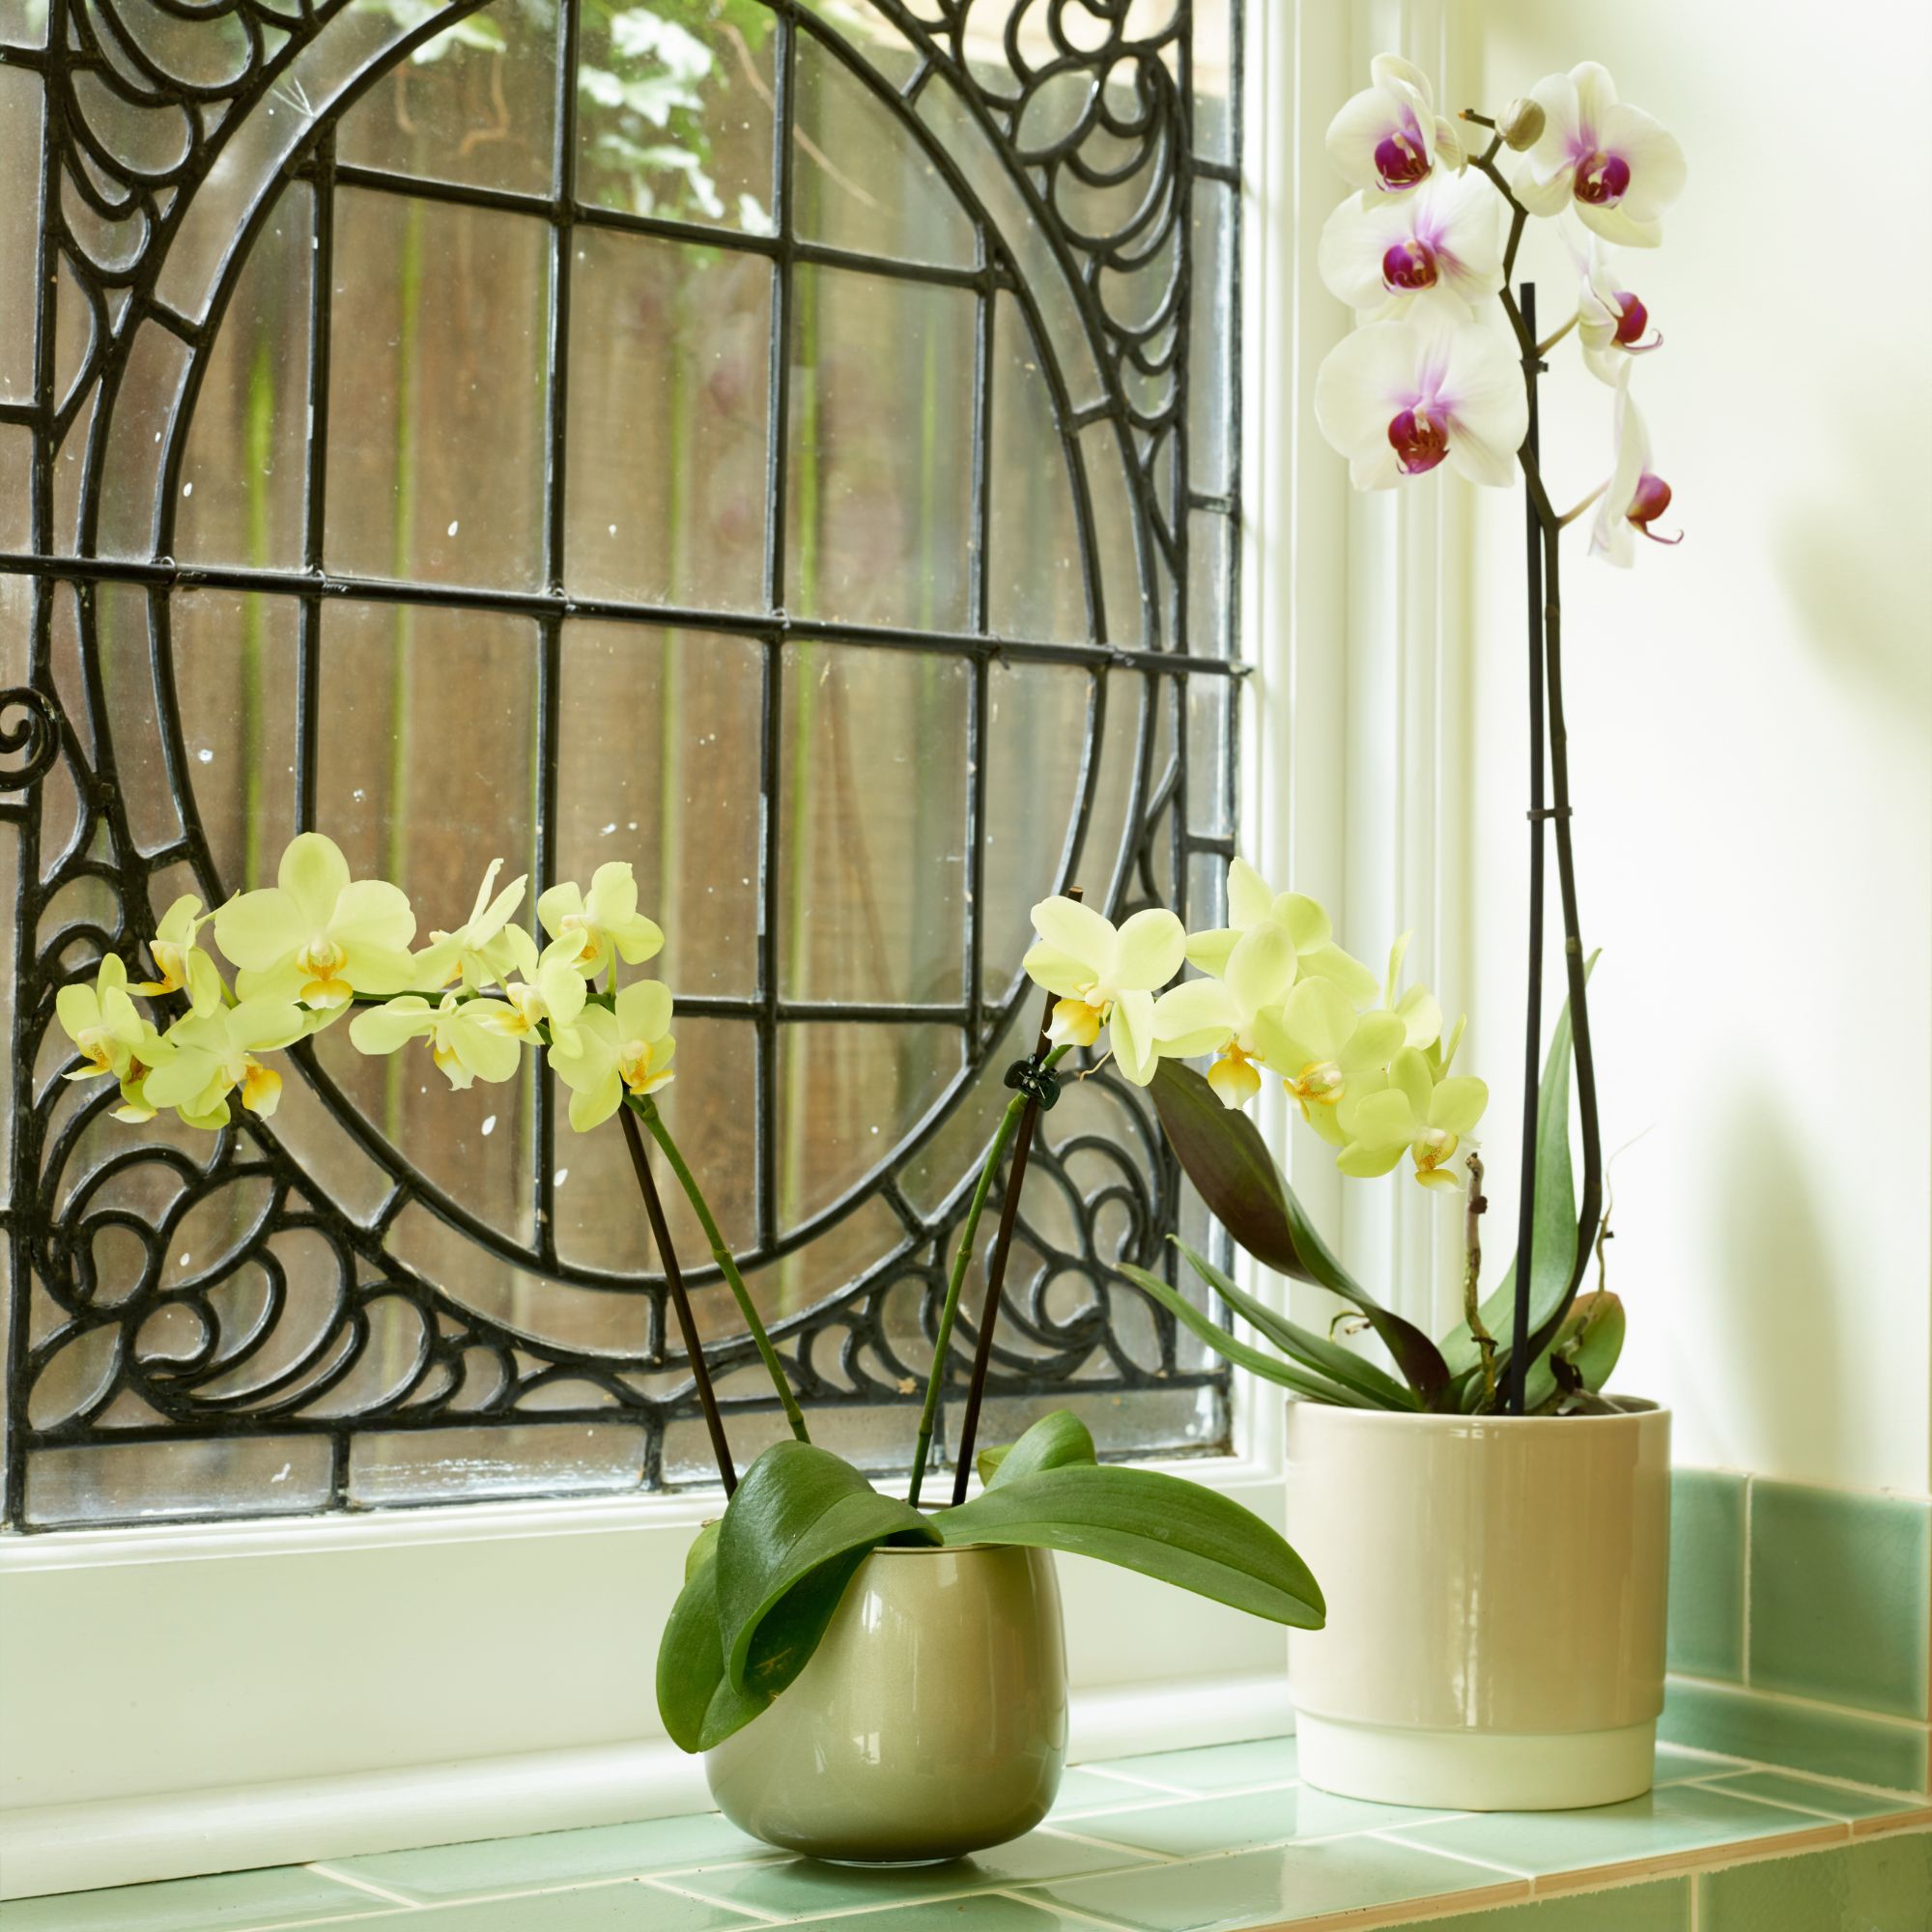
Orchids are some of the most elegant plants out there. And while they can live up to 20 years when cared for correctly, you need to know how to repot an orchid to enjoy its blooms year after year. After all, orchids can quickly outgrow their pots.
Watering, room temperature and light levels are essential when caring for an orchid, but you must also monitor its growth. And while pruning orchids can increase flowering, repotting is the only way to ensure your plant continuously gets the space and nutrients it needs to grow. If not, the roots may start growing out of the container, or the plant may become completely root-bound.
However, repotting houseplants can be a daunting process, and it can be highly stressful for the plant. That’s why we’ve contacted experts to ensure you know how to repot an orchid without killing it. And, thankfully, it’s easier than you’d think.
What you’ll need
Step-by-step
1. Choose the right time
Knowing when to repot houseplants is important, as choosing the wrong time could result in damage, disease, or even death for your plant. And if you want to know how to repot an orchid, you must follow the same rules.
Experts suggest repotting an orchid as soon as you get it home, as they are often planted in pots that are way too small for proper growth. Then, you should repot them every few years to keep them in top form throughout their lifetime - which is longer than you’d think.
Morris Hankinson, Managing Director of Hopes Grove Nurseries, explains, 'Orchids are grown in potting soil that's thicker than regular potting soil and breaks down over the course of a few years. This can impact the health of your plant but can be avoided by repotting into the new soil. It will differ between soils and plants, but you should consider repotting every 2-3 years.'
However, you should only do this after the blooming period has ended to prevent any future problems. Because of this, the best time to repot an orchid is late spring or early summer.
Sign up to our newsletter for style inspiration, real homes, project and garden advice and shopping know-how

Morris Hankinson is the founder and managing director of Hopes Grove Nurseries, the UK’s only specialist grower-retailer of hedging plants. He established the thriving business in 1992, shortly after graduating with a Commercial Horticulture Degree from Writtle College, Essex.
2. Pull the orchid out of the pot
To repot an orchid, you need to move it from one pot to another - and this involves some gentle pulling. However, be careful when pulling the orchid from the pot, as you want to avoid pulling off any leaves.
Instead, grab the plant as close to the soil as possible and pull that way. With a gentle tug, it should come out of the pot quickly. If it doesn’t, you may need to try another method.
Root-bound orchids don’t come out of the pot as easily, so you may have to grab a pair of scissors and cut them out of the plastic container. Then, you can loosen the root ball and shake off any excess potting mix before moving on to the next step.
3. Cut off any dead or diseased roots
Without the pot or potting mix in the way, you should be able to inspect the root ball of your orchid plant. And you might notice that some roots stand out from the crowd.
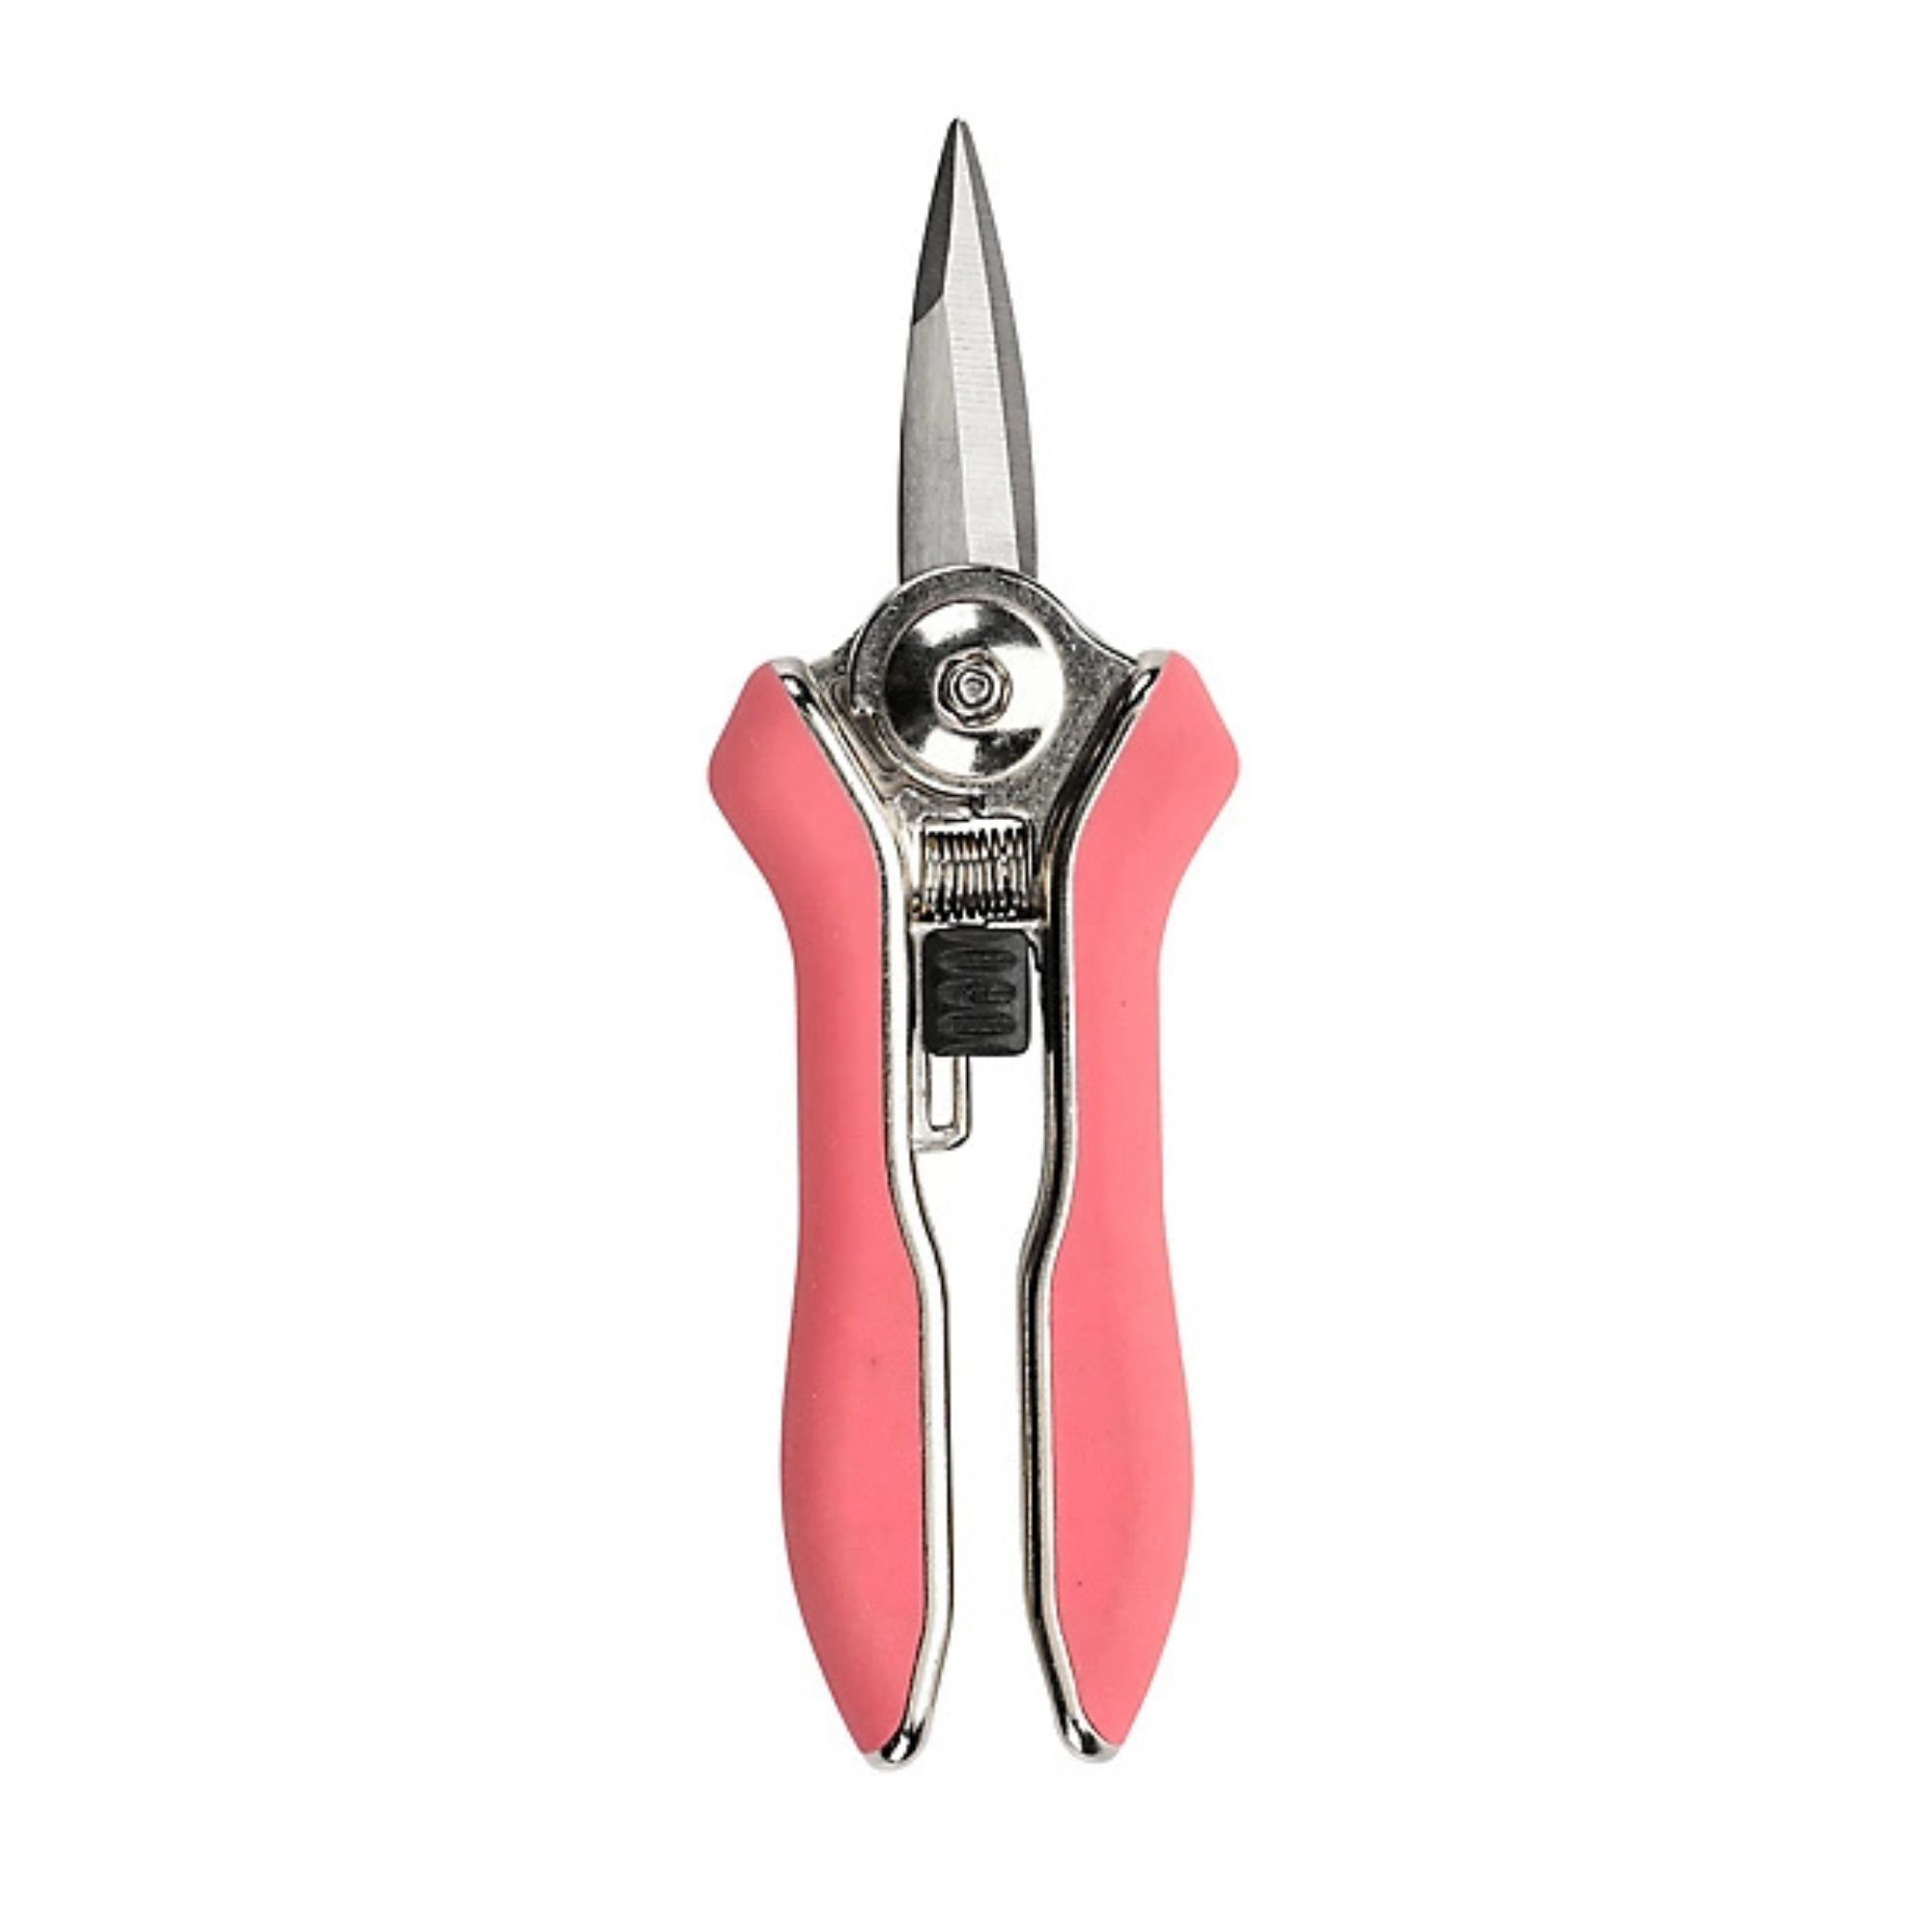
Brown, shrivelled roots are likely dead or diseased, so you can take this opportunity to cut them off with secateurs. Doing this will ensure that you repot an orchid in its healthiest form.
Just remember to sharpen your secateurs and clean your garden tools before doing this.
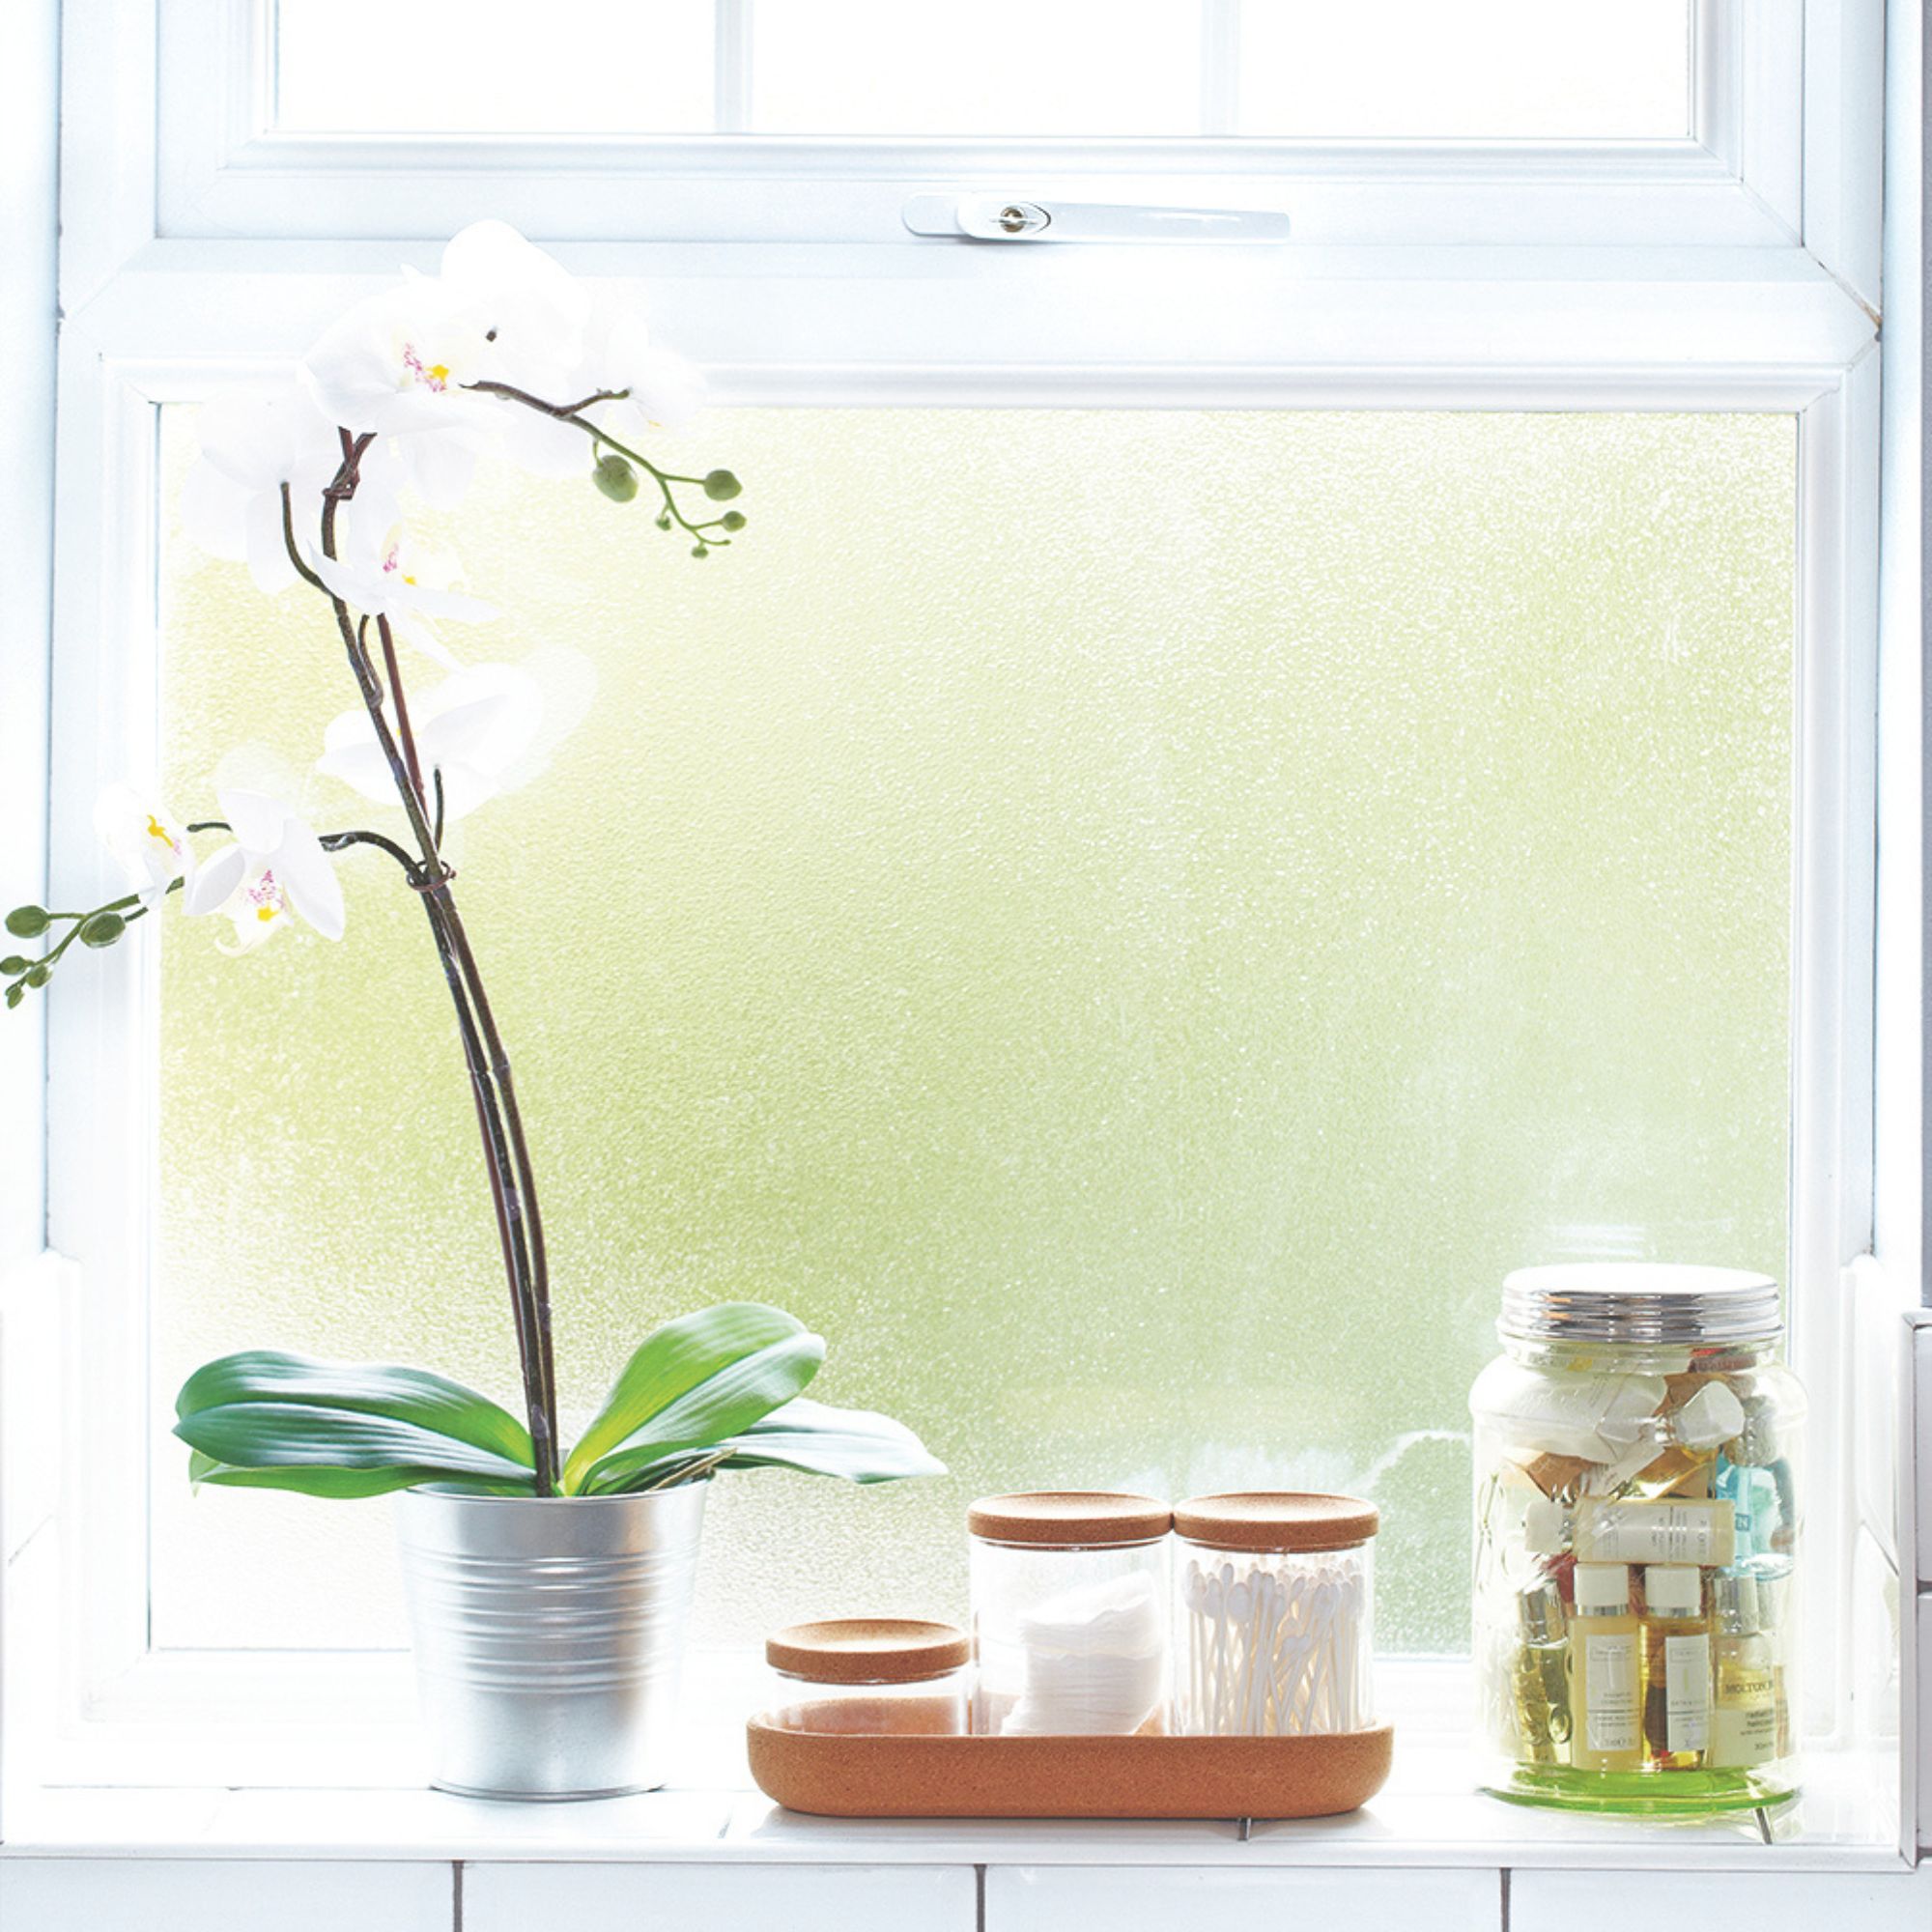
4. Plant in a new pot
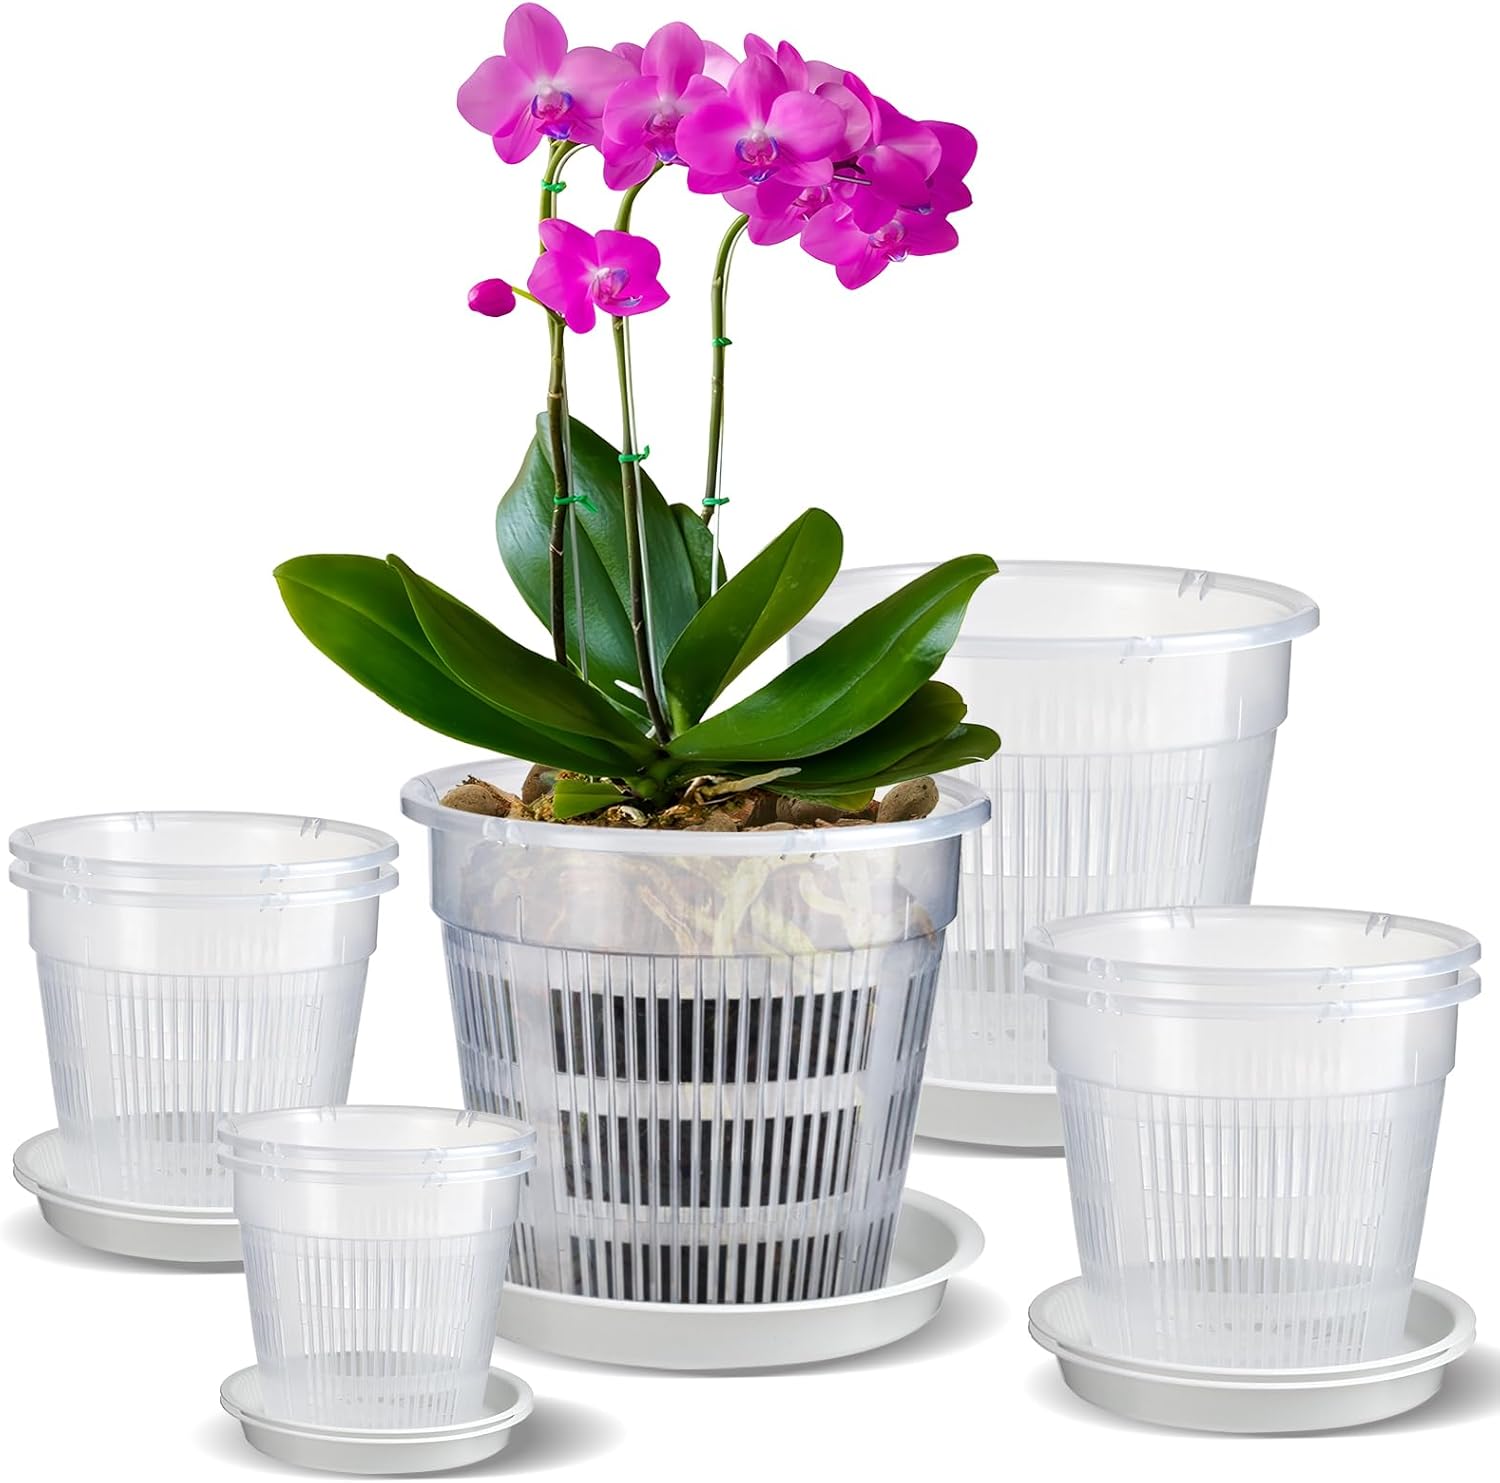
You can repot your orchid when you’re happy you’ve trimmed off the dead roots. If your orchid has grown its pot, you should aim to repot your orchid in a pot that’s at least 1-2 inches bigger than the original. If your orchid was particularly root-bound, however, you may need to choose something larger than that.
However, this isn't always necessary. Morris says, 'If you haven't had to damage the pot to get the plant out and if your plant still has plenty of space to grow, you could repot using the same pot. Make sure you wash it first!'
Whichever option you choose, you should also ensure that the base of your orchid’s leaves will sit just below the rim of your new pot, so double-check this before adding in any potting mix.
5. Fill with fresh potting mix
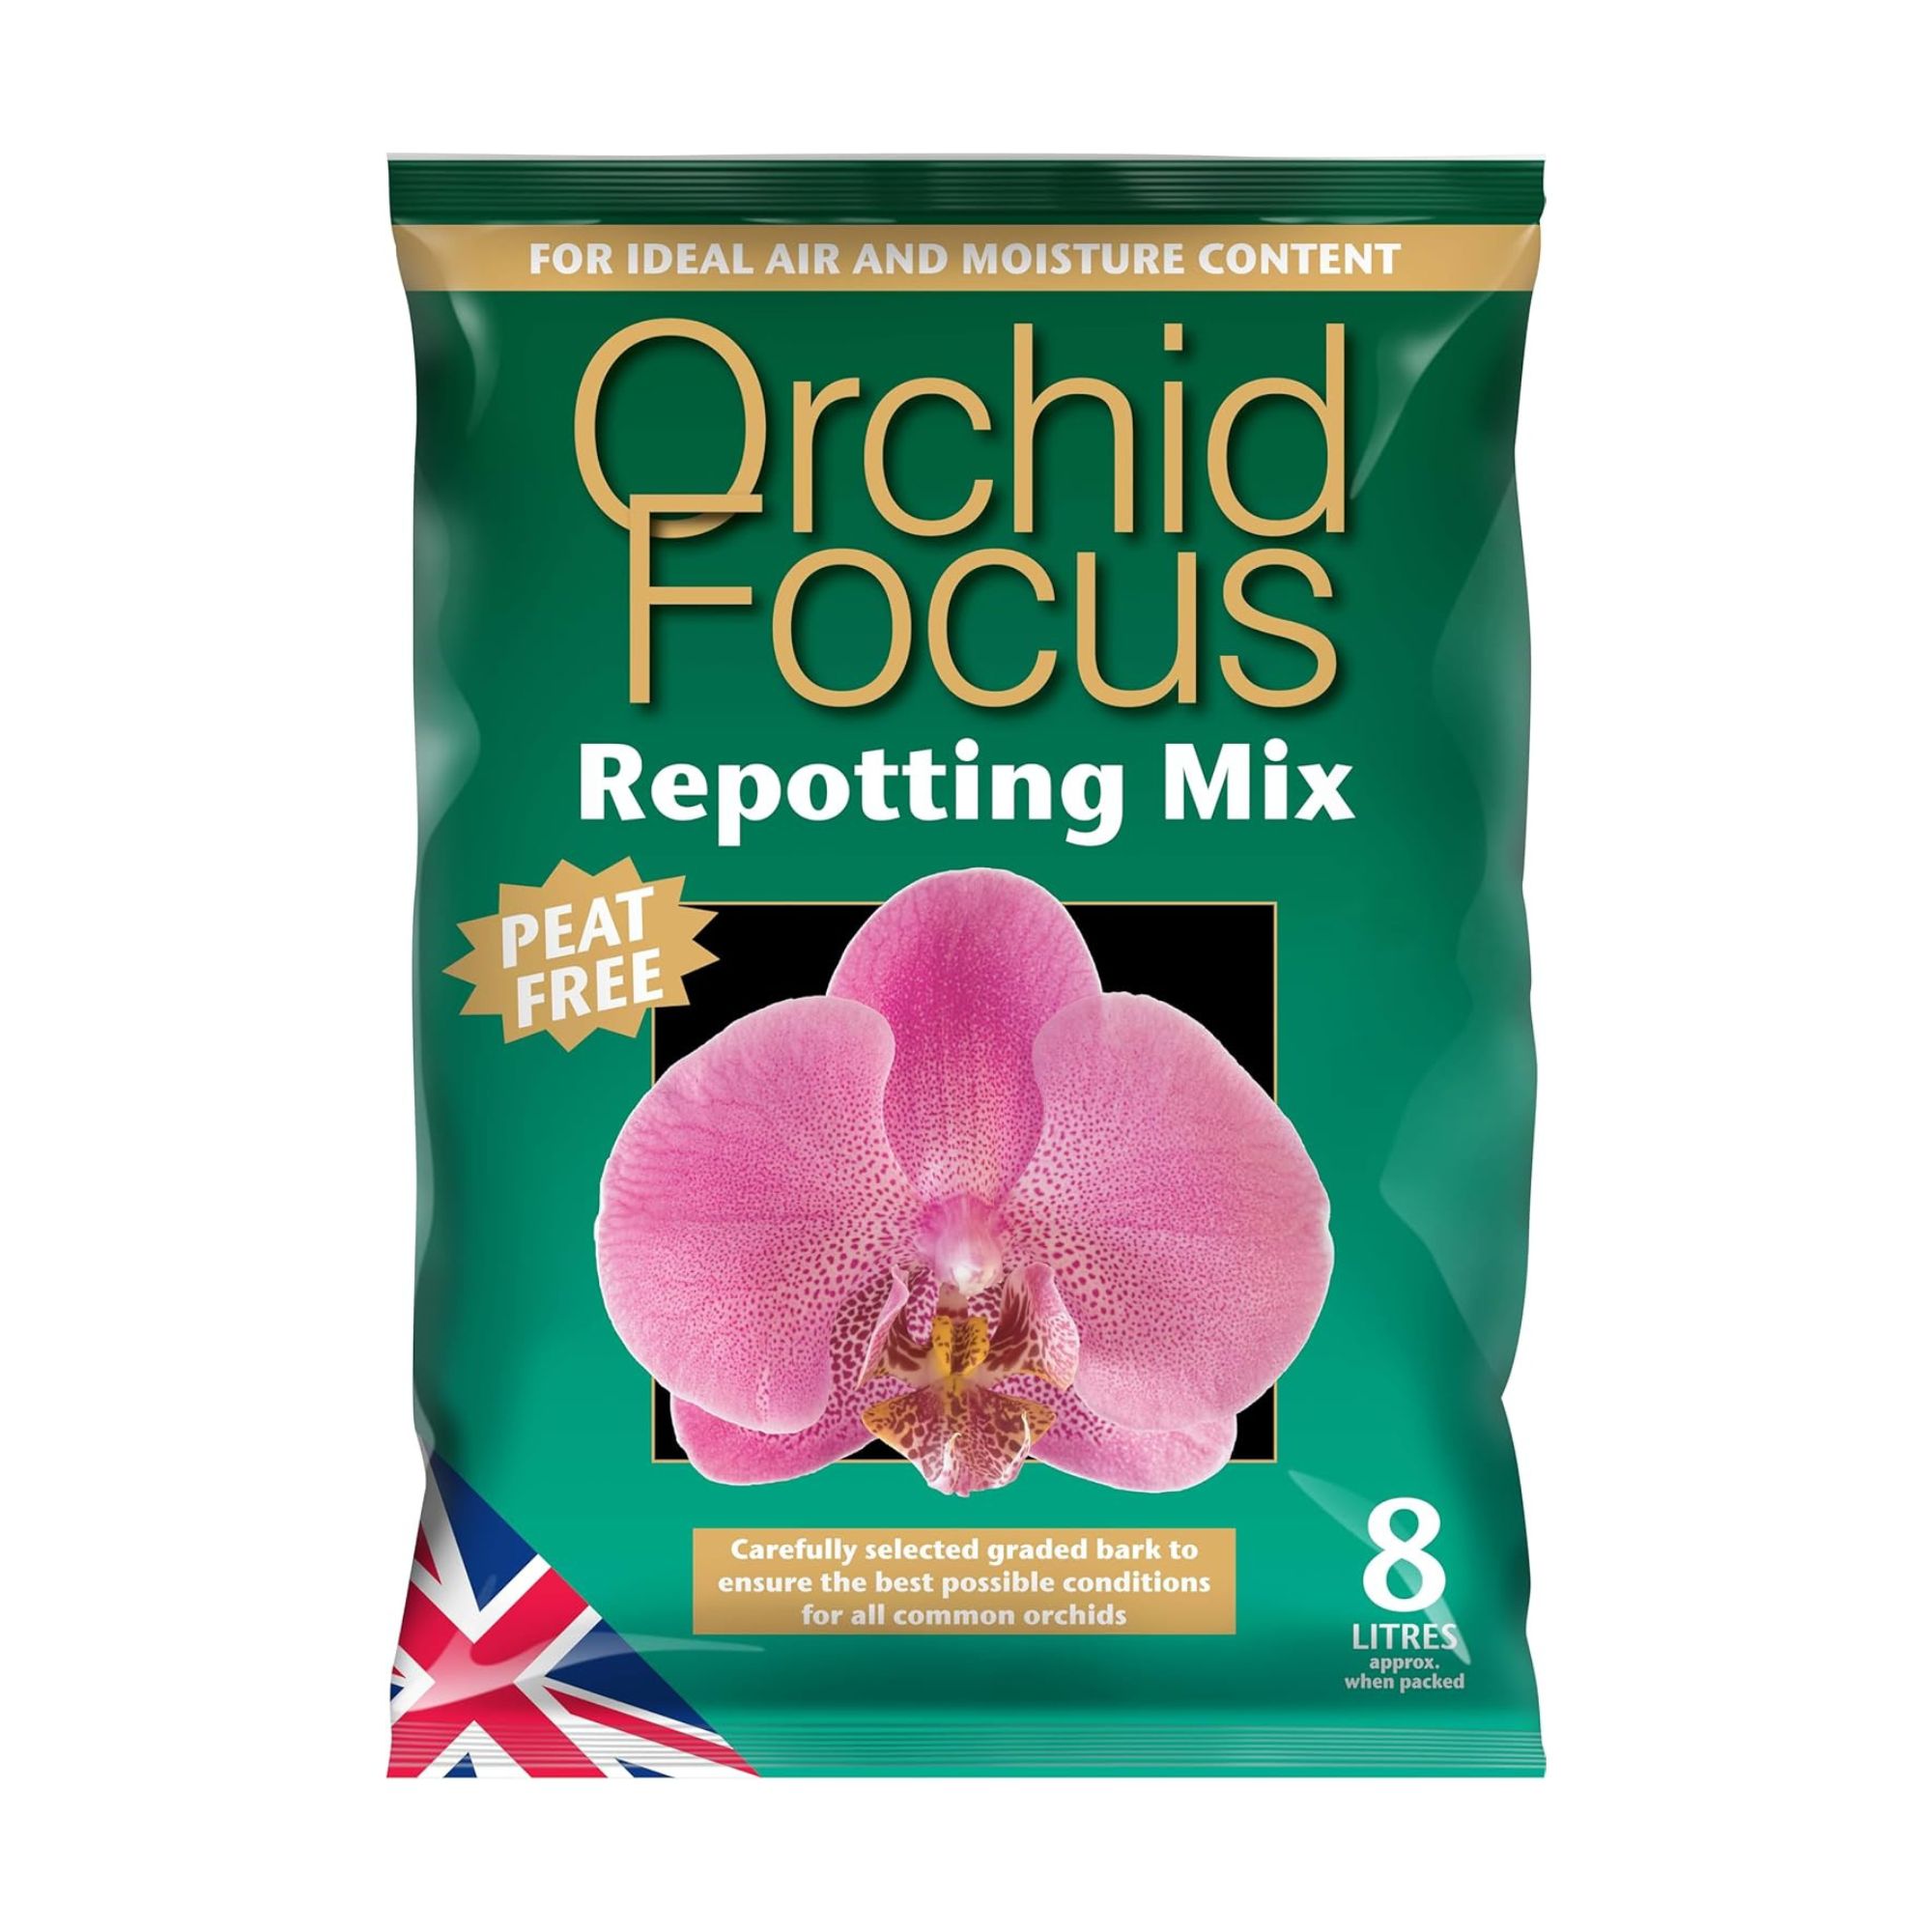
You should always use fresh potting mix when repotting an orchid to give your plant the best chance of survival. Fill the pot as tightly as possible.
Graham Smith MCIHort, a gardening expert from LBS Horticulture, says, ‘Position the orchid in the centre of the pot, then fill in around the root ball with orchid compost, ensuring that there are no gaps.’
As the orchid potting mix is bark-based, you may find that large pieces of bark get stuck amongst each other and create these gaps. So, you can eliminate those gaps by tapping the pot on the table and pressing down firmly until all of the roots are completely covered.

6. Water your freshly repotted orchid
When that’s done, you can then water your orchid before placing it back in its home - a location with bright, indirect sunlight.
For this first water post-repotting, you may want to place a saucer underneath the pot if you don’t already have one. When the water comes out onto the saucer, you can stop pouring and tip this excess water down the drain, as you don’t want to overwater it.
Then, you’ve successfully repot an orchid! Simply care for it as usual (you can even try the potato hack if you want) and pop this task in your calendar for two or three years.
FAQs
Do you bury air roots when repotting orchids?
If you’re repotting an orchid with air roots, you shouldn’t bury them. Air roots are different to the roots at the base of your plant, and their job is to absorb moisture and oxygen from the air. Because of this, you should leave them to do what they’re designed for.
In fact, burying air roots when repotting orchids can cause damage to the plant, and you may find that it struggles as a result.
Is it better to repot orchids wet or dry?
Although some people say that repotting orchids when they’re wet keeps the roots pliable, this also leaves them susceptible to root rot. Because of this, it’s better to repot orchids dry so you can control the amount of moisture they’re exposed to.
So, if you plan to repot your orchid, do this a week or so after watering to allow the plant to dry out. When you’ve finished repotting, you can then give it a good water.
What happens if I don't repot my orchid?
If you don’t repot your orchid, the roots will outgrow the container, and it’s highly likely that your plant will become root-bound. Left for too long, your orchid will die.
This is because root-bound plants struggle to get all the water and nutrients they need to survive and will often succumb to disease and rot. As time passes, orchid potting mix also loses all its nutrients.
Graham Smith from LBS Horticulture adds, ‘Over the years, their compost mix that can consist of bark chips and moss will begin to break down and become compacted. When the compost becomes compacted, this will reduce drainage in the soil.’
This is why it’s so important to repot your orchid every few years.

Lauren Bradbury has been the Content Editor for the House Manual section since January 2025 but worked with the team as a freelancer for a year and a half before that. She graduated with a Bachelor’s degree in English and Creative Writing from the University of Chichester in 2016. Then, she dipped her toe into the world of content writing, primarily focusing on home content. After years of agency work, she decided to take the plunge and become a full-time freelancer for online publications, including Real Homes and Ideal Home, before taking on this permanent role. Now, she spends her days searching for the best decluttering and cleaning hacks and creating handy how-to guides for homeowners and renters alike, as well as testing vacuums as part of her role as the Ideal Home Certified Expert in Training on Vacuums, having spent over 110 hours testing different vacuum models to date!
