
- Choosing the right system
- Types of watering systems (and what you’ll need for each)
- 1. Drip irrigation (aka micro irrigation)
- What you'll need
- How to set up a drip irrigation system
- 2. Soaker hose
- What you'll need
- How to set up a soaker hose
- 3. Sprinkler system
- What you'll need
- How to set up a sprinkler system
- 4. Smart watering systems
- FAQs

If you’ve ever returned from a summer weekend away to find your plants wilting in protest, finding out how to set up a drip watering system might just be the answer.
So, what is drip watering? Well, these clever irrigation setups are an easy way to keep everything thriving by releasing water slowly and directly to the base of plants, which means less evaporation, less waste, and happier roots.
And the best part? Once it’s all set up, it practically runs itself. It’s a brilliant upgrade if you’re looking for ways to save time and reduce water waste.
And if you're wondering whether irrigation systems are worth it, as James Ewans, gardening expert at Alexander Francis, puts it: ‘They save you a huge amount of time by only delivering water when and where it’s needed most in your garden, and only watering your plants in the most efficient way possible.' What's not to love?
Don’t worry if you’ve never set up an irrigation system before, though. We’ve teamed up with experts Sean Lade, Managing Director at Easy Garden Irrigation, and Huw Richards, gardening ambassador at Gardena, to talk you through the ins and outs.

James Ewens is commercial director of Alexander Francis, and is a self-proclaimed gardening enthusiast. James is passionate about all things to do with nature, gardening and wildlife. He's usually found tending to his own outdoor space.

Choosing the right system
There’s no one-size-fits-all here – the best garden watering system depends on what you’re growing and what size garden you have.
Drip irrigation is ideal for targeted watering, like vegetable beds or pots. Soaker hoses are brilliant for long borders and hedging, while sprinklers suit larger lawns and open flower beds.
And if you want something super low-effort, a smart watering system could be just the ticket.
Before diving into the setup, think about:
- What areas of the garden need watering?
- How often do you want to water – daily or less frequently?
- Do you want something automatic or hands-on?
Each of the following systems has its pros and cons, so take a look below and see which one fits your space and lifestyle best.
Sean Lade from Easy Garden Irrigation advises thinking of your garden as a roadmap: 'Trace where plants live, and mark where water needs to go. That way, you can build a logical layout and avoid wasting time or money on unnecessary kit.'

Sean is the managing director of Easy Garden Irrigation, which creates a variety of irrigation and watering systems to make gardening effortless. Sean’s 14+ years in gardening and irrigation combine a passion for bringing solutions and drive for sustainability to UK gardeners all year round.
Types of watering systems (and what you’ll need for each)
Let’s break down the different types of systems you might come across and the supplies you’ll need to get started.

1. Drip irrigation (aka micro irrigation)
This is the gold standard for efficiency. 'We sell lots of different types of irrigation systems, but my favourite to recommend is drip irrigation,' says Sean. 'It’s so efficient. It’s also exempt from UK hosepipe bans, with a few stipulations.”
In this system, water is delivered slowly, drop by drop, right to the roots of each plant. It’s brilliant for beds, borders, raised planters and veg patches – and especially good for reducing waste in hot weather.
Huw adds: 'A basic timer automates watering and reduces waste. Add a simple filter at the tap to prevent blockages, and flush your lines every few weeks to keep things running smoothly all season.'

YouTube sensation and grow-your-own expert, Huw Richards, is brand ambassador for Europe’s number one watering and hand tools brand, GARDENA.
What you'll need
- Outdoor tap and hose connector (you can bag a hose connector set on Amazon)
- Timer (optional but handy) – try the Hozelock Select Controller at Amazon
- Filter and pressure reducer – such as the Claber Pressure Reducer, at B&Q
- Mainline tubing (usually 13mm)
- 4mm dripline or micro-tubing - Hozelock's micro-tubing is Amazon's choice)
- Adjustable drippers (these drippers from Amazon should fit the bill) or inline emitters
- Fittings and joiners (T-joints, elbows, end plugs)
- Pegs to keep the tubing in place (Amazon has lots of options, but these tubing pegs get our vote)
- Hole punch
- Scissors or a pipe cutter
Or you can grab Gardena’s Drip Irrigation Starter Kit for Raised Beds, at Amazon, to make life easier.
Sean has more tips to share: 'Use plain 13mm pipe to carry water and only switch to drip line or emitters when you want to release water. Don’t run drip line everywhere – it wastes water and pressure,' he explains. 'A good rule of thumb is no more than 60 metres of 13mm pipe per zone, and keep your flow rate under 900 litres per hour.'
How to set up a drip irrigation system
- Connect to your water source
Install your timer (try the Hozelock Select Controller on Amazon), filter and pressure reducer on your outdoor tap. Then attach the 13mm supply pipe – this will carry water to your plants. - Lay out the supply pipe
Snake it along beds or raised planters. Use a straight pipe when carrying water, and switch to a drip line only where you want to release water – Sean stresses this as a common beginner mistake. - Insert emitters or connect the drip line
Use a hole punch to add emitters near each plant, or connect drip line sections using T-joints. Inline drip tubing is quicker for rows of crops or hedges, while emitters offer more precision in mixed beds. - Extend with micro-tubing where needed
Use 4mm tubing (Hozelock micro-tubing from Amazon is perfect) to reach containers or awkward spots. Peg everything in place. - Seal the ends
Cap any open pipe with end plugs or a figure-eight clamp. - Test before you bury
Turn it on and check for leaks, blockages or misdirected drippers. Sean recommends testing above ground first and flushing the system every few weeks during summer. - Mulch smartly
Keep emitters just under mulch (but not buried in soil) to avoid UV damage and algae buildup – a top tip from our experts.

2. Soaker hose
Simple, speedy and surprisingly effective, soaker hoses release water along their length, seeping moisture into the soil around your plants.
They’re great for straight-edged beds, hedgerows and perennial borders and 'for simple runs where emitters would be too fiddly to install,' advises Sean.
What you'll need
- Soaker hose (try Gruntek's porous hose, 30m, at Amazon)
- Outdoor tap connector
- Timer (try Gardena's water timer at Amazon) or manual tap control
- Pressure reducer (essential to avoid damage) - Hozelock's pressure regulator at Amazon should do the trick.
- Stakes to hold the hose in place
- Hose end plug (this hose end plug from Amazon is the business)
How to set up a soaker hose
- Connect to your tap
Begin by attaching a pressure reducer like Hozelock's pressure regulator at Amazon to your outdoor tap – this is crucial, as soaker hoses can split if the water pressure is too high. Add a timer or manual tap controller ( Gardena's water timer at Amazon will do the trick) if you want to automate watering. Then connect the soaker hose to the pressure reducer using a standard hose connector. - Lay out your hose
Unroll the hose and position it around the base of your plants or along your border. You can snake it through beds or run it in straight lines, depending on your layout. Use pegs or garden staples every 50-60cm to keep it in place and prevent it from lifting or shifting when the water starts flowing. - Plug the end
Once you’re happy with the layout, close off the end of the hose using the supplied end cap or a universal hose end plug. - Test and time it
Turn on the tap and check that the hose is gently seeping water along its entire length, not spraying. If you see any spraying or uneven flow, turn the water pressure down. Once you're happy, set your timer or make a mental note to run it for around 30-45 minutes, 2-3 times a week, depending on the weather. - Bury or mulch (optional)
For even more efficiency, and if it’s going to stay in place for the summer, cover the hose with a thin layer of mulch or compost. This helps reduce evaporation and keeps the hose hidden from view.

3. Sprinkler system
More traditional, but still useful for large lawns or wide open flower beds. Sprinklers spray water across an area, mimicking rainfall – but with less precision than drip systems.
What you'll need
- Oscillating or rotating sprinkler (we like Karcher’s Oscillating Sprinkler)
- Outdoor tap connector
- Hosepipe
- Timer (optional for automatic watering). I rate Gardena's water control with Bluetooth app for automatic watering.
Sprinklers are ideal for established lawns, but can waste water in windy conditions or under midday sun.
Try watering early morning or late evening, when evaporation is lowest – check out our guide on how often to water the garden in hot weather if you're not sure if you're under- or overwatering.
How to set up a sprinkler system
- Choose your sprinkler
Pick the right sprinkler for your space. Oscillating sprinklers like Karcher’s Oscillating Sprinkler are best for rectangular areas, while rotating or circular sprinklers (try Hozelock's Rotating Sprinkler Pro on Amazon) work well for rounder lawns or oddly shaped borders. - Connect to your tap
Attach your hosepipe to the outdoor tap using a standard hose connector. If you’re adding a timer, this goes between the tap and the hose to automate watering times. - Position your sprinkler
Lay out your hose and place the sprinkler in the area you want to water. Make sure it’s on a level surface to ensure even coverage. - Adjust the settings
Most sprinklers allow you to change the spray width, direction and range. Set these to suit your garden layout – for example, narrow the spray for side beds, or widen it for a large lawn. - Test the system
Turn the tap on and watch the spray pattern. Adjust the sprinkler head or reposition it if needed. Make sure your plants are getting coverage without hitting fences, patios or walls unnecessarily. - Set a timer or watering routine
If you’re using a timer, programme it to water in the early morning or late evening when evaporation is lowest. Without a timer, just keep an eye on the time – lawns typically need around 20-30 minutes of watering, 2-3 times a week in summer.

4. Smart watering systems
Take the guesswork out of watering with a smart watering system that connects to your phone. Some use weather forecasts, others rely on soil sensors to adjust watering automatically. Perfect for tech-lovers, forgetful waterers or those going away – cleverly avoiding garden watering mistakes with minimal effort required!
They can be tailored to use drip lines, sprinklers or even soaker hoses – it just depends on what works for your garden. They’re an investment upfront, but a game-changer for low-effort watering. I love the Cloud Controller from Hozelock, available at B&Q, which notifies you of weather changes so you can remotely water your plants when you’re away from your garden.
FAQs
What is the 30/30 rule for drip irrigation?
'It’s a simple guideline, but for Americans,' reveals Sean. 'A 1⁄4” tube (aka 4mm micro tube) should be no longer than 30 ft (10m), and the flow rate for your irrigation system should not exceed 30 gallons per hour (136 litres per hour).'
'I usually recommend using a larger 1⁄2” (13mm) tube to act as the main carrier of water, and then spur off into short lengths of 1⁄4” (4mm) tube to reach plants. This means we can build larger systems with ease.'
What’s a major downside to drip irrigation?
'Clogs! Minerals, algae, or soil can block emitters over time,' Huw explains. 'That’s why a filter, occasional flushing, and burying lines under mulch, to protect from UV and reduce algae, are key to low-maintenance success.'
How often should I run drip irrigation?
It depends on your plants and the season, but Sean has a rule of thumb to share below.
He also recommends a specific time for watering: 'Always water in the morning between 5am and 8am. And if it’s been a scorcher, give your plants another drink in the evening.'
- Spring: 20-30 mins, 3-4x per week
- Summer: 20-30 mins daily
- Autumn: 15-20 mins, 2-3x per week
So there you have it: how to set up a drip watering system that suits your garden. Which will you be choosing?
Now all you need to know is when to water your plants: morning or night?

You must confirm your public display name before commenting
Please logout and then login again, you will then be prompted to enter your display name.
-
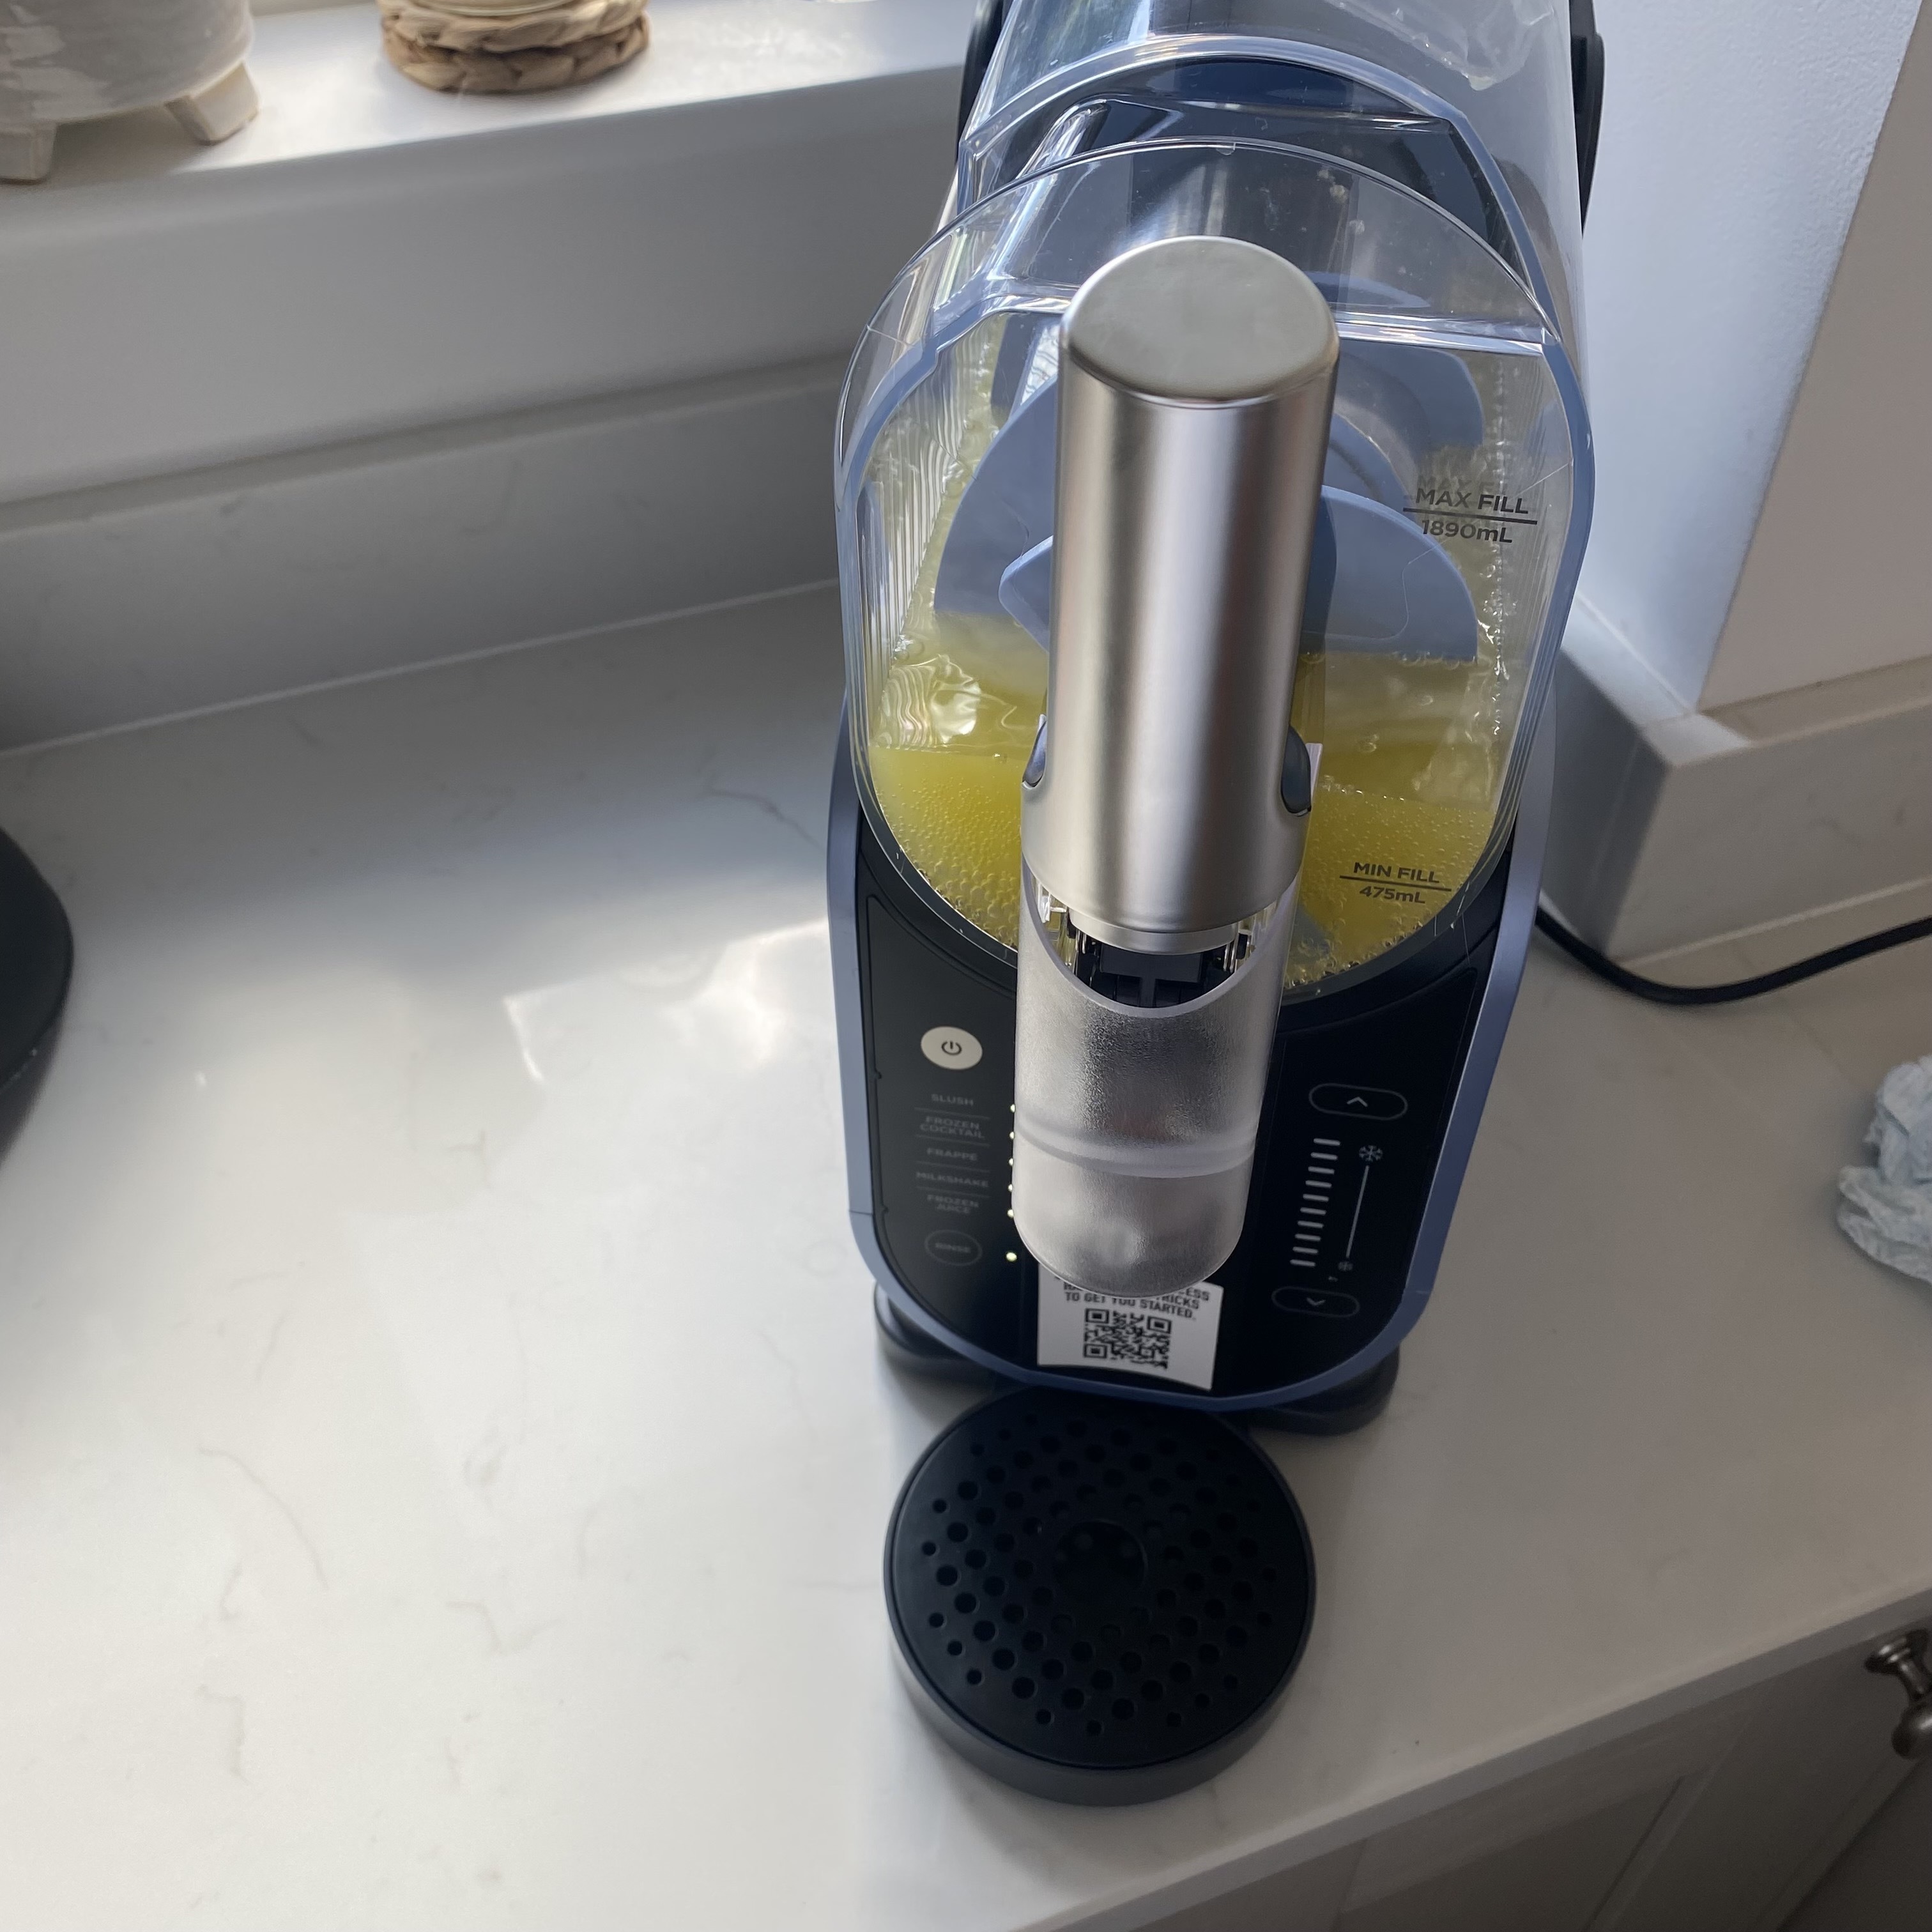 I unboxed the Ninja Slushi – here's what happened
The Ninja Slushi is the stuff of dreams for summer entertaining
-
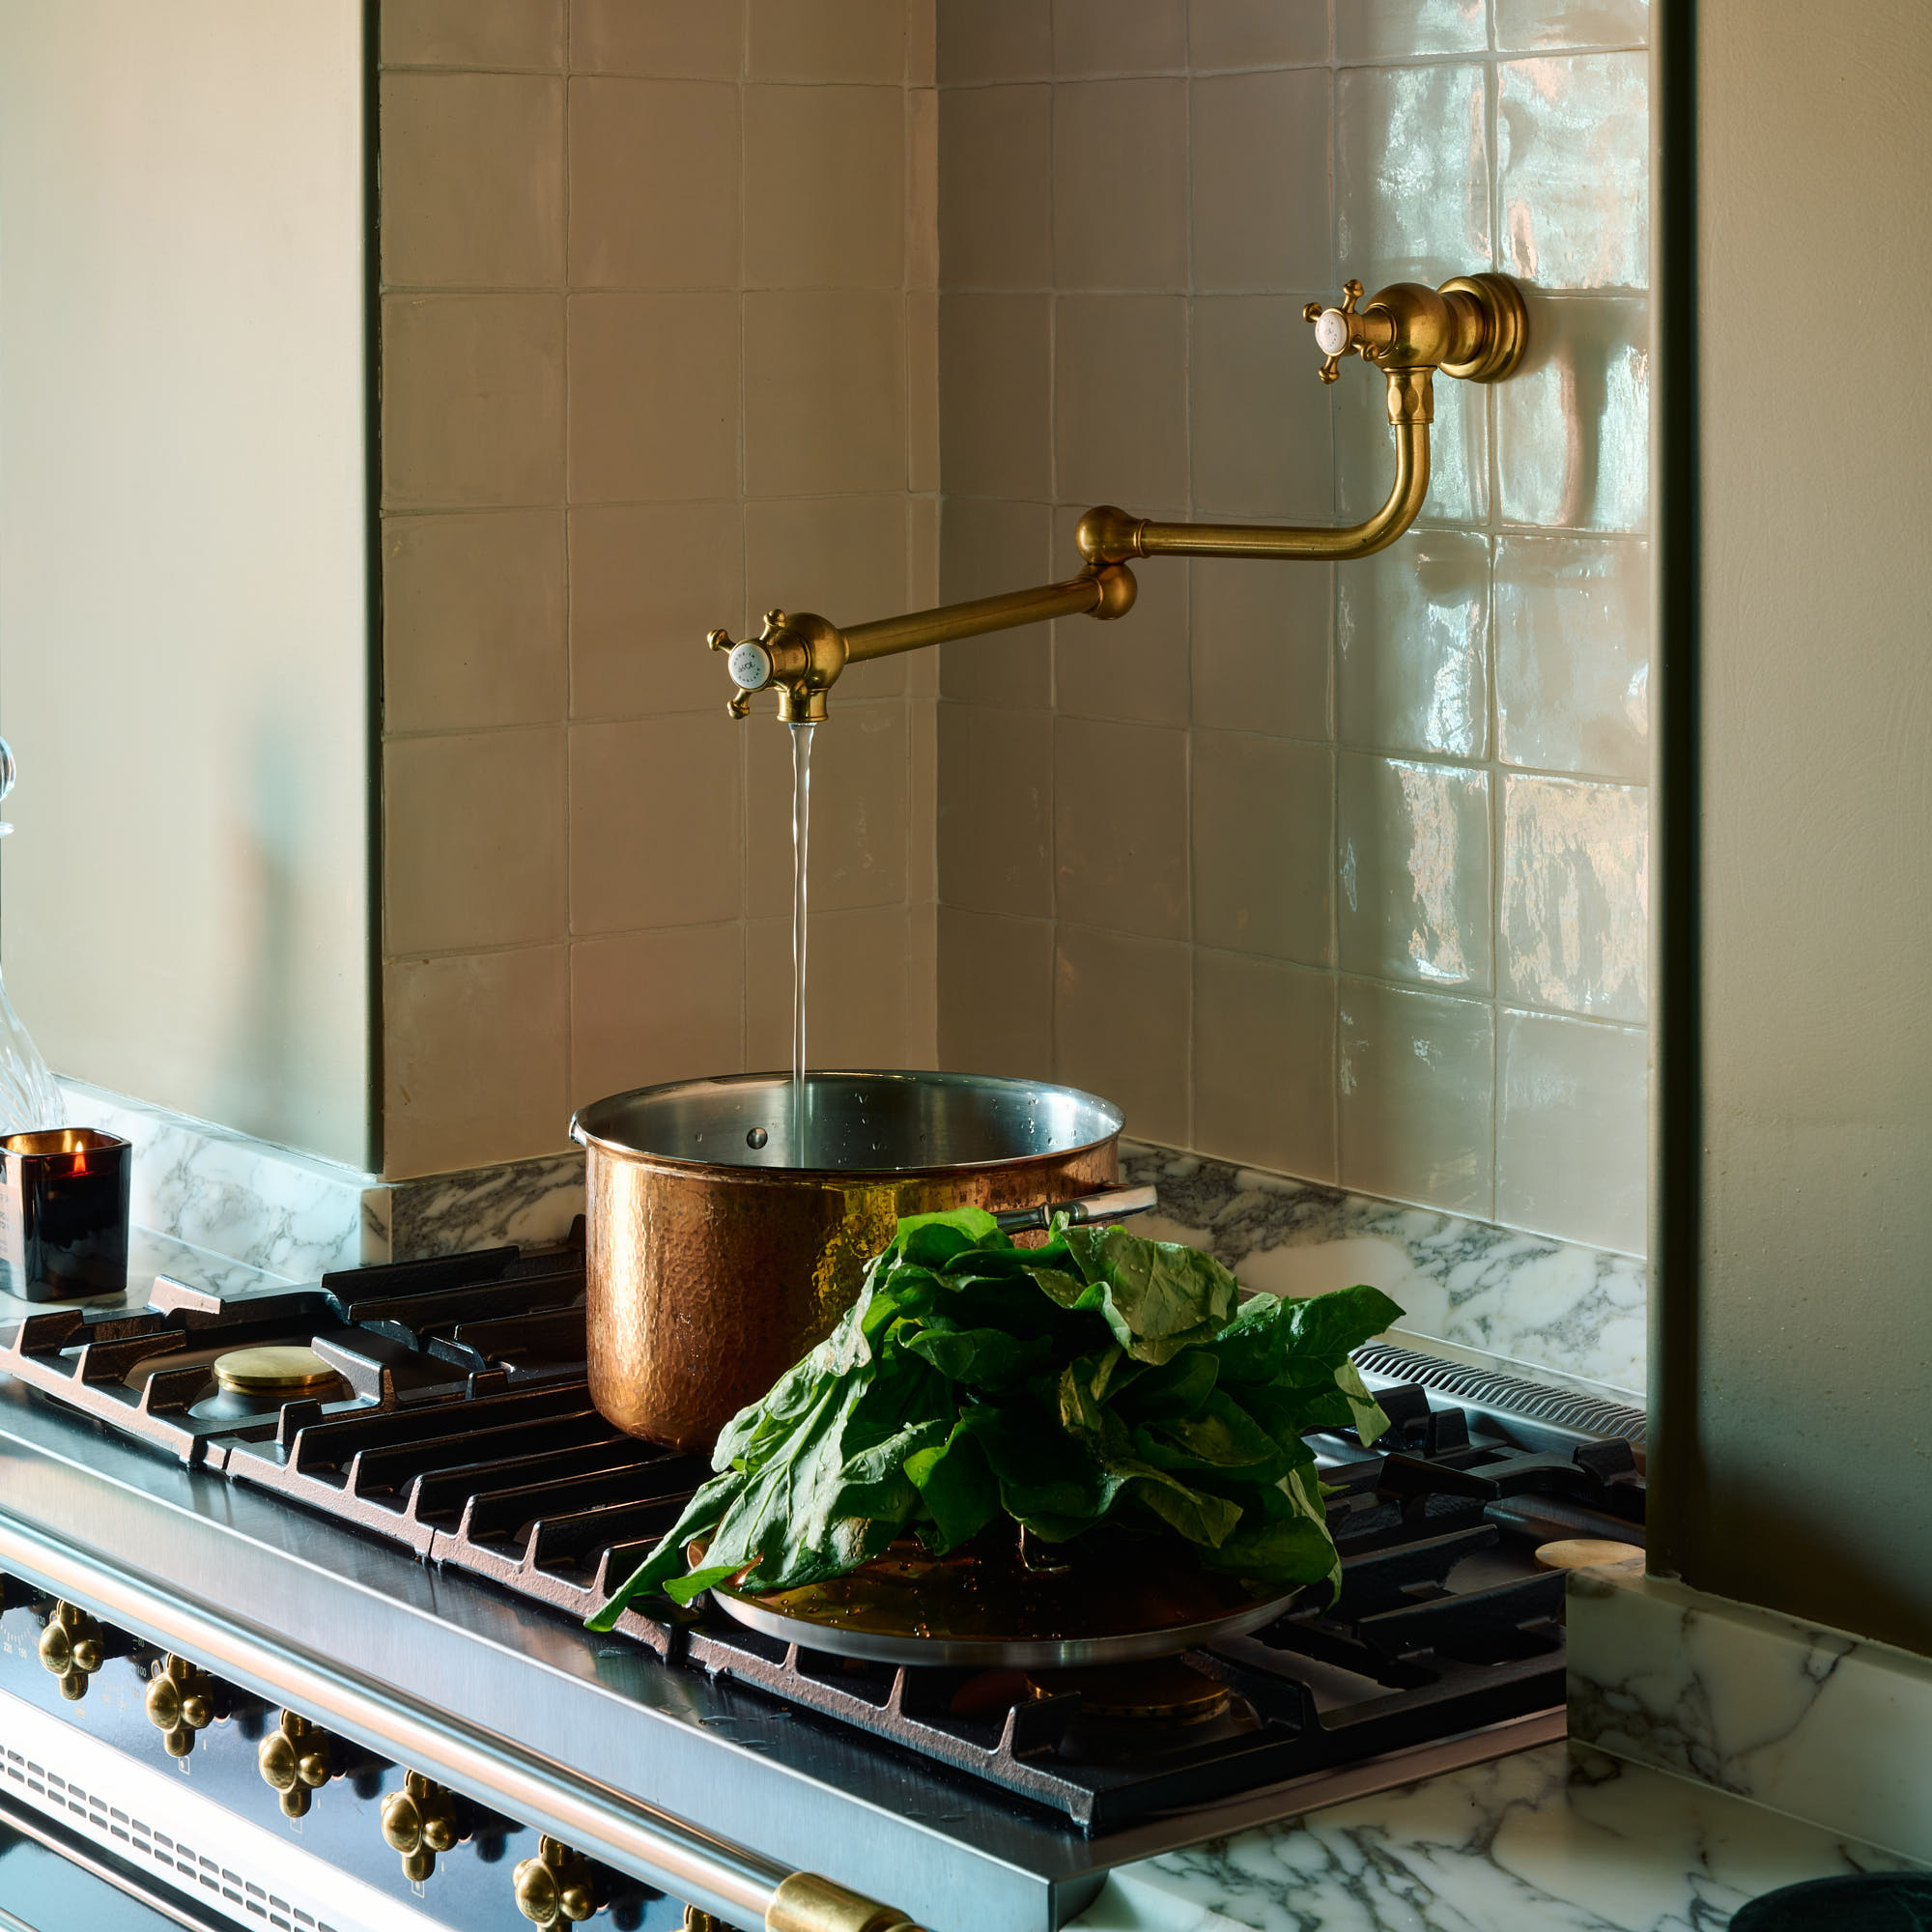 Should you invest in a pot filler or are they just a high-end kitchen fad? I asked kitchen experts whether they're set to be a trend beyond 2025
A high-low approach to kitchen design is the key to creating a stylish space in your budget
-
 Are conservatories going to be banned in the UK?
Conservatory pros reveal the truth behind the rumours


