How to store a strimmer for winter - from protecting the power source to choosing the perfect location
How will you be storing your strimmer this winter?


No matter whether you call it a strimmer or a trimmer, one thing we can all agree on is that it’s an essential garden gadget. From tidying up your lawn edges to tackling your overgrown garden, strimmers can make gardening a breeze. But when temperatures drop and you give your green fingers a break, you need to know how to store a strimmer for winter.
For the most part, the best strimmers rarely need too much TLC. Sure, you need to give them a brush every now and then when cleaning garden tools, but they tend to be fairly low-maintenance throughout the spring and summer months. When winter comes around, though, they need a little more attention - just like your lawn mower over winter.
As Jim Kirkwood, garden expert at Worx, explains, ‘Knowing how to store your grass trimmer for winter is a key part of product maintenance, and the better care you take of your products, the longer they’ll last for years to come.’ So, this is everything you need to know about how to store a strimmer for winter.
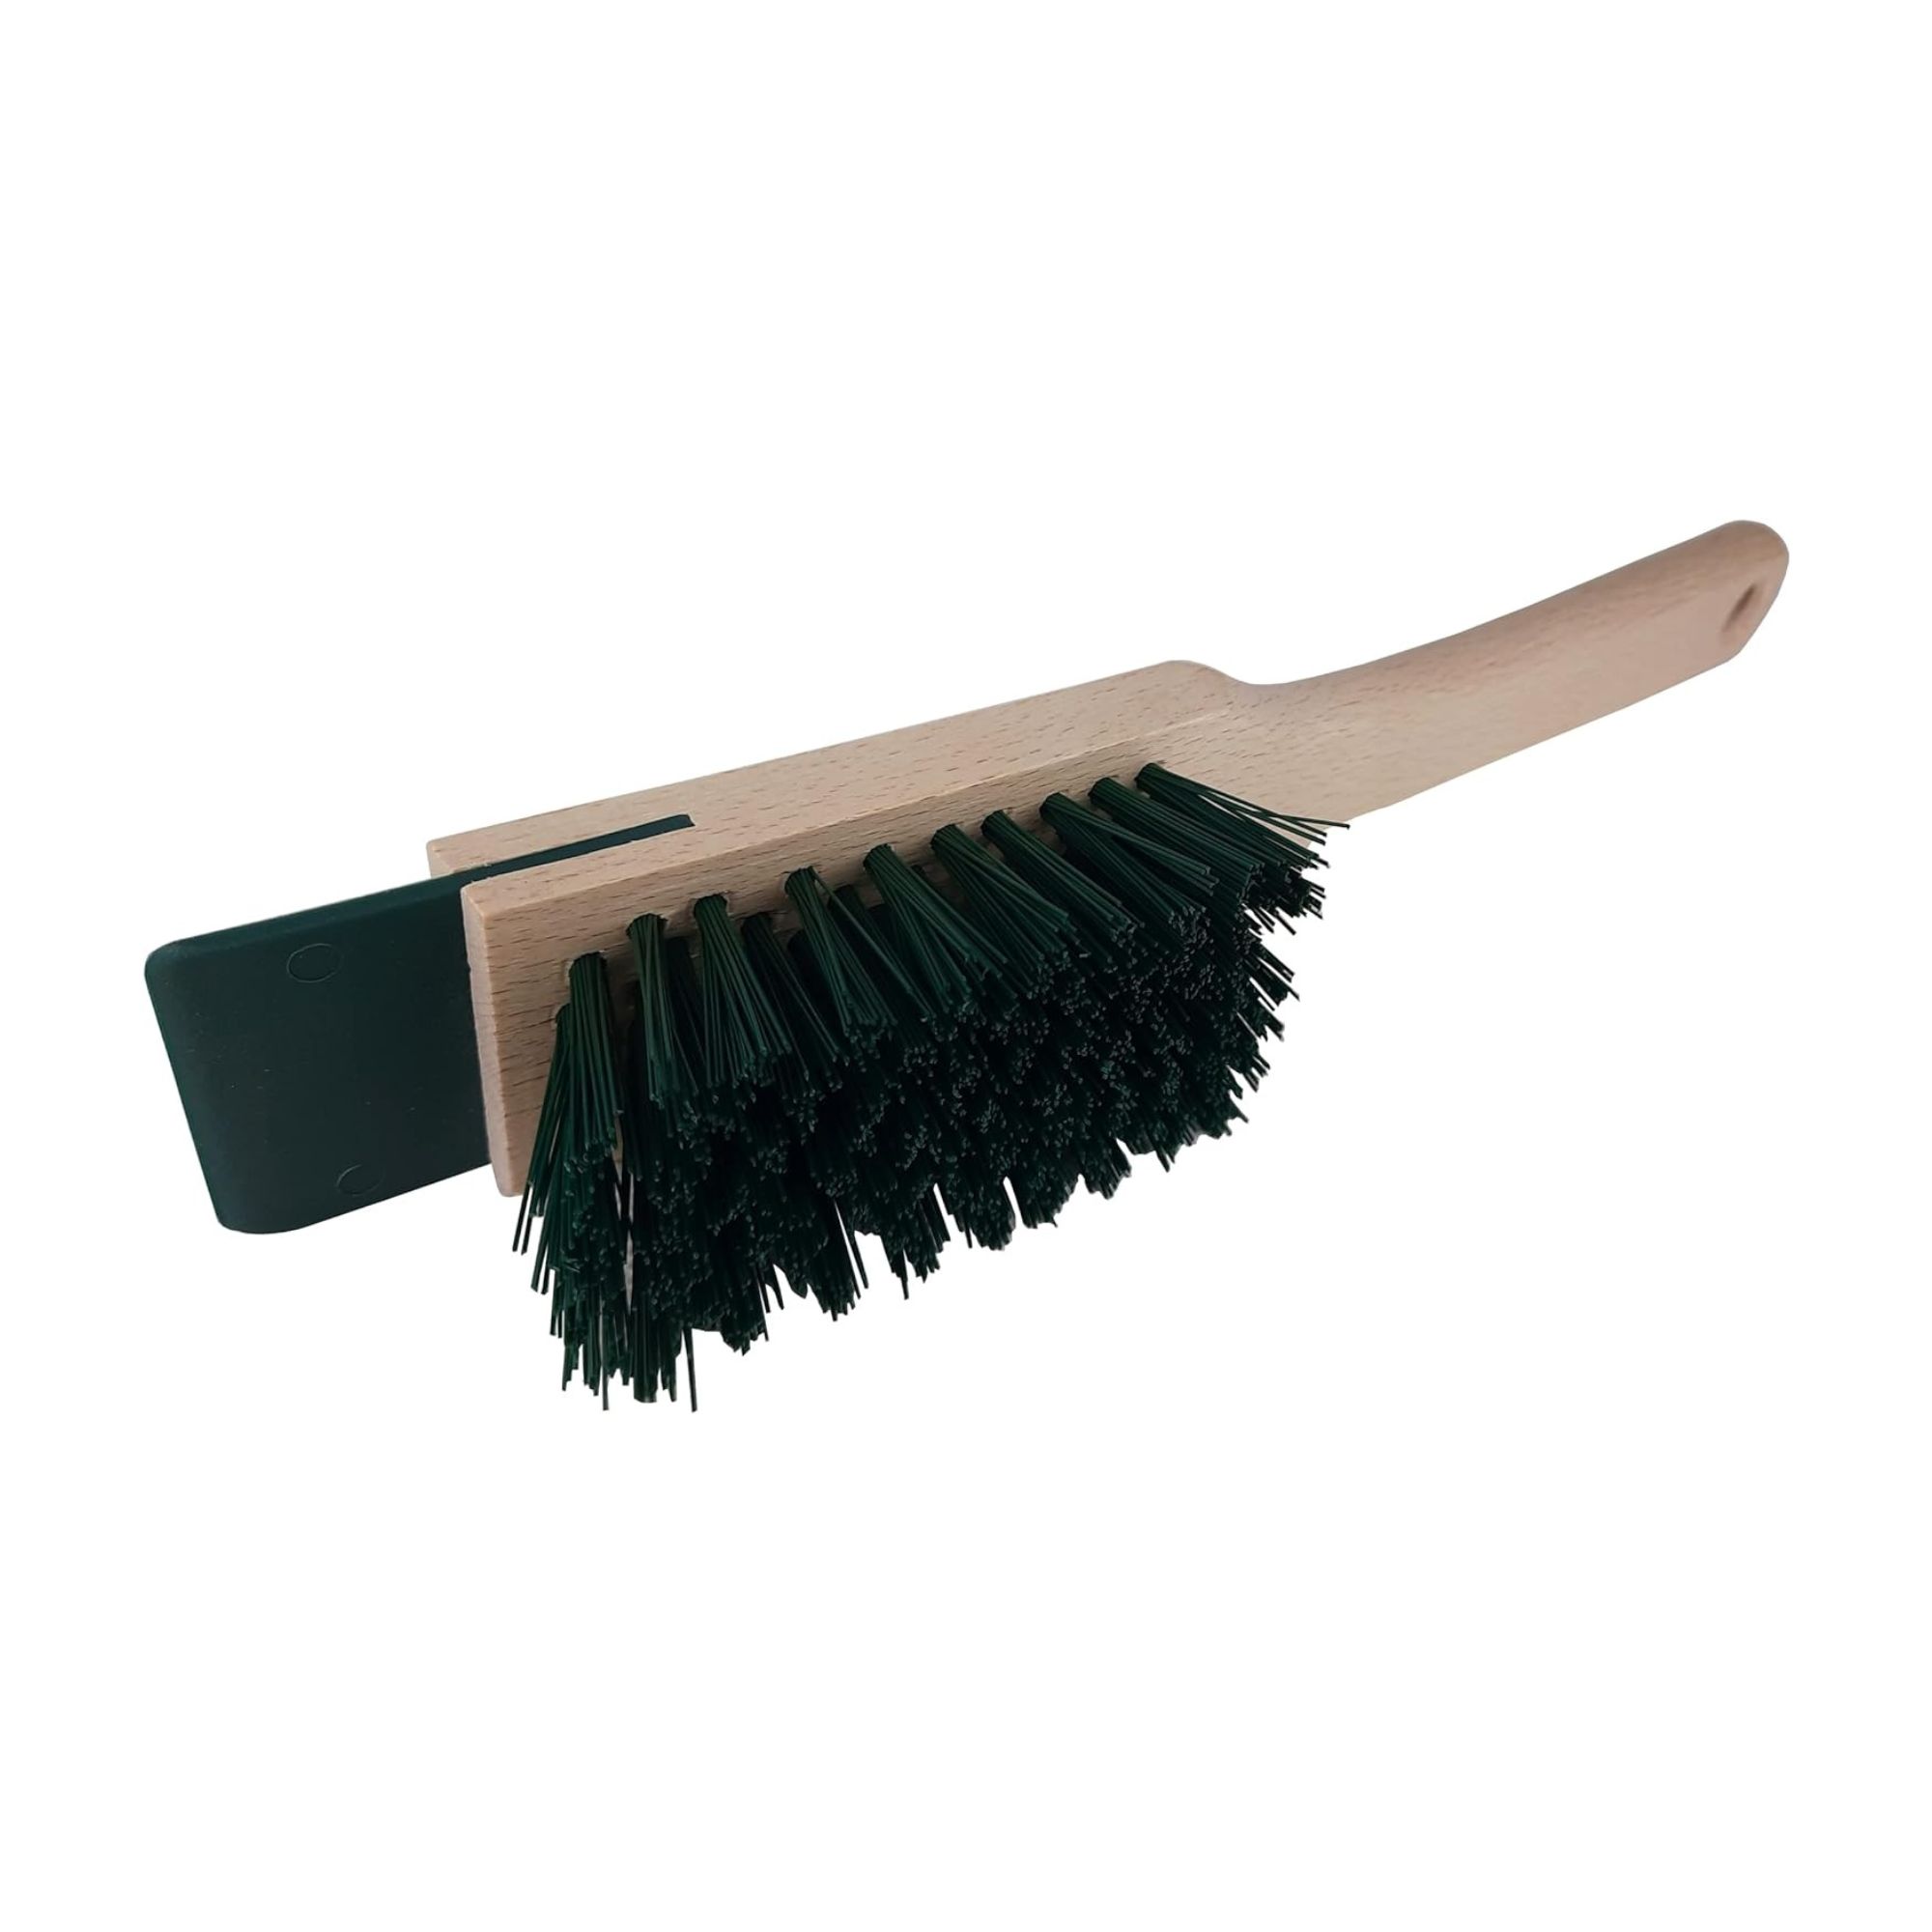
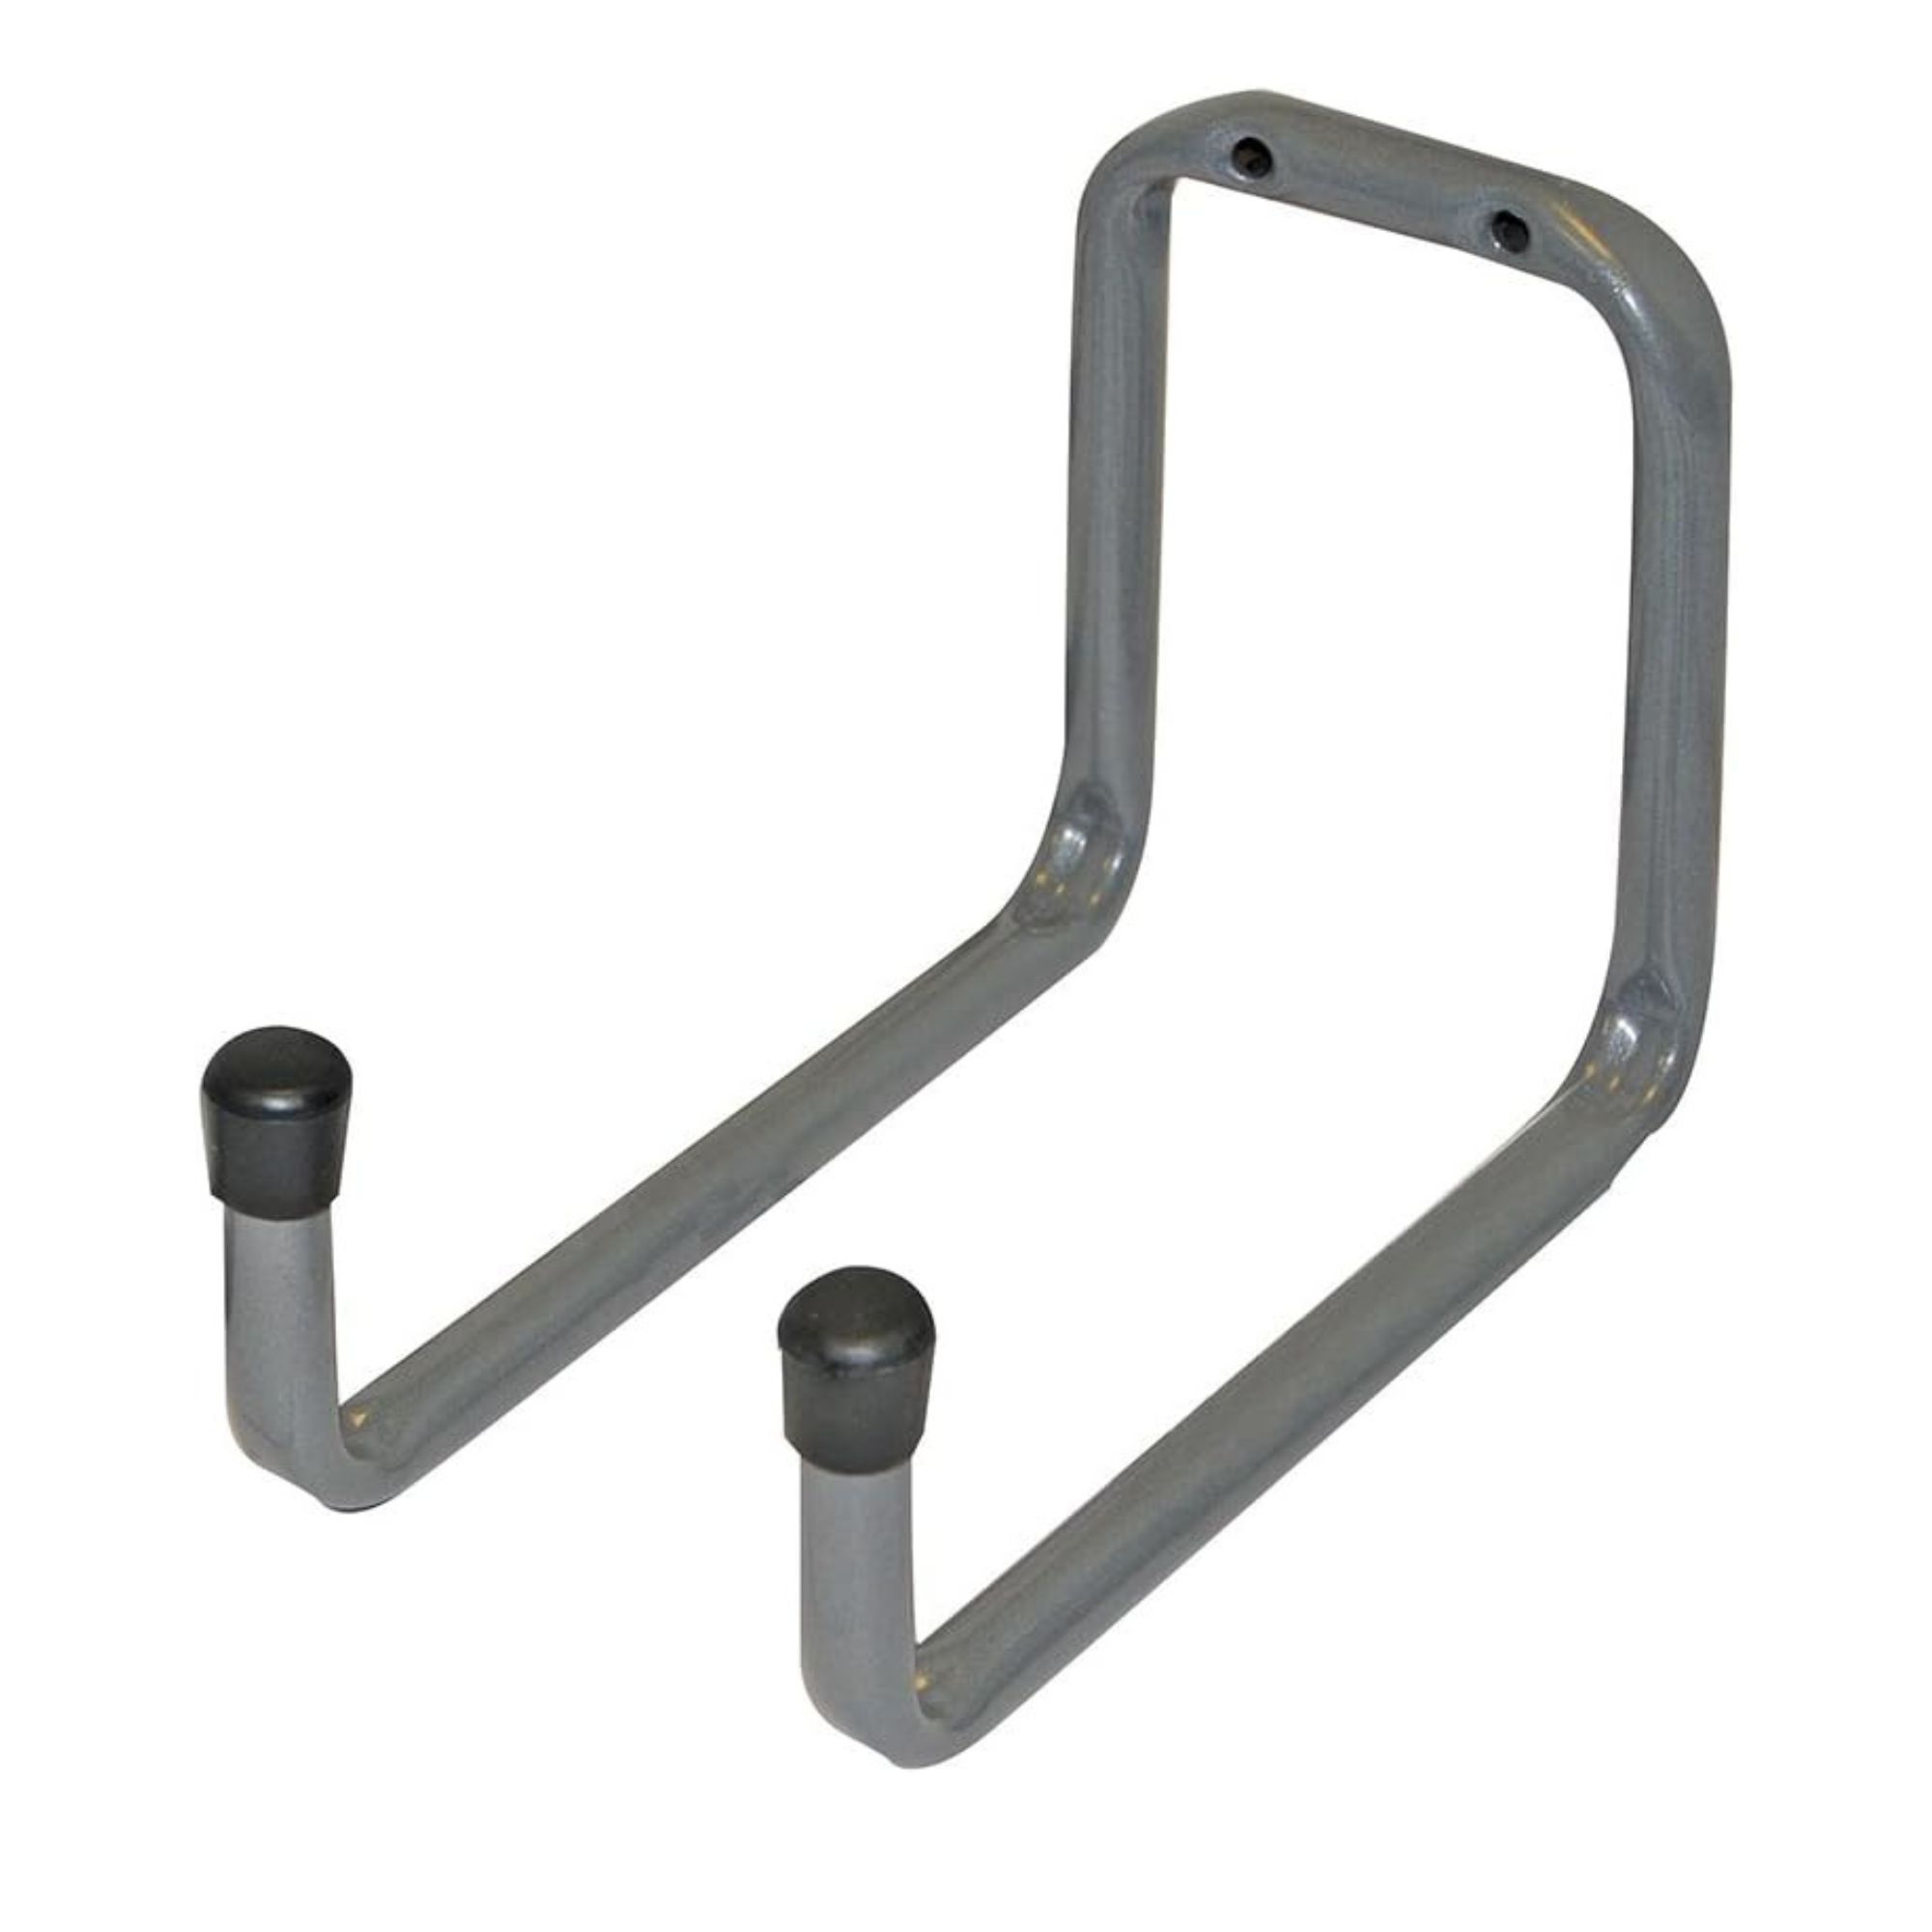
What you’ll need
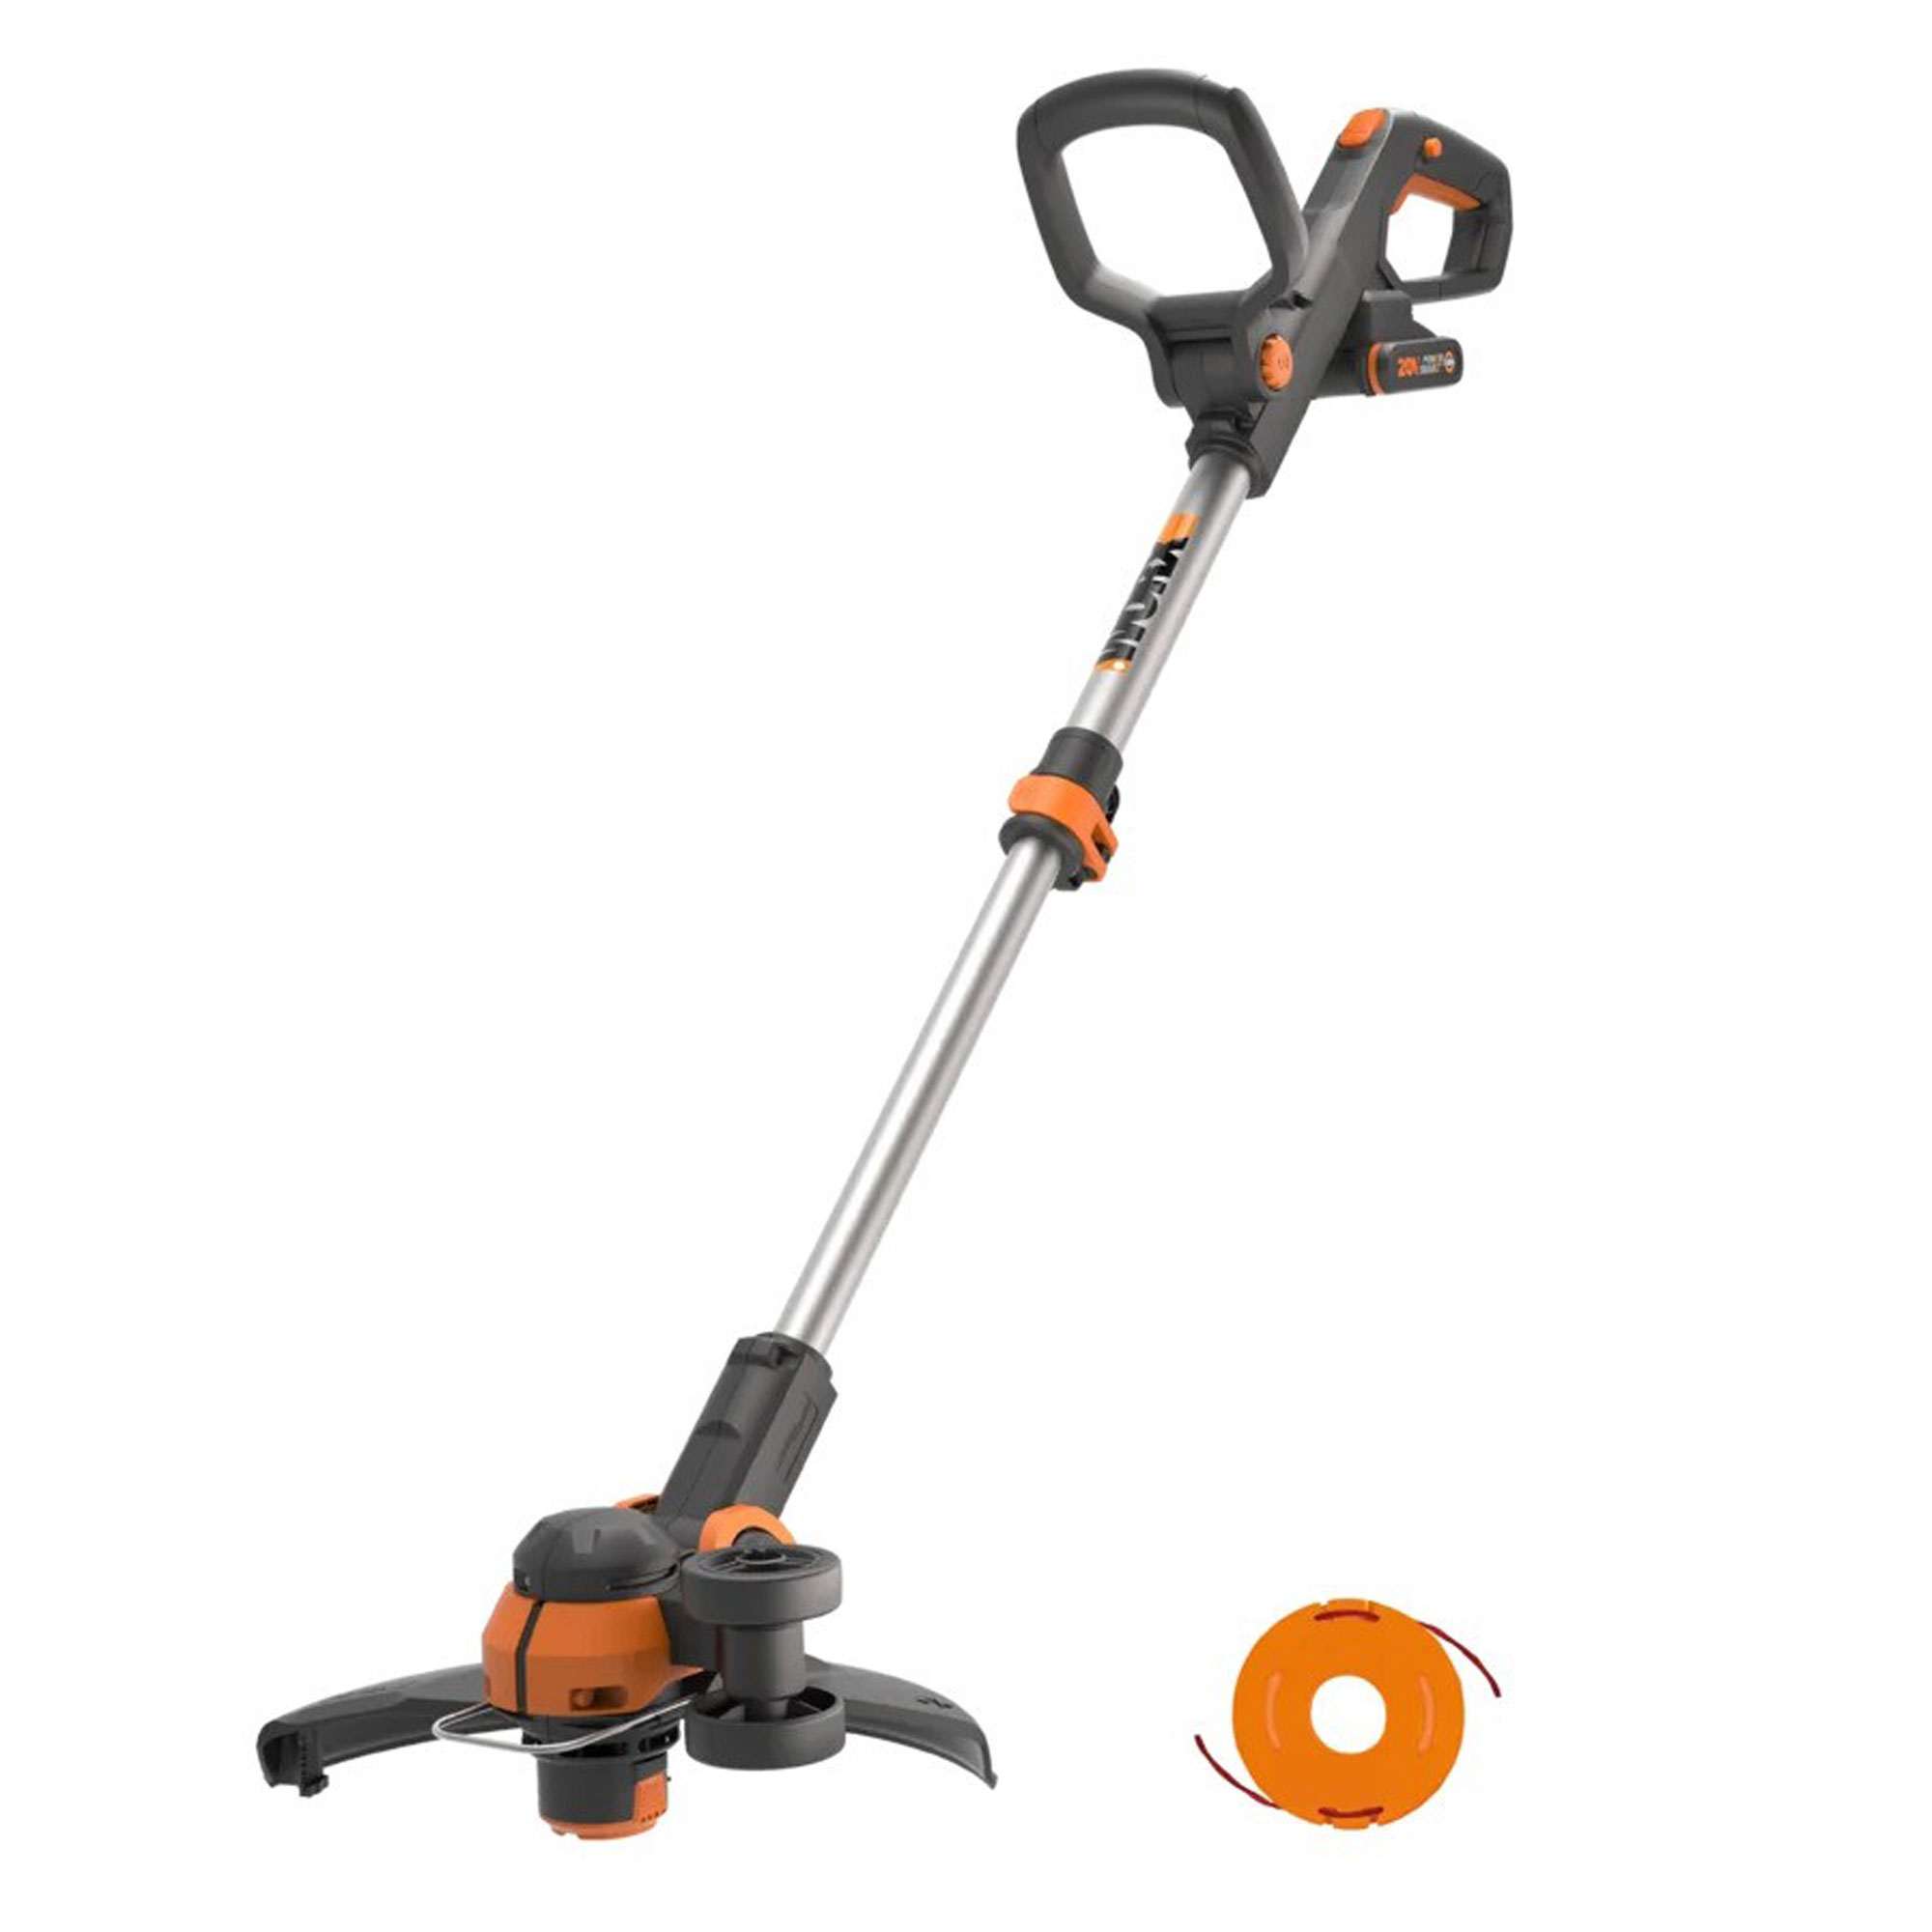
If you inspect your strimmer and find that it's damaged beyond repair, it's probably worth replacing it with something else that will survive the winter. Like this one.
Step-by-step
1. Give it a clean
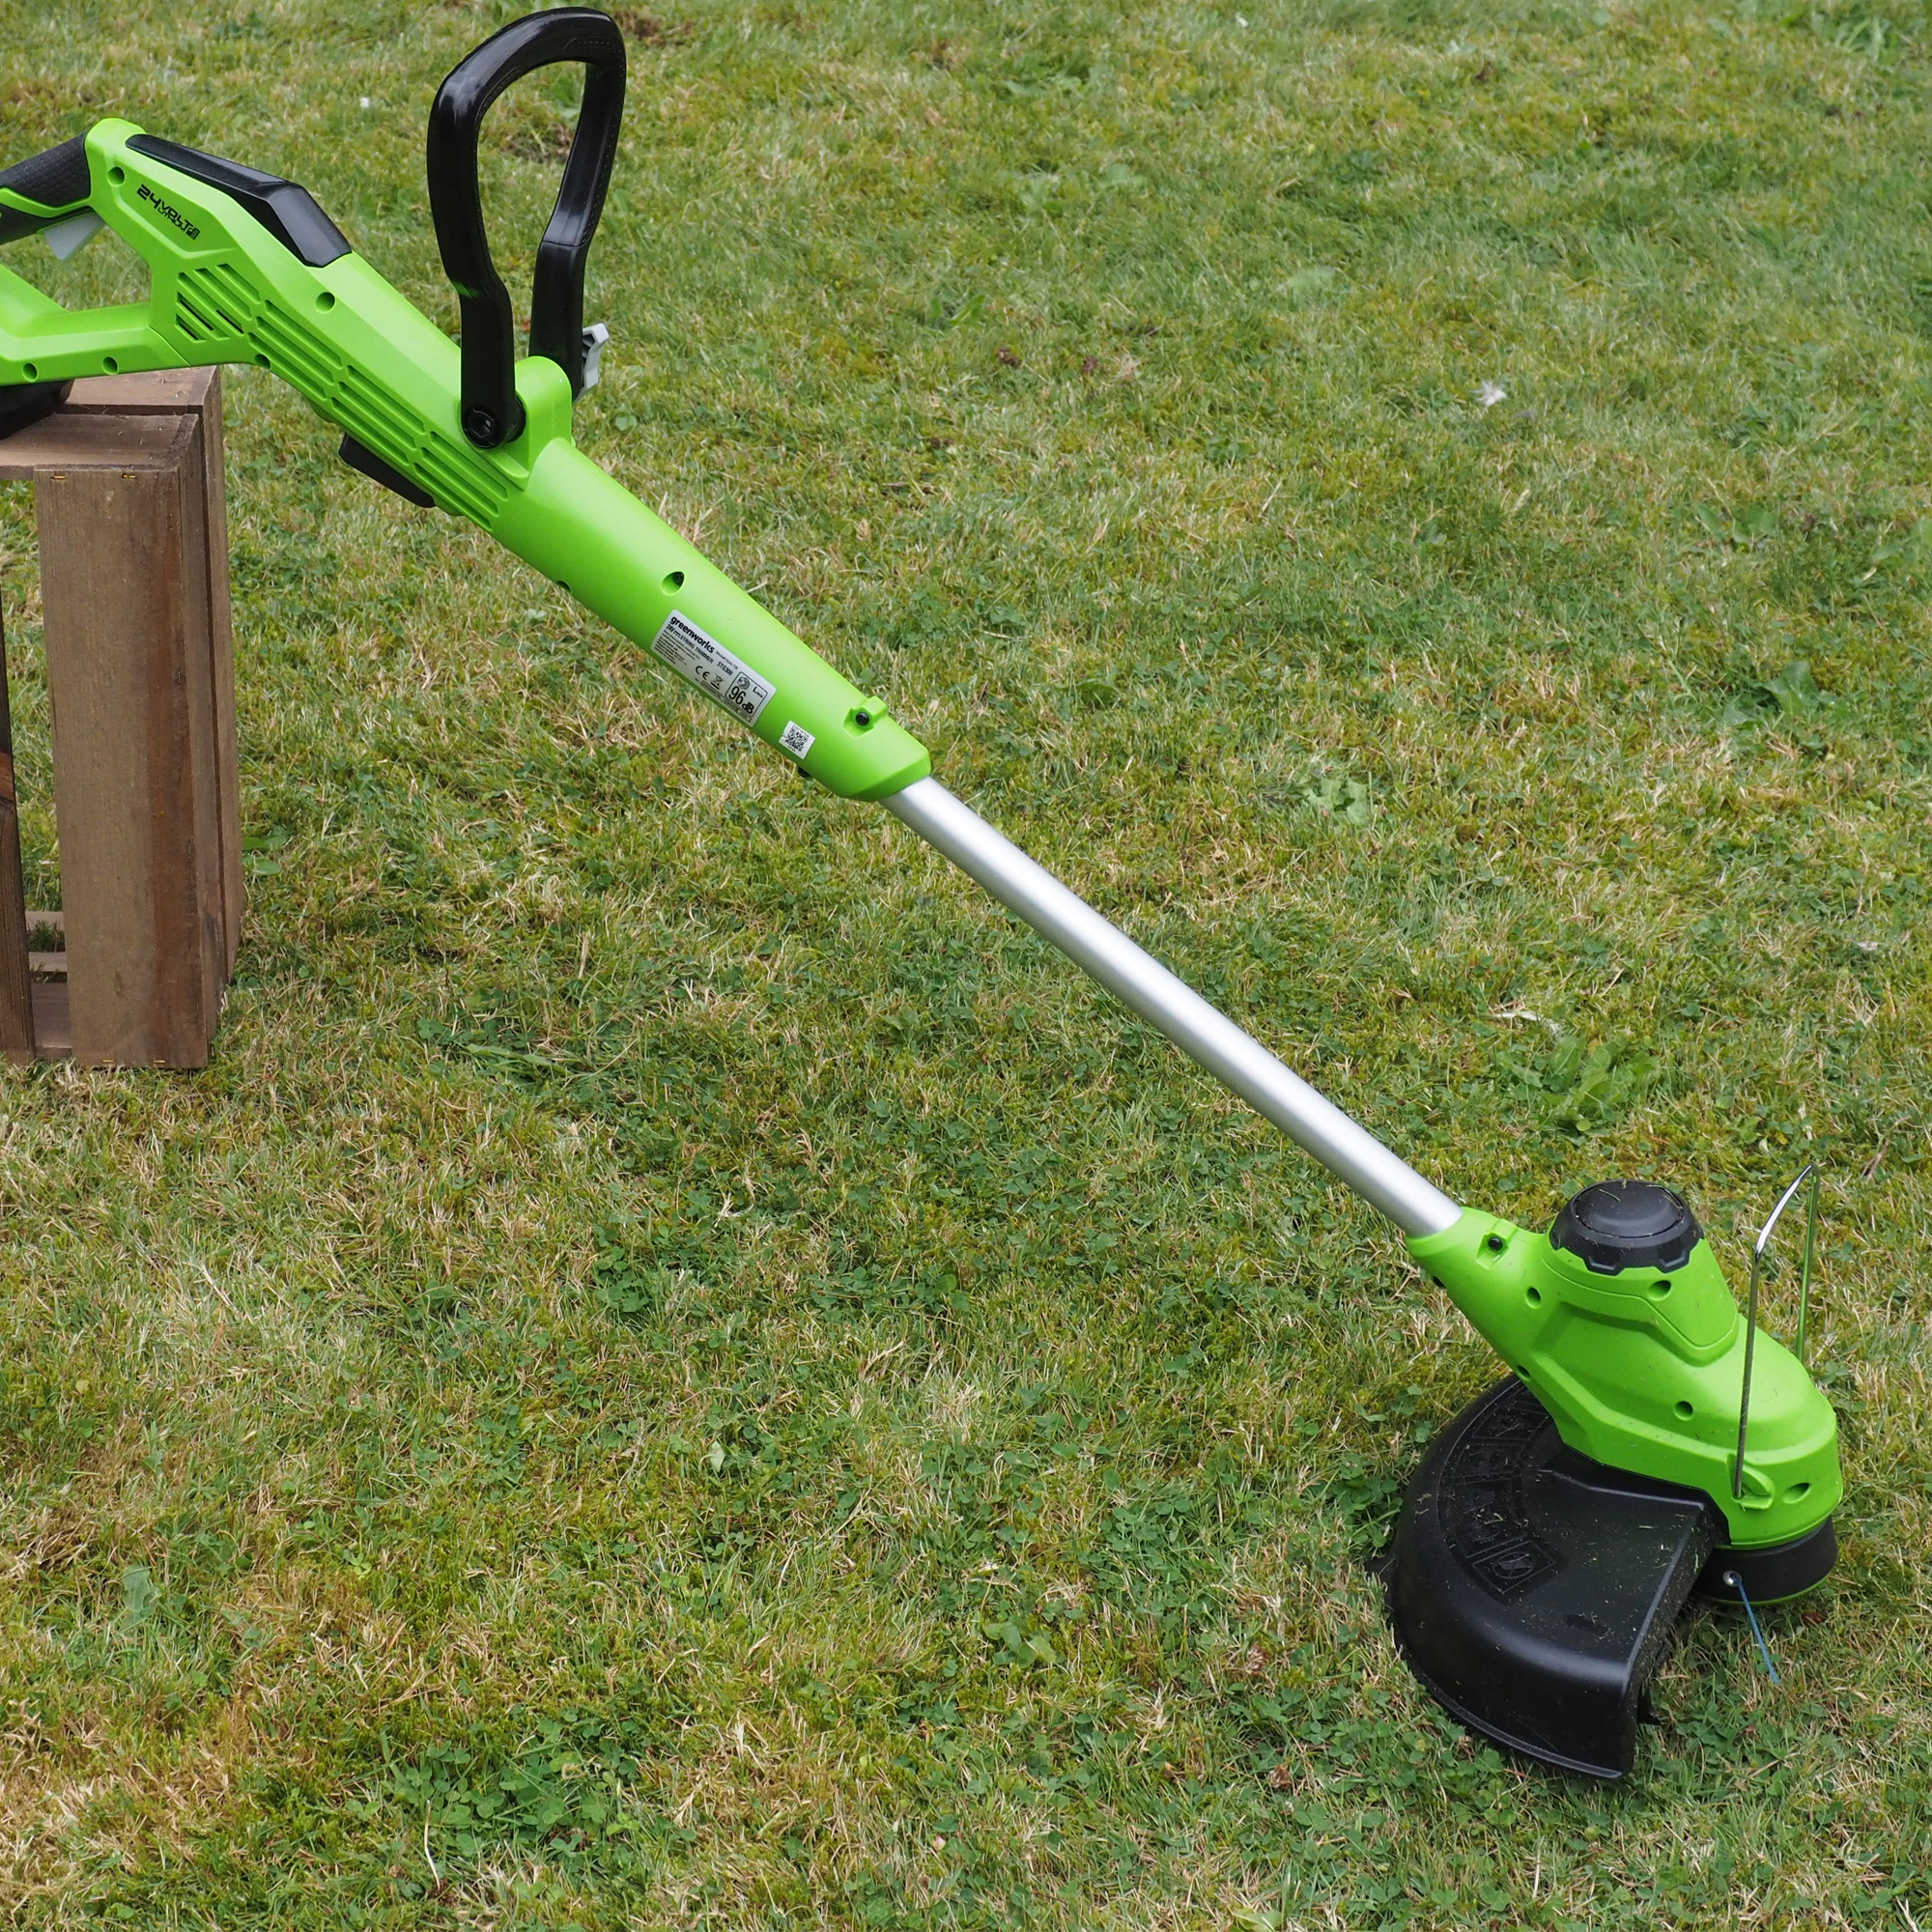
Before you store your strimmer for winter, you must clean it. Clogged grass can not only be an eyesore, but it can also affect the efficiency of your garden gadget come spring. So, spend a few minutes inspecting it and brushing off any debris.
If you have a corded strimmer, unplug the cord and remove the spark plug to ensure it doesn’t accidentally turn on while you’re doing this. If you have a battery-powered strimmer, however, you can simply remove the battery. And if you have a petrol-powered strimmer, always drain the fuel tank.
Jim explains, ‘The cleaning process may vary depending on the type of trimmer you own, so always consult your manufacturer’s manual before getting started. Then, gather a sturdy pair of gloves, a clean cloth and a plastic brush to safely complete the cleaning without scratching any of the trimmer’s surfaces. Wipe away any dirt and grass clippings that may have accumulated over time, taking particular care around the guard.’
While you’re at it, it’s also a good idea to give your trimmer a once-over. Take this opportunity to look for any damage that must be addressed, paying particular attention to the cord of a corded strimmer.
Sign up to our newsletter for style inspiration, real homes, project and garden advice and shopping know-how

A seasoned garden expert, Jim serves as the director of product management at Worx, where he has spent the past 11 years. Following two decades in the garden industry, Jim is passionate about battery power and focuses much of his time innovating and working on Worx’s powerful and interchangeable Powershare battery system.
2. Inspect the strimmer line
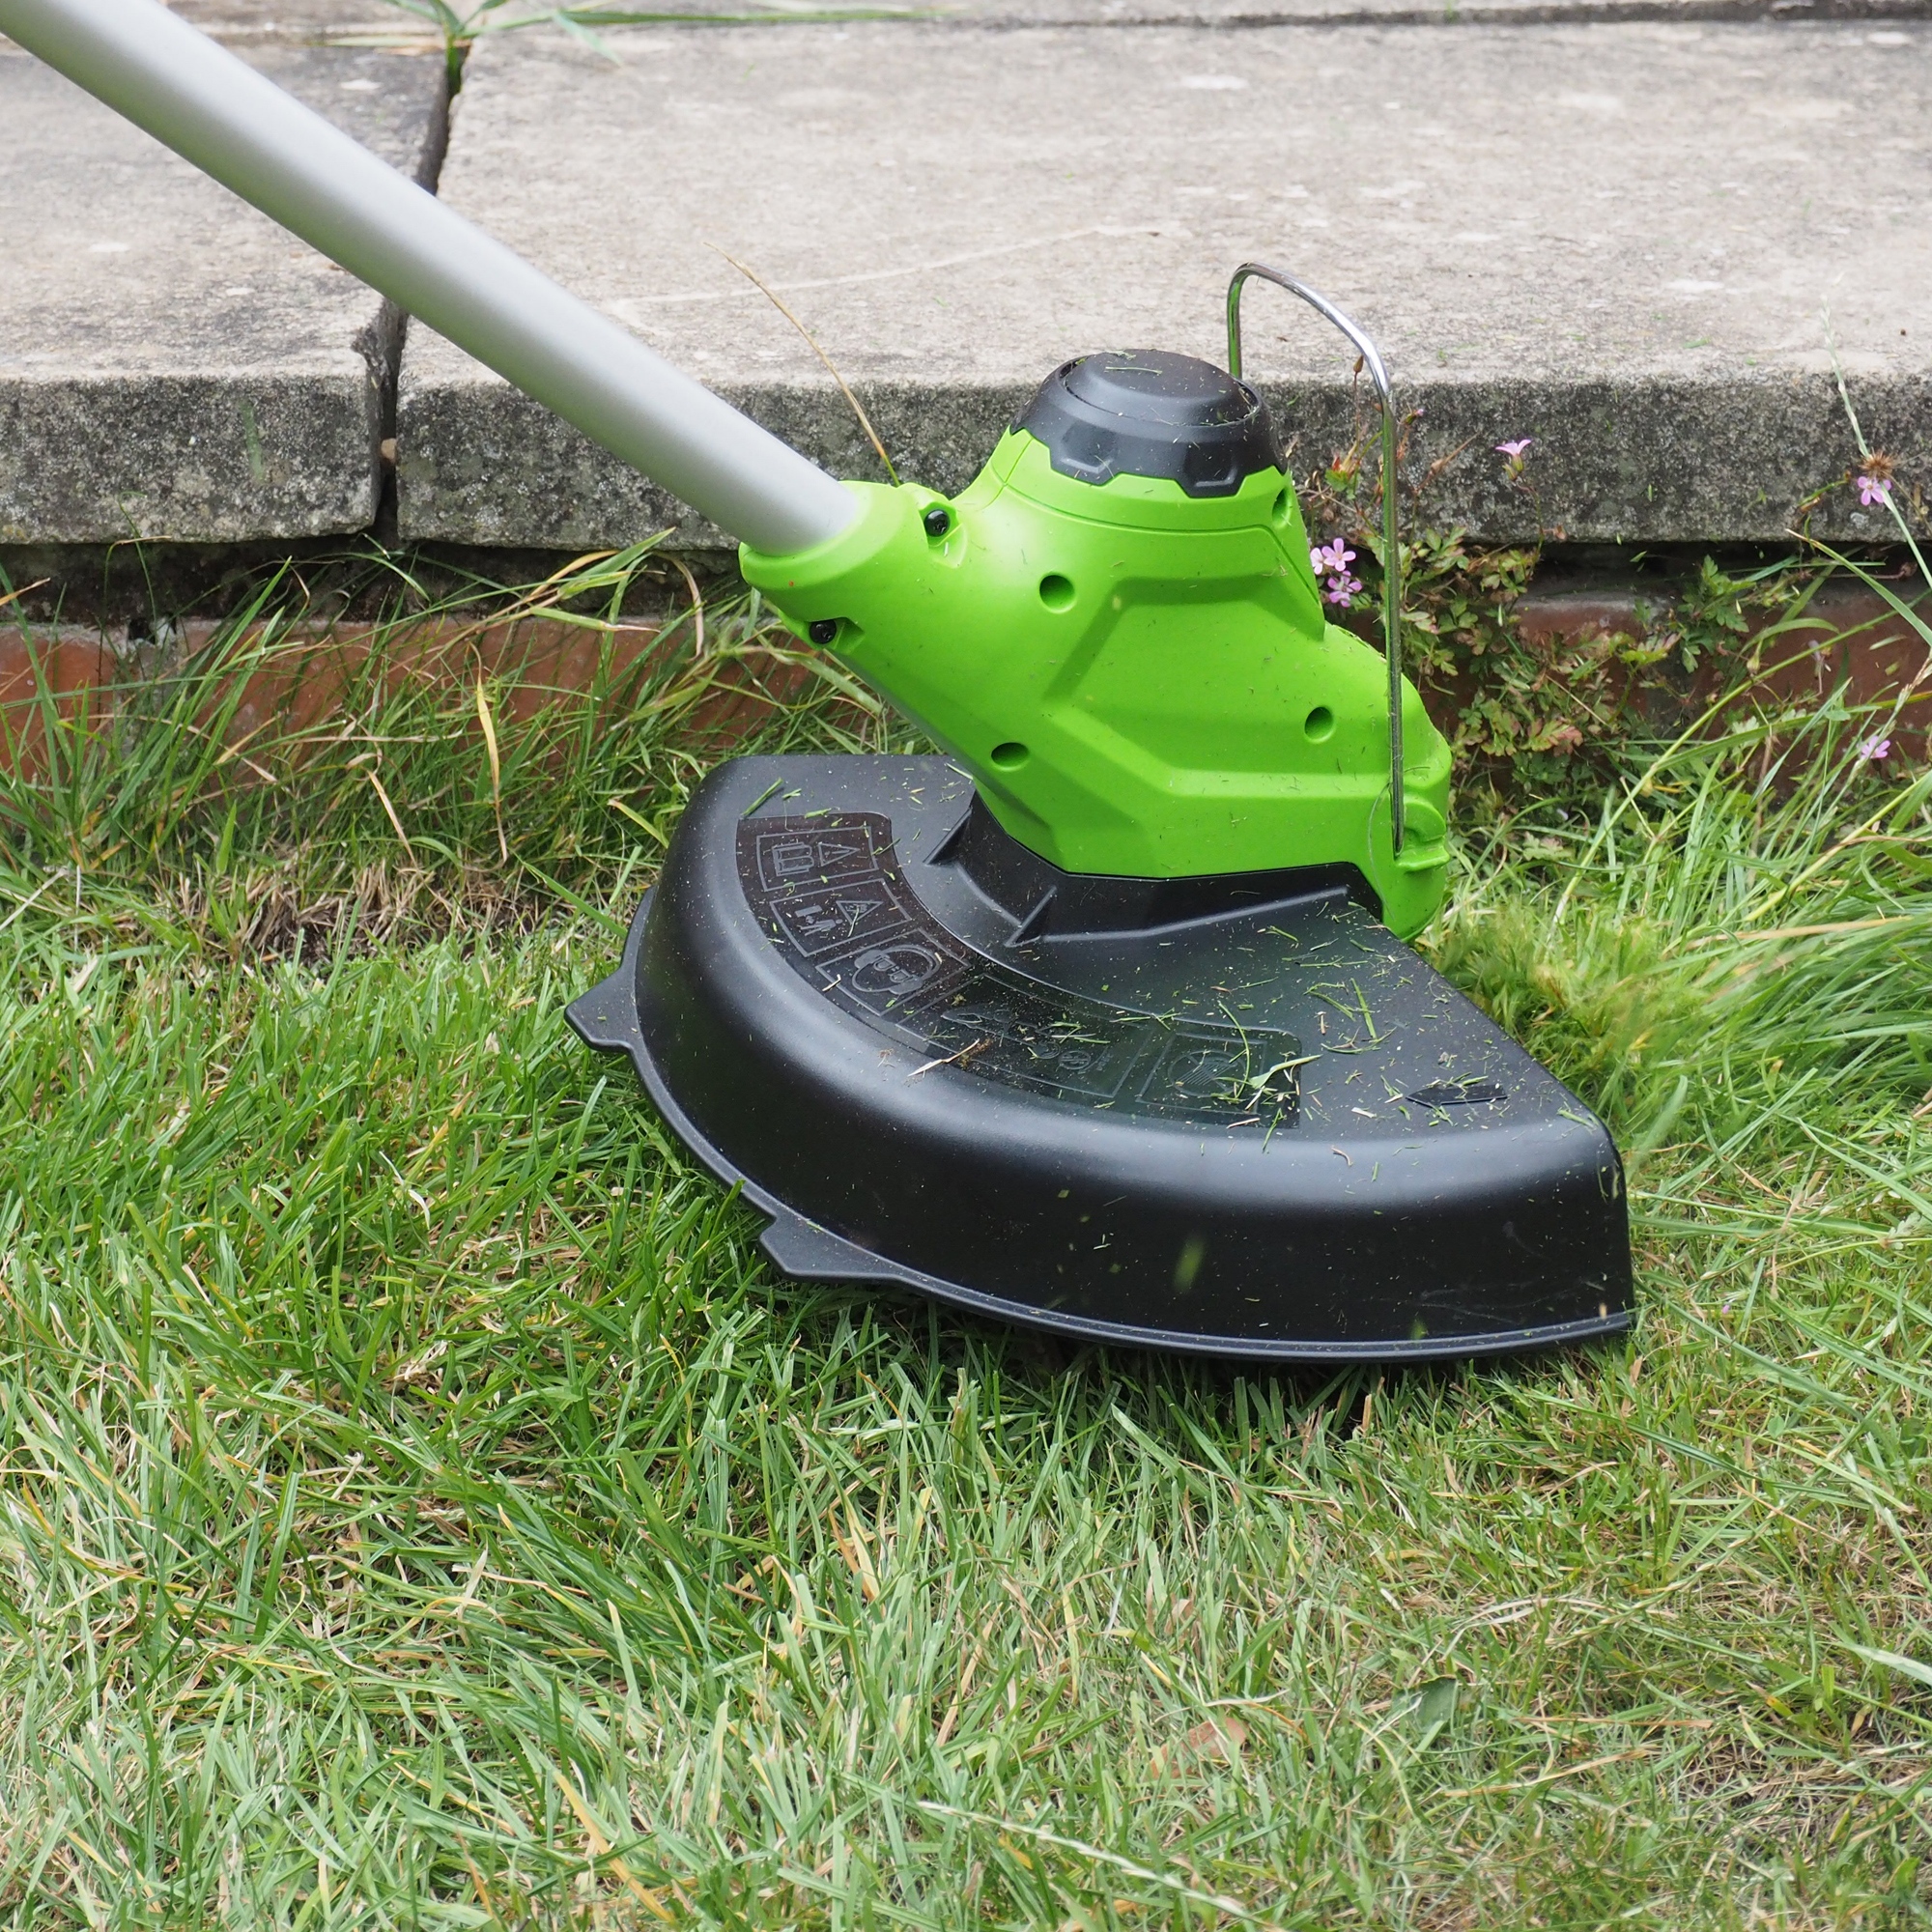
A strimmer wouldn’t be a strimmer without a strimmer line, as it’s this line that cuts your grass when you’re in the midst of your lawn care efforts. Because of this, you need to make sure that this strimmer line is in full working order before winter.
Peter Chaloner, managing director of Cobra says, ‘Take a look at the spool and line. If the line looks frayed or worn, replace it now, so you’re ready to go next spring.’
He adds, ‘If there’s excess line, consider unwinding it. The cold can make it brittle, so this way, you’ll avoid issues when you fire it up again.’
3. Store the battery separately, if necessary
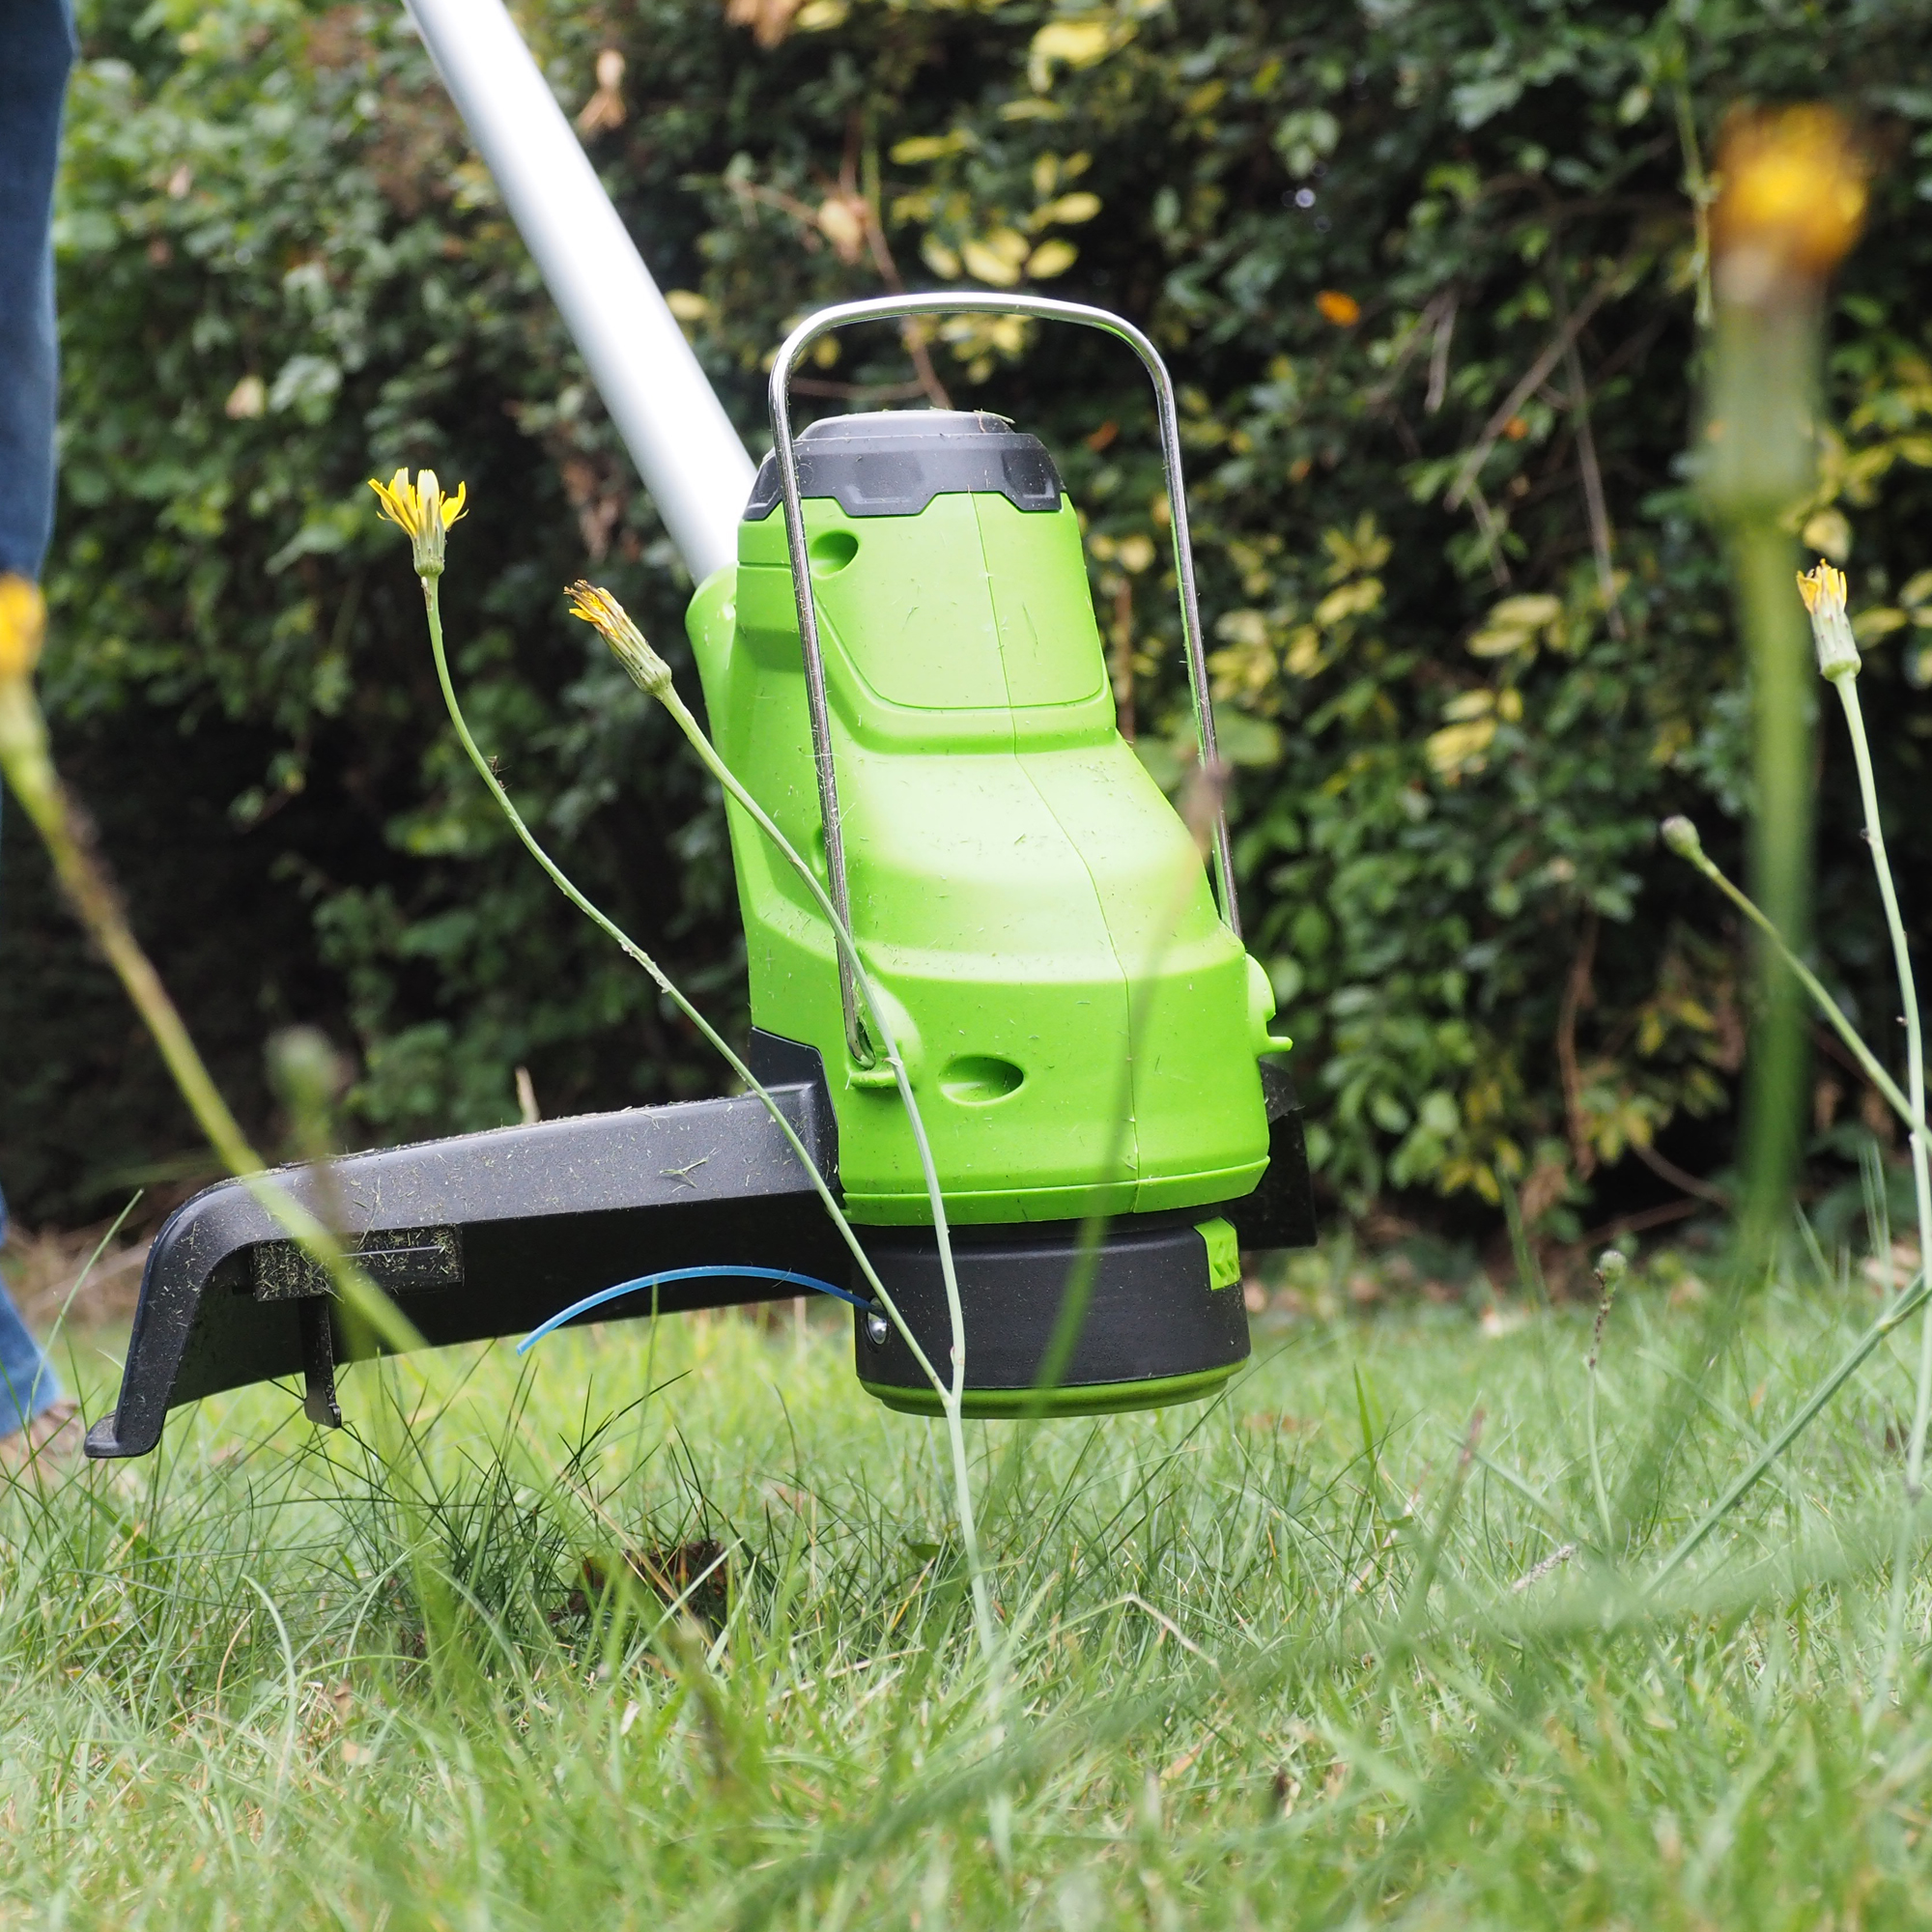
One thing you might not realise is that there are many things you shouldn’t store in a shed over winter, and your strimmer battery is one of them (if you have a battery-powered strimmer). In fact, doing so can reduce the lifespan of your battery-powered strimmer and, in extreme cases, could damage it beyond repair.
So, you should always remove them and store them separately when storing a strimmer for winter. There are some other tricks you can use to make your batteries last longer, too.
‘A top tip for packing away batteries is to keep them partially charged,’ says Jim, ‘as many users don’t realise that storing batteries fully drained can shorten their overall lifespan. Store the batteries in a cool, dry place (avoiding freezing temperatures) and away from any direct sunlight. Leaky sheds are not the best place for storing batteries, so bring them indoors if you can’t guarantee a dry environment.’
4. Choose the perfect storage location

While there are so many garden storage ideas out there, it’s essential to choose the right one when storing your strimmer for winter. After all, choosing the wrong location could spell disaster for your strimmer.
Peter says, ‘Find a dry spot like your garage or shed to store the strimmer. Keeping it out of damp environments will help prevent rust and extend its life.’
5. Hang on the wall, if possible
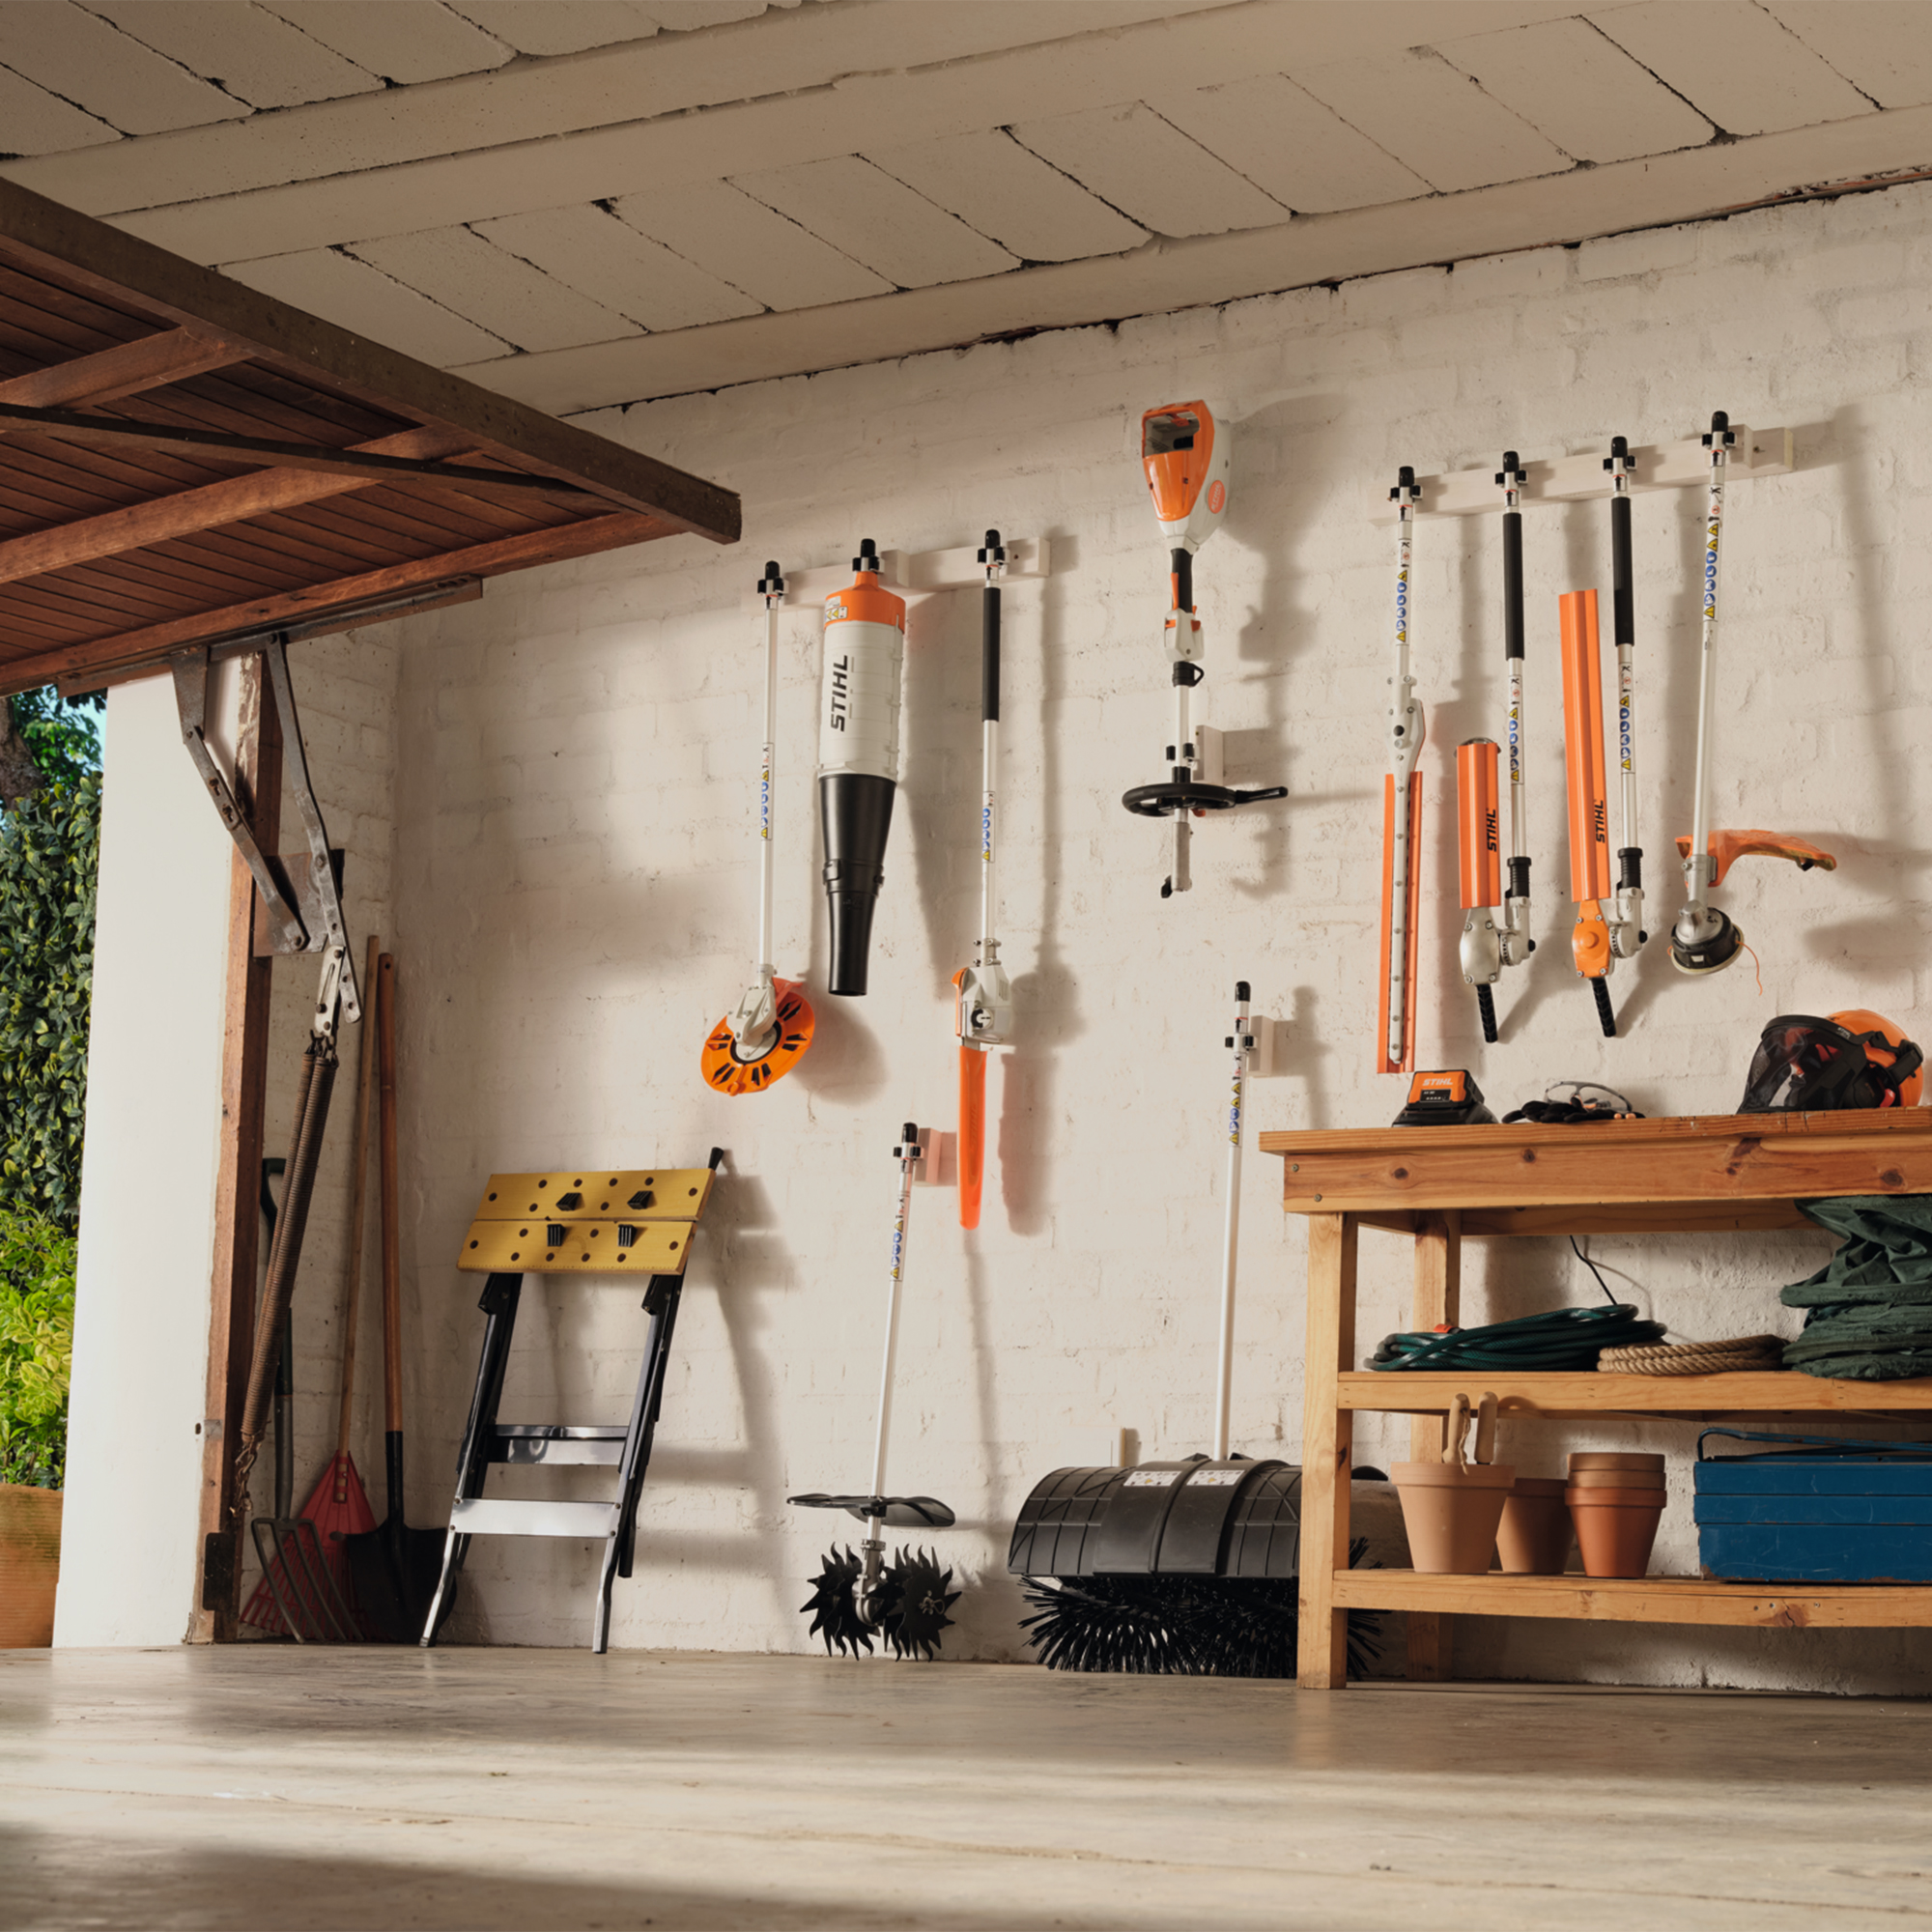
Although there are some restrictions that mean you might not be able to store a lawn mower on the wall, there’s a little more flexibility when it comes to storing a strimmer for winter. Storing it on a wall is actually encouraged.
Jim warns, ‘Storing trimmers on the ground for extended periods of time can cause guards to bend under the machine’s weight. To prevent this from happening, lay your trimmer horizontally on a shelf or hang it vertically from a hook to ensure safe and space-efficient storage.’
Of course, if you choose to store your strimmer in the shed, it’s also a good idea to prepare your shed for winter - just in case it springs a leak and damages your strimmer in the process.
FAQs
How do you store a petrol strimmer?
Petrol strimmers arguably aren’t as common as electric or battery-powered strimmers, but you still need to know how to store them properly - especially if you want them to survive the cold winter months. So, aim to do the following:
- Drain the fuel tank so there’s no petrol left over winter.
- Give it one last clean before winter.
- Store upright and hang from a wall, if possible, to avoid leaks.
Can you leave petrol in a strimmer?
No, you should never leave petrol in a strimmer - especially when storing a strimmer for winter. If left in the strimmer, the petrol may leak out of the machine and cause internal damage. Plus, it could stain the floor in your garage or shed.
Alongside this, petrol left in a strimmer can gum together and cause internal blockages that will affect the strimmer in the long run. You may even find that it doesn’t want to start up when you get it out of storage in the spring.
Peter Chaloner from Cobra says, ‘Old fuel can clog the carburettor and make it hard to start up later. But if you don’t want to drain it, you can add some fuel stabiliser and let the engine run for a couple of minutes to get the stabiliser circulating through the system.’
Why won't my strimmer start after winter?
If your strimmer won’t start after winter, there’s a high chance that it wasn’t stored properly and suffered damage over the cold and winter months. This could be caused by anything, from a leak in your shed to freezing cold temperatures and even pest damage.
Because of this, it’s extremely important to follow the rules when storing a strimmer for winter. This way, you won’t get any nasty surprises come spring.
So, there you have it. That's how you correctly store a strimmer for winter.

Lauren Bradbury has been the Content Editor for the House Manual section since January 2025 but worked with the team as a freelancer for a year and a half before that. She graduated with a Bachelor’s degree in English and Creative Writing from the University of Chichester in 2016. Then, she dipped her toe into the world of content writing, primarily focusing on home content. After years of agency work, she decided to take the plunge and become a full-time freelancer for online publications, including Real Homes and Ideal Home, before taking on this permanent role. Now, she spends her days searching for the best decluttering and cleaning hacks and creating handy how-to guides for homeowners and renters alike, as well as testing vacuums as part of her role as the Ideal Home Certified Expert in Training on Vacuums, having spent over 110 hours testing different vacuum models to date!
