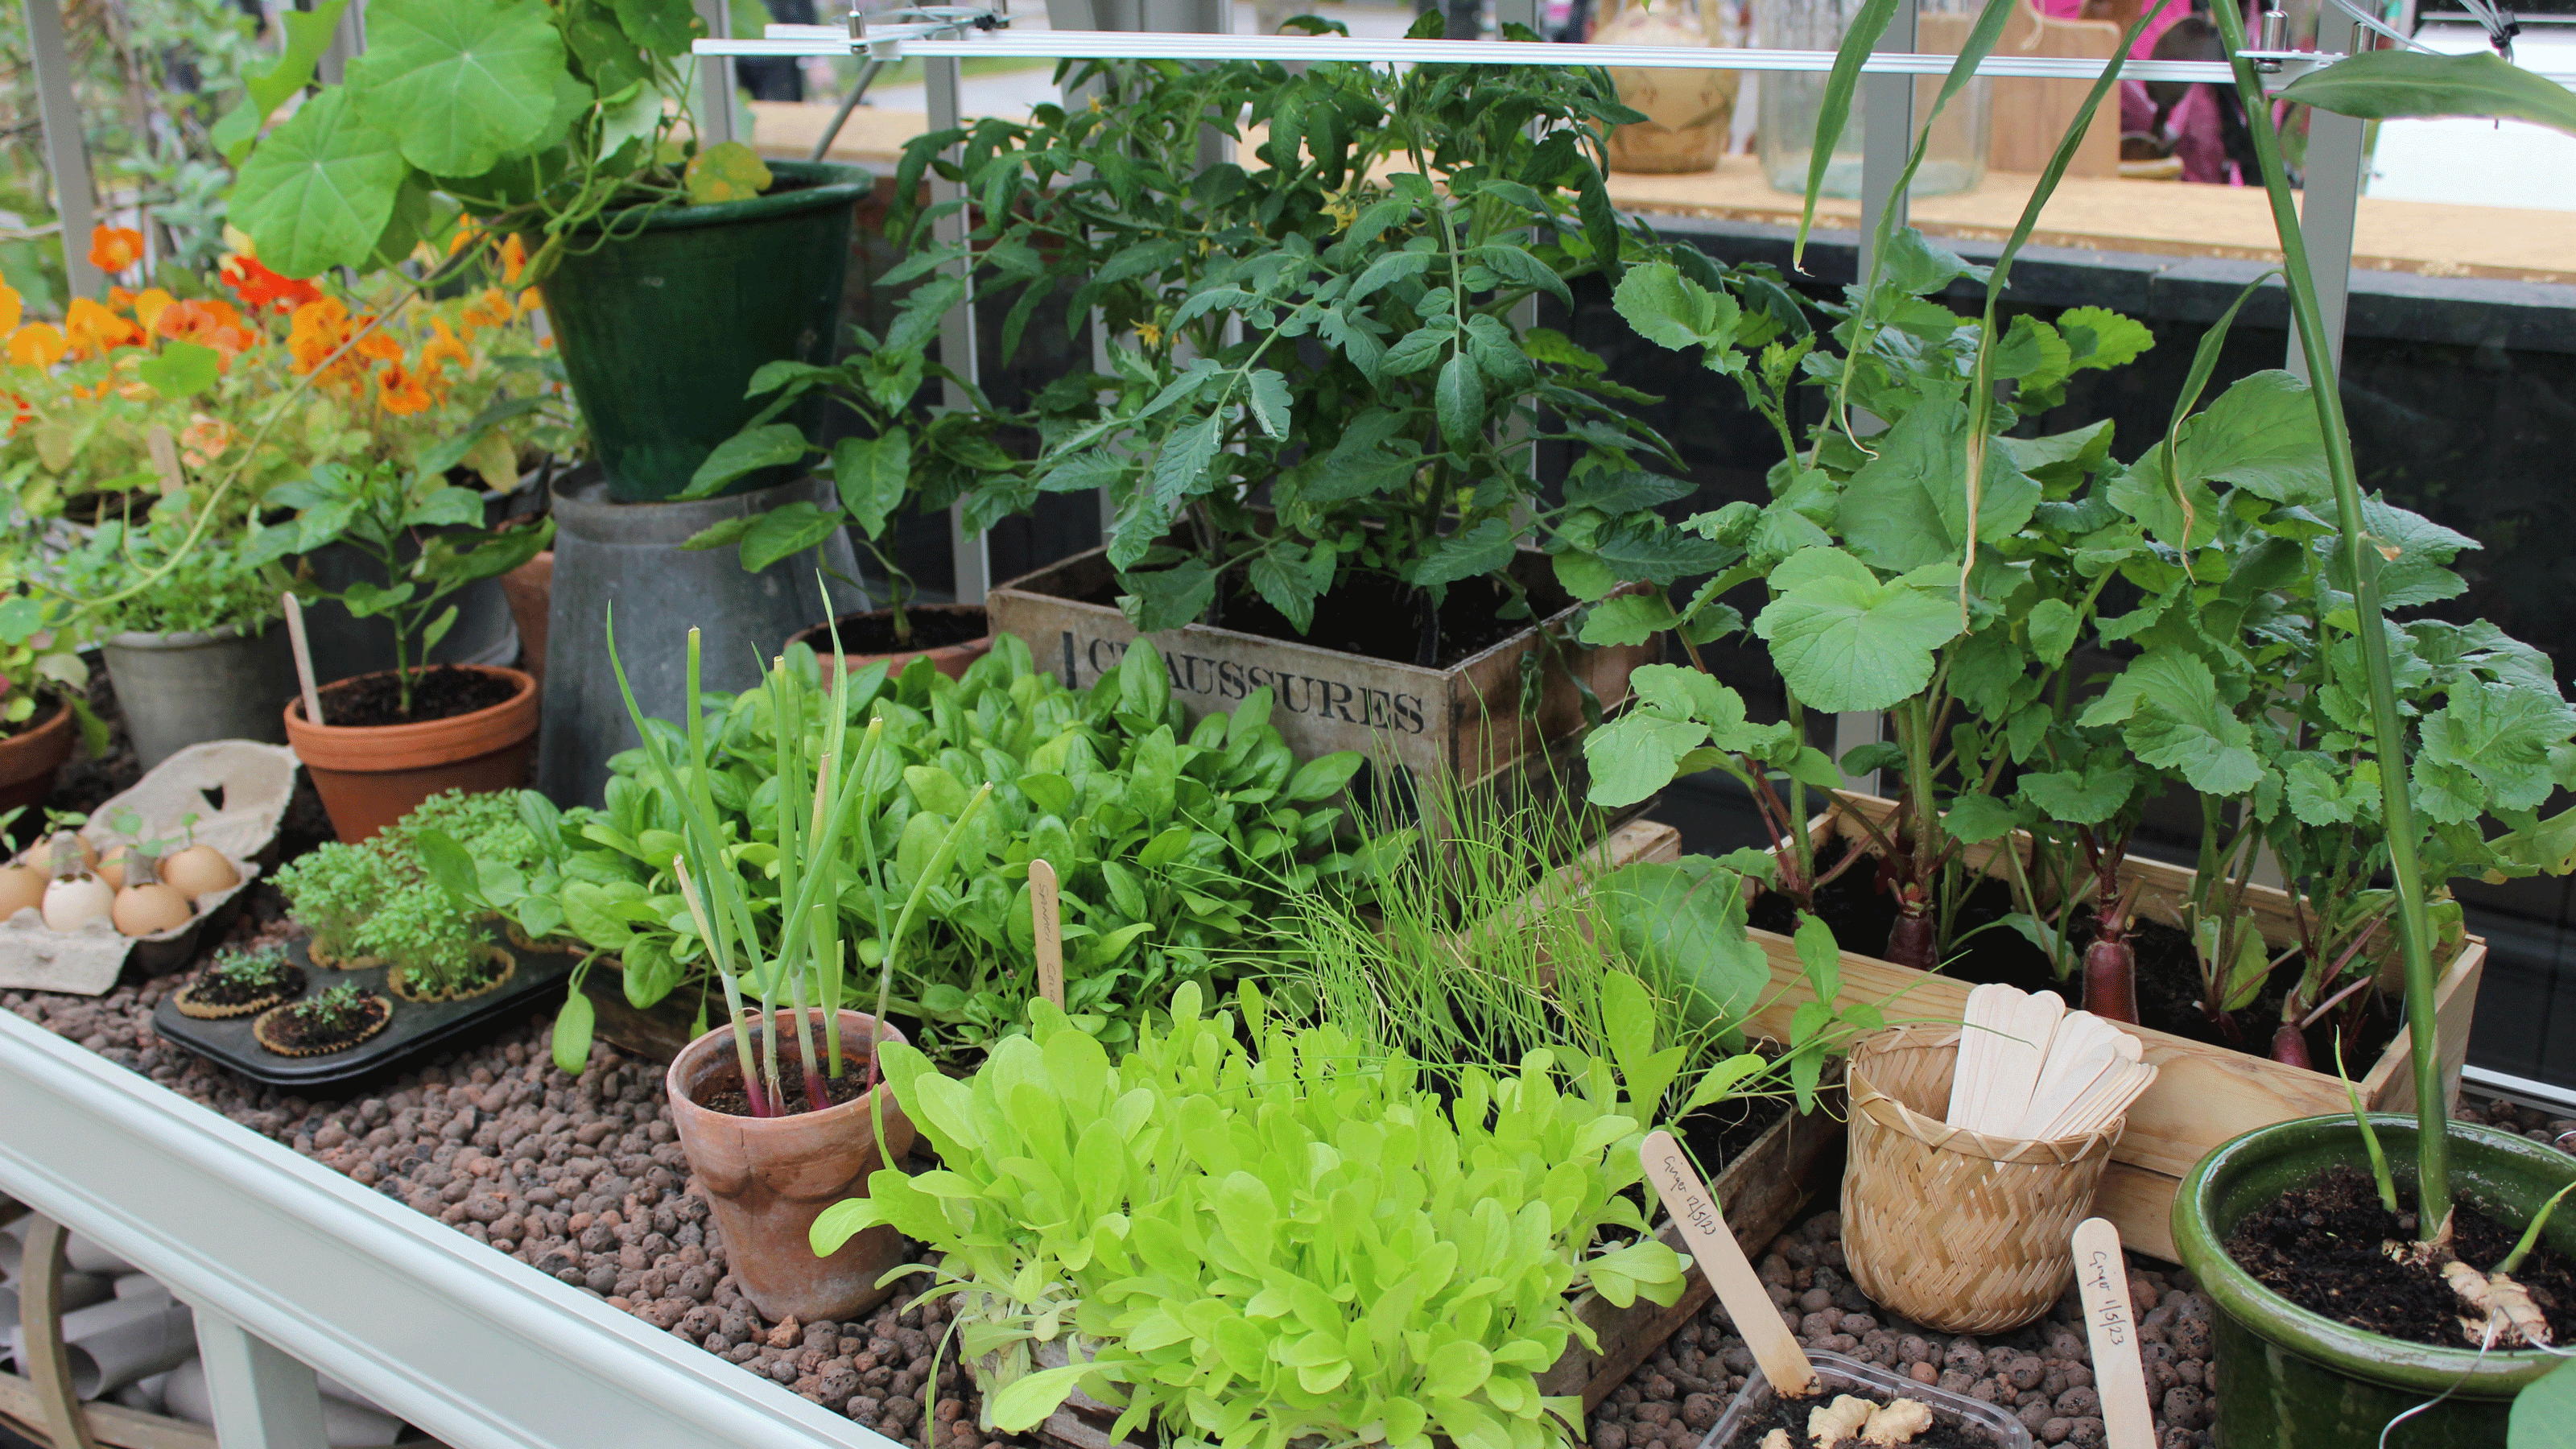
How to stratify seeds – gardening pros swear by this secret to a thriving garden
This little-known secret is a must for a lush garden this year


It’s official; learning how to stratify seeds is a must for anyone who’s ever wondered why some seeds just won't sprout, no matter how lovingly they’ve been planted.
Yes, if you want to sow seeds successfully, the answer might lie in a natural process called stratification – yet another of those gardening terms that suggests something incredibly complex is afoot, when, actually, the exact opposite is true.
It doesn’t matter if you’re planting a small vegetable garden or simply want to give your best perennial plants the best start in life, you may find they need a little trickery to wake up from their deep botanical slumber… such as by, say, mimicking the changing seasons. Enter the chat, then, stratifying seeds.
Whether you're new to gardening or not, you've likely pondered the reasons your seeds aren't germinating at some point or another. And the answer, particularly for hardy seeds, may just be because you haven't stratified them.
'Stratification is the process of treating seeds to simulate natural conditions that a seed must experience before it can germinate. Essentially, it involves exposing seeds to a period of cold, moist conditions to break dormancy and encourage sprouting,' explains landscaper and gardening expert Steven Bell.

Steven Bell is an experienced landscaper, with years of experience owning paving and gardening companies. Combining hands-on expertise with a deep appreciation for sustainable landscaping practices, Steven enjoys sharing his insights with readers to inspire their own green-thumb adventures.
'This process is especially important for seeds that are typically found in regions with cold winters, as it mimics the environmental conditions they would face in nature,' he adds.
With that in mind, then, here's how to stratify seeds at home, so you can give your garden a head start and enjoy lush, vibrant growth from the very beginning. Hurrah!
Get the Ideal Home Newsletter
Sign up to our newsletter for style and decor inspiration, house makeovers, project advice and more.
What you'll need
Ready to learn how to stratify seeds? Then you will need to pick up the following bits and bobs before you get started...
- a selection of seeds, which can be obtained for free if you learn how to collect them yourself!
- sand or vermiculite (something as simple as this purse-friendly bag of Tarmac Building Sand from B&Q should do the trick)
- clear plastic bags that can be easily sealed, like these Grip Seal Freezer Bags from Amazon
- a plant mister (we love this Glass Plant Mister from John Lewis, as it's stylish enough that it can be reused around the home on our beloved houseplants)
- a pen for labelling
- a teaspoon for sifting and depositing sand and seeds
- a refrigerator (if you're opting for the cold stratification method)
Some experts prefer to use compost to sand, so feel free to use some if you have any spare.
Step-by-step guide
Despite the complicated name, it's actually pretty easy to learn how to stratify seeds – and there aren't all that many steps involved...
1. Prep your seeds
First things first, you'll want to prep your seeds for stratification by mixing them with a moist medium, such as sand or vermiculite.
'For small seeds, a heaped teaspoon of builder's sand (Tarmac Building Sand from B&Q is perfect) mixed with seed works well, or for bigger seeds, two heaped teaspoons is usually enough,' says Morris Hankinson, director of Hopes Grove Nurseries.

Morris Hankinson is the founder and managing director of Hopes Grove Nurseries Ltd, the UK’s only specialist grower-retailer of hedging plants. He established the thriving business in 1992, shortly after graduating with a Commercial Horticulture Degree from Writtle College, Essex.
Once this is done, he advises you 'spray some water into the bag of seed and sand for moisture'. Just remember that you absolutely don't want it soaking wet!
2. Seal and label your bag
This one's easy enough; you'll need to seal your bag, ready for the seeds inside to do their thing.
'Don’t forget to label the bags,' warns Morris.

He has a point. After all, if you forget this step, you'll have no idea what seeds you're working with when it comes to planting out...
3. Determine if you're going hot or cold
It's important to know that, when learning how to stratify seeds, there are two methods available to you.
- Cold Stratification: 'This is the most common method, where seeds are kept in a moist medium and stored in a cold environment (typically between 1-5°C) for a specific period of time, usually anywhere from 2-12 weeks depending on the species,' says Steven.
- Warm Stratification: 'Some seeds require a period of warmth followed by cold stratification. In such cases, you might need to start with a warm period (around 18-24°C) before moving the seeds to cold conditions,' he explains.
'Each plant species has specific stratification requirements, so it's always important to look into the particular needs of the seeds you're working with,' adds Steven.
If you are going for the cold method, then, it's time to pop your seed bags in the fridge.
4. Keep checking on your seeds
The penultimate step in the stratification process is, essentially, adopting a state of constant vigilance.
'Carefully check the seeds every week for signs of germination,' says Morris. Depending on the seed, germination will usually take place after a month or so..'
5. Sow your seeds
Whether it's chilli seeds or perennial plants from seed, you'll want to get planting your stratified seeds as soon as the small white roots appear.
'It can be a little tricky to remove the seeds from the bag without damaging the tiny roots so start by distributing the seeds still with the sand into a tray of compost as evenly as possible,' says Morris.
'When the seedlings grow, they will be easier to separate and pot on as needed.'
FAQs
How long does seed stratification take?
Seed stratification can last anywhere between 10 days to 12 weeks, although most will take around a month to germinate.
'Depending on the seed, germination is usually by about one month,' says Morris Hankinson of Hopes Grove Nurseries.
'As such, it’s generally recommended to start the stratification process by the end of February, but later into spring is still enough time.'
Should I soak seeds before stratification?
While some experts advise you soak seeds in water for 12 to 24 hours before stratification, most agree that placing them in a moist medium (like sand or vermiculite) should be more than enough.
However, 'while not strictly a part of stratification, some seeds also require physical damage (like nicking or sanding) to break their hard outer coating before they can be stratified,' says Steven Bell of Paving Shopper.
How to quickly stratify seeds?
If you want to stratify seeds quickly, Angharad James, product manager at Maxicrop®, advises that you 'place them in damp compost and store them in the fridge for roughly two weeks to mimic winter'.
'Once removed from the fridge, allow them to gradually return to room temperature,' she adds.
And just like that, you know how to stratify seeds. We suggest you set to work quickly if you want to get it all done before it's time to plant out...

Kayleigh Dray became Ideal Home’s Acting Content Editor in the spring of 2023, and is very excited to get to work. She joins the team after a decade-long career working as a journalist and editor across a number of leading lifestyle brands, both in-house and as a freelancer.
You must confirm your public display name before commenting
Please logout and then login again, you will then be prompted to enter your display name.
-
 I asked a MasterChef winner how to pick the right frying pan for a kitchen - this was his advice
Chefs and cookware experts share the three things you need to consider
By Molly Cleary
-
 I’ve found the perfect alternative to John Lewis’ sold-out striped garden chair – and you won’t believe where it's from
John Lewis' Sling Garden Chair is one of the most stylish pieces of garden furniture I'd seen – until I tracked down this QVC lounge chair...
By Kezia Reynolds
-
 Is it a huge mistake to sacrifice part of your garden for an extension?
We asked the pros for their take
By Sarah Handley