How to take a fuchsia cutting to grow this vibrant-flowered plant for free
Gardening experts advise what’s the best method to take a fuchsia cutting and how to plant it


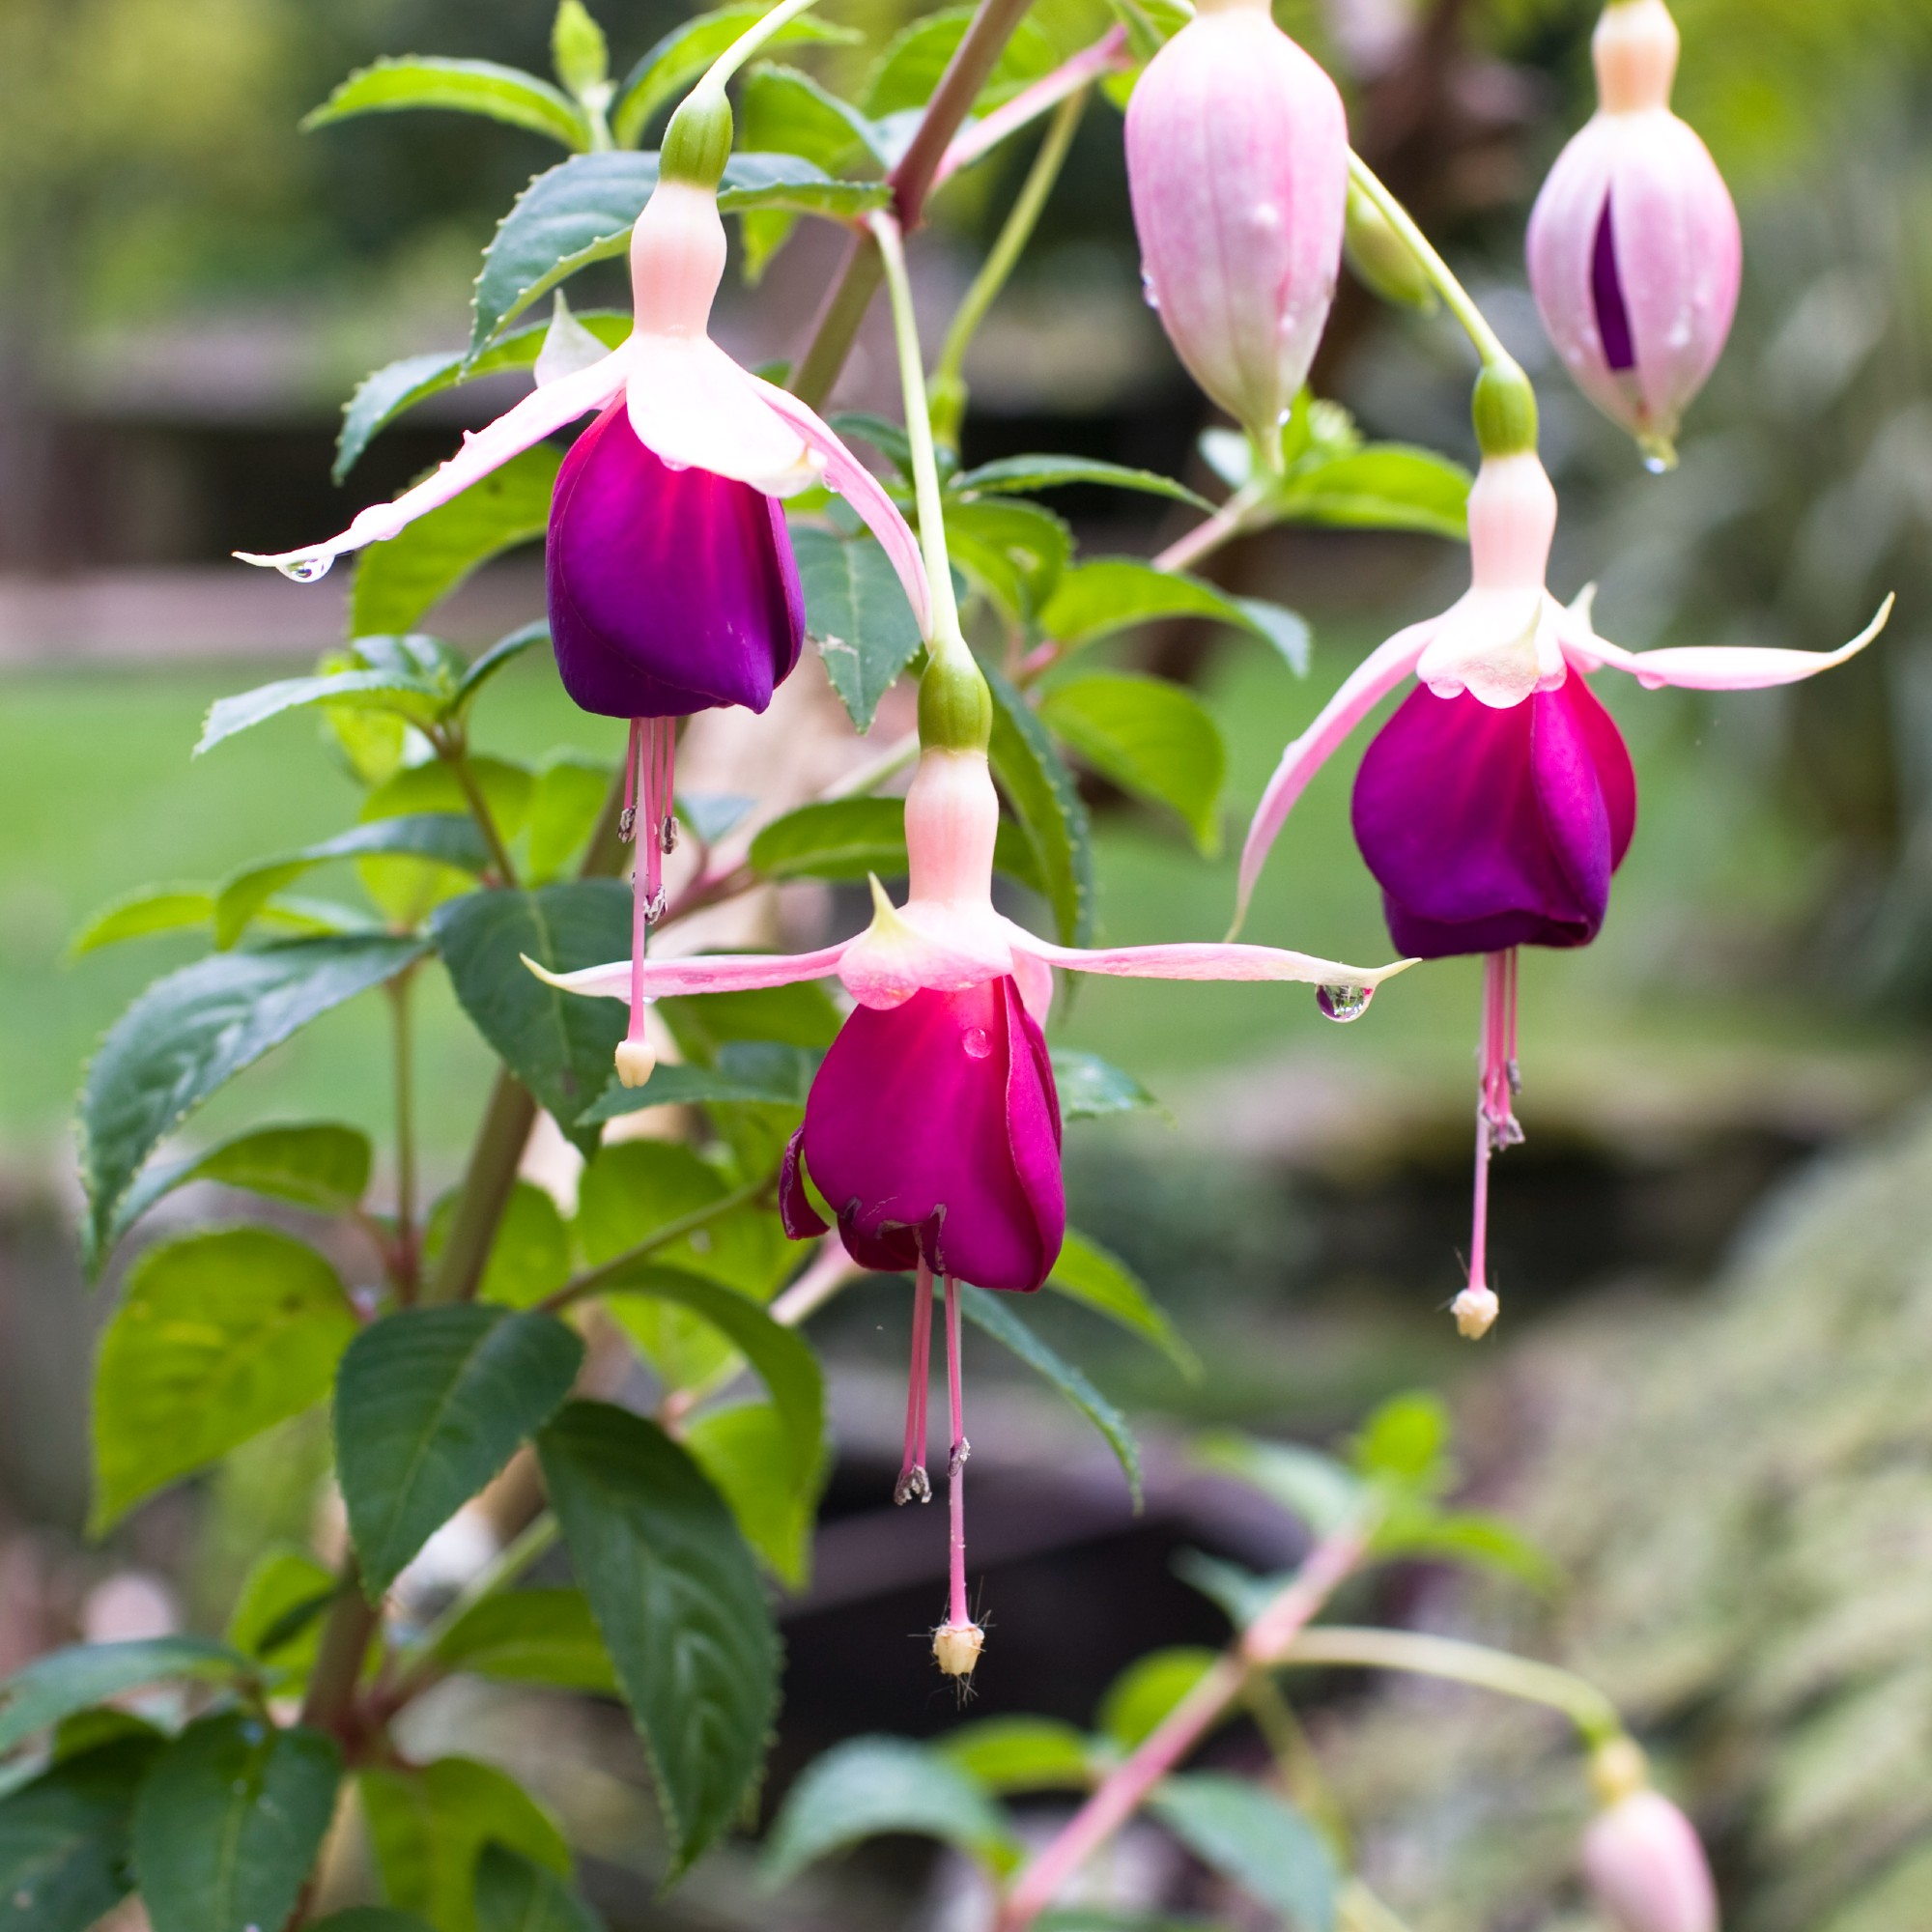
Fuchsia’s flowers are so vibrant and beautiful that a whole colour category is named after the plant. Which is why we’re not surprised that you’d want to multiply this beautiful species and learn how to take a fuchsia cutting to grow yourself a brand new plant. For free, no less.
It really couldn’t be easier as long as you follow the few simple steps recommended by our panel of gardening experts.
And, the experts' garden advice doesn’t stop there. They also share what time of the year is the best to take those precious cuttings.
Fuchsias even made our list of the best plants to grow from cuttings.
How to take a fuchsia cutting
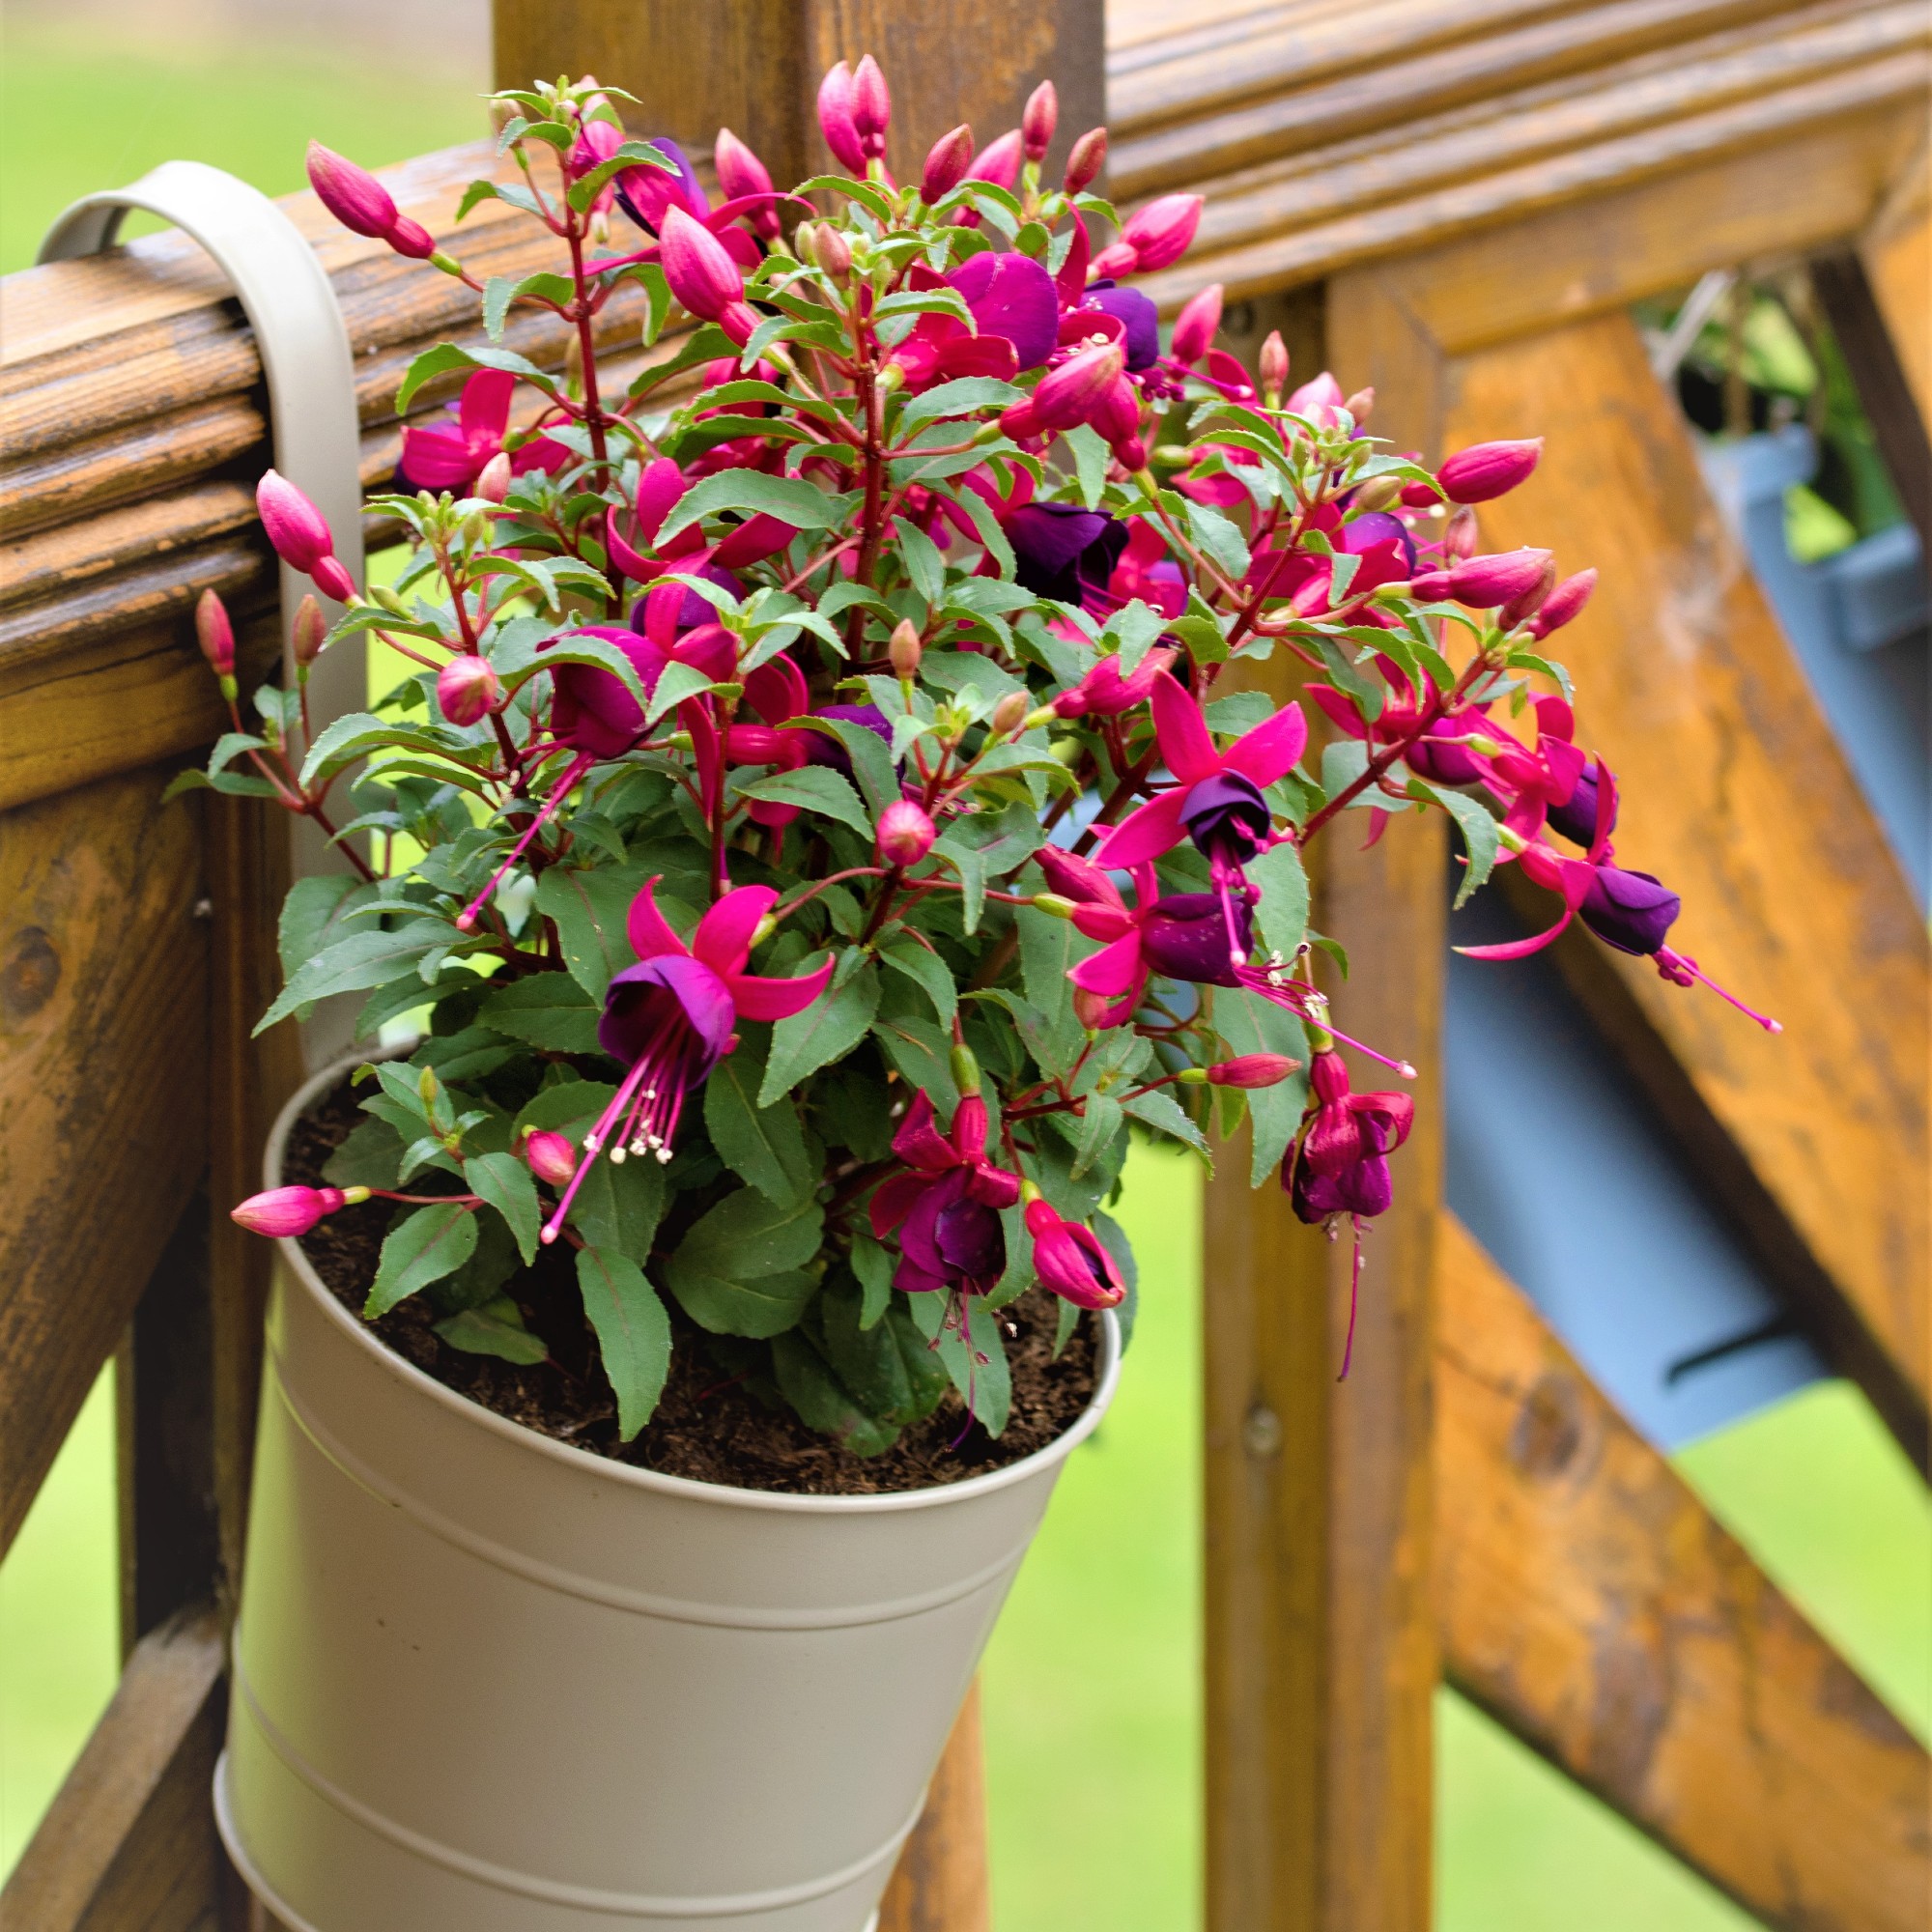
Firstly, be prepared, and have a sharp, clean knife or a pair of secateurs at the ready, similarly to how you would take geranium cuttings.
A sharp tool means there's less risk of you tearing or breaking the stems of the plant than with a blunt tool, and a clean cutting instrument will prevent dirt from getting into your cuts, both of which could result in damaging your plant and lead to disease.
Secondly, know how to pick the correct stems to take cuttings from. ‘First, choose only healthy stems, with non-flowering shoots,’ says Steve Chilton, garden expert at LeisureBench. ‘If there are no non-flowering shoots, make sure to remove the flower buds first.’
Get the Ideal Home Newsletter
Sign up to our newsletter for style and decor inspiration, house makeovers, project advice and more.
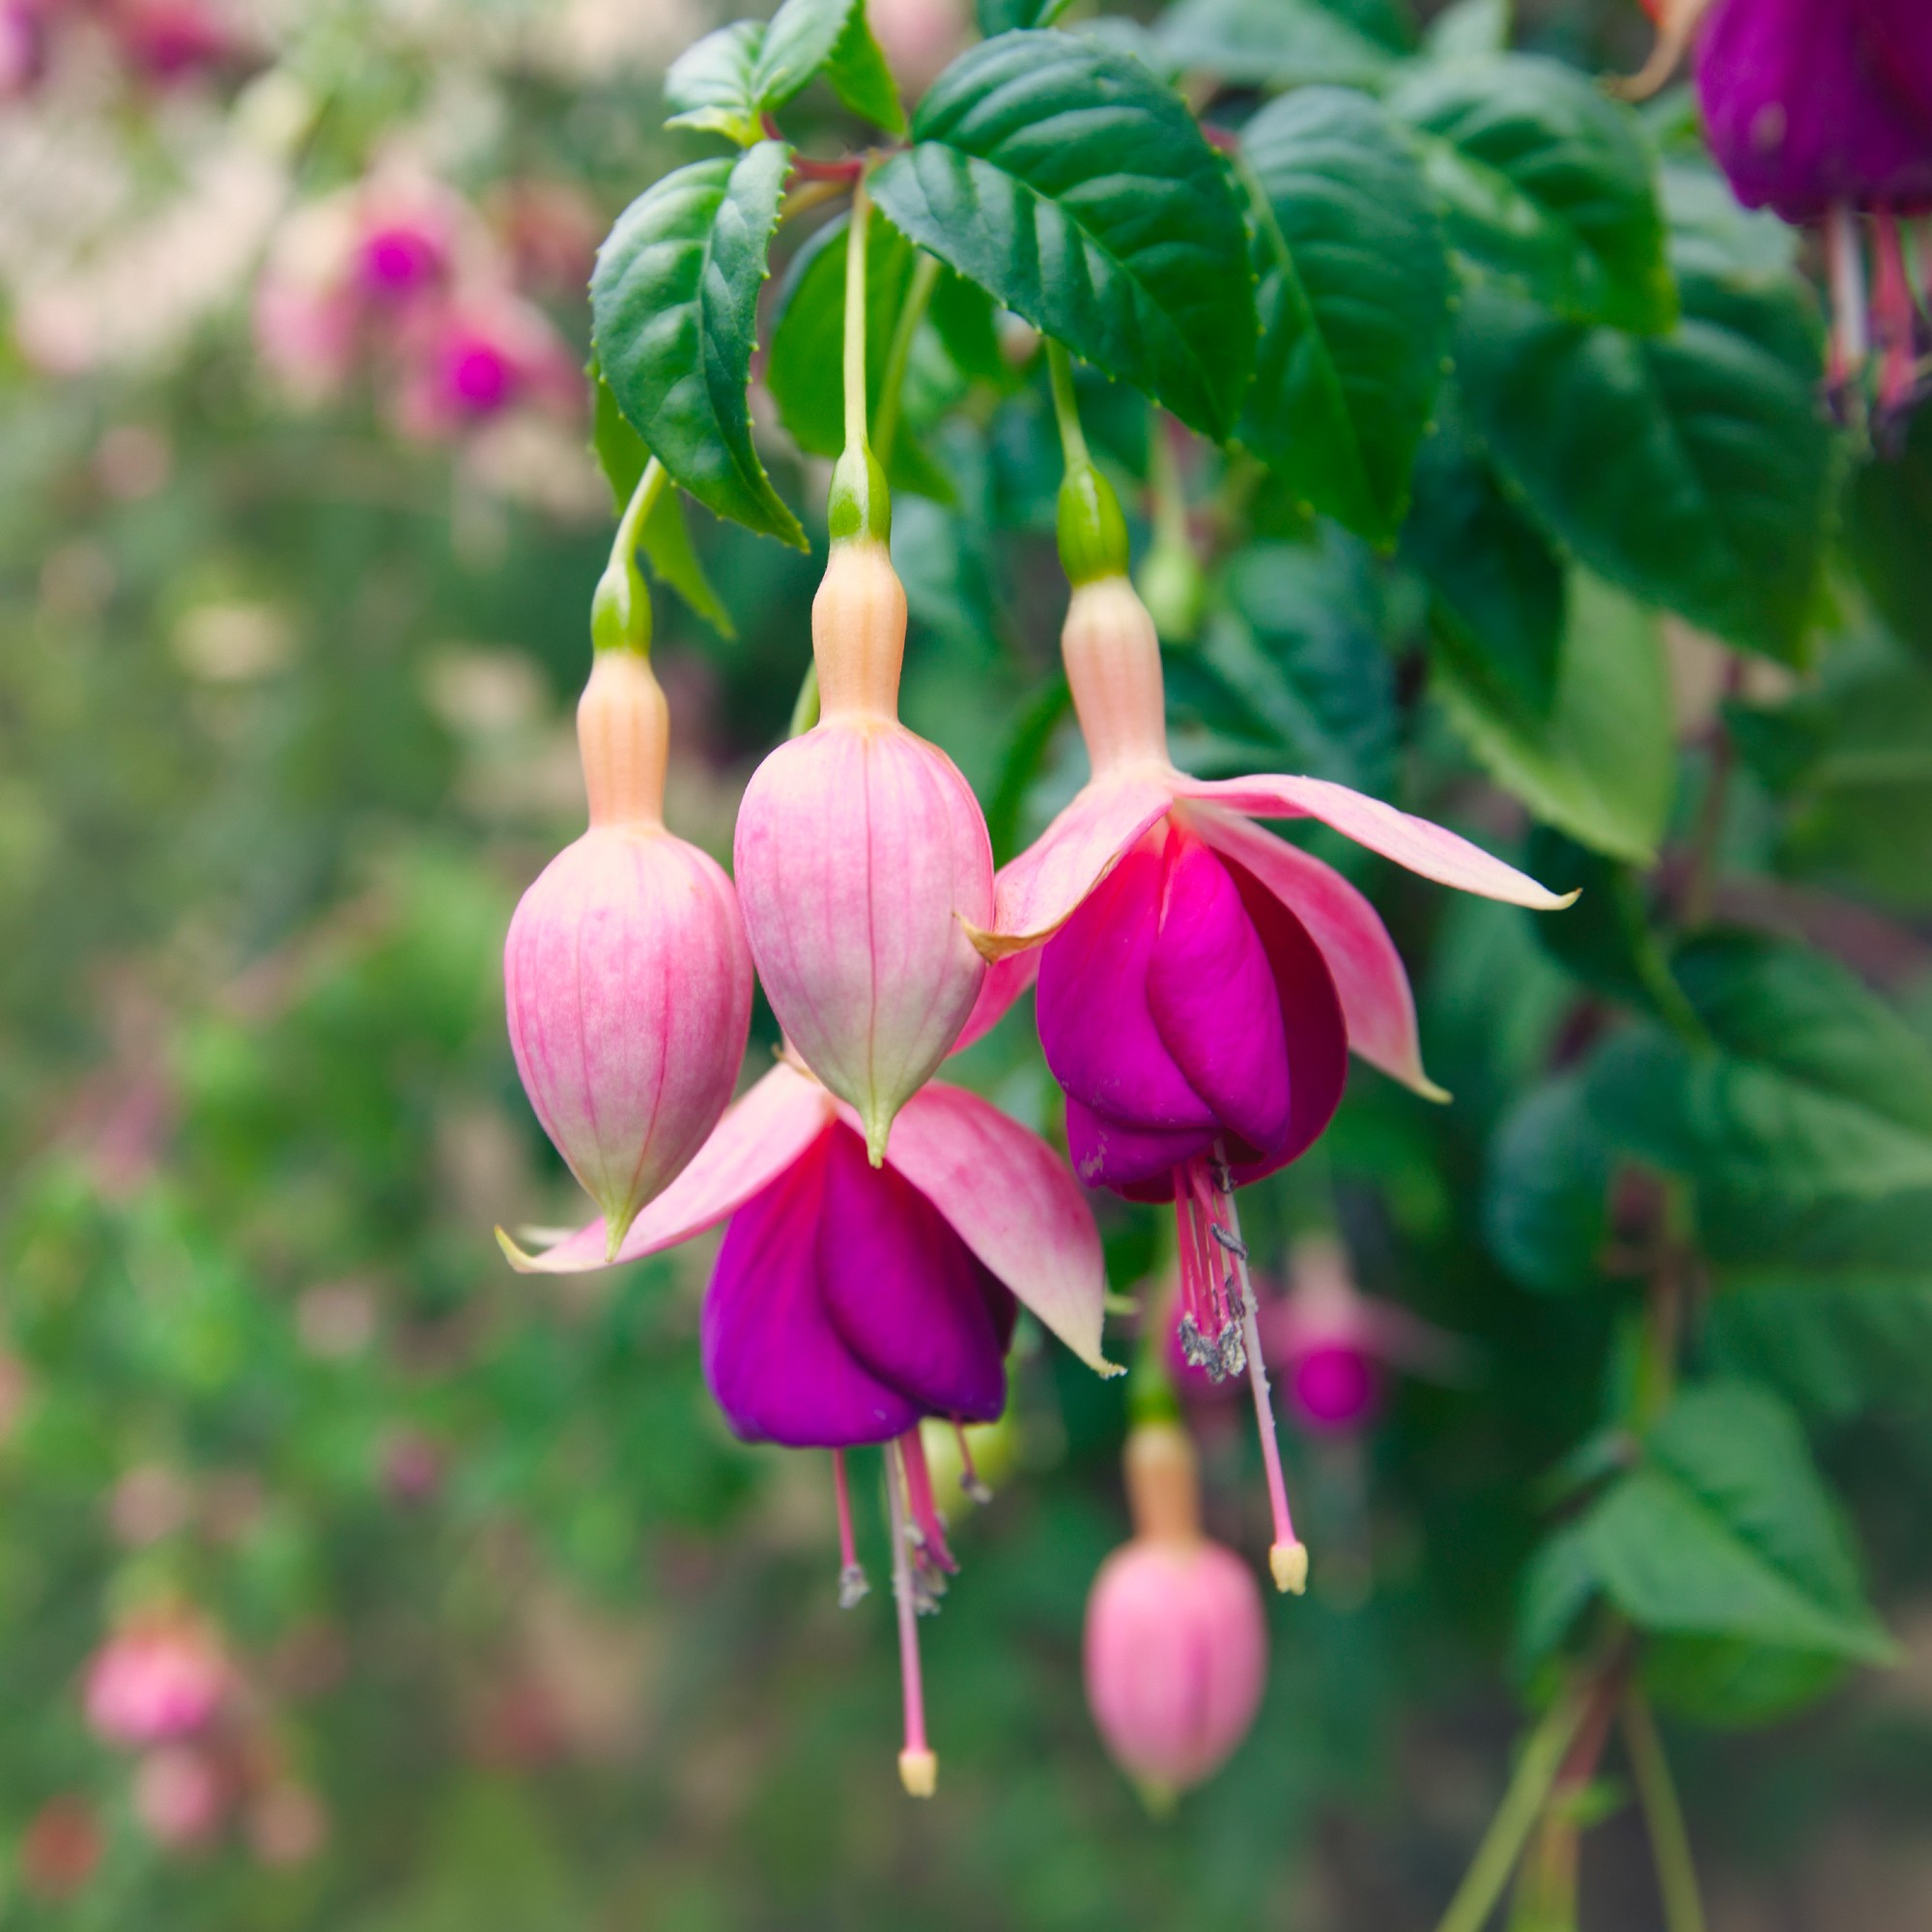
Fiona Jenkins, gardening expert at MyJobQuote.co.uk, continues. ‘Take a sharp, clean knife to cut off young stems or secateurs to cut older branches without damaging your plant. Cut off 6 to 8cm lengths from several stems or pencil-length sections from branches with leaves. Then, cleanly trim off any lower leaves, so you’re left with just a few pairs at the top.’
And there it is, your perfect cutting. But are there any hidden risks to look out for in this seemingly simple process?
‘You should avoid choosing to cut from damaged, diseased or dead stems. This might sound simple, but sometimes it's a bit more difficult than you think to identify any problems with the stem. Make sure you spend time checking and double checking that the stem is suitable,’ Steve warns.

Steve is a passionate and knowledgeable garden expert with several years of experience within the field. As the director of LeisureBench, an industry-leading garden furniture company, Steve has developed strong expertise for all things nature and plants.
When should you take fuchsia cuttings?
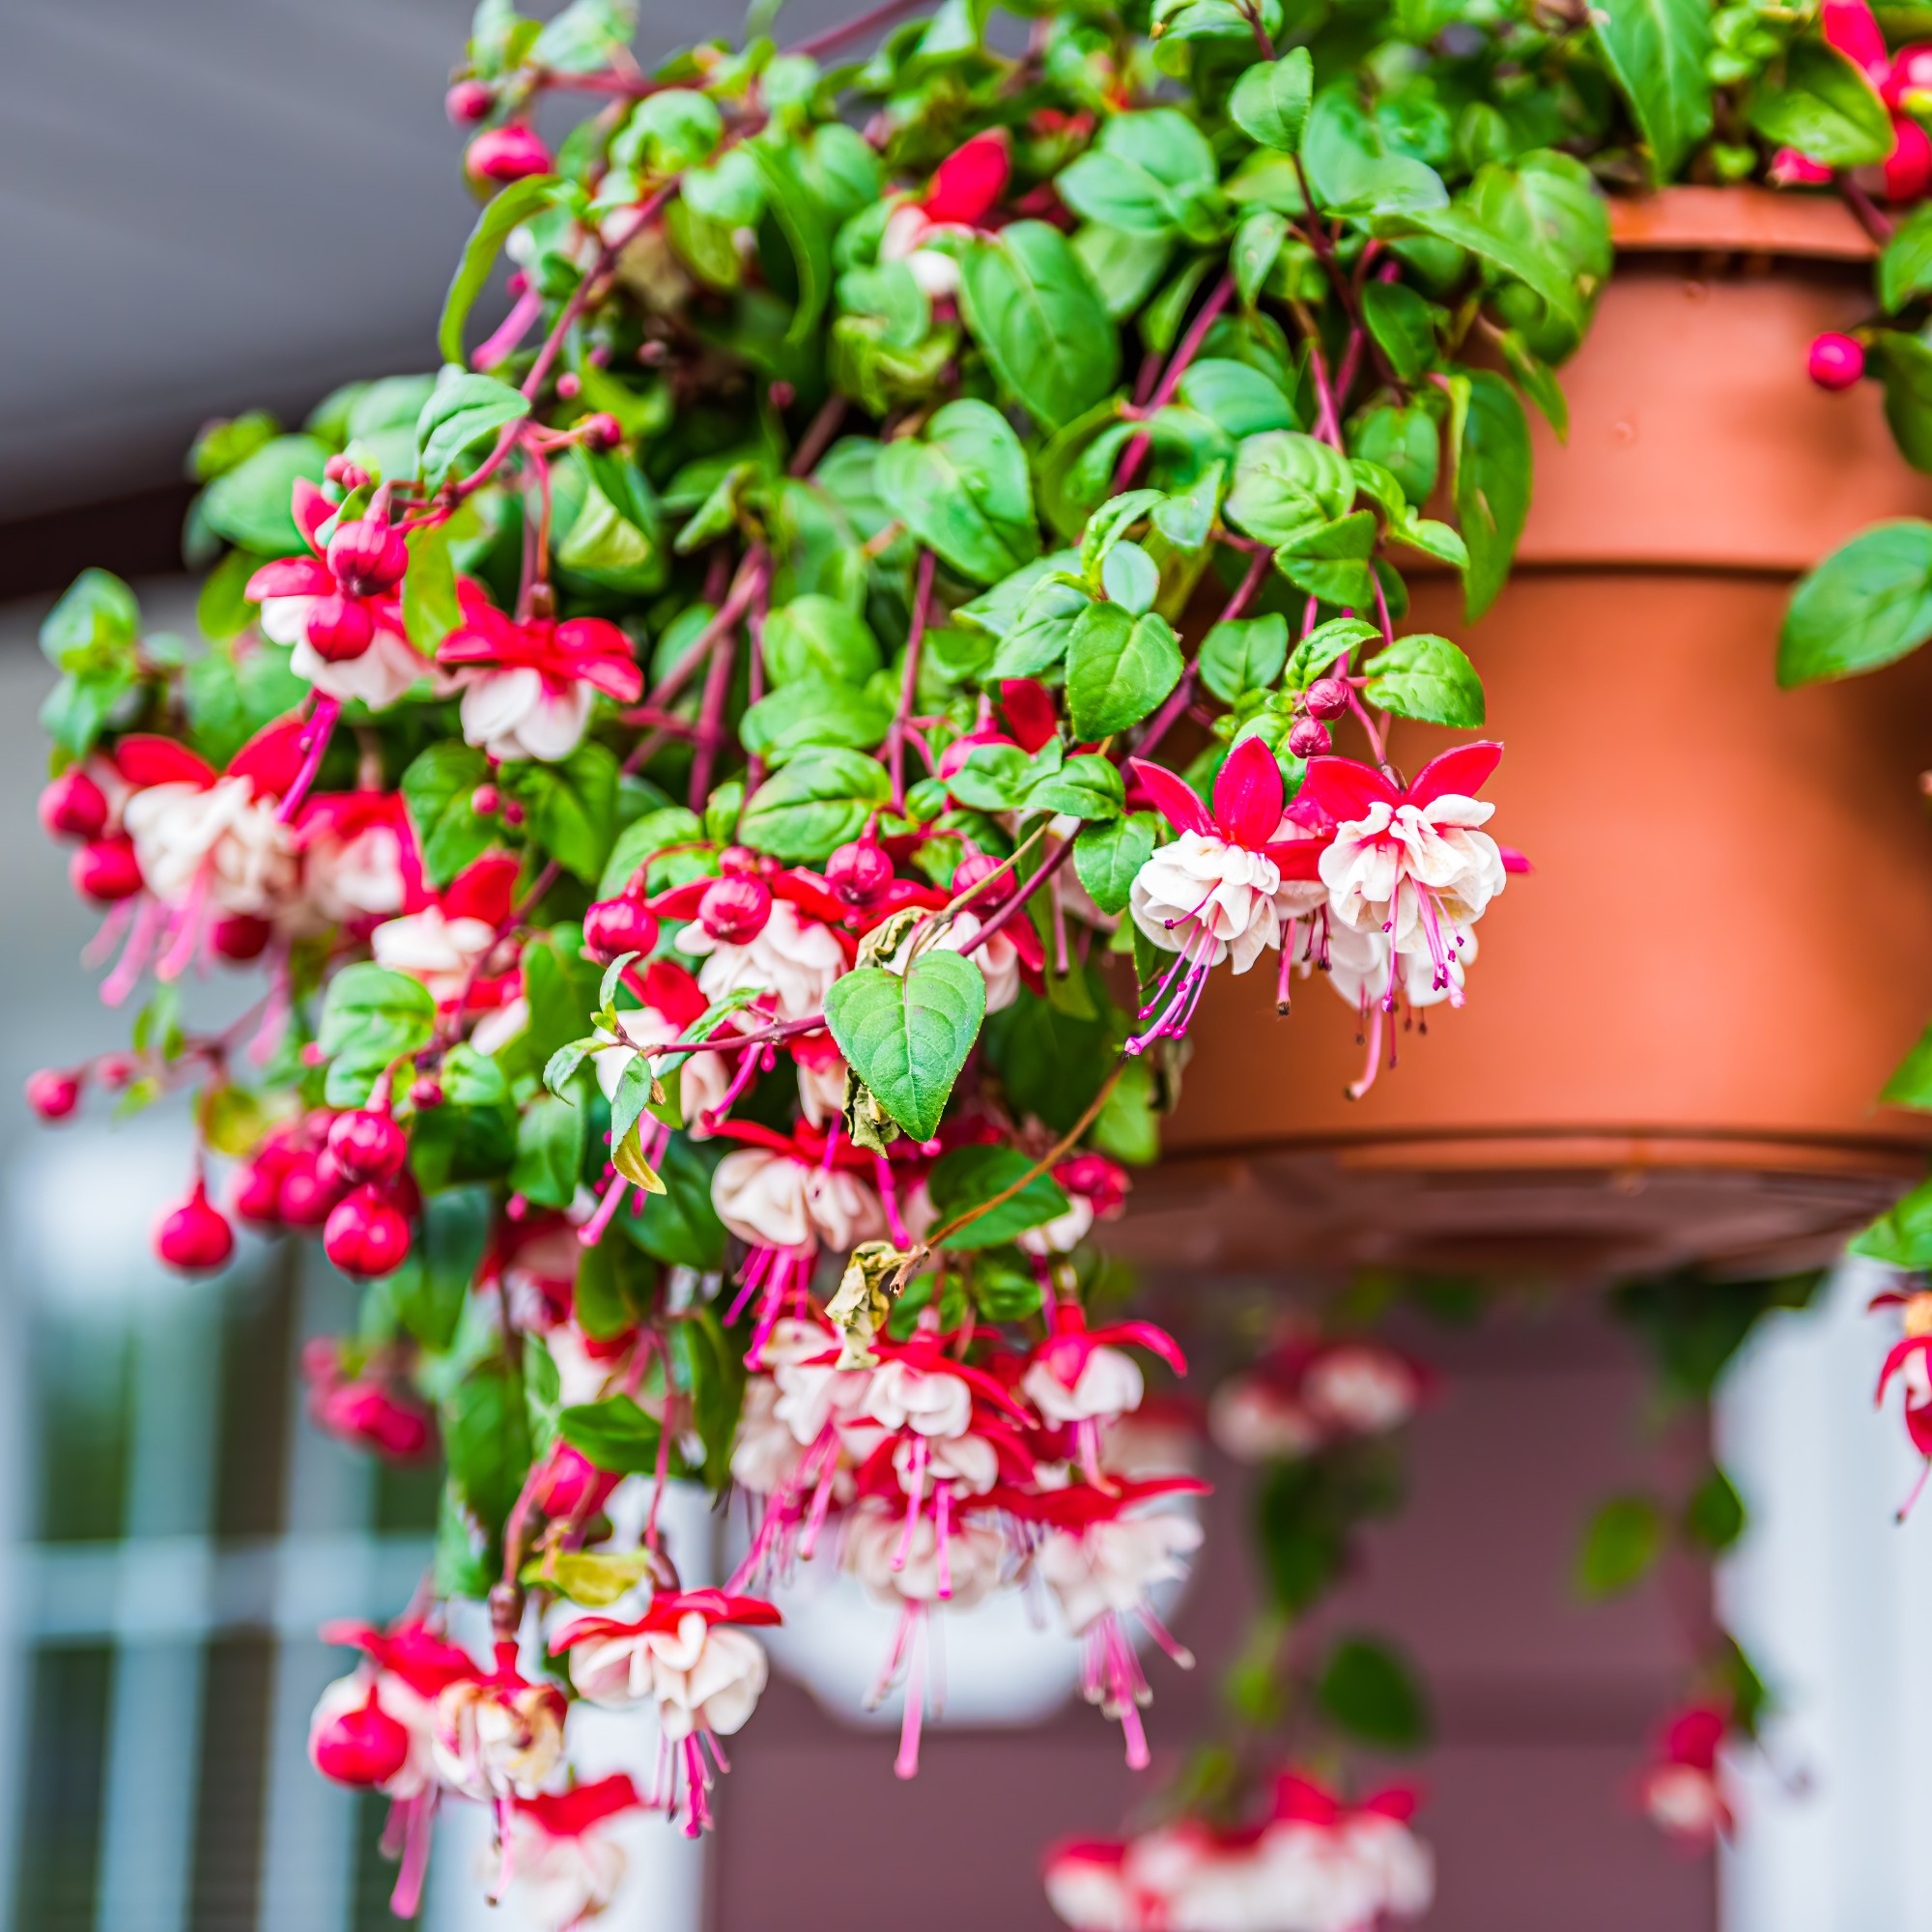
‘There are two times of the year when fuchsia cuttings are normally taken. Late summer to early autumn when the plant is actively growing,’ recommends Jack Sutcliffe, co-founder of shed manufacturer, Power Sheds.
Steve adds, ‘This is important because it means that the stems are still flexible and usually in great condition, which ensures successful rooting and healthy new growth.’
But whatever you do, don’t take cuttings in the winter as Steve issues a dire warning. ‘Don't take cuttings in the winter, even though some fuchsias are hardy. This is important because not every type of fuschia will survive in this climate, meaning that taking cuttings at this time could have a damaging effect.’
What you’ll need
- A clean, sharp knife or a pair of secateurs
- Plastic plant pots
- Cutting compost
- Rooting powder
How to pot up a fuchsia from a cutting
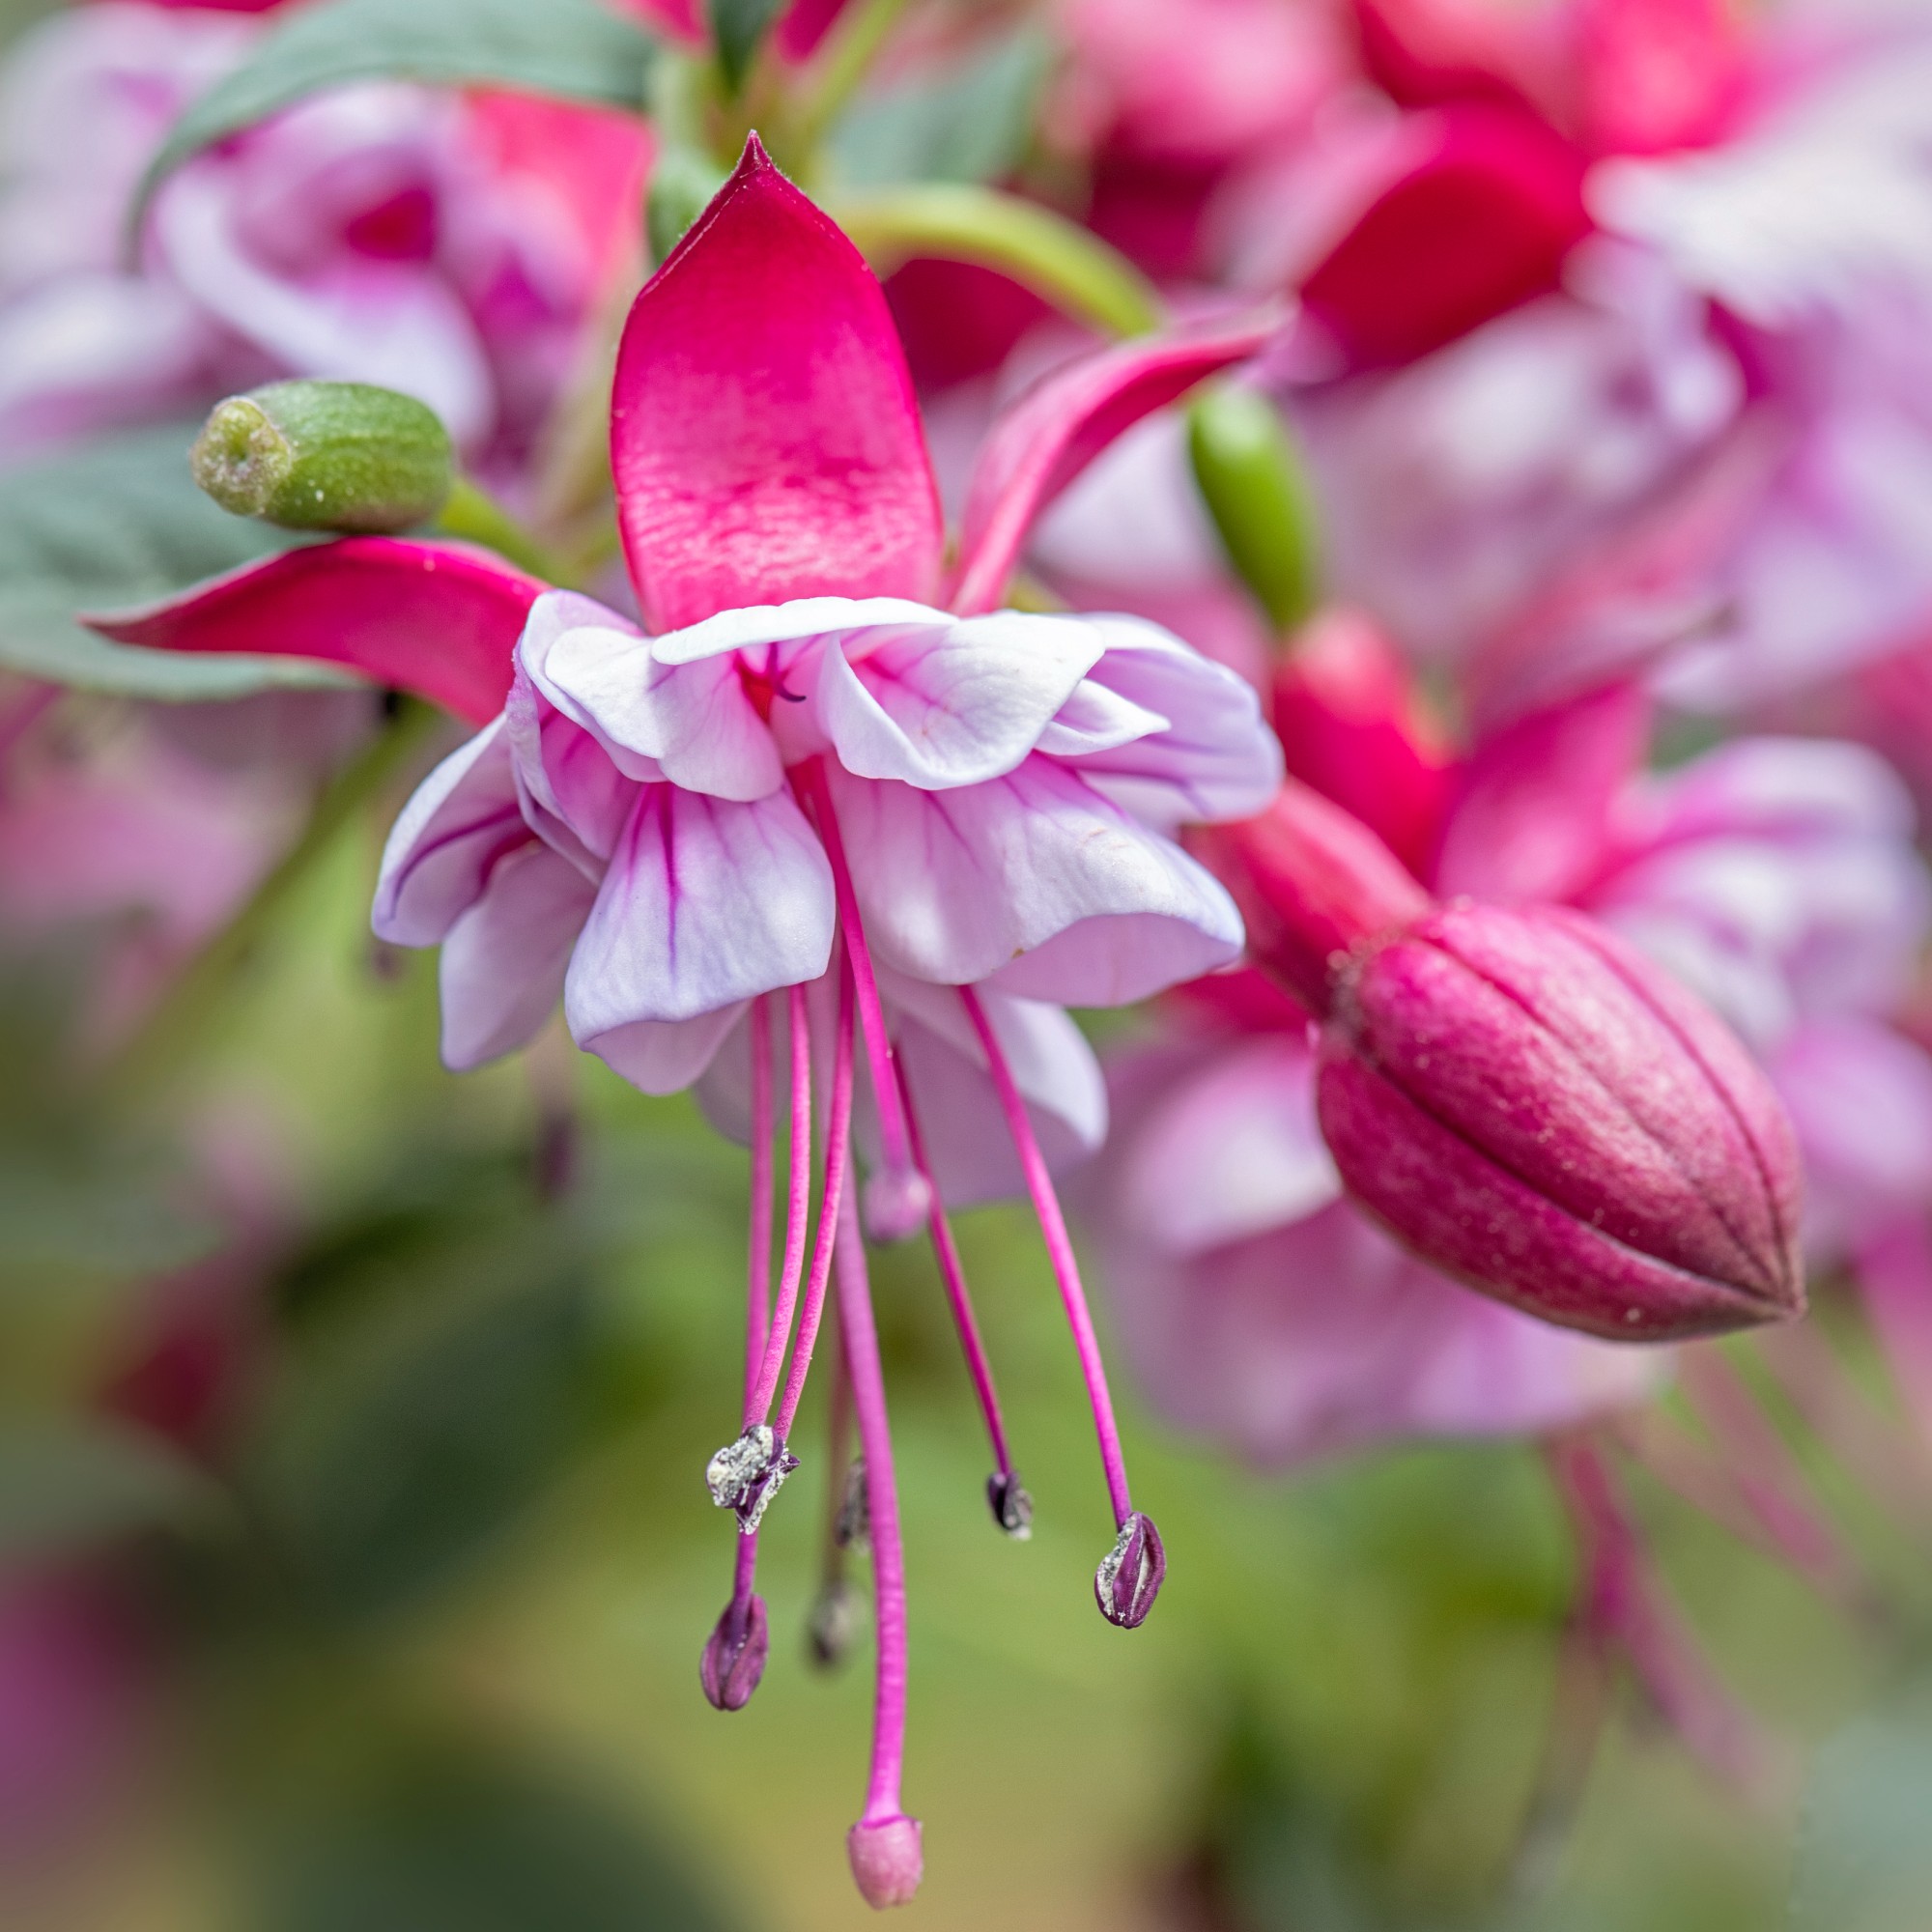
Once you have your fuschia cutting, the next step is to pot it up, which is quite similar to how to grow dahlias in pots.
First of all, prepare your new pots. ‘Fill up your pots. Use specialist compost that's designed to nourish cuttings and help them grow,’ Steve advises.
Once you’ve got your cutting, Fiona recommends to ‘dip each cutting end in some rooting powder.’
Steve continues, ‘Insert your fresh cuttings into the pots. Make sure that there's only one cutting per pot for maximum success rate.’
Fiona suggests making holes in the soil with a pencil first. ‘Pop your cuttings into the holes, so around half the stem is in the pot and gently backfill with the compost, so they’re nice and secure. Water your pot well, letting the excess water drain out.’
Finally, Jack chimes with the last step. ‘Cover the pot of cuttings with a clear plastic bag, sealing it with an elastic band. Keep on a warm windowsill out of direct sunlight and remove the bag once you can see signs of new growth.’
This should happen after about five weeks but it depends on the temperature and growing conditions, according to Steve. After that, repot your new fuchsia plant into a larger pot or a flower bed.
We told you it was easy.

Sara Hesikova has been a Content Editor at Ideal Home since June 2024, starting at the title as a News Writer in July 2023. She is now also the Ideal Home Certified Expert in Training on Furniture, and so far has tested 80 different sofas.
Graduating from London College of Fashion with a bachelor’s degree in fashion journalism in 2016, she got her start in niche fashion and lifestyle magazines like Glass and Alvar as a writer and editor before making the leap into interiors, working with the likes of 91 Magazine and copywriting for luxury bed linen brand Yves Delorme among others.
-
 Will a conservatory add value to your home and how can you maximise it?
This is what the pros say
By Amy Reeves
-
 I’ve been looking for a new signature scent for my home and The White Company's new fragrance is the exact summer holiday smell I needed
Santorini smells fresh, summery and sophisticated
By Kezia Reynolds
-
 How to remove algae from garden walls in five steps – and the cleaning product experts rave about for tackling it fast
Experts share their top tips for getting garden walls algae-free
By Katie Sims