Cheap DIY garden path ideas - 12 easy ways to create an inexpensive outdoor walkway
These simple pathway projects will add direction to your garden without busting your budget
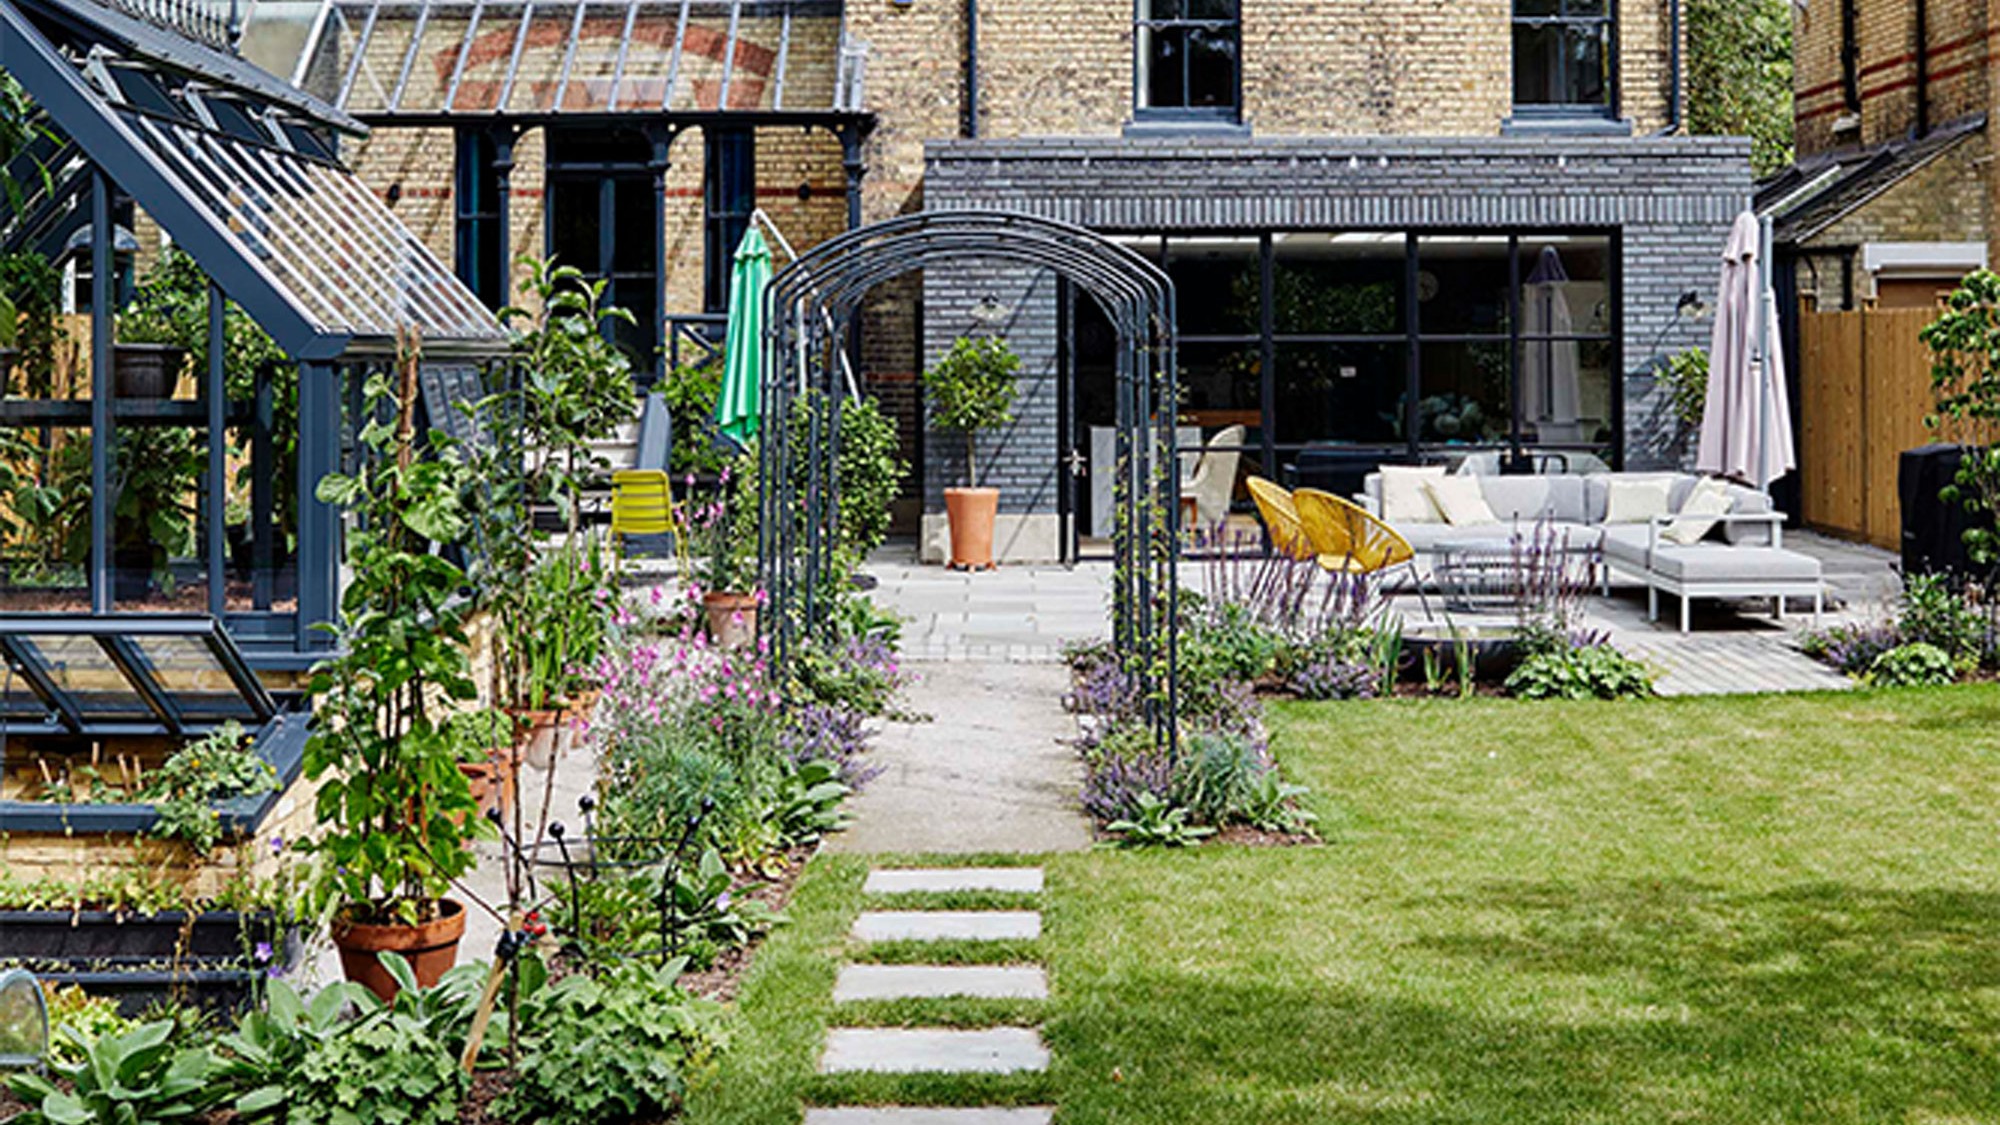

While a garden path provides a means of getting from A to B outdoors, that’s not all that it can bring to a garden. Paths can be a useful way of breaking up a large lawn or outdoor space, can provide a walkway for access to flower beds and planting, or can be a destination path that leads you to a favourite feature or focal point. And the good news is that installing a garden path doesn’t have to cost a fortune, cheap DIY garden path ideas are plentiful and are a brilliant way of giving a humdrum garden idea new focus without having to fork out thousands.
Cheap DIY garden path ideas
Choice of materials is key for a successful budget garden idea, like wanting to install a garden path on the cheap. Using recycled materials, such as reclaimed bricks, pavers and timber decking is an easy way to cut costs and if you’re doing the work yourself there will be no labour costs to factor in. Alternatively, opt for inexpensive materials such as gravel, shingle and wood bark, which can be picked up at DIY sheds fairly cheaply, with bulk-buy deals available at key times of year.
1. Try an easy stepping stone path
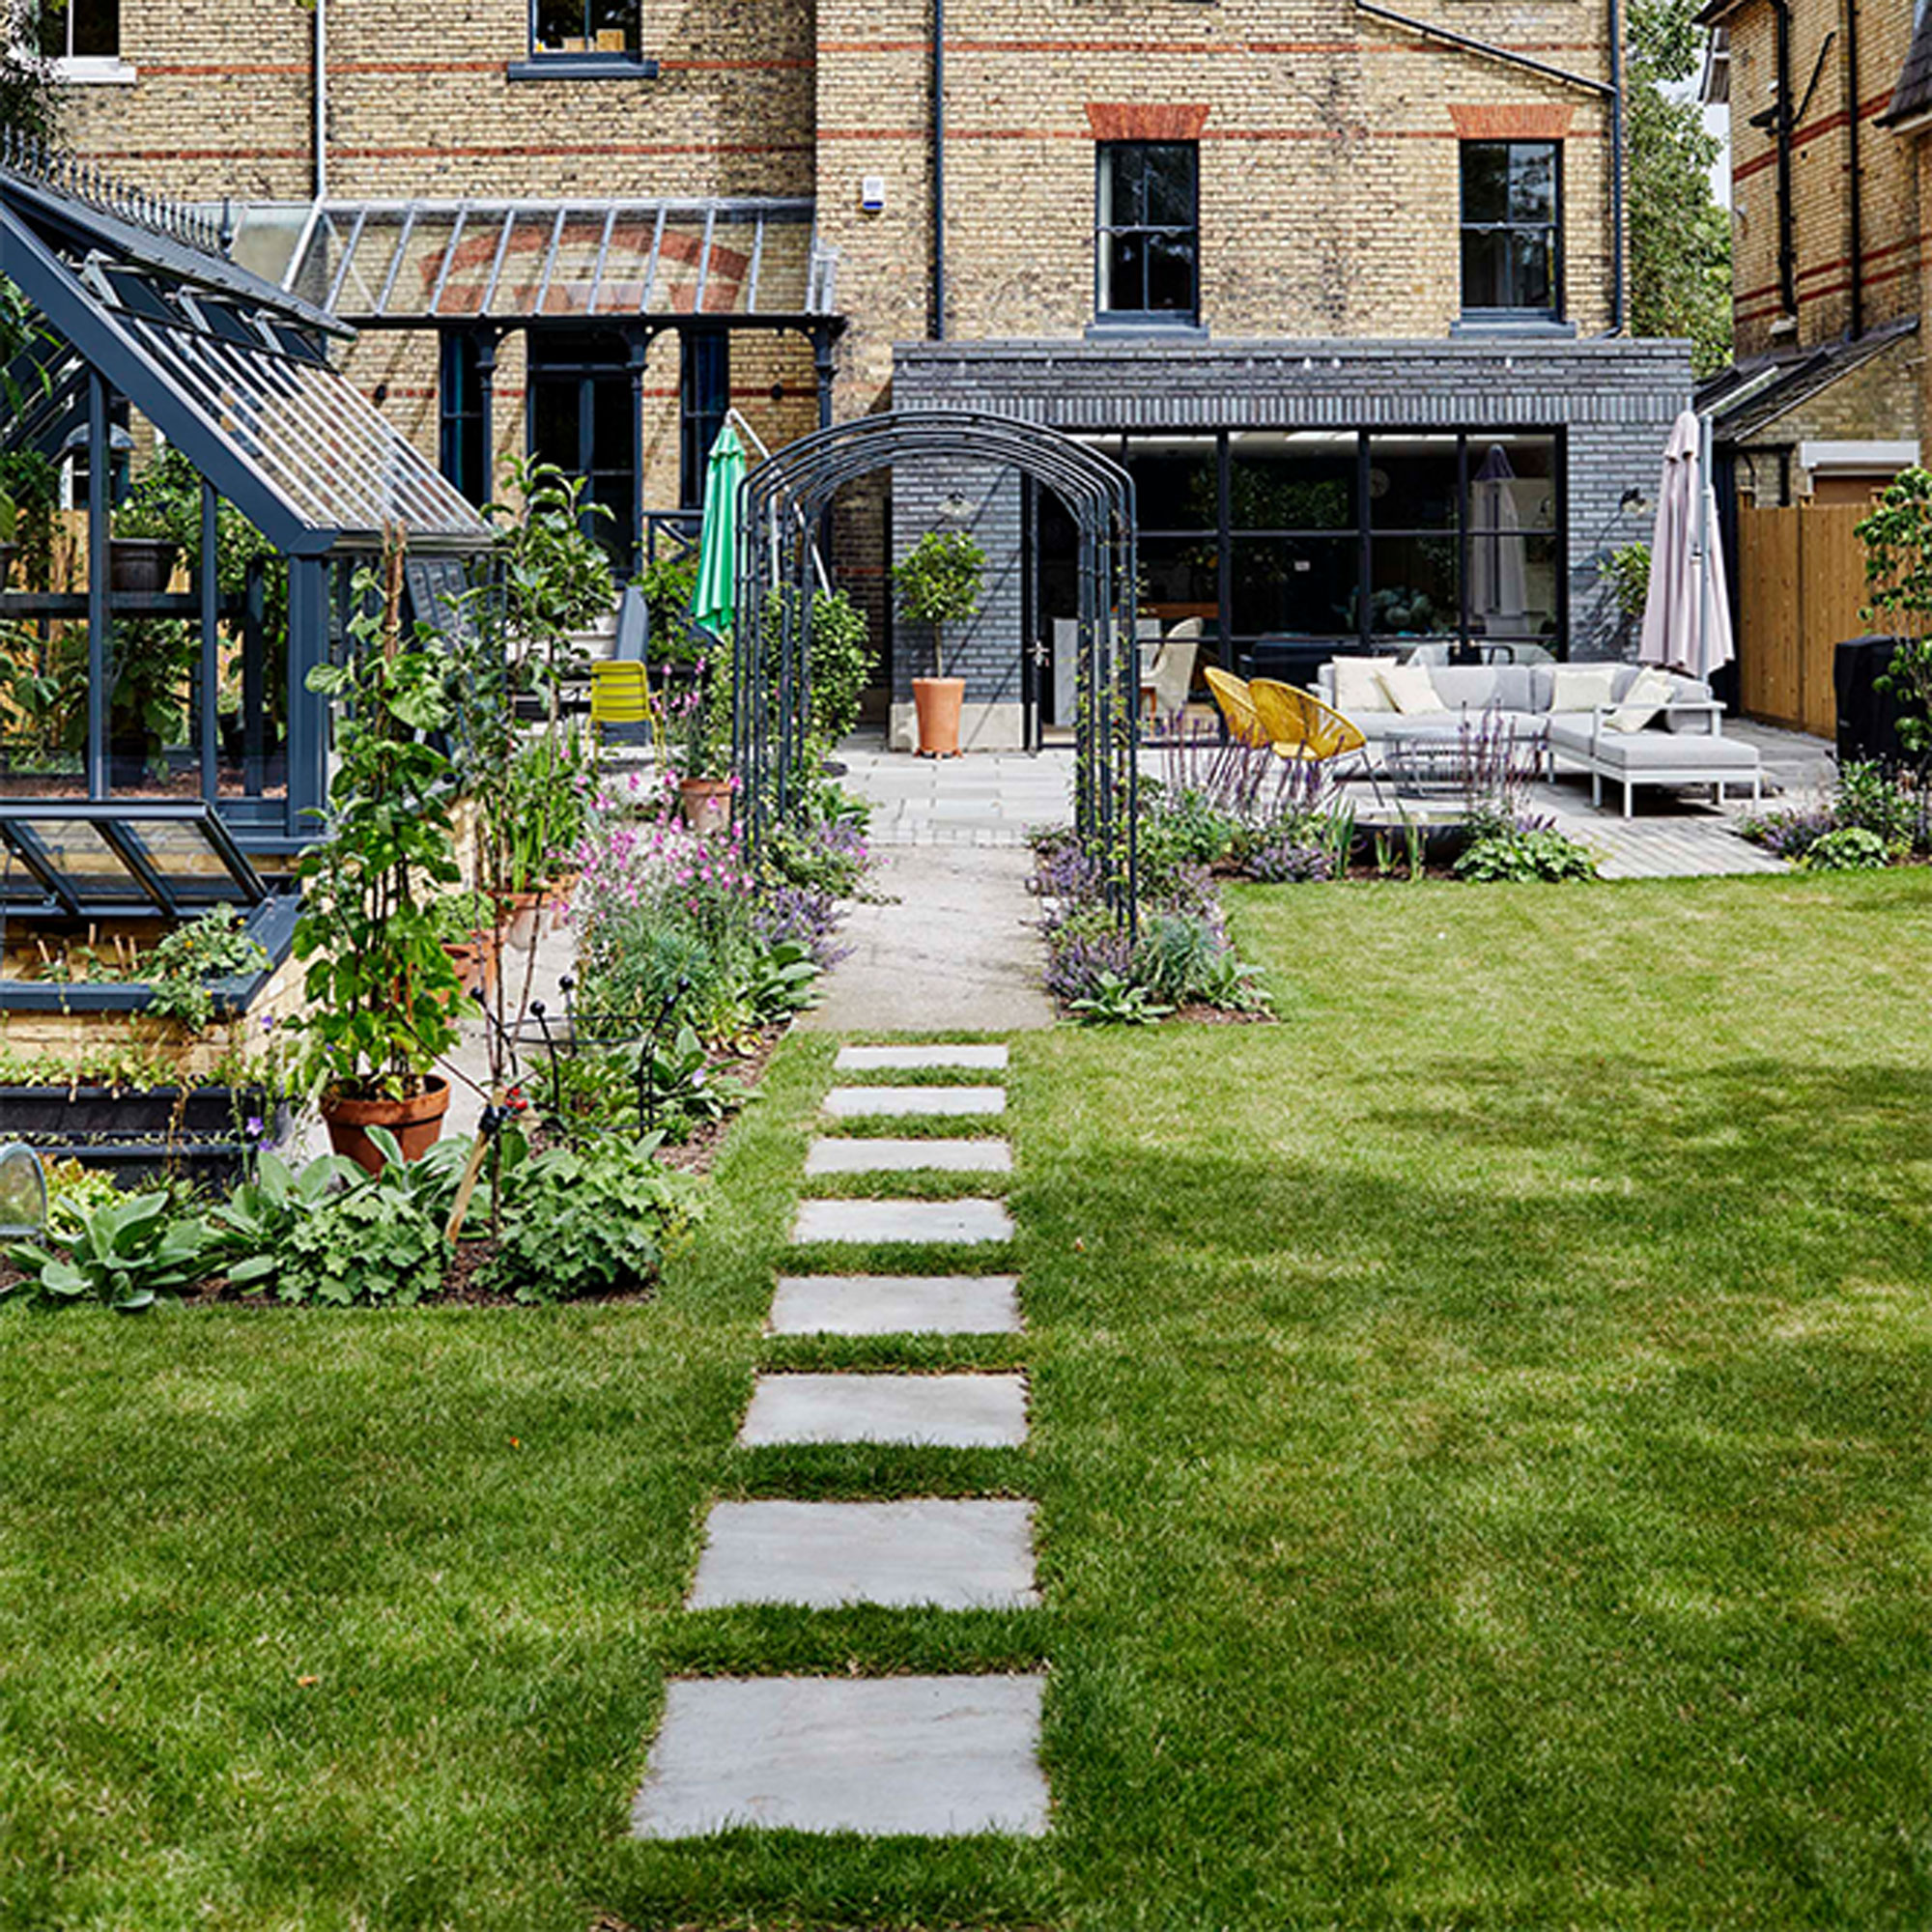
For a super-quick and low-effort pathway option, there’s nothing easier than a simple stepping stone pathway set into a lawn. Stepping stones provide an easy way of getting from A to B outdoors and will cost less to install than a standard path as you’ll cover more distance with a fewer amount of stones.
When it comes to installation, a stepping stone garden path idea won’t require much digging, it’ll need just a section of grass to be cut out and a little soil underneath removed before slotting the stone or paving slab in. And adding a small amount of sand underneath can help to level stones out if required.
Arrange your path so that the distance between stones is around 20-24 inches from the centre of one, to the centre of the next. Then set the top of the stepping stone about an inch above the soil level so that you can still run a lawn mower over the grass to keep the lawn neat, without the stones obstructing the mower.
2. Lead the way with decking boards
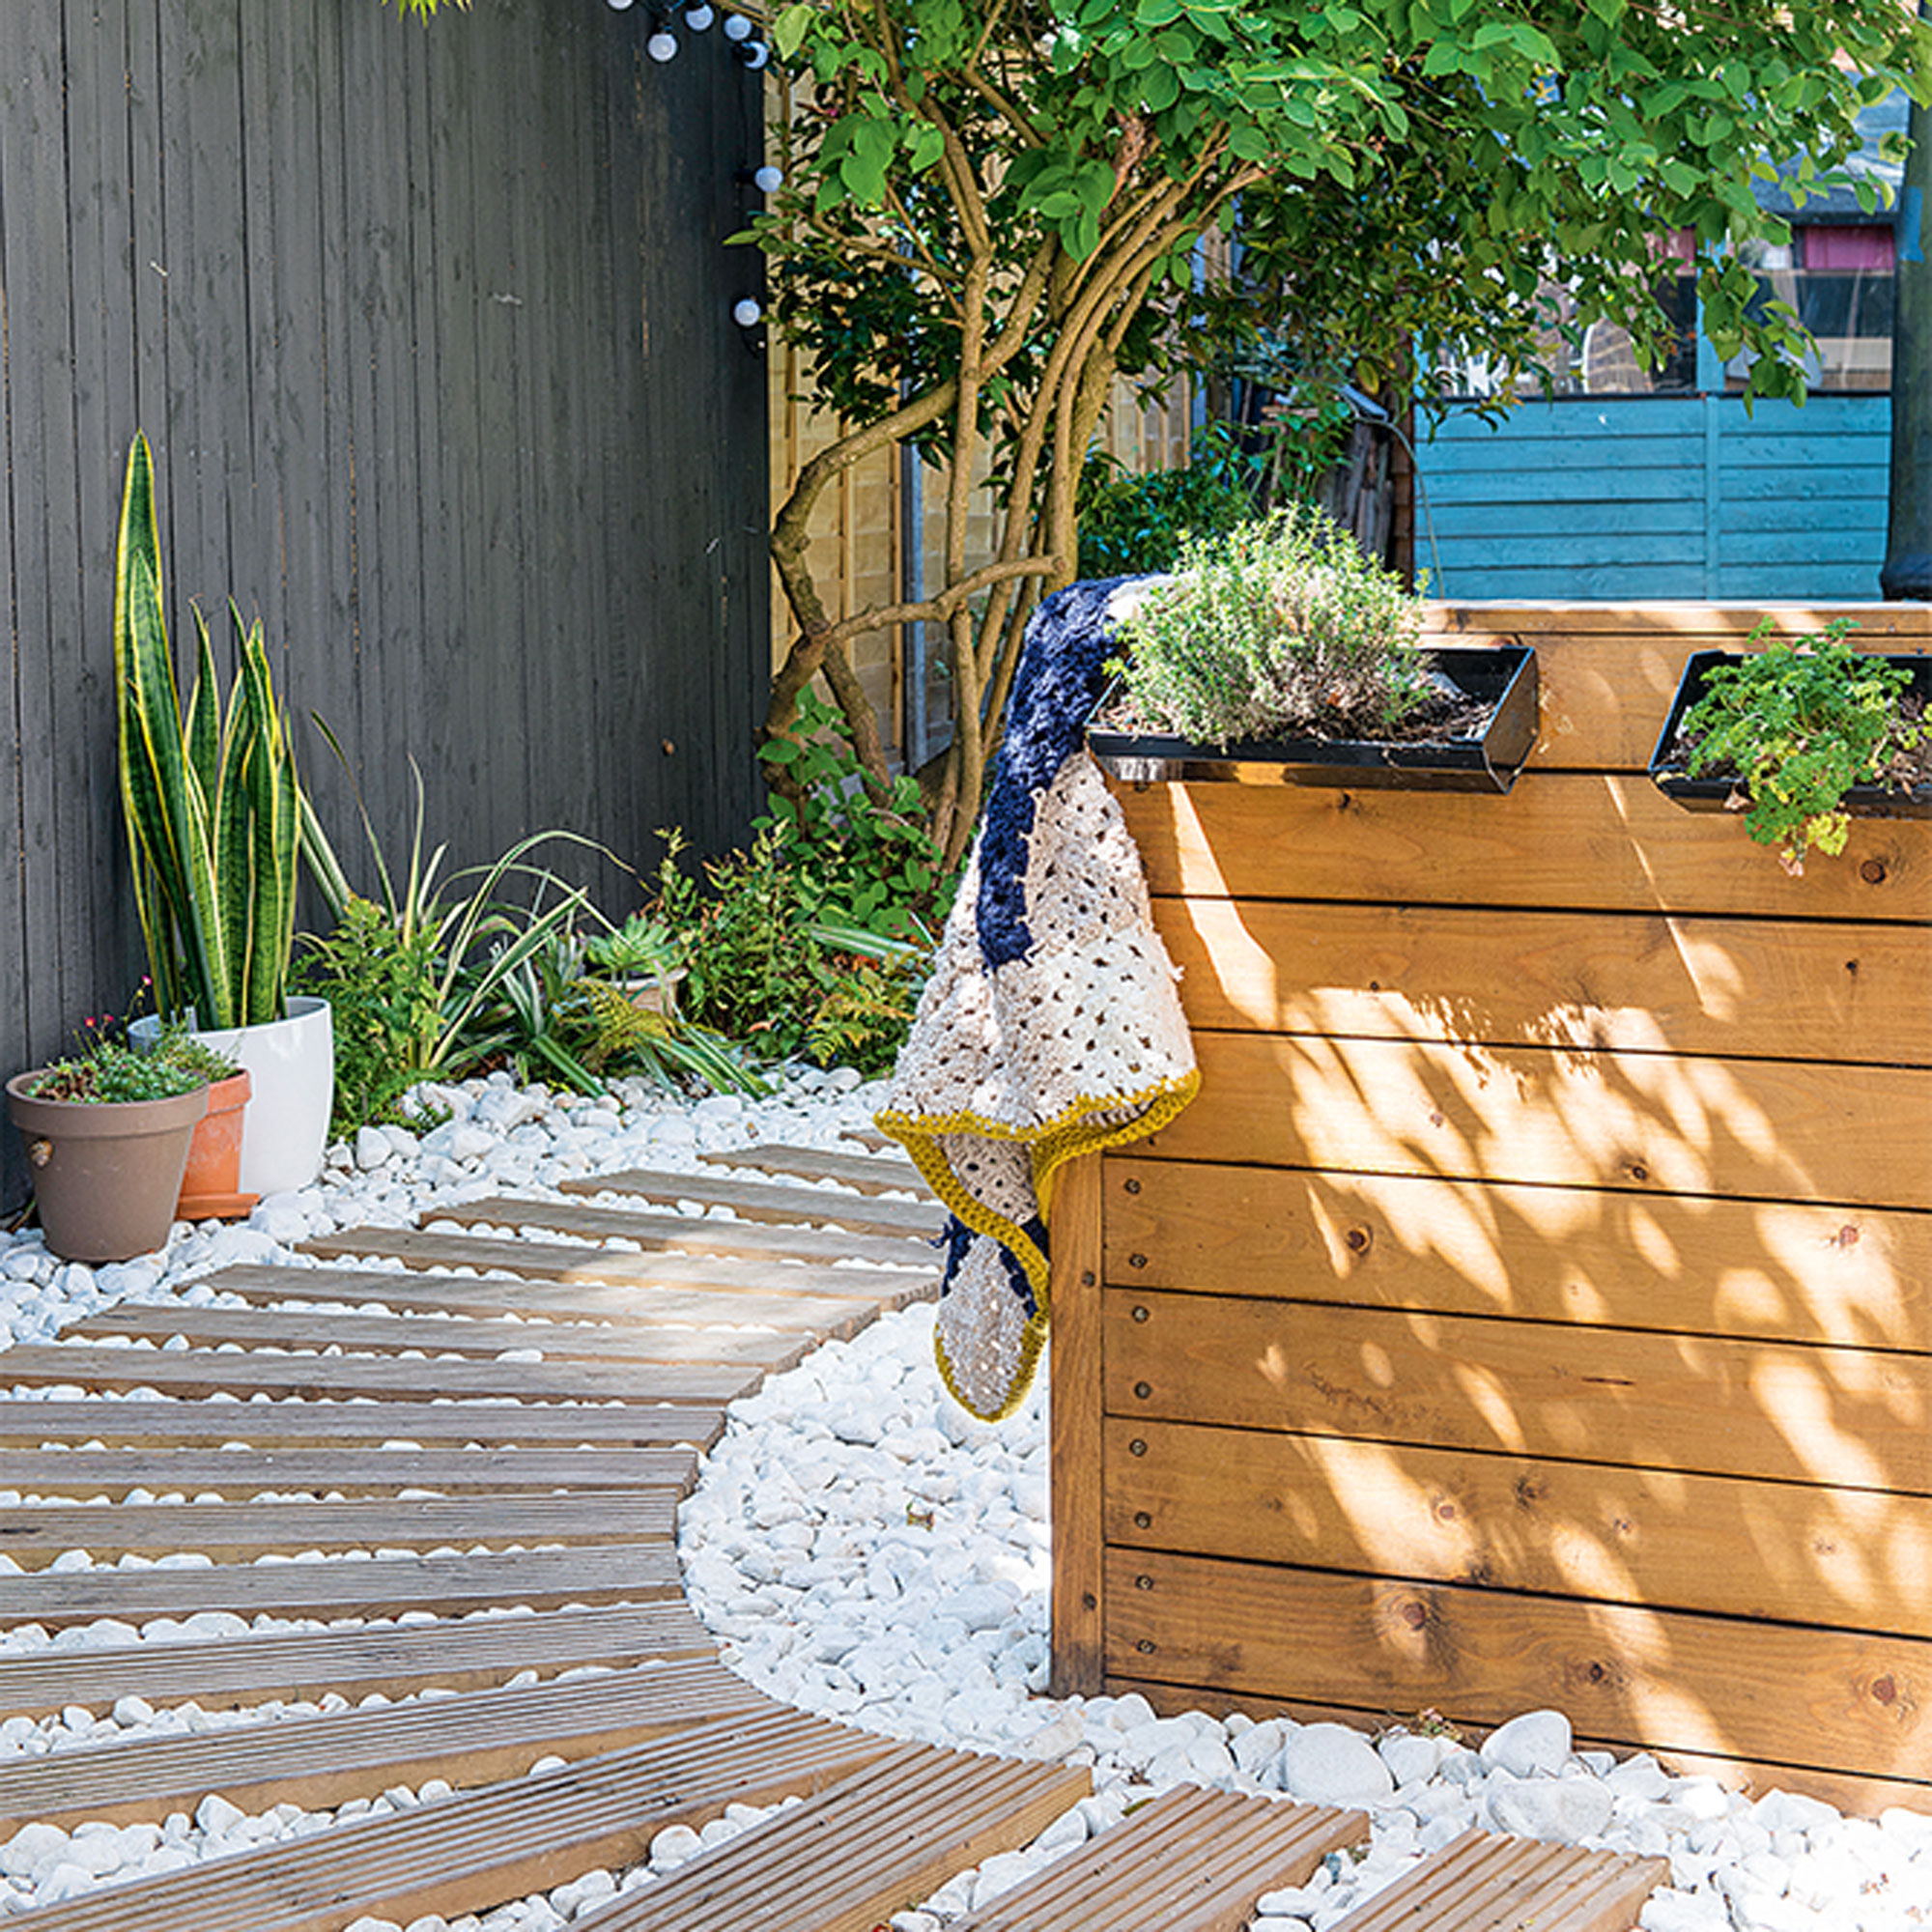
Using timber decking boards is another way of creating a low-effort, cheap DIY garden path idea. A good option if you have a want a wider-than-standard path or you have an uneven area of garden that you want to cover-up and make more stable.
You’ll need to level-up the area first, which will require digging into the soil or lawn area and raking over to make sure that the surface is completely flat and level. Before putting down deck boards, lay weed-proof membrane to cover soil, which will prevent any new growth from coming through.
Get the Ideal Home Newsletter
Sign up to our newsletter for style and decor inspiration, house makeovers, project advice and more.
Once the deck boards are cut to size, lay them in position and secure by drilling two holes into each end and using stainless steel deck bolts to prevent movement. Filling gaps with pebbles or gravel looks stylish and will provide extra drainage too. And using boards like this is a great solution if you want to create a curved path that will meander through the garden or run around an obstacle.
3. Add charm with rustic stepping stones
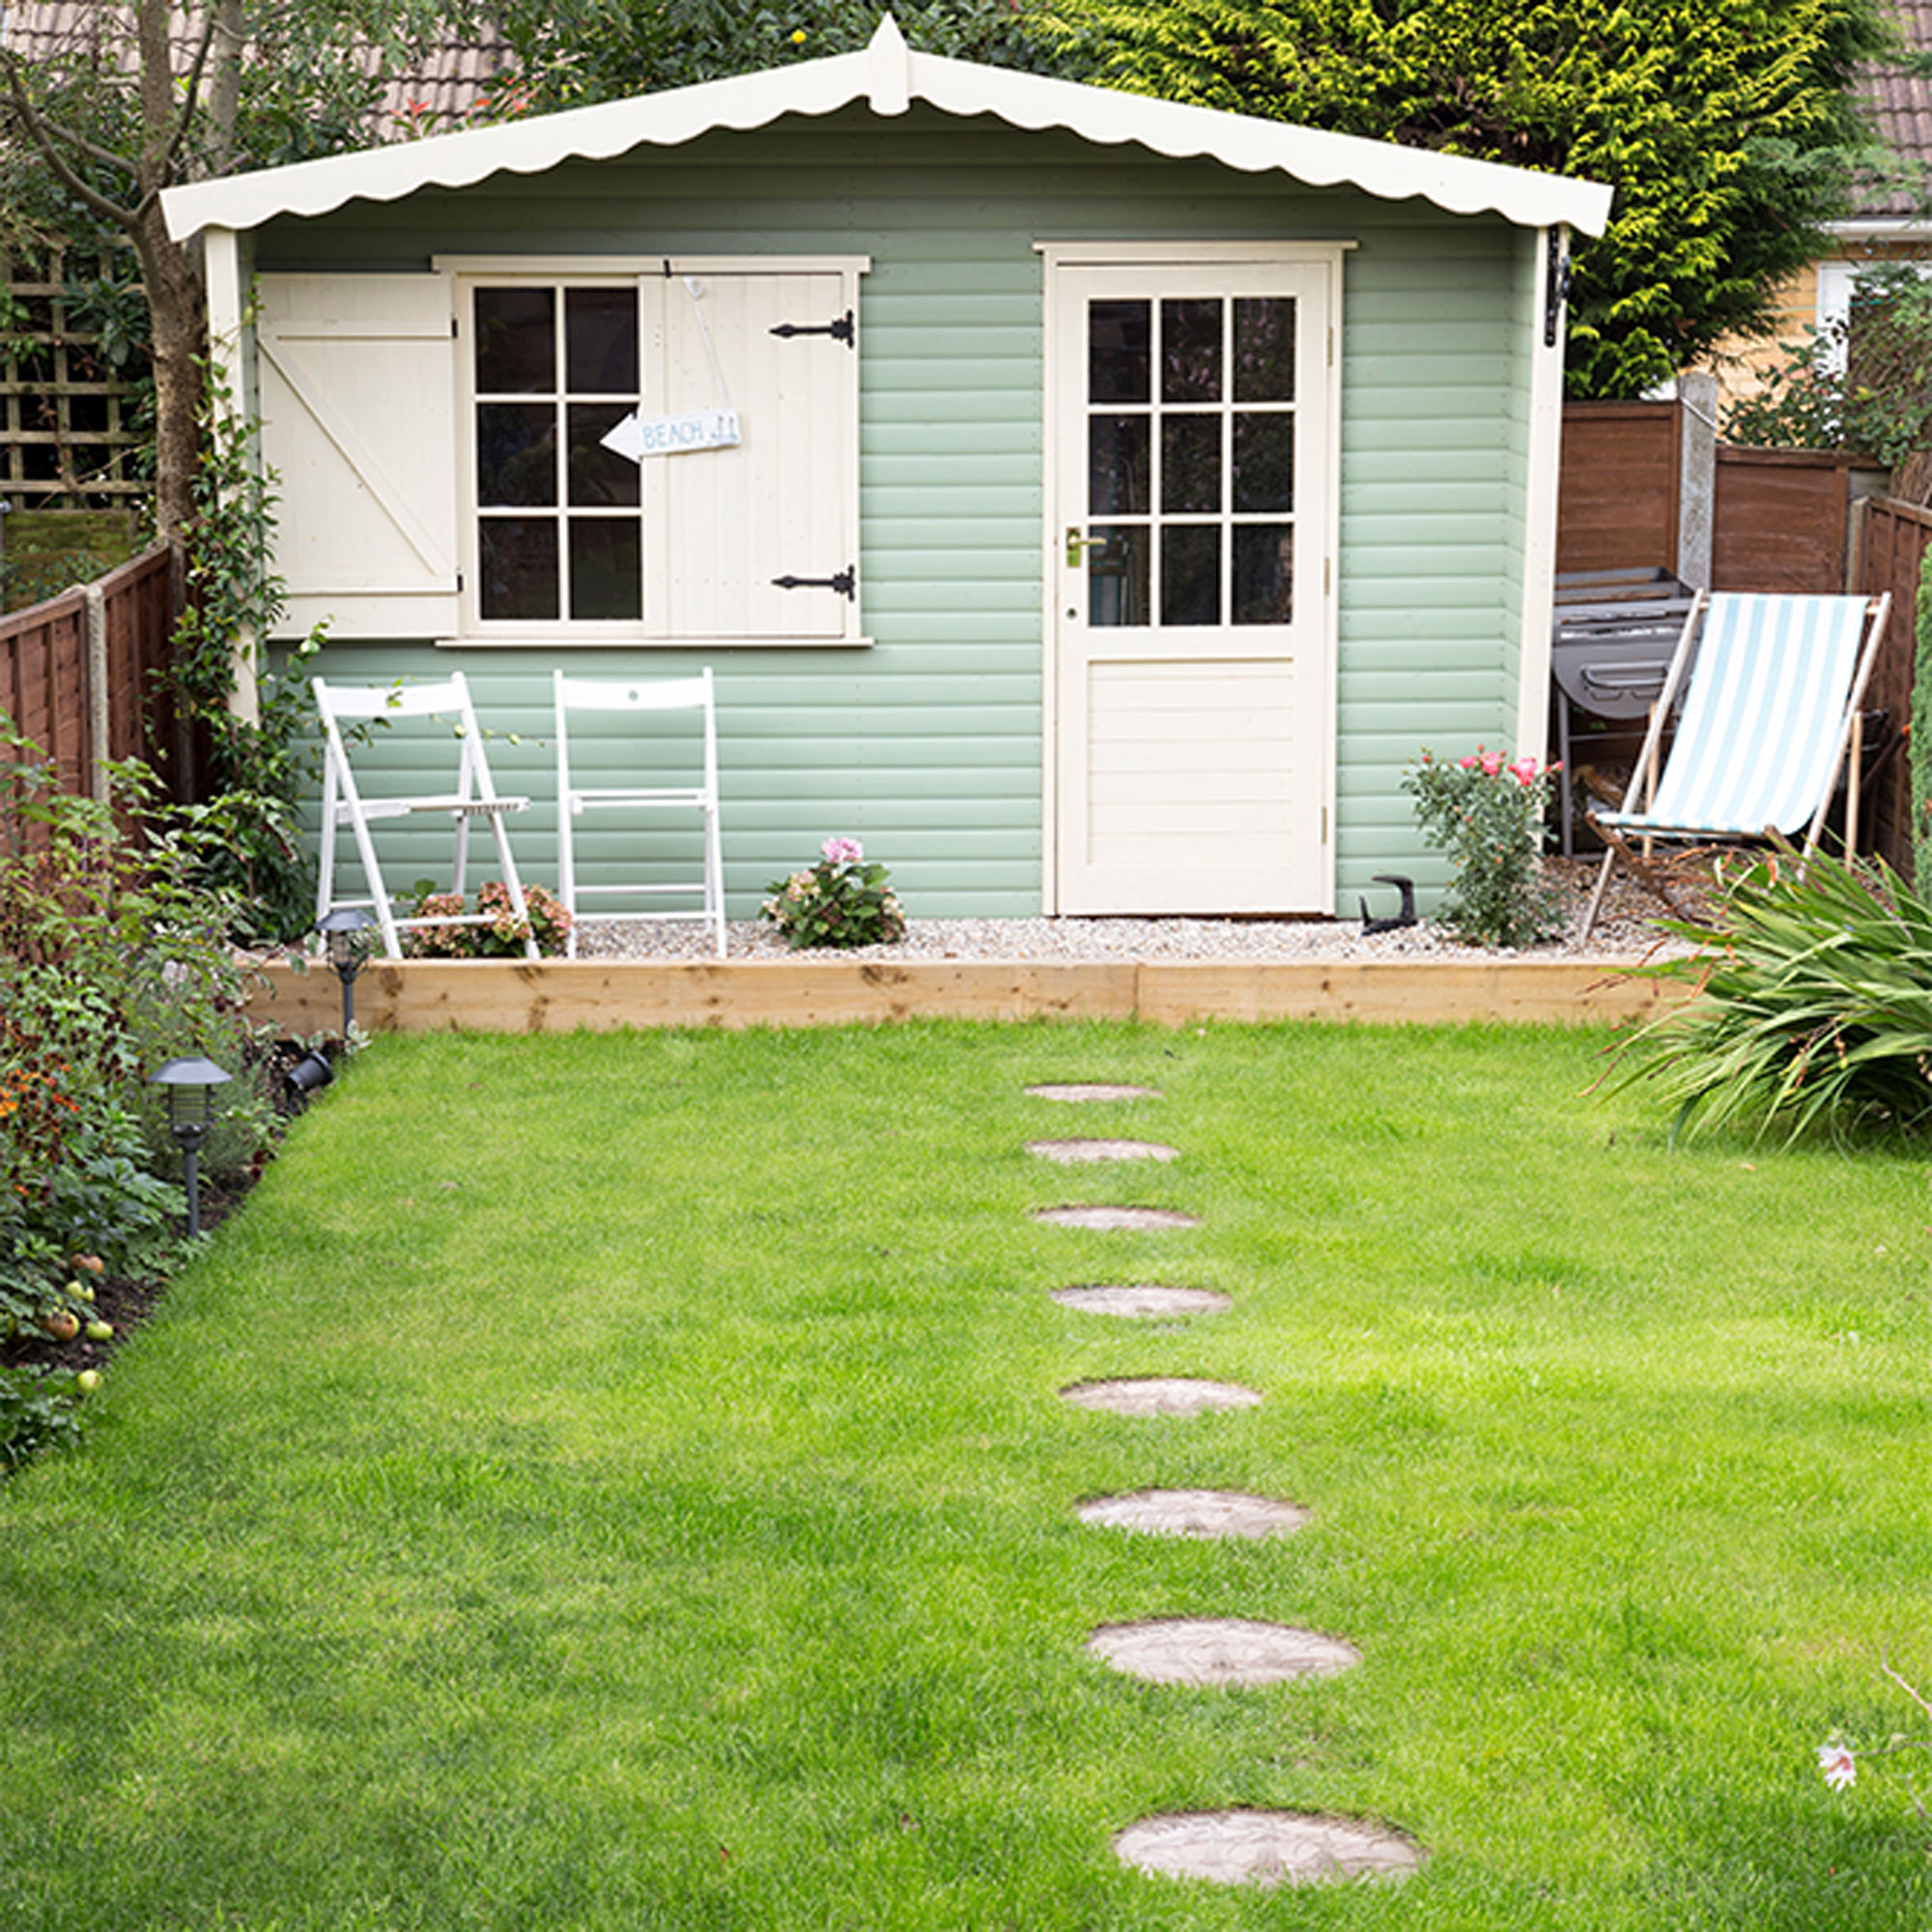
For a relaxed, less-formal look than using standard concrete paving slabs, create a stepping stone effect path using circular stones. A lovely way of adding a characterful look to a garden, stepping stone designs range from riven-effect stones to give an aged timeworn appearance, wood-effect stones that mimic the look of old timber or stones inscribed with motifs or mottos. This is a particularly effective budget small garden idea because the path isn't too imposing on the limited lawn.
Plot your path using a garden hosepipe so you can see how it will look, in either a straight line or curved pathway effect, with stones spaced equally distanced apart. Use the stones as a template when cutting turf away. Stones can then be set on sand for a level base or cemented in to provide extra stability.
4. Opt for easy-fit decking squares
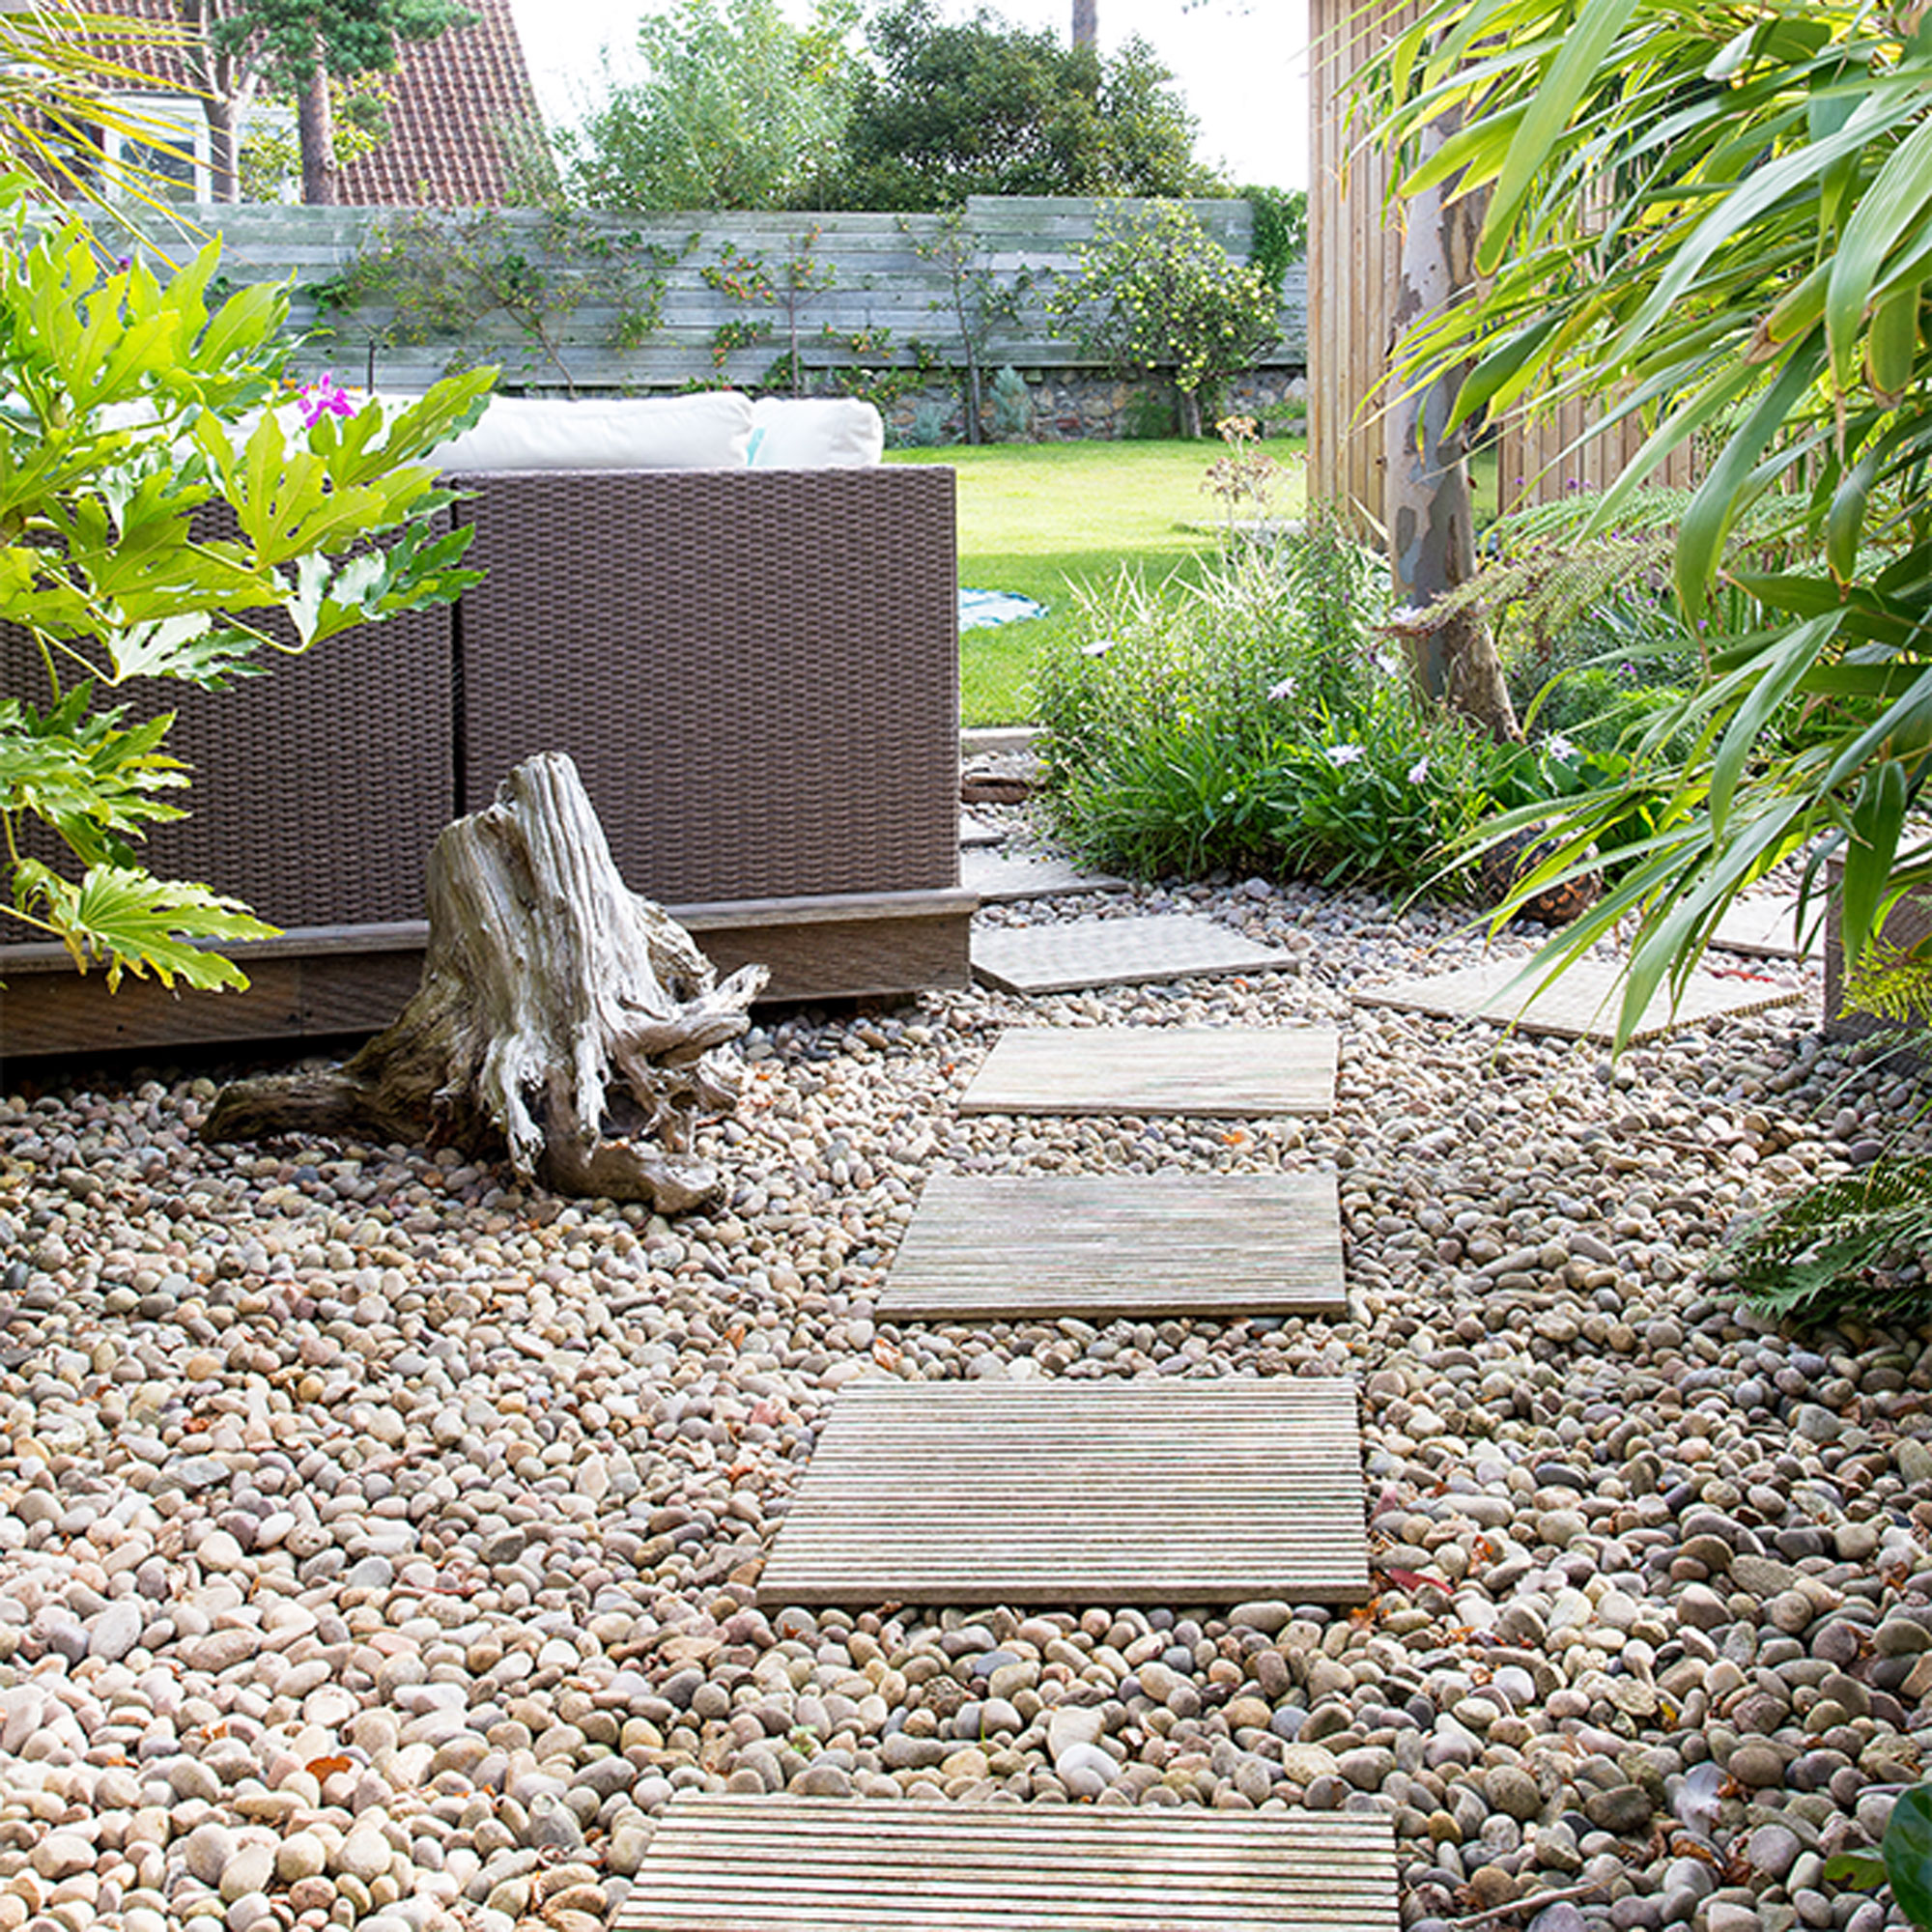
For an inexpensive and easier alternative to using timber decking boards, try buying ready-made timber decking squares instead. Readily available at DIY sheds, squares are pre-cut to size, so will require zero DIY skills to put them down as a path in the garden.
There are a number of options available when it comes to installing timber decking squares or tiles, all of which will require a level base for stability. Single squares can be used alongside gravel or shingle to create a floating-style pathway that is super-easy to lay. Alternatively, consider interlocking deck tiles, that can be slotted together to create a pathway.
A temporary solution that is also worth considering, is a pre-assembled decking walkway that rolls out much like a floor runner and is a good idea if you want to create an instant pathway for a party or event, with the option to take it up afterwards.
5. Add character with a reclaimed brick pathway
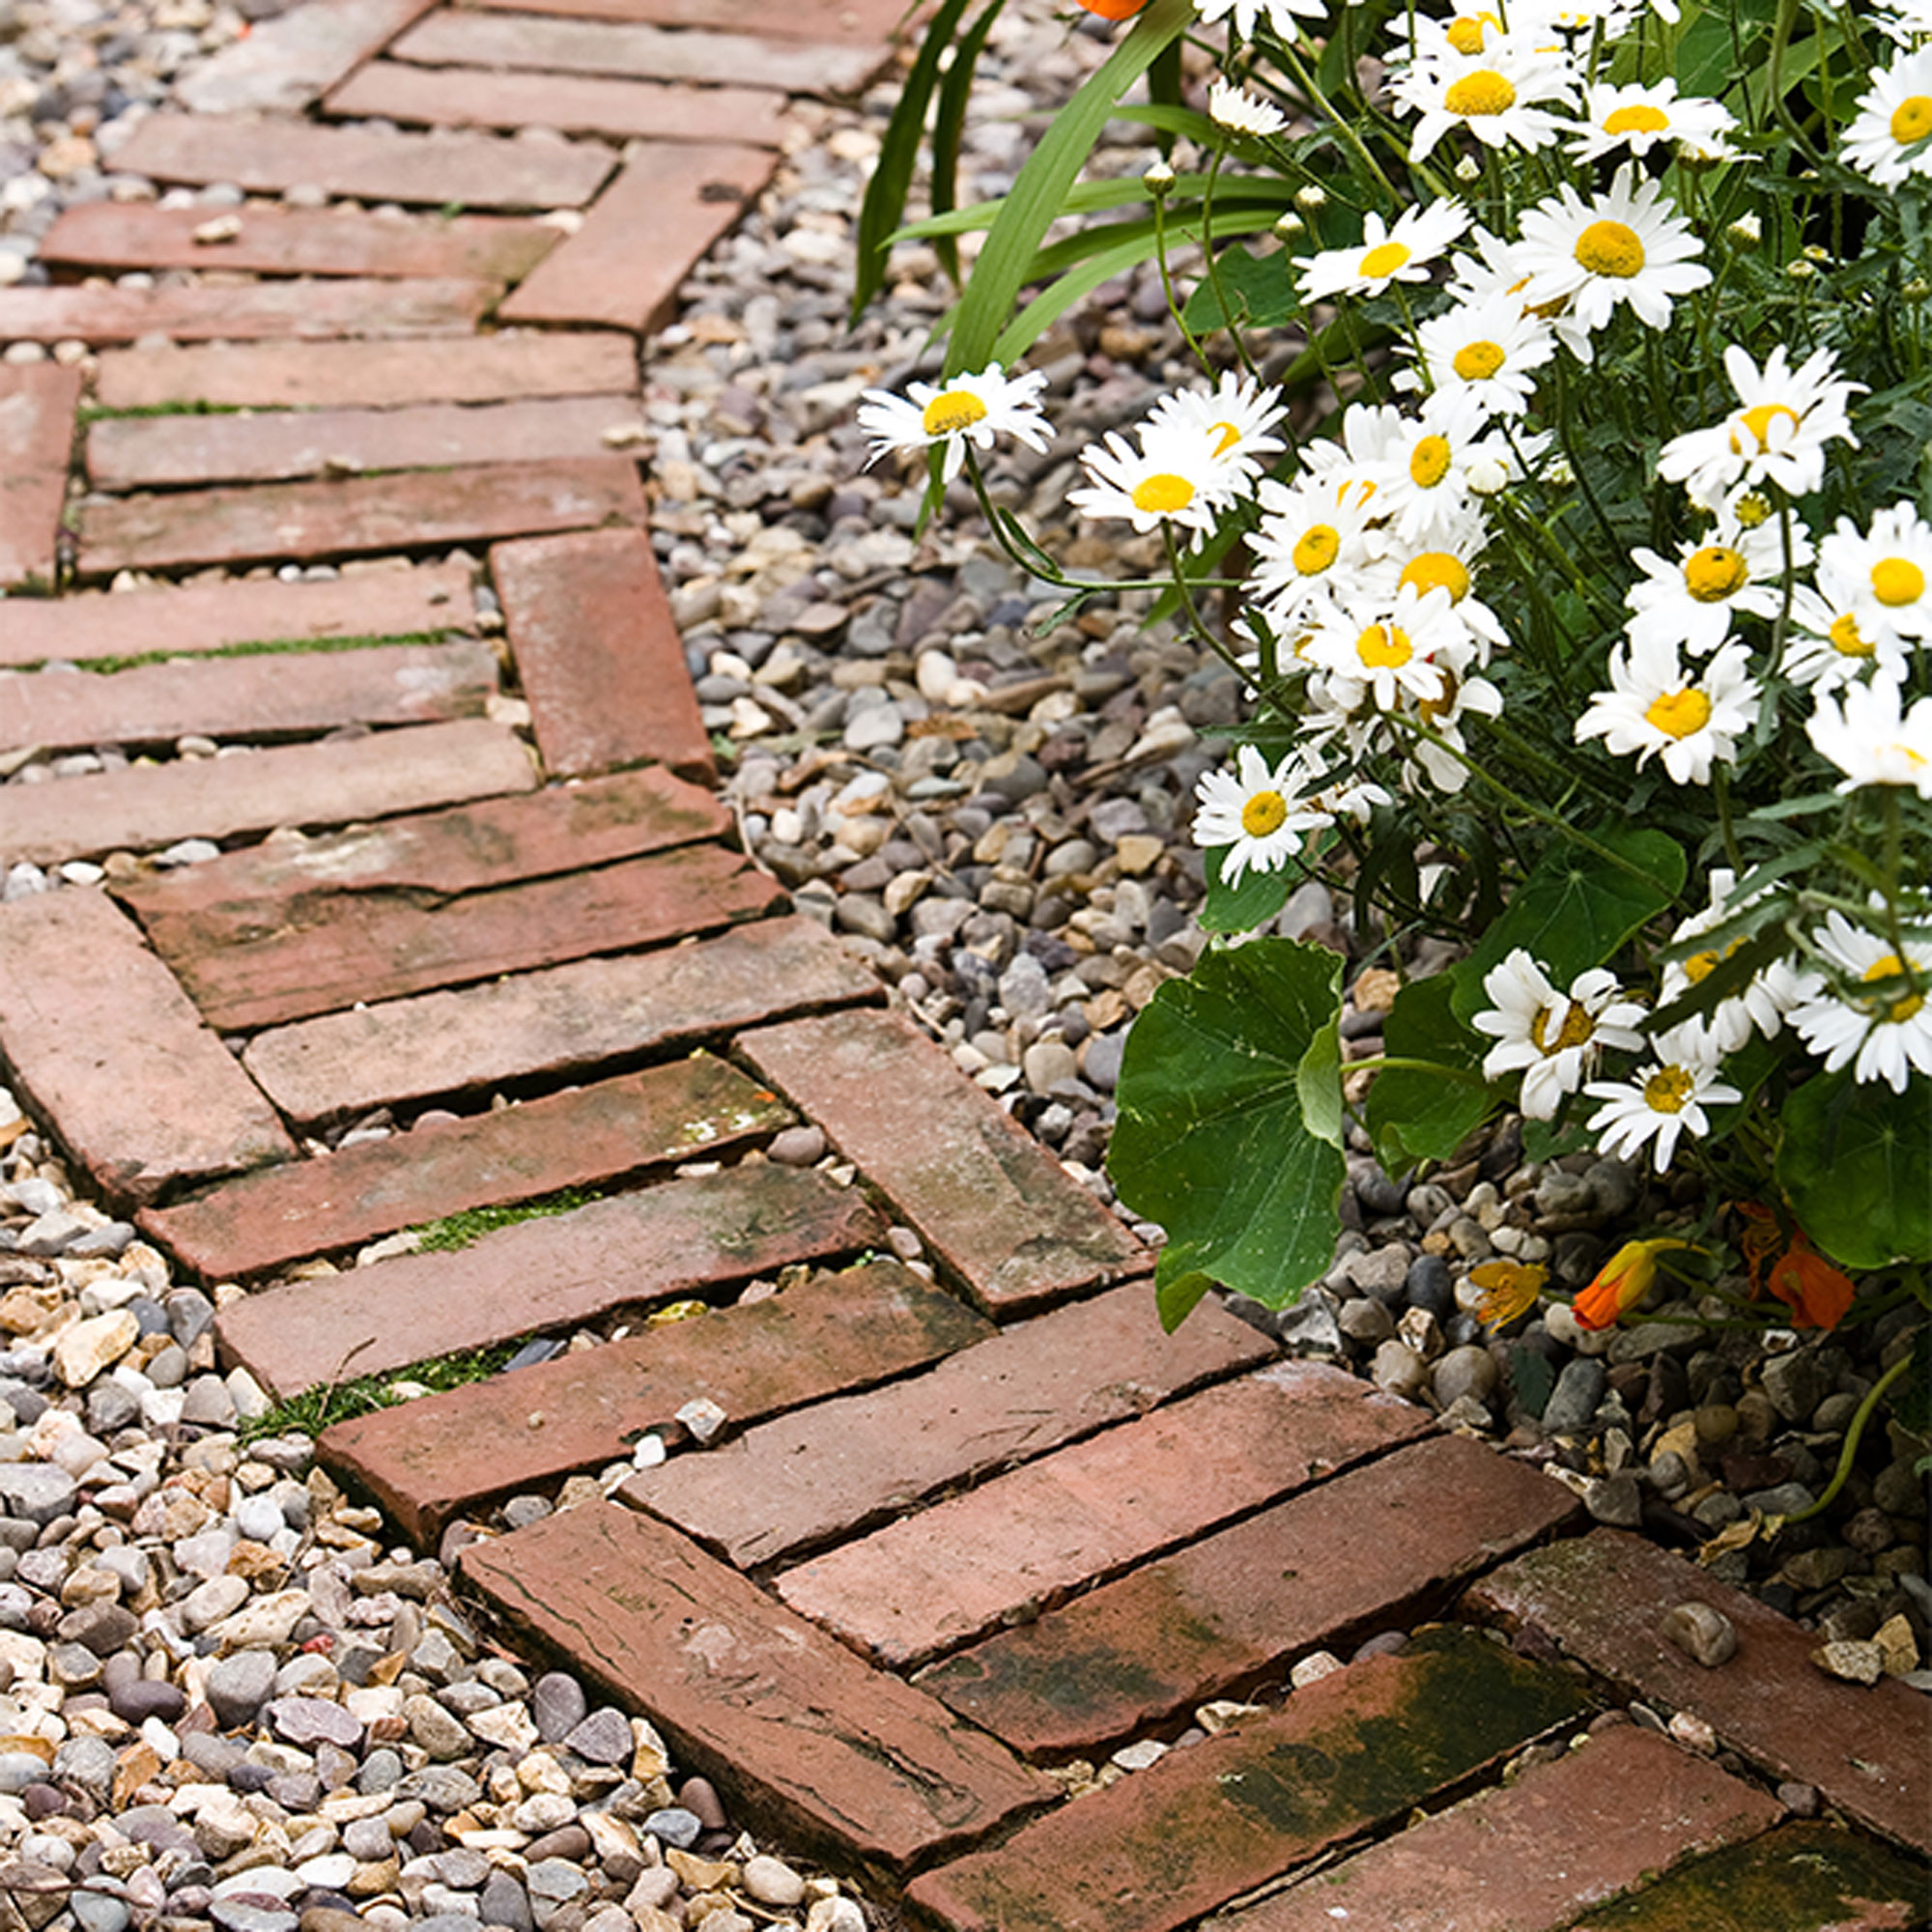
Create a rustic country-style garden pathway using reclaimed bricks which can often be picked up for free or fairly cheaply on sites like Gumtree or Freecycle. A huge benefit of using reclaimed bricks is that they will already be worn and weathered, which will add bags of character and look more aesthetically pleasing than brand new brick.
Bricks should be laid on a base of sharp sand or mortar to give them stability. The width of pathway will depend on how you intend to use it. Just a brick or two wide will be fine if all that’s required is a border for accessing plants and flower beds. Or consider extending the width to four or five foot wide to create more of a focal point feature that will enable two people to stroll along it side by side.
6. Combine slabs and shingle for a natural look
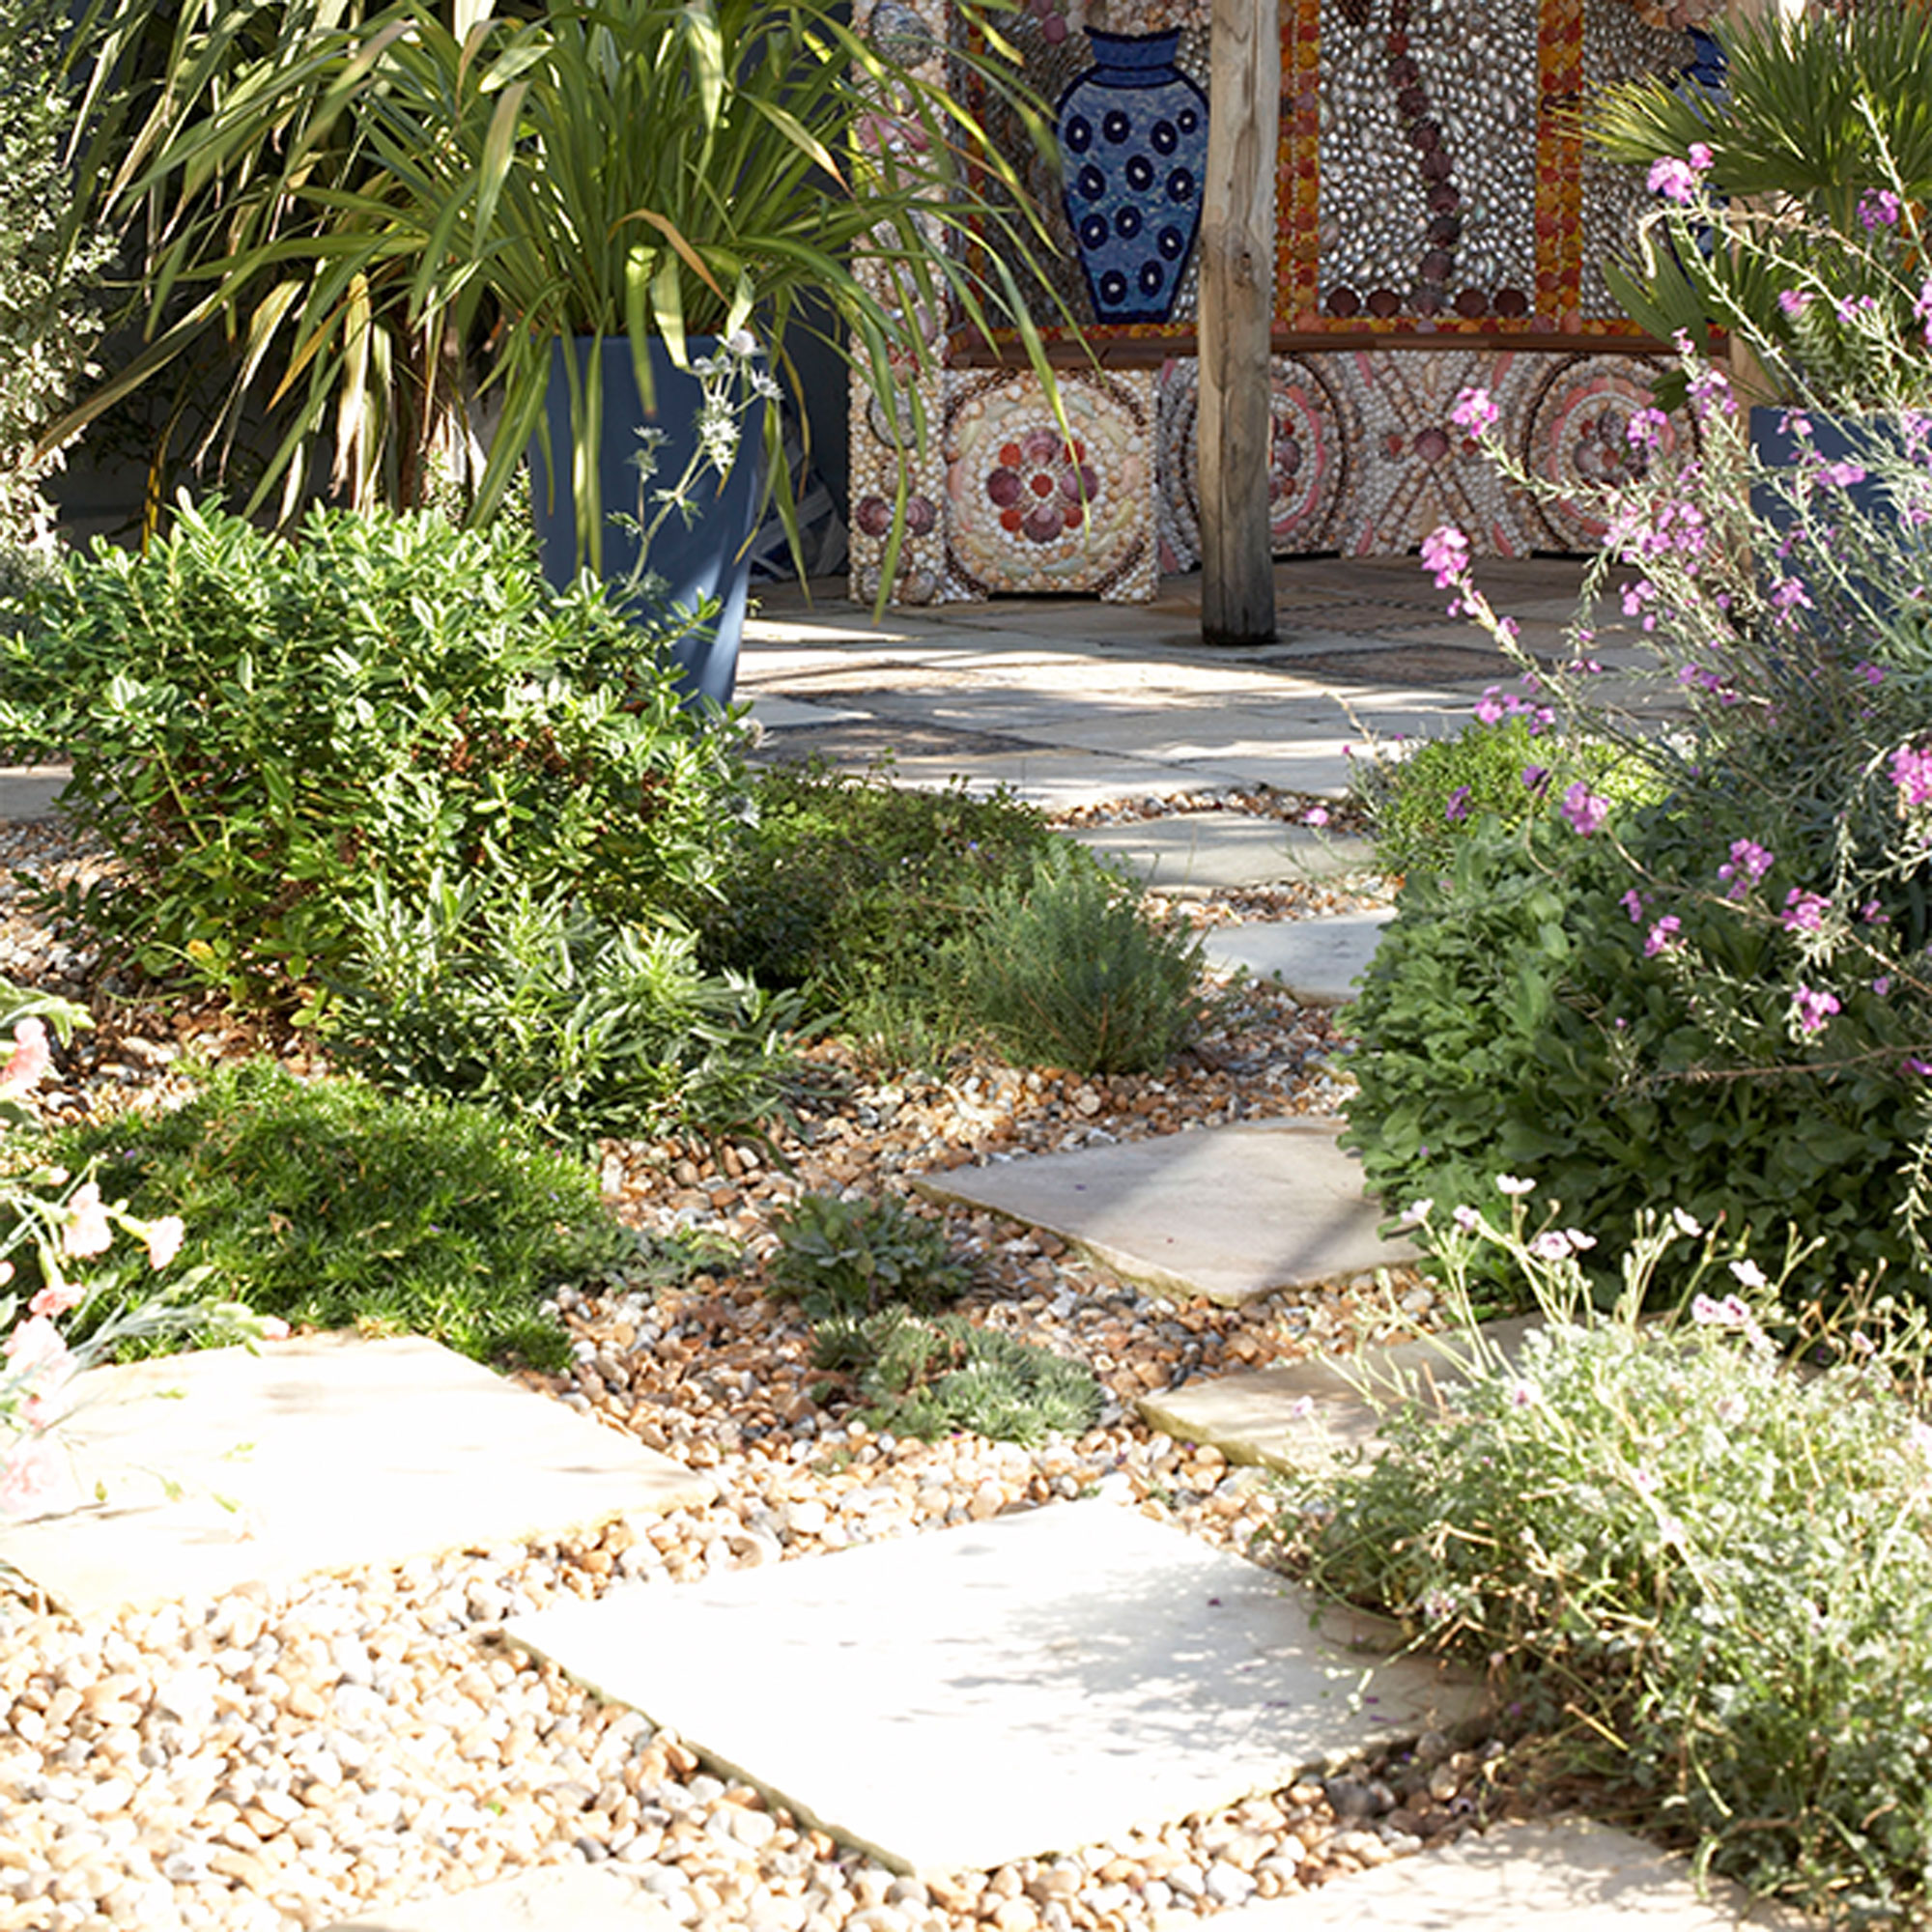
Combine paving slabs with gravel or shingle to create an easy-going DIY path is a great way to cut costs of a garden makeover. Pea shingle is inexpensive when buying in bulk and makes a sensible choice for hard landscaping if you want to cover a larger area for less.
Give a shingled or gravelled area extra focus and direction by adding paving slab stepping stones to lead the way through the garden to features and focal points. Slabs are easier on the feet to walk on and provide a less slippery surface when the weather is wet.
Soften a pathway by creating planting pockets here and there along the length of the path. Add scented plants or fragrant herbs in between pavers that will add a wonderful fragrance when the leaves are stepped on or as you brush against them while you walk through.
7. Look to nature for inspiration
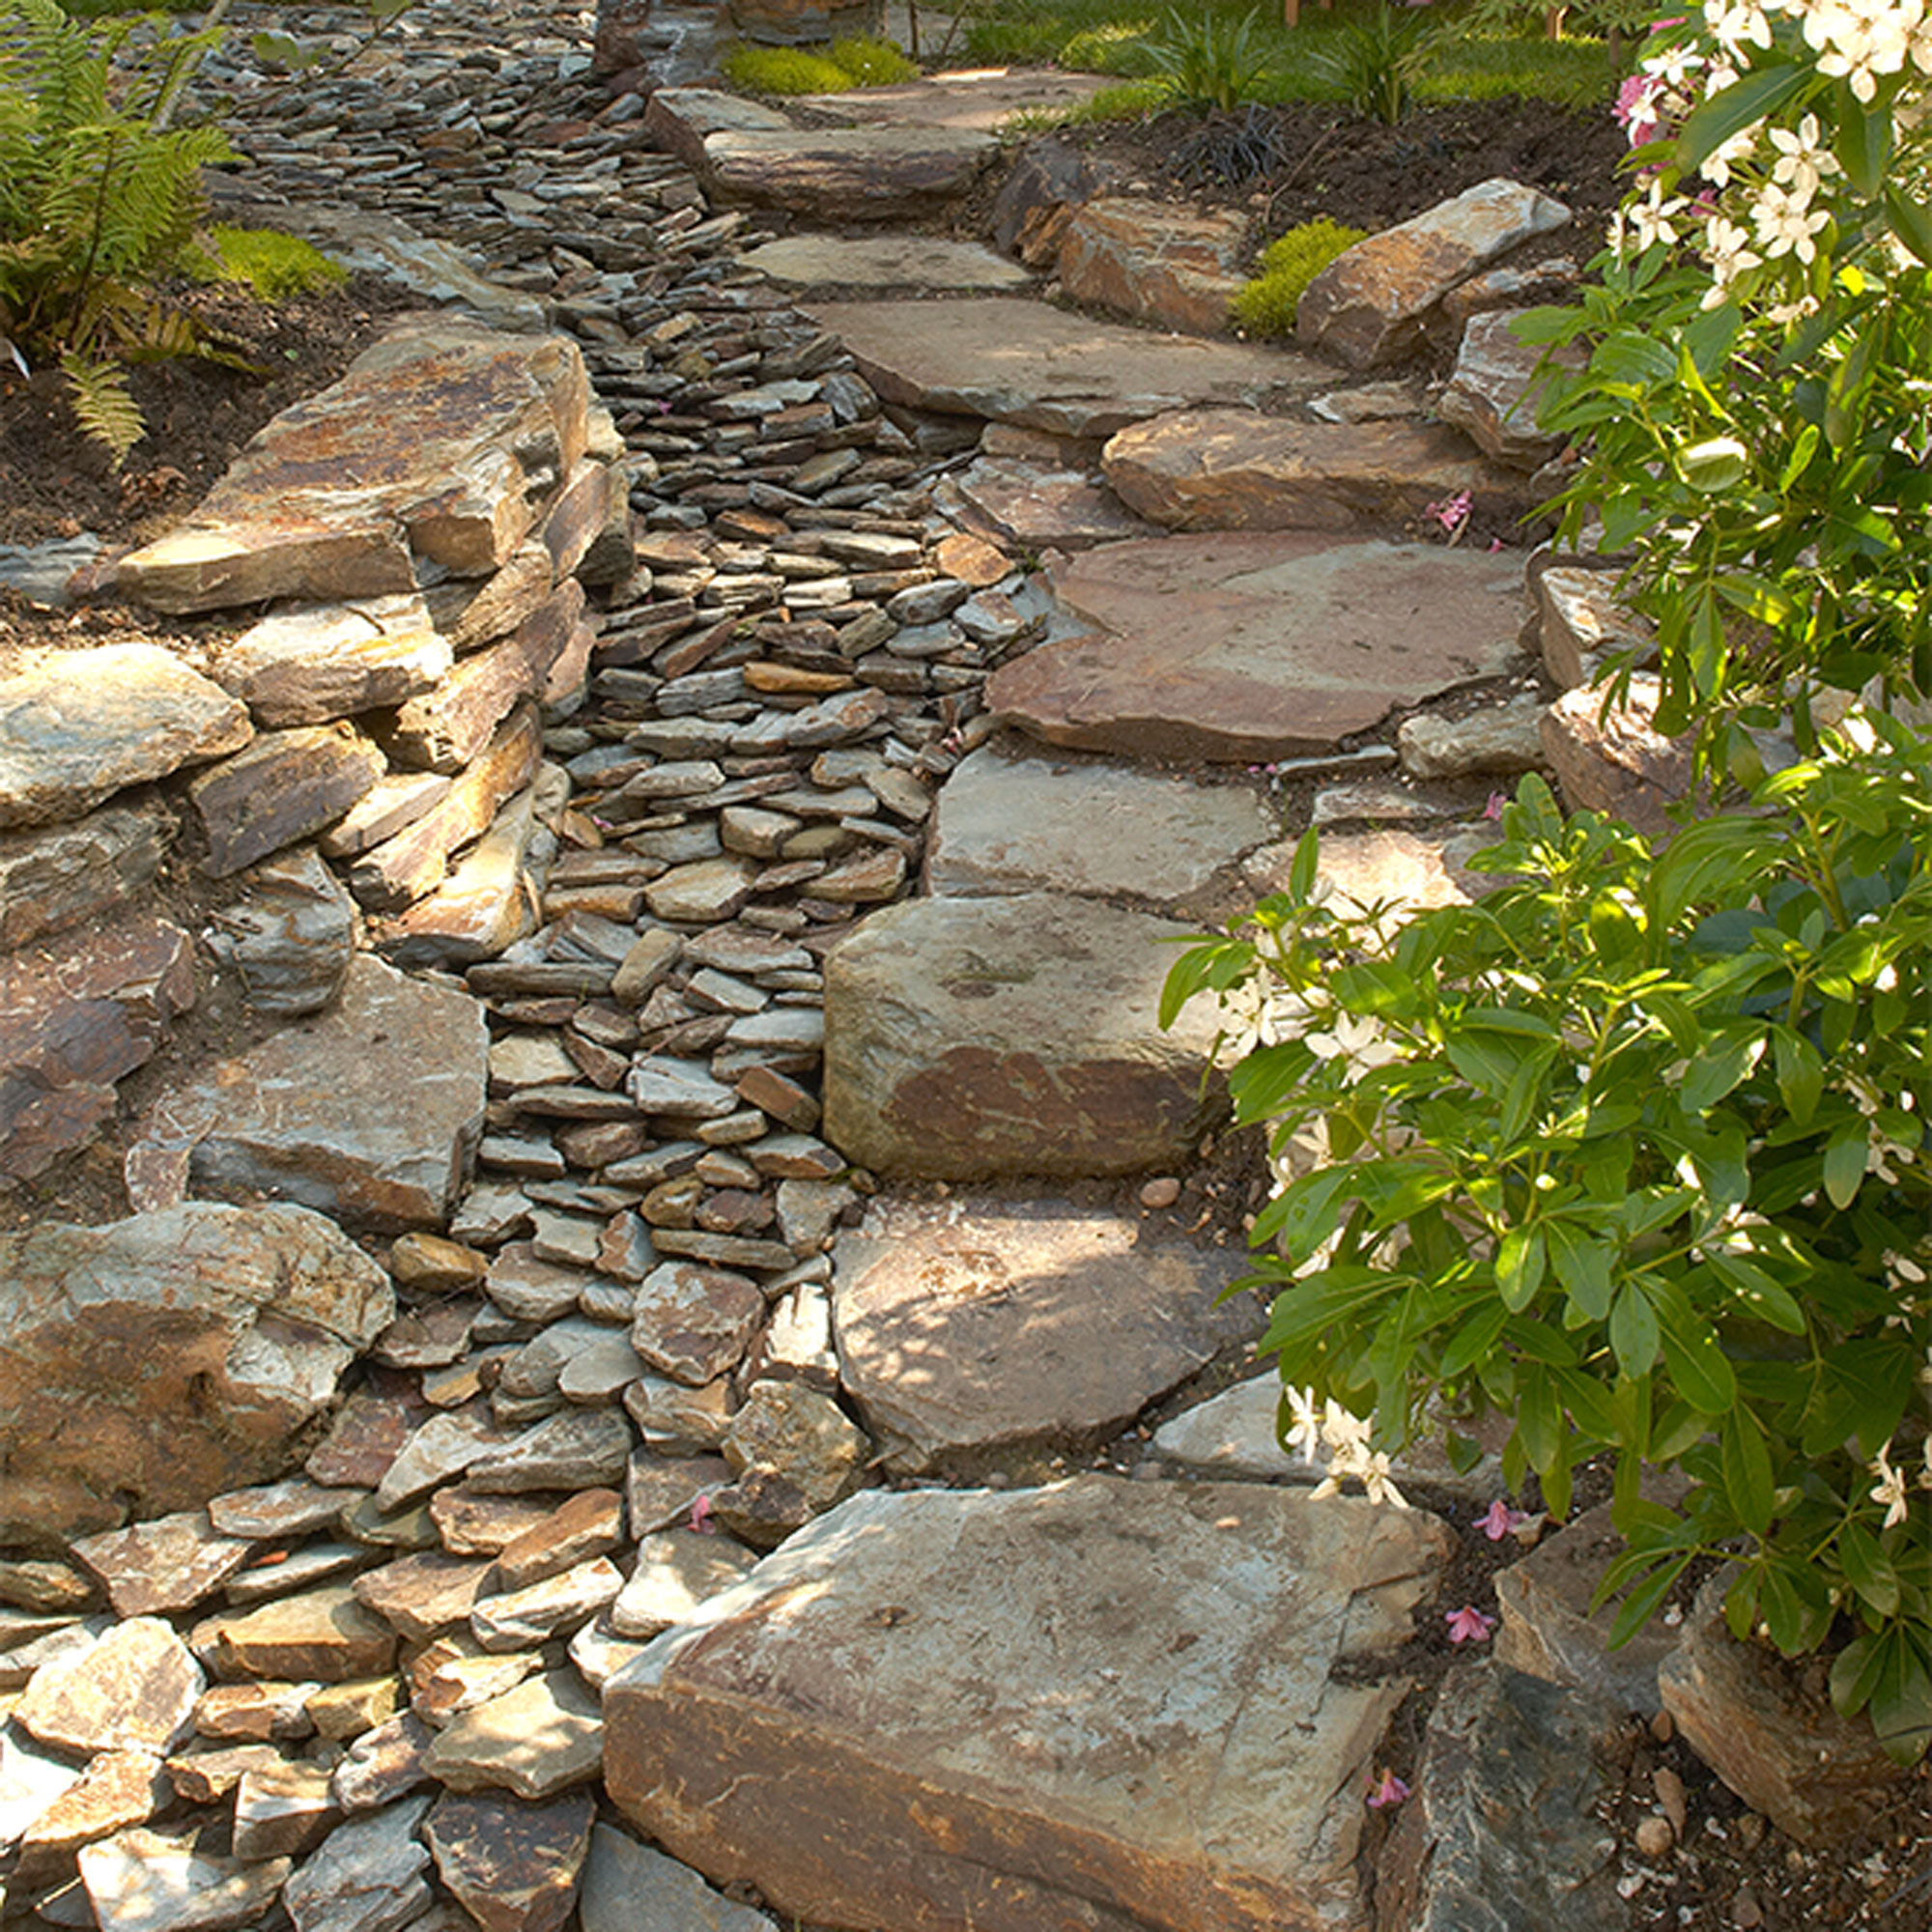
Create an informal walkway that echoes the look and style of your garden or outdoor space. In a naturalistic setting like this one, a rugged stone pathway looks totally in keeping with the landscape and planting, and blends seamlessly into the setting.
A rockery-style pathway makes a good solution in a sloped area or uneven section of garden. Stones can be laid in a staggered formation to ease the way down from one level to another. Create a natural effect by choosing stones and rocks in different shapes and sizes, selecting larger, flat slabs to create walkway steps at the side.
8. Create a pretty patchwork pathway
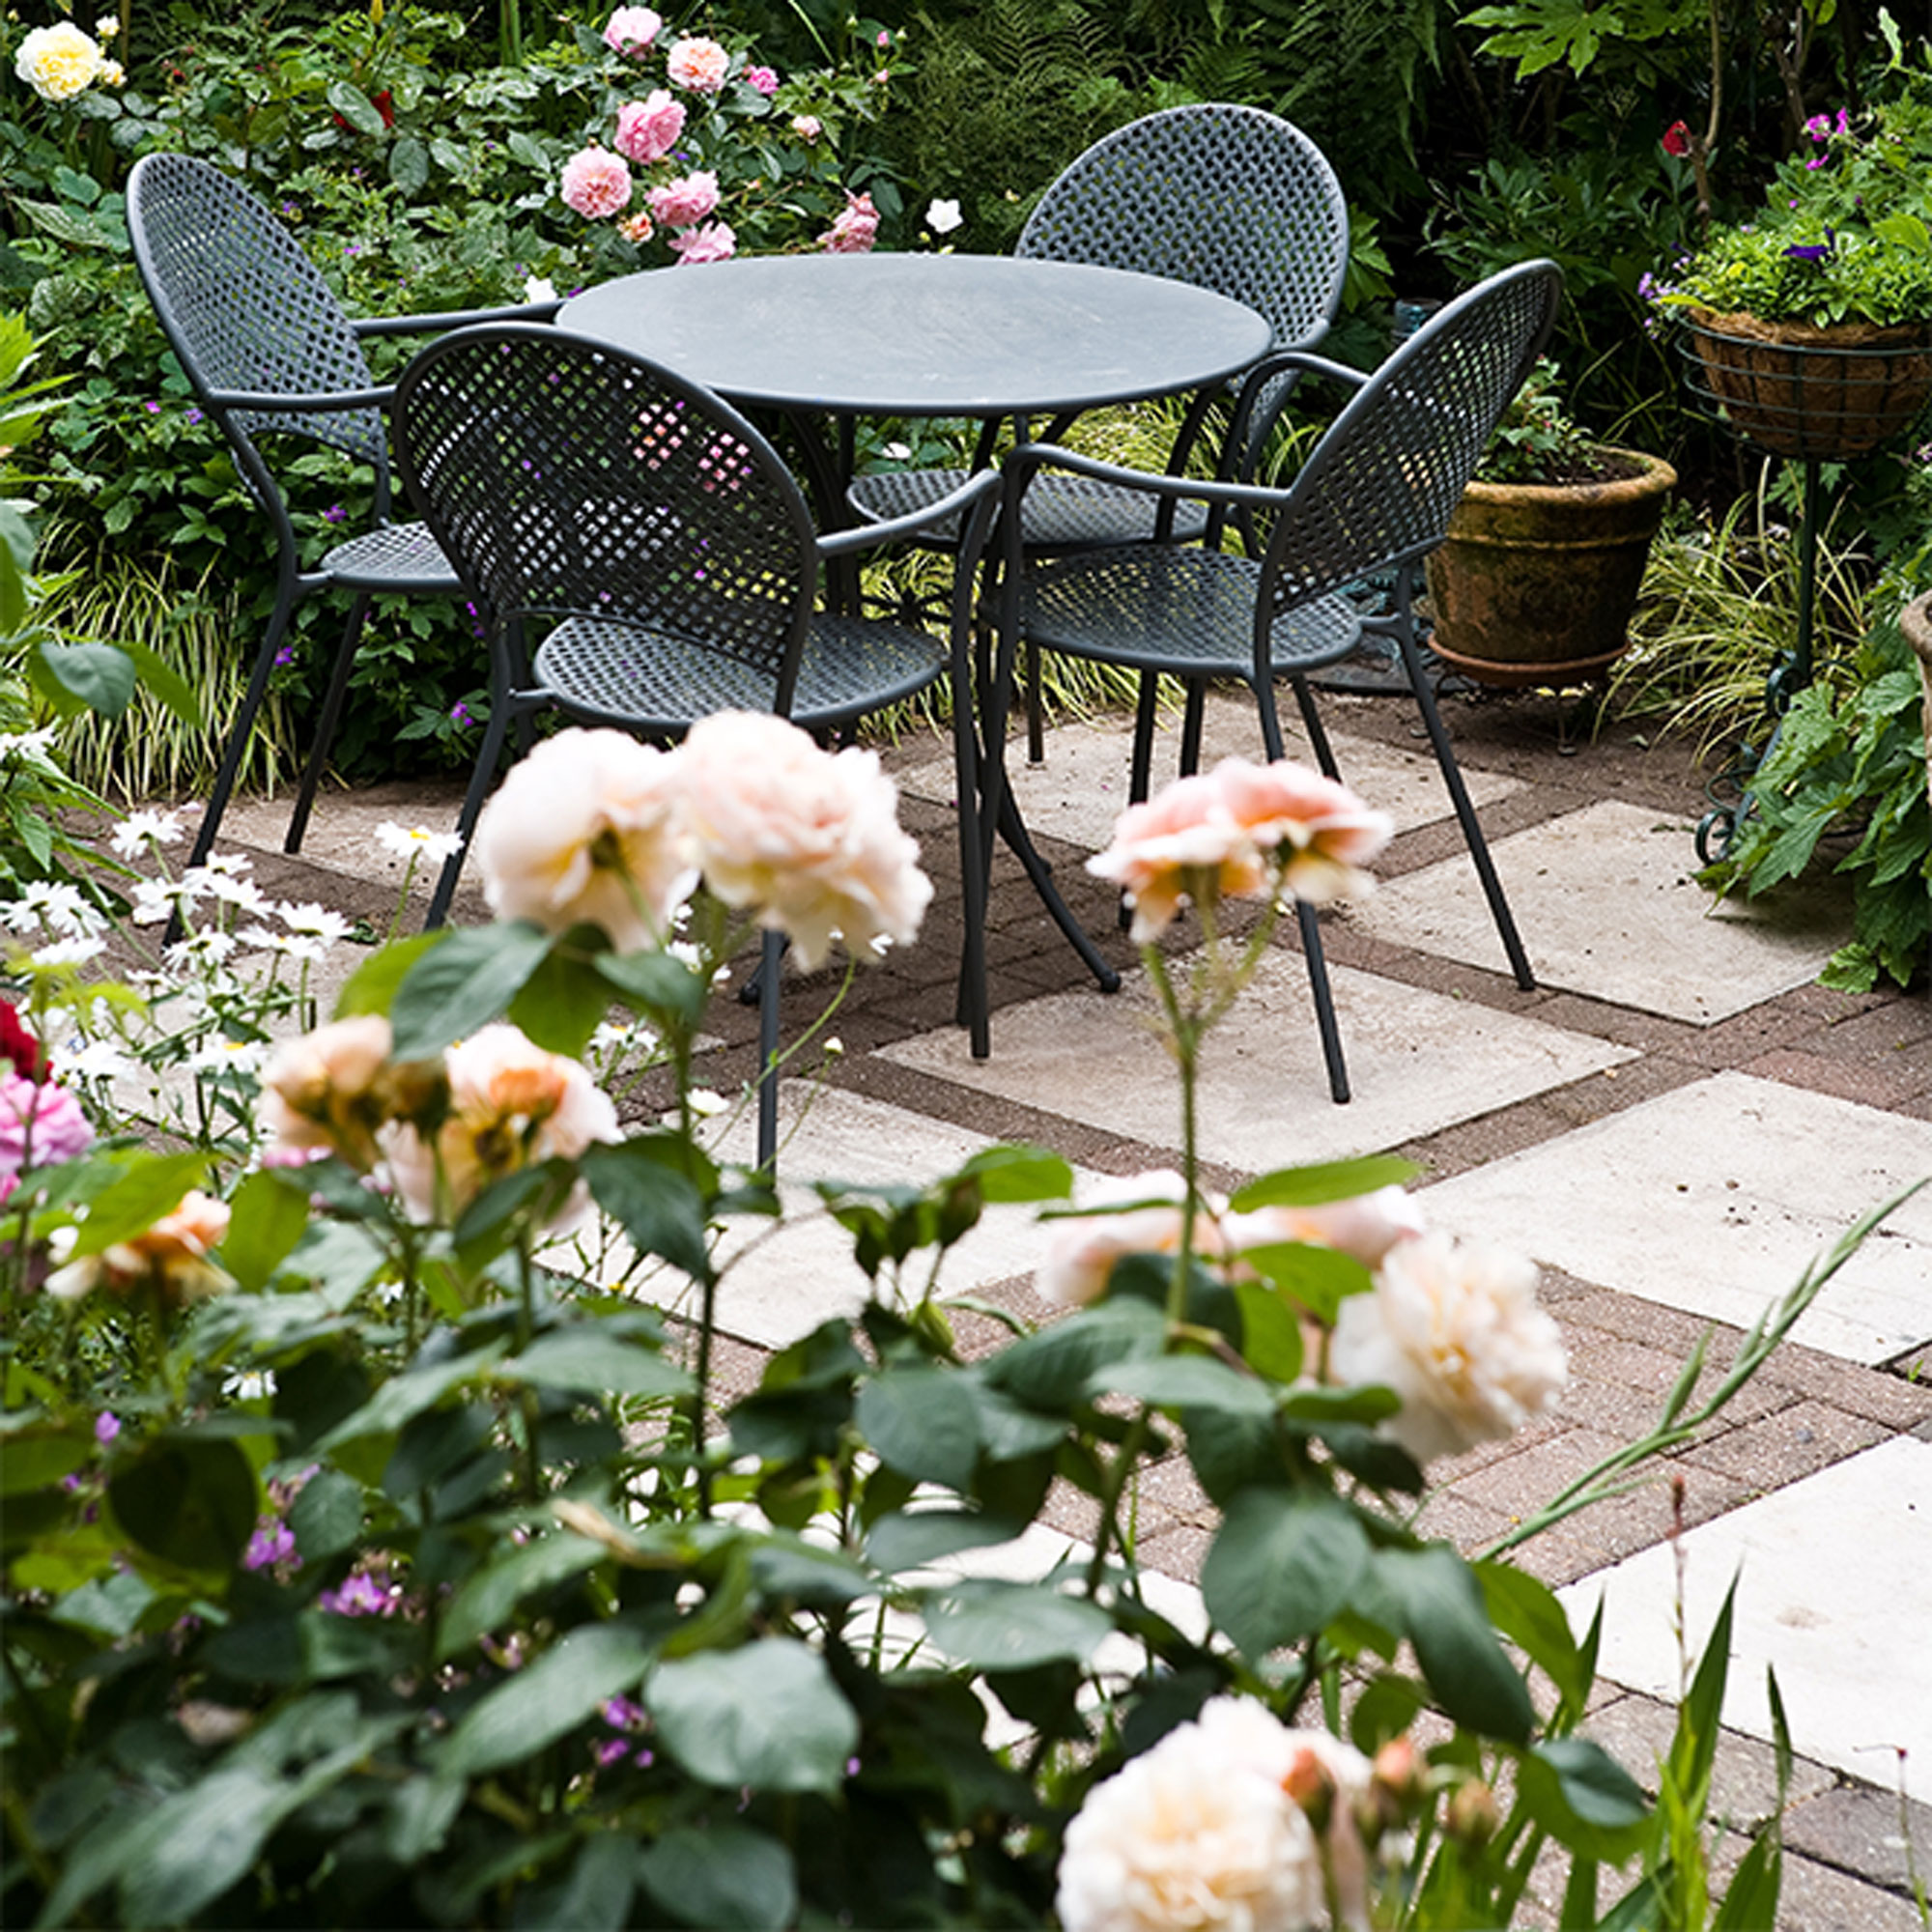
Use a combination of landscaping materials to create an informal pathway in a cottage-style garden. Mixing different materials is an inexpensive way of using up spare pavers, decking or reclaimed materials and can give a one-off, characterful look. Contrast materials can also help showcase different parts of the garden or draw attention to transition areas.
Create a patchwork effect by combining pavers with contrast brick edging along a pathway that leads to a seating area. Leave out pavers at intervals, filling the space with bricks to create a more relaxed, random effect. Use trailing plants and grasses to border the area and soften any hard edges.
9. Opt for a cool coastal-style boardwalk
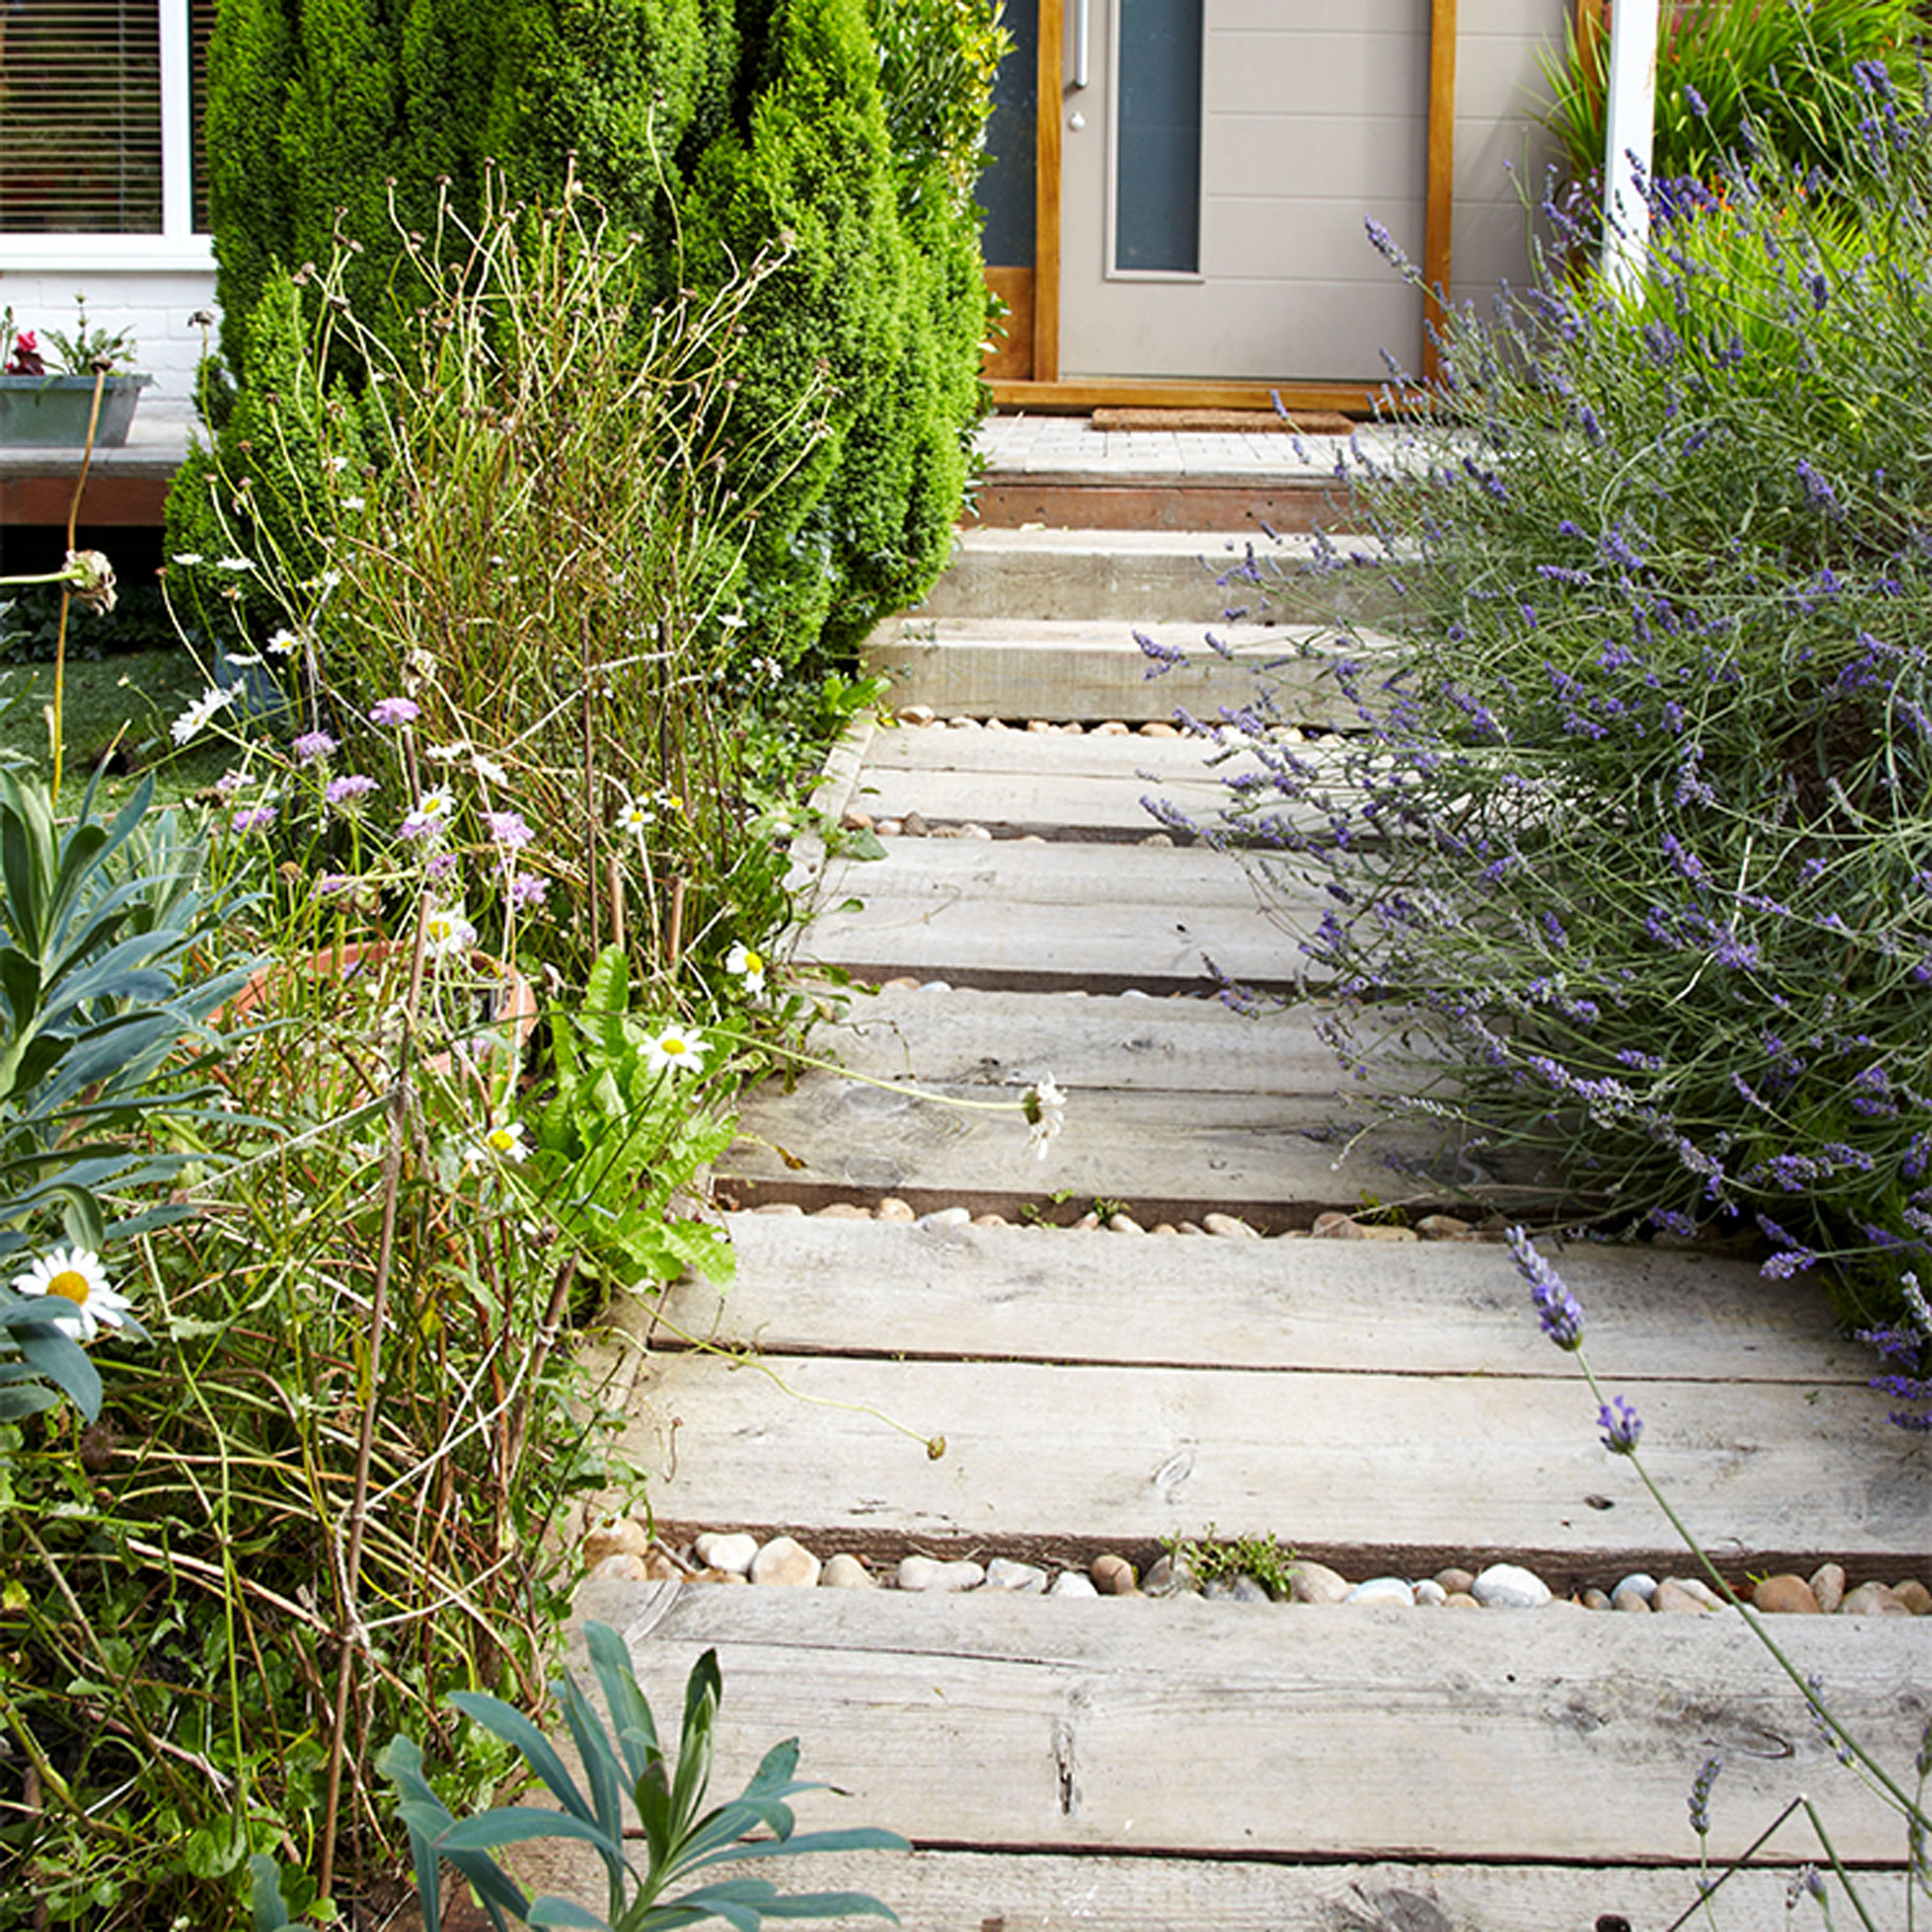
Lead the way in with an informal weathered wood boardwalk to create a relaxed, lived-in vibe that’s perfect for a coastal style garden. Reclaimed timber scaffold boards are often plentiful and cheap, so make an inexpensive way of decking out an outside area or creating a pathway.
Decking ideas can be installed directly on the ground or on a raised framework and will need a membrane underneath to prevent weed growth. Treating the wood will enhance the wood and provide water-repellence so it will last longer and using a grey or whitewashed tone will add another coastal element. Continue the boardwalk vibe by adding pebbles or shingle in the gaps in between boards - this will help with drainage too.
10. Step up with bricks and pavers
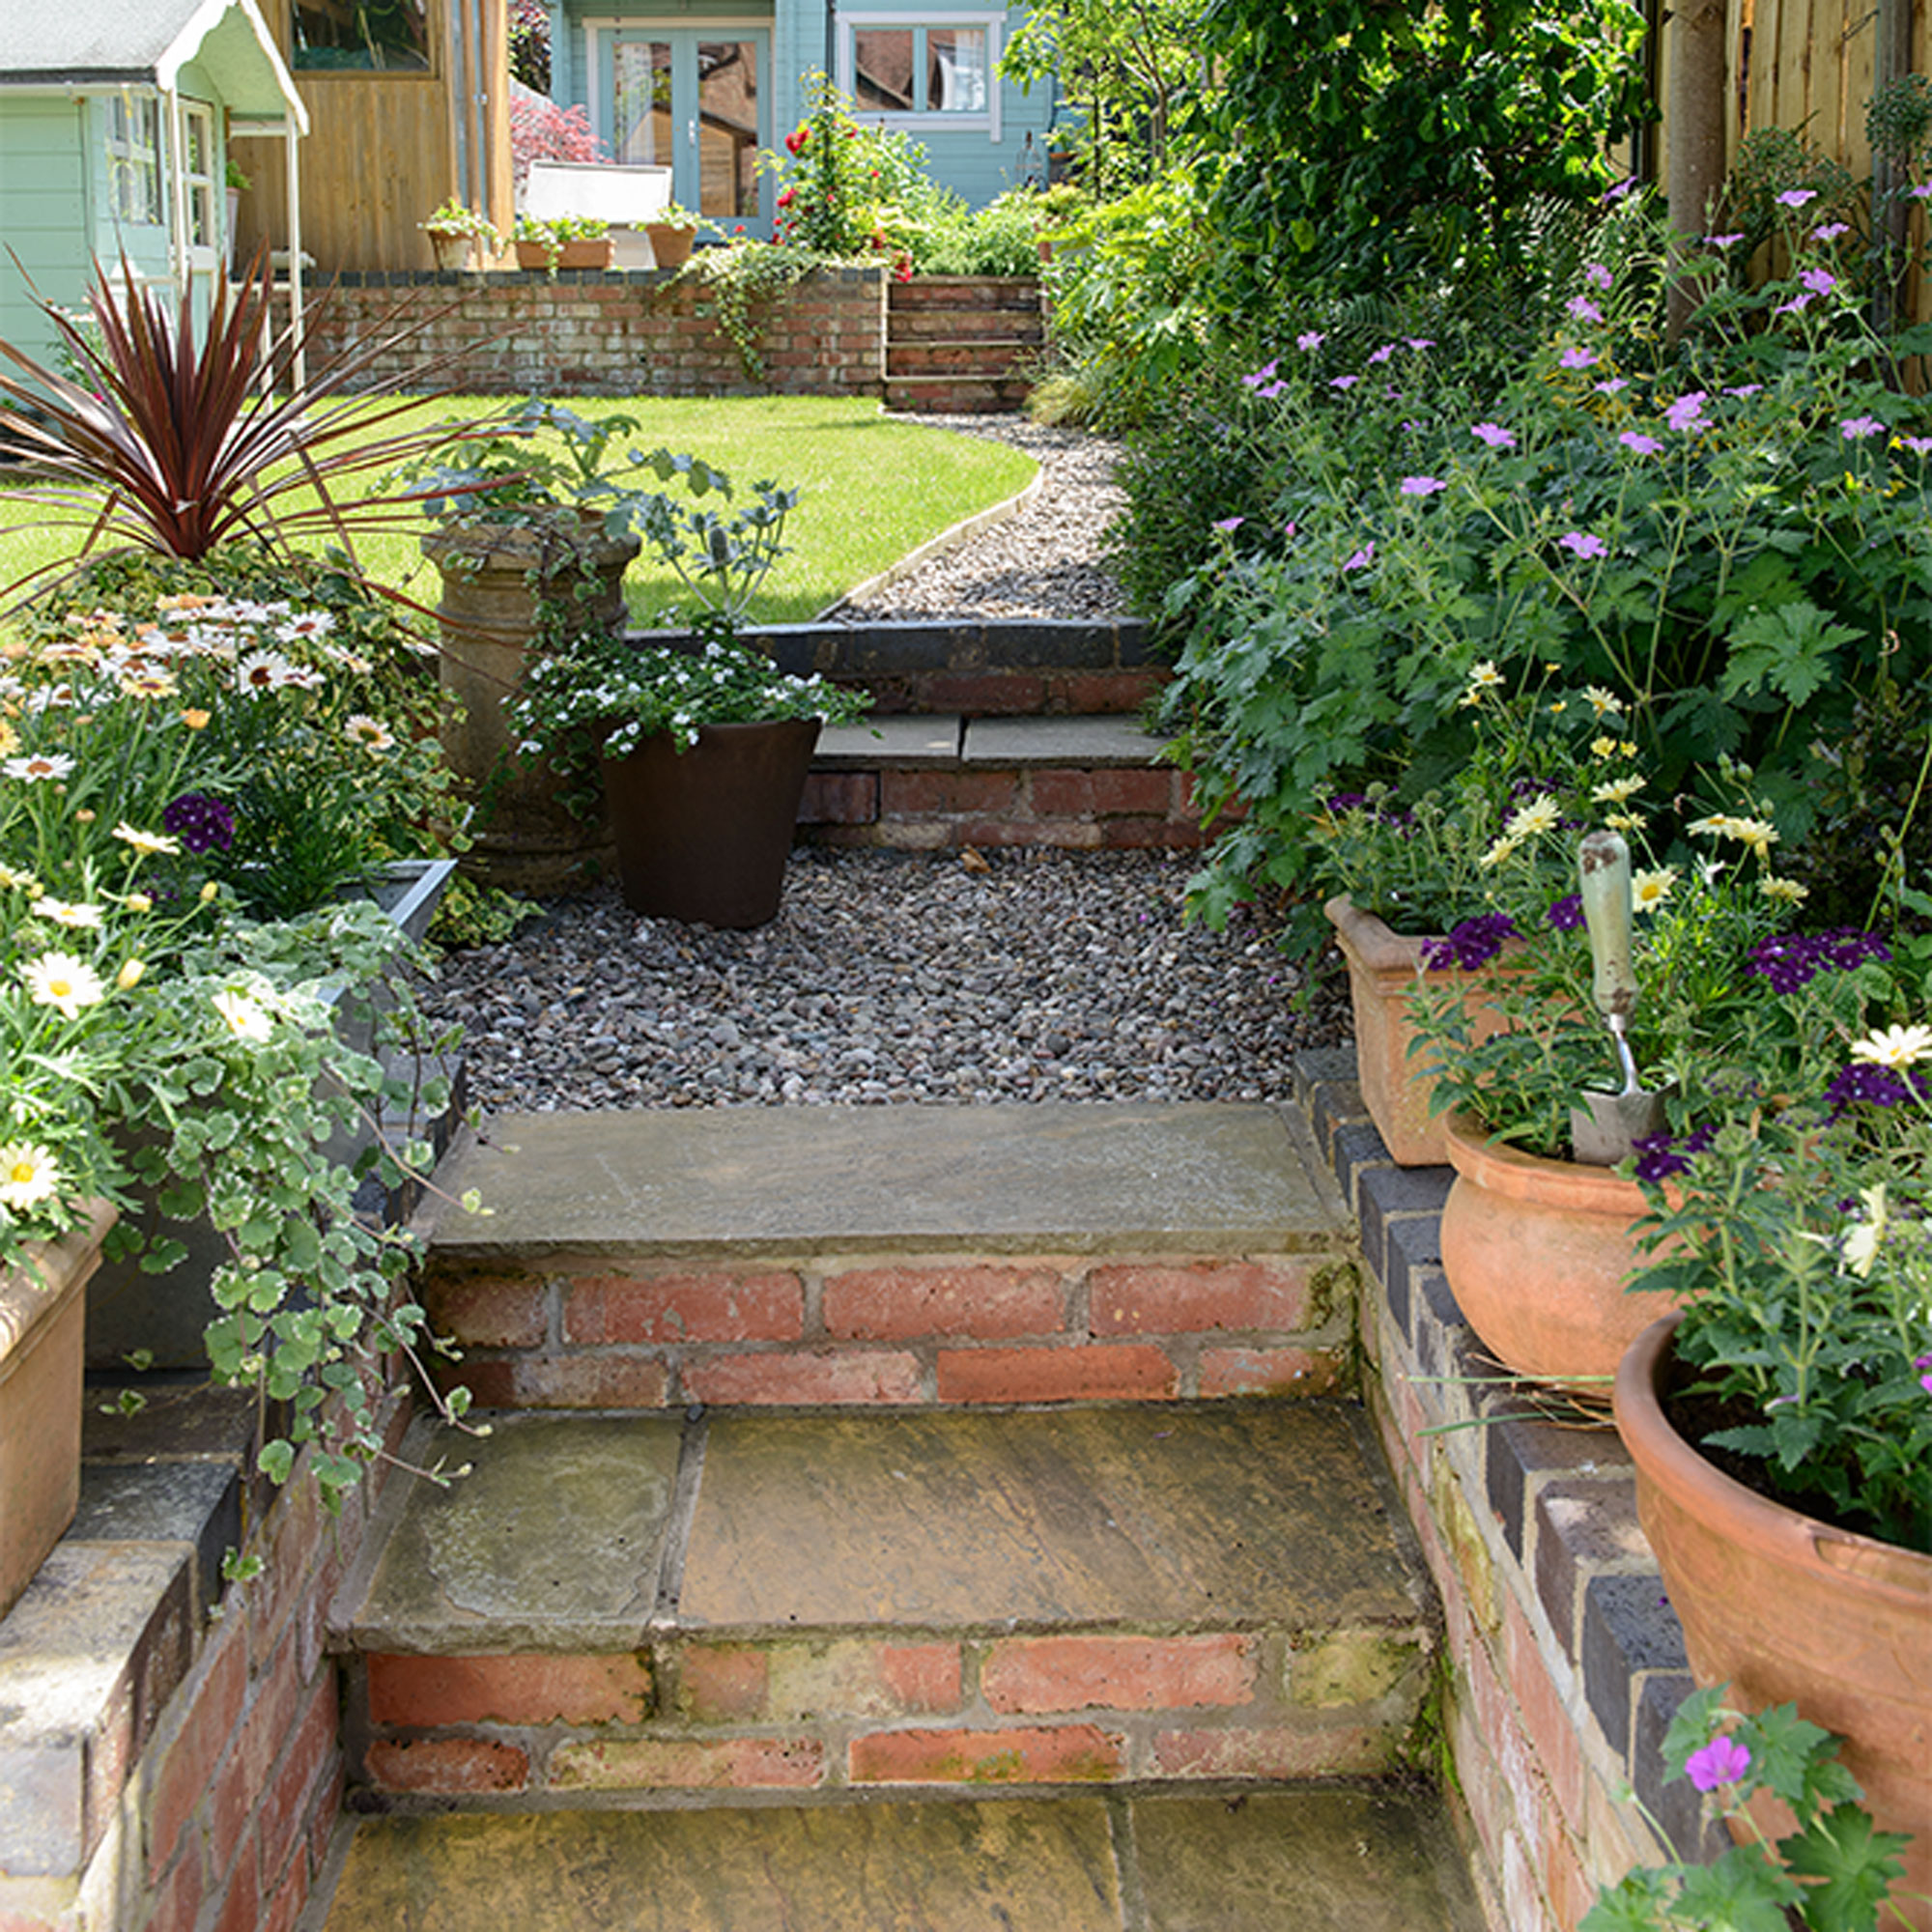
Use a combination of reclaimed bricks and paving slabs to construct pathway steps in a tiered or sloped garden. Using mixed materials in contrast colours helps to define the edges of steps, making them easier to see, so safer when hurrying up and down the garden.
Use large pavers to give a flat, level surface that is stable to walk and step up or down on. Ensure that plants and trailing foliage is high enough off the ground so that it won’t obstruct steps or get tangled around feet as you walk by.
11. Soften the edges as you go
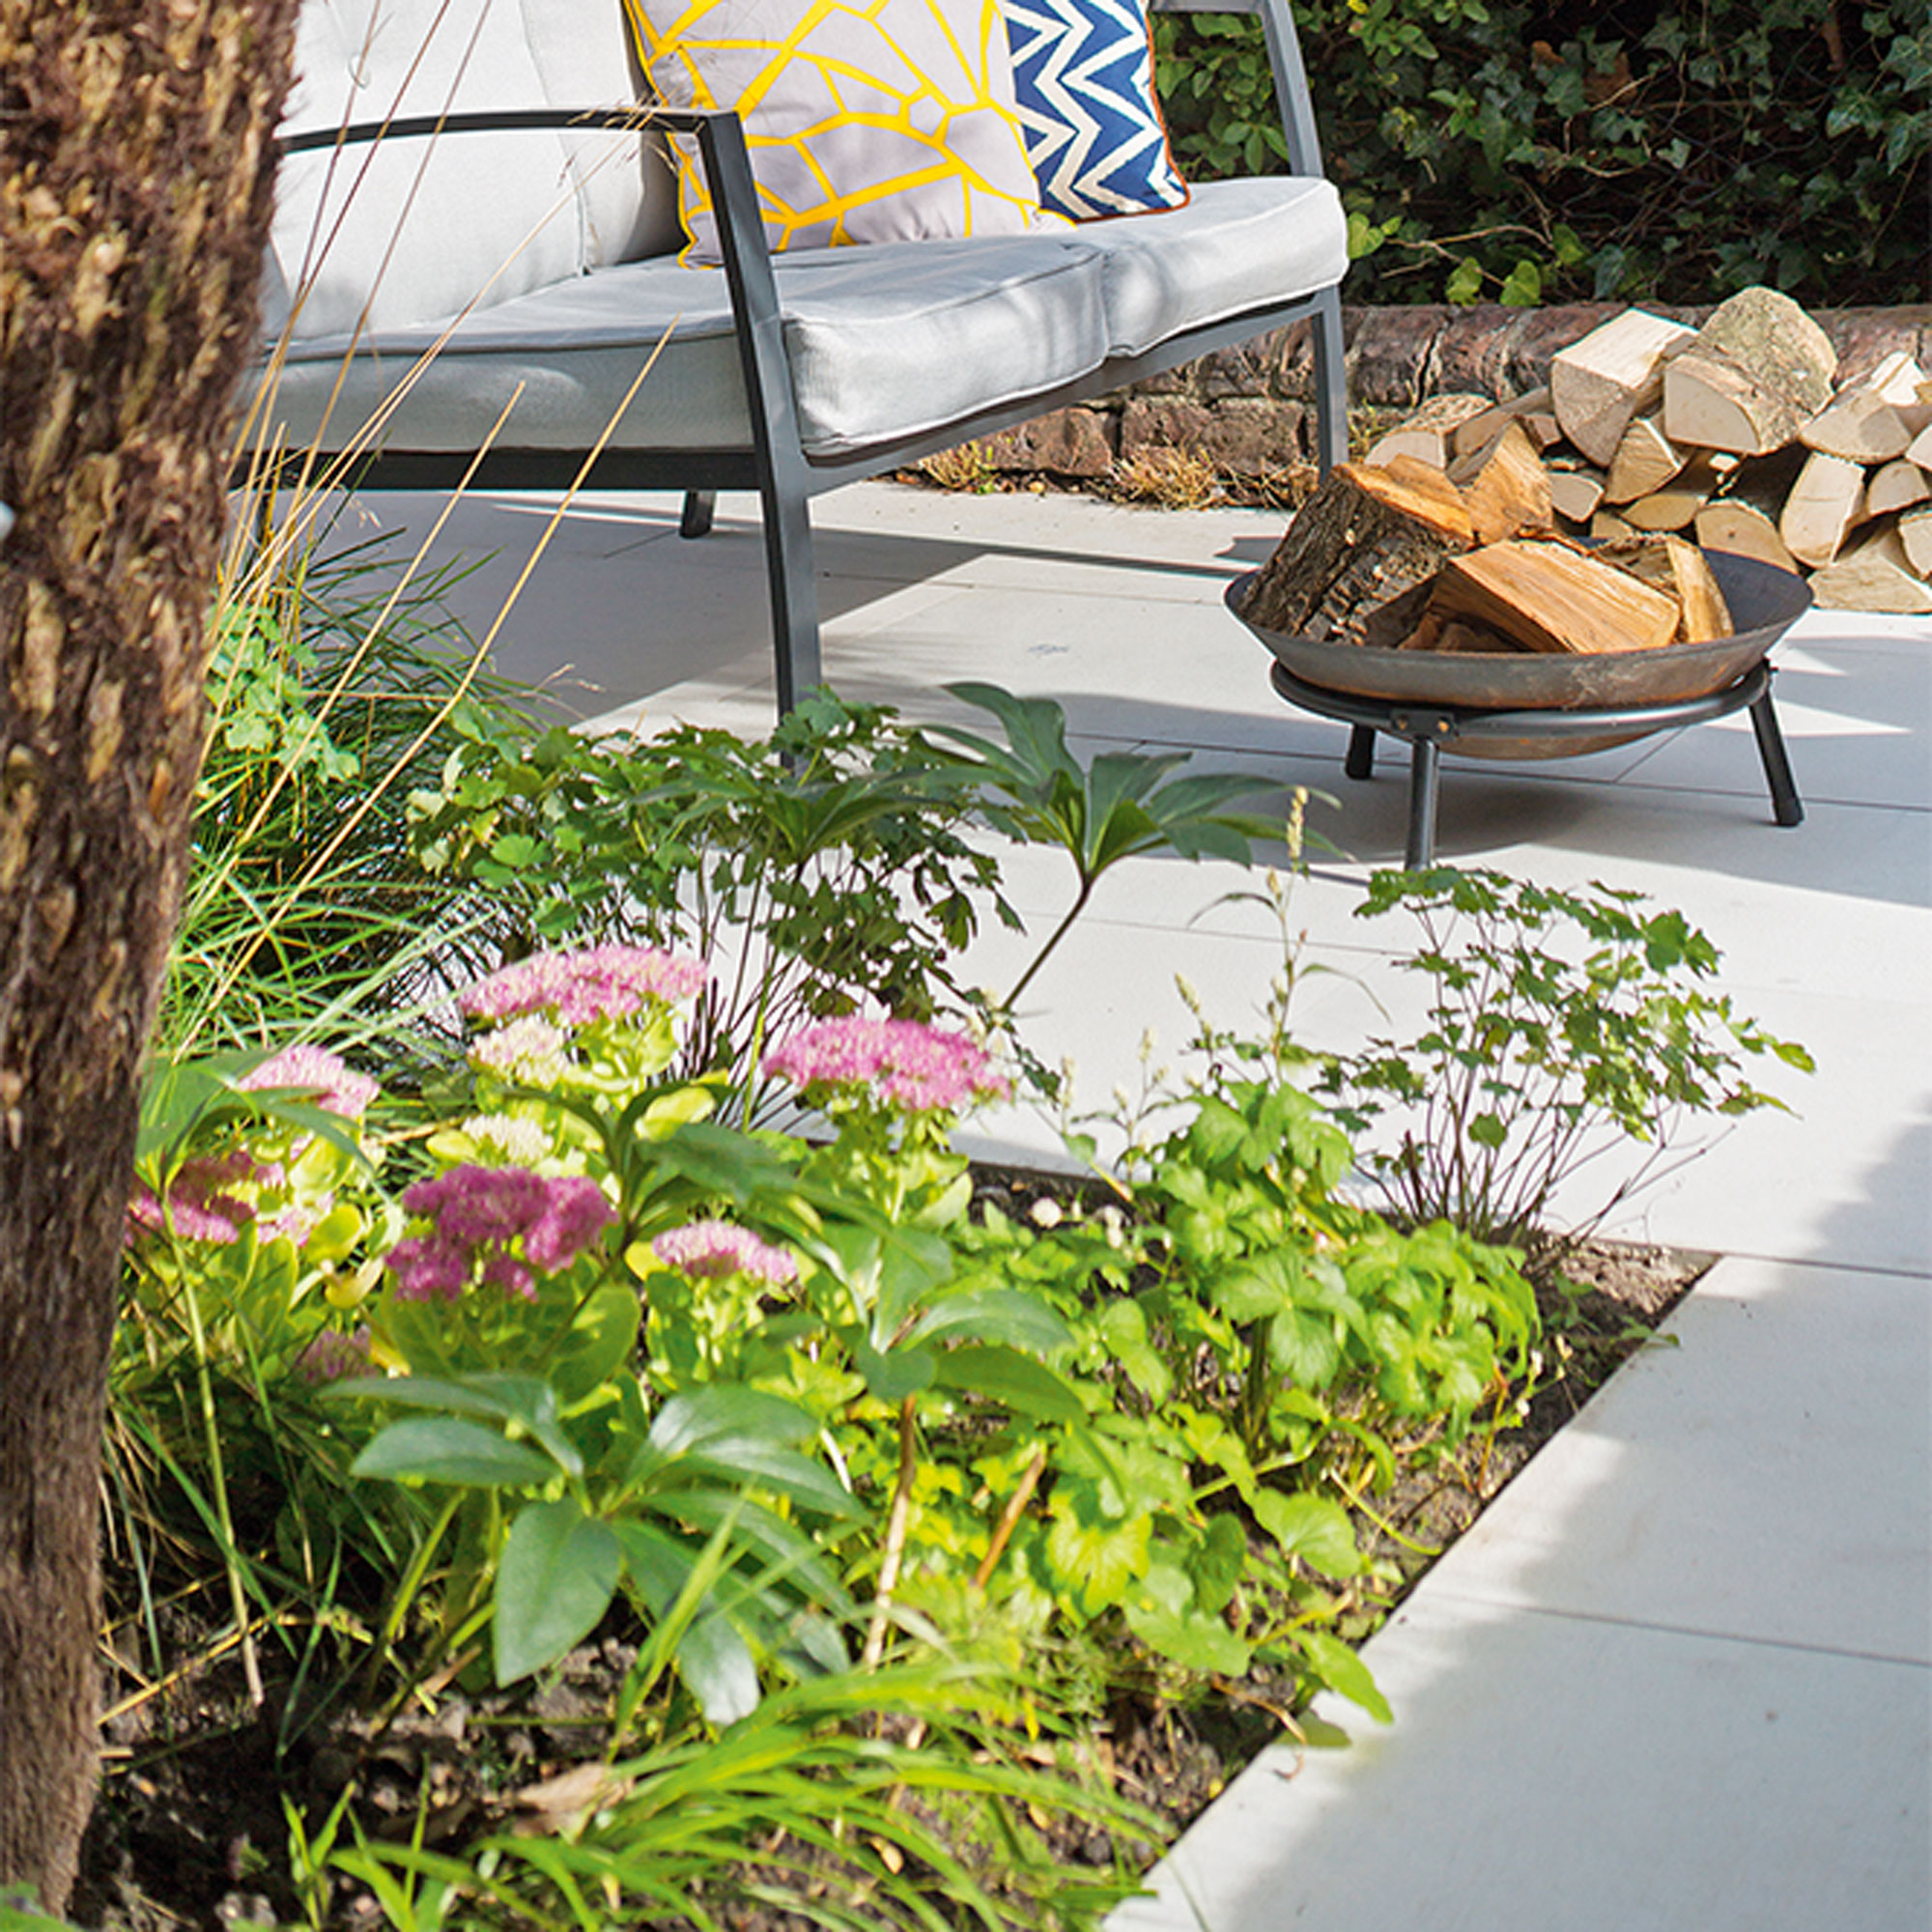
Use ground-hugging plants to soften hard lines and sharp edges of slabs and paving stones. Choose low-maintenance varieties that won’t damage easily as you sweep past them on your way up and down the path. And opt for fragrant plants and herbs that will release a waft of scent as you brush against them.
Creeping thyme is a good choice for a pathway or step, with its delicate lemon aroma. Or try Corsican mint for a shady spot or where soil is poor. Lavender or Lemon Verbena are similar options that will add height planted along a pathway as well as giving off a gorgeous aroma.
12. Light the way in style
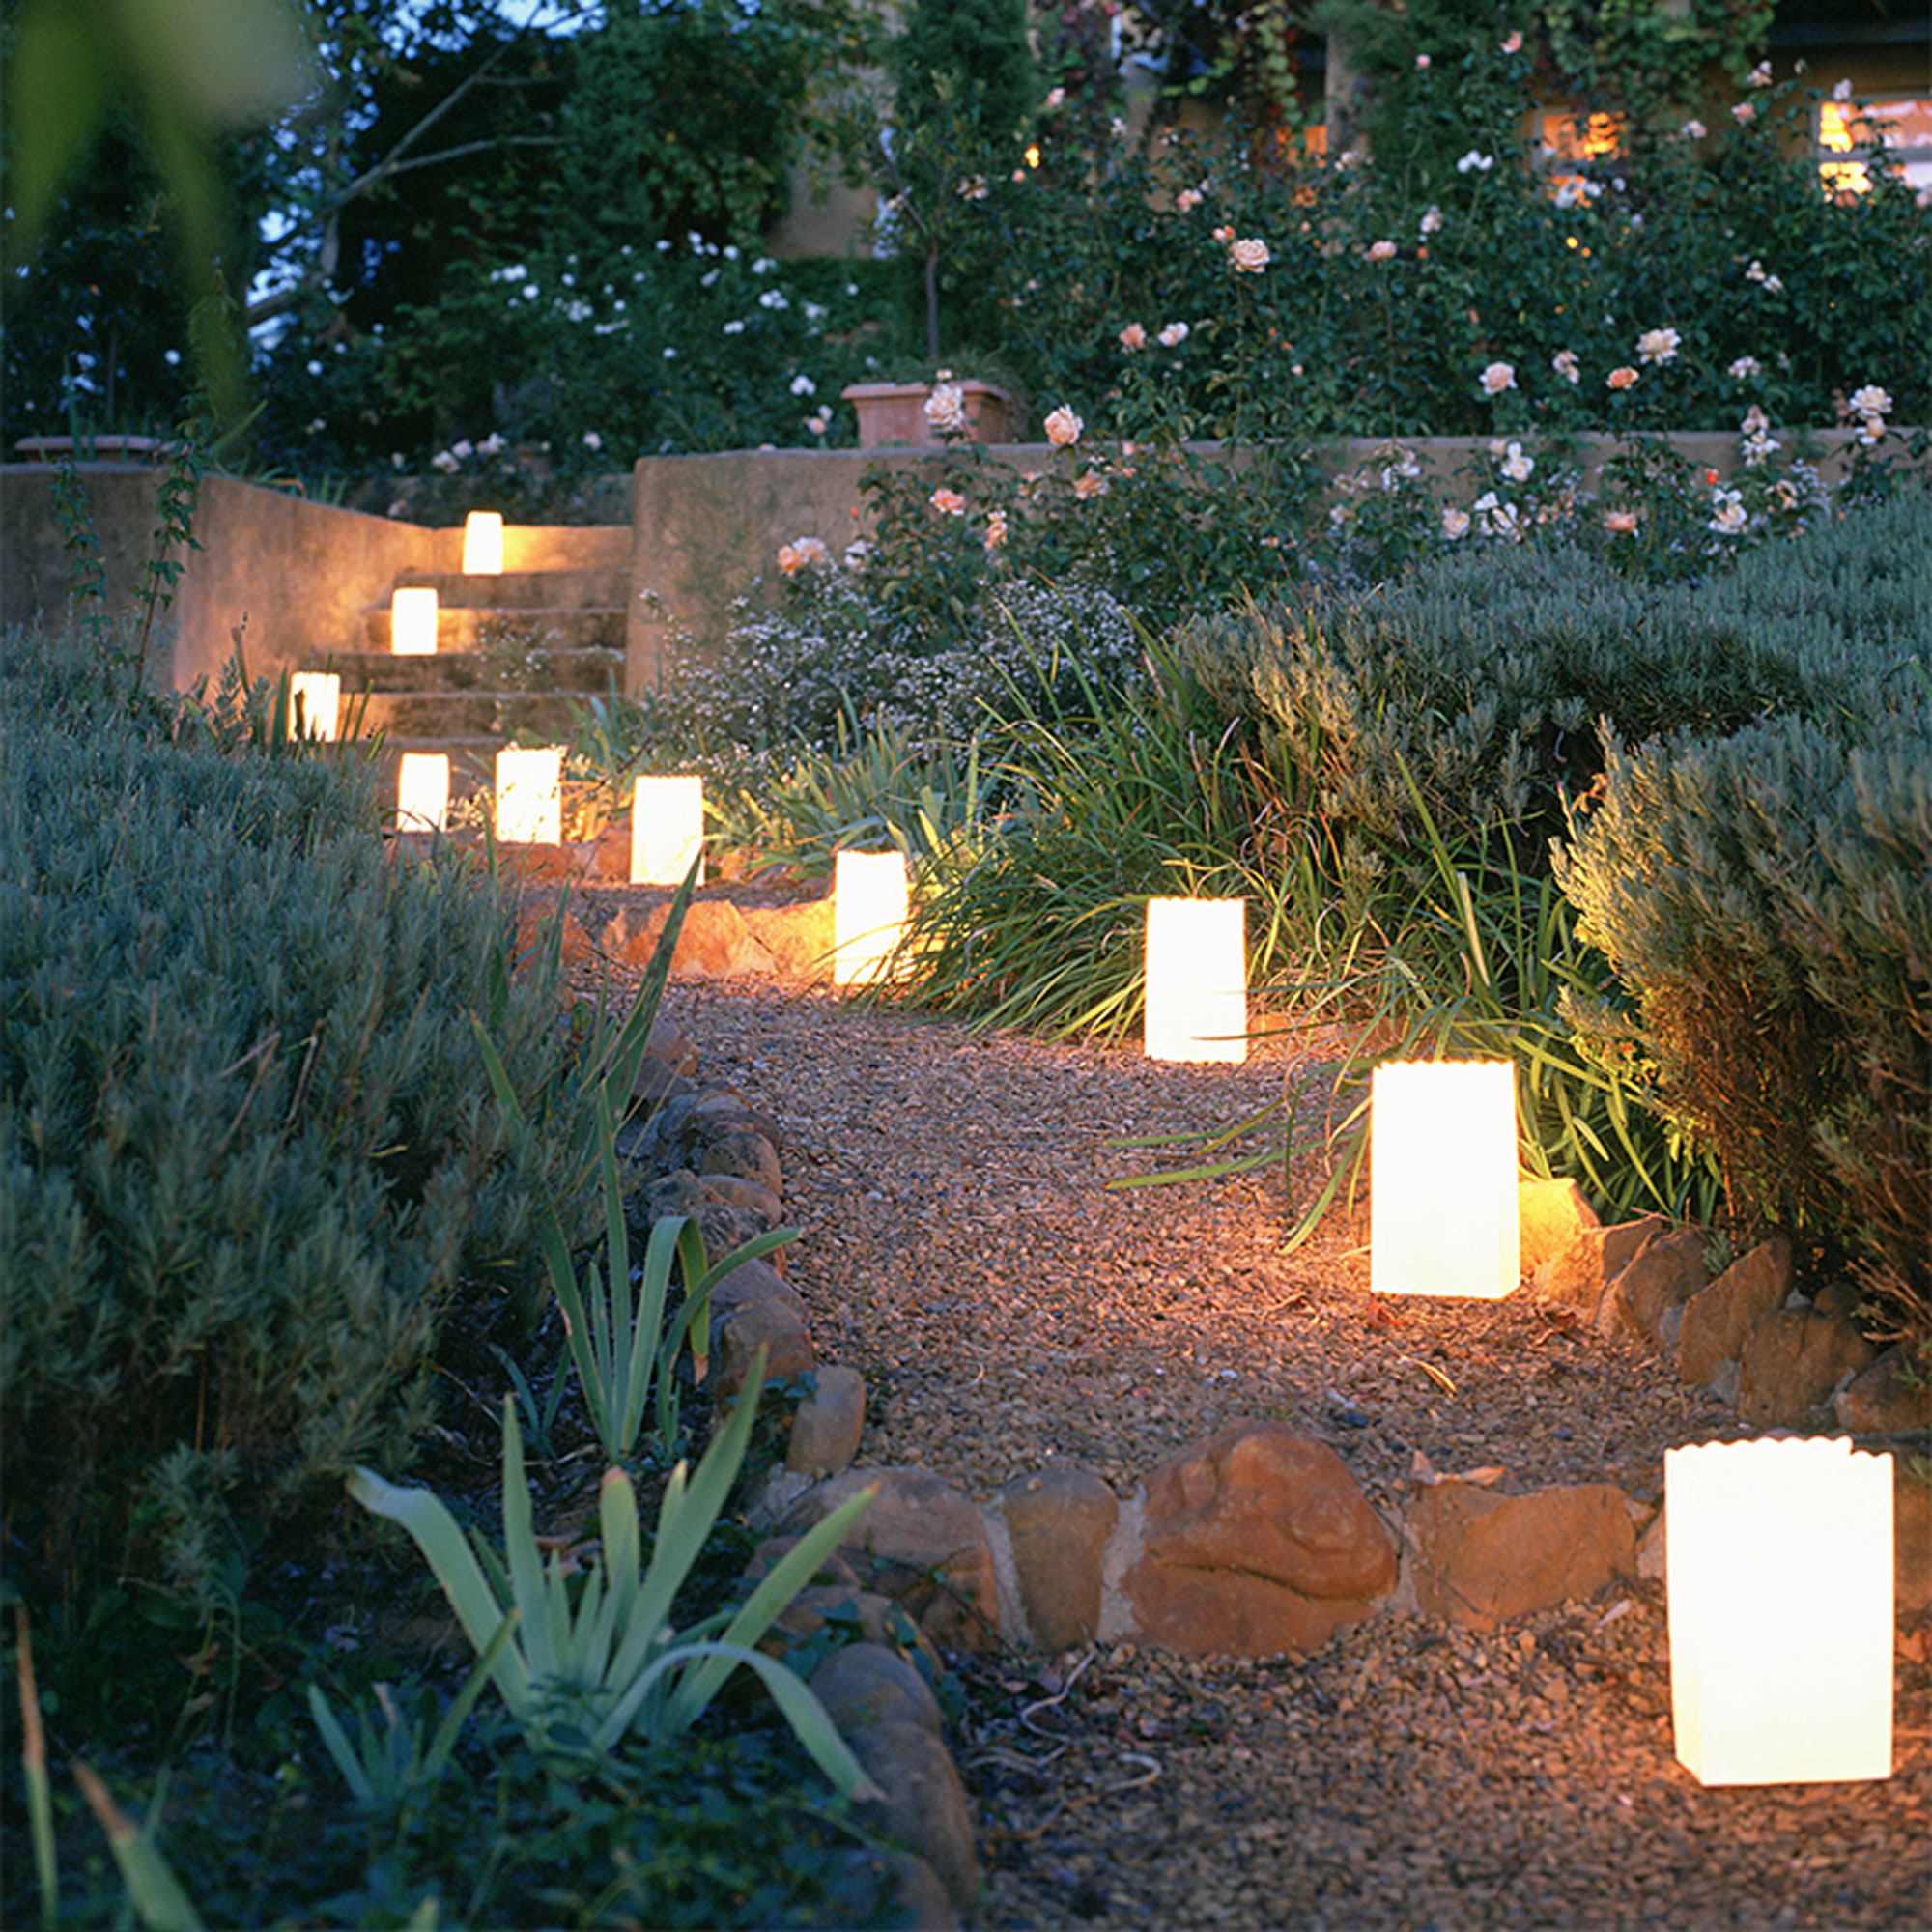
With any garden path, lighting ideas are a must for after dark. While wired-in lights can work out pricey, there are lots of inexpensive options that are easy to install yourself. Solar-powered lights are super-simple to work in along a path or walkway, simply stake them into the ground or an adjoining flowerbed and they’ll come on automatically as dusk falls.
For garden parties and entertaining, try lining a pathway with illuminated candle bags. Fireproof and biodegradable, simply pop a nightlight inside an open bag and place at intervals along your path.
What is the cheapest way to make a garden path?
One of the cheapest and simplest ways to make a garden path is to use gravel or bark, which can be bought in bulk from most garden centres or DIY stores. Construction is fairly straightforward, requiring grass or soil to be removed where the pathway is to go, then control fabric put down on top to prevent weed-growth, with gravel or bark spread evenly on top.
Although pretty simple in style, gravel or bark won’t cost a fortune and doesn’t need any specialist skills to put down, so is easy for a novice. To prevent gravel or bark ending up in flower beds, consider adding some kind of edging to contain everything. Steel or aluminium edging is fairly inexpensive and gives a crisp edge, or try a brick or stone border for a little extra expense.
How can I make my garden path look nice?
Planting is the easiest way of brightening up a garden path and taking it from plain to pretty. If it’s a stone, brick or paved path, consider adding pockets of planting here and there along the pathway to add colour. Remove the odd stone in random places along the path or alternatively, use the mortar lines in-between slabs to sprinkle seeds and start planting off.
Growing trailing plants and flowers along a path will also add movement and colour. Grass varieties work well along a walkway, as do fragrant shrubs and herbs that will release their scent when brushed past as you walk along the path.

Lisa is Deputy Editor of Style at Home magazine and regularly contributes to sister title Ideal Home. She has written about interiors for more than 25 years and about pretty much every area of the home, from shopping and decorating, crafts and DIY to real home transformations and kitchen and bathroom makeovers. Homes and interiors have always been a passion and she never tires of nosying around gorgeous homes, whether on TV, online, in print or in person.
-
 I tried out this neat little dehumidifier for a month – it dried my laundry in half the time
The 20L SmartAir Dry Zone dehumidifier tackled my laundry drying woes head on
By Jenny McFarlane
-
 I’m seeing pastel garden furniture at all my favourite brands this spring, but QVC’s sorbet collection impressed me the most
Fresh pastel shades are a great way to liven up your outdoor space
By Kezia Reynolds
-
 Don't tell my flatmates, but Joseph Joseph's clever new sink range finally made me enjoy washing up
I didn't know stylish washing up accessories existed until I saw this collection
By Holly Cockburn