Flower pot painting ideas – how to paint terracotta pots to brighten gardens
Give your planters and pots a new lease of life with a splash of paint
One of the easiest ways to update an outdoor space with colour is updating your planters. Thoughtful flower pot painting ideas can give old planters and terracotta pots a new lease of life.
Any outdoor space benefits from an arrangement of garden pots. From small balcony gardens to generous patios, flower pots can be transformative for any decorative garden idea. Especially freshly painted pots, to help add a pop of colour and expressive pattern.
Plus updating pots with a splash of fresh colour is a brilliant budget garden idea, offering huge decorative impact with very little spend.
Flower pot painting ideas
Make sure your pots are clean, dry and soil-free, then use garden paint to give them a revamp. Take inspiration from our thoughtful flower pot painting ideas below...
1. Jazz up terracotta pots with on-trend colour
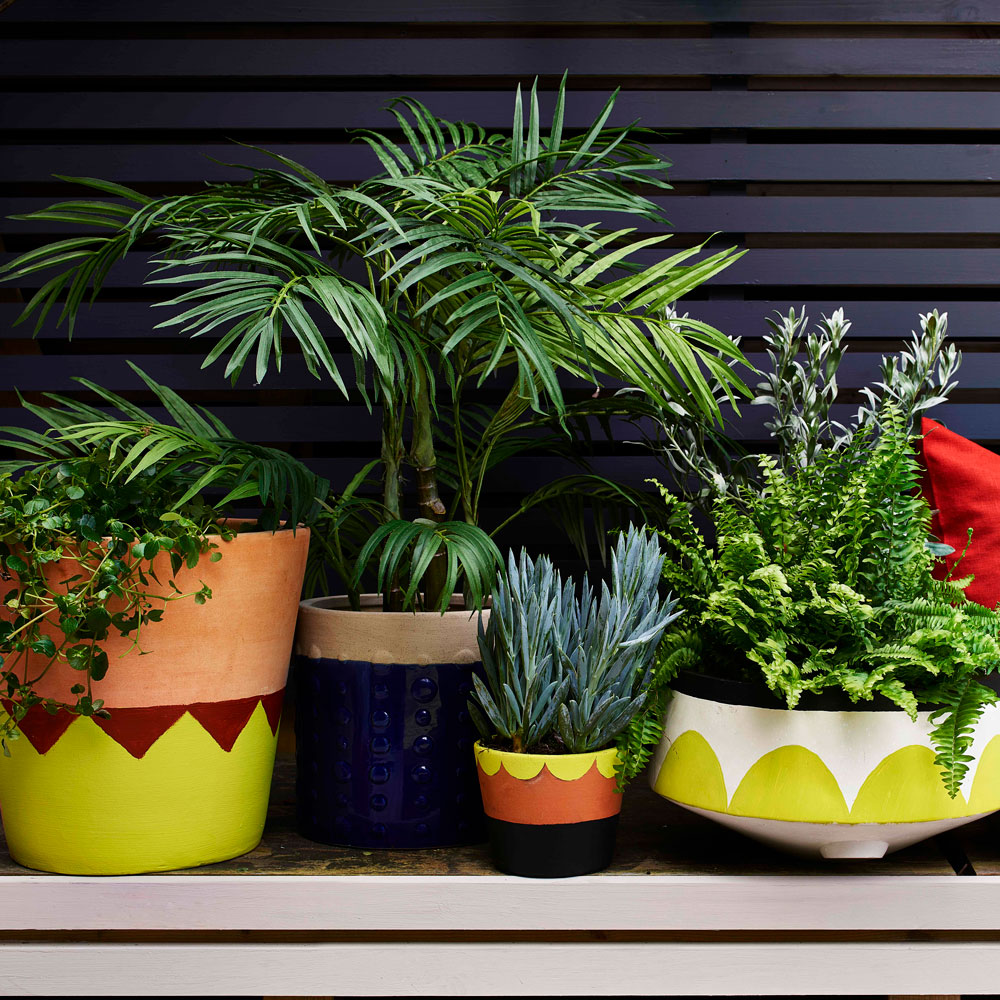
All you need is masking tape, a sponge and some on-trend paint colours to create these striking finishes. The expert team at Cuprinol transformed plain terracotta pots with pattern, that looks intricate but as we explain below - it's actually relatively easy to do.
Using striking shades of citrus to enhance the greenery and add a vibrant accent colour to planting.
2. Keep things subtle
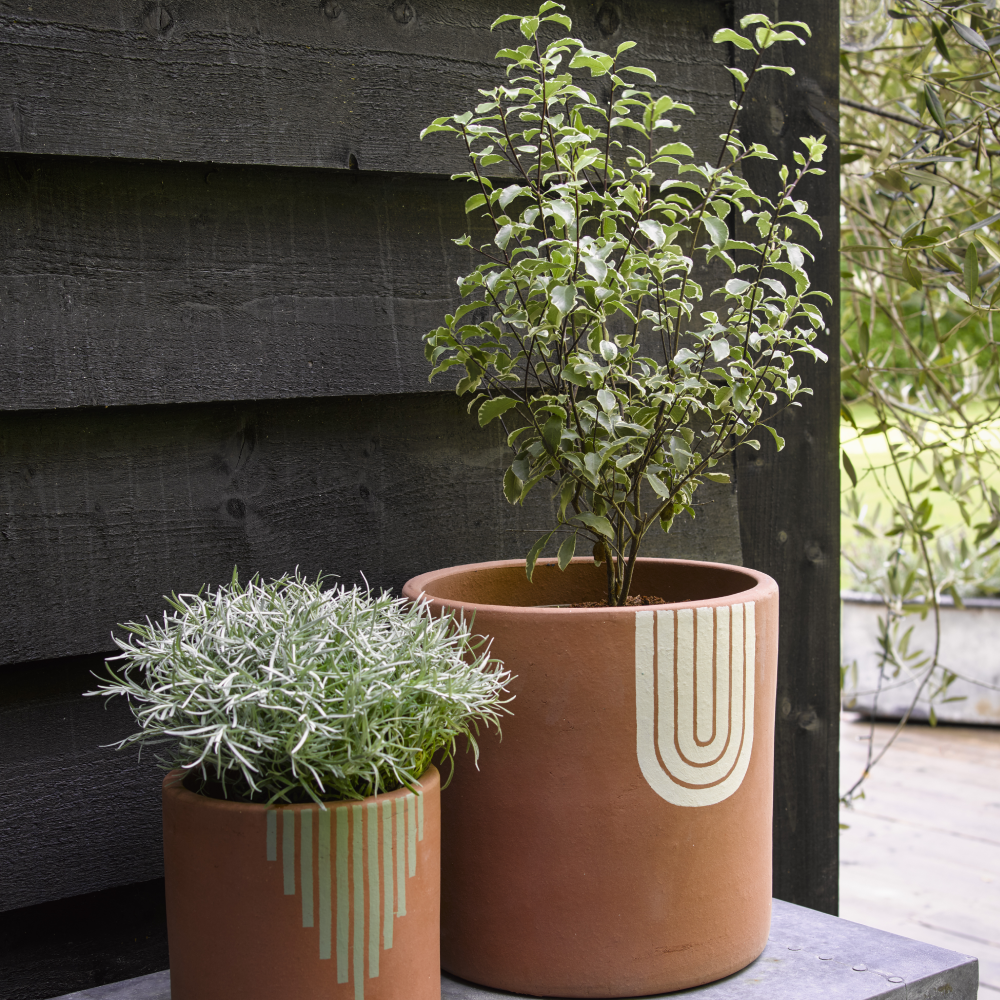
If you want to add interest without overwhelming your garden landscaping idea, try painting a subtle pattern onto terracotta pots in muted tones. Use a stencil to transfer the pattern onto the pots, using a narrow paint brush to add the colour with care. Secure the stencil in place and make sure not to over saturate the brush with paint, to avoid drips.
Get the Ideal Home Newsletter
Sign up to our newsletter for style and decor inspiration, house makeovers, project advice and more.
3. Introduce hints of graphic pattern using colour
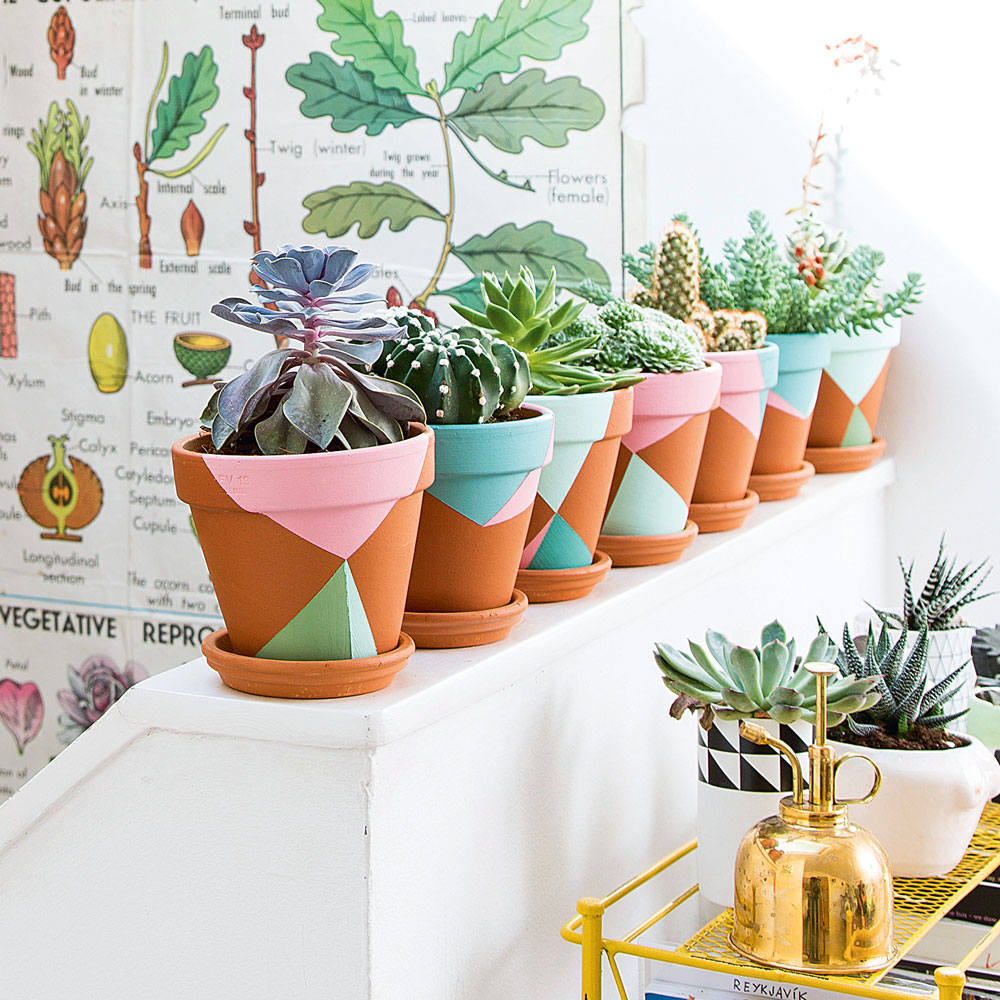
Allow the terracotta colour to shine through by choosing to enhance the original colour of the pot by offsetting it against standout graphic patterns. Create your design using masking tape to get crispy clean lines, to give a strict geometric design aspect.
4. Stencil a stylish house number
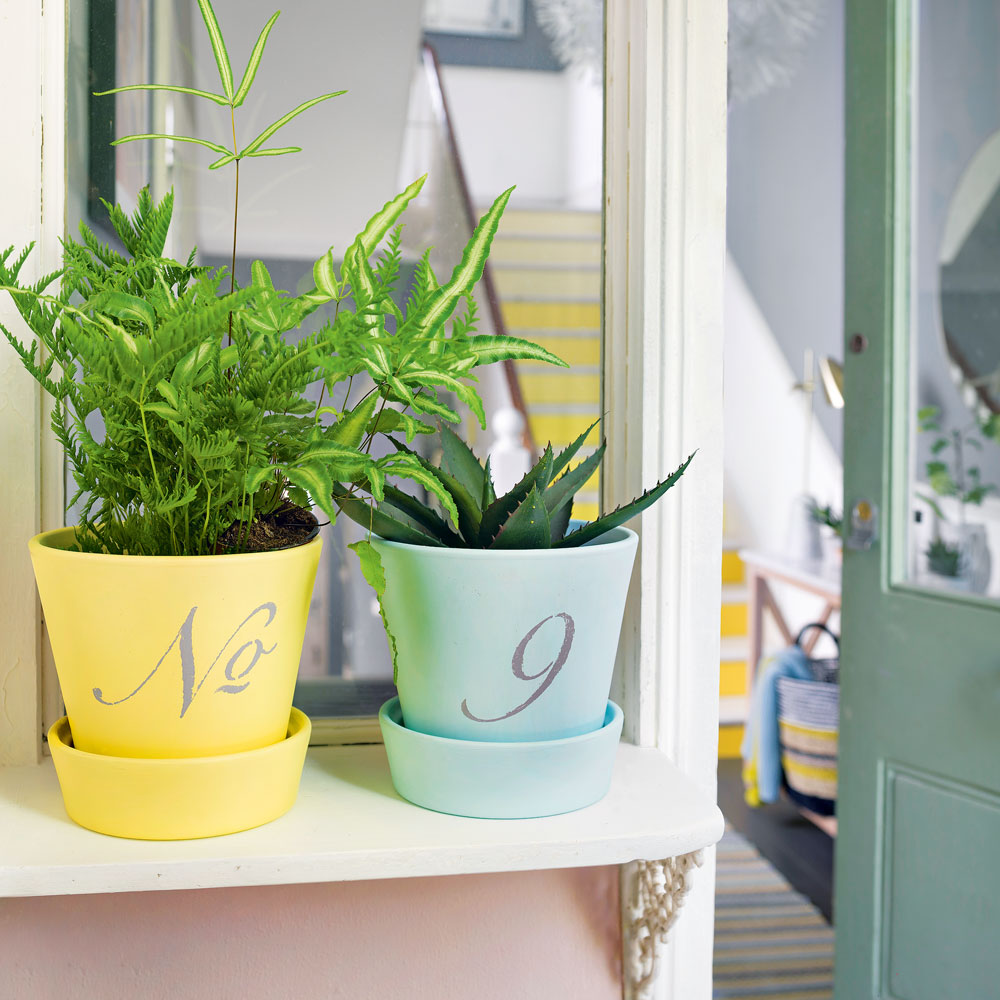
Dress the front porch with an alternative stencilled house number plant pot. Paint a plain pot in a bold colour or two if your house requires double digits or if you want to dedicate one pot for the 'No.' reference, as seen above. When the design is as sleek as this example it's imperative to work with a stencil and ensure you gently sponge colour on to avoid any drips or transfer.
5. Paint by numbers
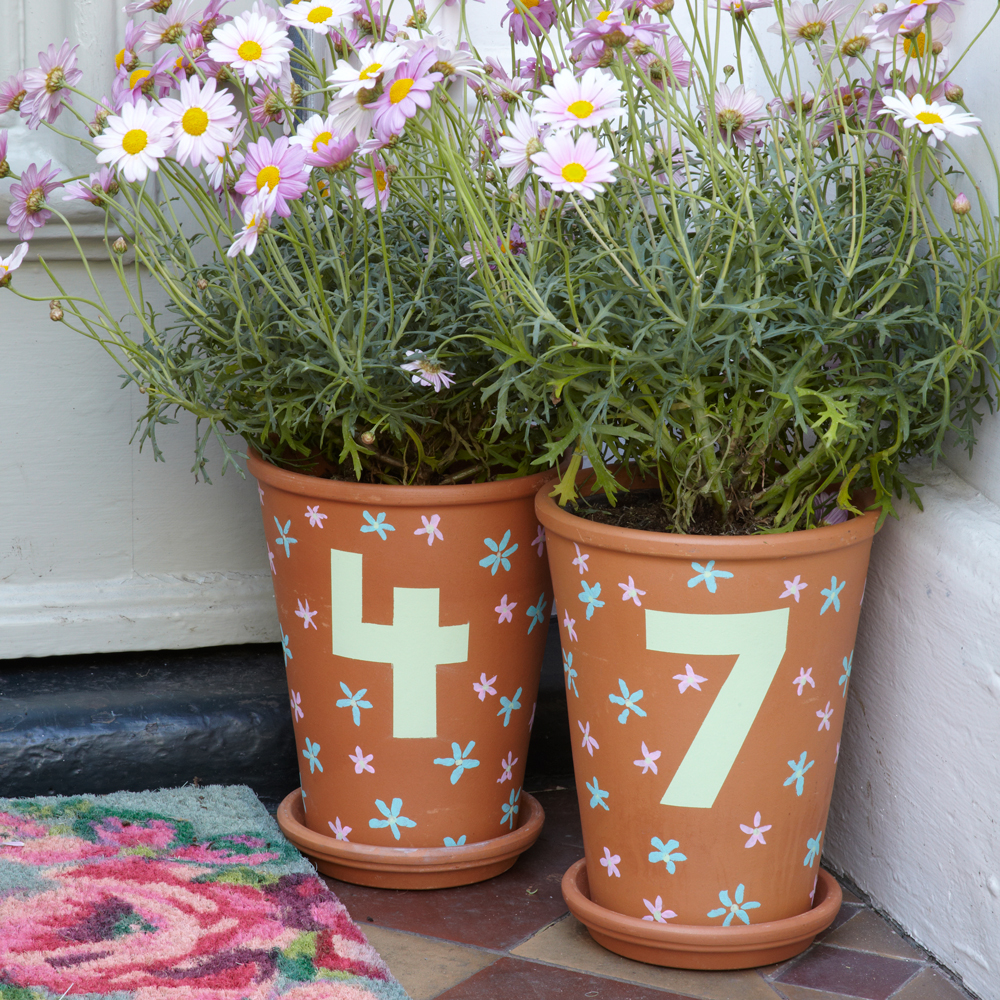
Adopt an easier way to paint numbers onto plant pots but making the numbers bold, using a single pot for each. The nature of the bigger numbers means the DIY and decorating job is less fiddly than with a smaller stencil. If confident you can go freehand with a small paint brush to draw the outline of the letter, using a slightly bigger brush to fill in the solid number.
If not as confident you could mark out the shape carefully using masking tphe to ensure you stay between the lines. Add simple flowers by gently pushing the head of the paintbrush flat against the pot, creating a circle of petals using this method.
6. Get artistic with brushstrokes
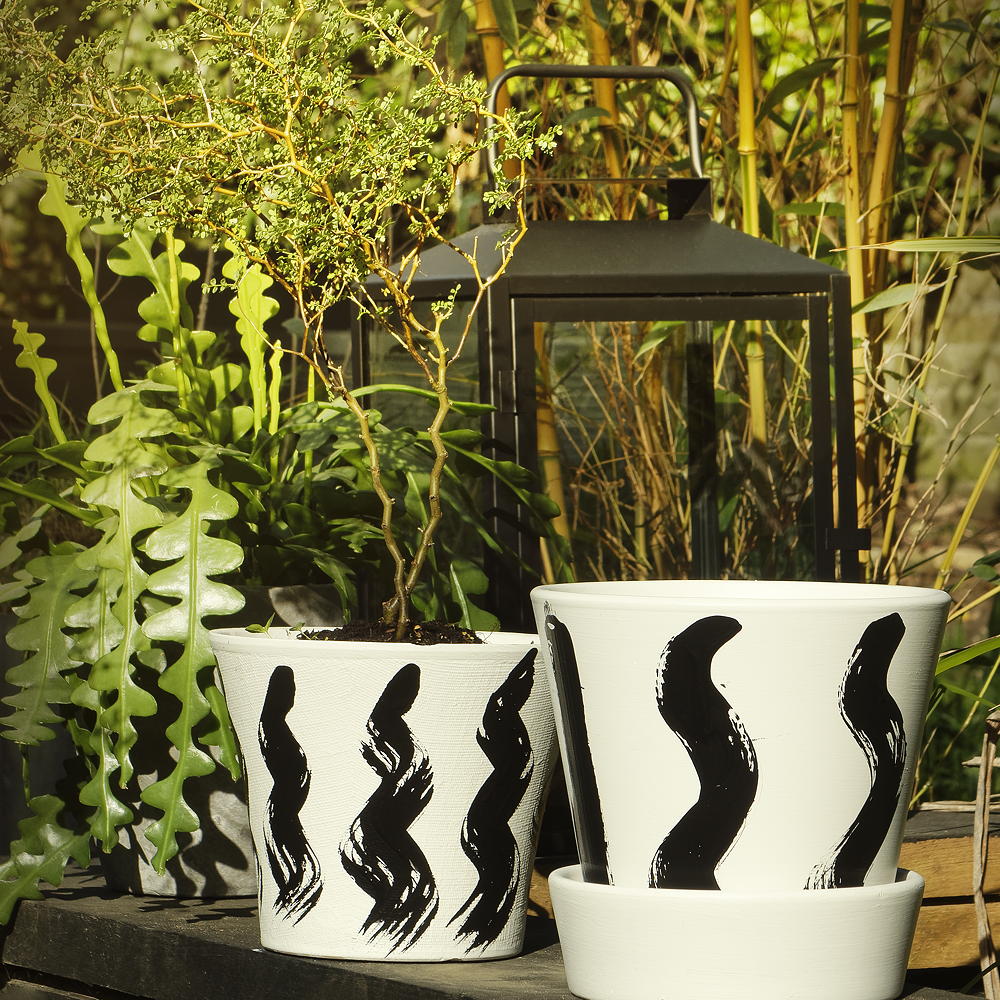
After painting a base coat of white paint give your flower pots an element of artistic flair with brushstroke details in an accent colour. Here a classic combination of black and white gives these outdoor pots a stylish monochrome finish.
7. Create interest with colour blocking
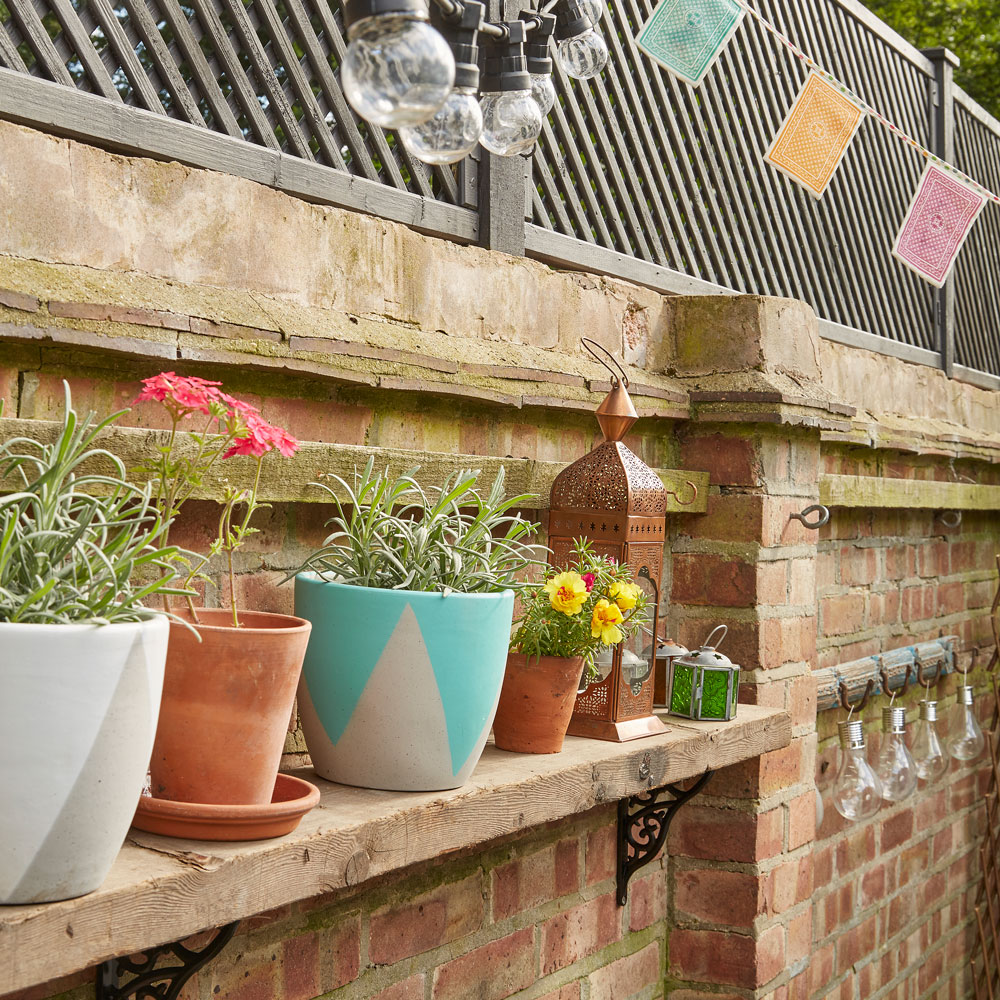
Colour blocking is a great way to transform a classic terracotta plant pot. Use a wide masking tape to create your clean lines between the two colours, painting one colour at a time – allowing sufficient drying time between coats. Two coats of each colour is best to ensure none of the terracotta hue is grinning through.
8. Elevate a colour scheme
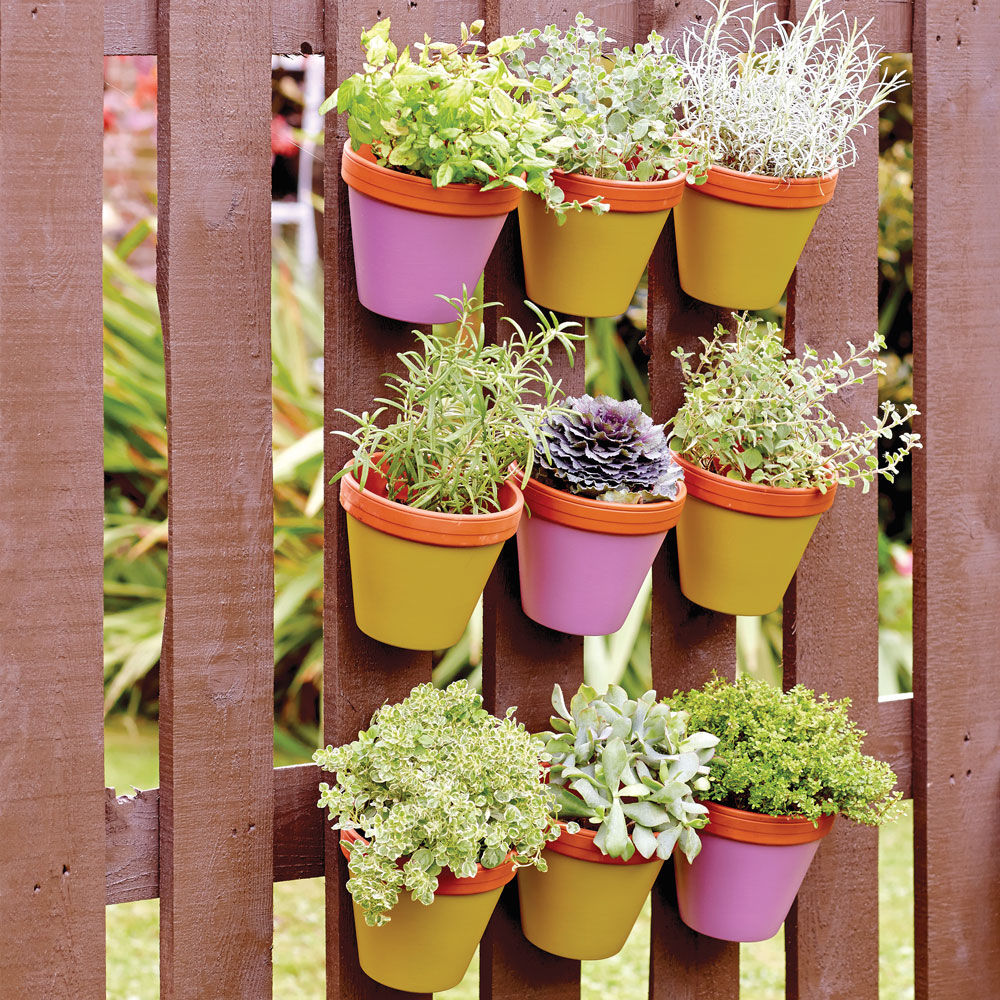
Prettify a bare fence by hanging painted terracotta pots vertically. Securely fix the pots to the fence after carefully drilling small holes through the terracotta to allow for drainage, before popping in your plants! Leave the rim bare, or paint in the contrasting colour.
Paint the base of your terracotta pots to add a dash of colour to a planting scheme. Simply tape around the lip of the pot and paint below with two coats of your chosen outdoor paint. You could use different shades to colour code a herb garden or vertical planter, to indicate which plants are purely ornamental and which are edible.
9. Create a striking pattern using colourful stripes
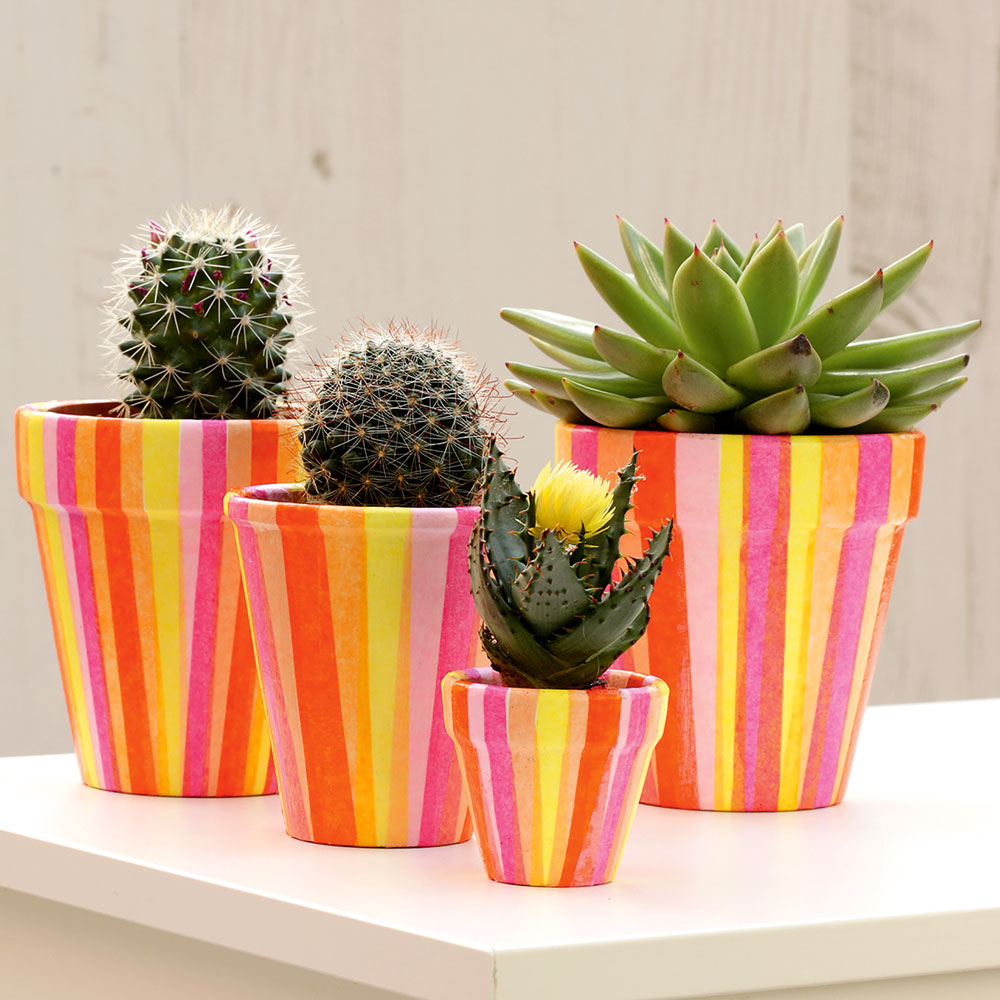
Make a real impact with colour by using a rainbow of colourful stripes to decorate plain plant pots. It may be a labour of love, due to having to apply more than one colour and use several pieces of masking tape, but if you are looking to make an impact with newly painted flower pots this is a winning idea.
For vertical stripes fashion lines of masking tape length ways down the outside of the pot, simply painting in between the gaps. To create horizontal stripes do the same with masking tape only go around the pot ,rather than down it with the tape.
10. Add vibrancy with bold colour scheme throughout
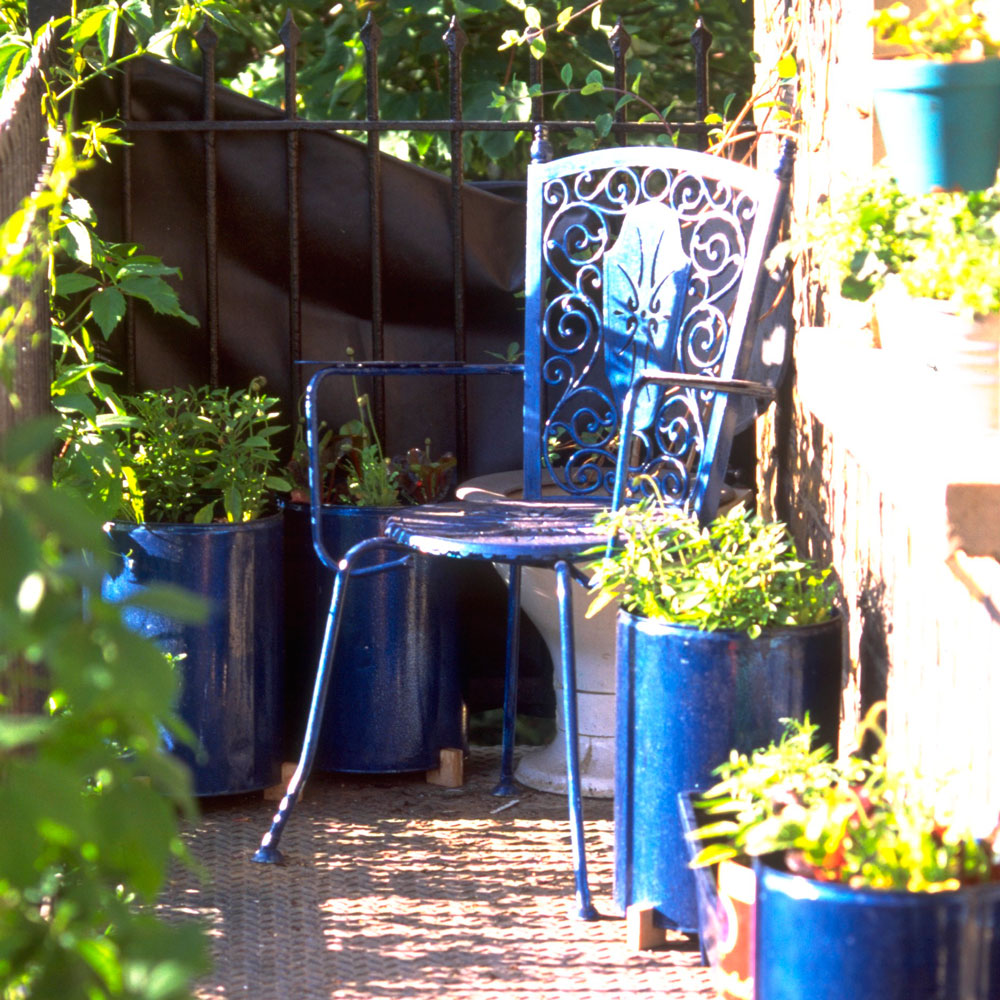
Enhance and unite your outdoor space by adding one vibrant colour choice, painting garden furniture and flower pots in the same shade. This easy-to-do upcycling idea for the garden sets the tone throughout an outdoor space by adding a solitary splash of uplifting colour.
Choosing one colour prevents the accent colour of flowers and planting from becoming overpowering, especially in a small space. If your garden is primarily lush green you can't go wrong with a bold blue, such as this Cobalt blue – inspired by the Yves Saint Laurent Majorelle Gardens in Marrakech.
11. Enliven metal plant pots with colour
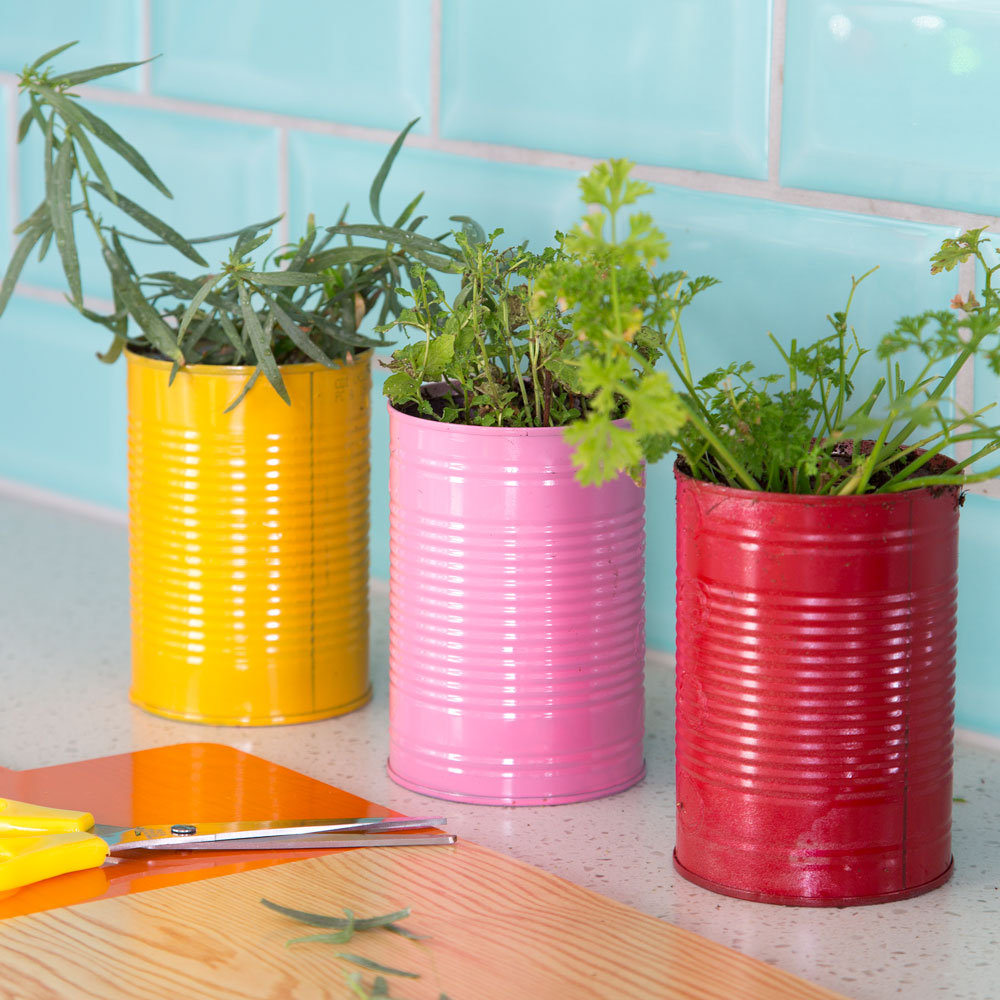
Of course it's not all about terracotta pots when it comes to garden containers. From zinc planters to DIY homemade tin can planters there's an appetite for updating metal flower pots too. Ensure you use an exterior paint that is suitable for metal surfaces, most of the big name brands from Frenchic to Rust-Oleum now offer a paint that adheres to metal surfaces – plus no primer needed!
12. Paint on characterful faces
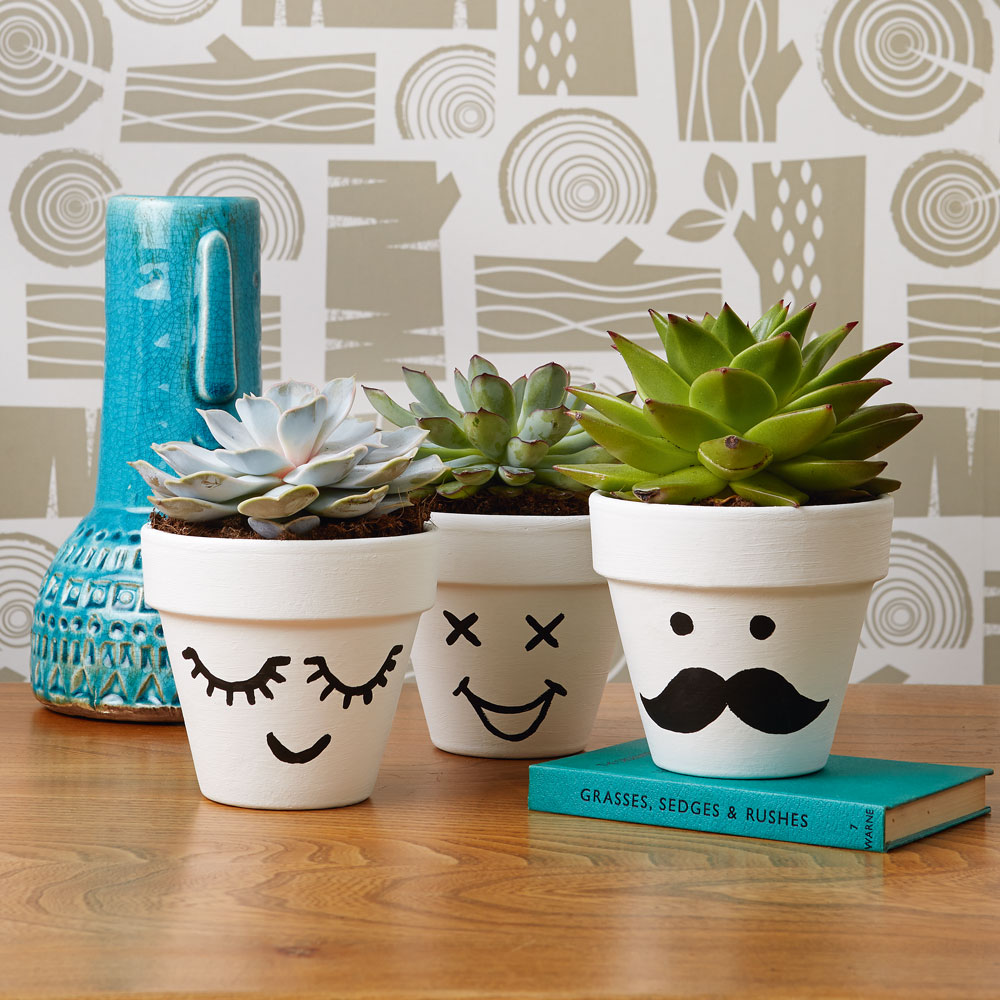
Fun and friendly faces on planters has been a growing trend. Create your own characters by painting smiles and eyes onto the base of your plant pots. Suitable for indoor and outdoor pots, provided the right paint finished are applied.
Smiley flower pots is a great idea for encouraging little ones to get out into the garden and help to grow their own.
13. Give indoor flower pots a Washi tape makeover
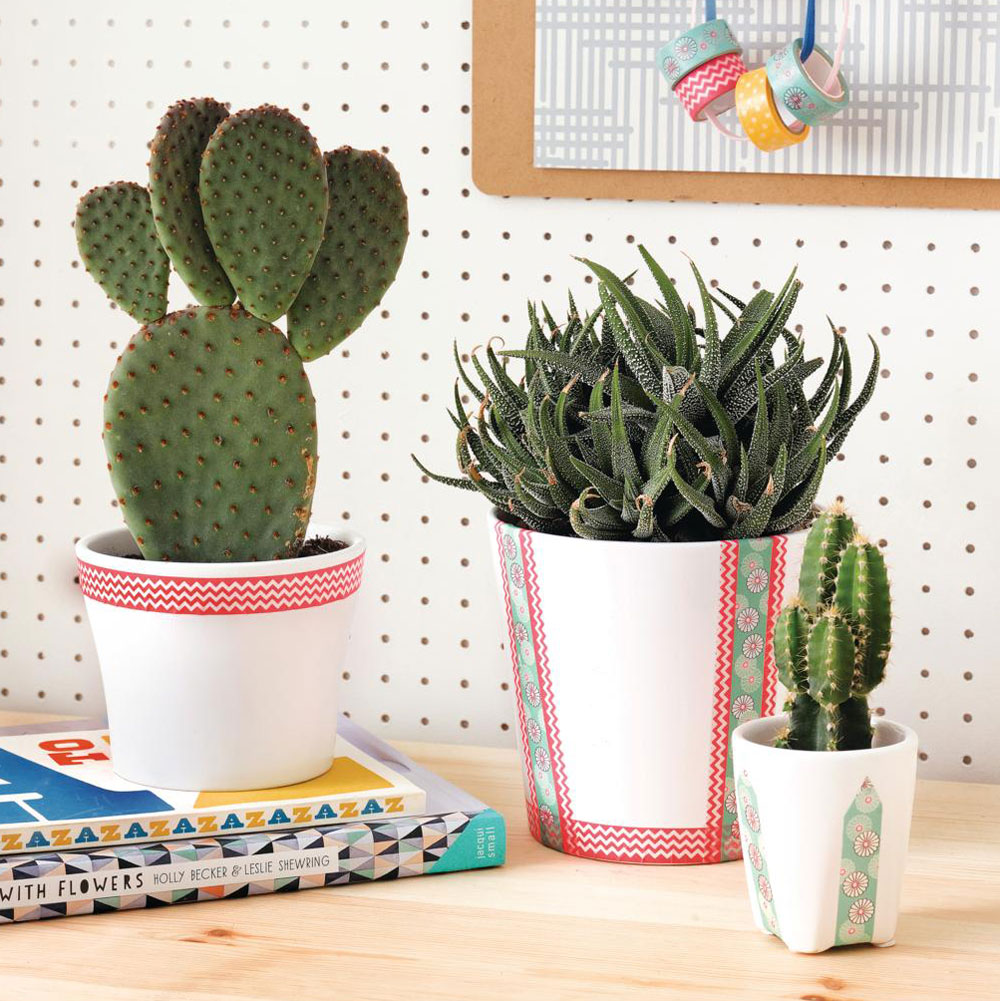
Give your indoor pots a coat of brilliant white paint, to create a blank canvas for a decorative trim. Due to the nature of Washi tape this idea is best for indoors, unless you coat the finished pot with a sealant to ensure the tape is weatherproof.
How to paint terracotta pots with pattern
Step 1. Give it a clean
Ensure your plant pot is dirt and cobweb-free to give your paint a clean surface to stick to. Use a non-
Step 2. Add masking tape
Mark out your pattern onto your chosen pot, using masking tape - securing the tape as you go to ensure crisp clean lines.
Step 3. Apply your base colour
Use your main colour to paint a base, on which to add pattern. Paint below or around the masking tape that has been placed to from your desired pattern. Apply 2 coats, allowing each to dry completely before continuing with each stage.
Stage 4. Paint the pattern with a sponge
An easy way to add the paint in larger sections, such as the Cuprinol pots above, is by using a sponge – a simple kitchen sponge will do the trick. Cut the sponge to size to make it easier to control, then simply dab the paint onto the unpainted section in between the masking tape. Leave to dry then carefully remove the tape, revealing a newly painted pattern on your pot.
Happy plant pot painting!
Tamara was Ideal Home's Digital Editor before joining the Woman & Home team in 2022. She has spent the last 15 years working with the style teams at Country Homes & Interiors and Ideal Home, both now at Future PLC. It’s with these award wining interiors teams that she's honed her skills and passion for shopping, styling and writing. Tamara is always ahead of the curve when it comes to interiors trends – and is great at seeking out designer dupes on the high street.
-
 Will a conservatory add value to your home and how can you maximise it?
This is what the pros say
By Amy Reeves
-
 I’ve been looking for a new signature scent for my home and The White Company's new fragrance is the exact summer holiday smell I needed
Santorini smells fresh, summery and sophisticated
By Kezia Reynolds
-
 How to remove algae from garden walls in five steps – and the cleaning product experts rave about for tackling it fast
Experts share their top tips for getting garden walls algae-free
By Katie Sims