Shed paint ideas – including how to pick and apply the right weatherproof paint for the job
Is your garden shed looking a little run down?
Thinking of giving your shed a makeover? Behold our shed paint ideas. If your wooden structure is looking like it could do with a little TLC, a fresh lick of paint could be all that’s needed to give it a new lease of life. But there’s more than just looks to consider, like how to pick a weatherproof paint for a shed.
It’s vital to select the right product — bog-standard wall paint simply won’t withstand unpredictable weather conditions. So, it’s important to be clued-up on different weatherproof options and how to prepare your shed for painting, to make sure the fresh coats stand the test of time.
Be sure to check out our wider shed ideas guide for more inspiration, too.
Shed paint ideas
1. Be sympathetic to your surroundings
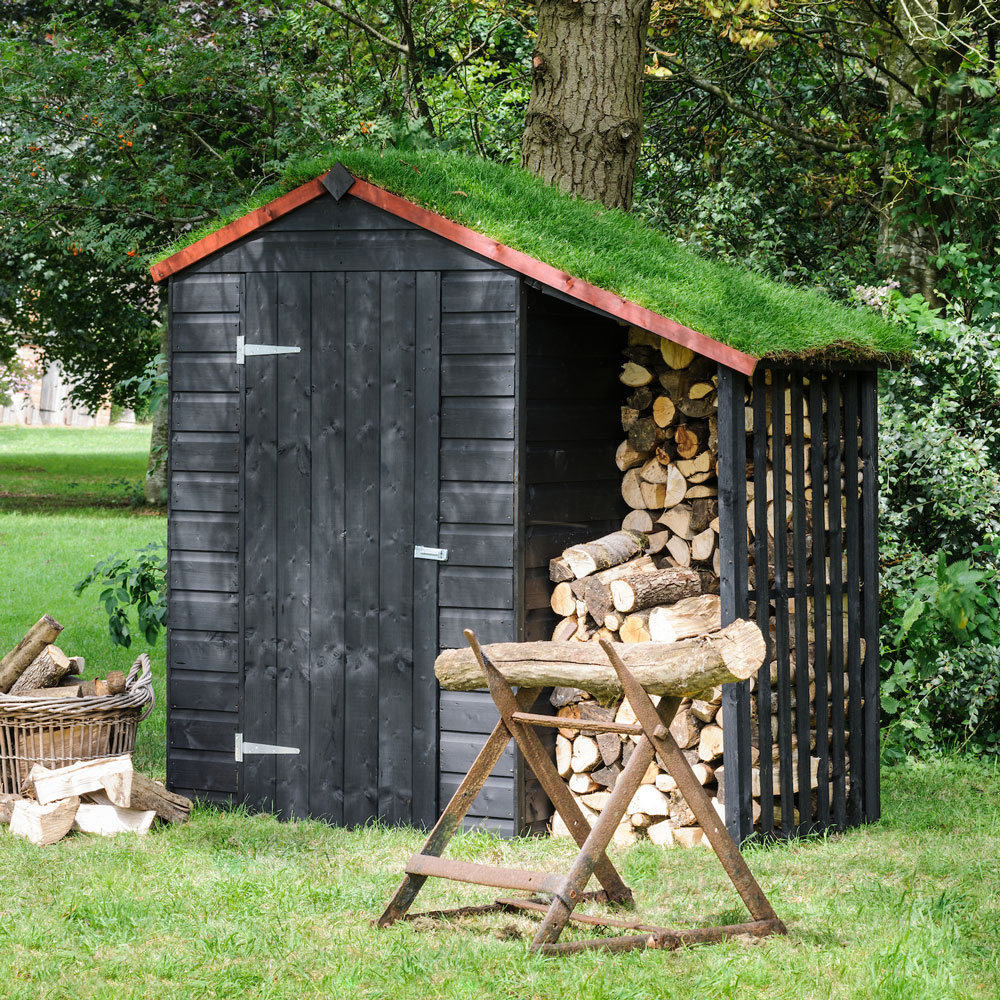
While the team at Ideal Home think anything goes when it comes to shed colours, Matthew Brown, a Technical Consultant at Sadolin (the sister brand of Crown) advises being considerate of your surroundings.
'When painting or staining exterior wood, the colours should tone in, where possible, with neighbouring homes or businesses. Different regions often have their own distinct colour palette from dark grey granite to sandstone and red brick,' he says.
If you decide to go with paint rather than stain, then green, brown and grey shades will blend in with the landscape of your garden. Whereas more vibrant colours will make your shed the statement piece of your outdoor area.
2. Go for high-gloss
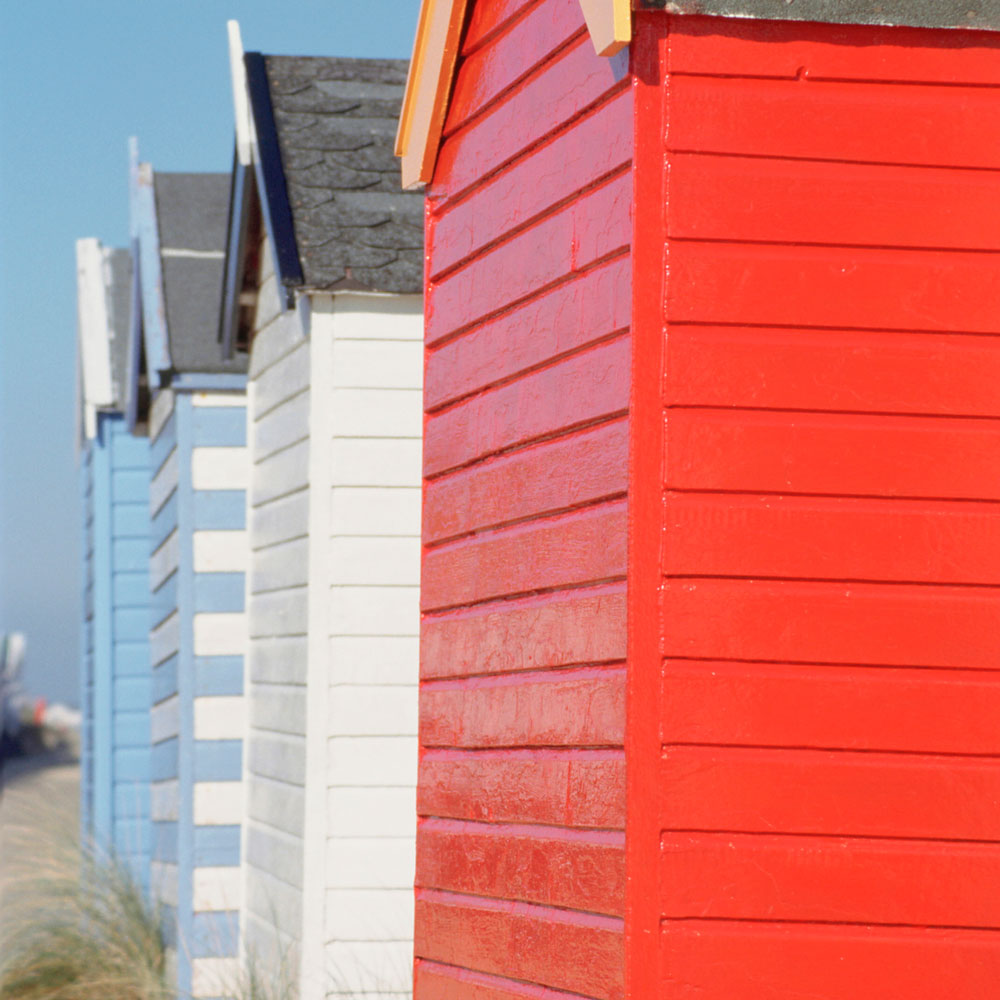
'If you want your shed to be a statement in your garden, the best paint is exterior high-gloss paint which costs around £5 to £40 per litre' explains Natalie Mitchell from HomeHow.co.uk. 'Exterior high-gloss paint is ideal for improving the colour of your shed, while protecting the wood from damage. It’s also easy to clean, meaning the maintenance of removing any dirt or debris takes minutes.'
Get the Ideal Home Newsletter
Sign up to our newsletter for style and decor inspiration, house makeovers, project advice and more.
But she warns ,'high-gloss paint can highlight imperfections, if you have any large damages to your shed, this paint might not be the best option. During application precise coverage is needed to avoid evident brush marks.'
To take inspiration from beach huts and create seaside stripes, use masking tape for a neat finish. If you’d like to recreate the effect on a larger shed, choose paler colours and wider stripes for a jaunty look.
3. Use on-trend colours to enhance greenery
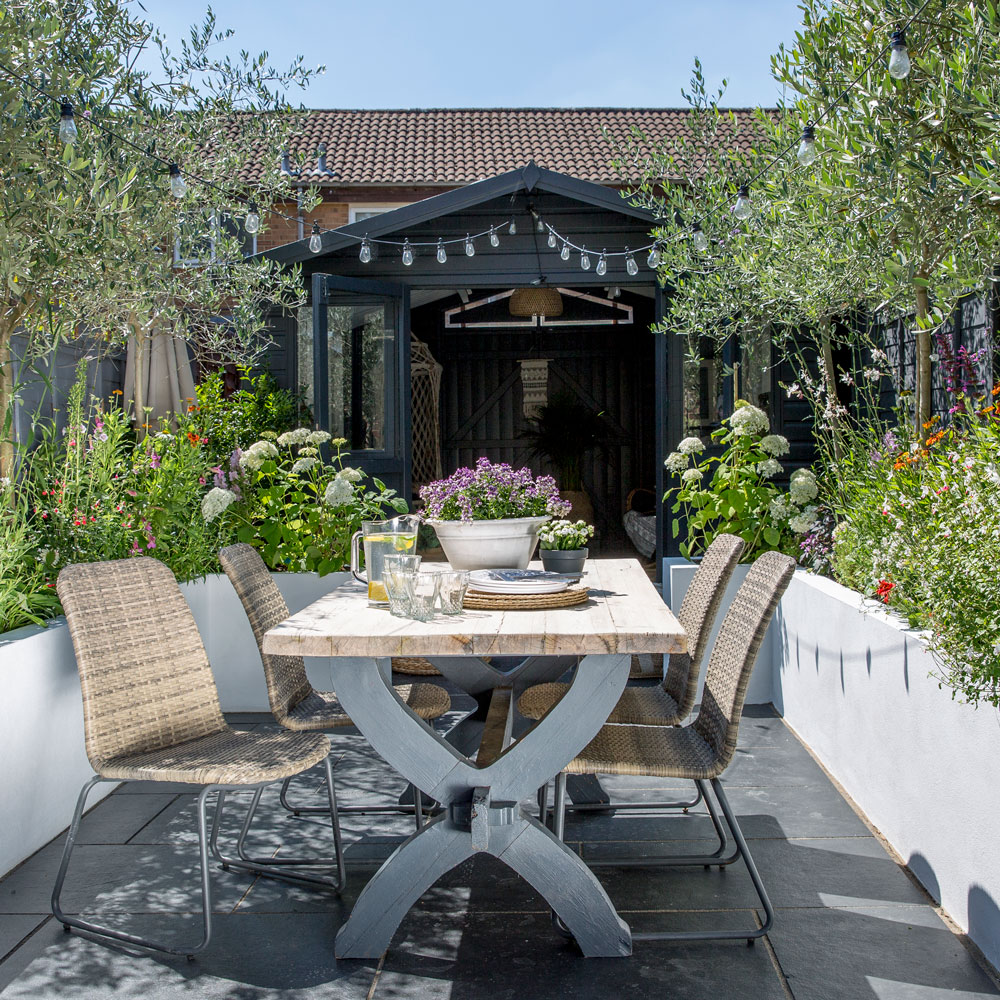
Stick with an on-trend garden colours for painting your shed to get the latest look. Following on for the interiors trend for dark colours we're seeing our gardens move to the dark side too. Black and slate greys are hugely popular colours for painting garden buildings and fences, thanks to how well the darker shades offset the lush greenery of a garden landscape.
4. Choose a strong colour combination
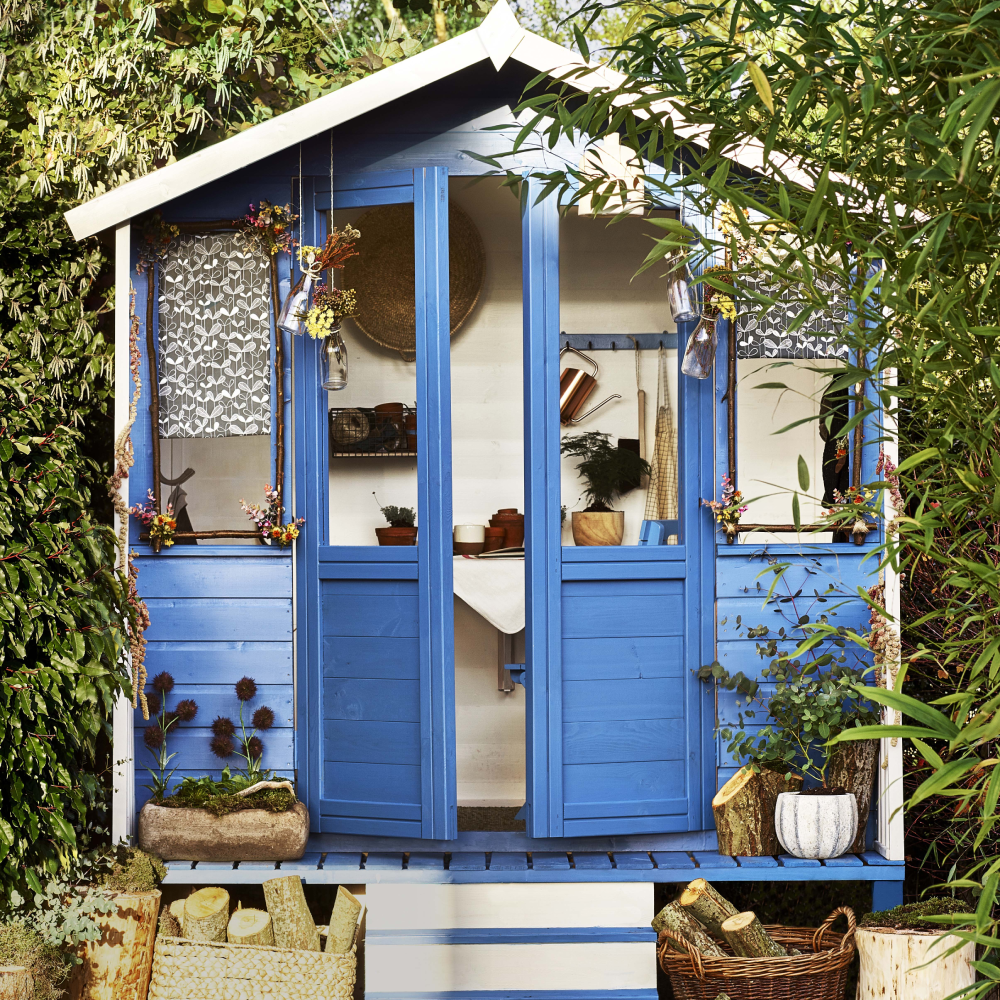
When working with colour try balancing a bold colour with a softer neutral to create a contrast. Use the lighter colour to pick out detailing and create a soothing interior. On this bold blue shed a strong white is used as a highlighter for the framework, steps and interior to give a depth to the overall look.
5. Surprise with a colour pop inside
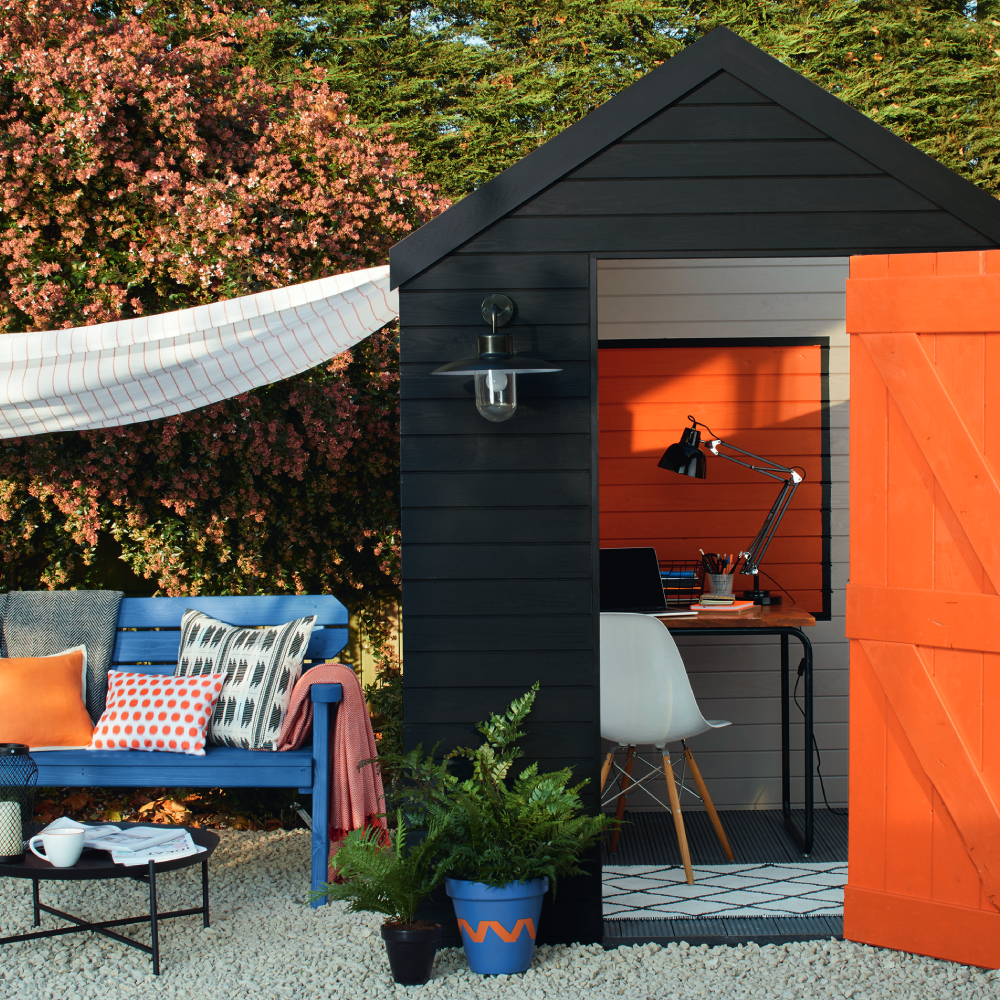
While orange may be your favourite colour, you might not be so keen for an orange painted shed to stand out like a sore thumb in your garden plot?! Instead use the bolder colour as an accent colour to decorate the interior of your shed. This fine example shows a shed being used for a garden home office idea where the bright pops of colour can invigorate and inspire – but once the door is closed the shed is painted a more understated colour.
6. Uniform a colour scheme by painting the shed
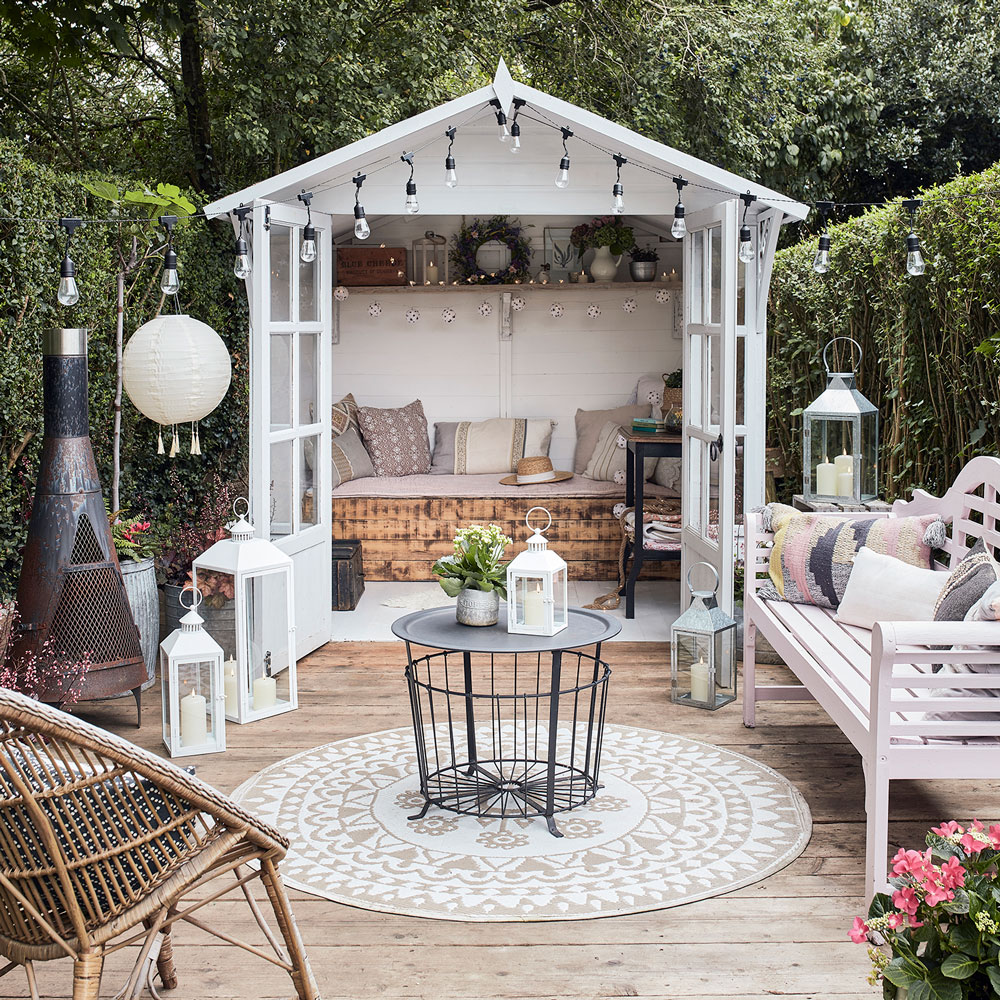
From planting to painting, choose one dominant colour to create a harmonious and cohesive scheme for your outdoor living space. This garden feels like a sanctuary of calm thanks to the primarily white colour scheme. Accents of sun-bleached wood decking and DIY bench seating help to add a touch of natural warmth – as will the festoon lights after dark.
7. Try colour blocking
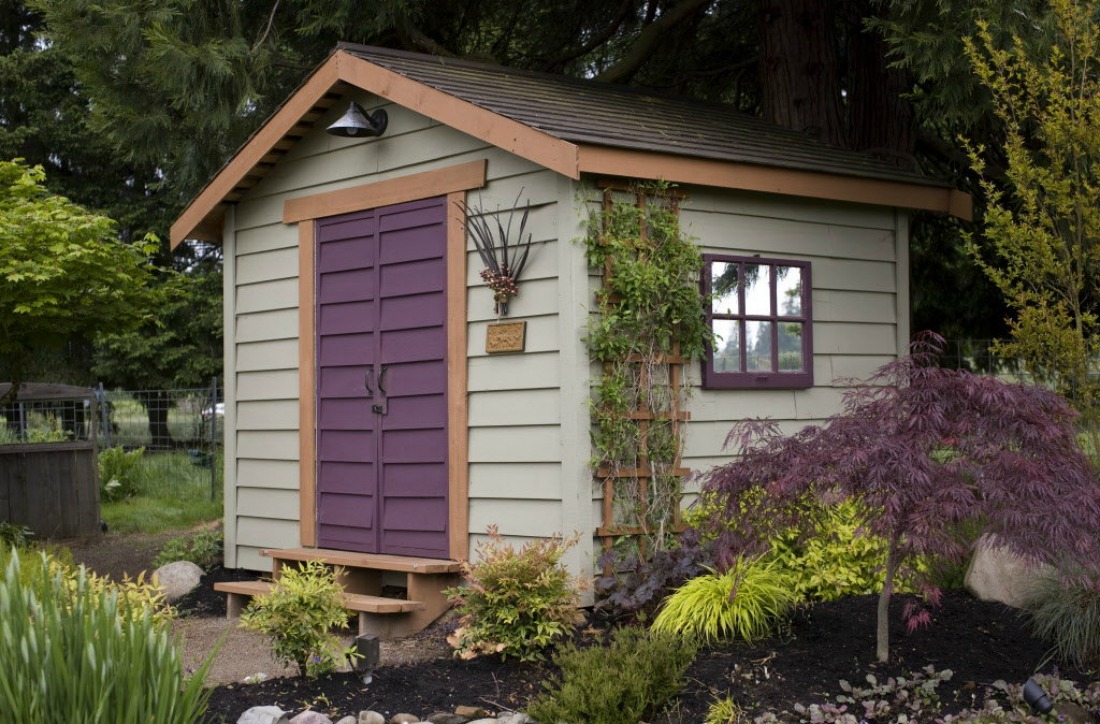
Choose two colours you love that work well together – here, a sage-like grey green provides a neutral palette, while a purplish bordeaux is used as a feature colour picking up on the stunning acer tree. If you use a third colour on the trimmings, make sure it’s a neutral ‘disappearing’ colour – natural wood shades are ideal.
8. Go all out with ombre
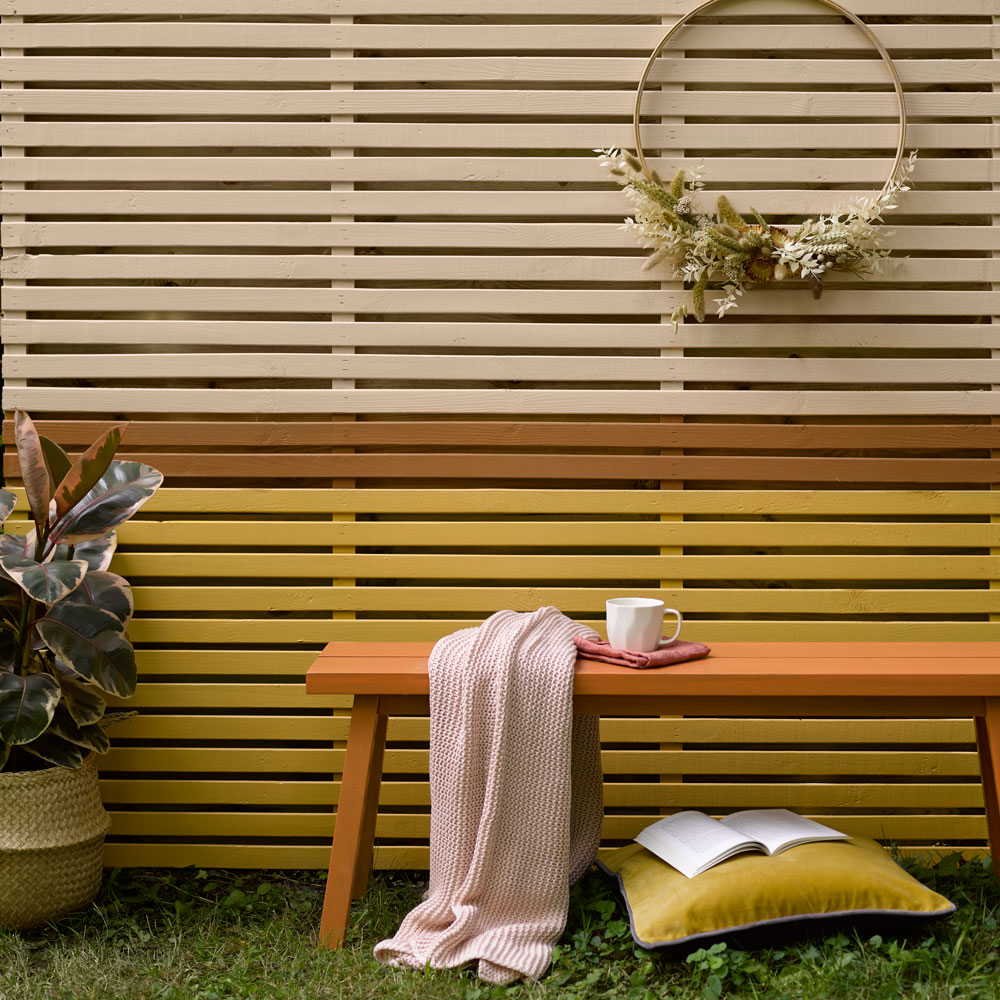
If you’re feeling really experimental, you could opt for two or more different colours in the same palette. Matthew Brown adds, ‘Try creating an ombre effect, with choosing a few colours in the same paint family to create a statement.' This example of a garden fence shows how the gradient of colour can really make an impact.
How to pick weatherproof paint for a shed
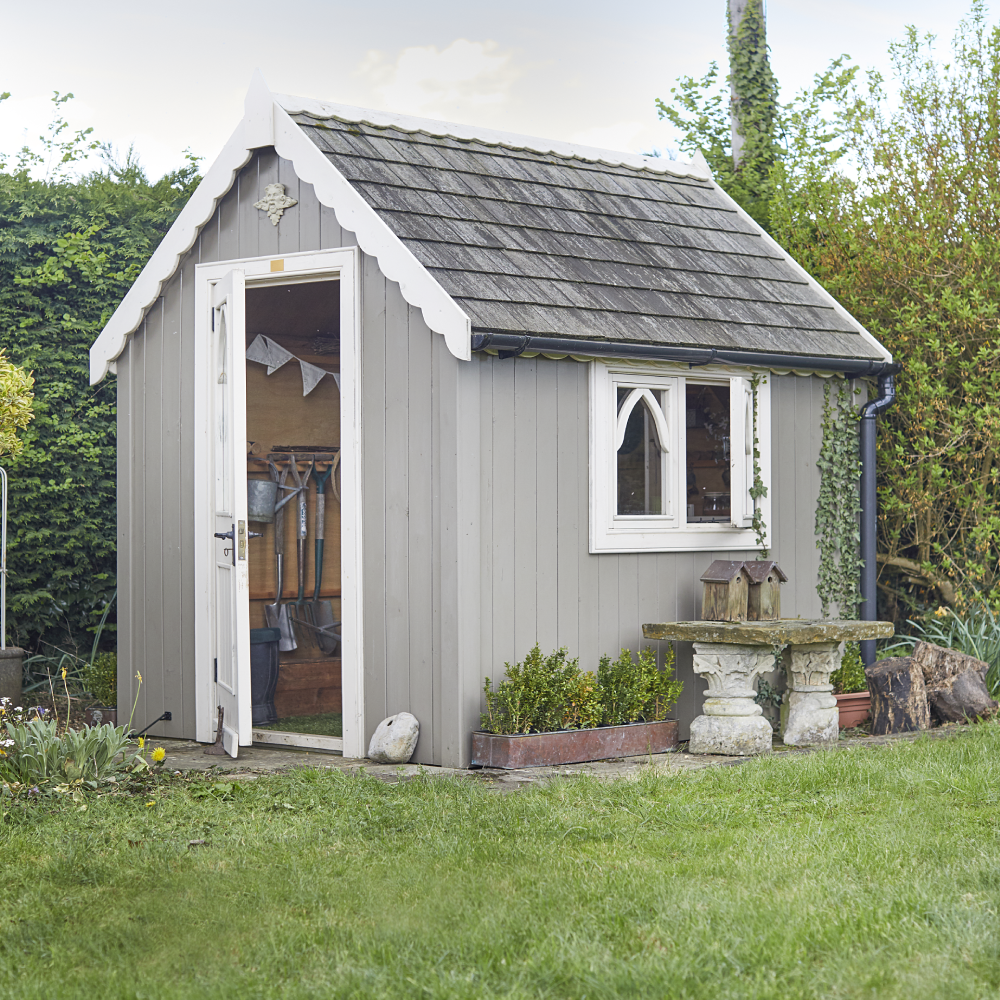
Shed paints and stains tend to be weatherproof, which means they are specially formulated to protect the wooden structures against the elements in a garden.
Matthew Brown, explains that the brand's range of Shed & Fence All Weather Barrier Woodstains work well if you are hoping to keep the shed looking a more natural wood shade. Sadolin's stains are also enriched water repellent qualities, so are highly durable.
There are a number of paints which are brighter, bolder choices — just be sure they offer protection from the elements. Usually the brand of shed paint will state how long protection should last on wood.
'Weatherproof paint will protect sheds against severe weather conditions' explains Natalie Mitchell from HomeHow.co.uk. 'The average cost of weatherproof paint is around £15 to £30 per litre.'
'The paint is water-resistant, meaning any heavy rainfall will leave your shed intact. It can help to lower humidity, protect against UV rays. Whilst weatherproof paint can limit damage caused by weather, you may have to use extra precautions such as a primer or oil to prevent widespread damage.'
How to paint a shed
As with any project, preparation is key. ‘Preparation is 80% of the job — yes it’s laborious but the job looks much better afterwards and definitely lasts a lot longer’ Matthew explains
This is how to prepare your shed for painting...
1. Clean it up
He adds, ‘When decorating, ensure surfaces are clean, dry and sound. Don’t decorate over something that isn’t OK — a good coating can’t make a poor surface into a good one.'
‘Whether you’ve had a new shed built this year or the existing one needs renovating, you should always scrub before painting’ advises Natalie Mitchell from HomeHow.co.uk. ‘Sheds can attract cobwebs, mud and mould, so use a diluted general-purpose cleaner and a hard wire brush to scrub away any excess. The removal will make the paint application effortless. Just make sure that the wood is completely dry before painting.’
2. Sand it down
If you're painting an old shed, you'll need to remove old and flaky paint by sanding it down. This is a fundamental step. Sand in the direction of the woodgrain to ensure you cover every bit of your shed and remove all the old paint.
‘If preparing and cleaning down new bare wood — we recommend using a P180/P240 grade sandpaper to provide the best key, dust off and finally degrease the wood with methylated spirits using a clean lint free cloth — rotating it regularly to not reintroduce any grime to the surface. This gives any coatings the best possible chance to bond and perform on timber,’ says Matthew.
3. Invest in tools
High-quality paint brushes will ensure a smoother, more even effect and will make the process a lot easier. ‘Natural bristle are best for solvent based and synthetic fibres for water based. Always lay off in the direction of the grain,’ says Matthew.
Consider good storage ideas for sheds to keep garden tool sheds organised.
4. Pick the right time of year
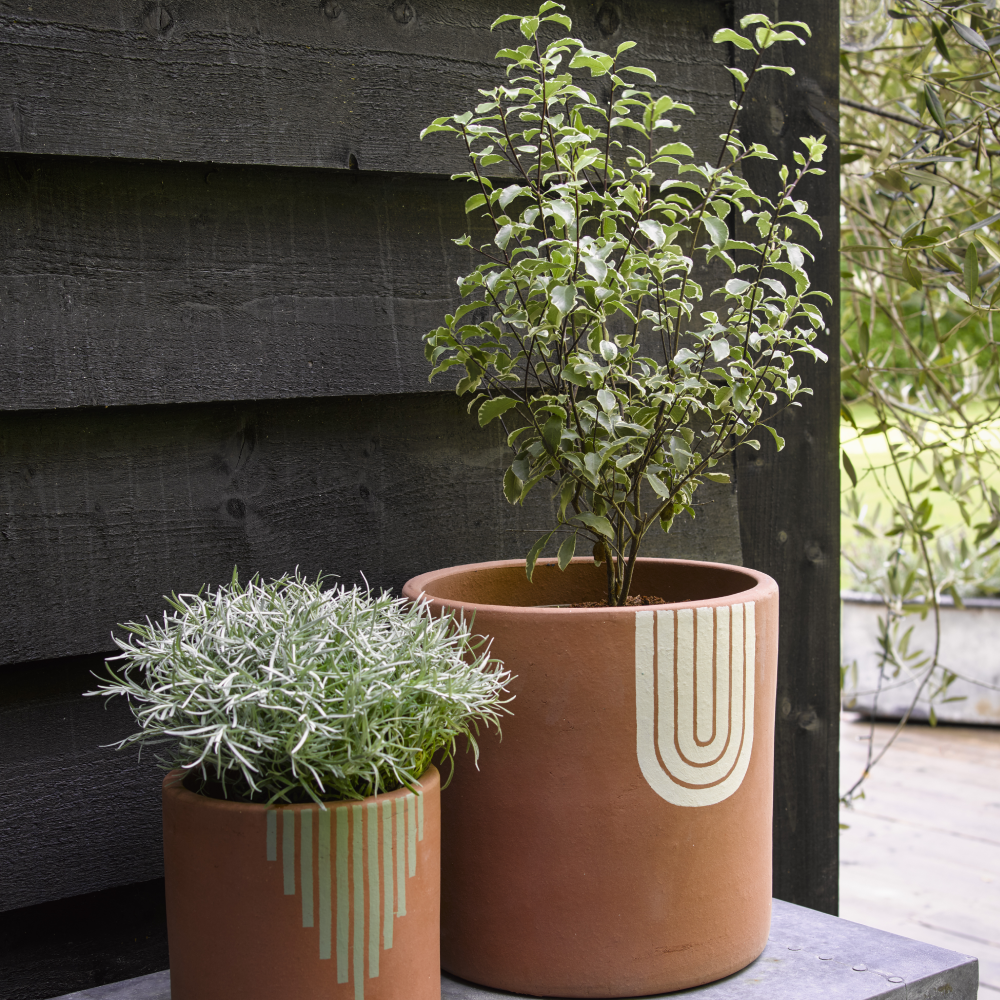
Matthew recommends autumn as one of the best times of the year to paint a shed, stating that a minimum 8 degrees celsius is ideal.
‘September and October regularly have good spells of weather to allow these jobs to be completed. But do take the conditions into account not only when decorating but for the time during which the coating is drying. Keep an eye on the weather forecast for damp or cold conditions,’ he adds.
5. Don't hold back on coats
Another key thing to note is the number of coatings — and don’t hold back. ‘They need to be of a certain thickness,' says Matthew. 'Hence why 2/3 coats are recommended on initial application to build up the film depth. This ensures longevity of the system and that – particularly in the case of translucent wood stains – sufficient pigment loading protects from harmful UV.
‘The equivalent of one full coat on timber compared to two full coats doesn’t last half the time. That is why it is important to apply full recommended systems and not to spread them too thin.
‘If any bare timber is exposed – then if this is not protected over winter, the problem will quickly get much worse allowing unwanted moisture to get into the timber. This leads to accelerated wetting/drying of the wood leading to twisting, warping and splits. This also exposes the wood to unwanted mould/fungal growth.’
Are you ready to give your shed a new lease of life with colour?
-
 Should your front door colour match your hallway? Interior experts reveal 3 reasons why it should (and 3 reasons it shouldn't)
Are you team matching or contrasting?
By Ellis Cochrane
-
 This £200 limited-time discount makes this Dyson vacuum cheaper than I’ve ever seen it - run don’t walk to Argos for this bargain
It's the most affordable Dyson on the market right now
By Lauren Bradbury
-
 Martin and Shirlie Kemp’s pastel flower beds has given their Victorian renovation a romantic look - how you can get the look
Their pastel garden is the cottage garden inspo you've been looking for
By Kezia Reynolds