How to divide hostas - 6 easy (and free) steps to fill next year’s garden with lush foliage
Dividing hostas is easier than you’d think
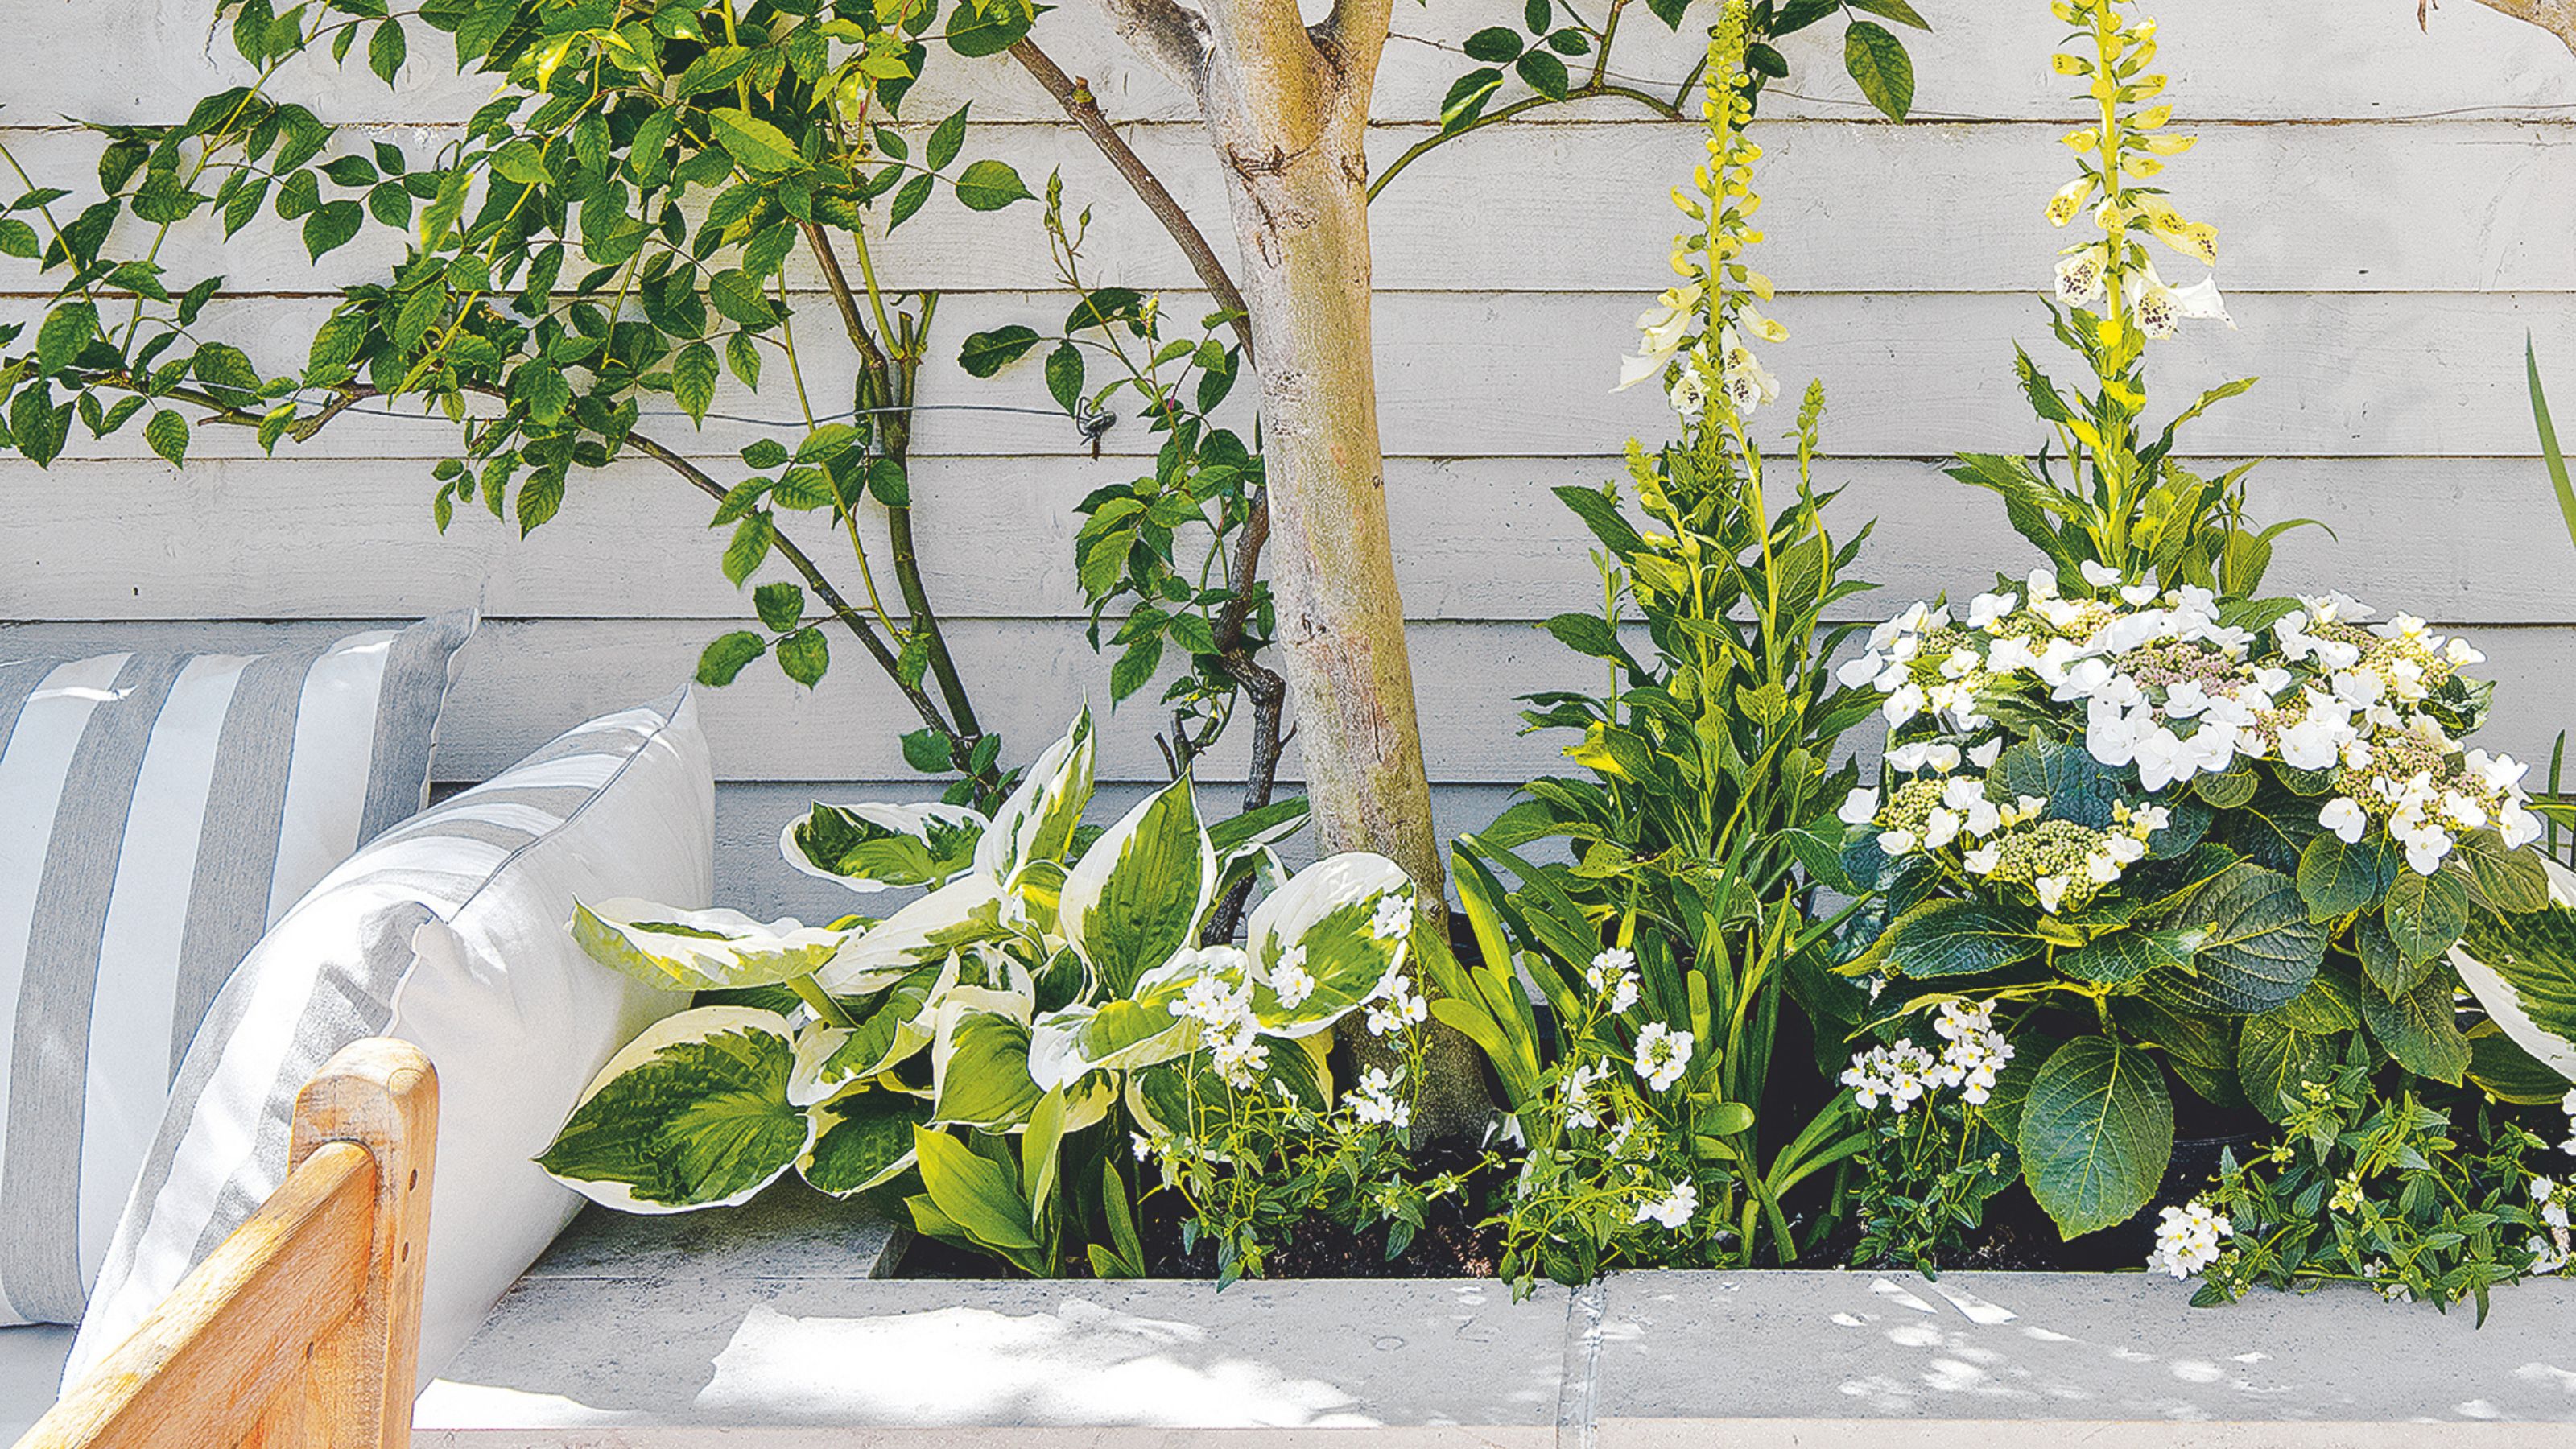

Put your hands in the air if you love hostas… and keep them up if you love a freebie?! We’re going to assume that you’re all waving your hands in the air like you really do care, as we all love getting something for nothing. But if you want to fill your garden with free plants next year, you’ll need to know how to divide hostas.
Choosing to grow hostas is a decision that you definitely won’t regret. These leafy greens offer some of the most beautiful foliage in the garden world and have so many perks. Not only are they some of the best flood-proof plants, but they can also be used as a stunning pawn in your trap cropping game to keep slugs away from your beloved blooms. Plus, they can grow extremely quickly.
As Morris Hankinson, Managing Director of Hopes Grove Nurseries, explains, ‘Generally hostas can grow into large, beautiful plants that won’t need dividing at all, but if you do want to prevent overcrowding, make space for other plants and get plants for free - then dividing is an excellent way to do that.’
What you'll need to divide hostas
Step-by-step
1. Choose the right time
Timing is everything when dividing perennials. You want to ensure that you won’t damage the parent plant during the process and that the plant is at the ideal growing stage for division.
So, when should you divide hostas? According to Morris, spring and early autumn are the best seasons to tick this task off your to-do list. If you choose to divide in spring, Morris suggests to ‘wait until you can see some buds forming as this will help guide you to see where to cut or separate the clump.’
And while there’s nothing wrong with dividing hostas in spring, Morris says dividing them in autumn is much easier. ‘You won’t need to worry so much about watering as the winter weather will do that for you,’ he adds.
It’s well worth adding this task to your list of garden jobs in October, but if you’re running short on time, though, you should be able to stretch it to November.

Morris Hankinson is the founder and managing director of Hopes Grove Nurseries, the UK’s only specialist grower-retailer of hedging plants. He established the thriving business in 1992, shortly after graduating with a Commercial Horticulture Degree from Writtle College, Essex.
2. Carefully lift your hostas
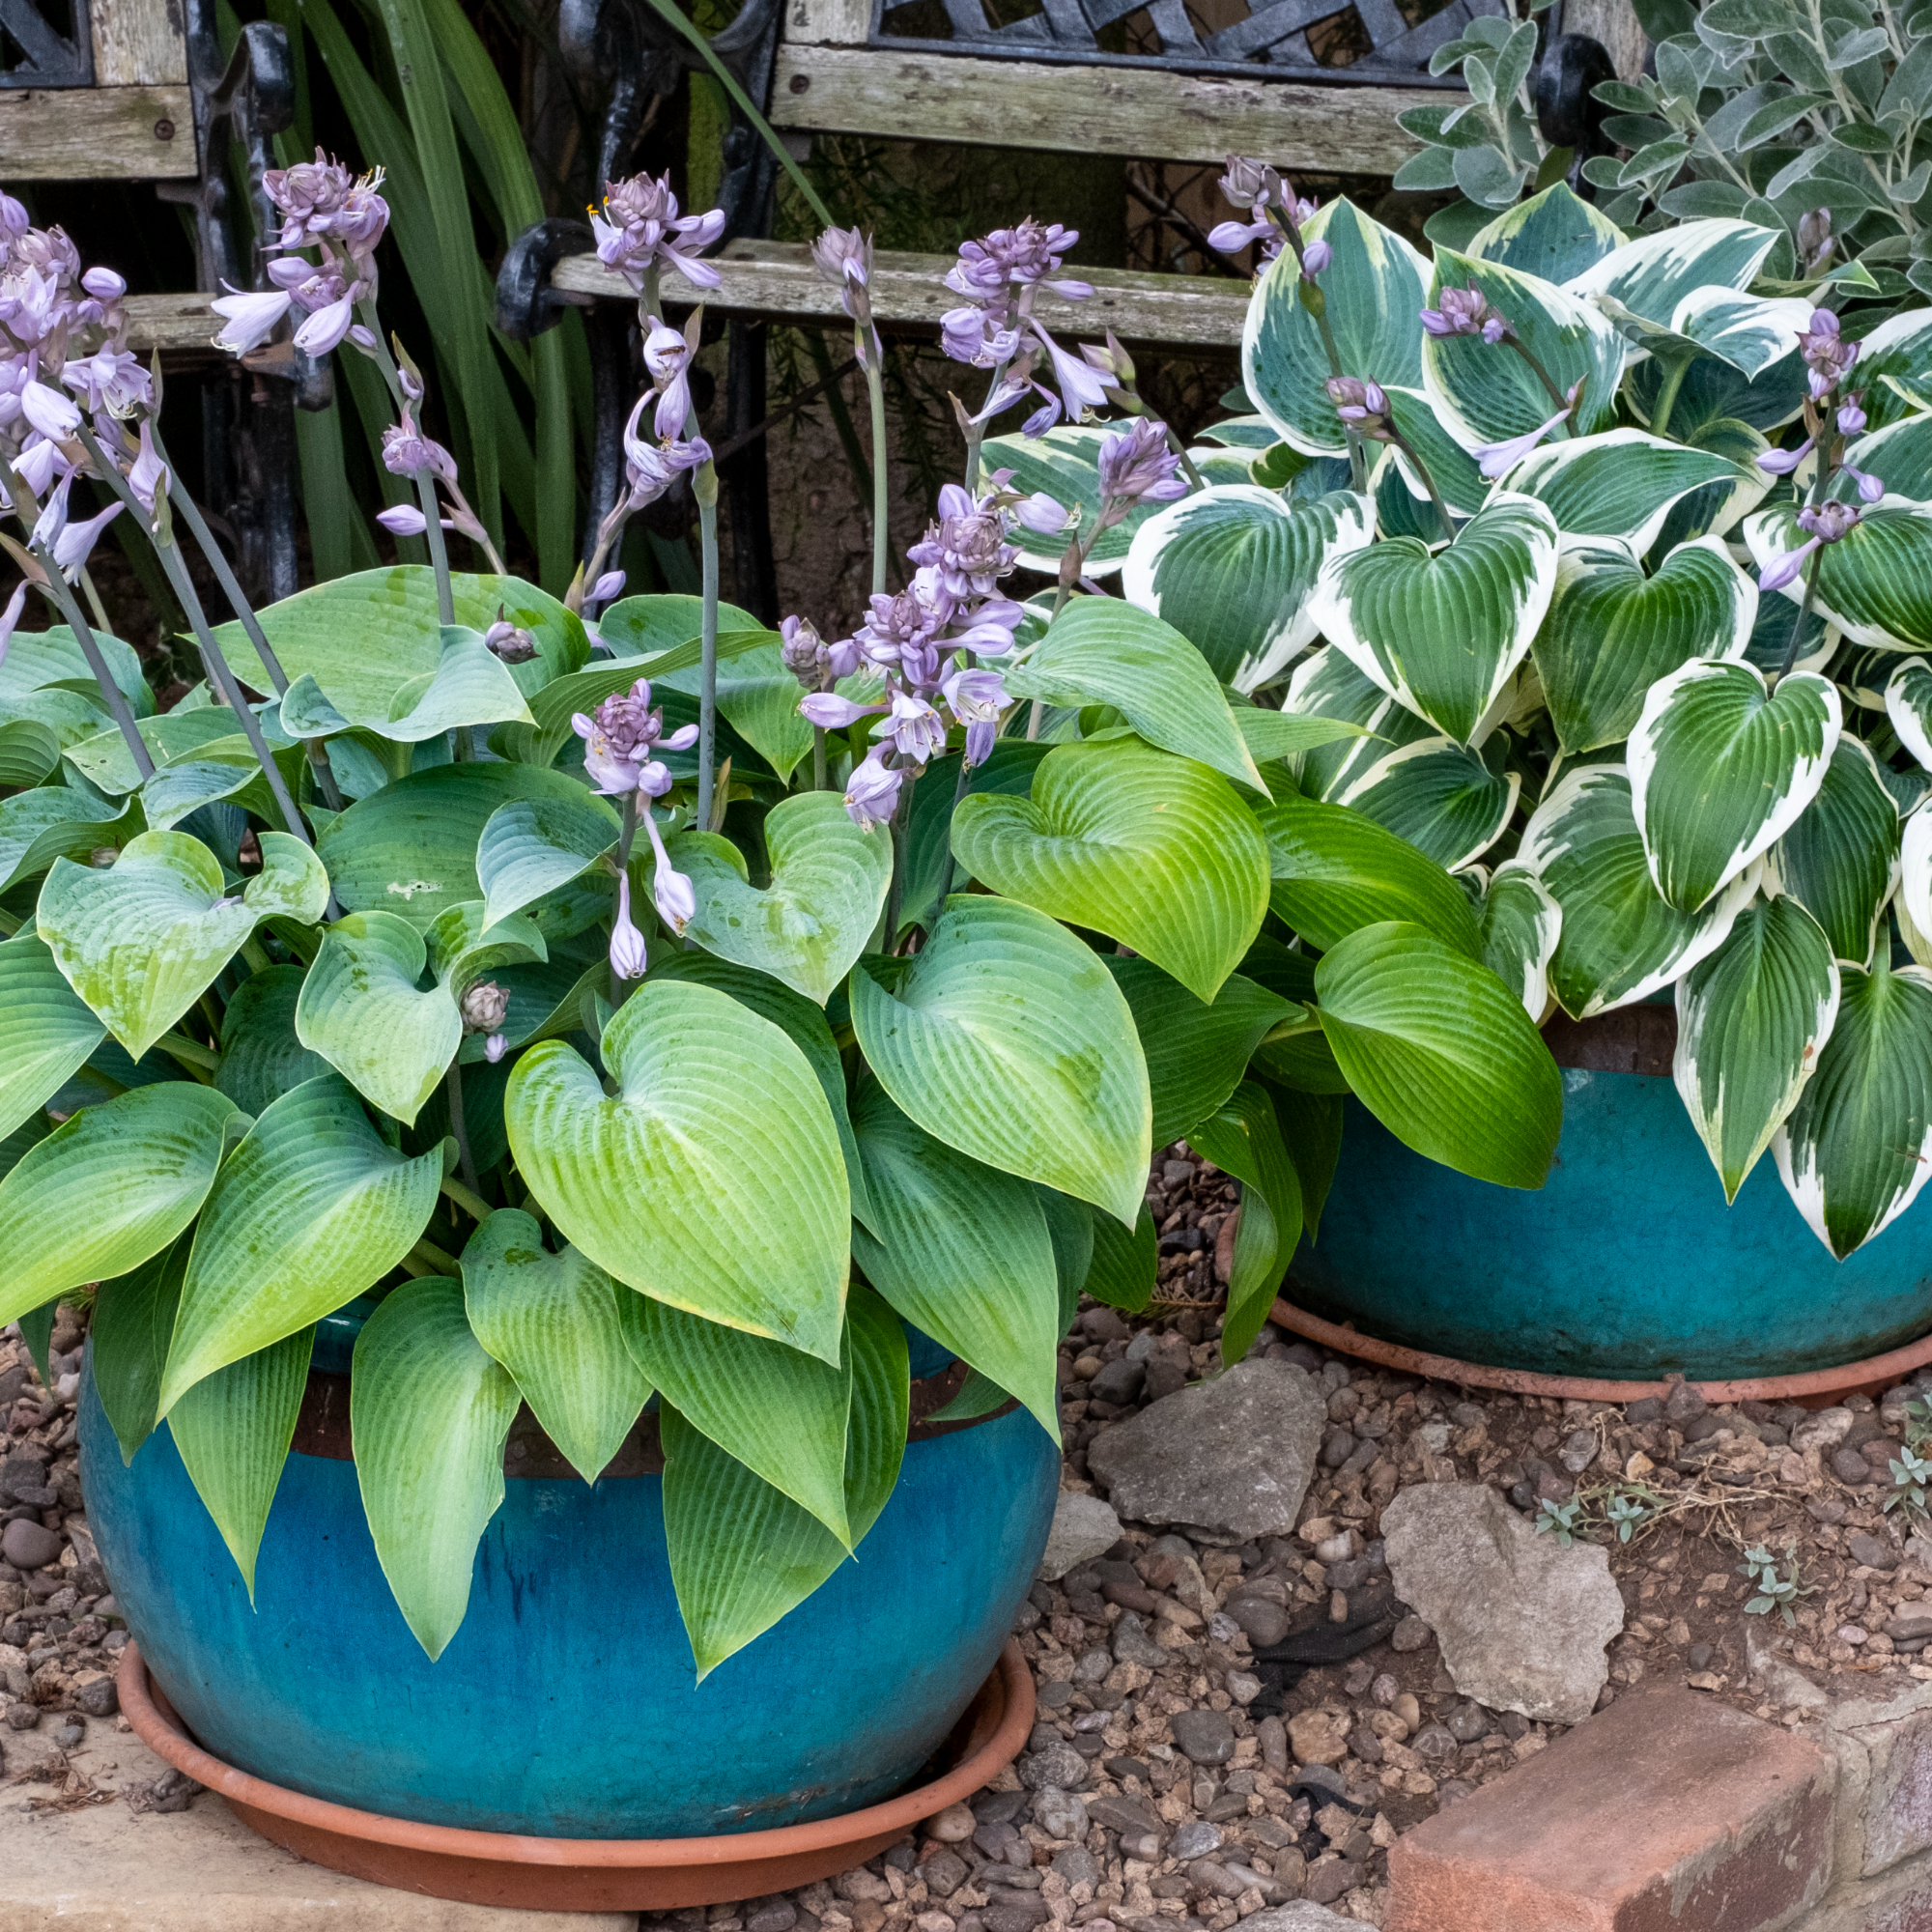
To divide hostas, you need access to the roots, which means you need to get your hands dirty. And no matter whether you’ve grown your plants in your garden borders or as part of your container garden, you’ll have to lift your hostas out of the ground.
Sign up to our newsletter for style inspiration, real homes, project and garden advice and shopping know-how
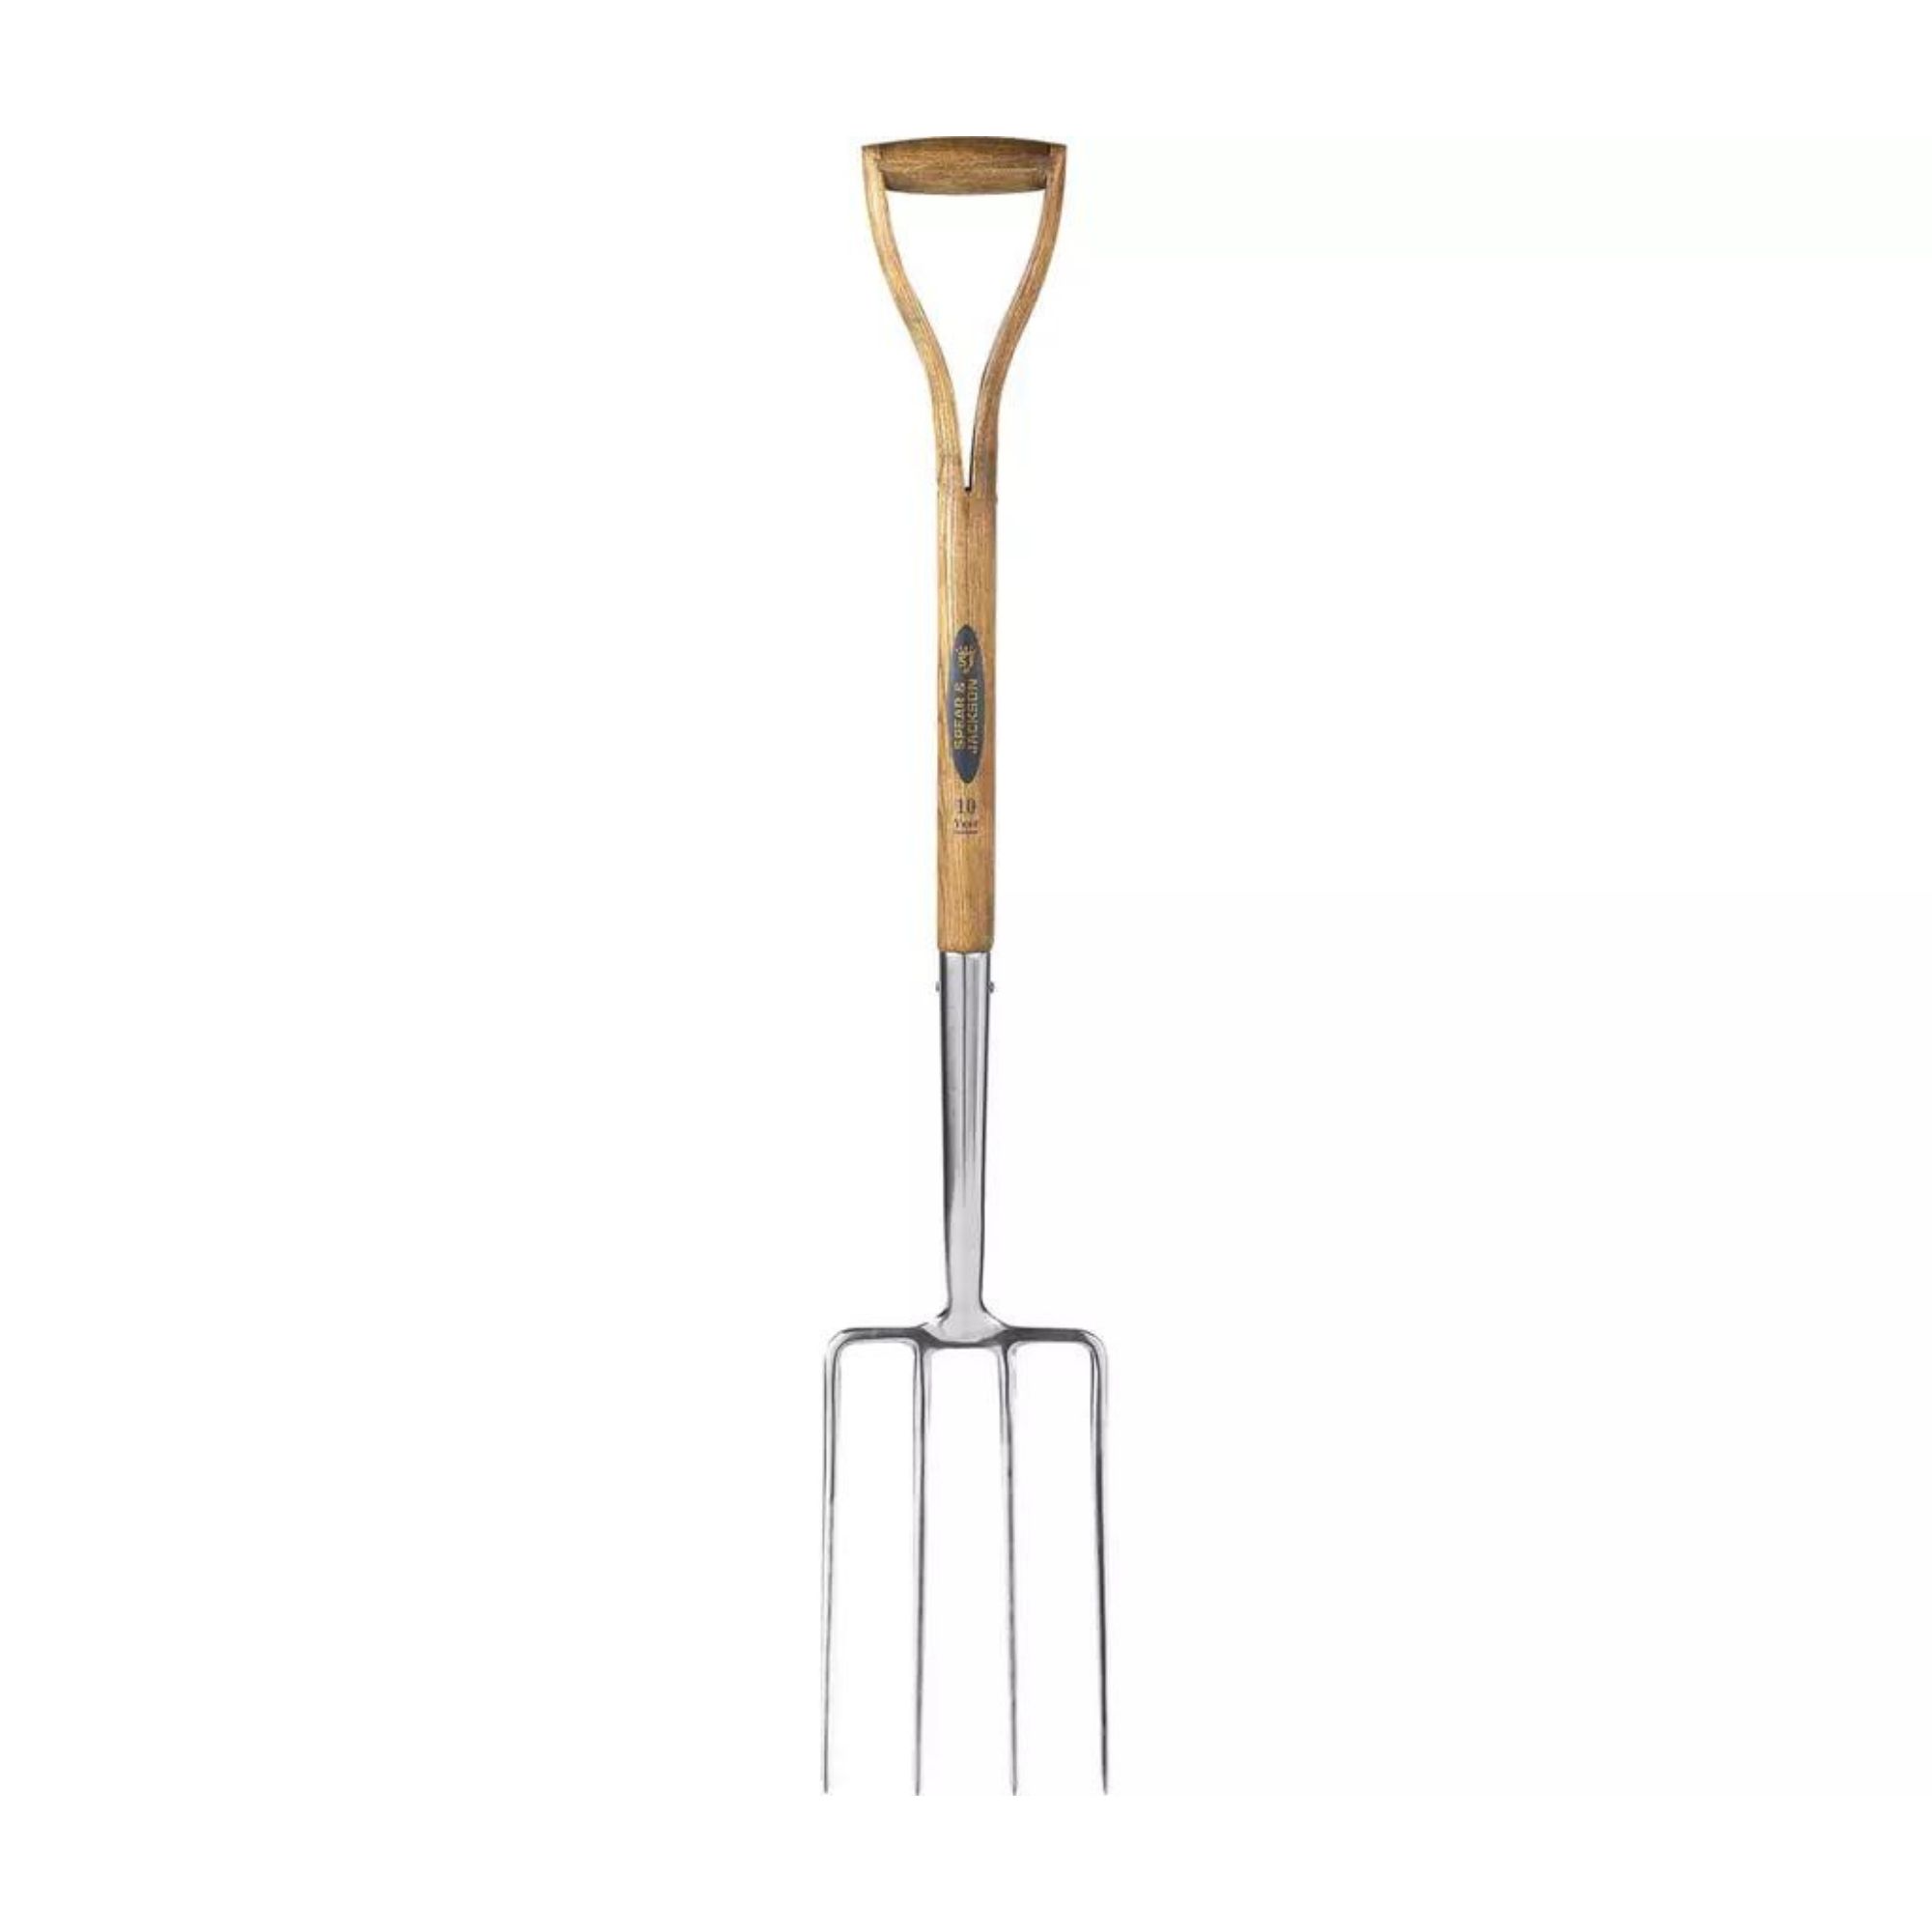
Don’t be tempted just to grab the leaves and pull, though. Morris advises, ‘Using a garden fork to do this makes it easy, but for very large clumps, you might need a spade.’
The aim here is to dig around the crown and underneath the roots of the hosta to ease it out of the ground, but you'll need to be careful when doing this. As Morris says, ‘Try not to cut through all the roots and try to avoid damage to buds.’
3. Shake off the soil
Once you’ve pulled the clump from the ground, it’ll likely be covered in soil, and you won’t be able to see much underneath. So, spend a few seconds shaking off the soil.
If the weather has been particularly wet, shaking might not be enough to remove the soil build-up. In that case, grab a cleaning brush or even your garden hose to clean it thoroughly.
4. Cut through the roots
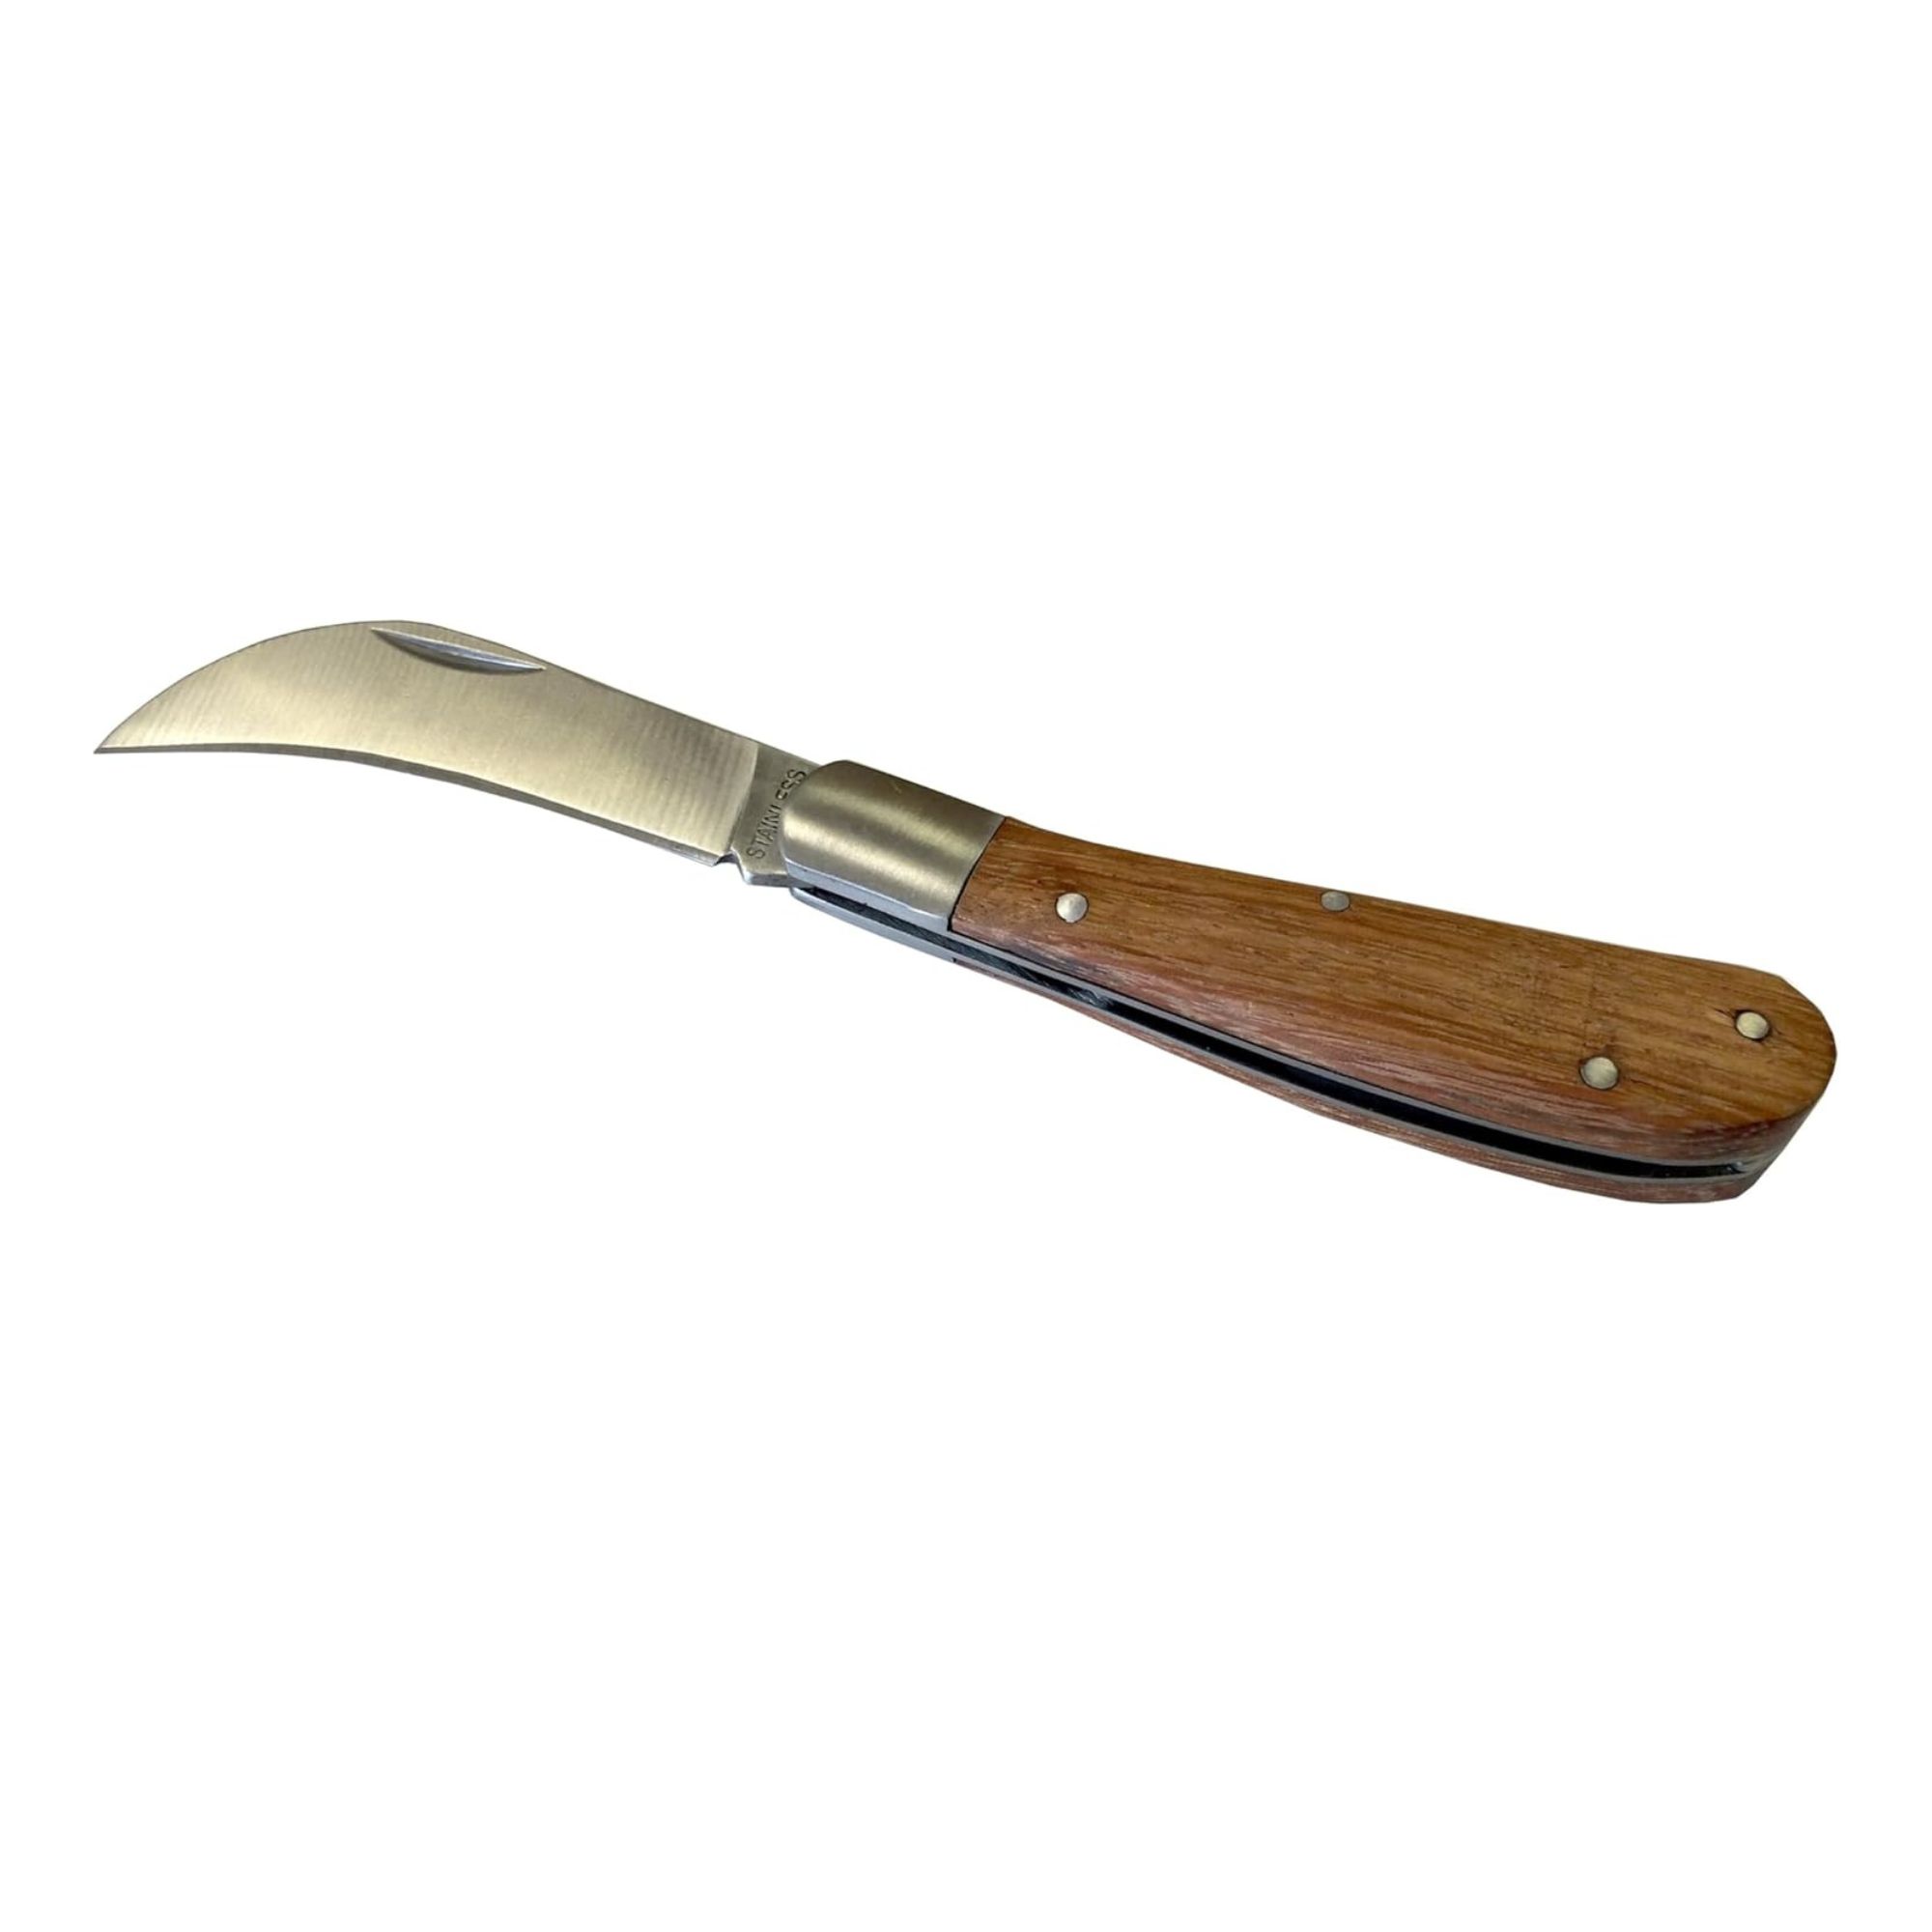
When you can see the large root clump in front of you, you can then grab your knife and get to work. To limit the potential spread of disease or bacteria, however, it’s a good idea to disinfect your knife with something like this Agralan Citrox Ready To Use Natural Citrus Disinfectant Concentrate from Amazon.
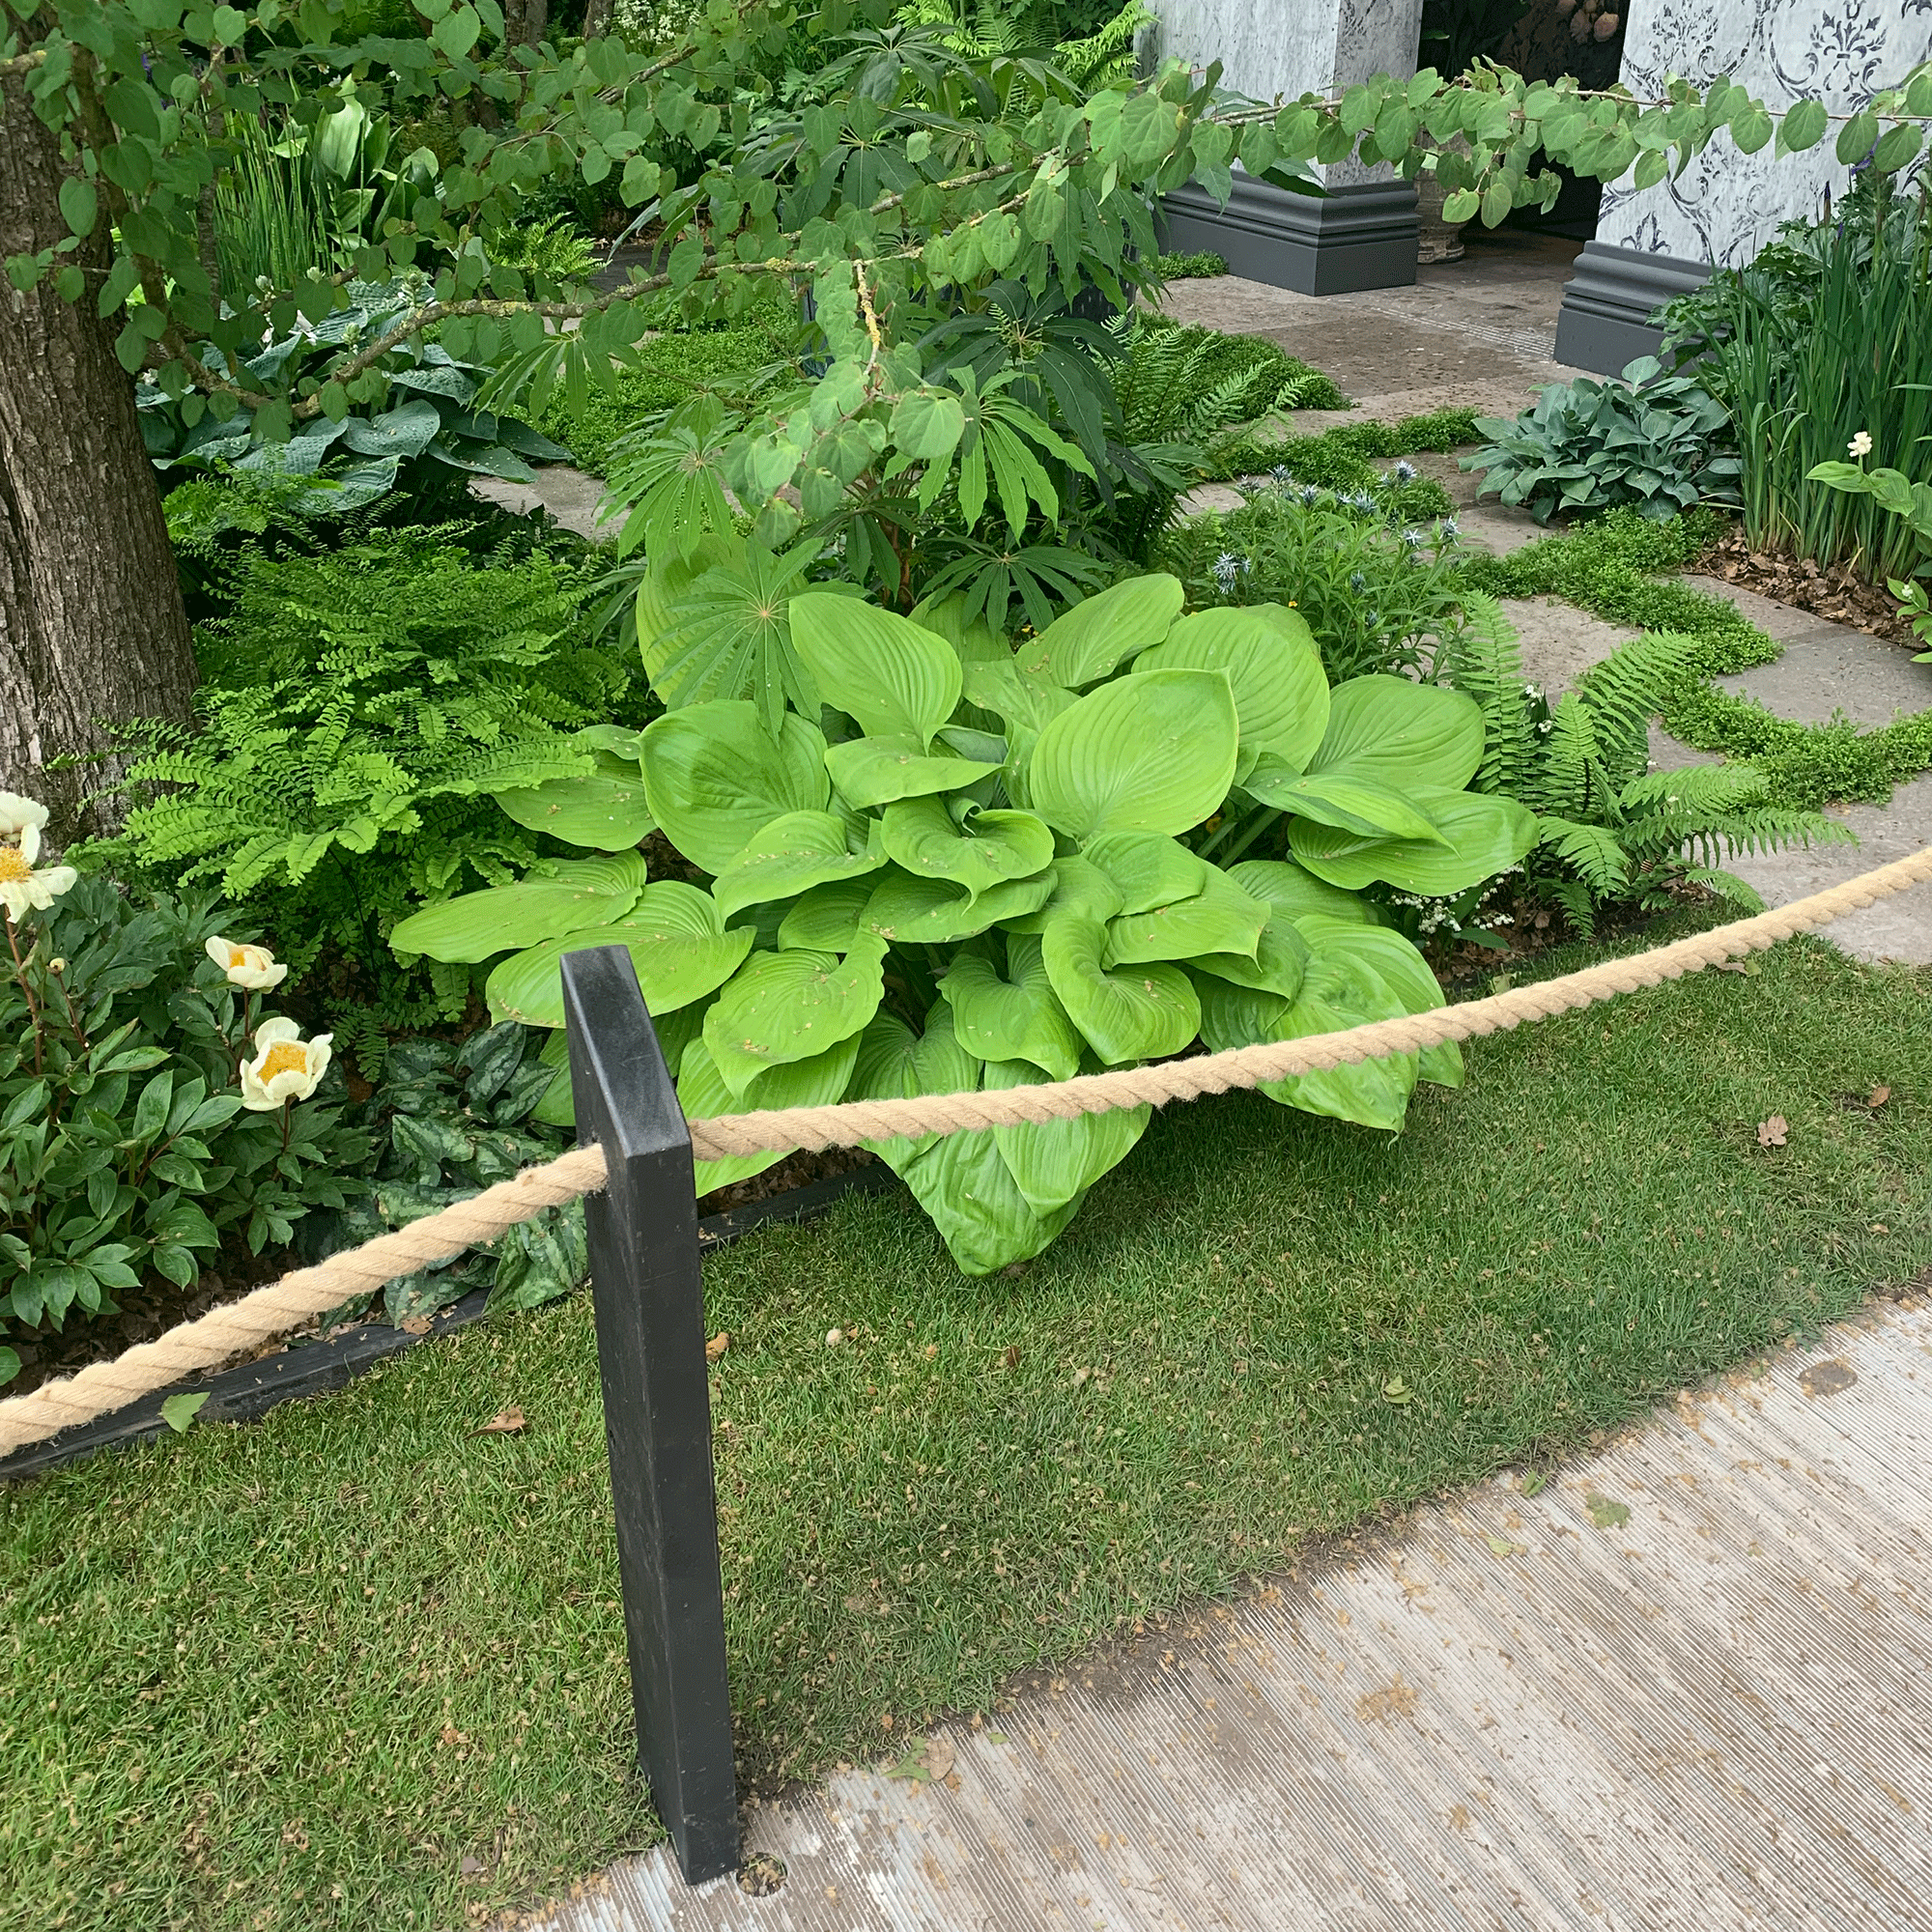
And while this step may seem daunting, it’s incredibly easy. Morris says, ‘Using a sharp knife, cut the plant through the roots, ensuring you have at least three or more buds ideally (fewer buds simply means smaller plant to begin with). There is not much you can do wrong, so don’t be scared!’
5. Soak the divisions
By now, you should know that hostas love shaded, moist environments - which is why they’re such a great option for north-facing gardens. Because of this, it’s worth taking a moment to soak the divisions before re-planting them.
Morris says you can either ‘water the roots or put them in a bucket of water for a few minutes.’ It’s up to you which one you choose, so do this and then pop the kettle on while you wait.
6. Plant them in their new spot
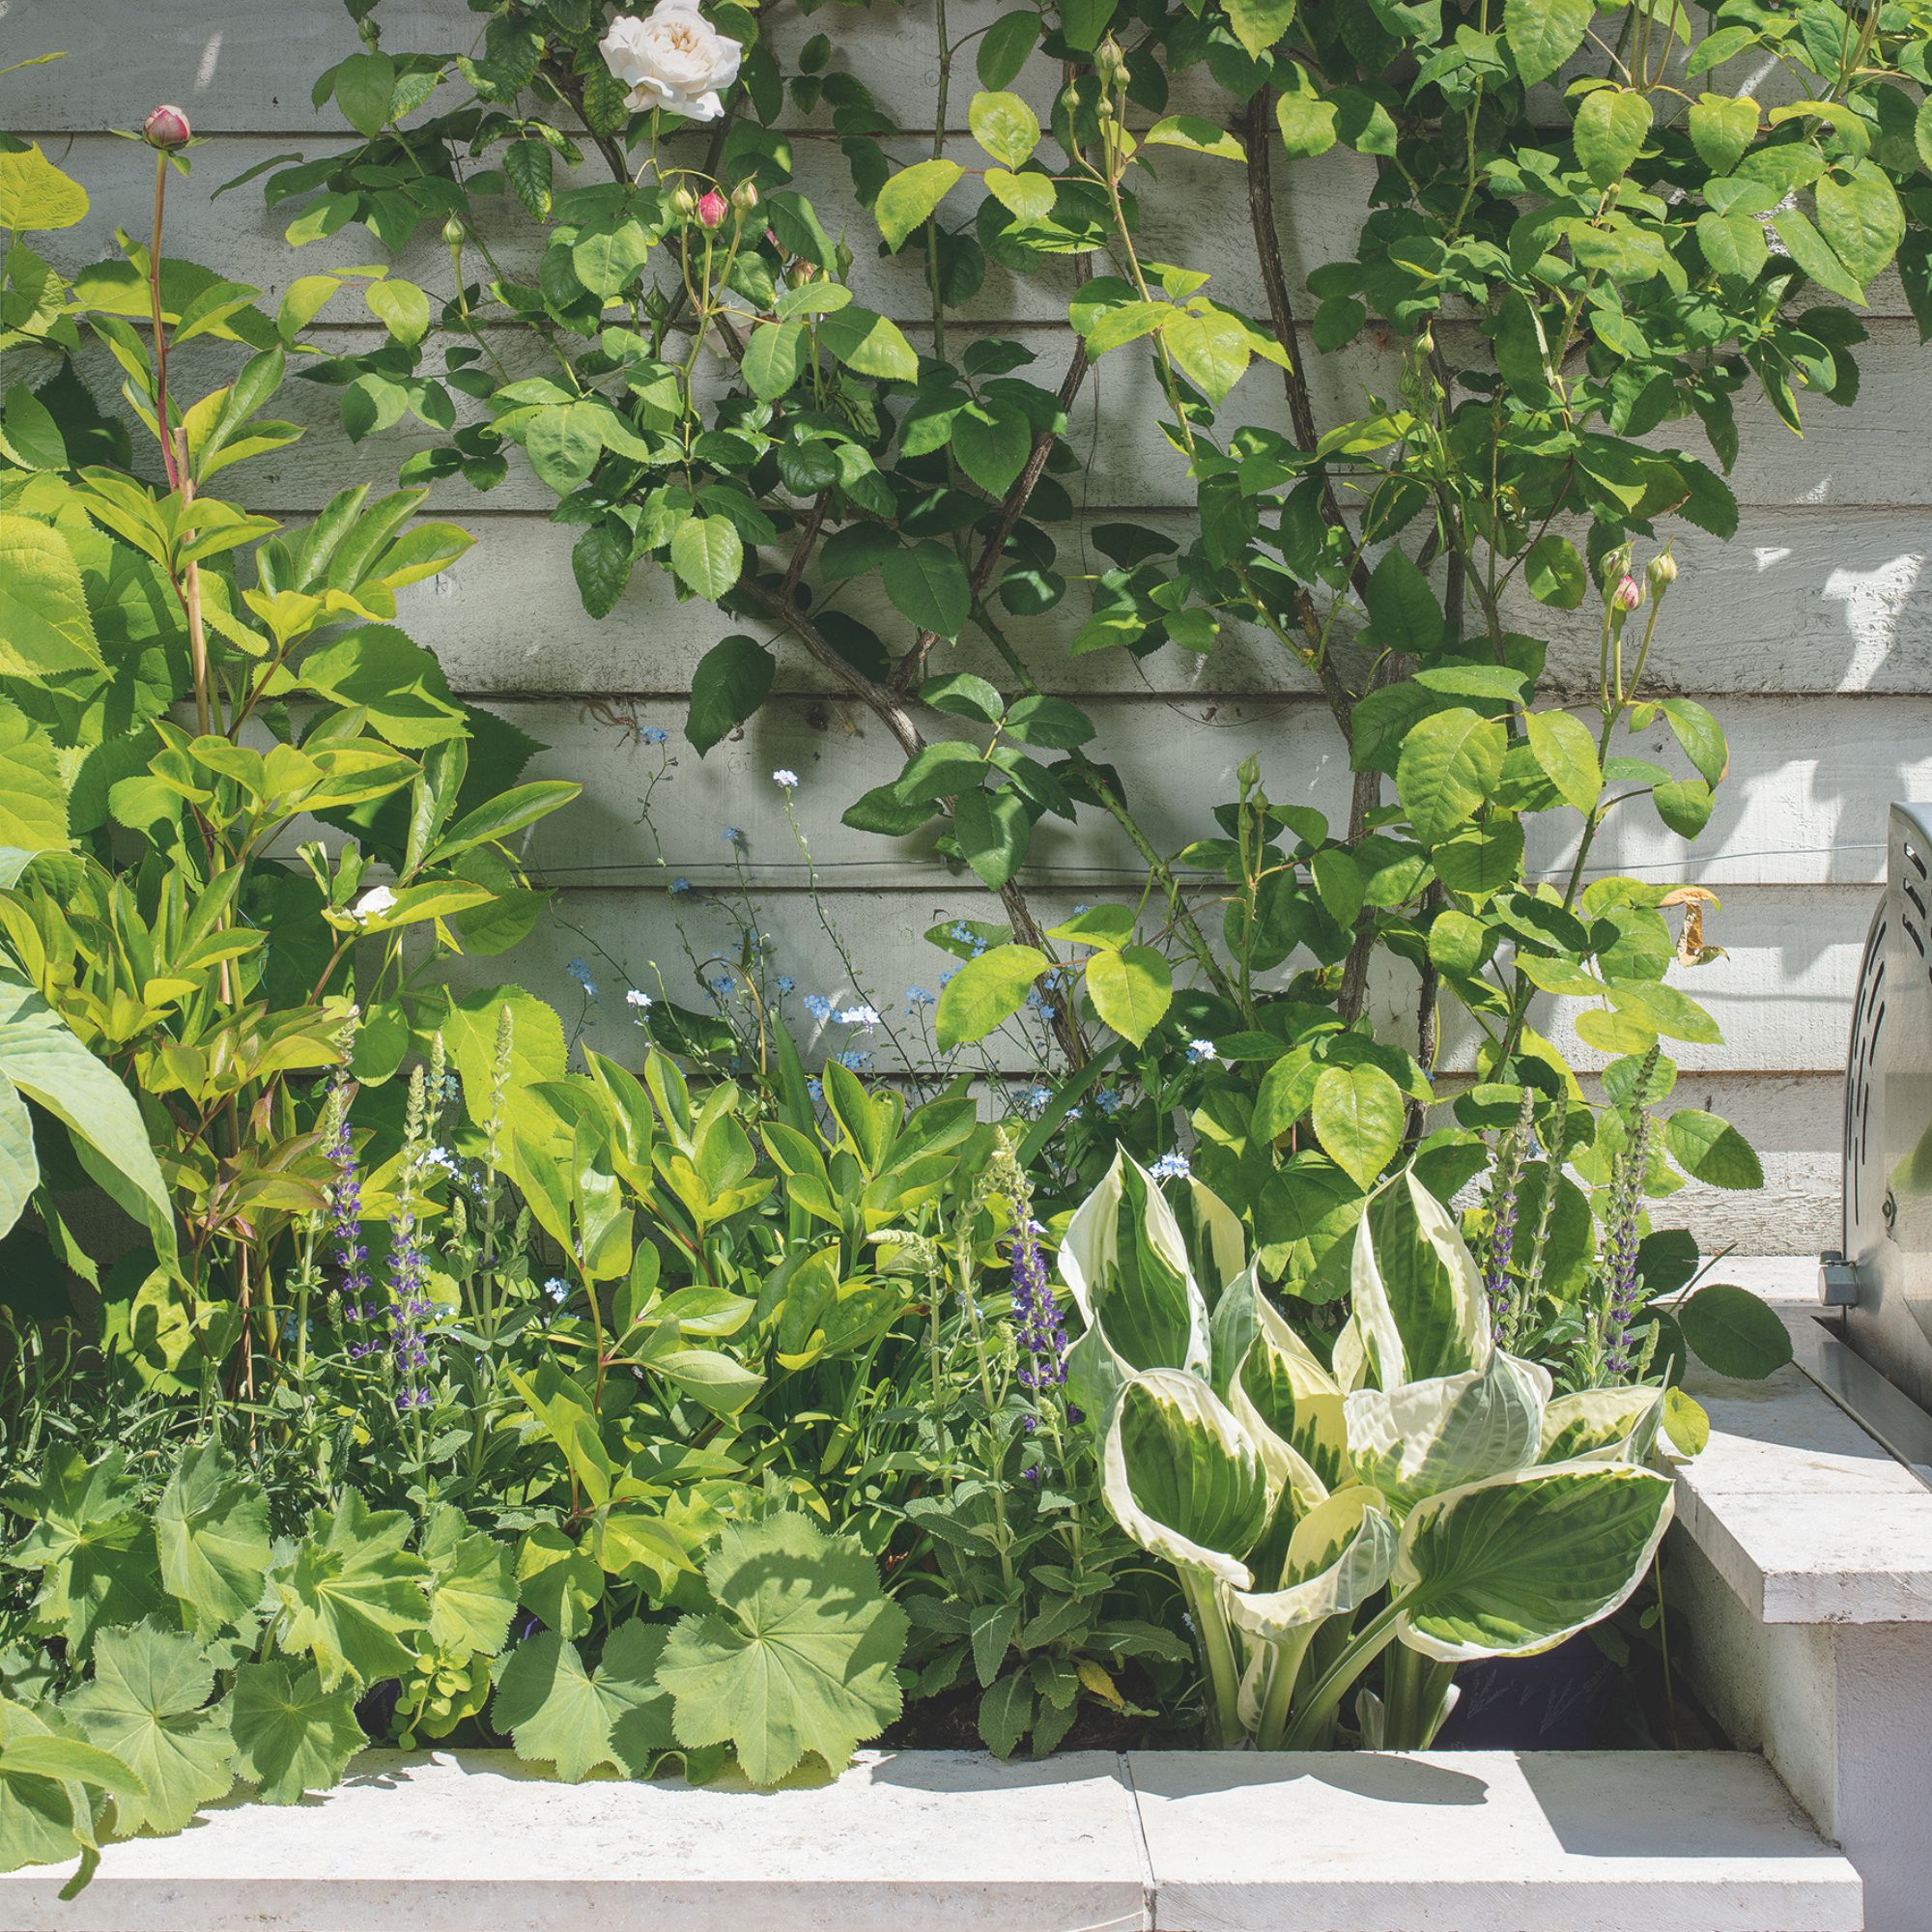
When you have your newly-soaked divisions, you need to decide where you want to replant them. Aim for a shady spot with a little bit of sunlight, and plant them in an area where they can spread their roots.
Then, dig their new holes, plant the division, and backfill with soil. When you’ve done that, Morris advises that you ‘water in and mulch’ to give them their best start in life.
Of course, you can also re-plant your mature plant during this stage. And remember that if you choose to do this task in spring, you’ll have to keep watering your newly planted hostas over the next few weeks and months. If you choose to do it in autumn, you can probably leave them to their own devices.
FAQs
What happens if you don't divide hostas?
If you don’t divide hostas, there’s a chance that the whole plant will die. That’s because hostas grow quickly and must be divided to prevent overcrowding. If they do become overcrowded, the clumps won’t be able to absorb enough water or nutrients to survive.
Generally, you should aim to divide hostas at least once every five years to prevent this overcrowding, but you can also divide them once every year to really get the most out of them.
How long do hostas live?
Hostas are extremely hardy and can generally tolerate anything that comes their way. In fact, some hostas can live for around 30 years with very little human input.
To ensure they last as long as possible, though, you need to divide them every few years and keep them in a shaded location.
And while hosta leaves will normally fall off naturally, it’s a good idea to tidy them up every year in the autumn to keep them looking their best and allow them to focus their energy on future growth.

Lauren Bradbury has been the Content Editor for the House Manual section since January 2025 but worked with the team as a freelancer for a year and a half before that. She graduated with a Bachelor’s degree in English and Creative Writing from the University of Chichester in 2016. Then, she dipped her toe into the world of content writing, primarily focusing on home content. After years of agency work, she decided to take the plunge and become a full-time freelancer for online publications, including Real Homes and Ideal Home, before taking on this permanent role. Now, she spends her days searching for the best decluttering and cleaning hacks and creating handy how-to guides for homeowners and renters alike, as well as testing vacuums as part of her role as the Ideal Home Certified Expert in Training on Vacuums, having spent over 110 hours testing different vacuum models to date!
