How to paint decking – step-by-step to help you get that seamless finish
Here's the best way to paint your garden decking and give it a new lease of life


Katie Sims
Spring is just around the corner, and now is the perfect time to refresh our garden decking and what better way to do that than with a new lick of paint. Whether you want to switch up your decking's colour or just make it look a whole lot newer, learning how to paint decking is one of the best ways to prepare your garden for summer.
There are plenty of decking ideas that elevate your garden experience, but it's important to maintain them so that your decking always looks fresh. Aside from knowing the best ways to clean decking, learning how to paint decking is the best thing you can do to keep your deck in tip-top condition.
But before you go and grab your paintbrush, there are a few things to be mindful of when it comes to painting the decking. Our step-by-step guide will make sure you do a thorough job and end up with beautifully painted decking for many years to come.

How to paint decking
Packed full of advice from the experts, our guide will show you how to paint decking so that it looks like you hired a professional rather than chose the DIY route. First, you'll need a few tools and supplies, then you can crack on with learning how to paint decking.
What you'll need
- Stiff bristled broom
- Decking cleaner
- Bucket
- Pressure washer/garden hose, (Karcher have some of our favourite pressure washers)
- Filler/screws
- Screwdriver
- Sanding belt or multi-tool
- Primer (optional)
- Masking tape
- Decking paint, B&Q has a great range
- Decking paintbrush
Step-by-Step
1. Clear away dirty and debris
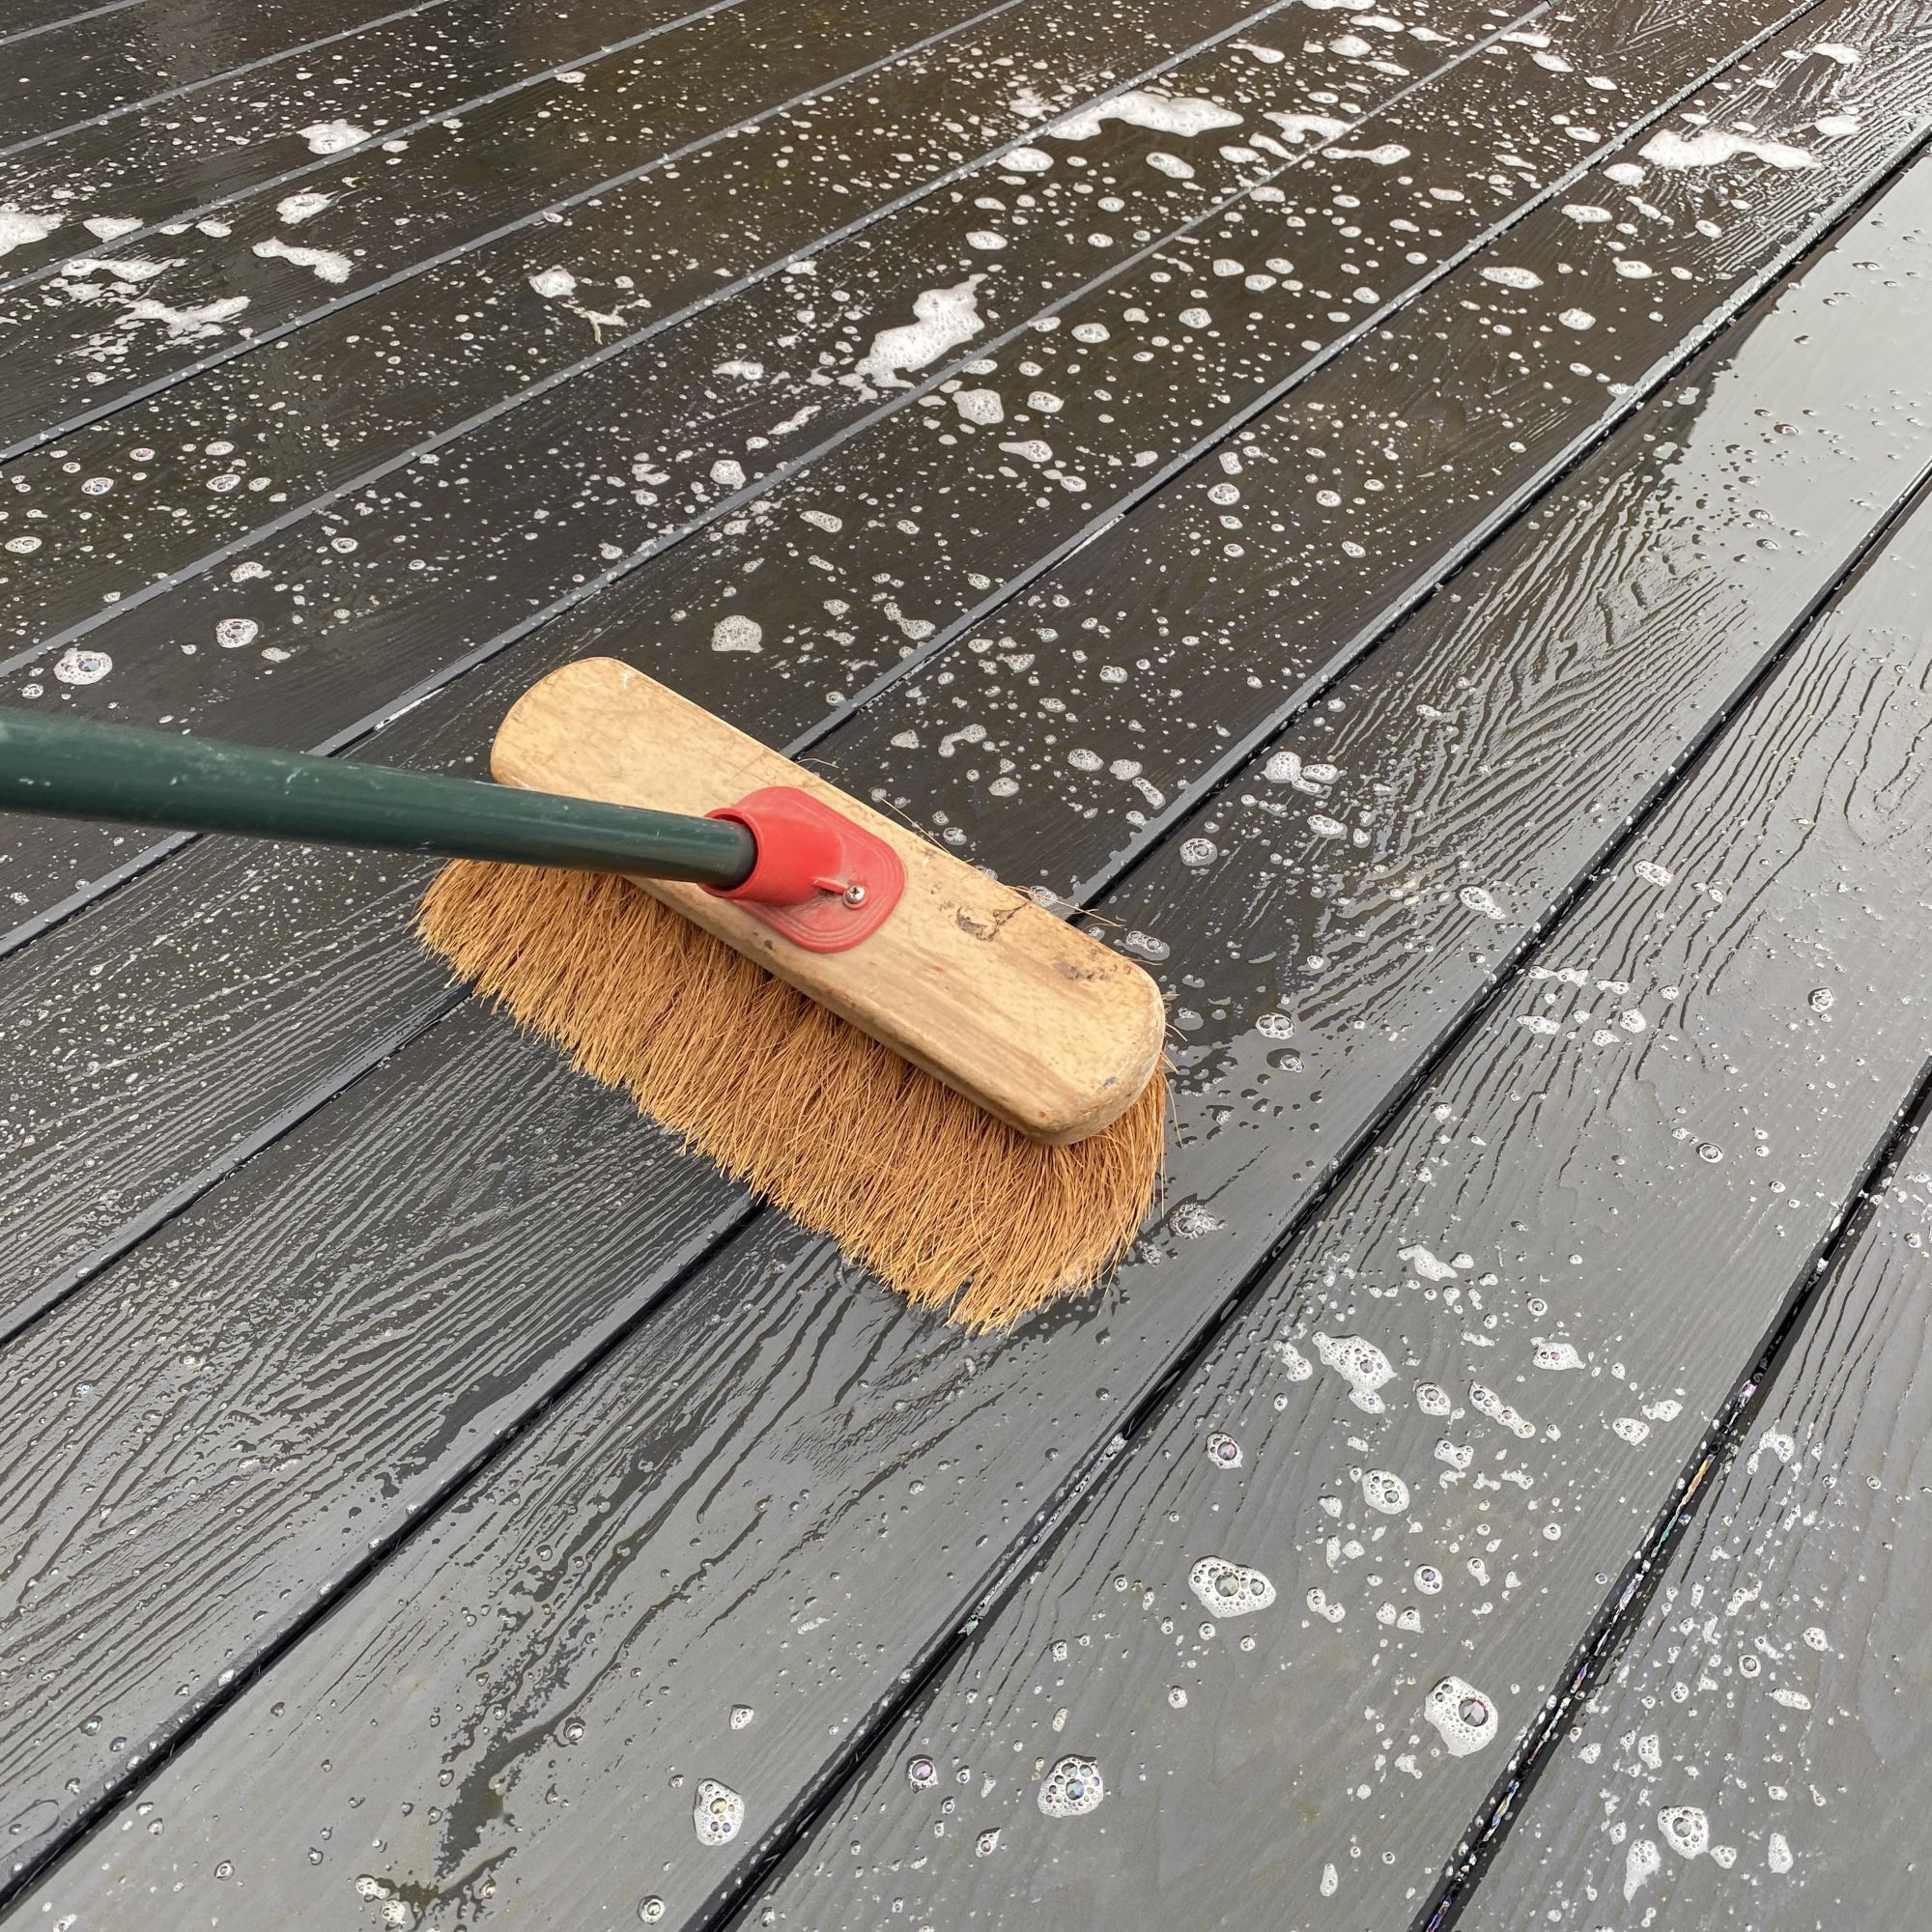
Before you get stuck in with how to paint decking, it's important to get the deck in best condition possible first. Check the weather forecast to make sure no rain is due over the next few days, then remove any furniture or plant pots so you have a clear space to work on.
Using a stiff bristled broom, sweep over the decking and clear away any dried leaves and debris, making sure you get into all the grooves. Once clear, use a decking cleaner to remove any leftover mould, algae and dirt, followed by a pressure washer or hose to carefully wash everything away. Wait until it's completely dry before moving on to the next step.
2. Make any repairs
Once clean and dry, go over your decking and check for any loose screws, broken boards or areas that may need filling. Make any repairs that are needed and once you're happy that everything is in good condition, it's time to prep and prime the surface ready for the paint.
3. Prep the surface
So that the decking is in optimal condition to receive the new paint, we recommend removing the old paint first with a paint stripper, such as the Ronseal Decking Stripper, before sanding the surface.
'Sanding your decking will give the paint a textured surface to stick to,' says Glen Peskett, Owner, Saxton Blades. 'I would recommend a belt sander for a large amount of wood but a multi-tool can be used for smaller decking if you don't have access to a belt sander. Multi-tools can be fitted with sanders or a range of blades so they can be a cost-effective DIY tool that saves you buying each individual tool.'
Always wear goggles and gloves if you are sanding the decking. After sanding, apply a primer before the paint - some decking cleaning solutions act as a primer as well, such as the Ronseal Decking Cleaner and Reviver, which will help the paint stick better.
Remember to read the manufacturer's instructions before applying any primer or cleaning solution to your decking for the best results.

If your decking is new, there's no need to paint the decking. 'Priming your deck before painting can help the paint adhere better to the surface, provide better coverage, and increase its durability,' explains Leo Watts, Head of Content, CNCSourced.
'However, if your deck has been painted before, you can skip the primer and go straight to painting. Priming is essential if the wood is new or if you are painting over oil-based paint with water-based paint.'
4. Paint your decking
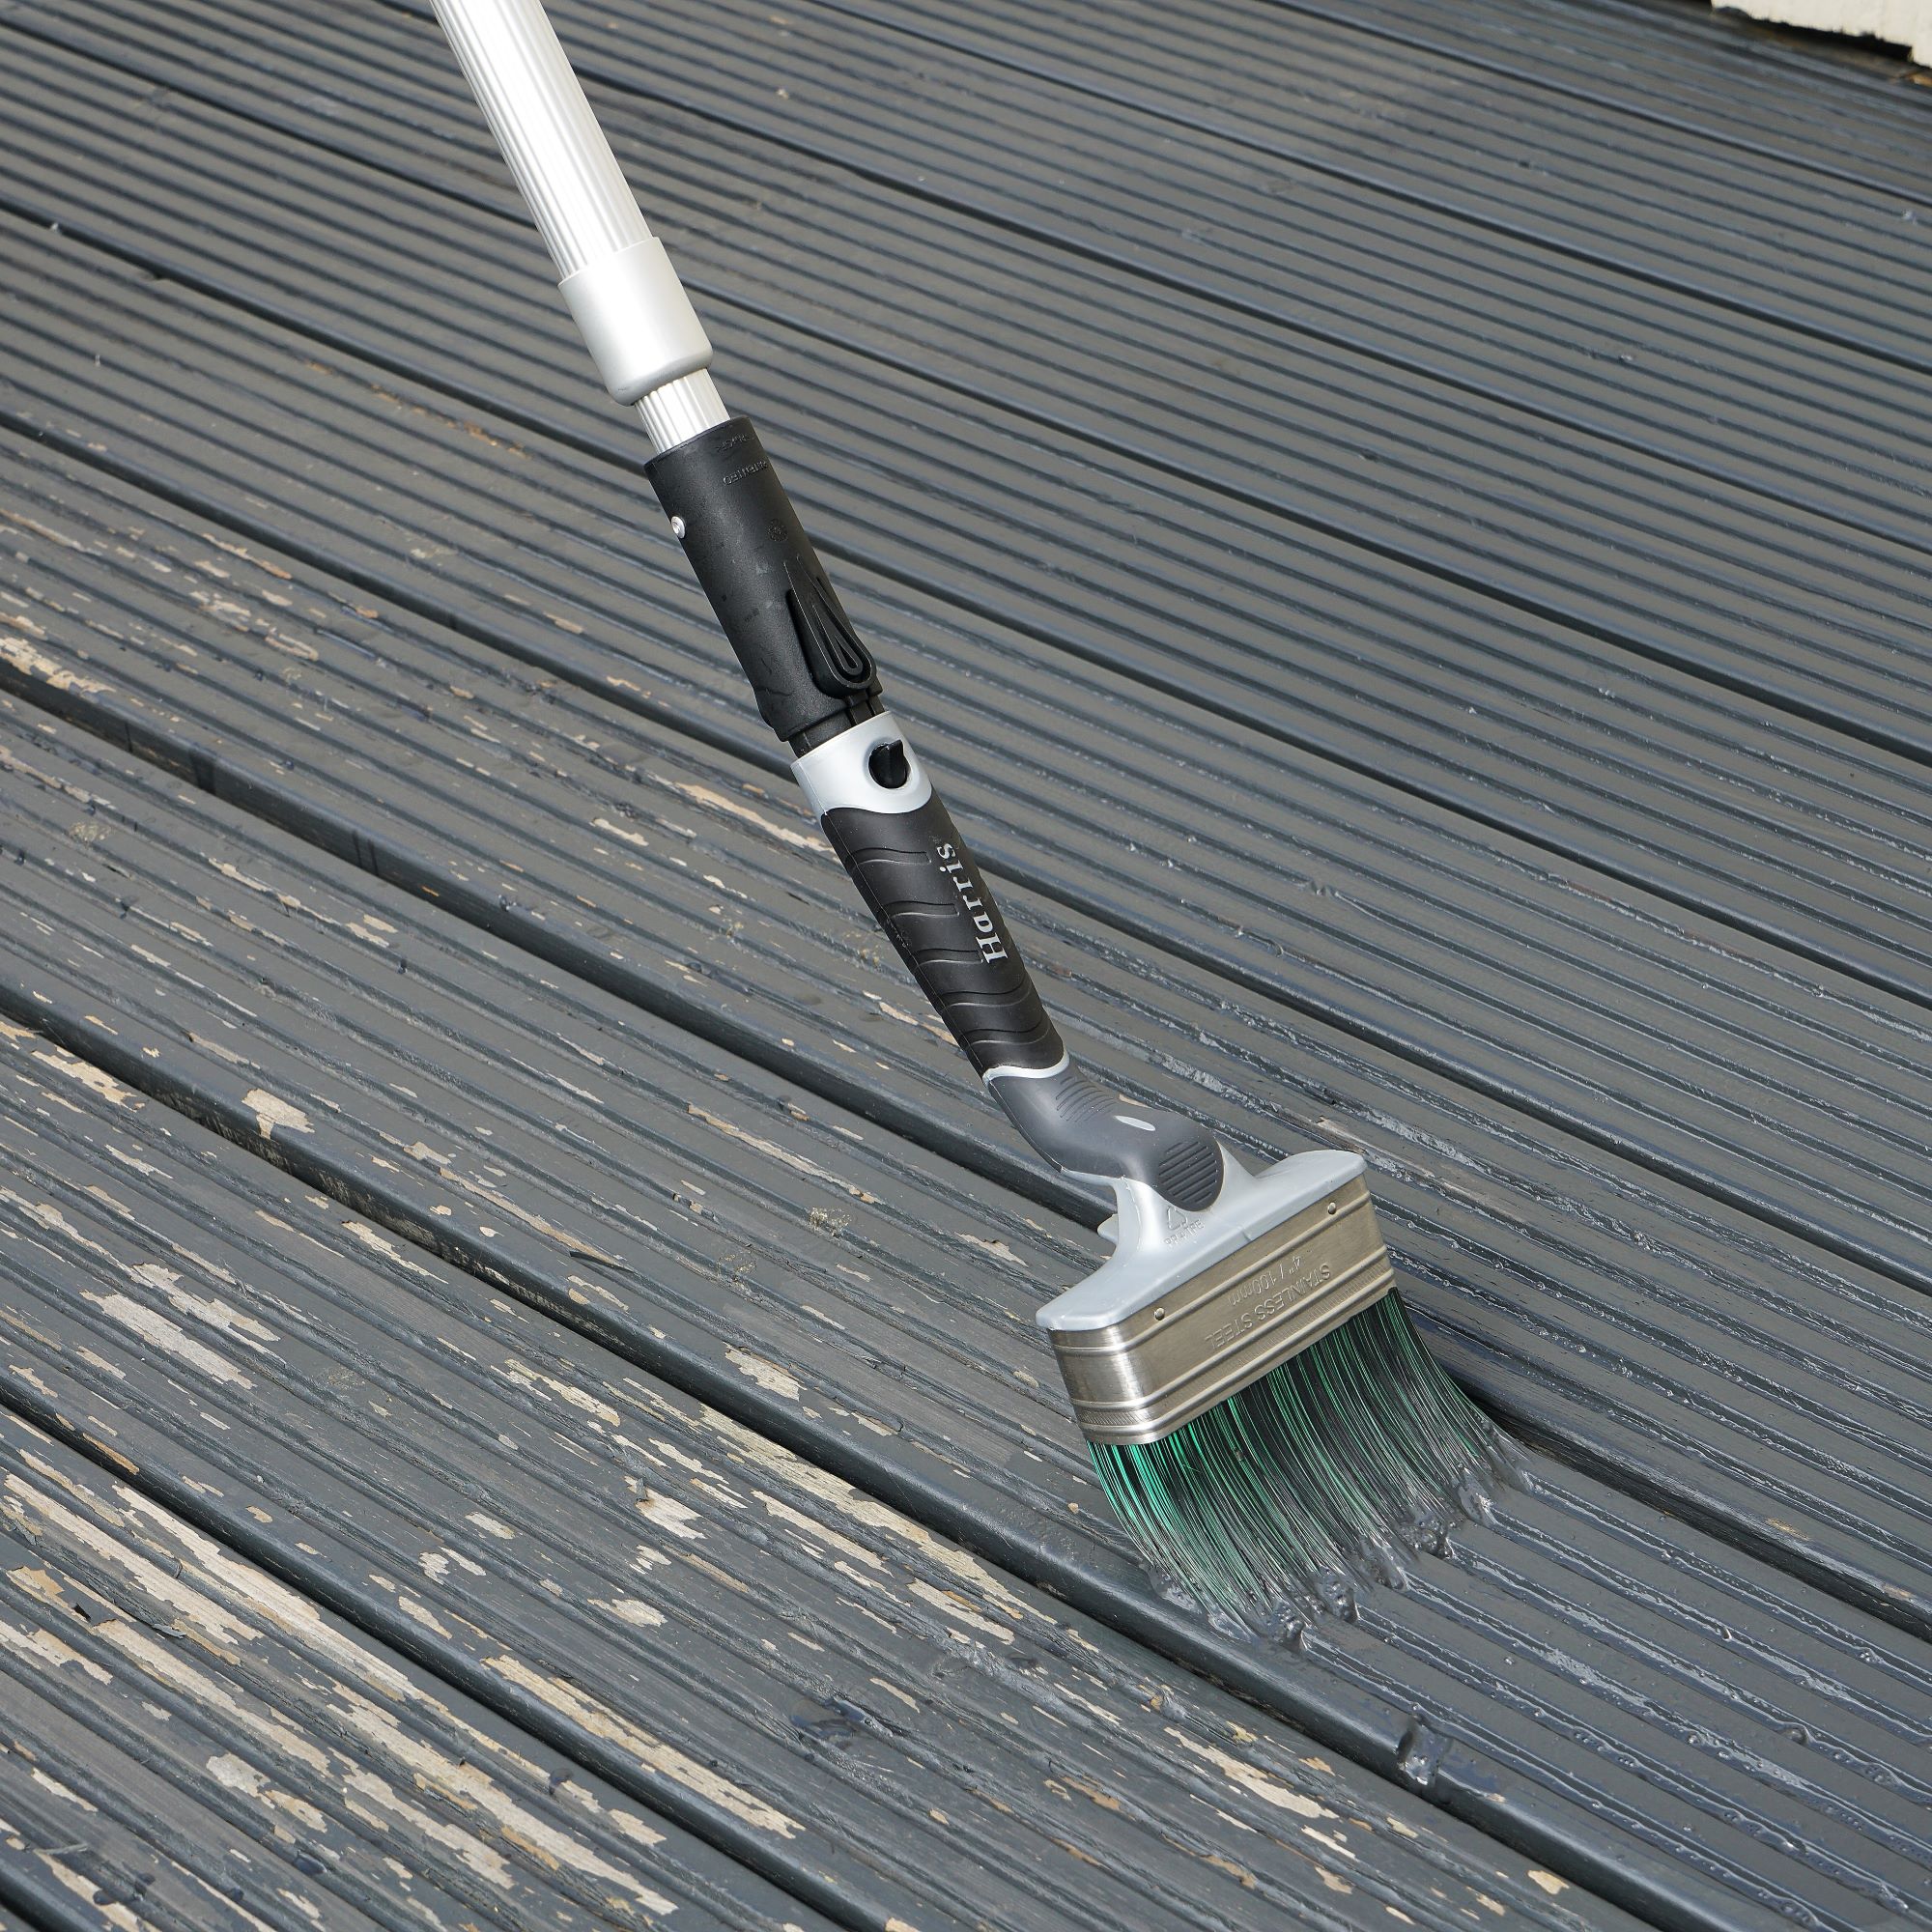
The prep is done so it's time to get cracking with how to paint decking. Use masking tape to seal off any areas that you don't want to get paint on such as the brickwork of your house or the garden fence.
Start in the area furthest away from you and work backwards so you don't have to walk on any newly painted areas. Paint in the direction of the grain using a decking brush, making sure you have an even coverage.
'Focus on three to four boards at a time to ensure you don’t get any overlap marks,' says Jimmy Englezos, Senior Product Manager, Ronseal. 'You can fill in small cracks with extra amounts of paint. Wait four hours for the first coat to dry, then apply a second coat.'
If your decking has grooves make sure they are painted properly too by going over the area several times to reach difficult areas.
5. Leave to dry

Before you put any garden furniture or plant pots back, make sure your decking is completely dry and check the surface carefully to make sure you haven't missed any spots. We recommend waiting at least 48 hours. If you're putting plant pots on your decking, make sure they are raised off the ground slightly or they have feet to prevent a build up of mould or algae underneath.
When moving furniture, don't be tempted to drag it along the surface as this may scratch the newly painted surface.
6. Keep it well maintained
Now your decking is looking like new it's important to look after it with regular maintenance so it stays in top condition. 'To keep your decking well-maintained, brush it regularly and at least once a year, do a deep-clean with your pressure washer. This will help to remove any grease or grime, which causes your deck to become slippery when wet,' says Darryl Jeffree, Paint Buying Manager, Homebase.
'Twice a year (in spring and autumn), inspect your deck for any nails that may have come loose, cracks that need filling, paint touch-ups, and for indications of rot or mould.' Understanding how to clean decking effectively will make the job a lot easier.
FAQs
Is it better to use a roller or a brush to paint decking?
Learning how to paint decking becomes much easier when you have the right equipment. According to the experts, you'll get the best results if you use a combination of a brush and a roller for the job.
'Rollers allow you to apply the paint much more efficiently, and you can achieve a much greater coverage in one application than you would with a brush,' says Joshua Evans, Painting and Decorating Expert, PriceYourJob.co.uk. 'Plus, you can fit extension poles to rollers, making the job much more comfortable and easier.'
Joshua adds, 'it's a good idea to use a brush for edges and corners, but using a roller on the larger proportions of your decking will allow you to get the job done much more quickly with the added benefit of the job being completed in a much more comfortable manner.'
'Ultimately, the most effective tool for painting your deck will depend on your personal preferences and the size and condition of your deck,' says Fiona Jenkins, Gardening Expert, MyJobQuote. 'In some cases, a combination of brushes and rollers may be the most effective option, using a brush for precise application and a roller for larger areas.'
What kind of paint do I use for decking?
There are lots of different outdoor paint ideas and it's important to make sure you choose one that will make how to paint decking as easy - and successful - as possible.
'Acrylic paint is the best option for painting a deck because it has a UV-resistant film, meaning it will require much less maintenance than other paint types,' says Joshua. 'Acrylic paint works very well on various different types of wood decking materials, and it's mildew-resistant, so this gives you one less thing to have to worry about.'
'Always choose paint for decking that has been specially designed for decking. It needs to be tough, quick drying, non-slip and offer long lasting weather protection,' says Marianne Shillingford, Creative Director, Dulux. 'Try Cuprinol Anti Slip Decking stain which comes in 12 colours. It's all of the above plus its water based too, so no horrible smell or harmful solvents for you or the environment to deal with.'
As well as looking good, painting decking also helps to protect the wood. 'Coatings protect the decking from unwanted excess moisture ingress and UV damage (when it goes grey), while retaining an even colour,' explains Matthew Brown, Technical Consultant, Sadolin and Sandtex.

How do I remove paint from decking?
When repainting decking, it's important to get the prep right to make sure you have a long lasting finish. This includes removing the old layer of paint. 'To remove paint from your decking, chemical paint stripper is the most effective method as this is less work-intense and ensures paint is removed from grooves and ridges,' says Glen, Saxton Blades.
A paint stripper will remove all the old paint from the decking, so it's worth investing in one if you want to ensure a long-lasting finish when you go to add your new paint. Alternatively, you can use a scraper tool to remove any remaining layers.
After the old paint has been removed, it's important to sand down the decking so that you can seamlessly apply a fresh layer.
'Sand down the decking in the direction of your deck boards. Keep in mind that this will only work for smooth decking boards and not grooved ones,' advises Christian Roberts, Decking Expert, MyJobQuote.
What's the best colour to paint a deck?
Today there are a multitude of colours to choose from when it comes to decking paint. The ones below are some that we think make great colour choices.
- Natural – A colour a similar shade to the wood itself will help the decking to blend in naturally to the surroundings, especially any fencing that hasn't been painted.
- Black – For an ultra modern monochrome scheme, black looks really stylish. Alternatively, team with brightly painted garden furniture so it really pops against the dark background.
- Sage green – Painting decking a shade of green helps to make it blend into the surroundings especially if you have lots of natural planting.
- Light grey/white – Channel a New England vibe with decking painted in a light shade and add lots of woven furniture and accessories for a relaxed look.
- Inky blues – They are all the rage when it comes to interiors but this soulful shade works just as well outside especially when paired with metallic accessories and lighting for a Moroccan inspired scheme.
Get the Ideal Home Newsletter
Sign up to our newsletter for style and decor inspiration, house makeovers, project advice and more.

Amy Hodge has been working on interiors magazines for over 11 years. She's a freelance writer and sub editor who has worked for some of the UK's leading interiors magazines including Ideal Home, Style at Home and Country Homes & Interiors. She started at Style at Home just after it launched as food editor and is now chief sub editor for Ideal Home, Style at Home and Country Homes & Interiors.
- Katie SimsContributor
-
 My go-to Ninja coffee machine is on sale for Easter weekend
It makes coffee shop quality achievable at home
By Molly Cleary
-
 When to plant out annual flowering plants for vibrant, colourful garden borders – and give them the best start, according to experts
Not sure when to plant out annual flowering plants? We've got you covered...
By Kayleigh Dray
-
 I'm a kitchen decor editor and didn't like this tableware trend - until I saw H&M Home's designer-look plates
They made it easy to justify a new crockery set
By Holly Cockburn