How to plant a hanging basket - an easy guide to the secrets for a beautiful floral display
Learn how to plant a hanging basket to add floral character to your garden and ensure a long life


Holly Reaney
Knowing how to plant a hanging basket is essential to having a finished product that's full of life and colour. A poorly planted hanging basket will only be a frustrating eyesore.
One of the key garden trends, hanging baskets are a great way to bring colour and personality to your garden. Whether you have a vast plot, a small front garden or just a balcony, a hanging basket is a great opportunity to bring life into your space.
Hanging baskets have a reputation for being difficult, however, they are one of best easy garden ideas – you simply need to know how to plant a hanging basket and remember to water them regularly.
What do you need for hanging baskets?
A staple of front garden ideas, hanging baskets should be full of colour and life. To ensure your basket has the best start in life, ensure you have all the essentials. You can buy these online or at your local garden centre – you may already have some to hand in your potting shed.
- Lined hanging basket (the bigger the better)
- Terracotta pot or bucket
- Scissors
- Multipurpose compost – find out where to buy compost online
- A selection of plants
- A strong wall bracket that can take the weight of the basket and its watered contents
These essentials will help you to create a stunning hanging basket that can be used for outdoor wall decor to transform an uninspiring space into one full of vibrancy.
Planting a hanging basket – a step-by-step guide
1. Prepare your basket
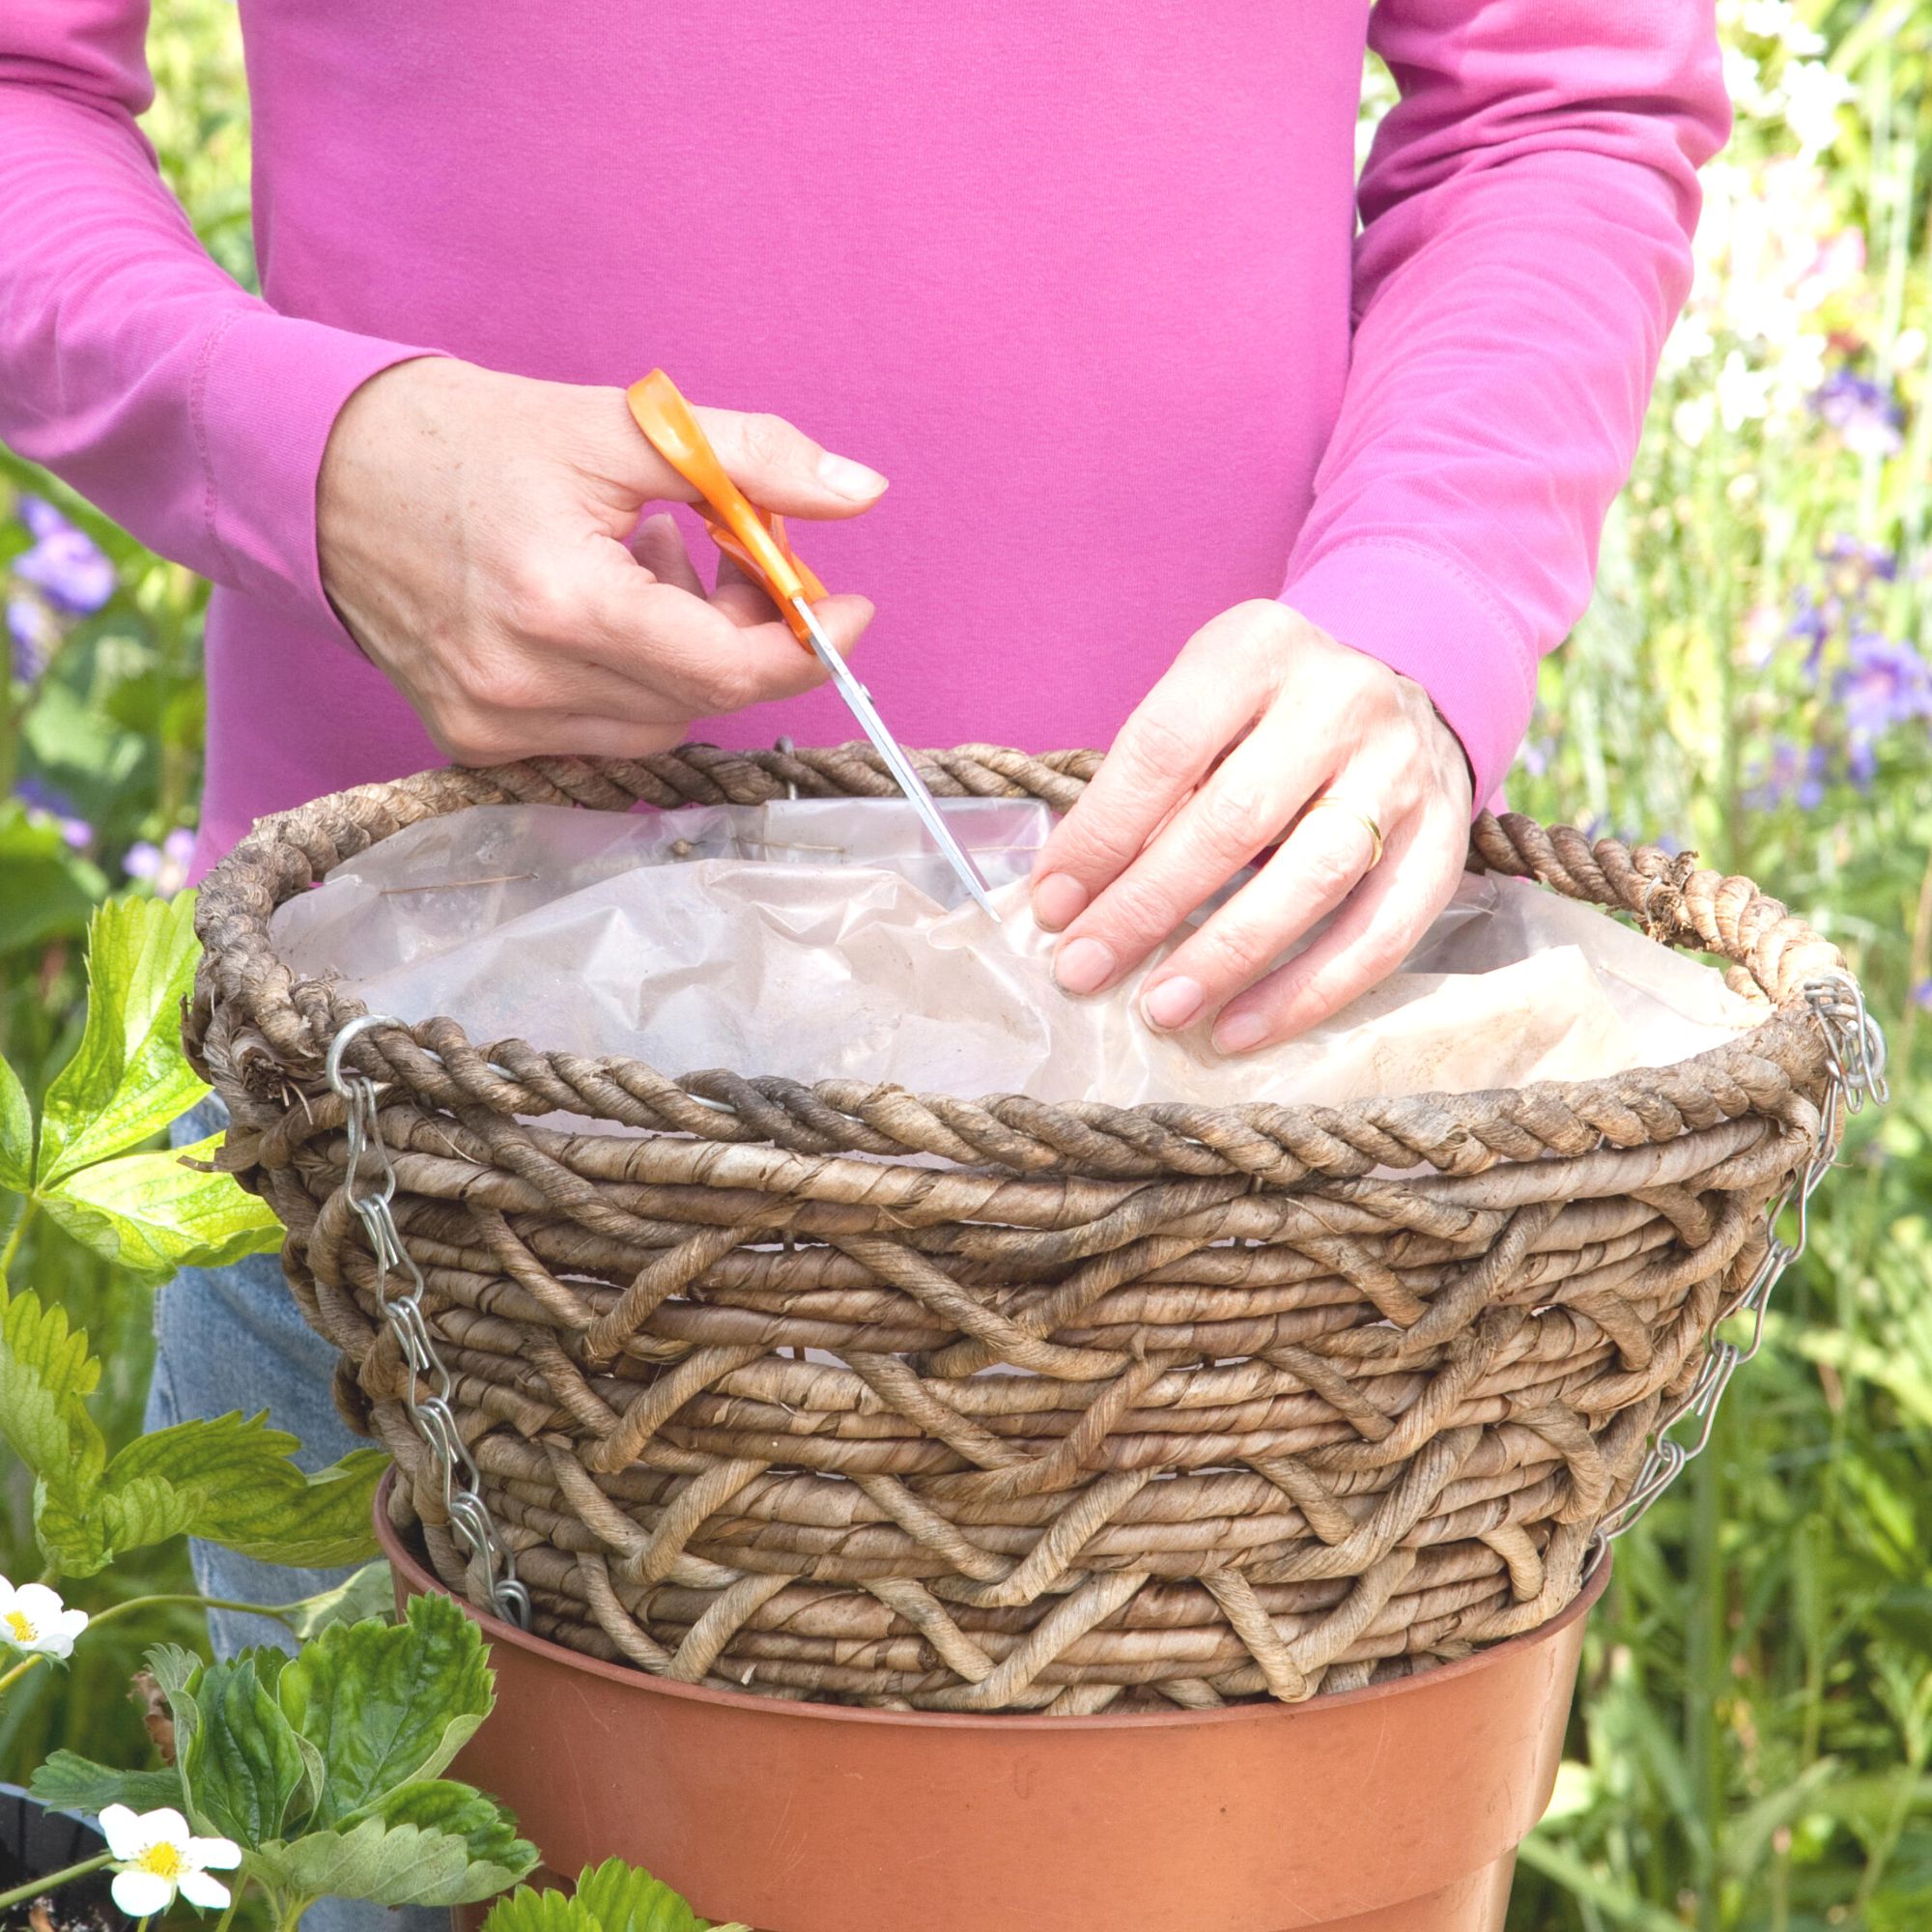
Place your basket in a terracotta pot or on a bucket to stabilise it while you work. Snip a few holes in the liner, which can be plastic, moss, coir or jute, to let water drain out. This also allows you to plant trailing plants around the sides through the liner.
2. Start with compost
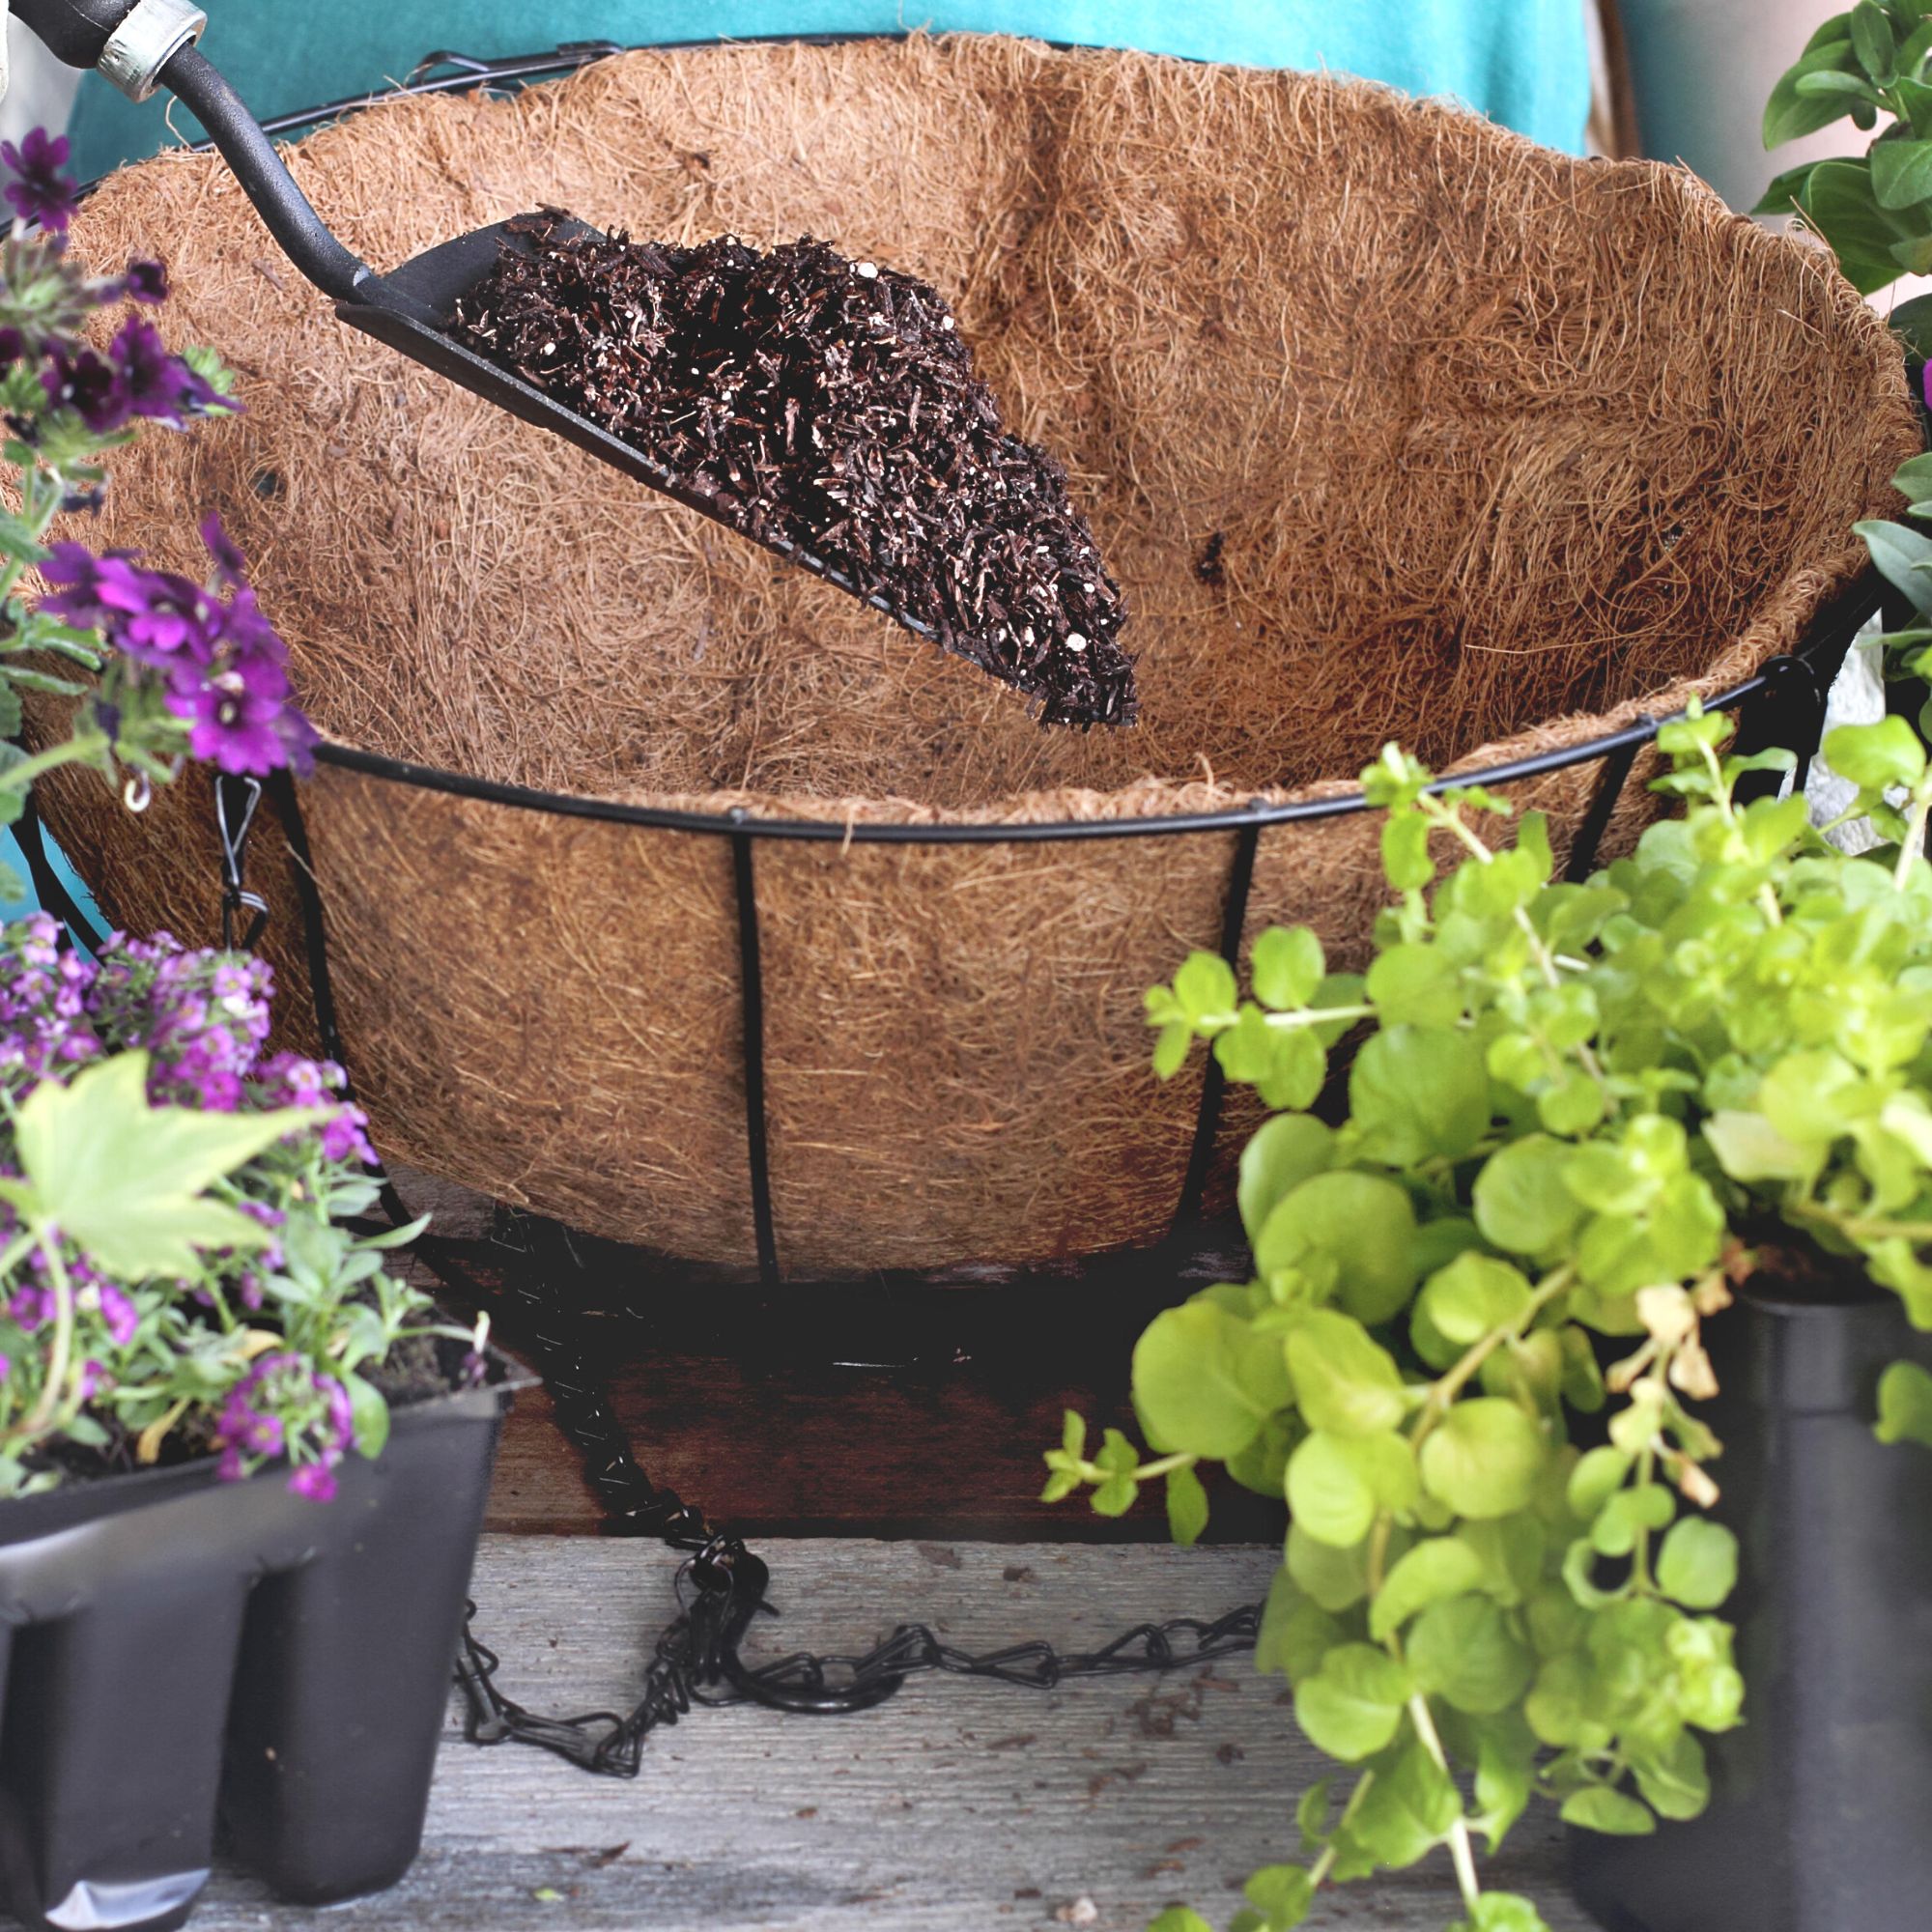
Using a trowel or flower pot, half-fill the basket with a specialist container compost – like this Miracle-Gro Peat Free Moisture Control Compost from B&Q. A container compost should have added nutrients and be adept at retaining water.
3. Add fertilizer and water-saving gel
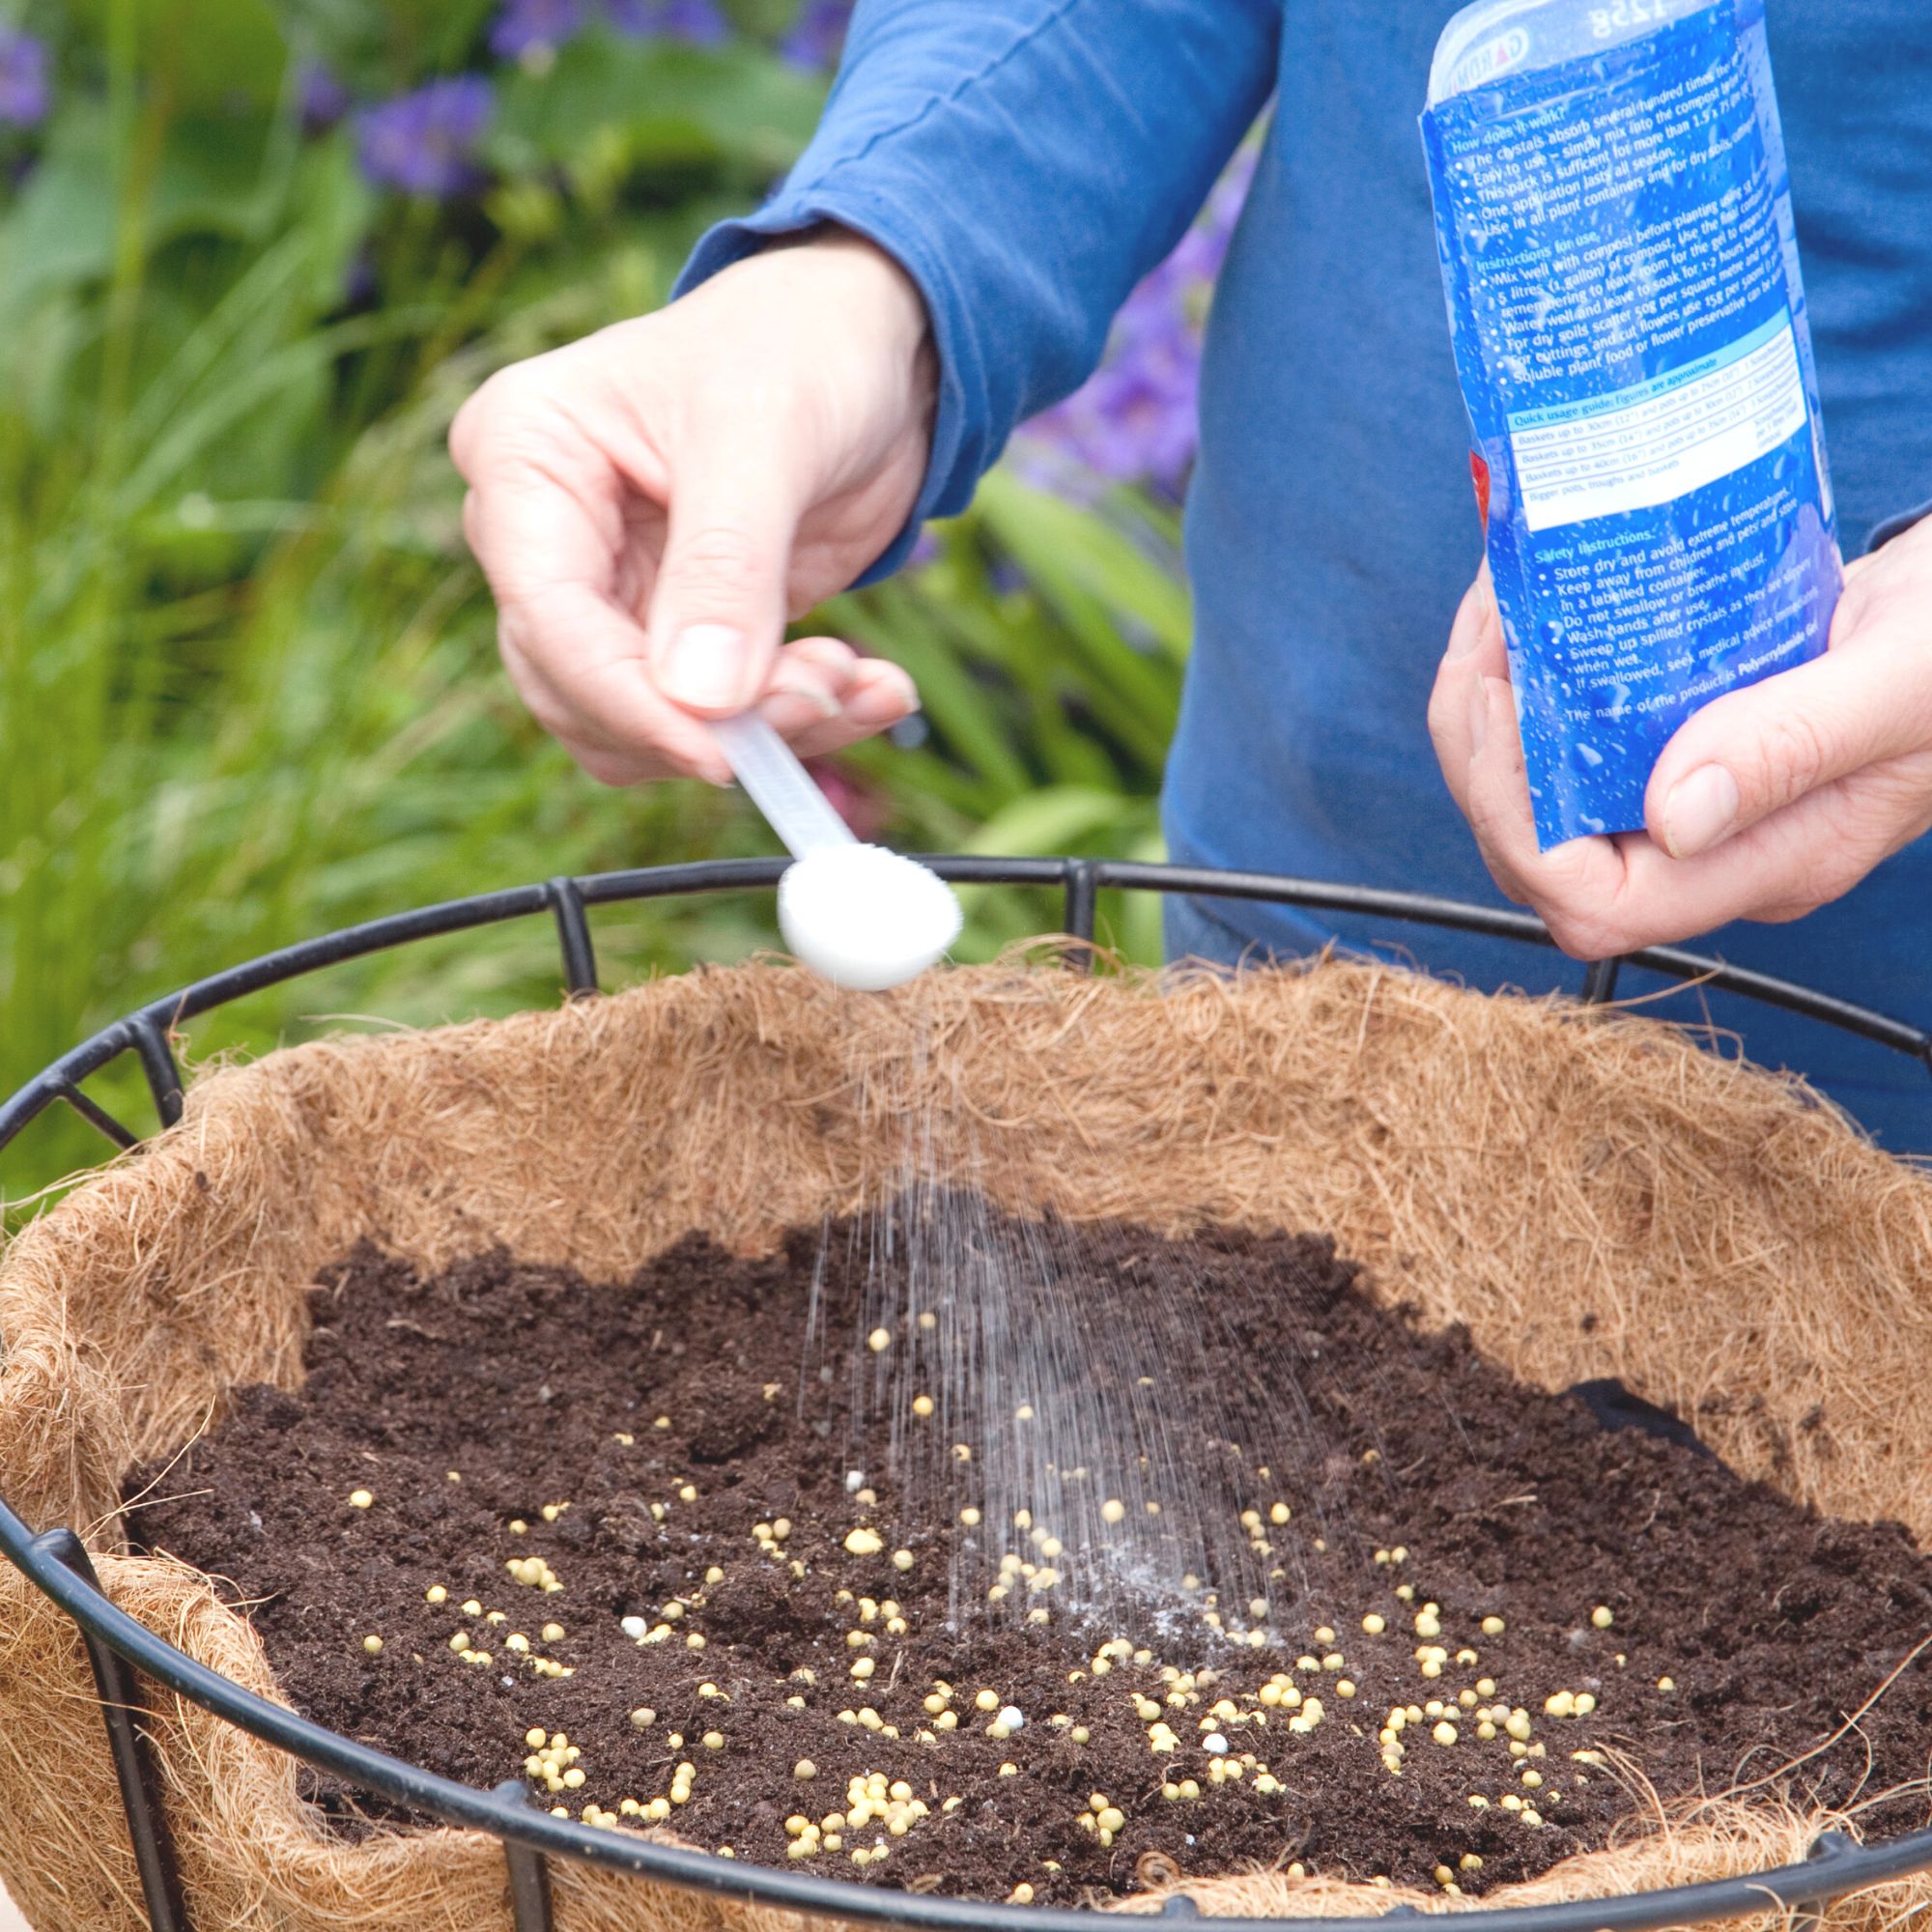
Add slow-release fertilizer to ensure that you plants have all the nutrients they need to produce stunning blooms.
You can also add a water-saving gel – such as Westland Water Saving Gel from Amazon. When watered, the gel will absorb four times its own weight in water which will then slowly release and prevent the hanging baskets from drying out.
For larger hanging baskets, Mick Lavelle, senior lecturer in horticulture at Writtle University College recommends adding a plant pot to the centre of your hanging basket. 'Nestle a small flowerpot into the centre of the basket, so that its rim is just below that of the basket, and fill the pot with shingle or gravel. This will make watering easier and help stop it splashing over the sides.
4. Get planting
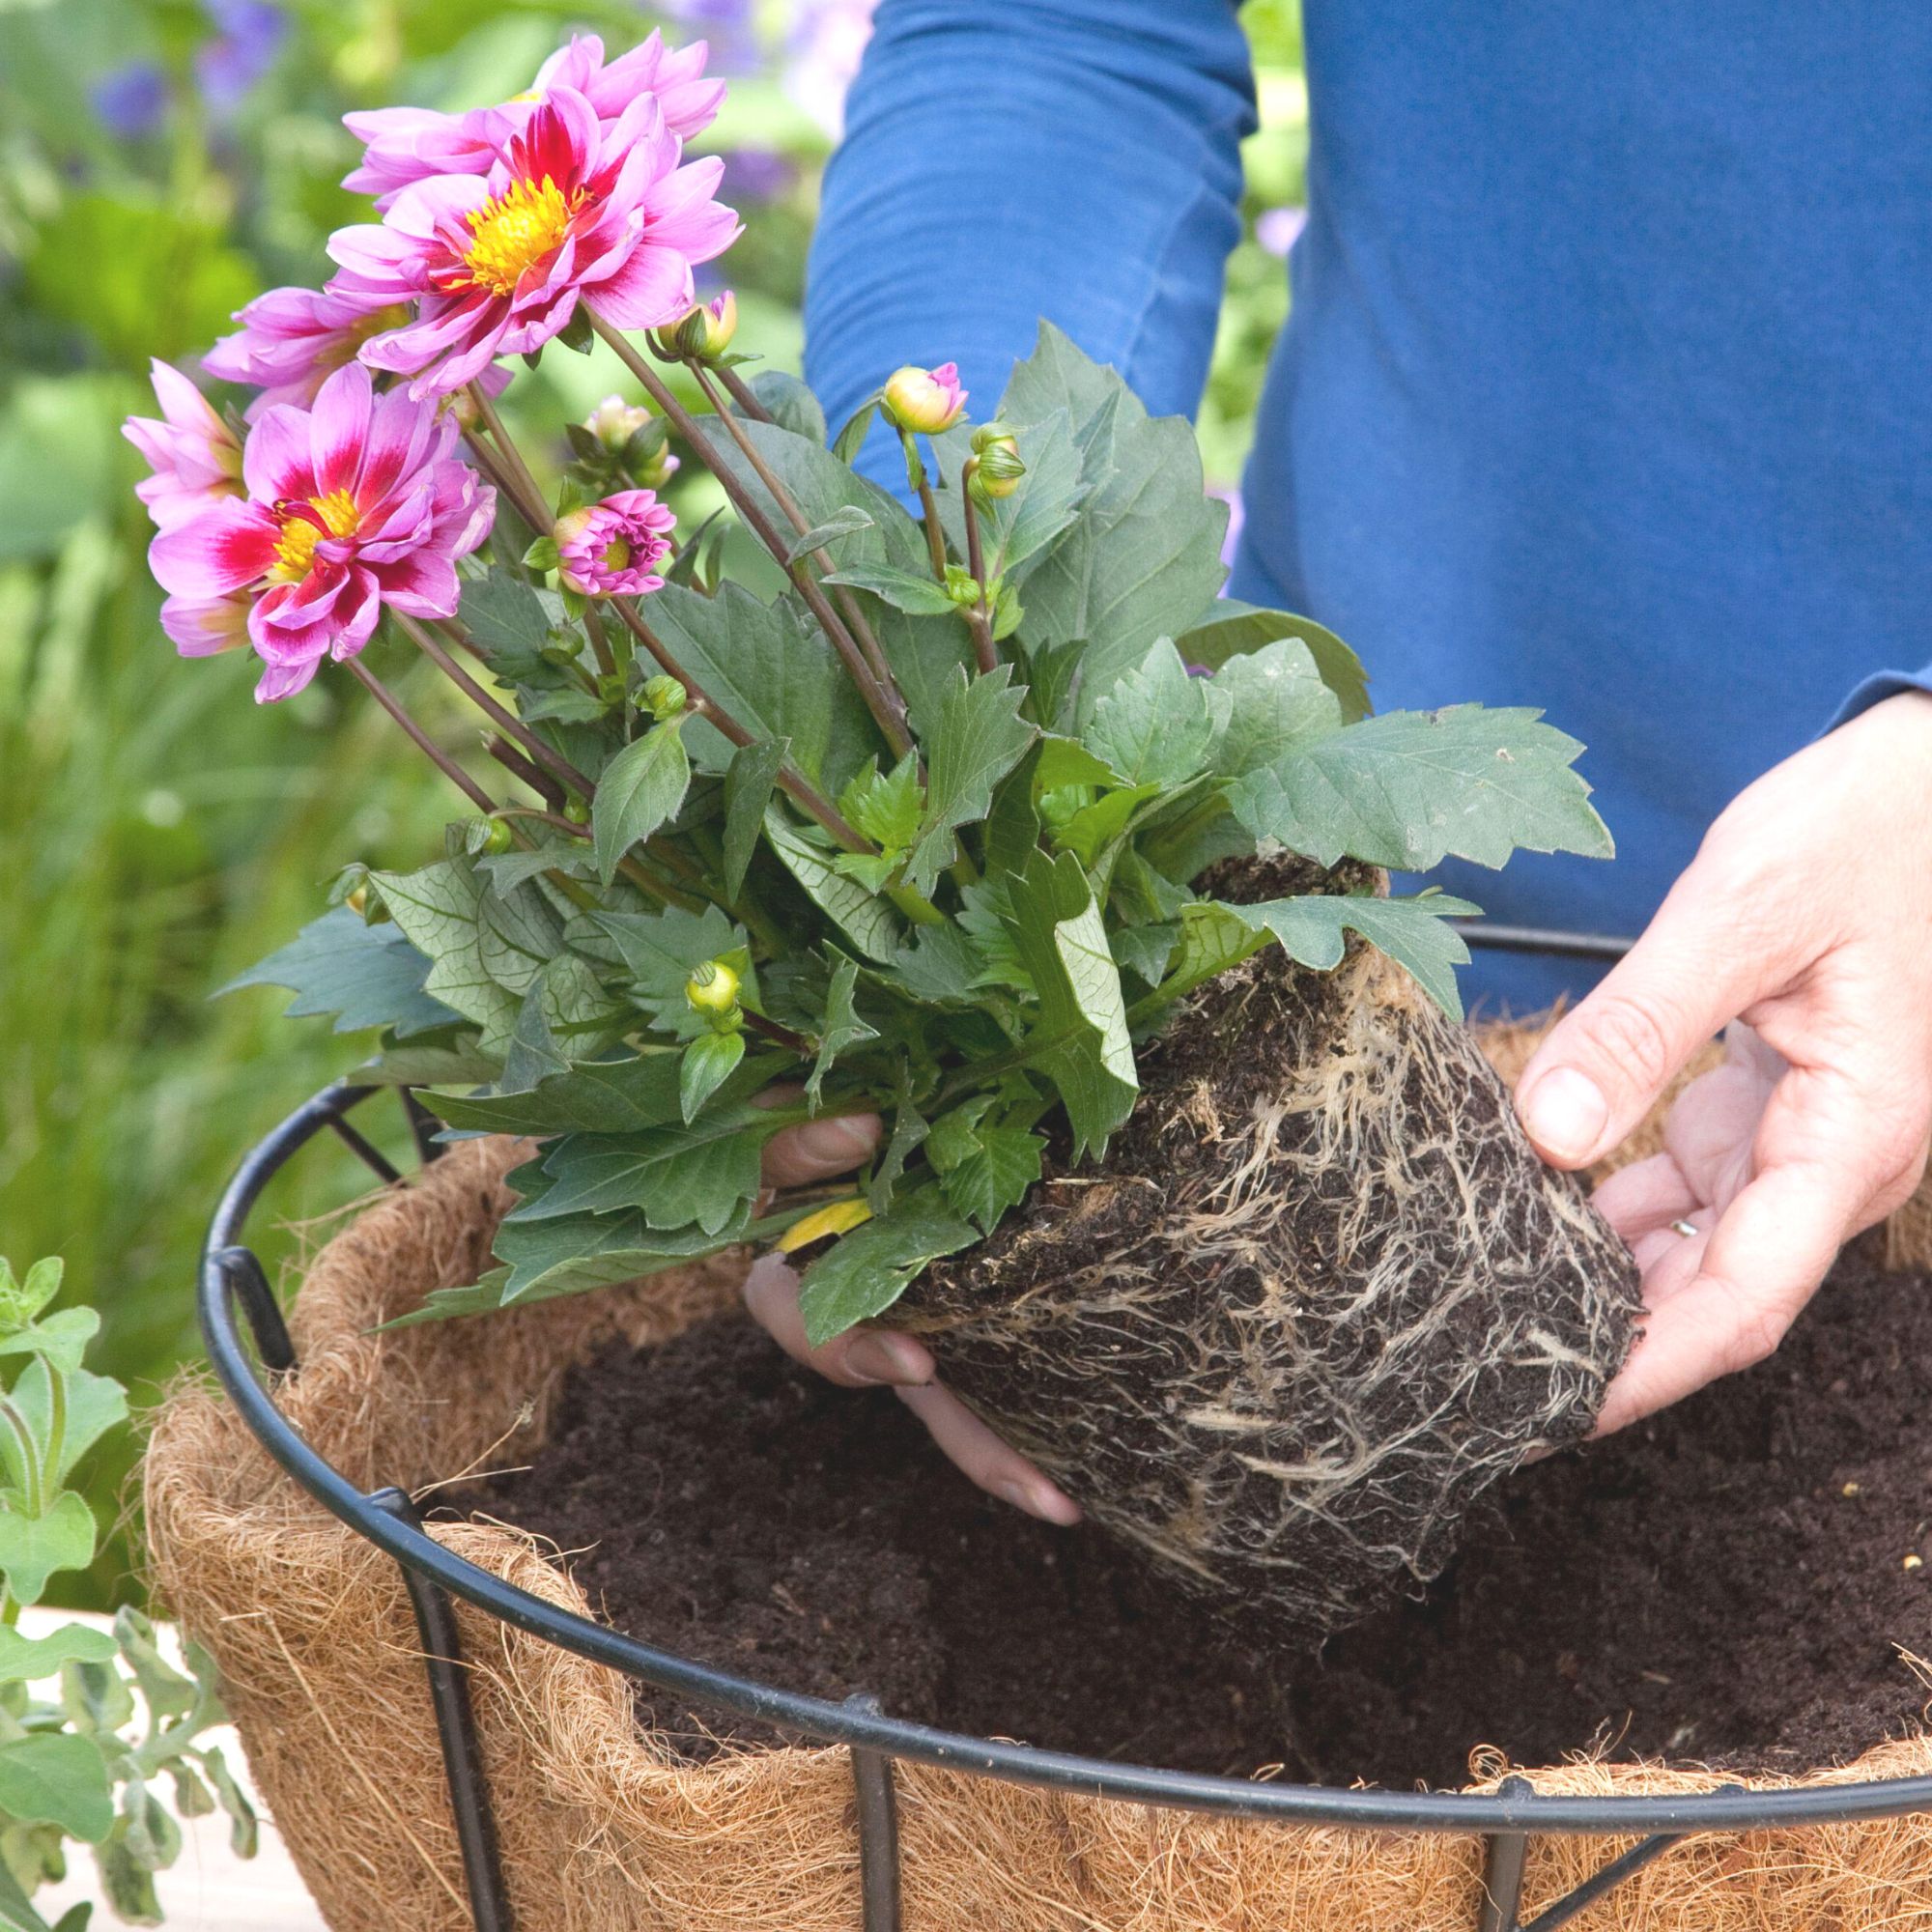
Follow the thriller/spiller/filler rule to create a dramatic display.
'Start with the largest, most dramatic plant in the centre of the basket, such as fuchsia, geranium or petite dahlia, to create structure and impact,' advises Sarah Squire from Squire’s Garden Centres.
5. Add trailing plants
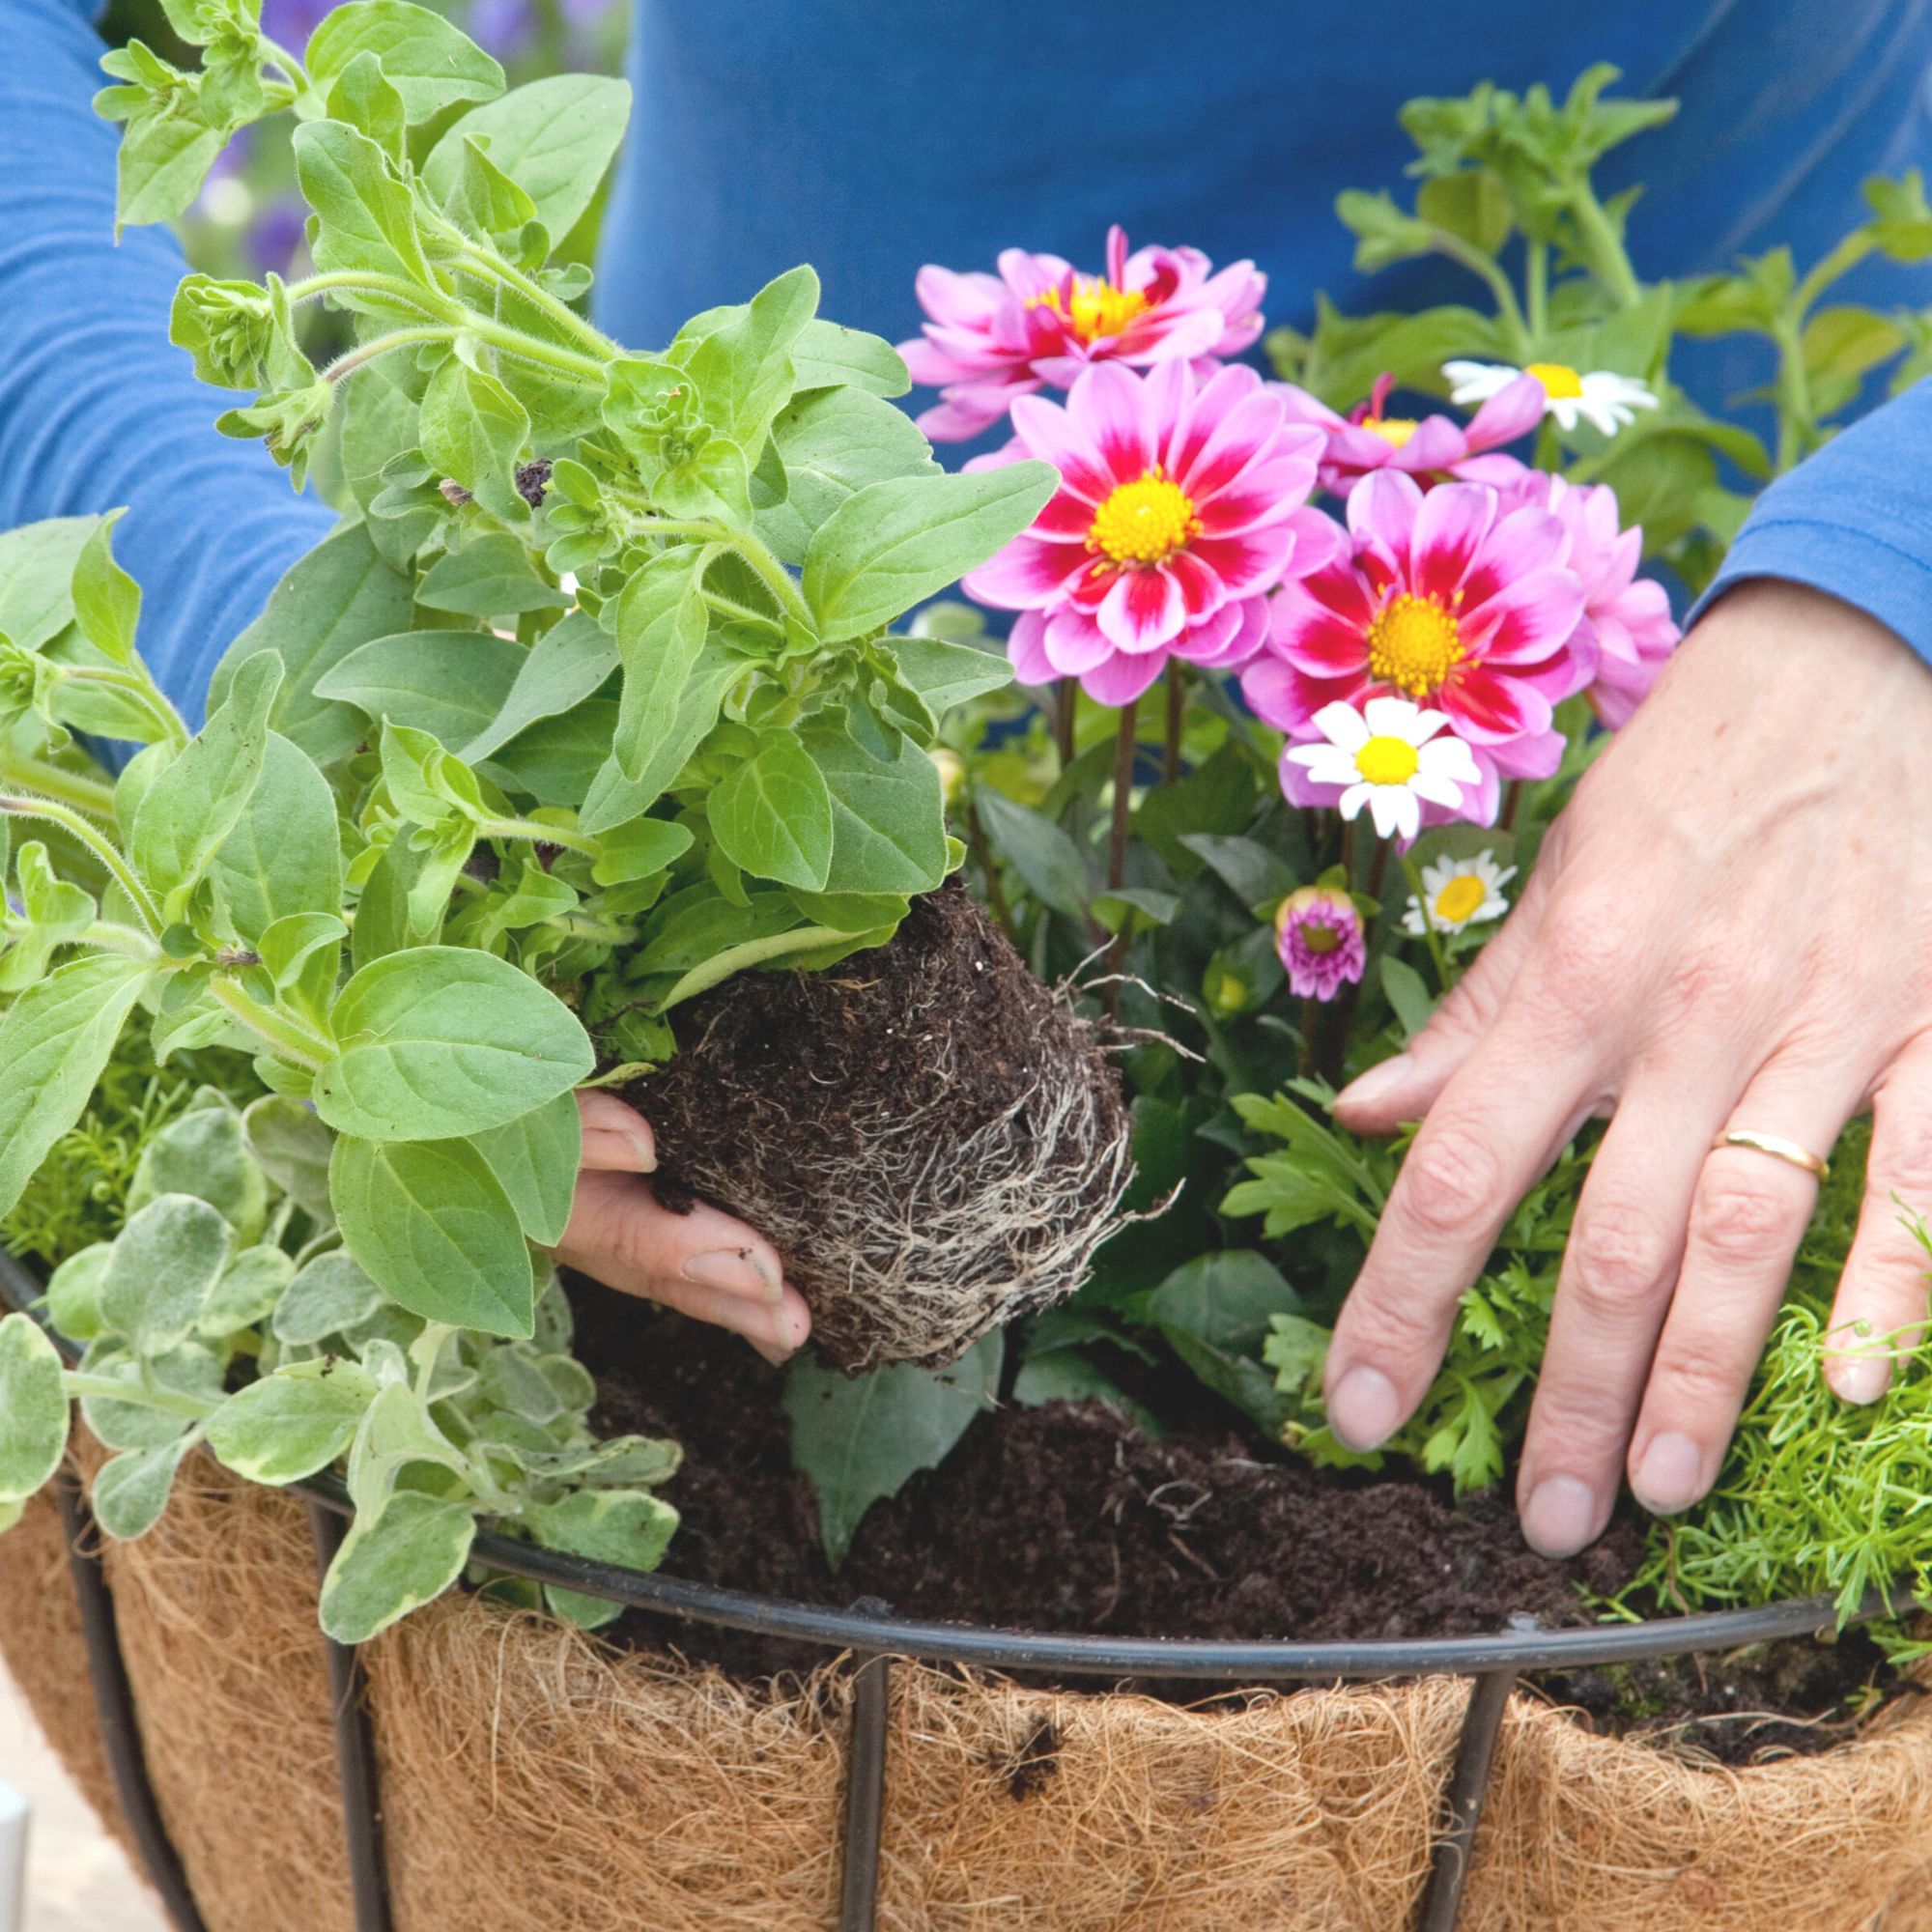
Now comes the spiller part, place three or four trailing plants evenly around the sides. Angle them slightly, but ensure that the roots are still covered by the compost, this will encourage them to cascade downwards.
6. Fill in the spaces
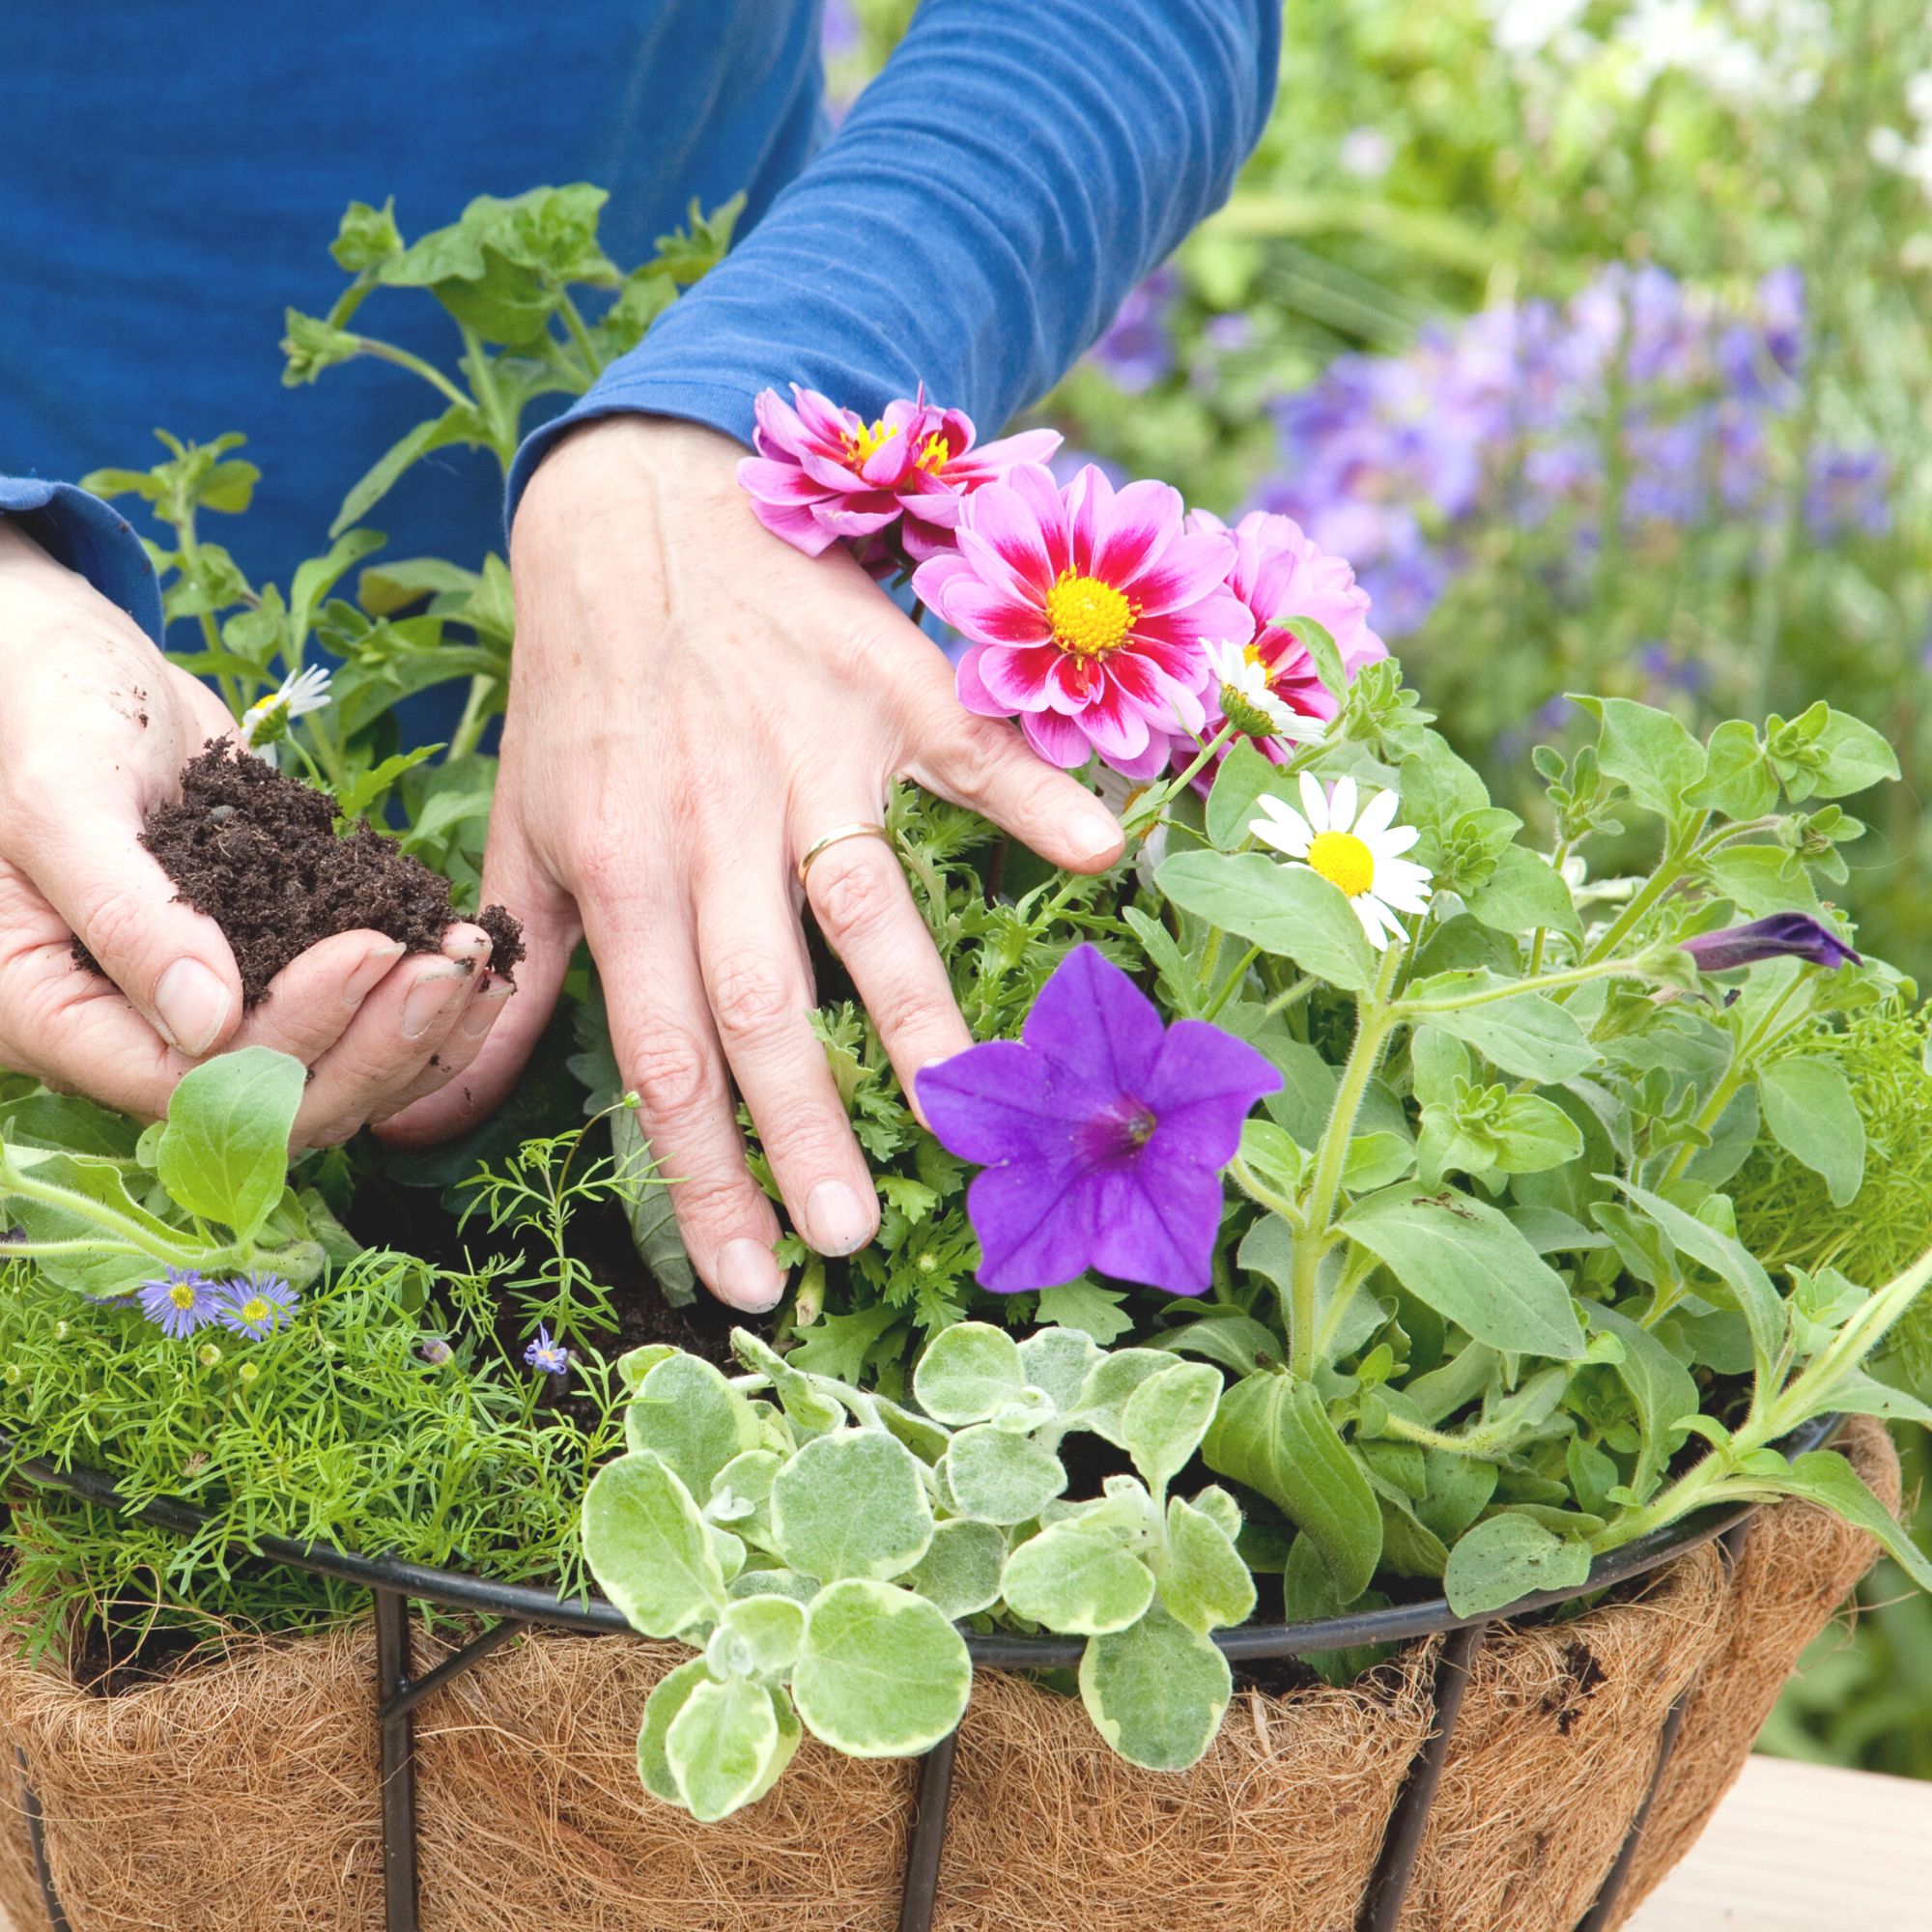
Flowering plants such as verbenas and small petunias make good fillers. Try planting ivy near the chain and weave it around to give the effect that the ivy is supporting the basket. Fill with more compost and firm gently.
7. Add a mulch
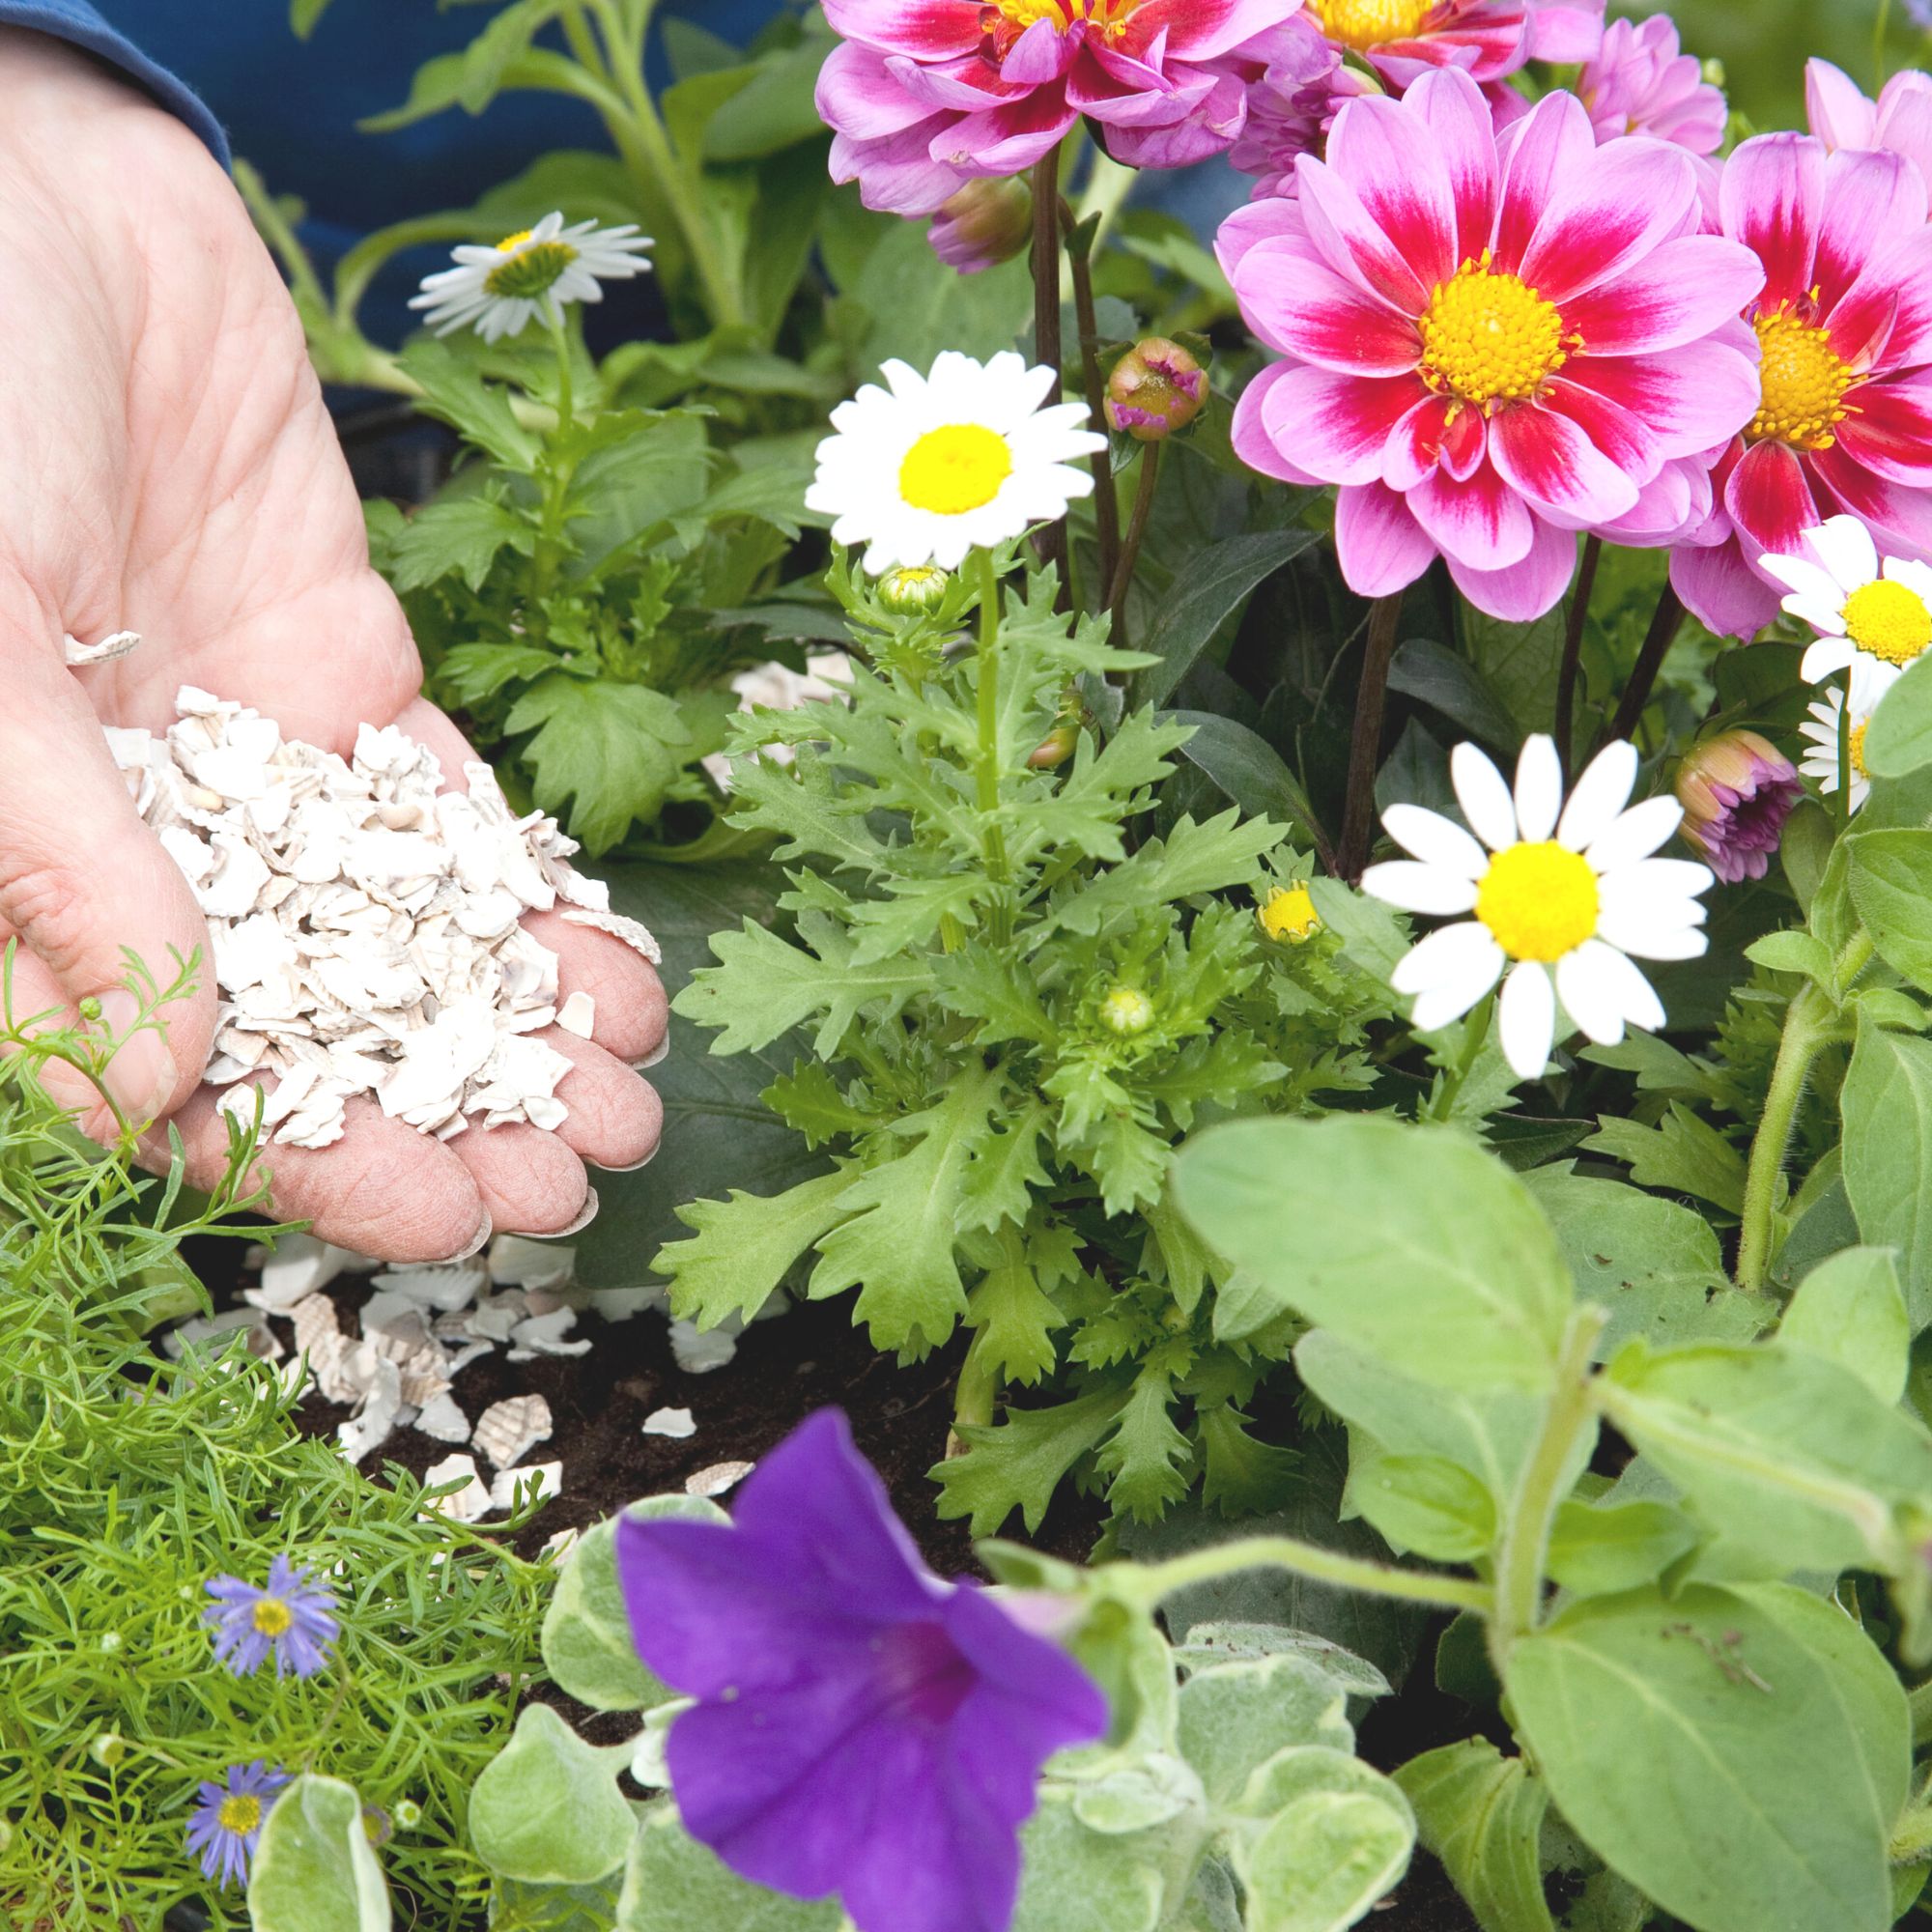
Add a mulch to reduce evapouration. You can choose any kind of mulch, from small pebbles to bark chippings. Reducing evapouration will keep your plants looking healthy and reduce the need for as frequent watering.
8. Hang up your hanging basket
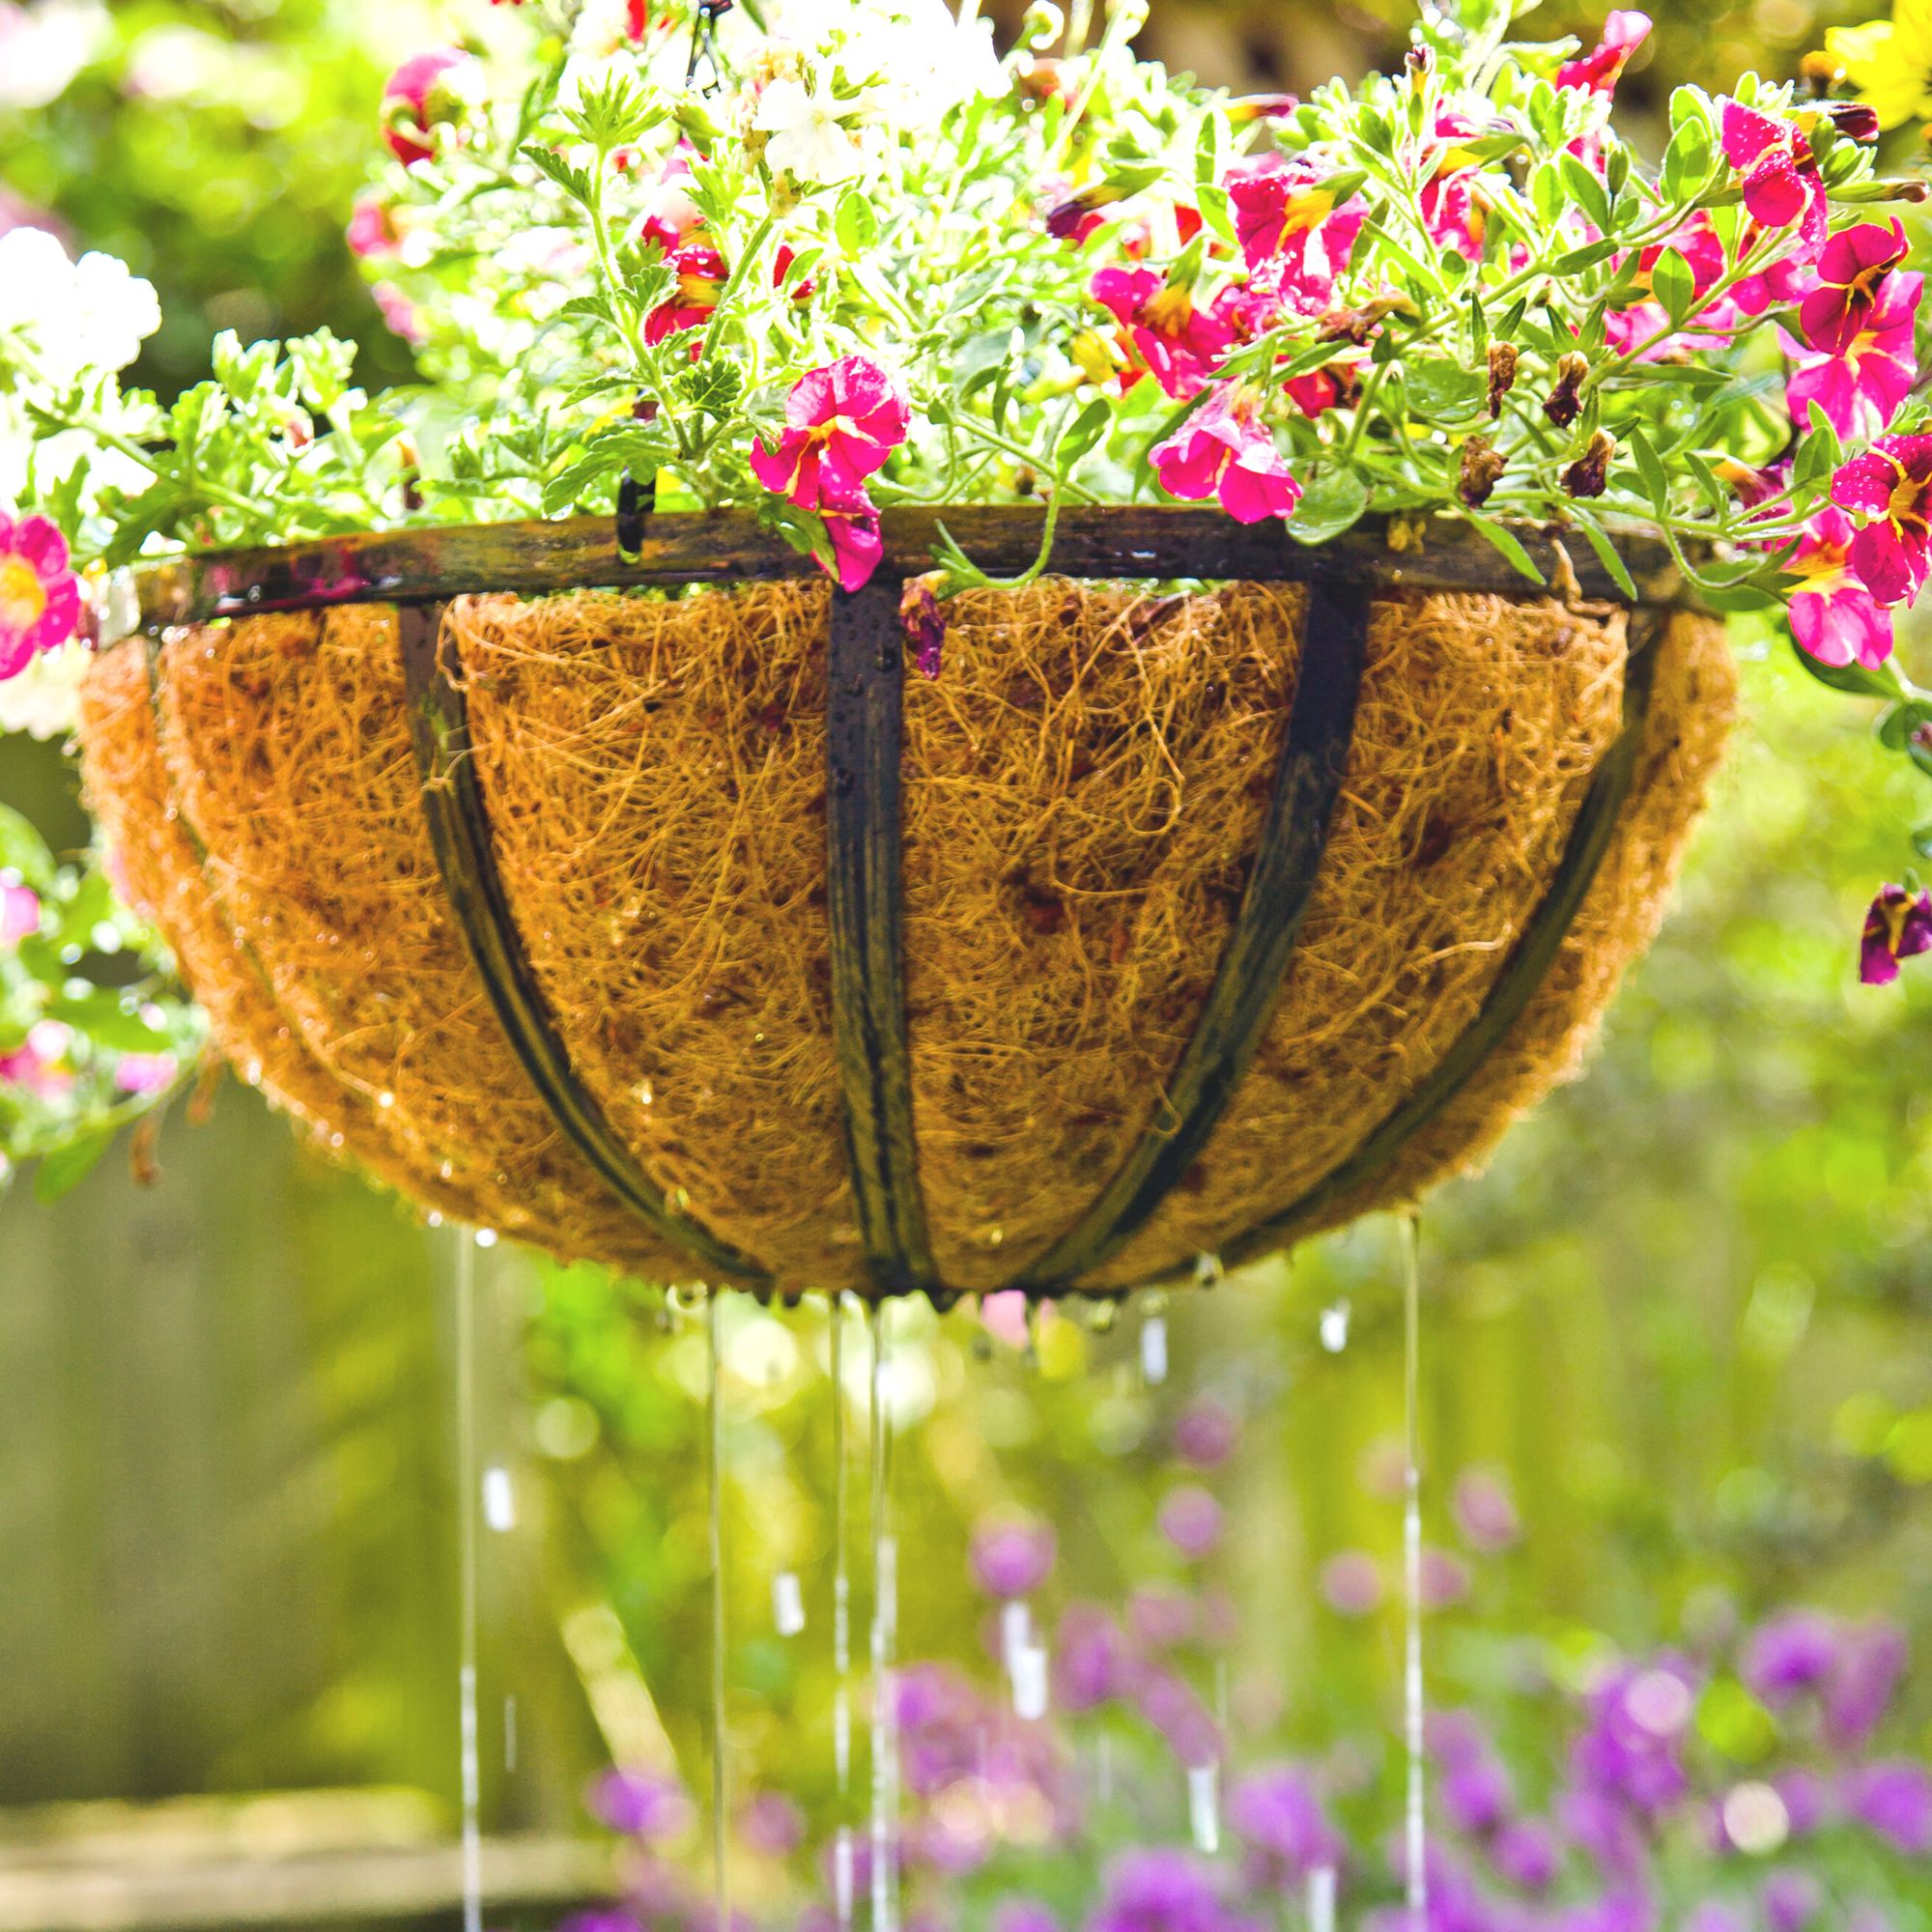
Affix the wall bracket according to instructions and position your basket in a sunny spot sheltered from wind and water well.
If you haven't used slow-release fertilizer you will need to apply a liquid feed alongside watering – following the instructions on your specific liquid feed.
Help plants put all their energy into establishing roots by pinching off early flowers. Once the plants are larger you can let them bloom.
FAQS
What month is best for hanging baskets?
Late spring and early summer are the best times to plant hanging baskets.
'You can plant summer hanging baskets from April, but make sure to protect your plants from frost. If this isn’t possible, wait until late May or early June. With today's unpredictable weather patterns you will have to use your instinct to gauge when during this three-month period is the best time to embark on your hanging basket project,' advises Sarah Squire from Squire’s Garden Centres.
If you are planting earlier in the season, it is a good idea to hang your hanging basket undercover – possibly in your greenhouse ideas. ‘If you have nowhere you can hang the basket under cover, use a large pot with a diameter just less than the basket rim to allow the trailing plants to develop and hang down until the basket can be moved and hung outdoors,’ advises Mick Lavelle.
How many plants do you put in a hanging basket?
The general rule is to use one plant per two inches of soil space – this applies to larger plants such as petunias, fuschias or mixed plantings.
- For an 12-inch hanging basket you should plant 6 plants
- For an 14-inch hanging basket you should plant 7 plants
- For an 16-inch hanging basket you should plant 8 plants
- For an 18-inch hanging baskets you should plant 9 plants
A key exception to this rule, however, is if you are planting smaller plants, where you may need to double these quantities.
How to choose plants for your hanging basket?
You can plant nearly any type of small container plant in a hanging basket.
'Visit your local garden centre for inspiration. Start with a centrepiece plant and don’t be afraid to take a few pots off the shelves to try out possible planting combinations. It’s similar to arranging flowers in a vase, except that nature is unpredictable and there may be some surprises in growth patterns of plants,' says garden expert Leigh Clapp.
'Choose a mix of trailing and upright plants – geraniums, begonias and sweet peas and petunias work well. Petunias and trailing lobelia will make a grand statement on your front porch. Keep baskets in a greenhouse or sheltered spot until any danger of late frosts has passed,' advises Sarah Squire from Squire’s Garden Centres.
Where should hanging plants be placed?
There are lots of places where hanging plants can be placed. Adding macrame-style hanging baskets to a pergola or seating area is a great way to channel boho garden decor, while more traditional styles are a great addition to cottage garden ideas. They are also a stunning addition to patio ideas.
Don't be scared of this planting style, and adorn your home with a hanging basket or two this spring and summer.
Get the Ideal Home Newsletter
Sign up to our newsletter for style and decor inspiration, house makeovers, project advice and more.

Steph Durrant is the Deputy Editor of Ideal Home’s sister magazine, Style at Home. Steph is an experienced journalist with more than 12 years under her belt working across the UK’s leading craft and interiors magazines. She first joined the team back in 2016 writing for both homes brands, specialising in all things craft, upcycling and DIY.
- Holly ReaneyContent Editor
-
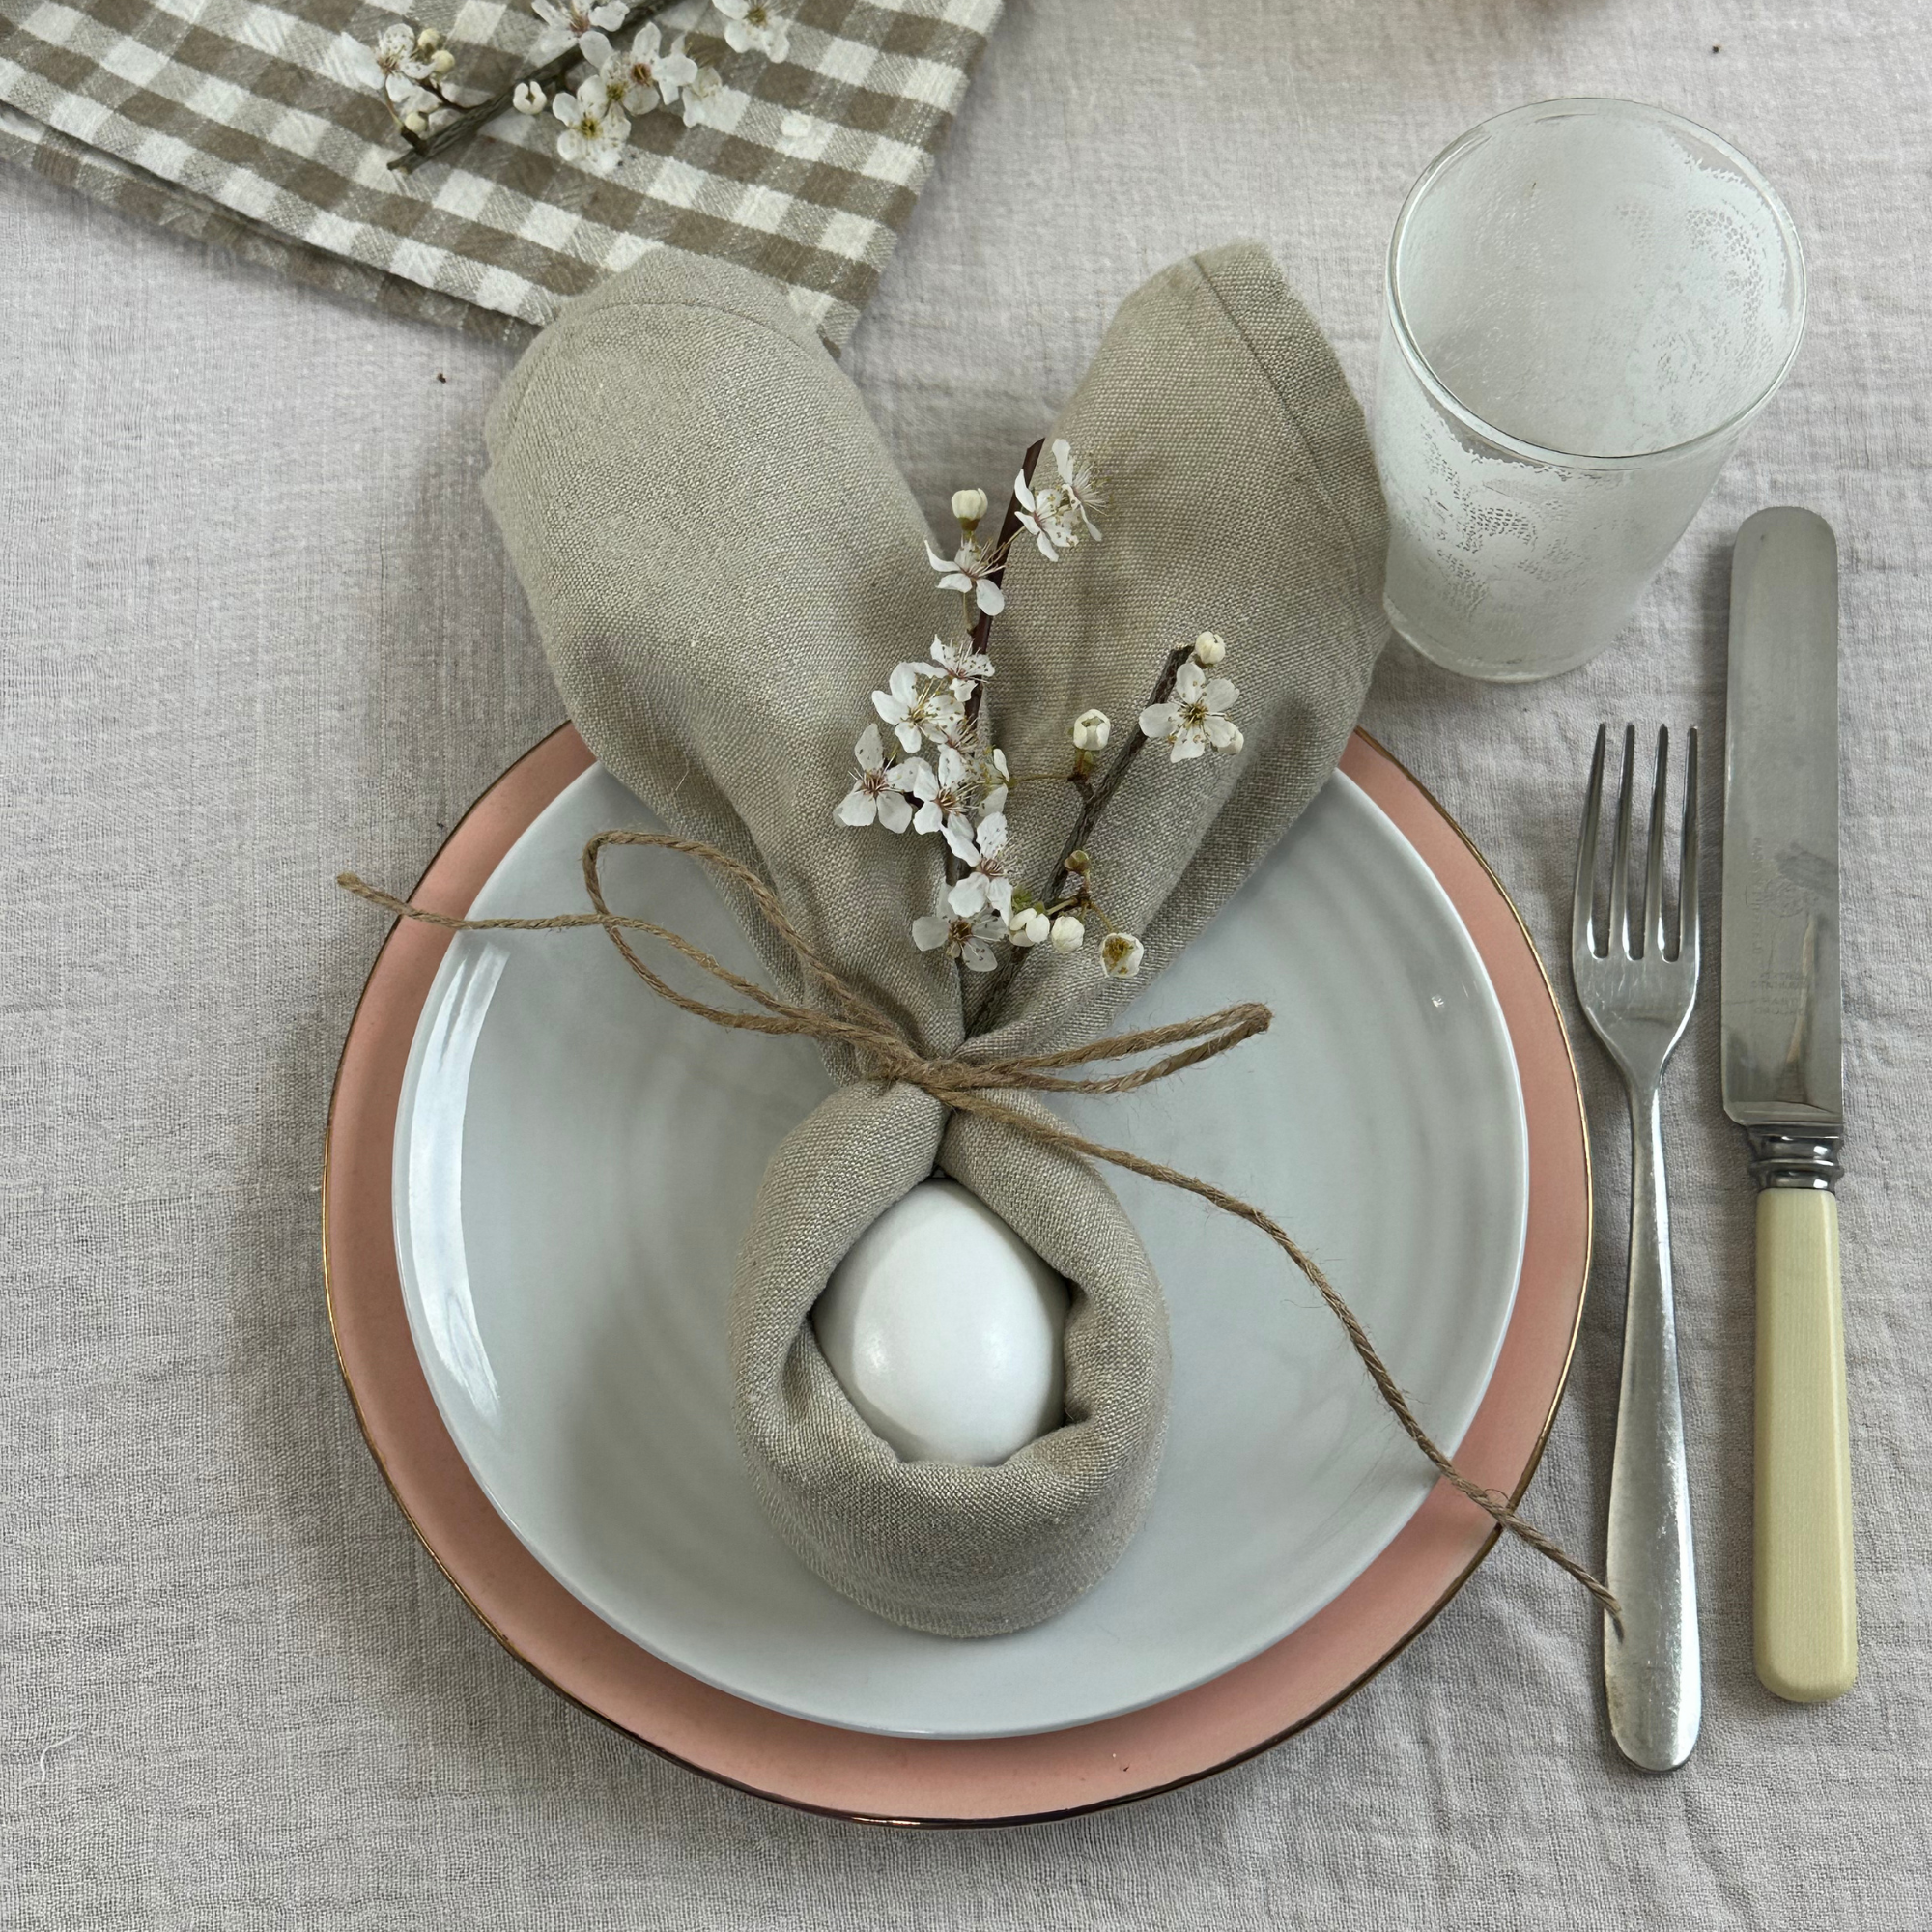 We tried the viral napkin bunny ears hack – it only takes five minutes and will take your Easter table to the next level
This Easter craft is not only beautiful, but really easy to do
By Kezia Reynolds
-
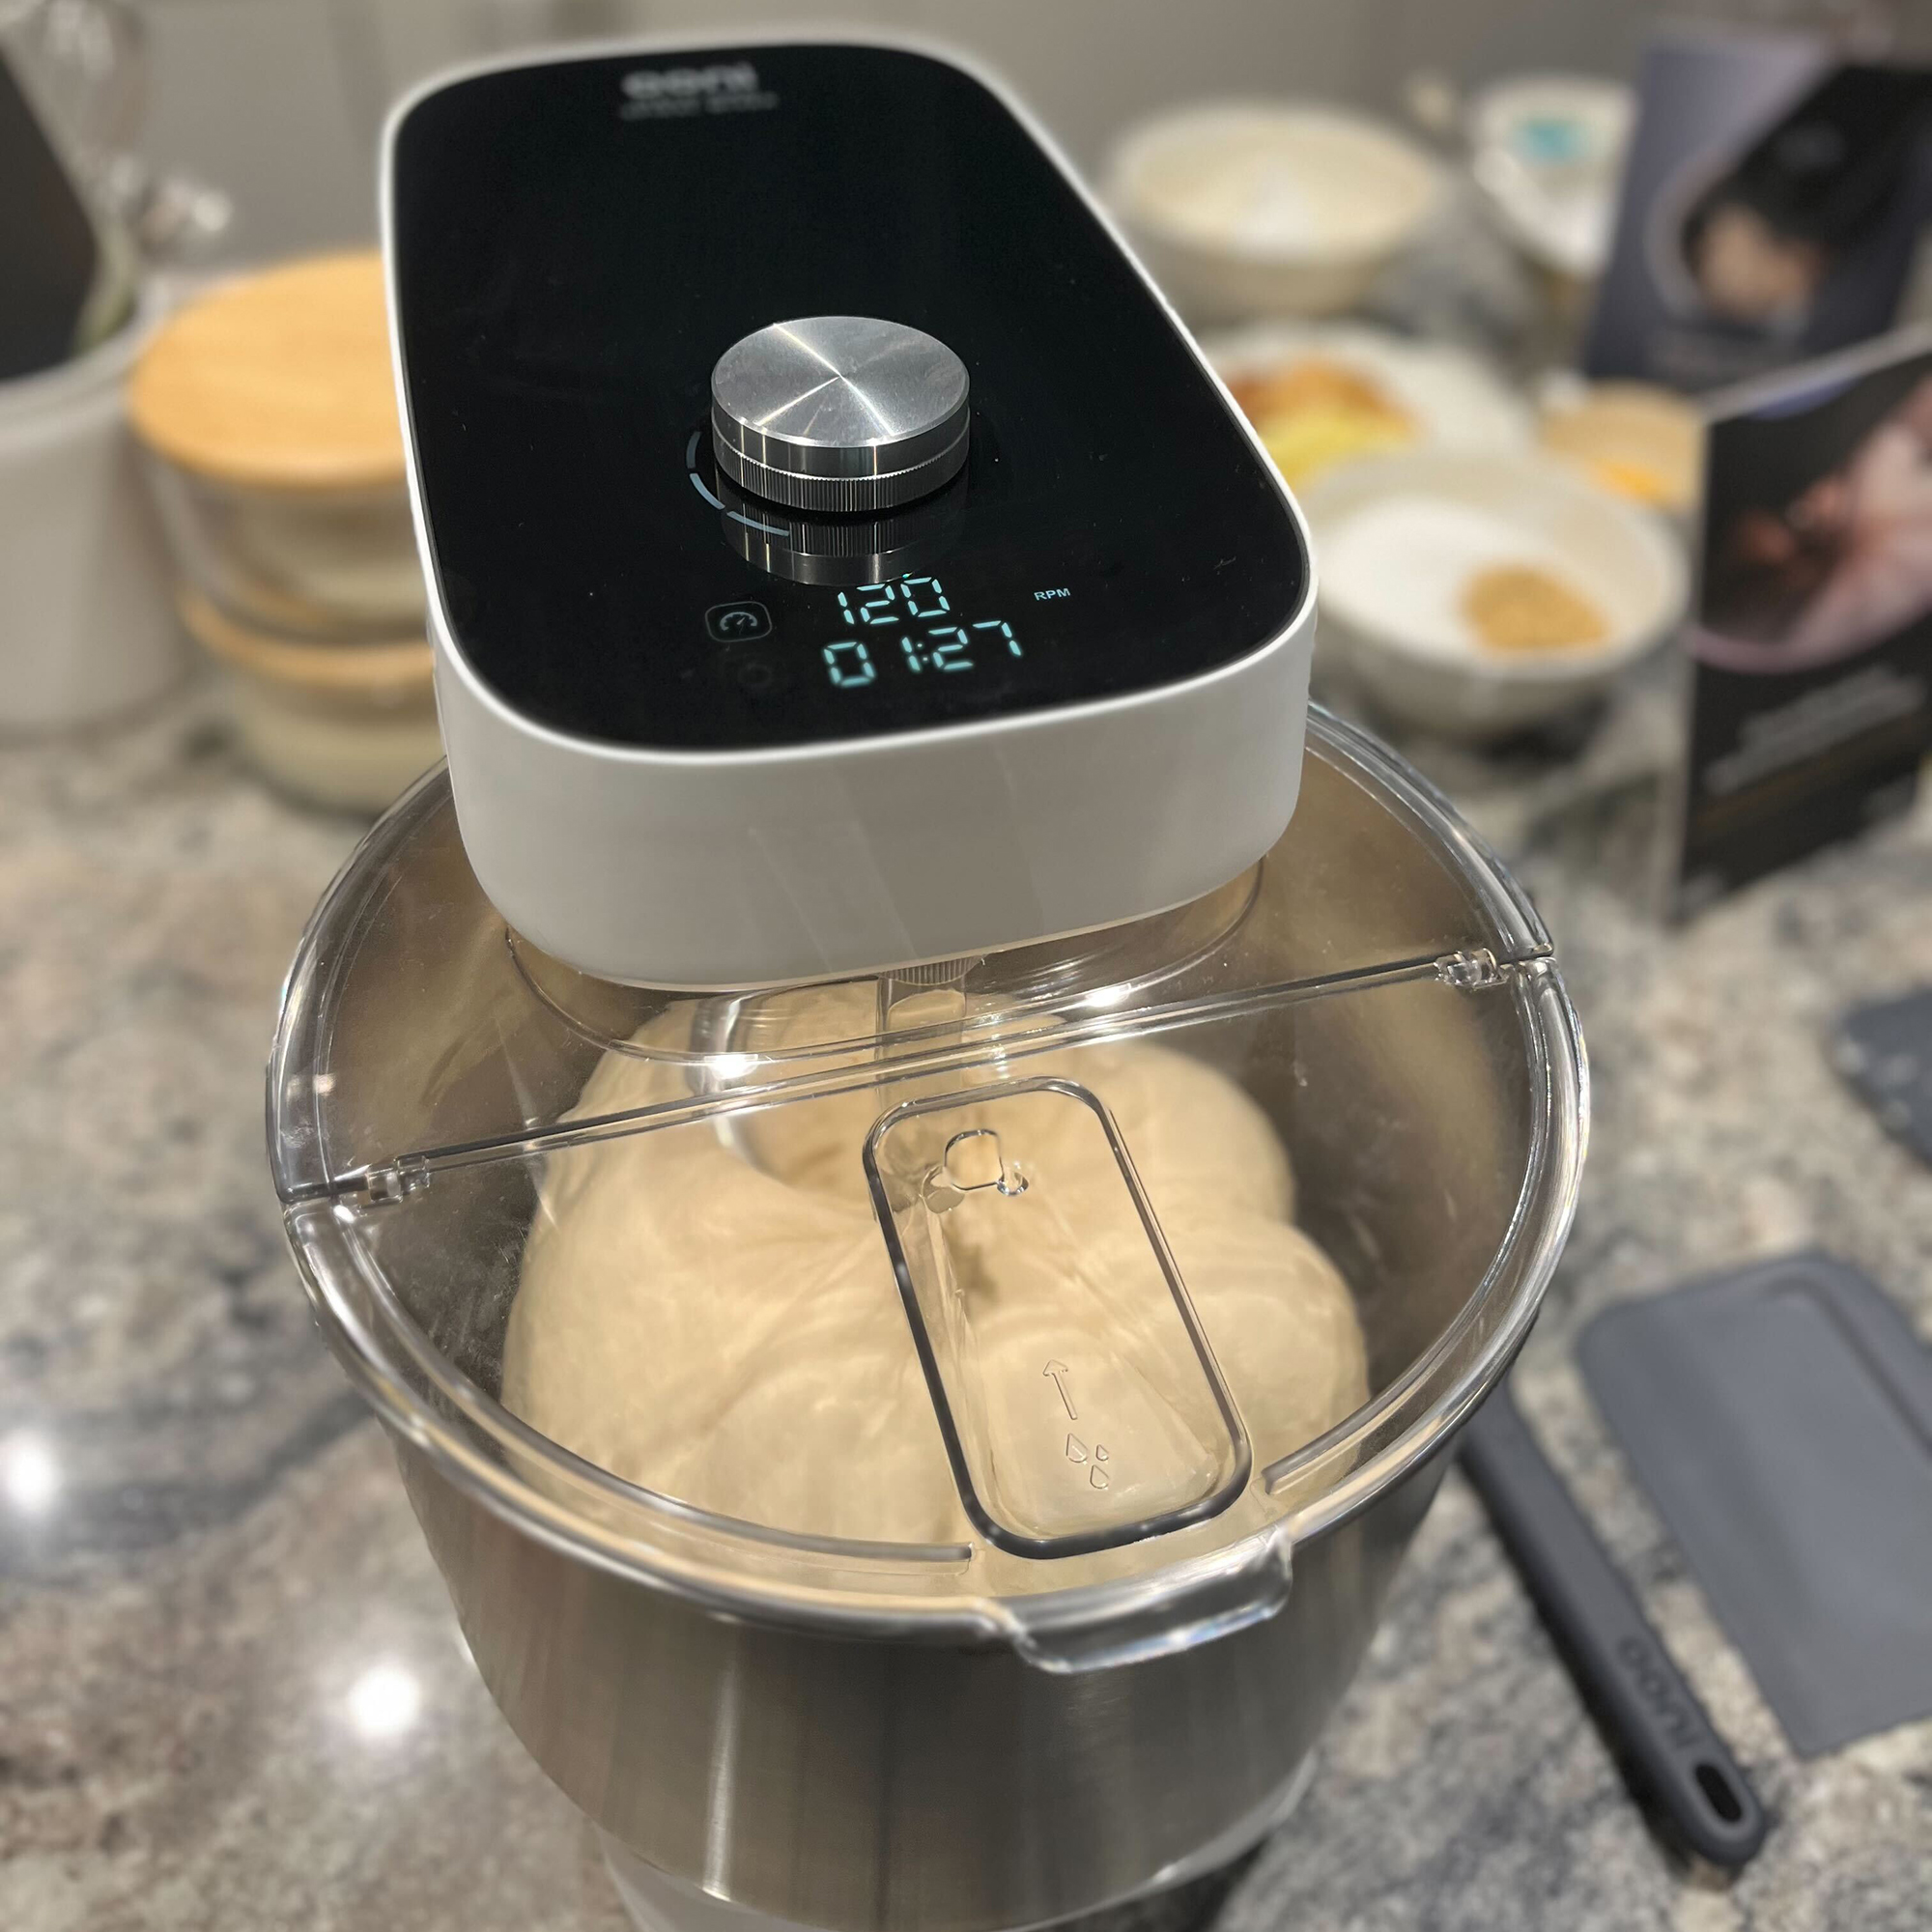 Ooni's new stand mixer is already a sell-out success
Here's why the Ooni Halo Pro Spiral mixer is a big deal for at-home breadmakers
By Molly Cleary
-
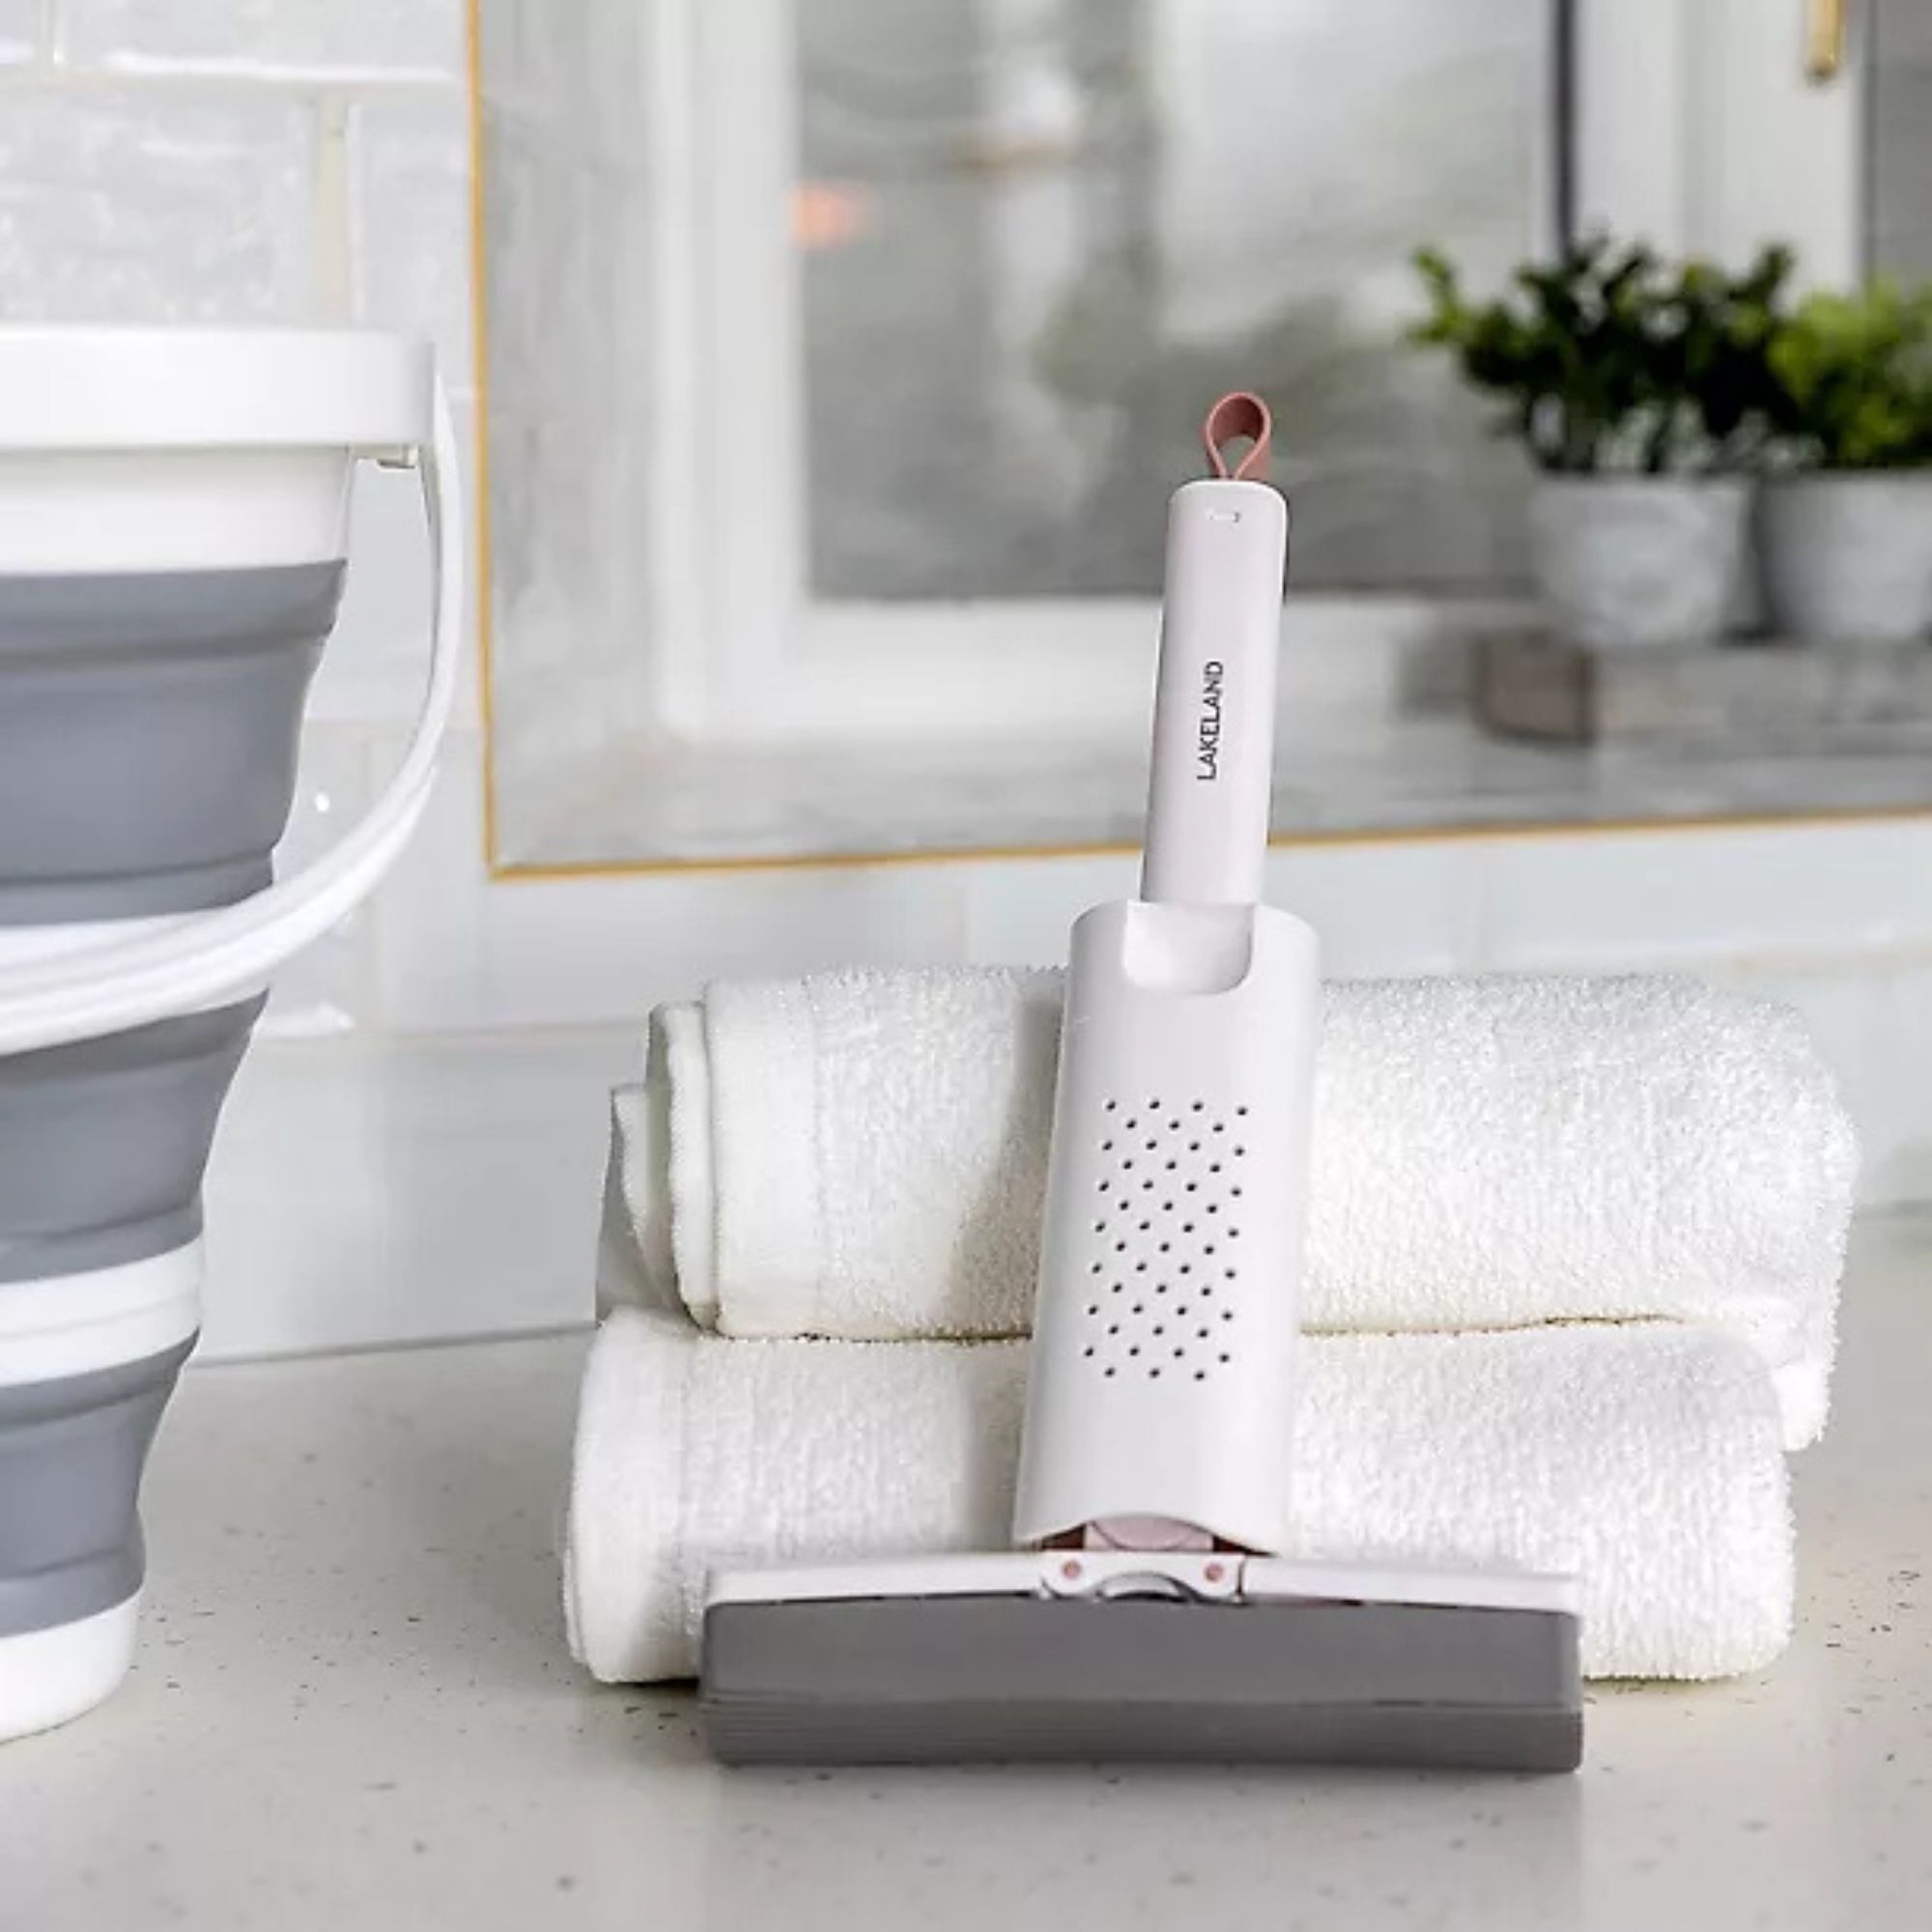 I’ve been using Lakeland’s new £5 mini mop as a shower squeegee, window cleaner and damp duster — it’s the ultimate multi-purpose cleaning tool
Yep, I've added this new mini cleaning tool to my collection
By Lauren Bradbury