Have you been painting your fence wrong? 8 common fence painting mistakes that will lead to a streaky and patchy finish
Wondering why your fence's last paint job didn't turn out like you hoped? Here's why
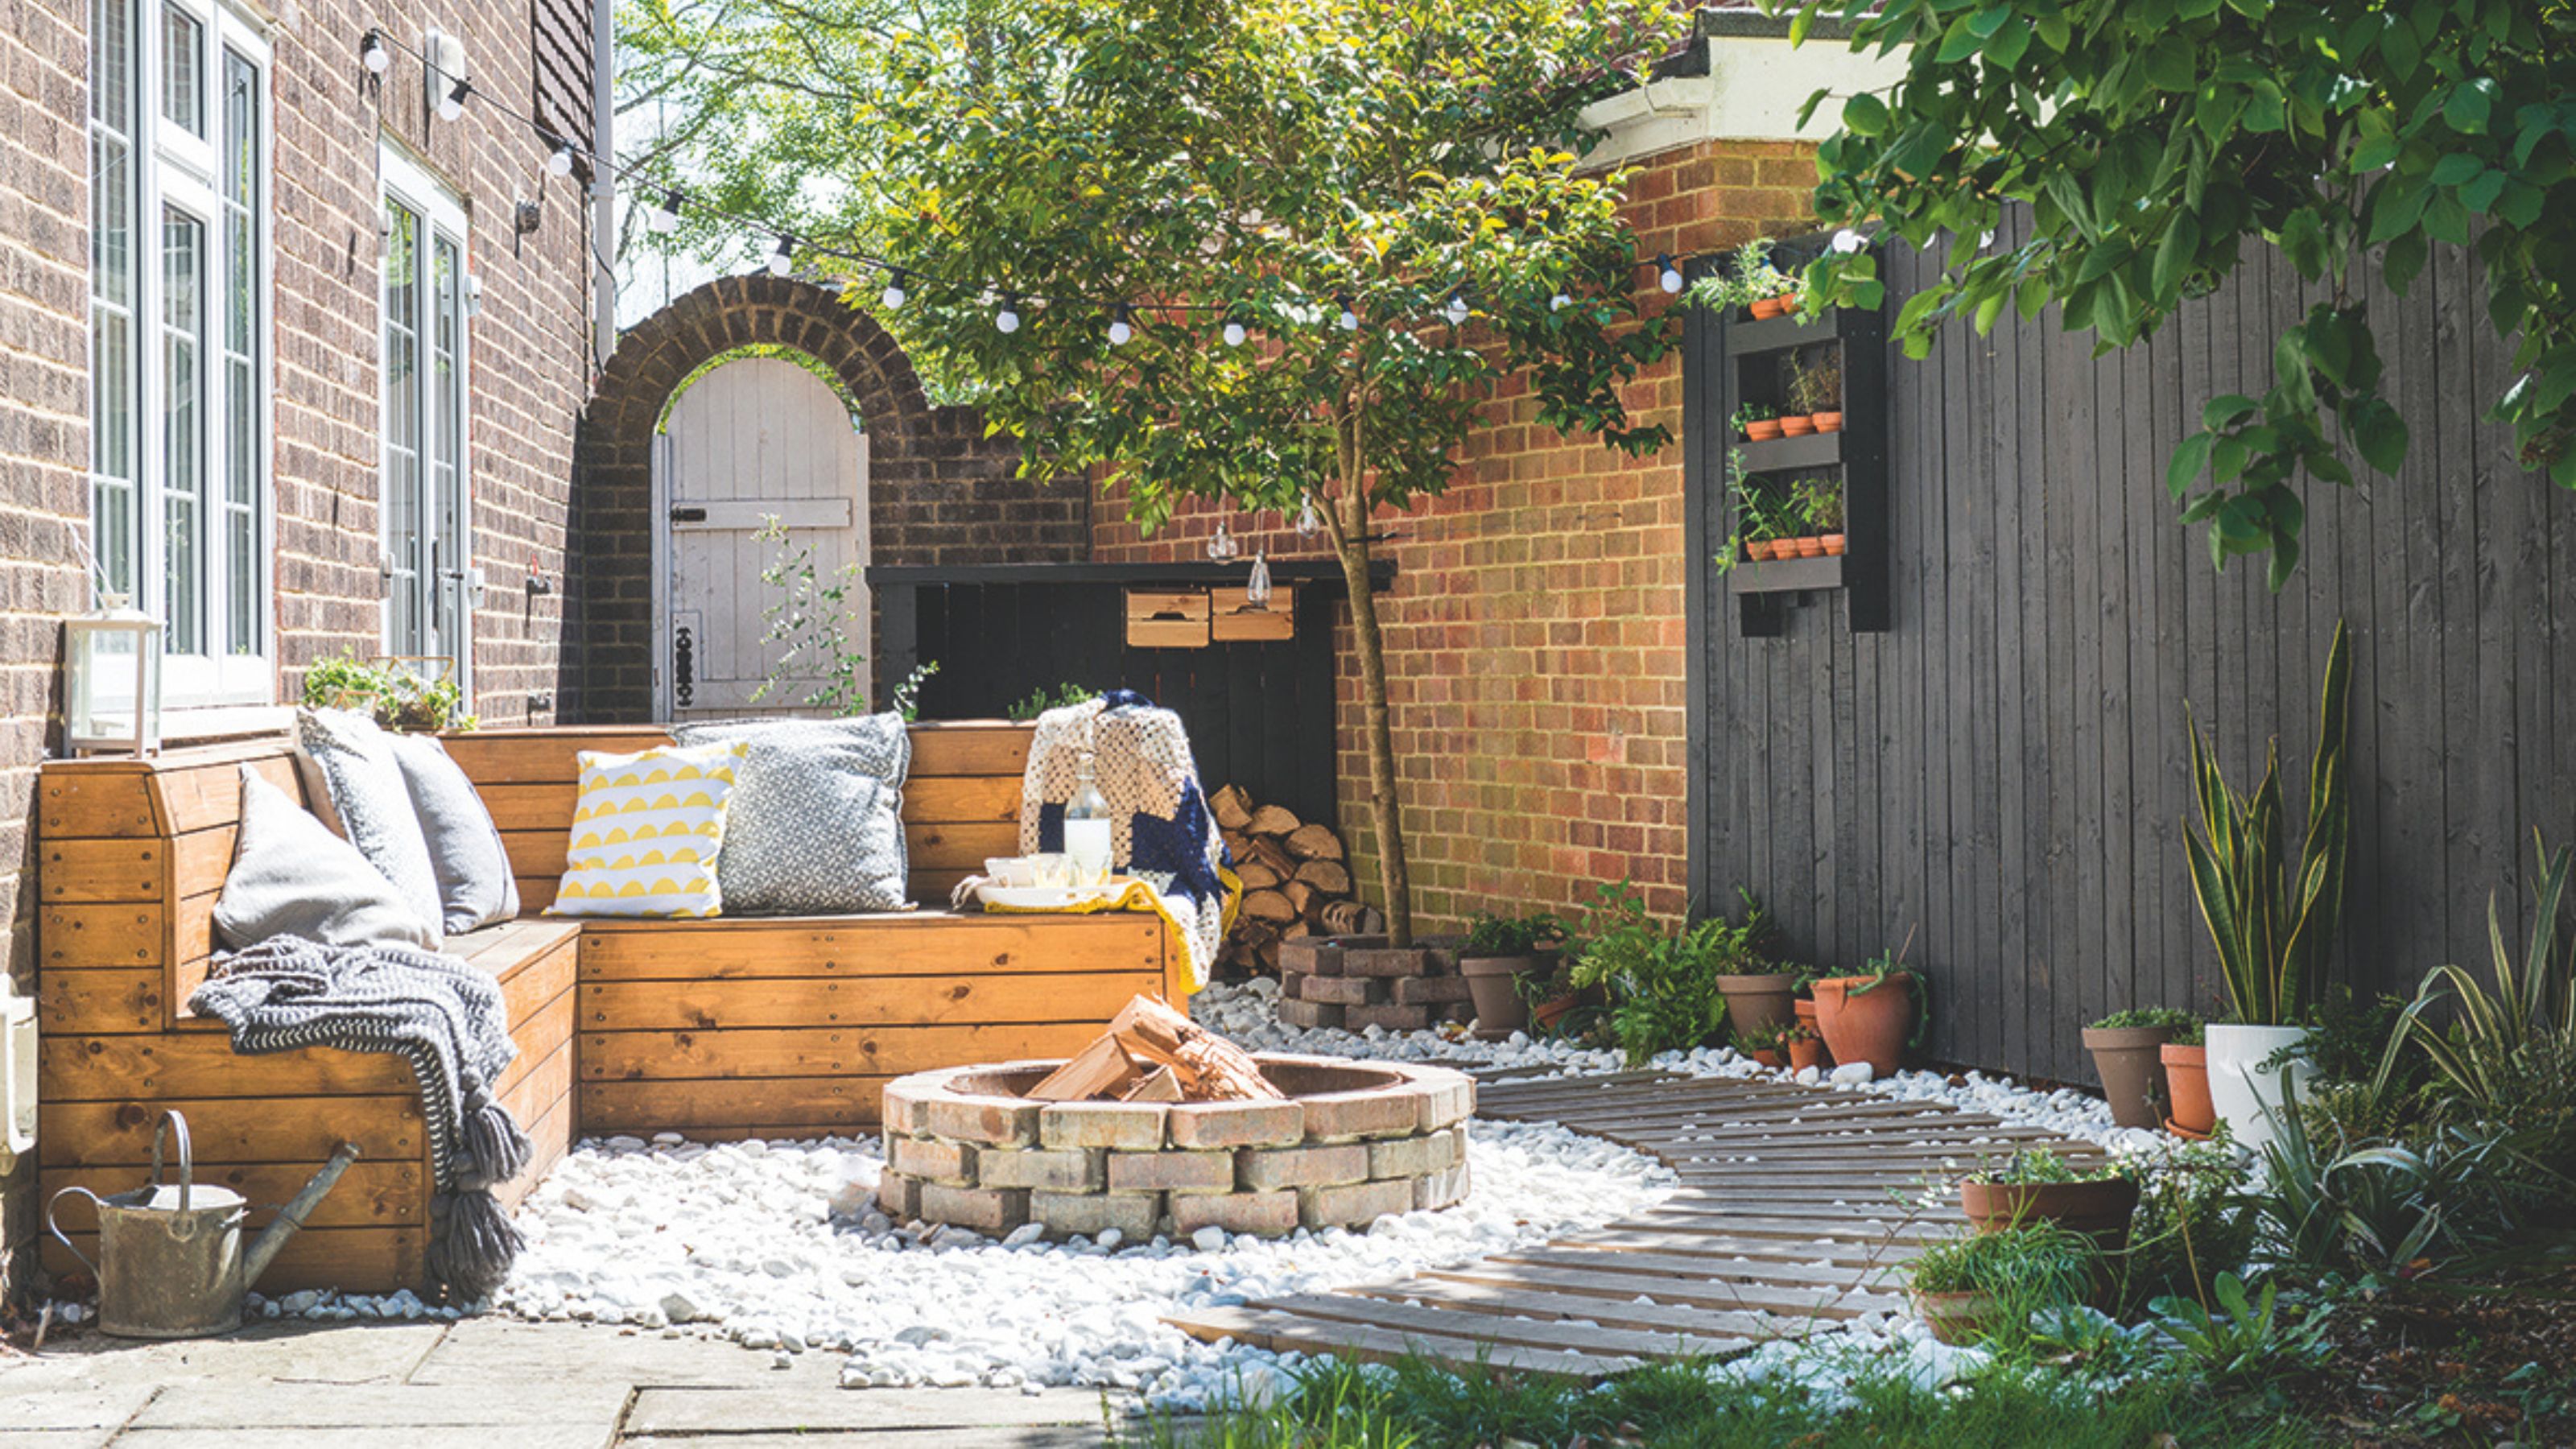

Painting the garden fence might be high on your to-do list now that warmer days are (finally) upon us. But before you do, you need to know about the common fence painting mistakes to avoid if you want to avoid a patchy or streaky finish and save yourself the effort and cost of repainting it again soon.
While you might think you know how to paint a fence properly, some key dos and don'ts will make all the difference to the result. There's little point in picking a beautiful colour for your garden fence ideas if you can't do it justice, and that's where knowing which fence painting mistakes to avoid comes in handy.
I've asked a number of experts in DIY and painting to share what you shouldn't be doing when painting a fence, as well as their tips for what to do instead to get a perfect, streak-free finish.
1. Picking the wrong day
One of the most common fence painting mistakes that people commit is starting the job on the wrong day - i.e., when the weather conditions aren't ideal. While we might think that a hotter day is a good time to give our fence a makeover, experts have revealed that this isn't going to lead to the best results in the end.
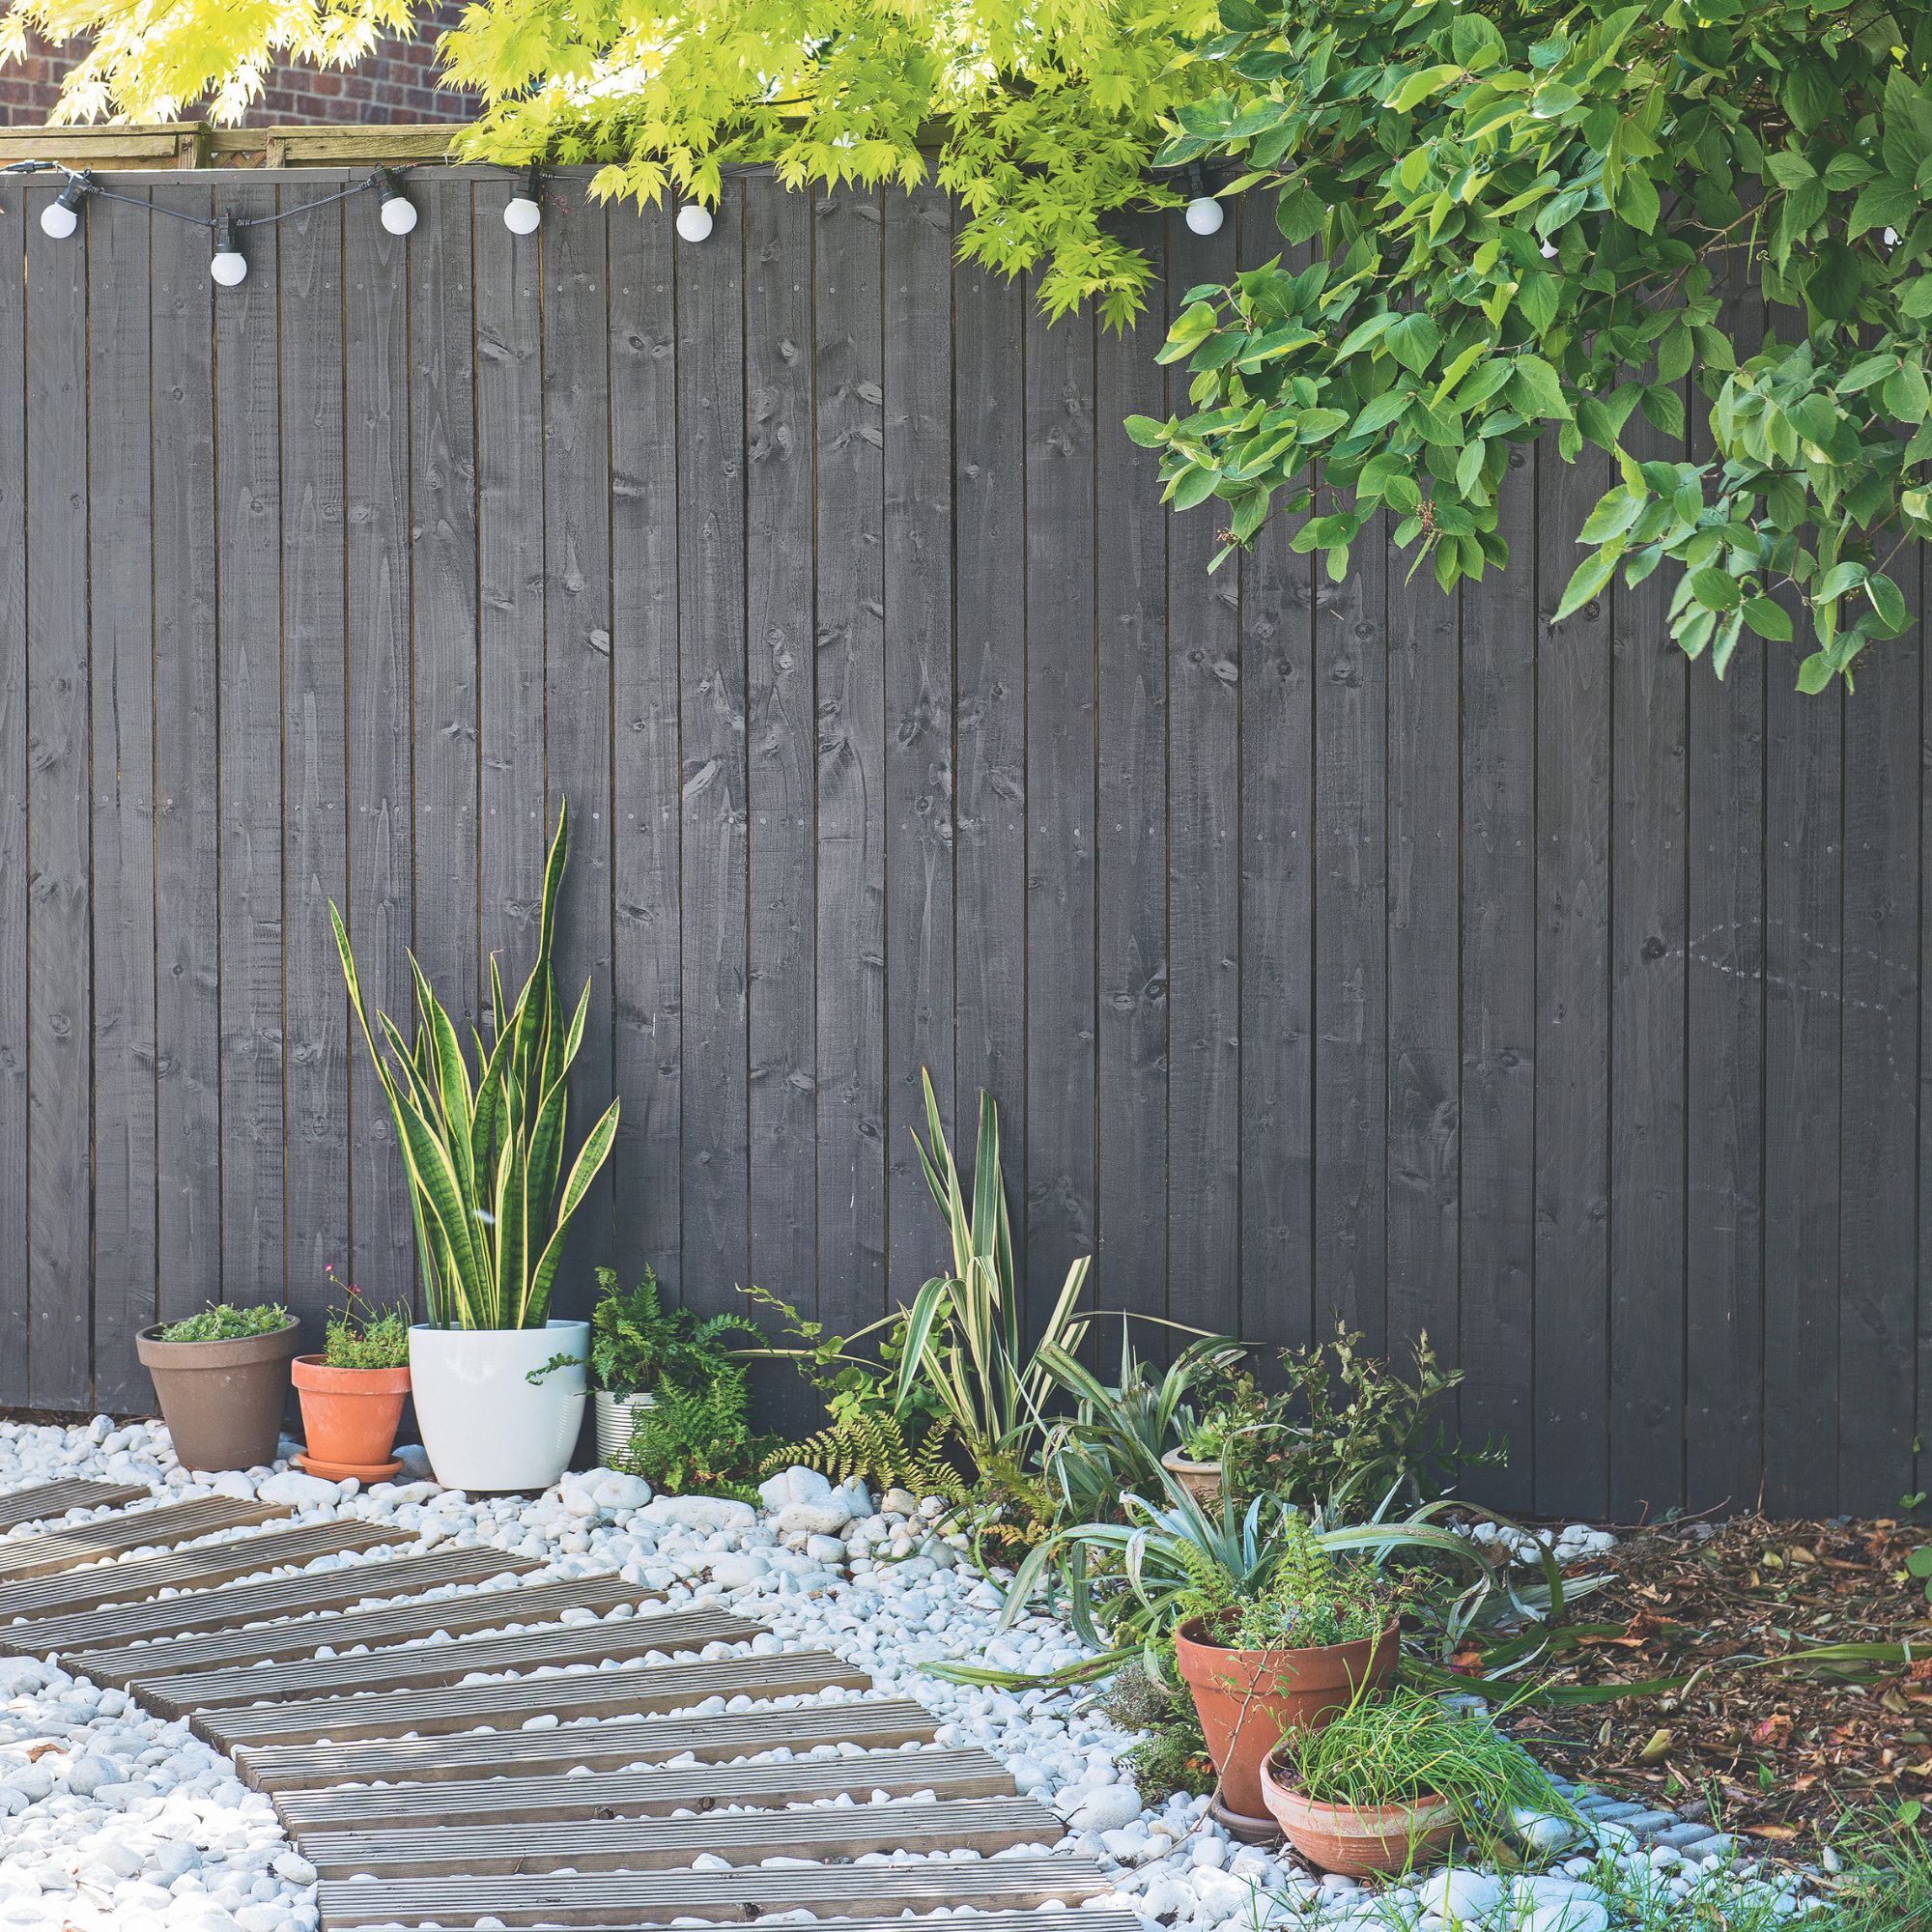
'Too hot weather can cause paint to dry out quicker and become flaky, which can cause an uneven finish,' interior expert and brand manager for Ronseal, Clara Dursent says. 'The temperature should ideally be above 10°C and mild.'
A mild temperature is the ideal sweet spot for painting a fence, because too cold a day can lead to peeling and flaking as well (warm wood absorbs paint better than cold). 'And if you're spray-painting, windy conditions can interfere with the process, so be mindful of this too,' Clara adds.
2. Not cleaning the fence first
When it comes to jobs like painting the fence, it's tempting to skip the prep and get stuck in as quickly as possible. That's why many of us are guilty of not cleaning the fence before painting. But if you want an even finish and long-lasting results, the surface needs to be as clean and smooth as possible, so taking the time to clean green off the fence before you paint is essential.
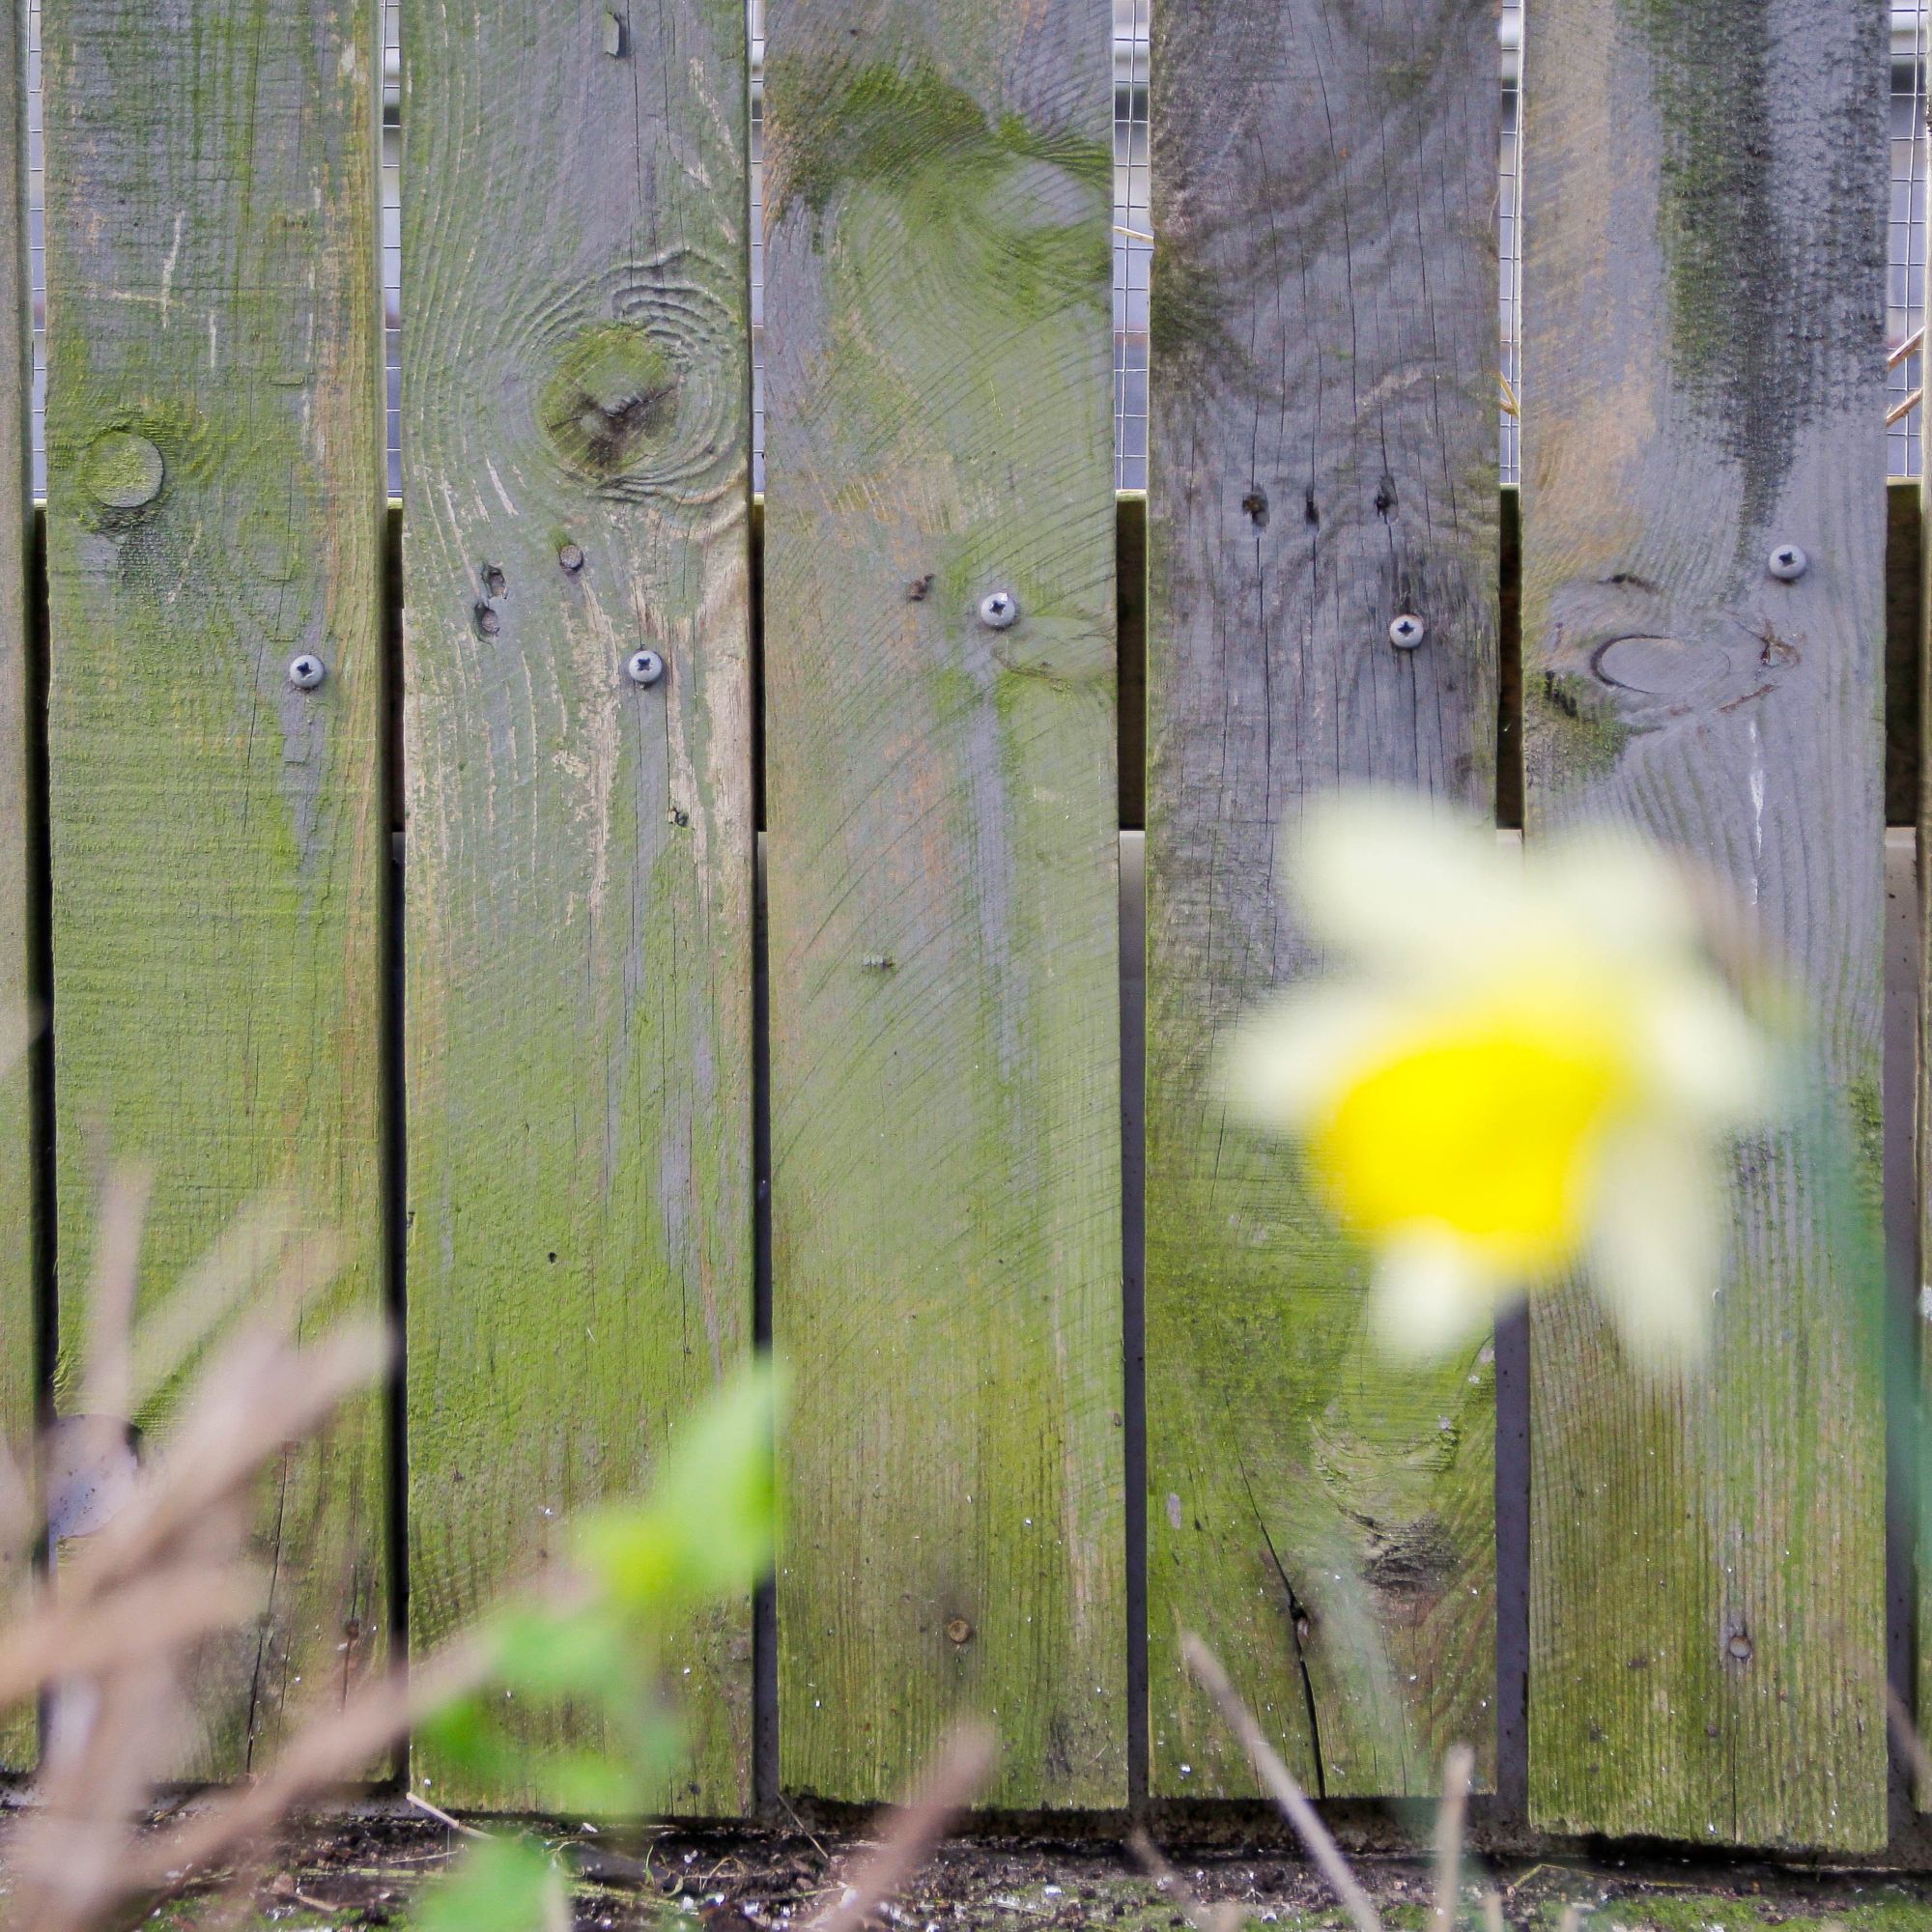
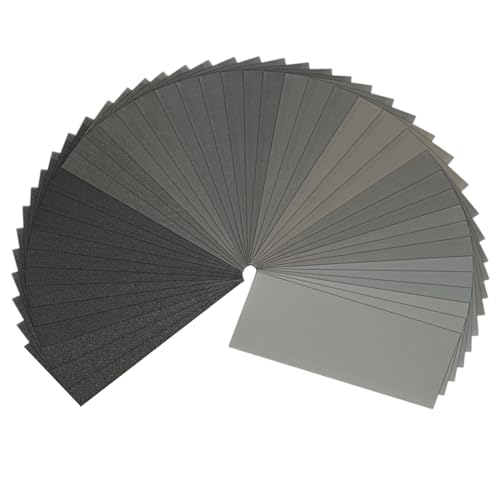
'If your fence is mostly clean, apart from a little dust, use a stiff wire brush to sweep off excess dirt,' Clara advises. 'And if your fence is covered in grime, such as moss and dirt, it's best to use a general-purpose cleaner to remove it. You can also use sandpaper to remove old and flaky paint before repainting.'
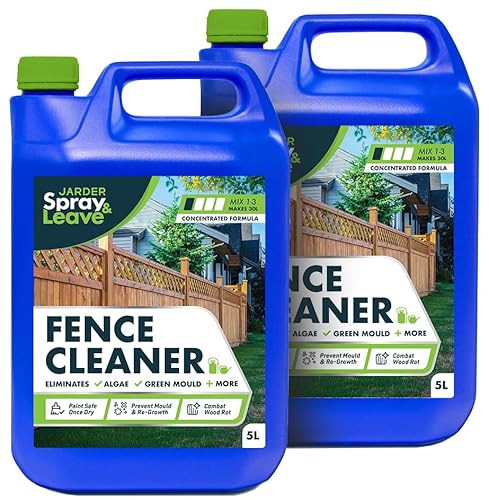
Removing algae from a fence can also be done easily enough once you've got your hands on an algae-removing solution. The experts recommend the Wet & Forget Mould, Lichen & Algae Remover, currently £27.45 for a 5 litre bottle at Amazon - it's a tried and tested product that will make light work of cleaning algae-covered fences.
3. Forgetting to stir the paint
Just like when painting garden furniture - or any DIY paint jobs for that matter - paint needs to be stirred before it's applied to the fence. But many of us are guilty of forgetting to do this, which can lead to an uneven finish at the end.
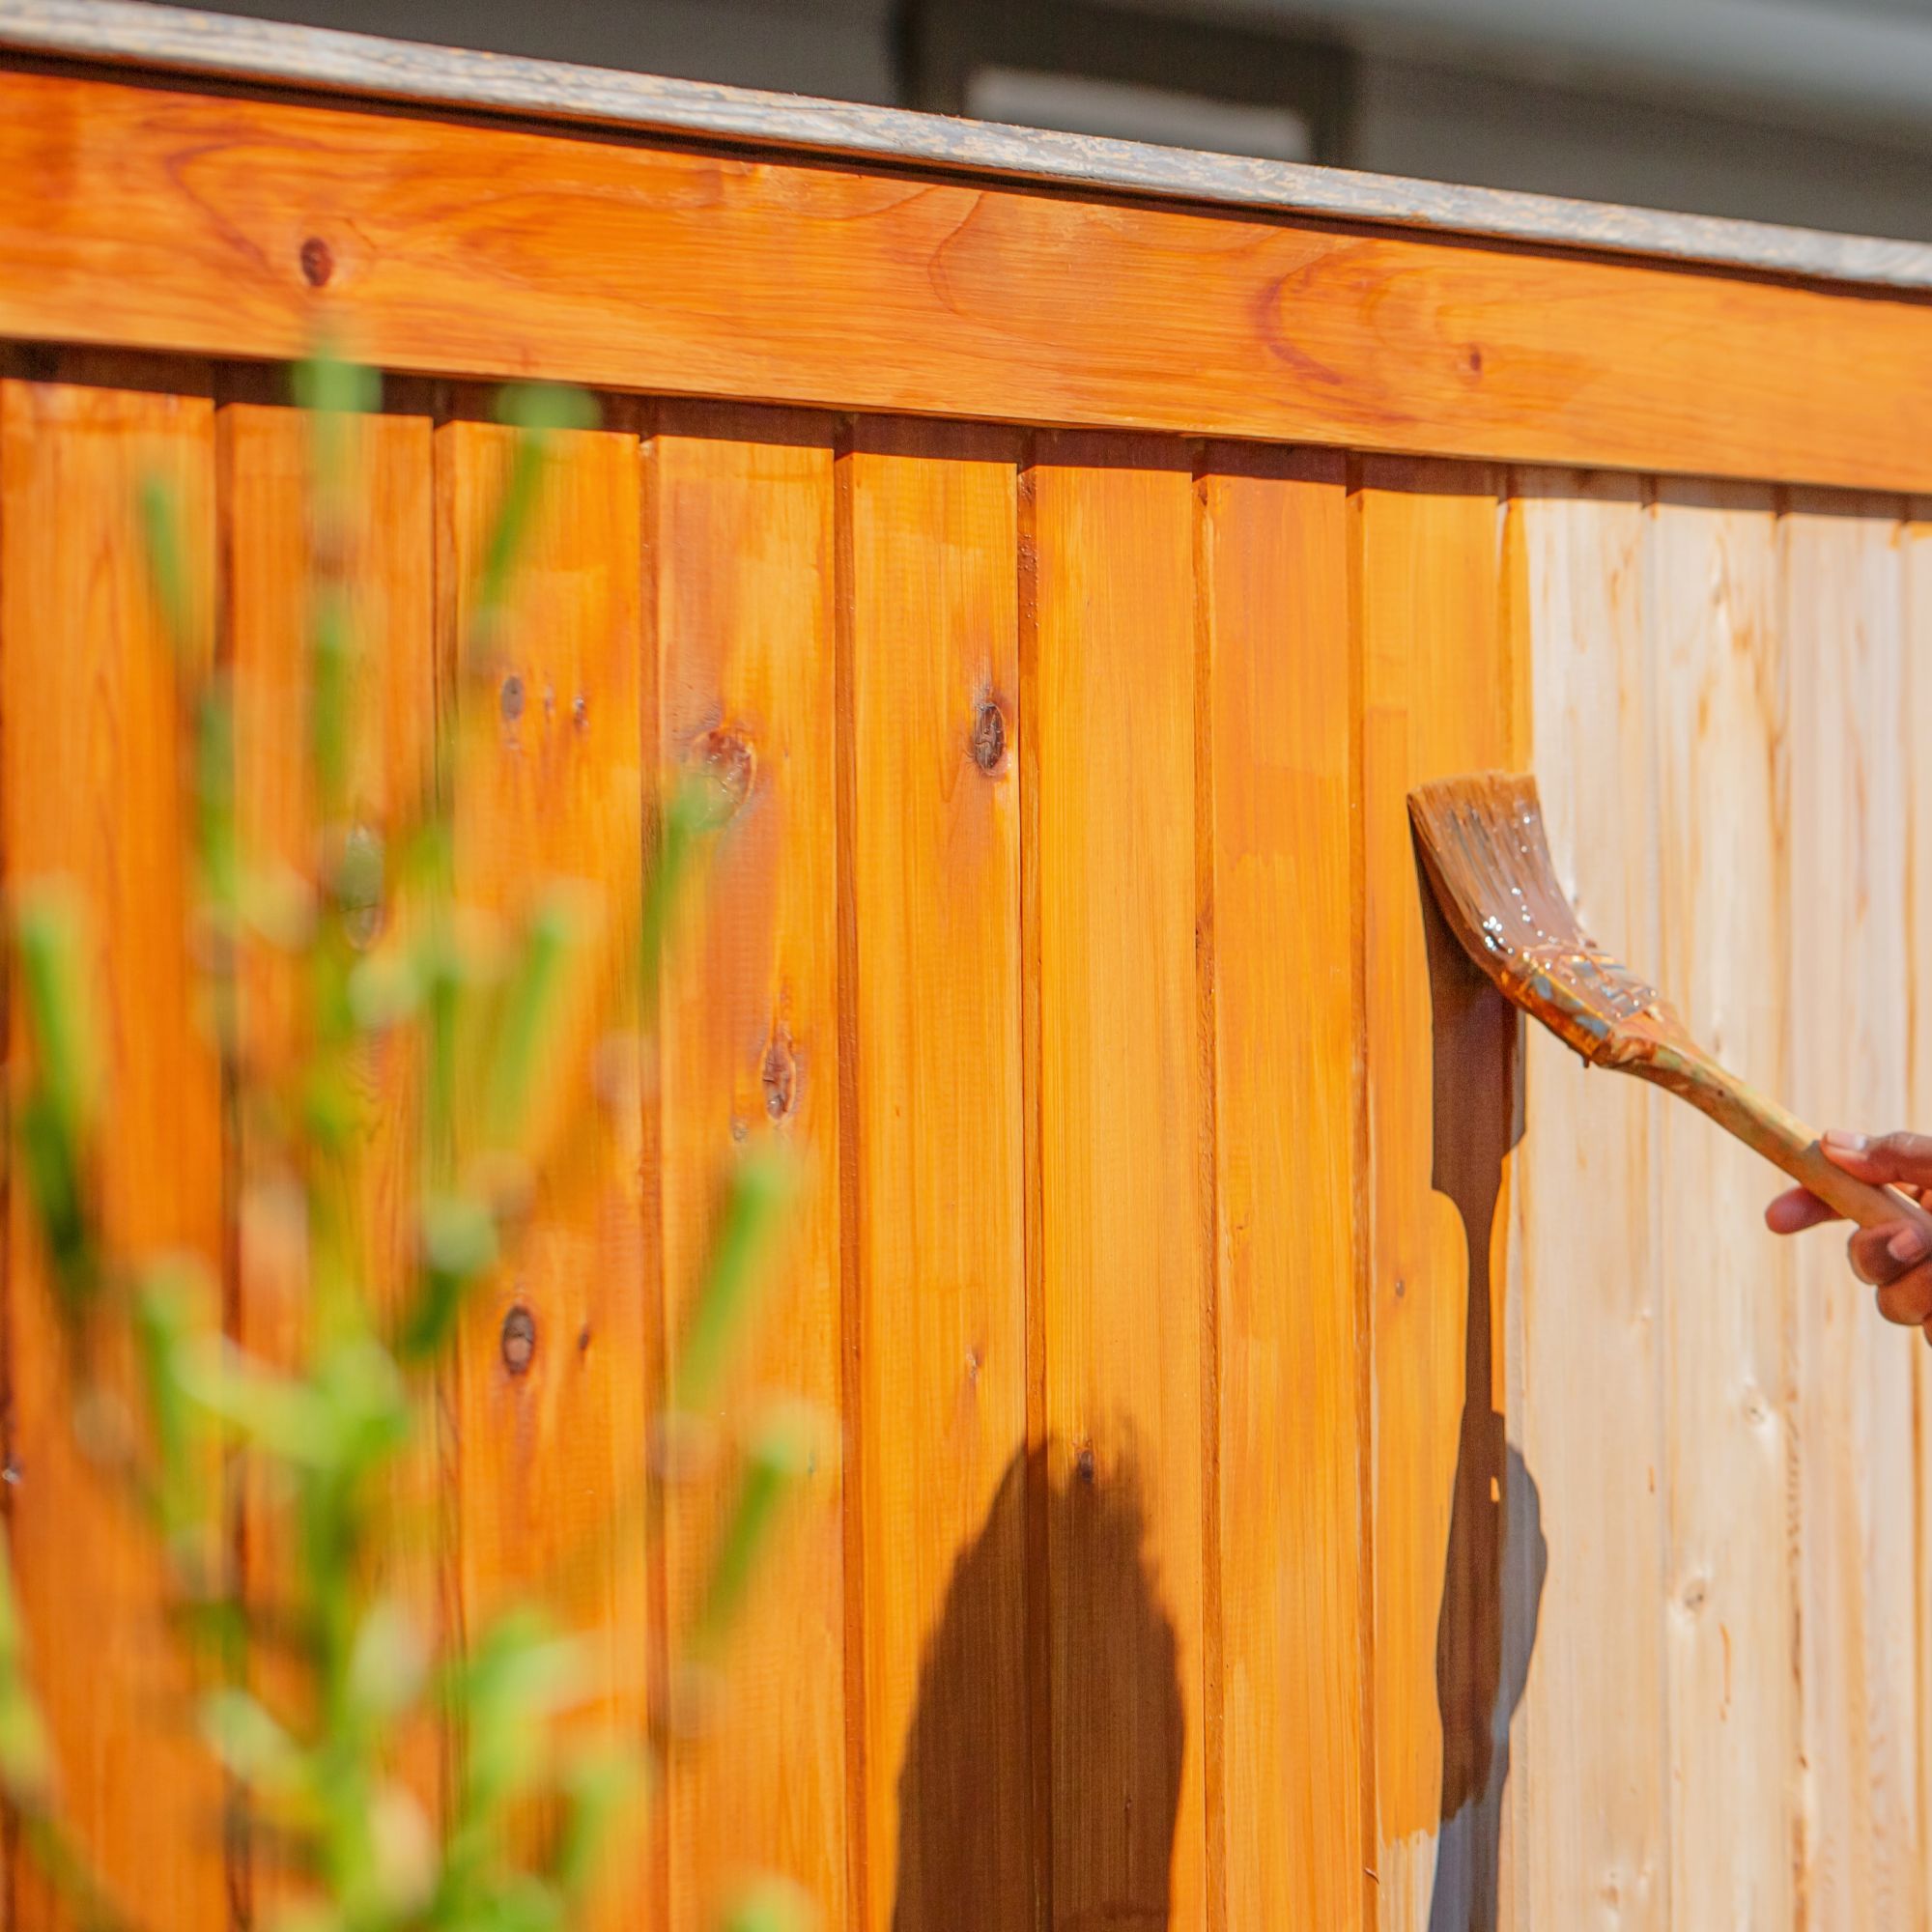
Paint needs to be stirred so that all of the liquid and solid components in the mixture are distributed evenly, as these naturally separate in the tin. So, the fence will wind up with a better colour and texture if you take the time to stir the paint first.
'Use a paintbrush handle or another wooden tool to mix the paint to give your fence the best finish,' Clara advises. It's a quick job that can be done in a matter of seconds, so there's no excuse on this one.
4. Painting when the fence is wet or damp
Rainy days are part and parcel of British weather, meaning our garden fences can be wet more often than dry. While it's understandable that you might want to seize the moment and paint your fence after a downpour - it's a job you want to get done when you have a chance, after all - this is a big mistake, according to the experts.
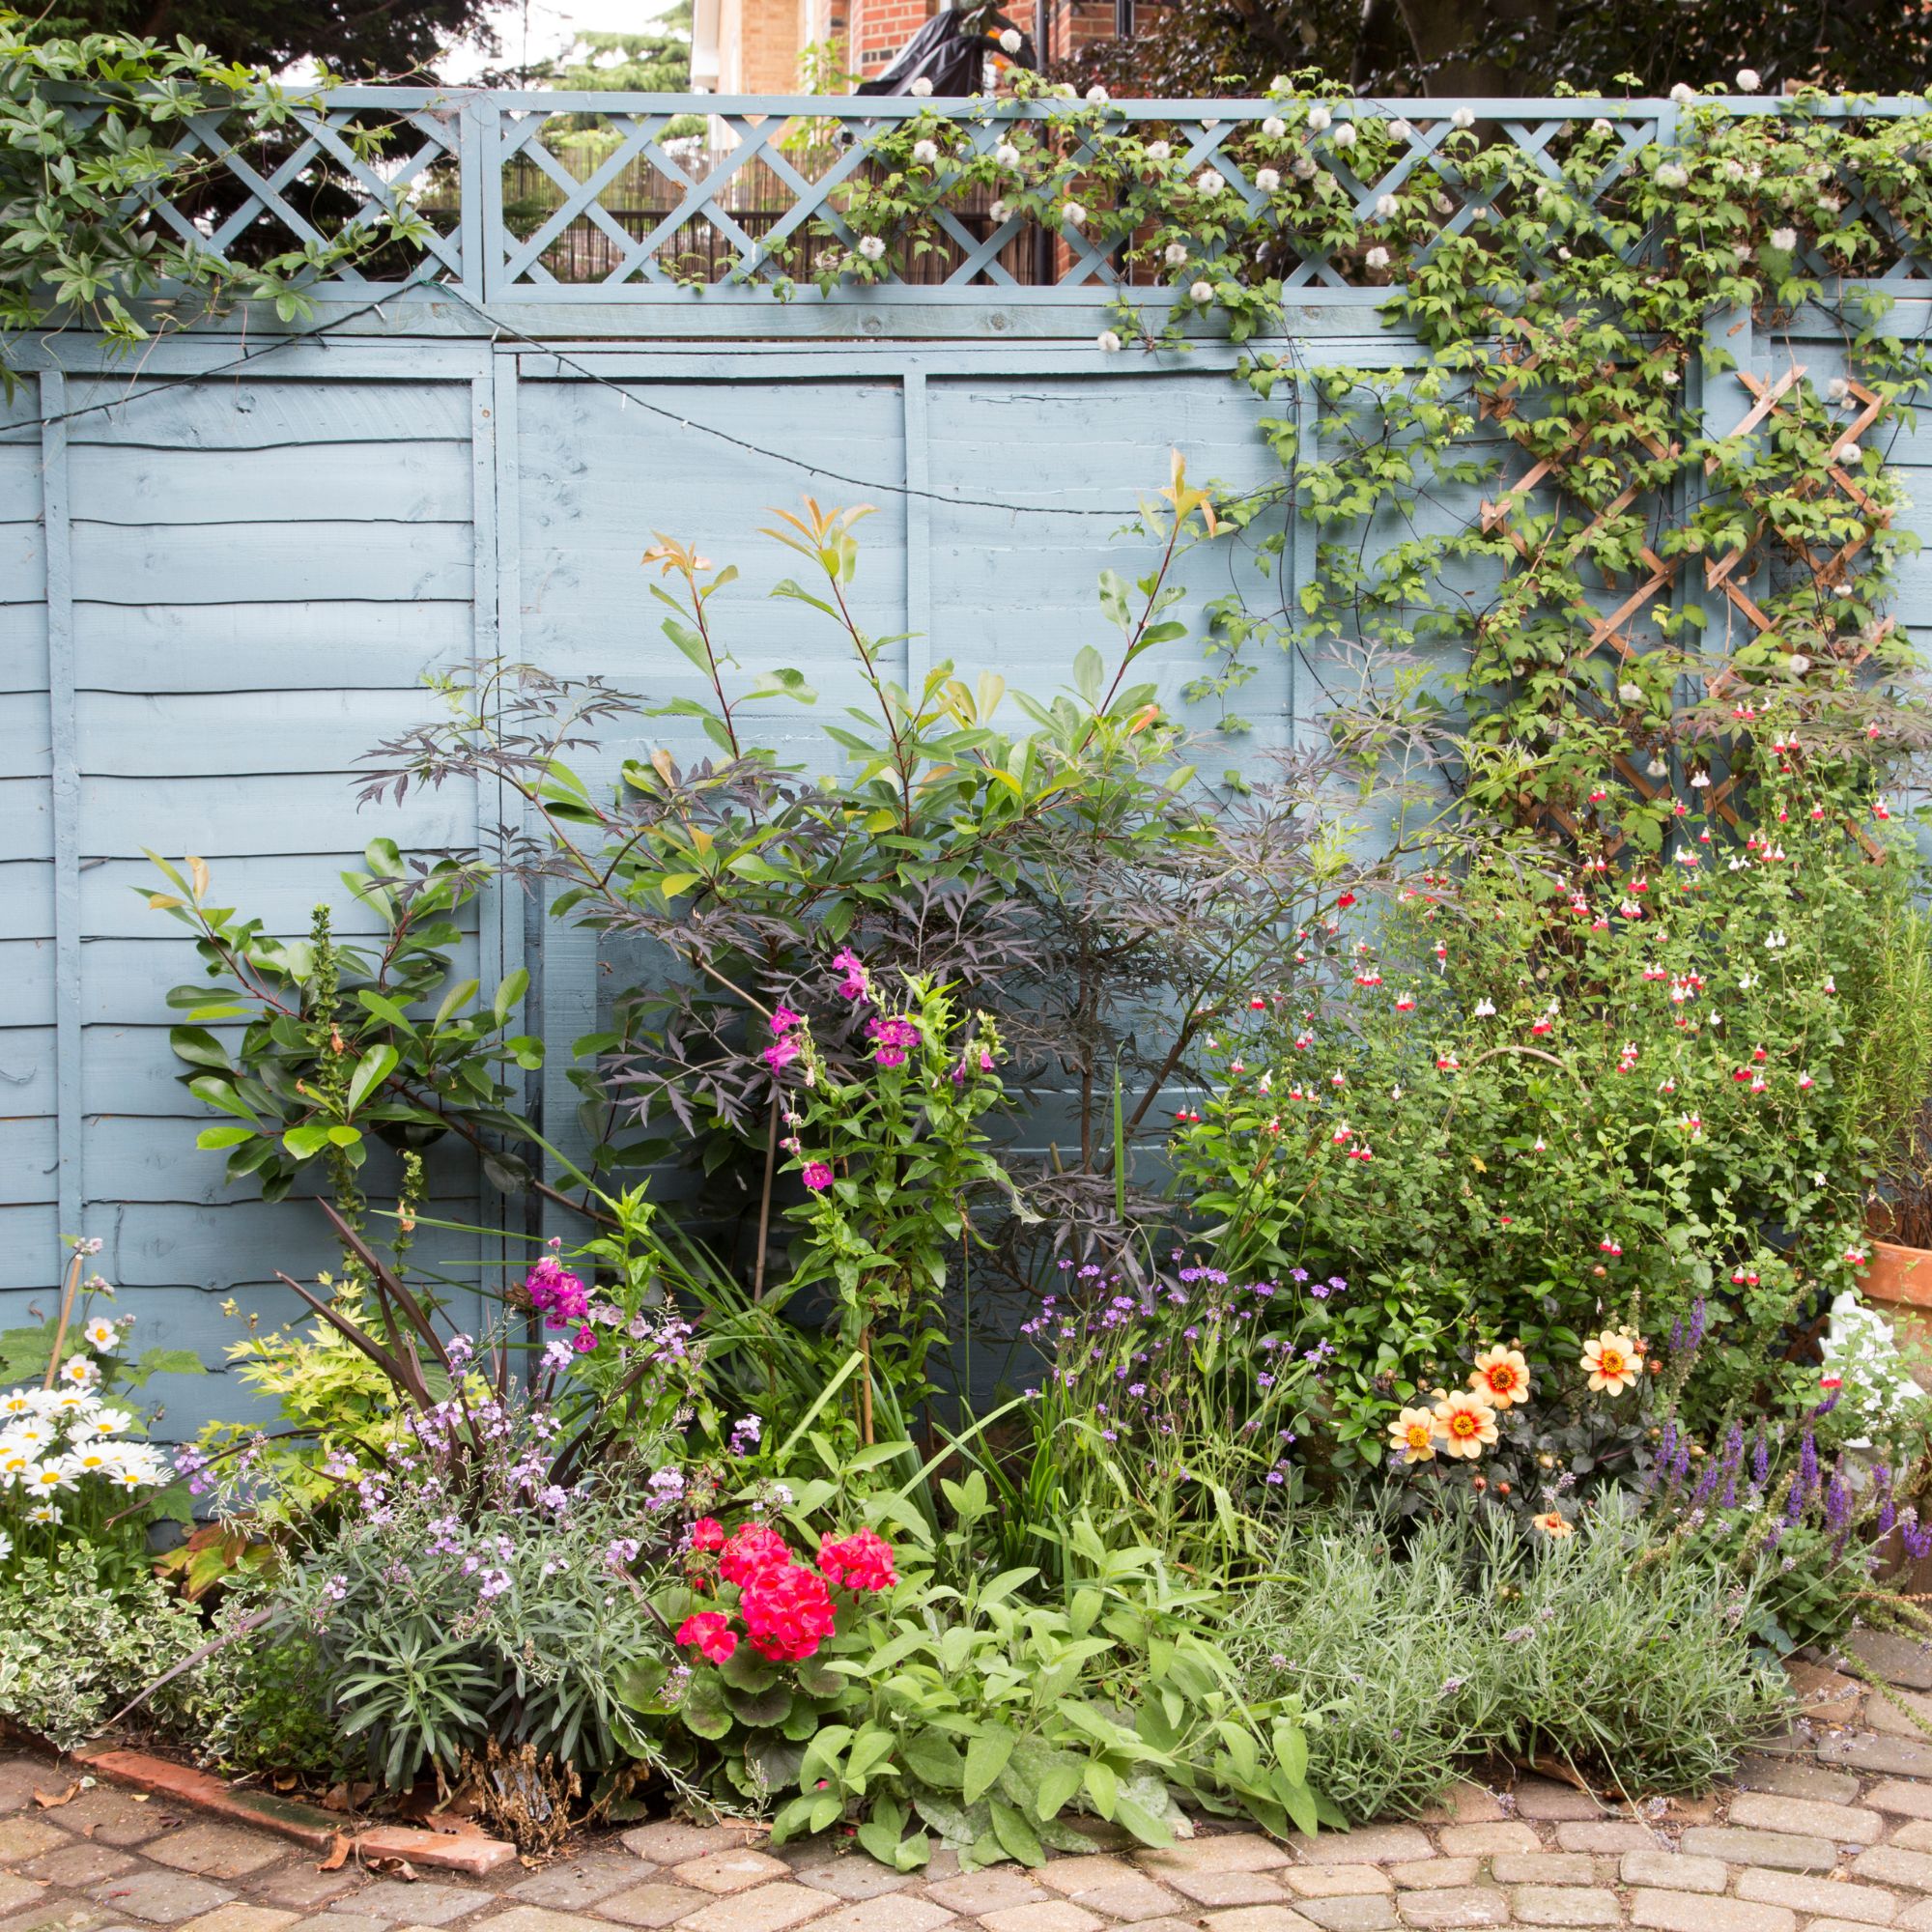
'Always wait until the fence is dry before repainting as the paint won’t adhere properly on a wet surface,' Clara warns. 'Otherwise, you'll need to use a product that’s specially formulated to work on damp wood.'
Painting on wet wood will lead to flaking, peeling, and bubbling. You'll probably end up scraping off the new paint soon after it's dry and having to start again, so save yourself some effort and cost by waiting until your fence is completely dry.
5. Not spreading the paint evenly
When it comes to actually painting the fence, we can often stop paying close attention to what we're doing once we get into the flow. But, this can lead to spreading the paint too far or too thin, which results in an uneven finish in terms of both colour and texture. That's not we want when we're going to the effort of repainting.
'Focus on painting one panel at a time to avoid this,' Clara says. 'When using a paint brush, make sure to wipe off any excess paint on the rim of the tin and spread the paint across the fence, going with the grain.'
Keep an eye out for any drips running down the panels as you paint as well. Run your brush over these to catch them and stop them from creating that uneven finish.
6. Using the wrong brush
One of the most commonly committed fence painting mistakes is using the wrong brush for the job, which can have a big impact on the final results. It's tempting to use brushes you already have lying round the house, but you'll get a far better finish if you opt for a brush that's designed with fence painting in mind.
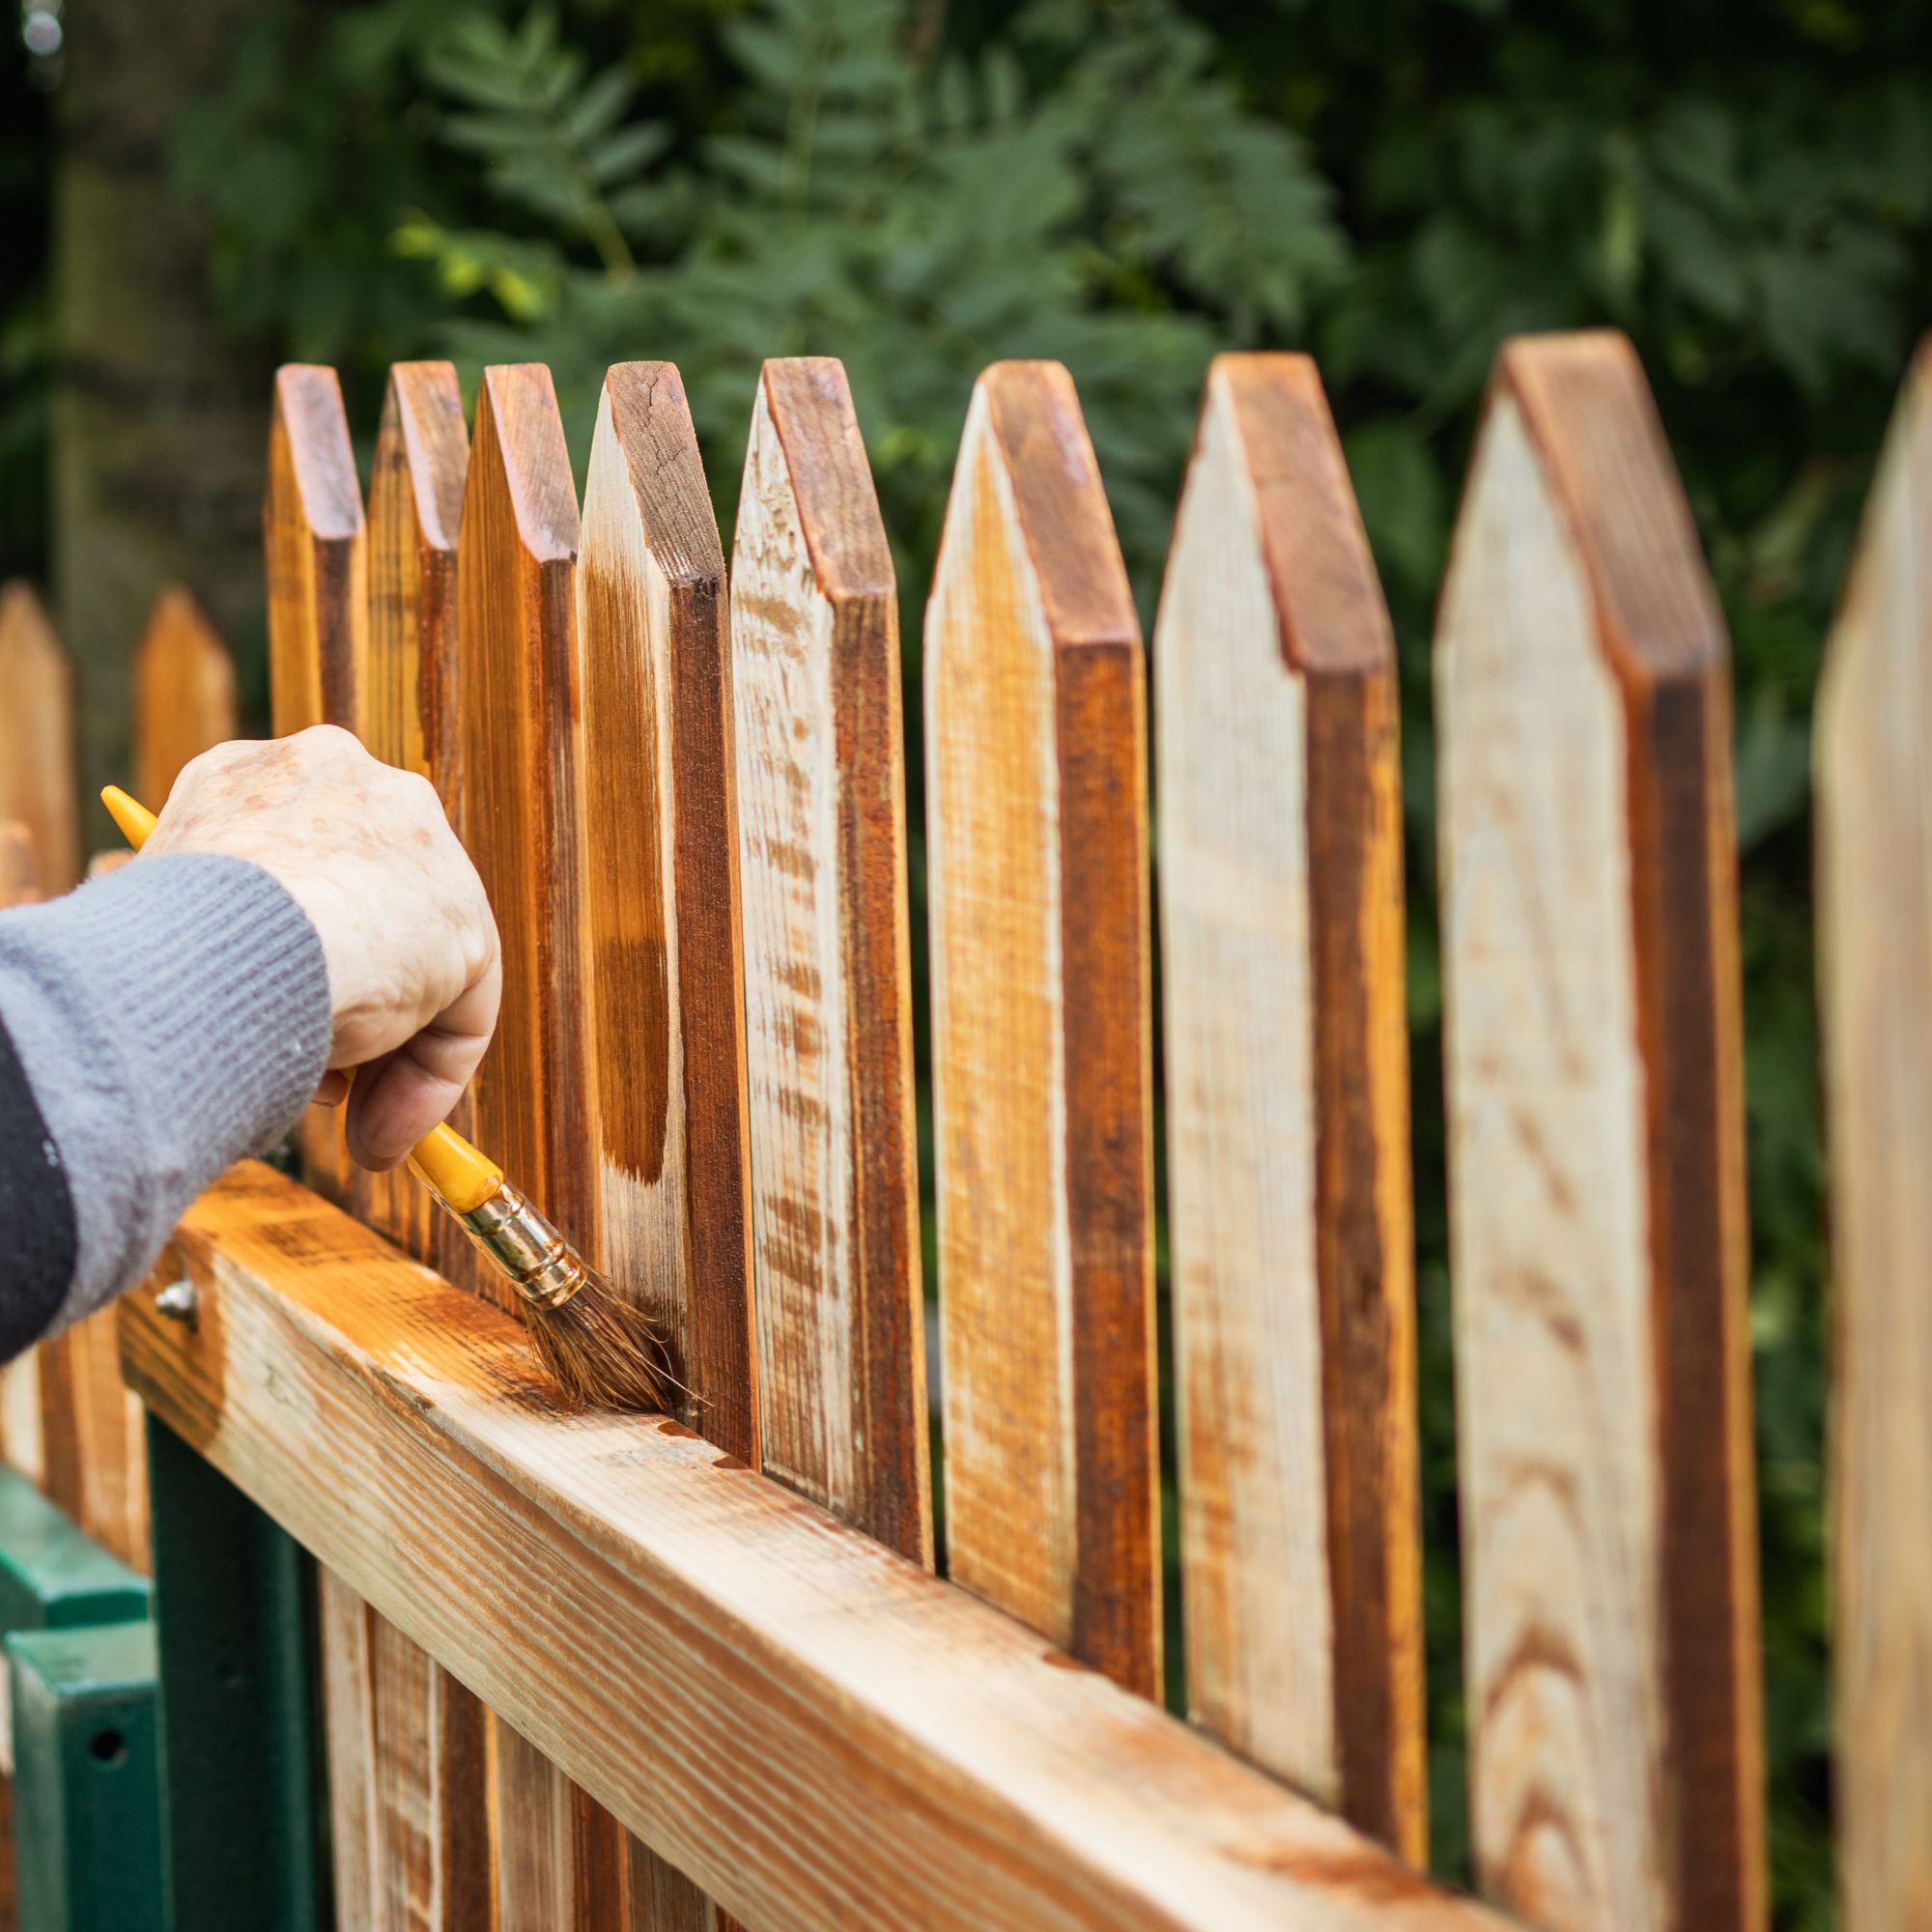
'We don’t recommend using standard indoor paint brushes or small DIY brushes for fence painting,' Nick Parsons, Technical Manager at Harris comments. 'These types tend to be too narrow and hold less product, which can lead to an uneven finish, streaks, or longer painting time. They also may not be designed for outdoor use or rougher surfaces, which can cause premature wear.'
The Harris Ultimate Shed & Fence Swan Brush, £15.49 from Amazon, is a good option for fence painting. It's designed to give a smooth, even coat and is the ideal size for fence panels. You can also use a roller brush to speed up the process, but you'll need to switch to a smaller brush for edges and corners.
7. Holding the paint sprayer too close
While some prefer a traditional brush or roller for painting the fence, you can opt for a paint sprayer instead. They're more expensive, but will get the job done quicker.
But it's easy to use a sprayer incorrectly when painting the fence. The biggest mistake people make is holding the sprayer too closely to the panels, which can cause several issues, including a build-up of excess paint, and runs or drips.
'Make sure the sprayer is about 15cm away from the surface of your fence to achieve an even and consistent coat,' Clara says. 'This distance will prevent drips and splatters. It's also best to work in horizontal lines when using a paint sprayer, dropping down and overlapping by around 50% with each new line.'
8. Painting over peeling paint
Don't be tempted to go straight over old paint with a fresh coat. It's not always necessary to scrape off the old paint, but if it's cracked or peeling, it's essential not to add any fresh paint on top of it.
'If the existing paint is flaking, peeling, or uneven, it’s important to sand or scrape those areas back to create a smooth surface for the new coat to adhere to,' explains Clair Albone, Senior Category Manager for Gardens at Wickes. 'Leaving loose paint behind will affect the finish and could lead to premature peeling.'
A tool like the Stanley Long Handle Scraper, £13.20 from Amazon will make light work of removing old paint before you apply a fresh coat. It's well worth taking the time over if you want to get an even finish at the end.
FAQs
Should you pressure wash a fence before painting?
Enlisting the help of one of the best pressure washers to clean the fence before you paint it is helpful. It will deep clean the fence and remove every bit of dirt, grime, and algae. But, it needs to be done with care.
'Too much pressure can damage the wood, especially if it’s older or untreated,' Clair explains. 'If you do choose to pressure wash, always allow the fence to dry out fully - ideally for 24–48 hours - before applying any paint.'
If you don't have a pressure washer, you can still get good results at the end if you take the time to clean the fence first. Use a wire brush to scrape off any dirt, then use an outdoor cleaning solution like the Algon Organic Fence & Outdoor Furniture Cleaner, £12.99 at Amazon. And remember, the surface of the fence needs to be completely dry before you start painting.
Can you legally paint your side of your neighbour's fence?
If your fence is shared with your neighbour, you'll need to check who legally owns it before painting - whether you're thinking about painting your neighbour's side of the fence or your own. Ownership usually comes down to where the boundary lies between your homes and where the fence sits between the two.
'If you’re unsure, a good place to start is checking the deeds you received when you bought the property - you’ll often see a ‘T’ indicating which fence side is your responsibility to maintain,' Clara from Ronseal advises. 'If the land registry states that you are the sole owner of the fence, then you’re free to make any alterations you like, including painting it.'
But, if it's your neighbour who owns the fence, you're not legally allowed to paint it, even if it's just the side facing your garden. You'd need to obtain their permission first, so it's always worth having the conversation before you start to paint.
Now you know which common fence painting mistakes to avoid, you should be well-prepared to paint your fence properly and get the best results in time for summer.
Get the Ideal Home Newsletter
Sign up to our newsletter for style and decor inspiration, house makeovers, project advice and more.

Katie has been writing freelance since early 2022, specialising in all things homes and gardens, following achieving a Masters in Media and Journalism. She started out writing e-commerce content for several of Future’s interior titles, including Real Homes, Gardeningetc, Livingetc, and Homes and Gardens. Since then she’s been a regular contributor on Ideal Home’s digital team, covering news topics, how-to guides, and product reviews.
You must confirm your public display name before commenting
Please logout and then login again, you will then be prompted to enter your display name.
-
 This seaside cottage reinvents coastal decor with bold colour and pattern
'I fill spaces with colour, pattern, loads of comfy seating and pre-loved furniture'
By Louise O'Bryan
-
 5 rules for organised corner cabinets in a small kitchen – expert-backed strategies will help keep corner cabinets tidy and functional
Never lose anything to the back of the cupboard again
By Linda Clayton
-
 Wisteria umbrellas are this spring's breakout garden trend – not only are they perfect for small spaces, but they're easier to maintain, too
I spoke to the National Trust to find out why
By Sophie King

