How to lay decking - A guide to revamping your outdoor space this summer
No need to call in the professionals, with our guide you'll be able to safely build a small decking area yourself
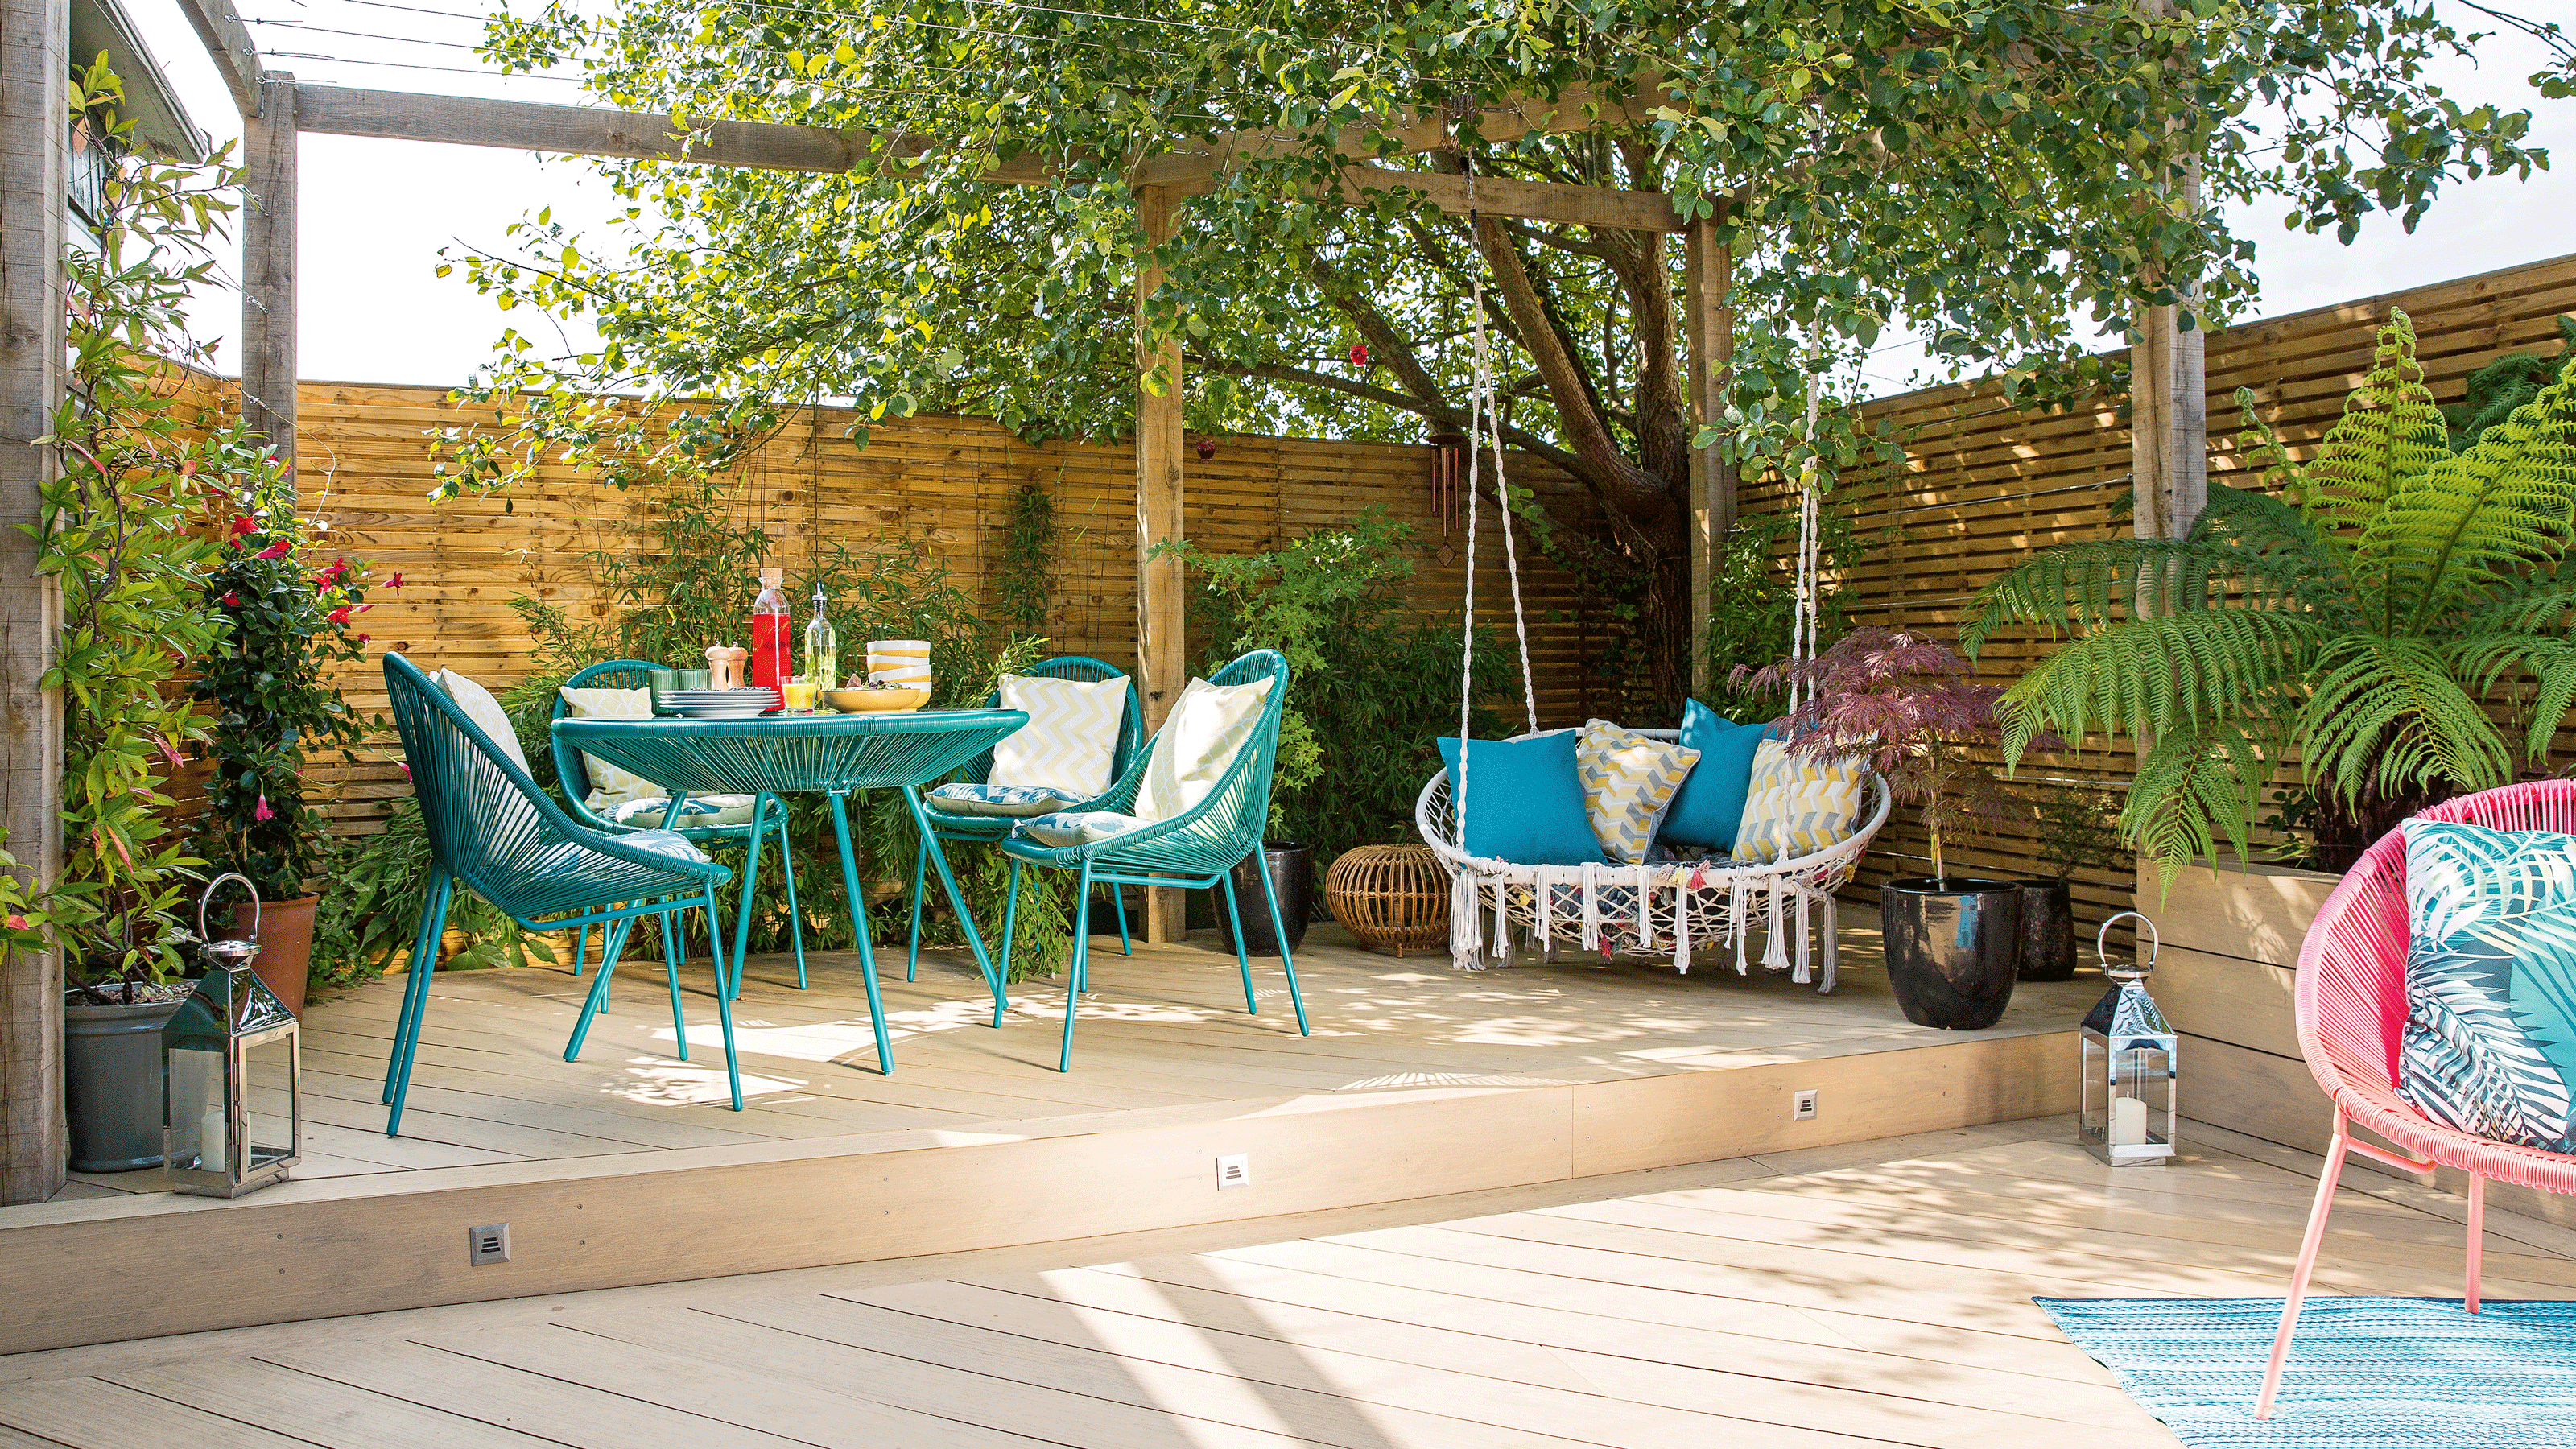

Adding decking to your garden is a great way to divide it up into zones, creating a stylish base for an outdoor dining or seating area. If you're daunted by how to lay decking, fear not, with a few DIY skills and a helper you can bring your decking ideas to life.
Before you begin you'll need to decide on the type of decking you will use. Softwoods are the cheapest, but their lifespan isn't as long as hardwood boards. While composite decking is the most hardwearing, resistant to rot and will require less maintenance – although the price reflects this.
'Installing decking helps to expand a property's living space, encourages indoor-outdoor living and can often add value to a property, so choosing the right type of decking is really important,' says Justin Peckham regional head of sales (UK and Nordics) for Accoya, the market-leading brand of high performance and sustainable wood.
How to lay decking
There are plenty of decking ideas to help you create a unique look, laying boards horizontally will make the deck appear wider, while laying them diagonally gives a more modern feel and draws your eye out into the garden beyond. For longer-lasting decking, take a look at composite decking ideas for a durable design. It's a good job to tackle in the spring so you can enjoy your new decking space in time for the summer.
What you will need
- Tape measure – this tape measure at Toolstation will be handy
- Level – this spirit level at Screwfix will help with the project
- Builder's line – this builder's line at Amazon can mark out the area
- Weed membrane – this weed membrane at Travis Perkins will keep weeds at bay
- Pavers – these pavers at Wickes will be a sturdy base for the frame
- Decking joists – these decking joists at Wickes will make a good frame
- Exterior screws – this range of exterior timber screws at Wickes are a good choice
- Decking screws – these decking screws at Toolstation will help secure boards in place
- Drill – this DeWalt combi drill at Screwfix is great for any DIY project
- Saw – this Mitre saw at Screwfix is a handy piece of kit
- Timber decking boards – these decking boards at Lawsons are pretreated
1. Measure the area
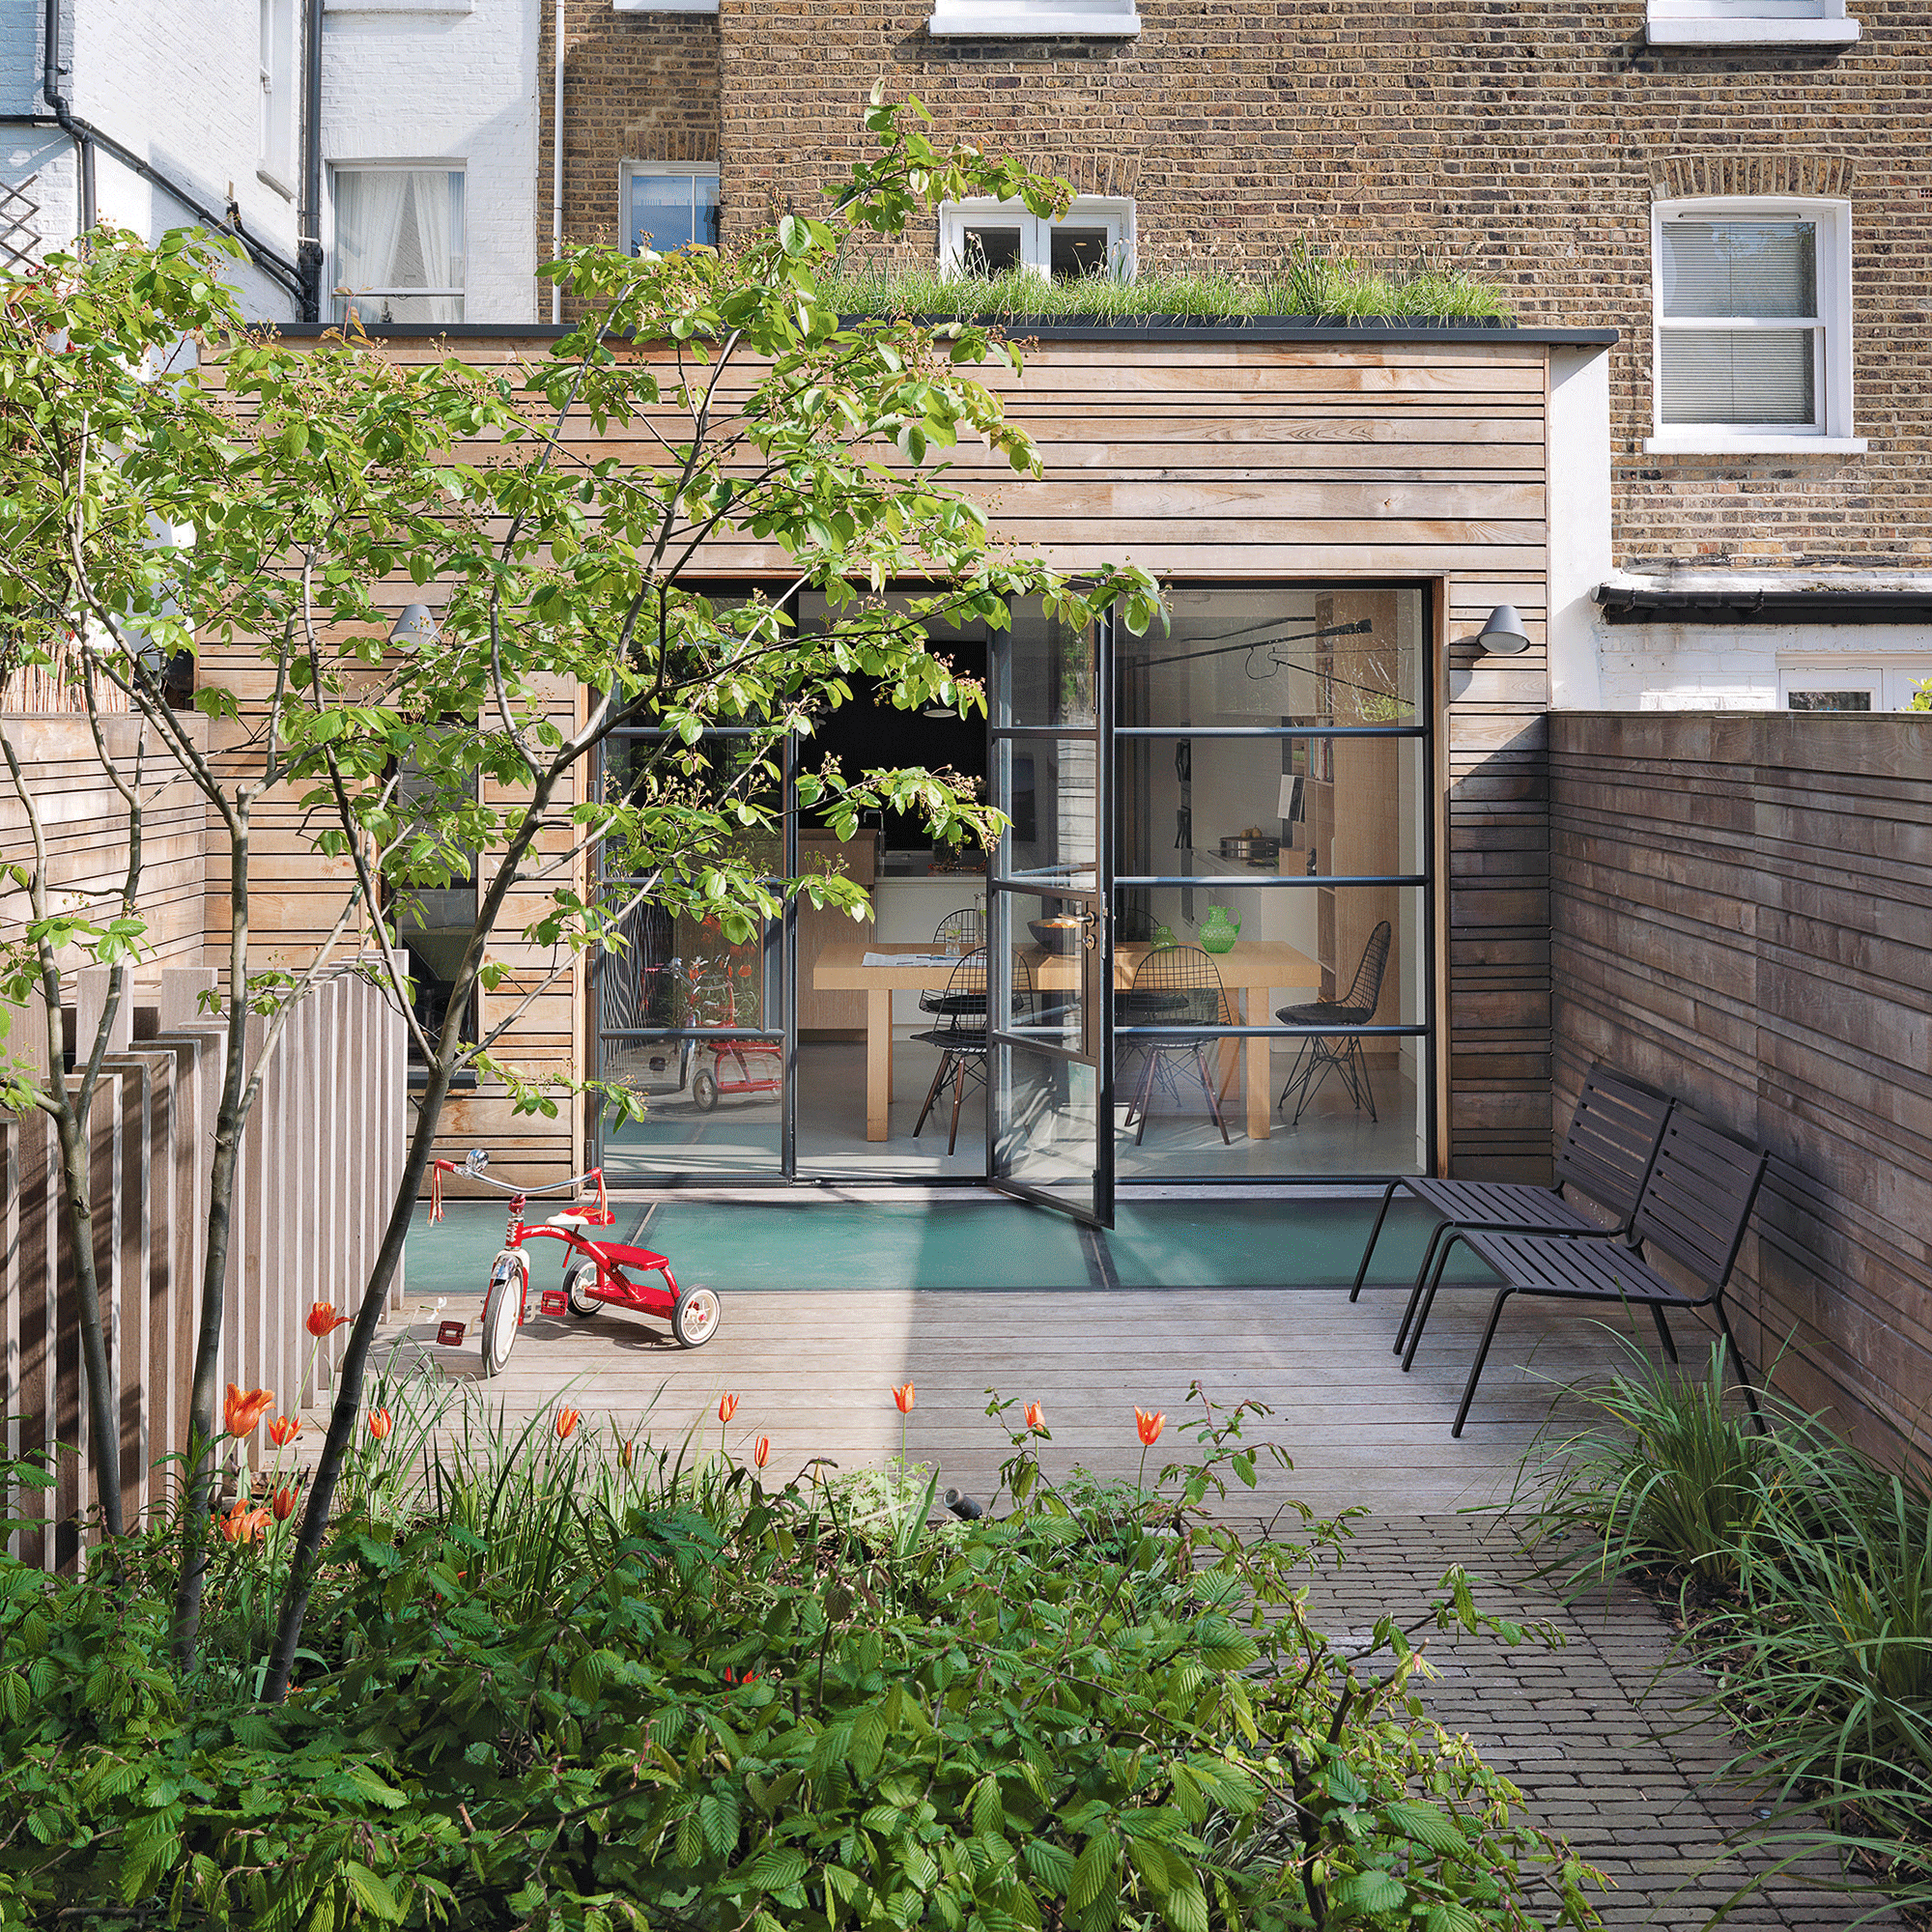
Start by measuring out the area for your decking, a rectangular or square shape is easiest to build. Add markers to the corners and a builder's line between each one so you can see how the space will look.
2. Prepare the ground
Next, it's important when building your supporting frame for the decking to make sure it doesn't come directly into contact with the ground. 'Preparing the ground for your decking is an essential part of its installation and is similar regardless of the decking material you choose,' advises Arran Driscoll at Fitrite. 'To start, you need to ensure the surface is level. You need to remove all grass, weeds, flowers, and any big stones so make sure you dig everything out. A spirit level can help you to ensure it is flat.'
Stripping off the turf to around 50mm deep should be sufficient. Then cover the ground with membrane to prevent weed growth and add pavers around every 1400mm across the entire base, so they are supporting both the frame and internal joists.
Cover the remaining membrane with a layer of gravel. If you're building your decking over a patio area, you can use this as your base.
3. Secure a joist to the wall
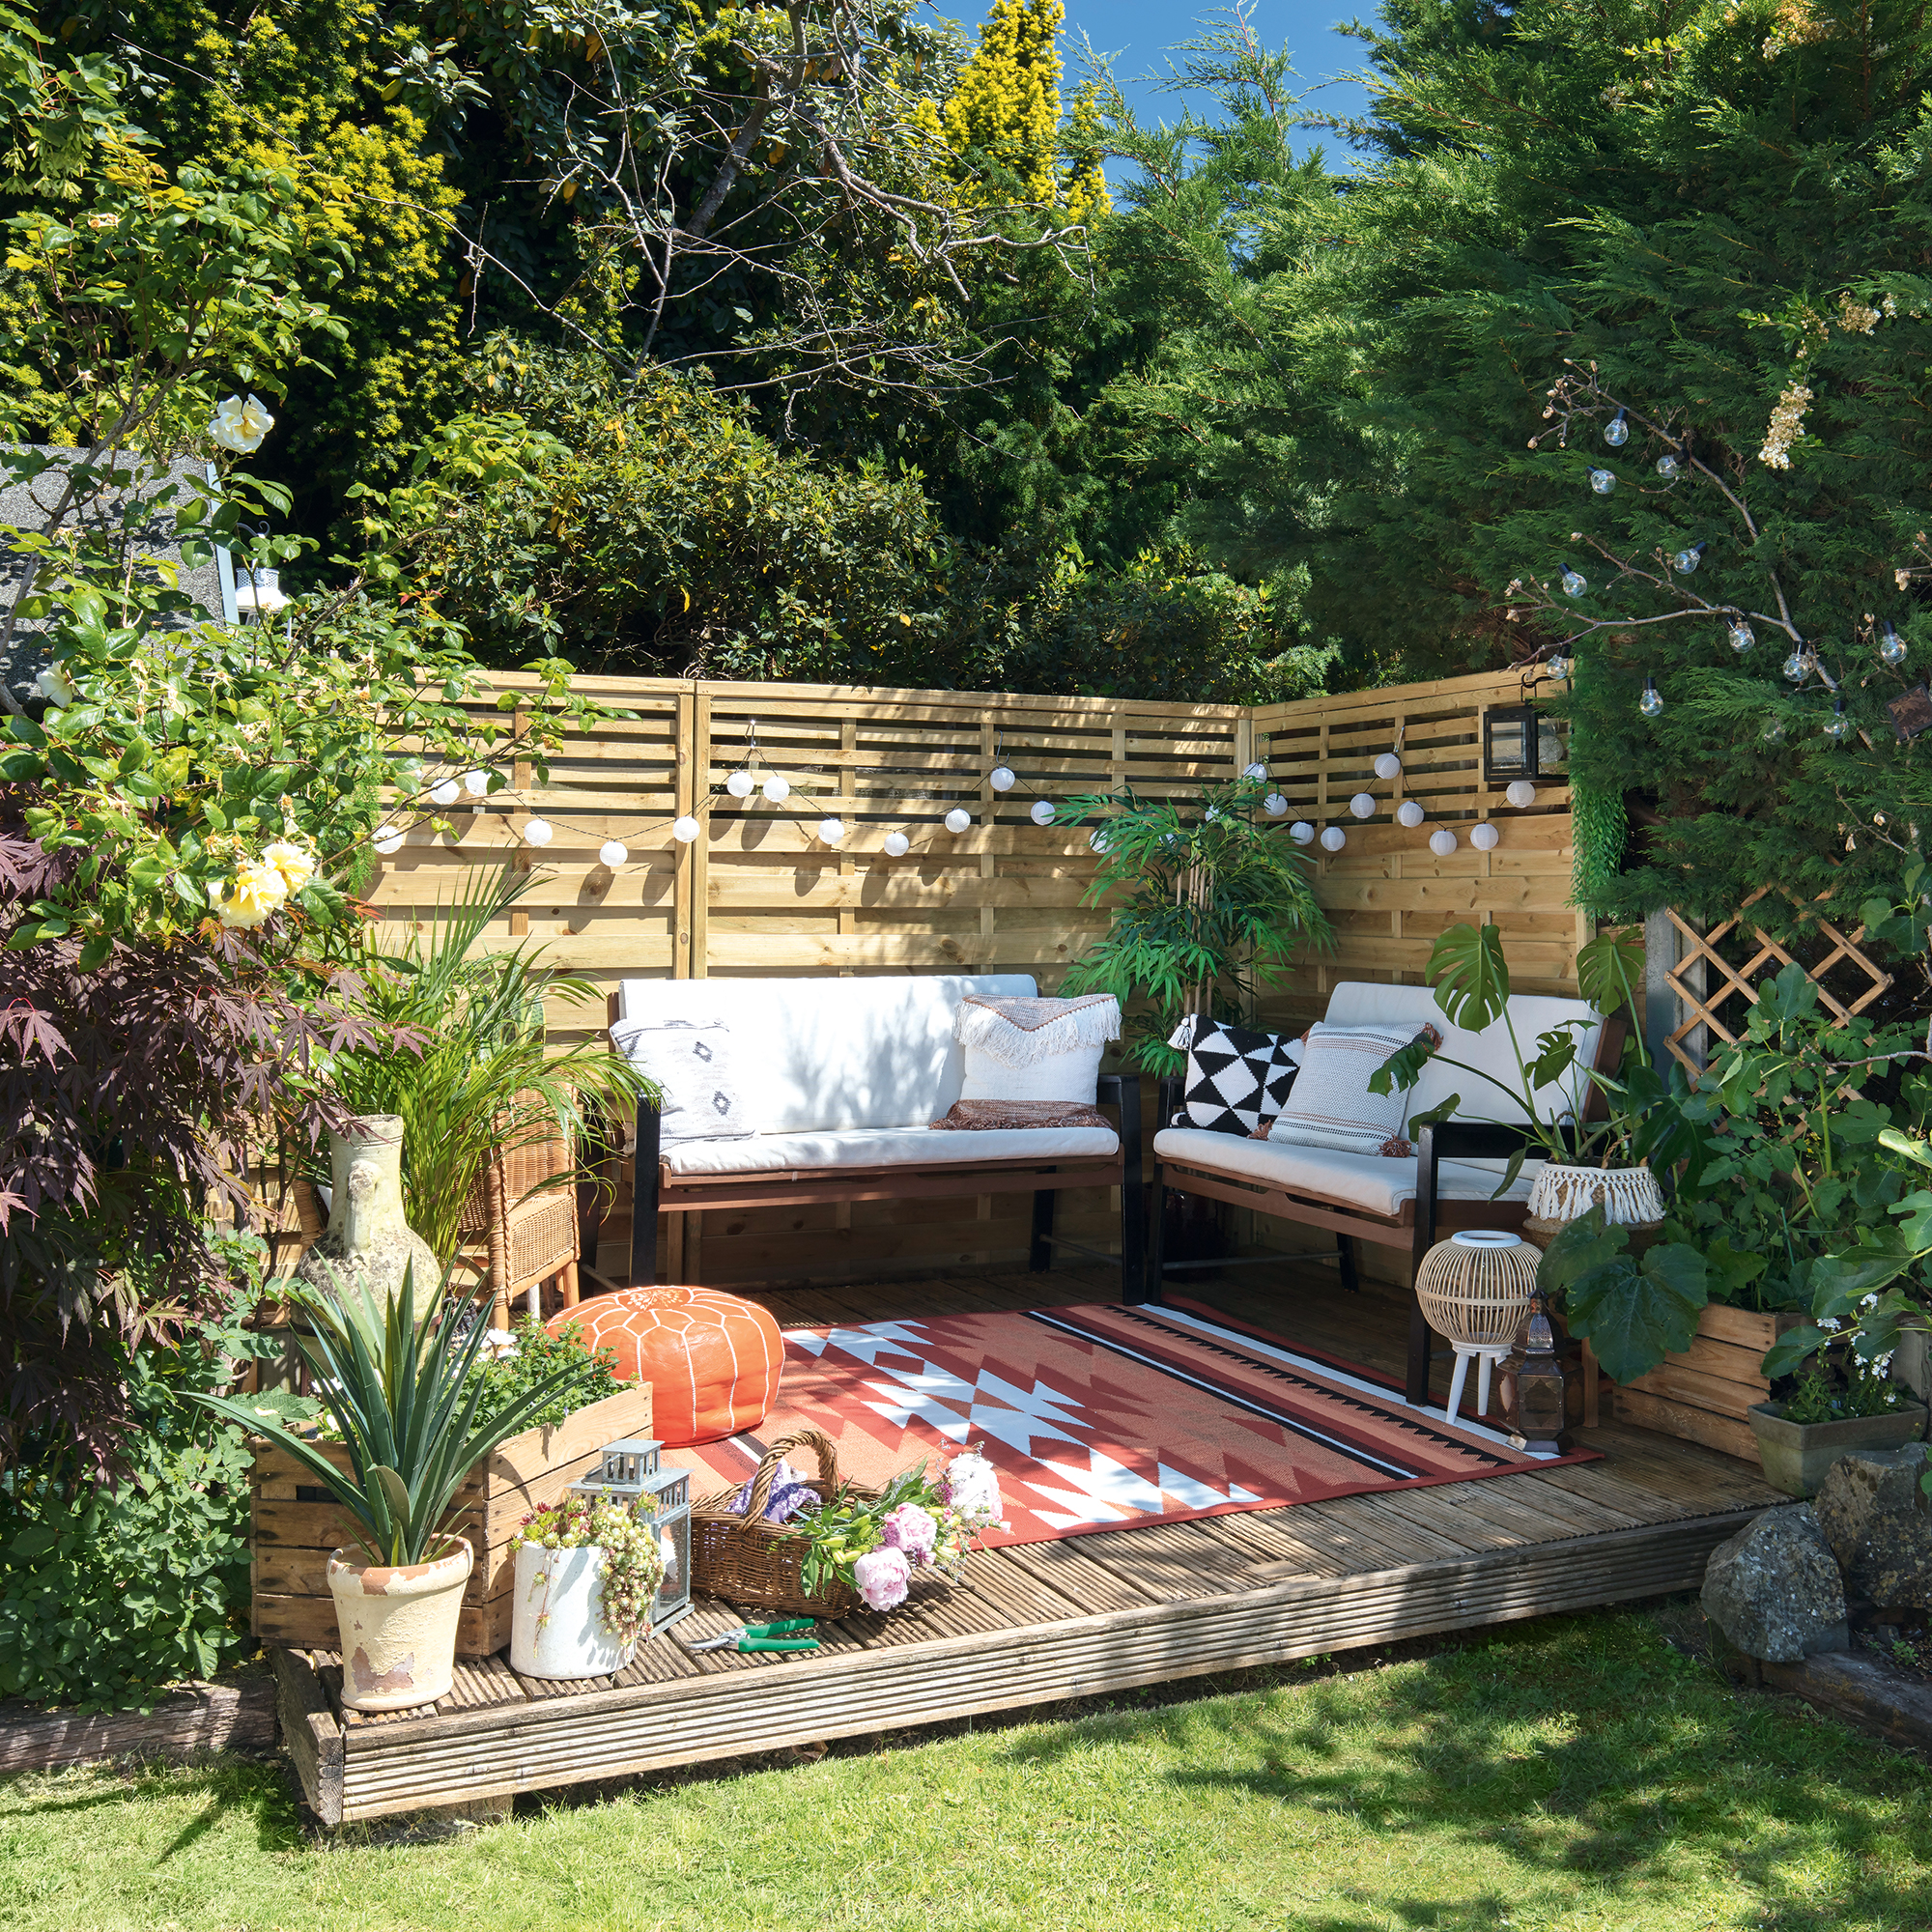
If you're building your decking up against the house, you'll need to secure a joist to the exterior wall to support the frame. When doing this, ensure it is set 150mm below the damp-proof course and avoid covering any air bricks.
Leave a gap of 10mm between the joist and the wall by adding washers to the fixings before securing in place every 600mm with two external suitable screws. Drilling pilot holes into the joists first will make this job easier.
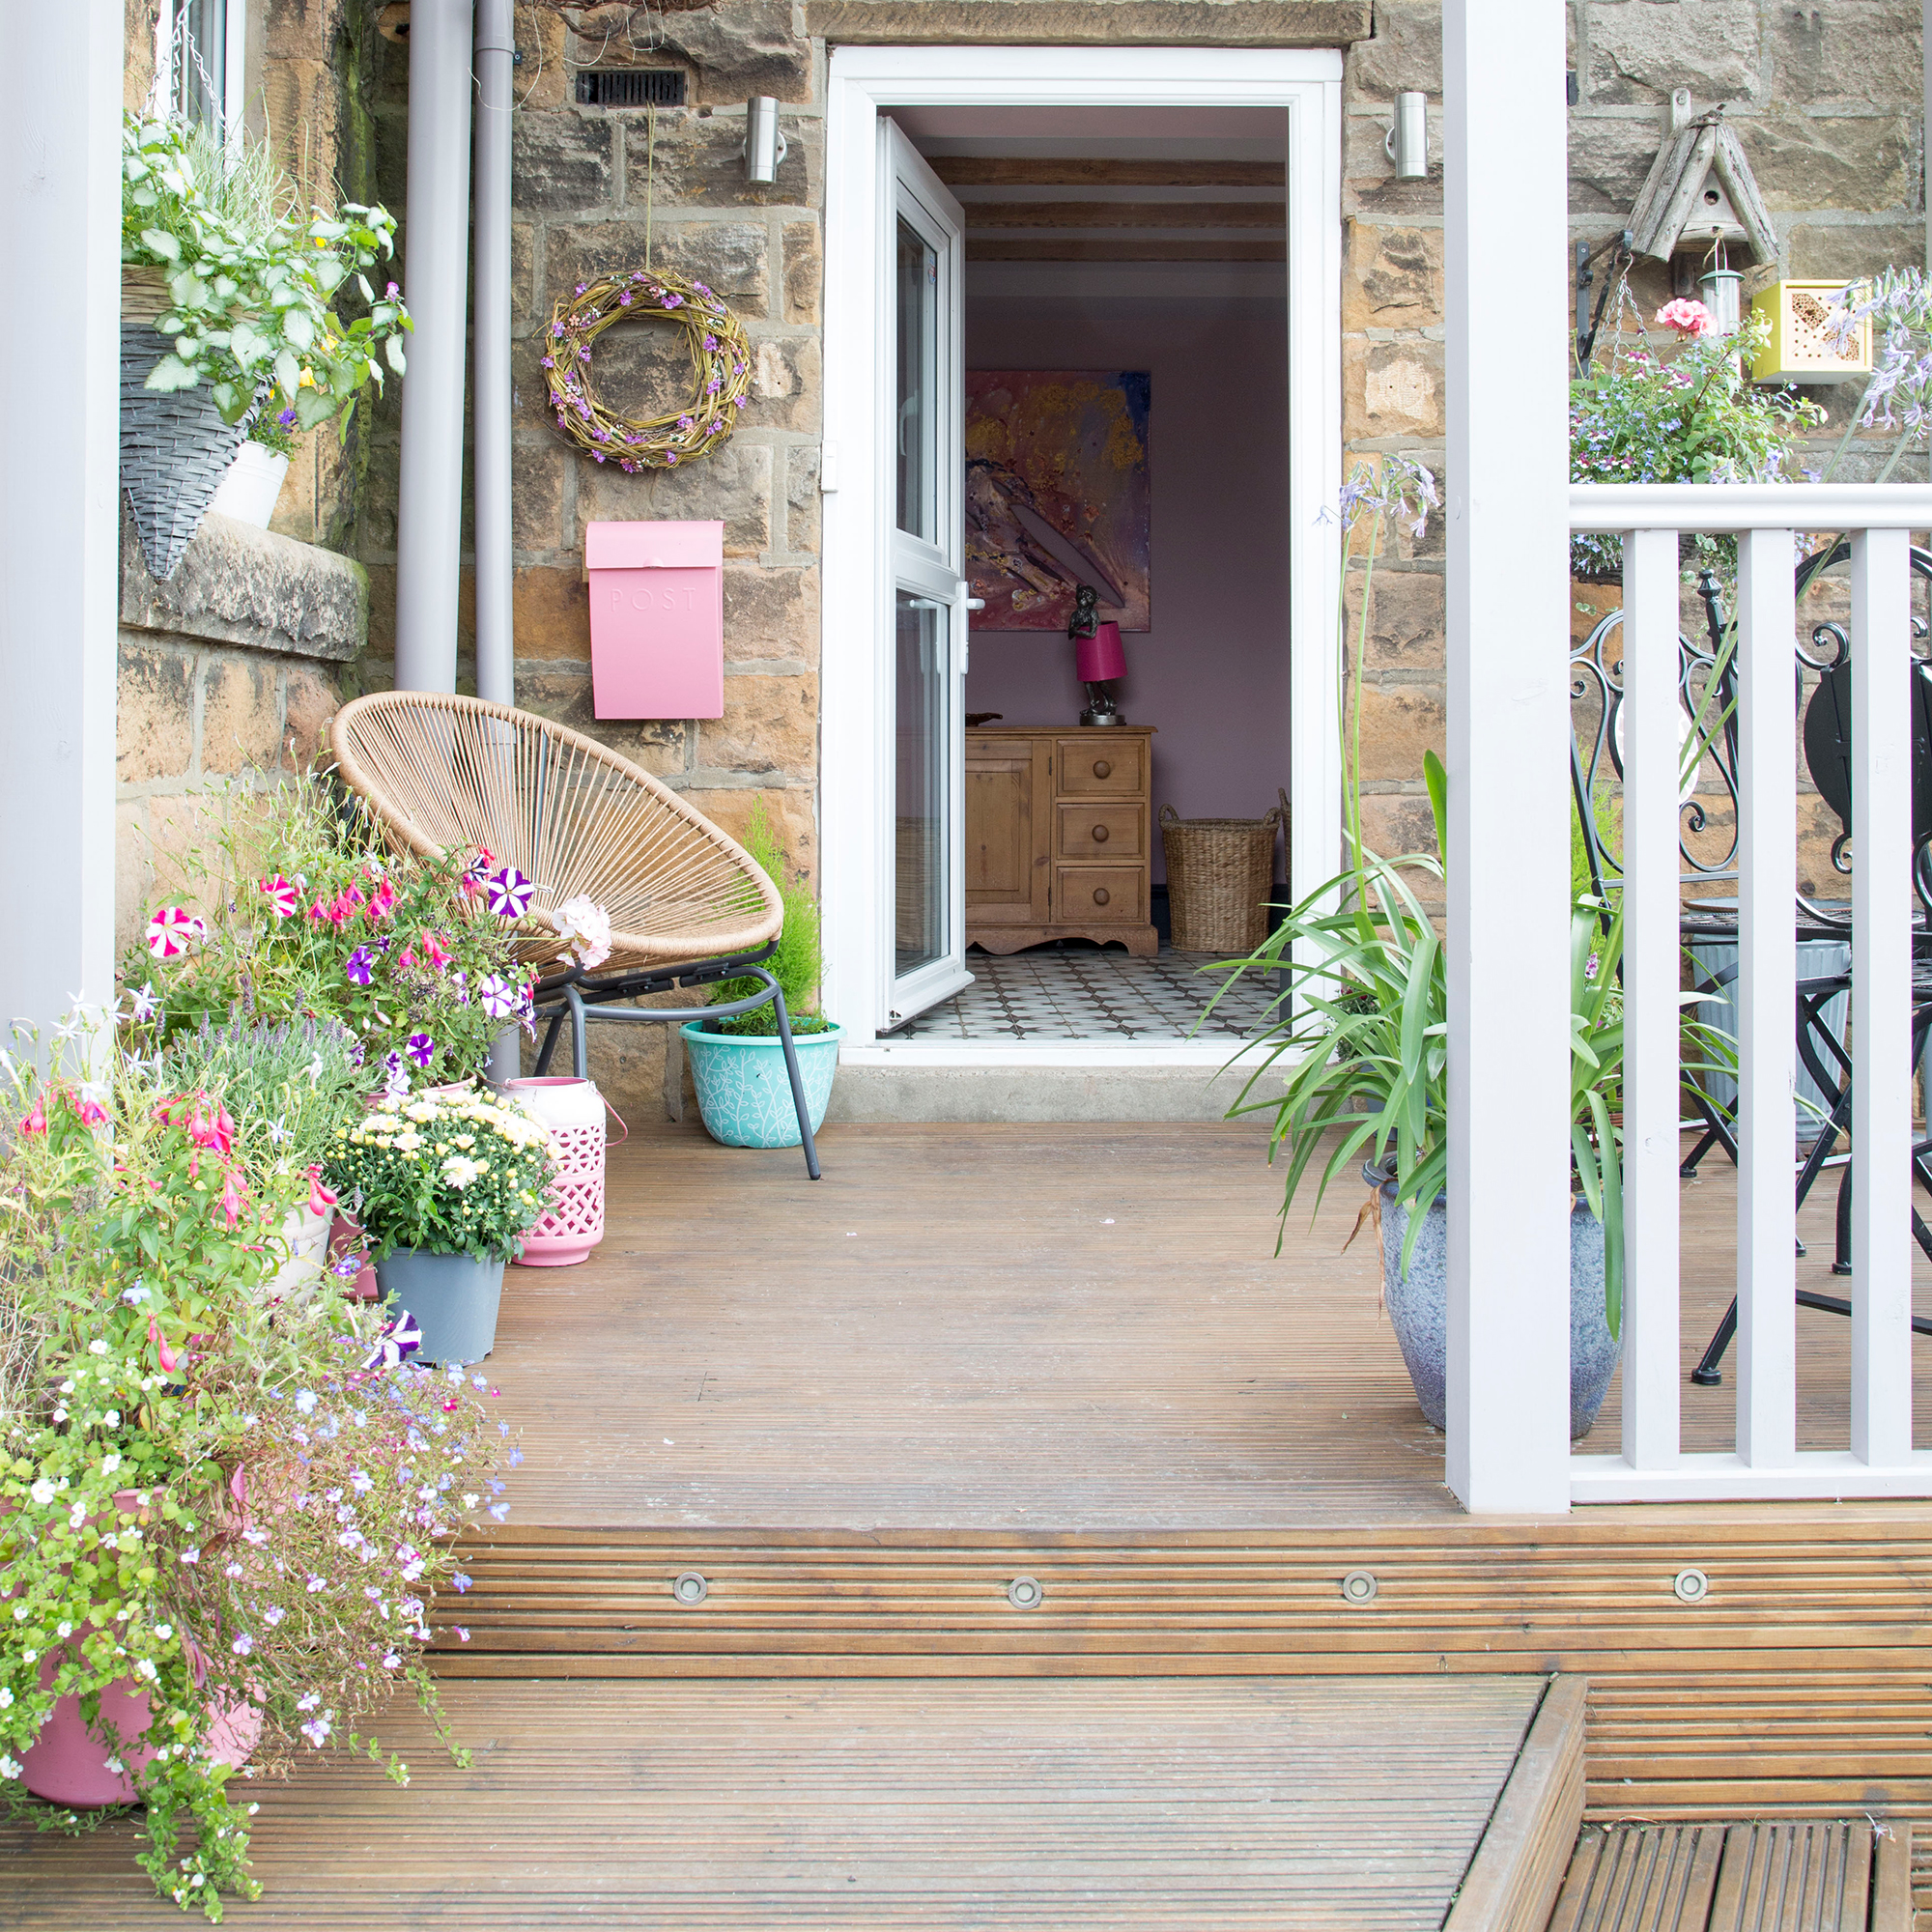
4. Build the frame
Secure the four sides of your decking frame together using suitable outdoor screws, so the frame is resting on the concrete pavers, adding two where each joist connects to the frame. While building the frame make sure the joists fit flush together so the area is flat and level when adding your decking boards.
Once the main frame has been built, add internal joists every 400mm and secure in place with screws. Then add small joists (known as noggins) at right angles between each joist to strengthen the framework. Make sure these are no further than 1200mm apart. Once all the noggins have been added check your decking frame is level.
5. Lay the boards
Decide on the direction you want to lay your decking boards. 'Begin by placing the first board at one corner of the decking area, ensuring it is flush with the outer edge,' advises Dr Aidan Bell, co-founder of EnviroBuild. 'Continue adding boards parallel to each other, leaving a small gap (around 3-6mm) between each board to allow for expansion and drainage.' At each join, secure the board in place with two screws (or using hidden fasteners for composite boards). Countersink the screws to help give the boards a smoother finish.
If you're adding a fascia around the edge of the frame, leave a slight overhang with the edge of each deck board. It's also important to think about how the boards will look once laid. 'To improve stability and aesthetics, stagger the joints between the boards, often in a brick pattern,' adds Dr Aidan Bell. 'This means the ends of the adjacent boards should not align, but rather every other board.'
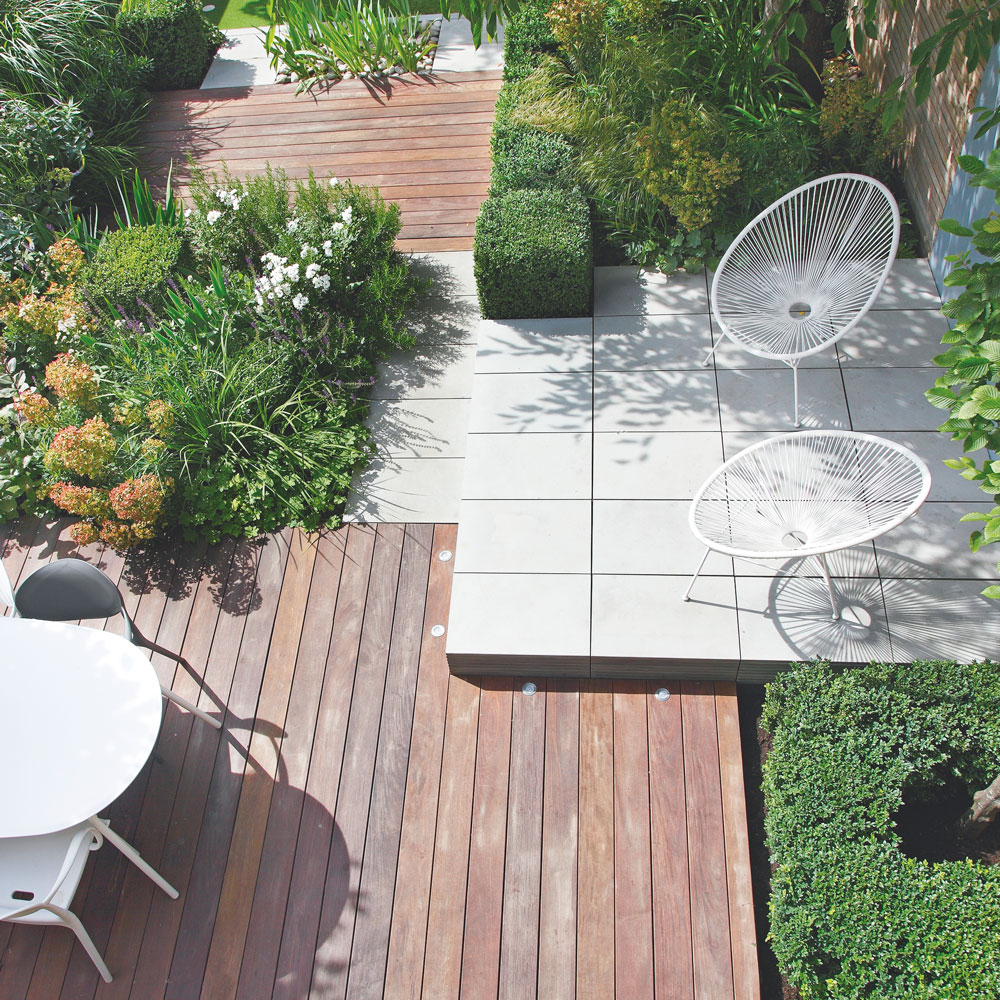
6. Add fascia boards
For a more decorative finish, add decking boards around the edge of the frame sitting underneath the edge of the deck and secure in place every 600mm, again allow for expansion by leaving a 5-6mm gap between the fascia and top deck board.
7. Protect the surface
Once your decking is complete, you want to make sure it is well protected against the elements. If using wooden boards you can add a decking stain to protect the wood from rot. This isn't necessary when using composite boards.
For ongoing maintenance, check your decking each year and replace any rotting or broken boards and give the decking a clean to remove any algae or moss before adding decking stain to help keep it in top condition.
'There are a couple of mistakes people make when cleaning their decking that can cause damage,' explains Jonathan Kirby, Roxil's garden expert. 'Avoid using bleach-based products as the bleach changes the cellular structure of the wood, which weakens it.'
Using a pressure washer is also not recommended. 'The high-powered spray can damage the fibres of the wooden boards and cause splintering. This makes the rate of water ingress worse, which increases the likelihood of mould and algae, warping and rot,' explains Jonathan.
How do you prepare the ground for decking?
Before building your frame, making sure the ground below your decking is well-prepared will make it easier to maintain. 'In order to prepare the ground for your decking you will need to ensure that the surface is level, yet has a slight gradient for surface run off if not using posts or pedestals to raise the subframe off the ground,' explains Allan Jeffrey at Ultra Decking.
What do you put down before decking?
Protecting your decking from weeds is key to its longevity, 'You will need to put down a layer of weed membrane onto the ground underneath your decking, to prevent weeds or other unwanted growth from growing between your decking boards which can cause damage to your decking,' explains Allan.
'If weeds or plants grow through the gaps in your decking, this will block the gaps needed for airflow and drainage which can cause pooling of water on your decking surface causing staining. In some cases, this can even cause splitting and cracking of the boards and should be prevented at all costs.'
Get the Ideal Home Newsletter
Sign up to our newsletter for style and decor inspiration, house makeovers, project advice and more.

Amy Hodge has been working on interiors magazines for over 11 years. She's a freelance writer and sub editor who has worked for some of the UK's leading interiors magazines including Ideal Home, Style at Home and Country Homes & Interiors. She started at Style at Home just after it launched as food editor and is now chief sub editor for Ideal Home, Style at Home and Country Homes & Interiors.
-
 Wood drenching is the calming new twist on the colour drenching trend – here’s how to make the look work in your home
It’s easier than ever to embrace natural materials
By Maddie Balcombe
-
 Aldi is launching a £200 day bed with four different features - its sleek design is suited to the whole family
You don't want to miss out on this Specialbuy
By Kezia Reynolds
-
 How to set up a drip watering system that saves water and a lot of effort
Keep your plants hydrated (and your water bill down) with this clever garden watering solution
By Natalie Osborn