Is the Big Green Egg BBQ worth the price? We put the entry-level version to the test
The Big Green Egg MiniMax offers versatile charcoal cooking, it might be small, but it’s also mighty
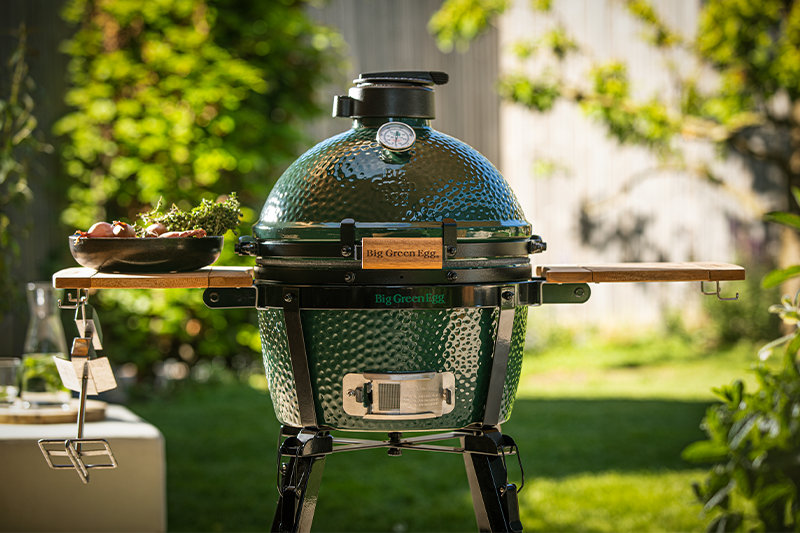
The price tag is ridiculous for this size BBQ, but putting that to one side, it’s easy to use, versatile, and delivers results that surpassed my expectations. Plus, you can go to town on accessories and use it year-round to cook all sorts of foods. I love this little Green Egg, but my biggest frustration is that its weight means it’s not as portable as I expected.
-
+
More than a barbecue
-
+
Very well built
-
+
Compact to store
-
+
Burns well and holds heat for long periods
-
+
Easy to regulate temperature
-
-
Expensive
-
-
Heavy
-
-
Requires two people to lift
-
-
Too small for large families or gatherings
Why you can trust Ideal Home

Big Green Egg is the cult barbecue brand with a devoted following. These are undoubtedly the brand with some of the best BBQs for people serious about cooking over charcoal. Way more than just a barbecue, these solid outdoor cookers are designed to be used with the lid closed for year-round cooking, even in the rain.
Calling an £800 barbecue an entry-level model feels like a contradiction. But this is an eye-wateringly expensive brand, the XL version will set you back a whopping £1800. Not only that, but if you get carried away and start adding some of the various accessories and legs, you can add hundreds to the total cost.
I’ve never used an egg-style barbecue so I was really keen to try this one out and since it’s the small version, I wasn’t too intimidated. I tried cooking with direct heat as well as indirect heat and I have to say, it didn’t take me long to understand the appeal of these iconic Green Eggs.
Minimax Big Green Egg specs
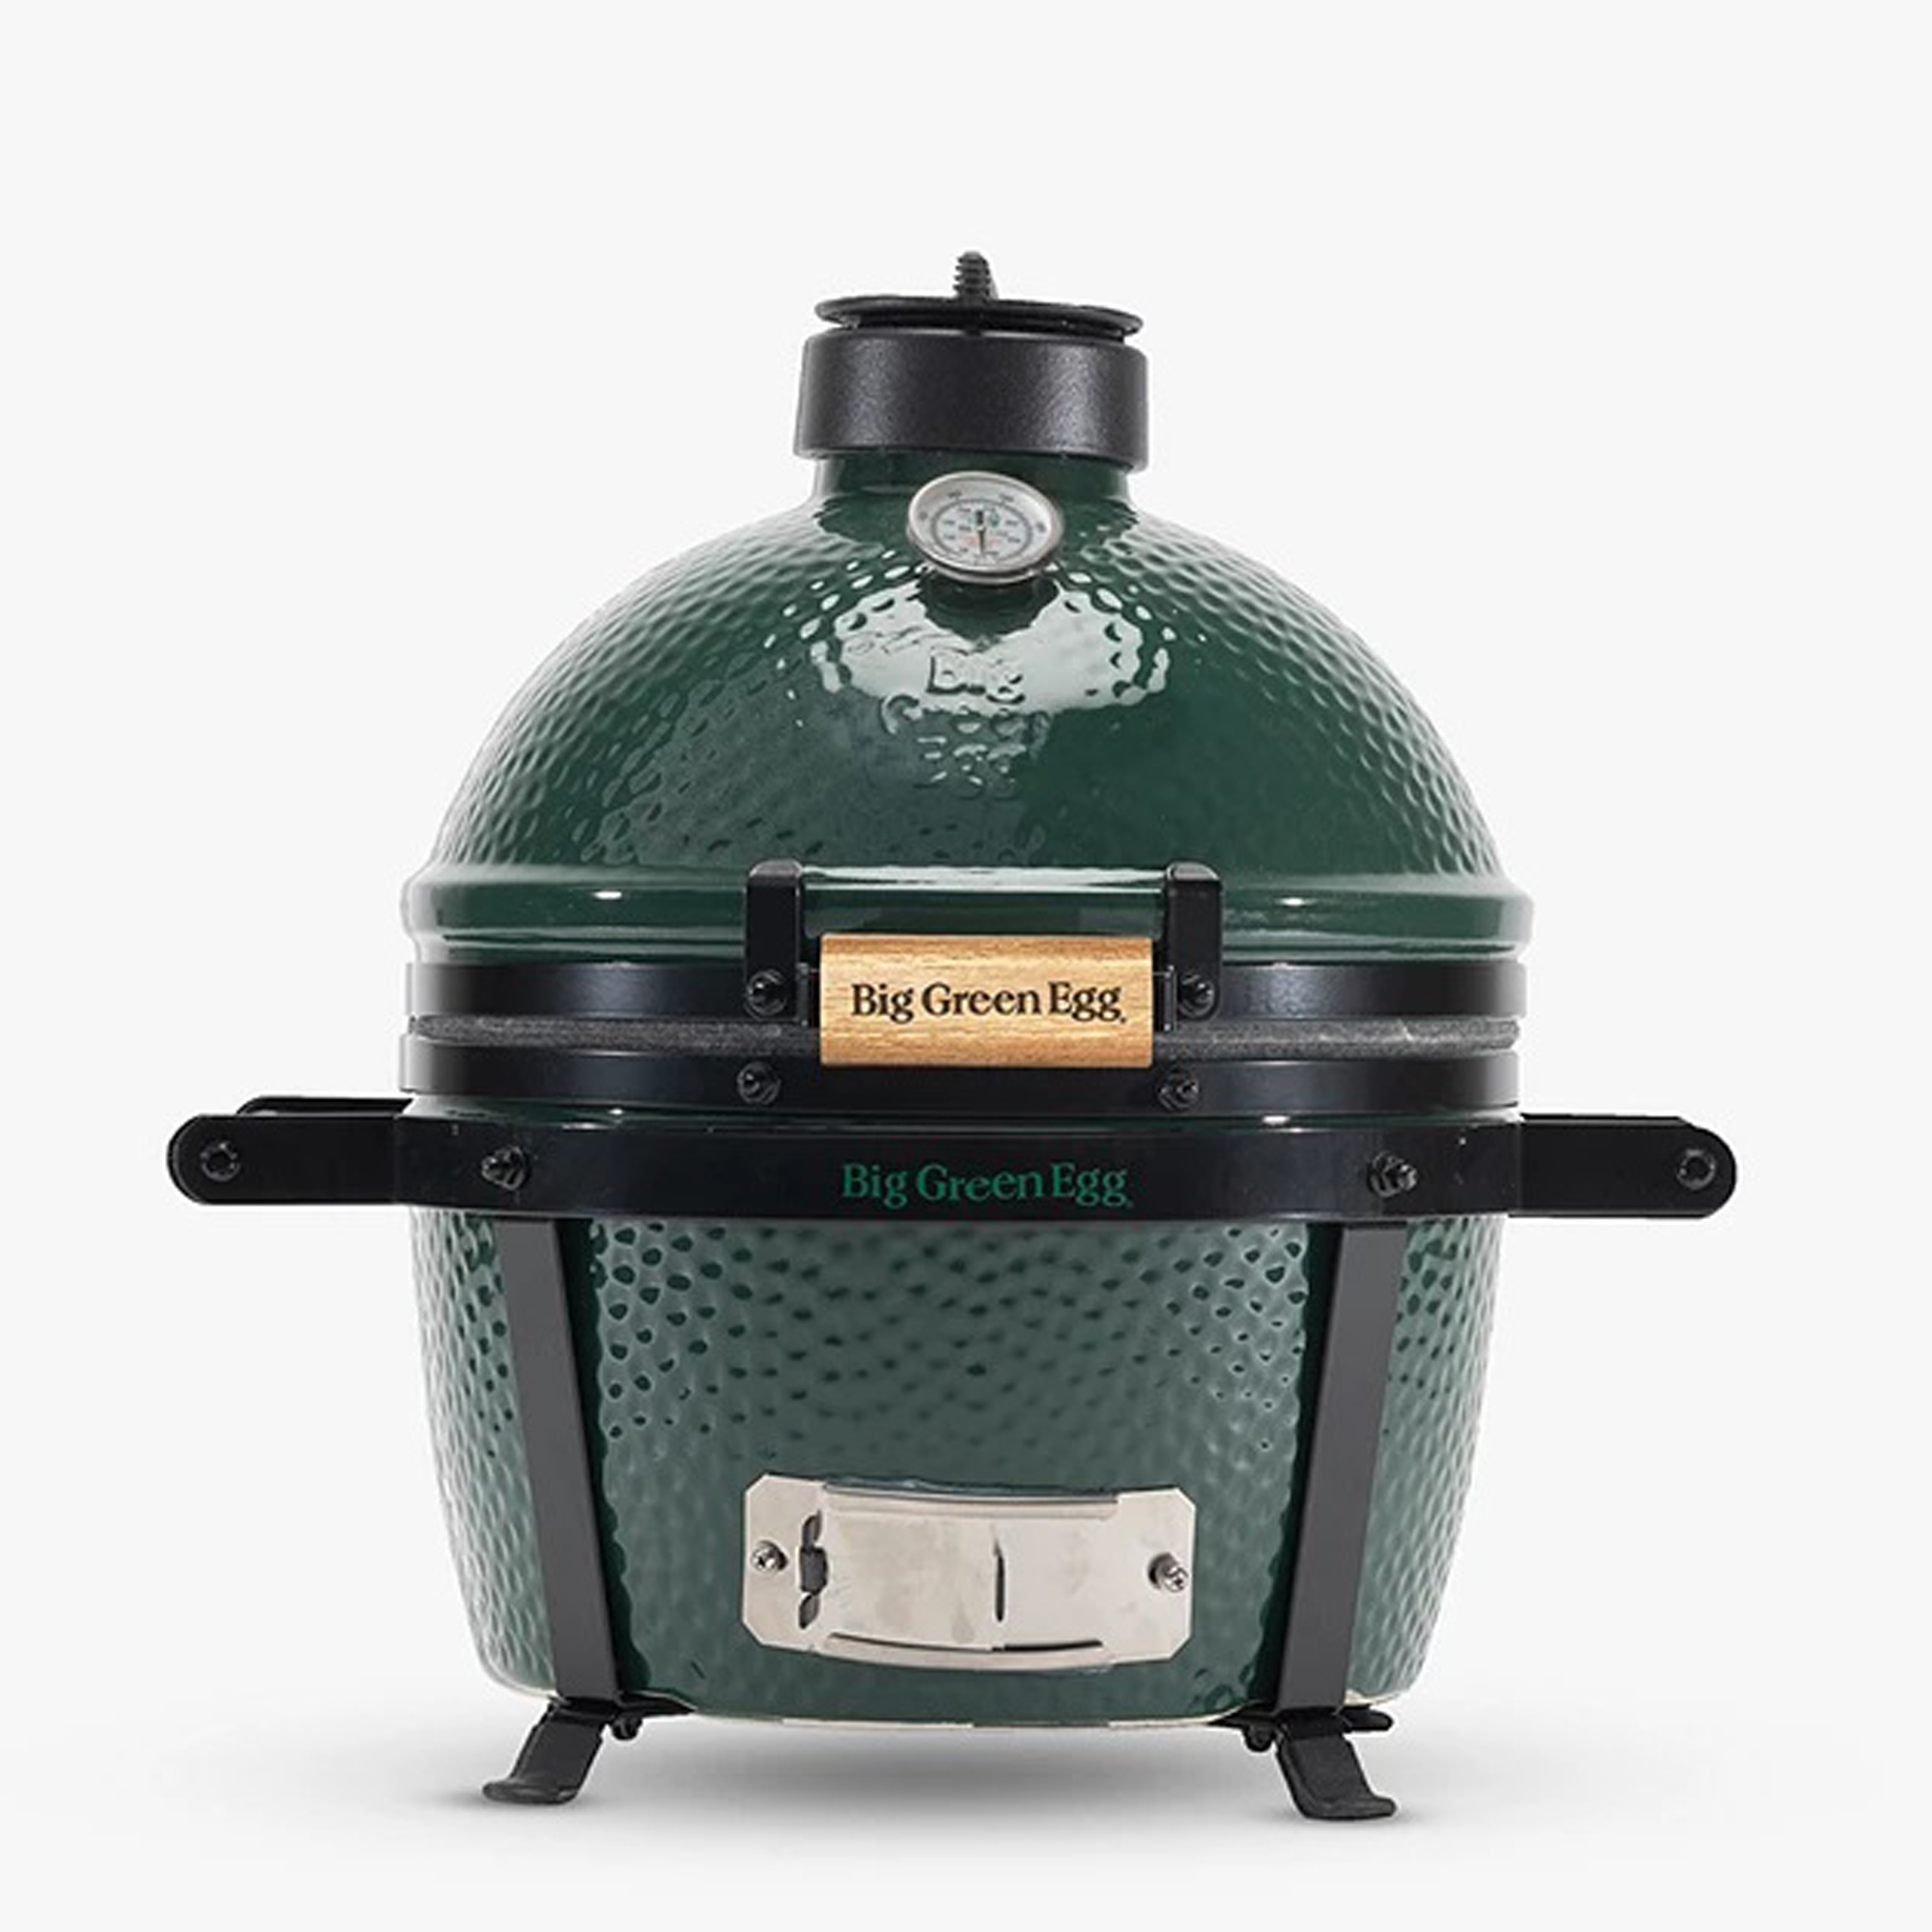
- Fuel type: charcoal
- Materials: stainless steel cooking grid, NASA-grade ceramics
- Dimensions: height: 50cm/ diameter including hinge and handle: 56cm
- Cooking area dimensions: 33cm diameter
- Weight: 40kg
Who tested this BBQ?

After completing a Home Economics degree, Helen went on to work for the Good Housekeeping Institute and has been reviewing home appliances ever since. She lives in a small village in Buckinghamshire in the UK, where she reviews all sorts of home and garden appliances using her wealth of experience.
Unboxing, setting up and first impressions
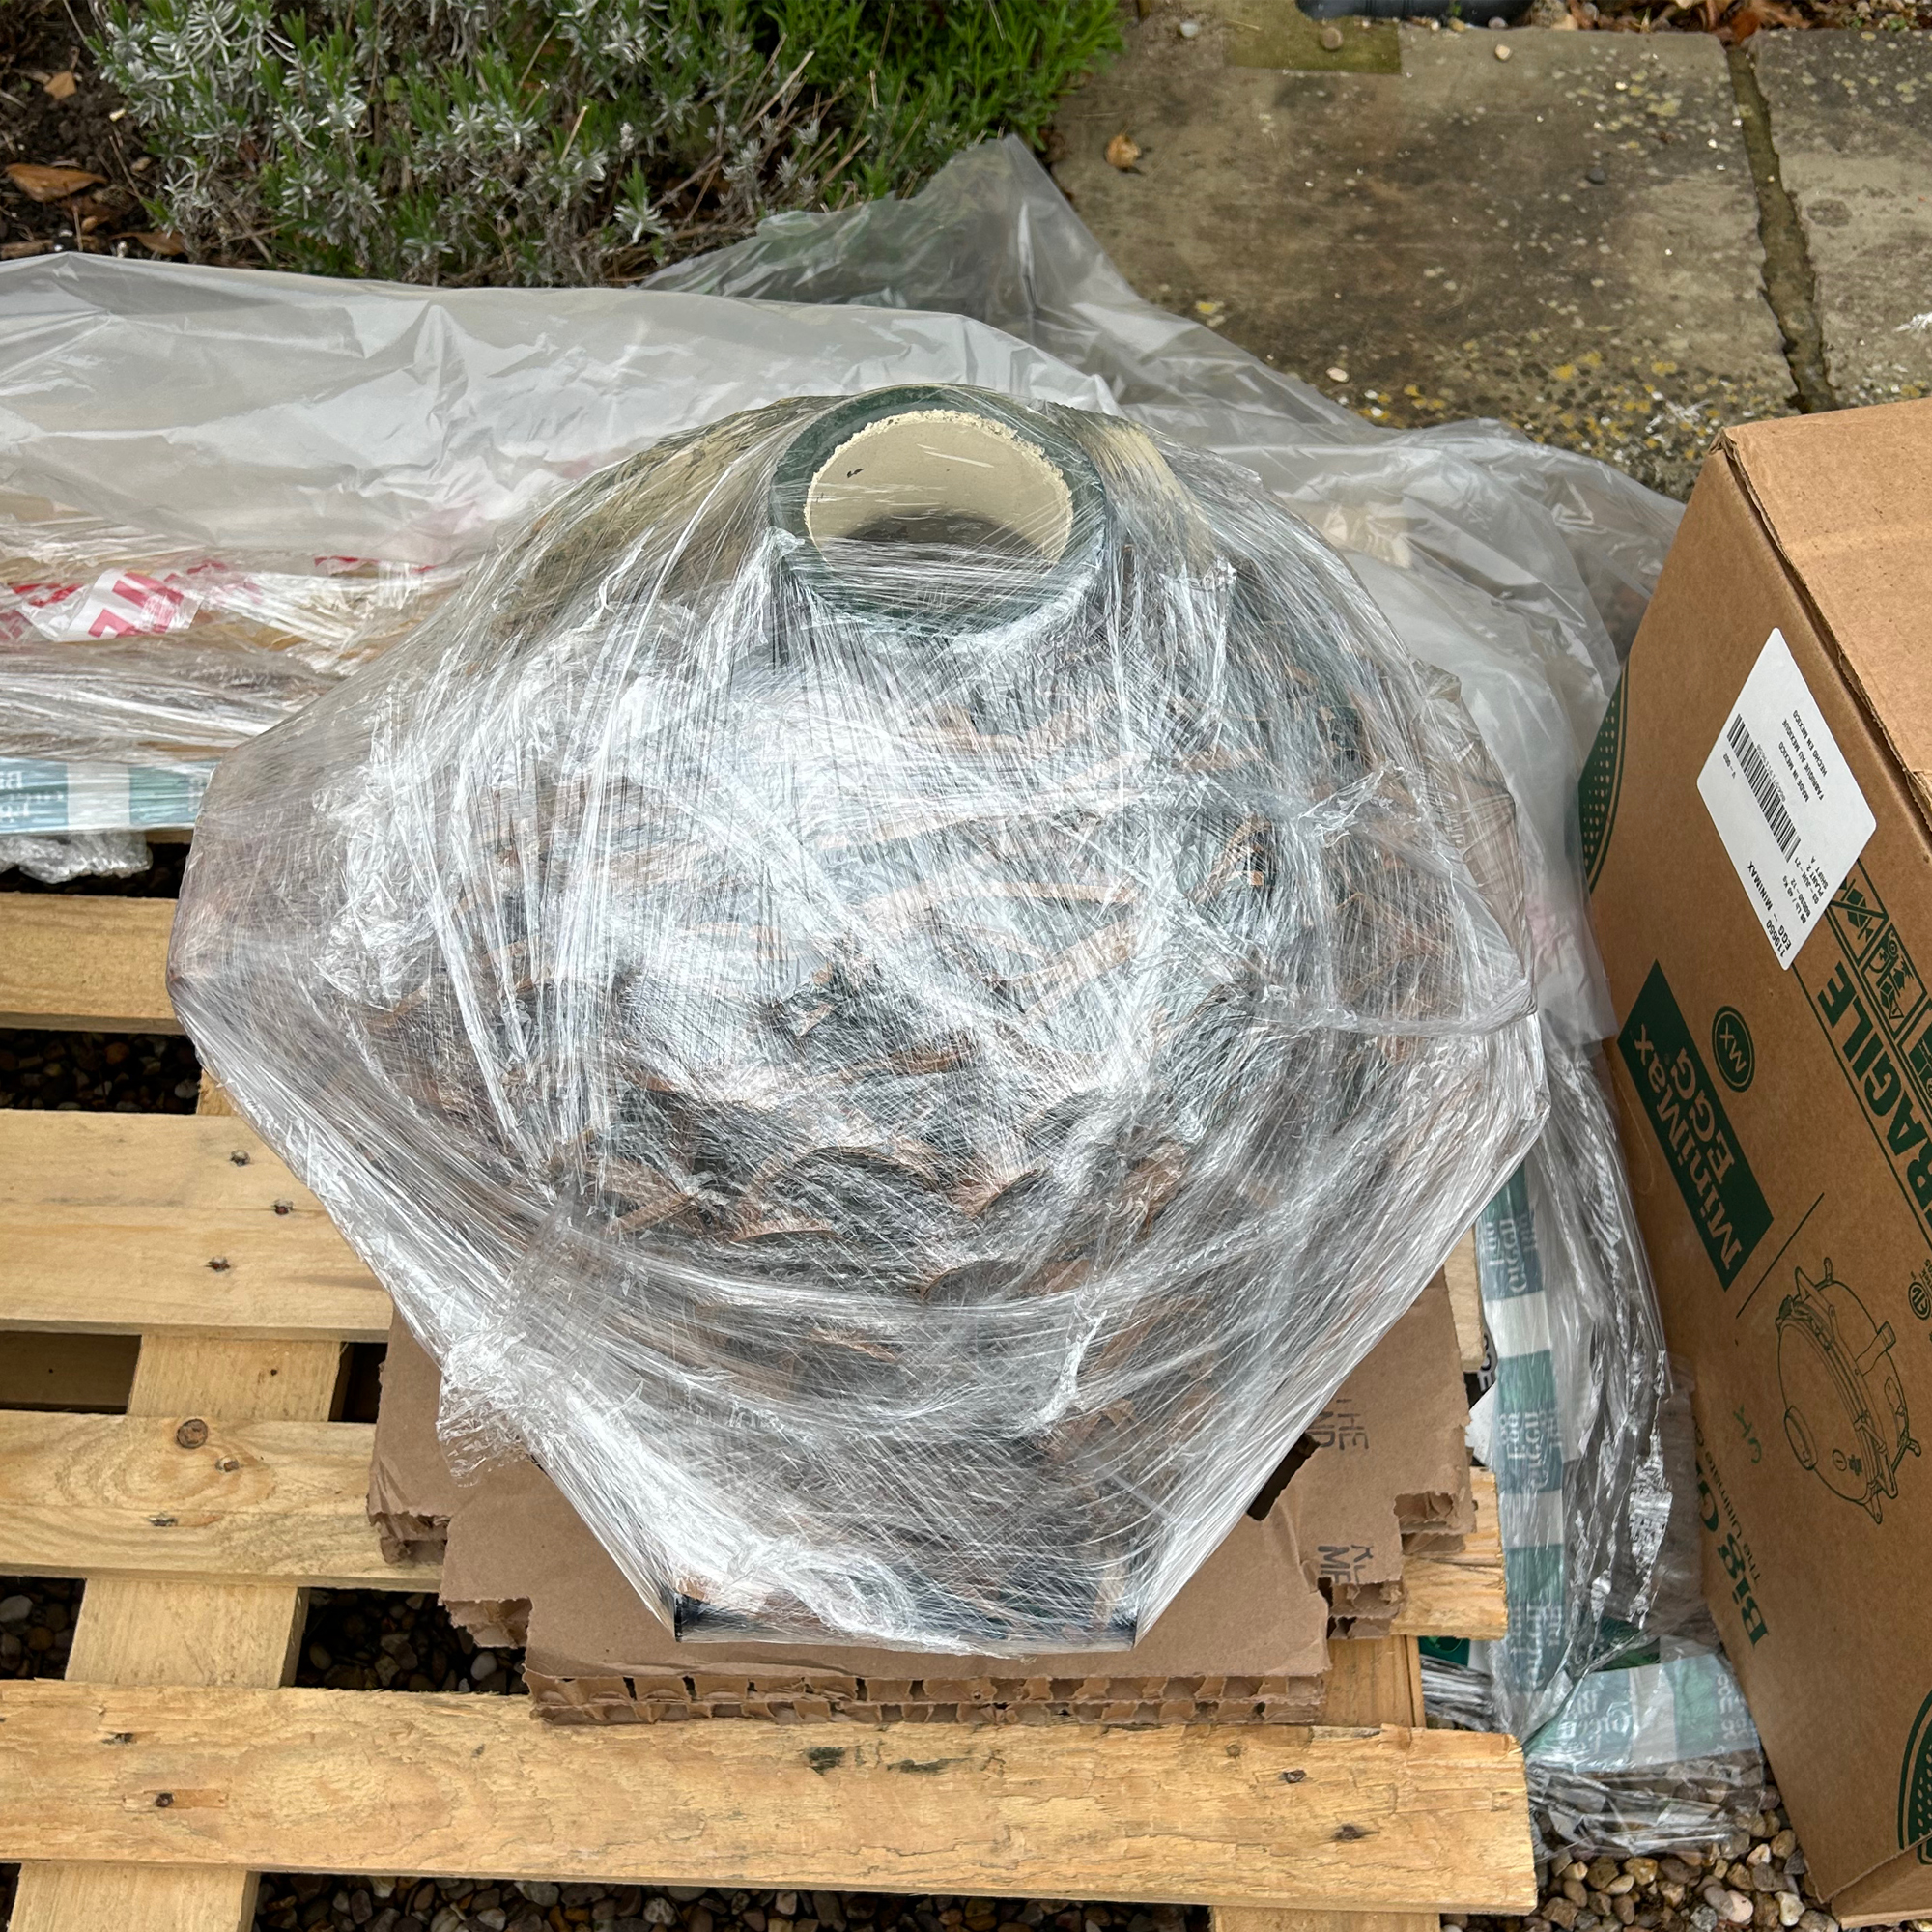
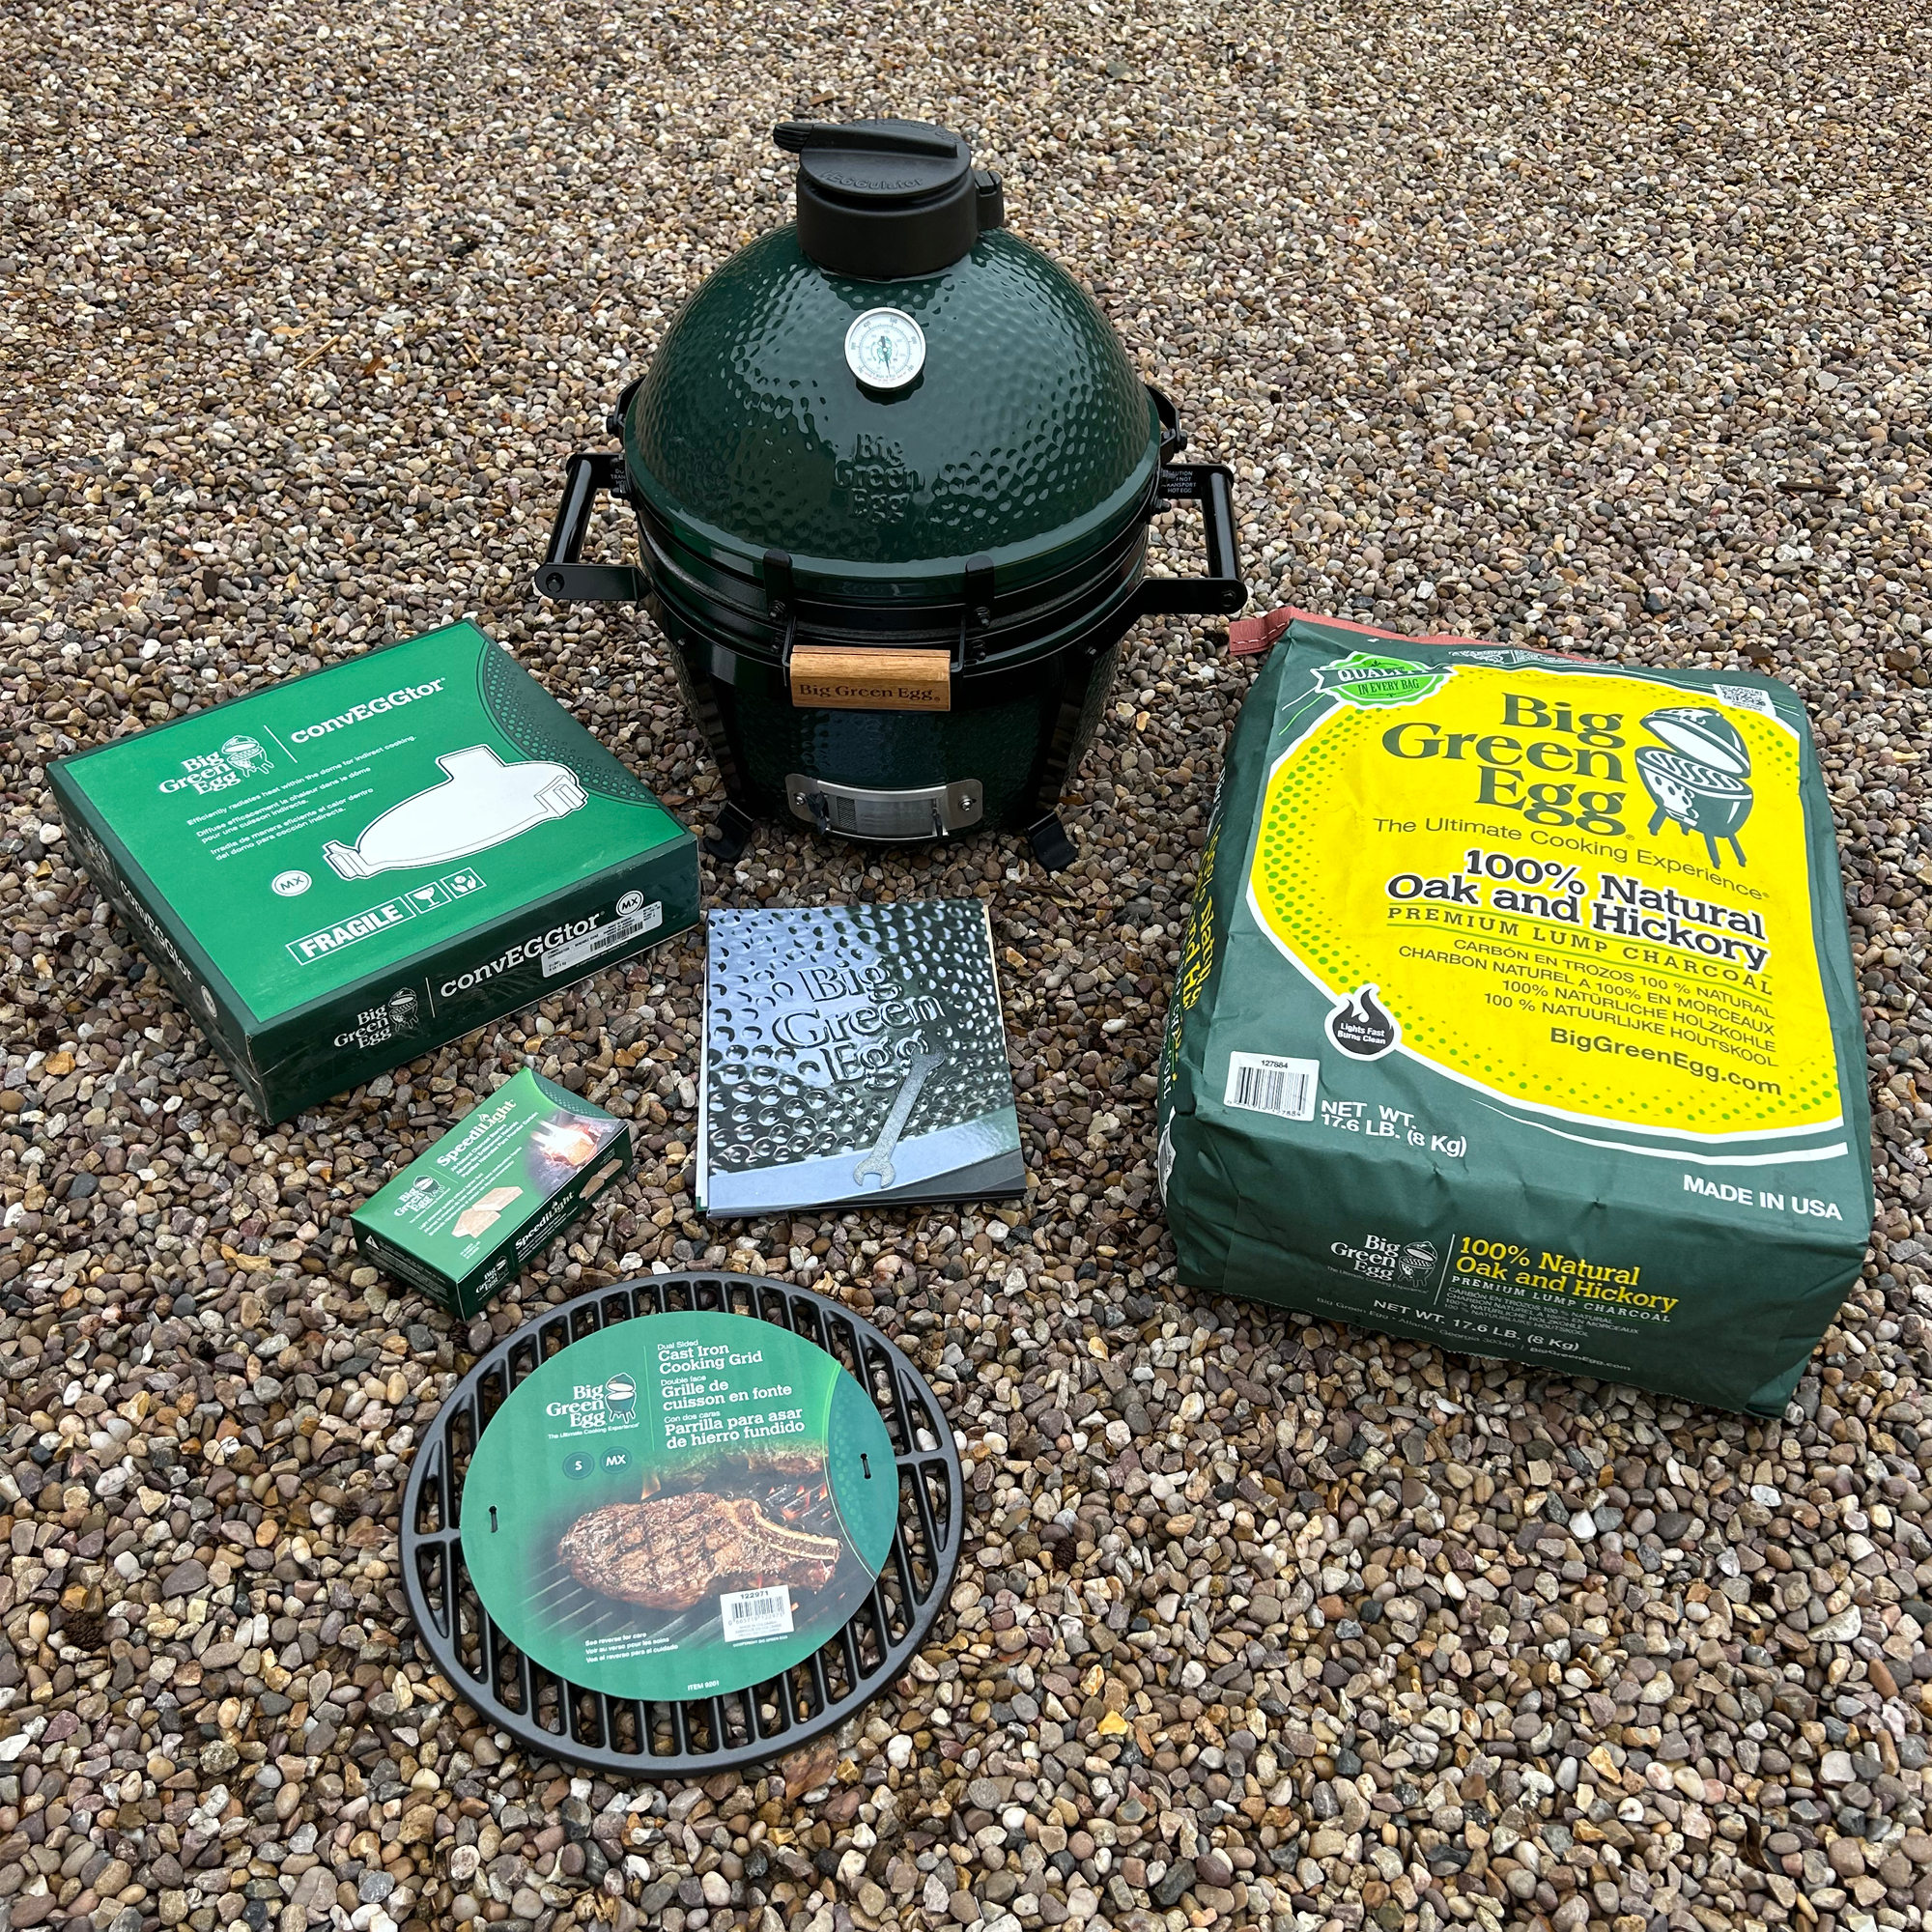
I wasn’t expecting the smallest of the Big Green Egg family to arrive on a pallet, but that’s exactly what happened. Once I’d unwrapped it all, the Big Green Egg was in one box and the second box contained the convEGGtor. Plus some extras that I’d been sent for the review including the brand's own charcoal, firelighters and an additional cast iron searing grid (all of these are optional extras).
I was delighted to find that despite including instructions detailing how to assemble the carrier and the band around the middle, these came fully assembled and I’ve been assured that this is always the case. So all I had to do was pop the rEGGulator cap on the top and insert the lid thermometer, making it one of the easiest barbecues I’ve assembled.
The toughest part of the setup was moving the Egg from my driveway into my back garden. It’s barely manageable alone. I’d say it’s a two person lift for most people and even then it’s still heavy. So if you have dreams of taking it camping or on fun outings, think again! It’s not as portable as I was expecting it to be, even with the carrier.
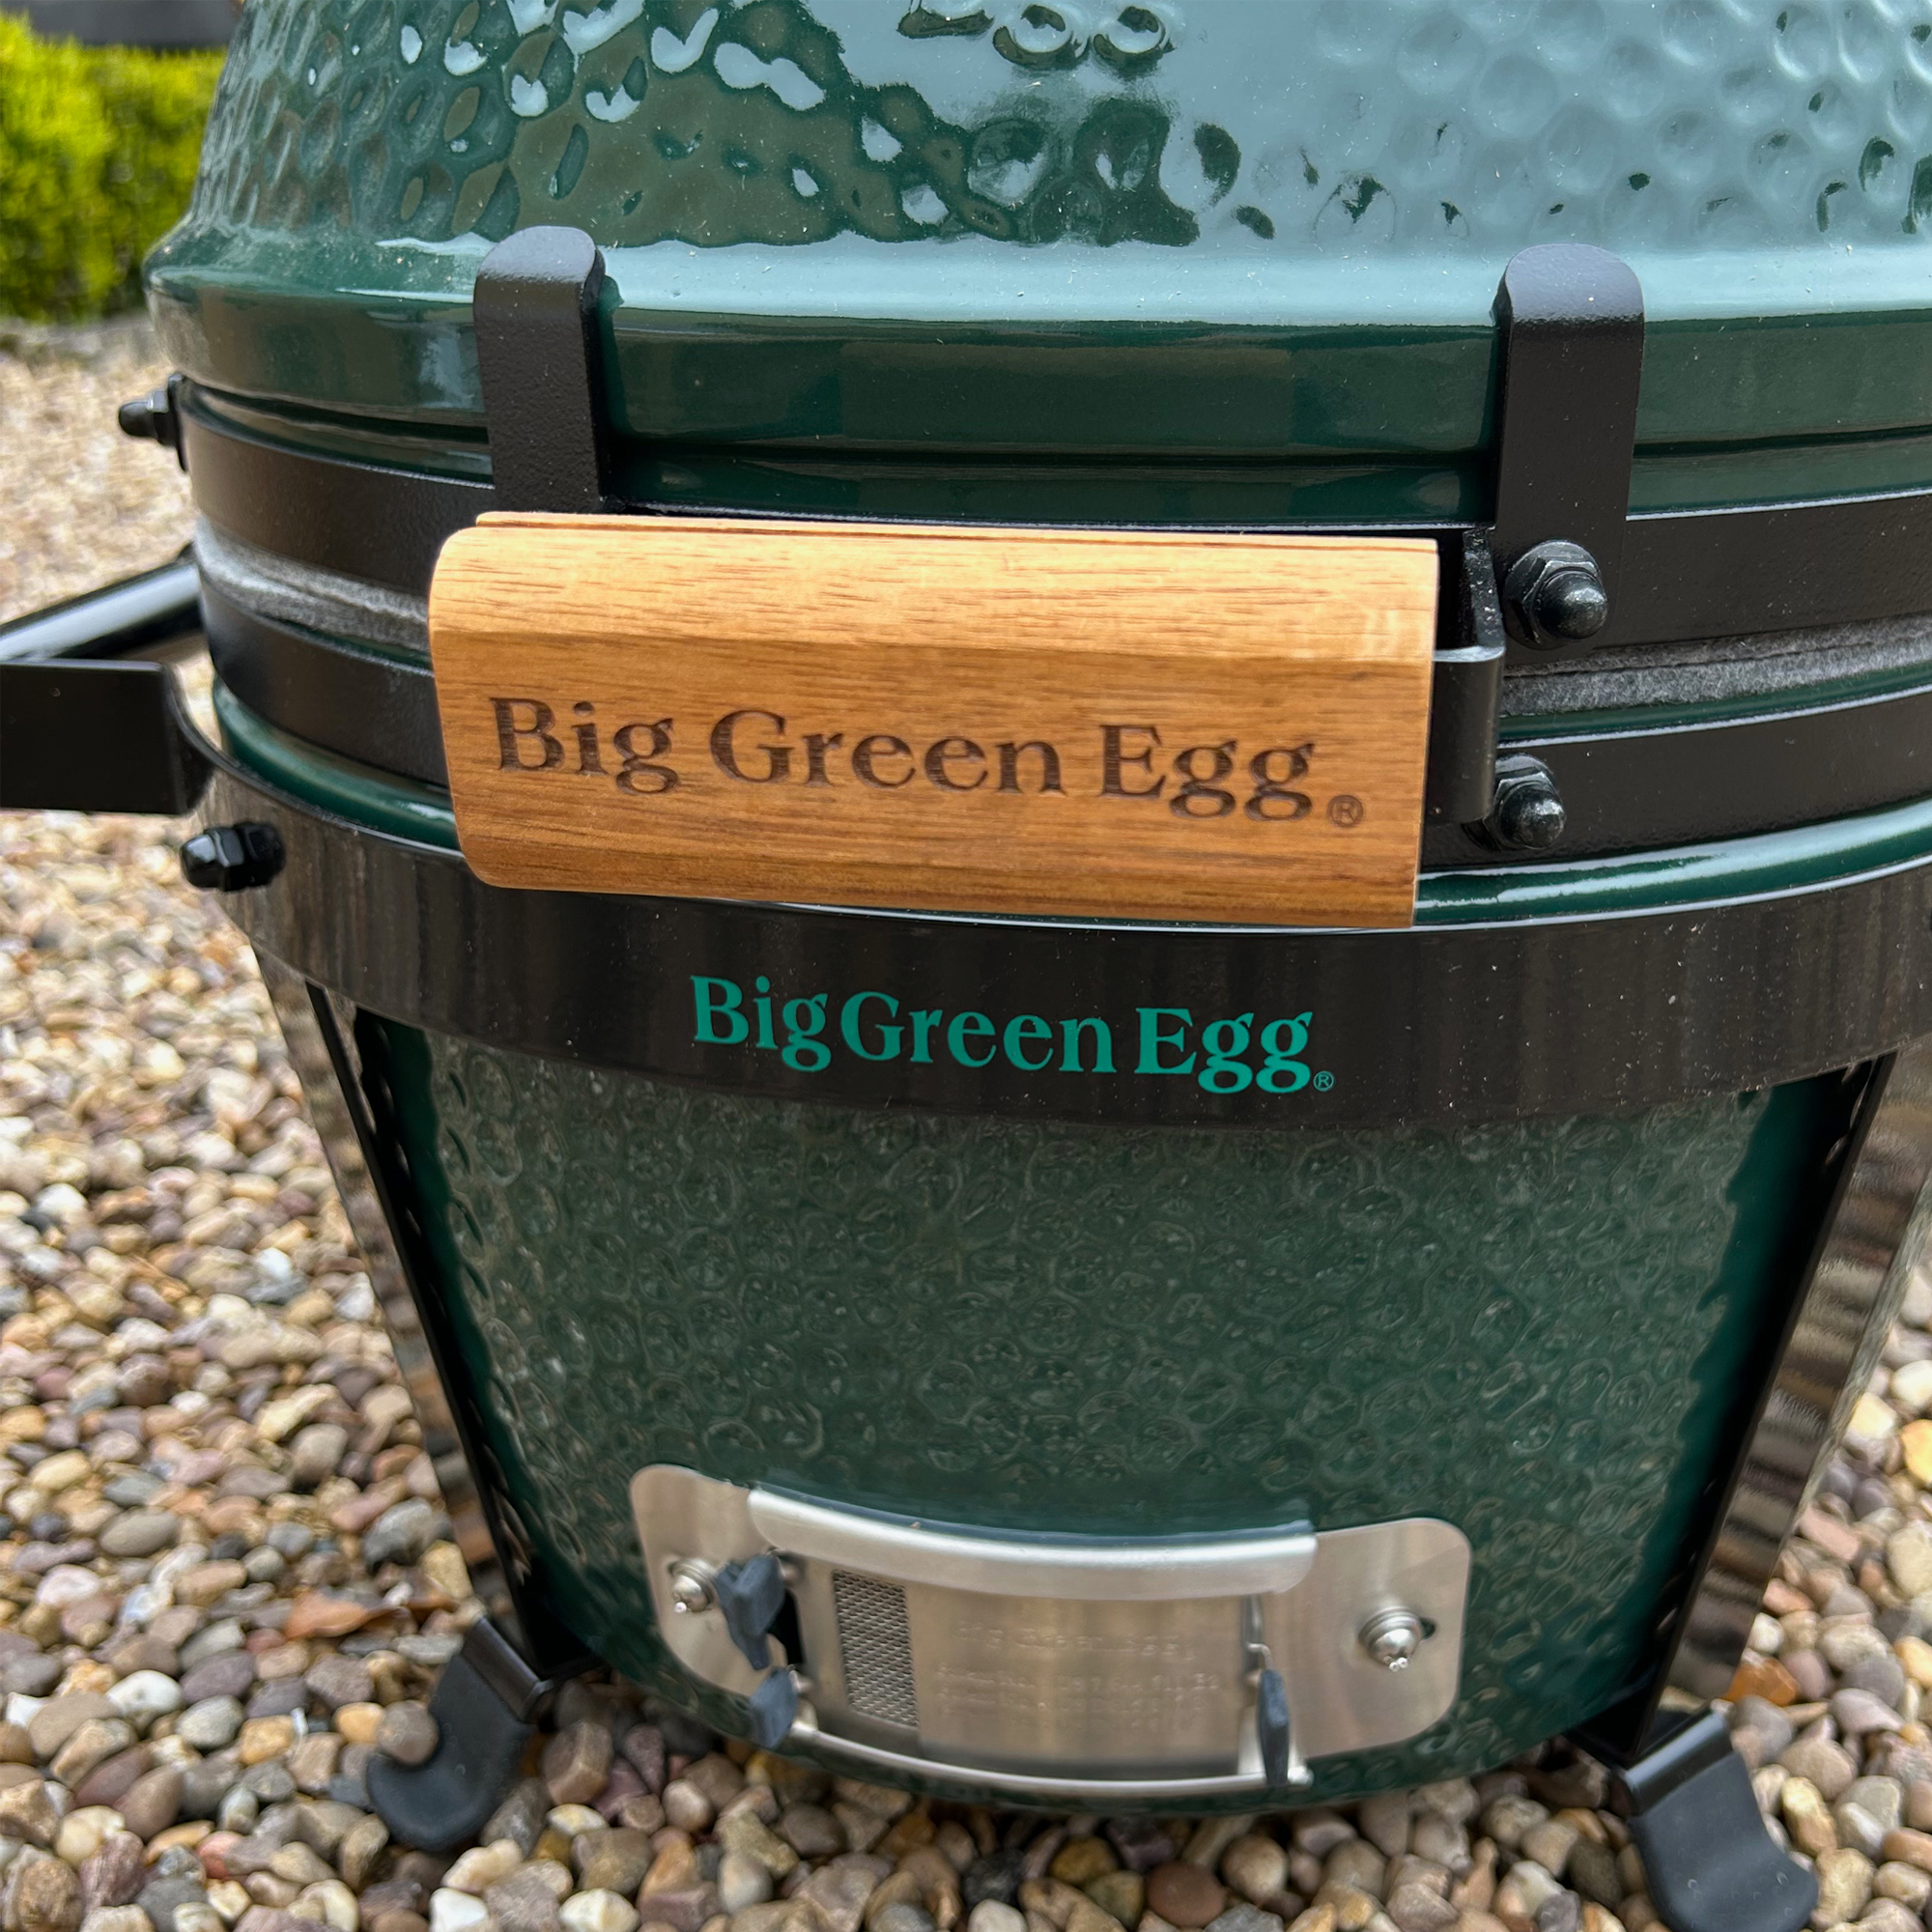
Weightiness doesn’t always imply sturdiness, but on first impressions, this is one robust cooker. The wood handle on the front has a welcome chunkiness to it. And despite not being light, the lid lifts easily. And importantly, when it’s open the egg remains well balanced.
Sign up to our newsletter for style inspiration, real homes, project and garden advice and shopping know-how
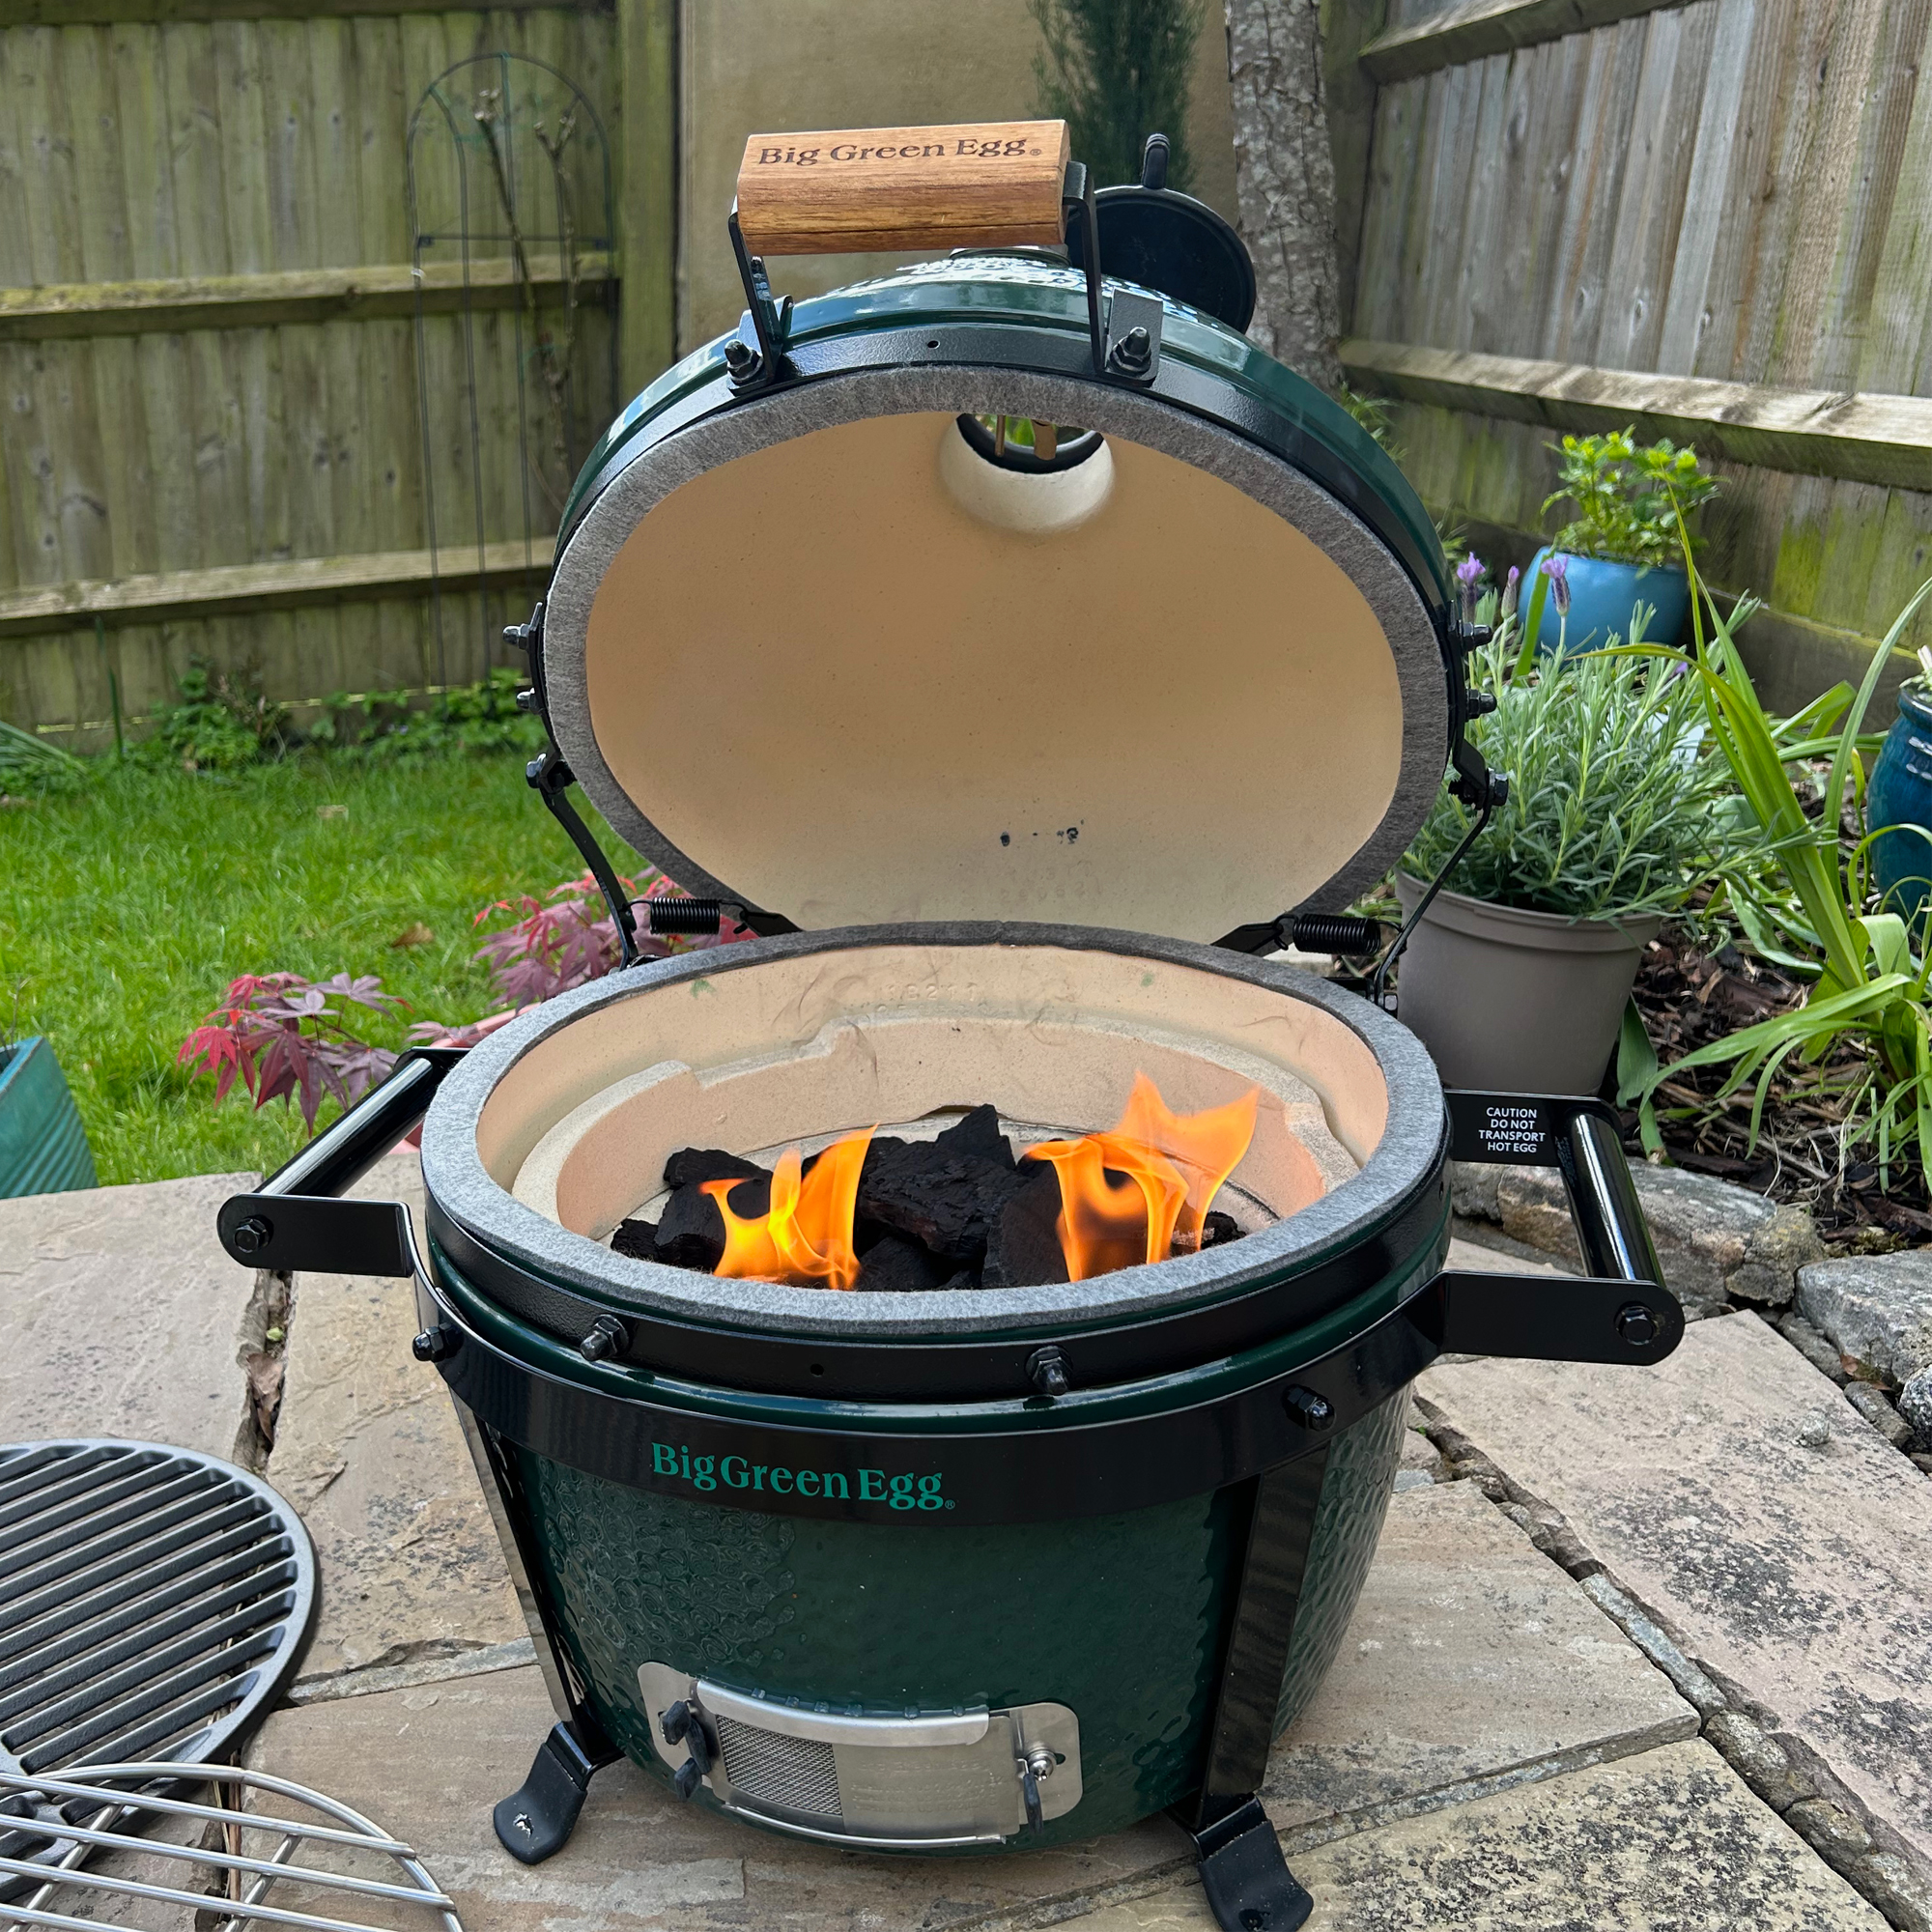
On the inside, there’s a fire box, fire grate and fire ring that all slot into the bottom of the egg. Then a standard cooking grate goes on top. Or, if you’re cooking something low and slow, the convEGGtor part goes in below the cooking grate to block the flames. This means you can use it more like an oven than a barbecue.
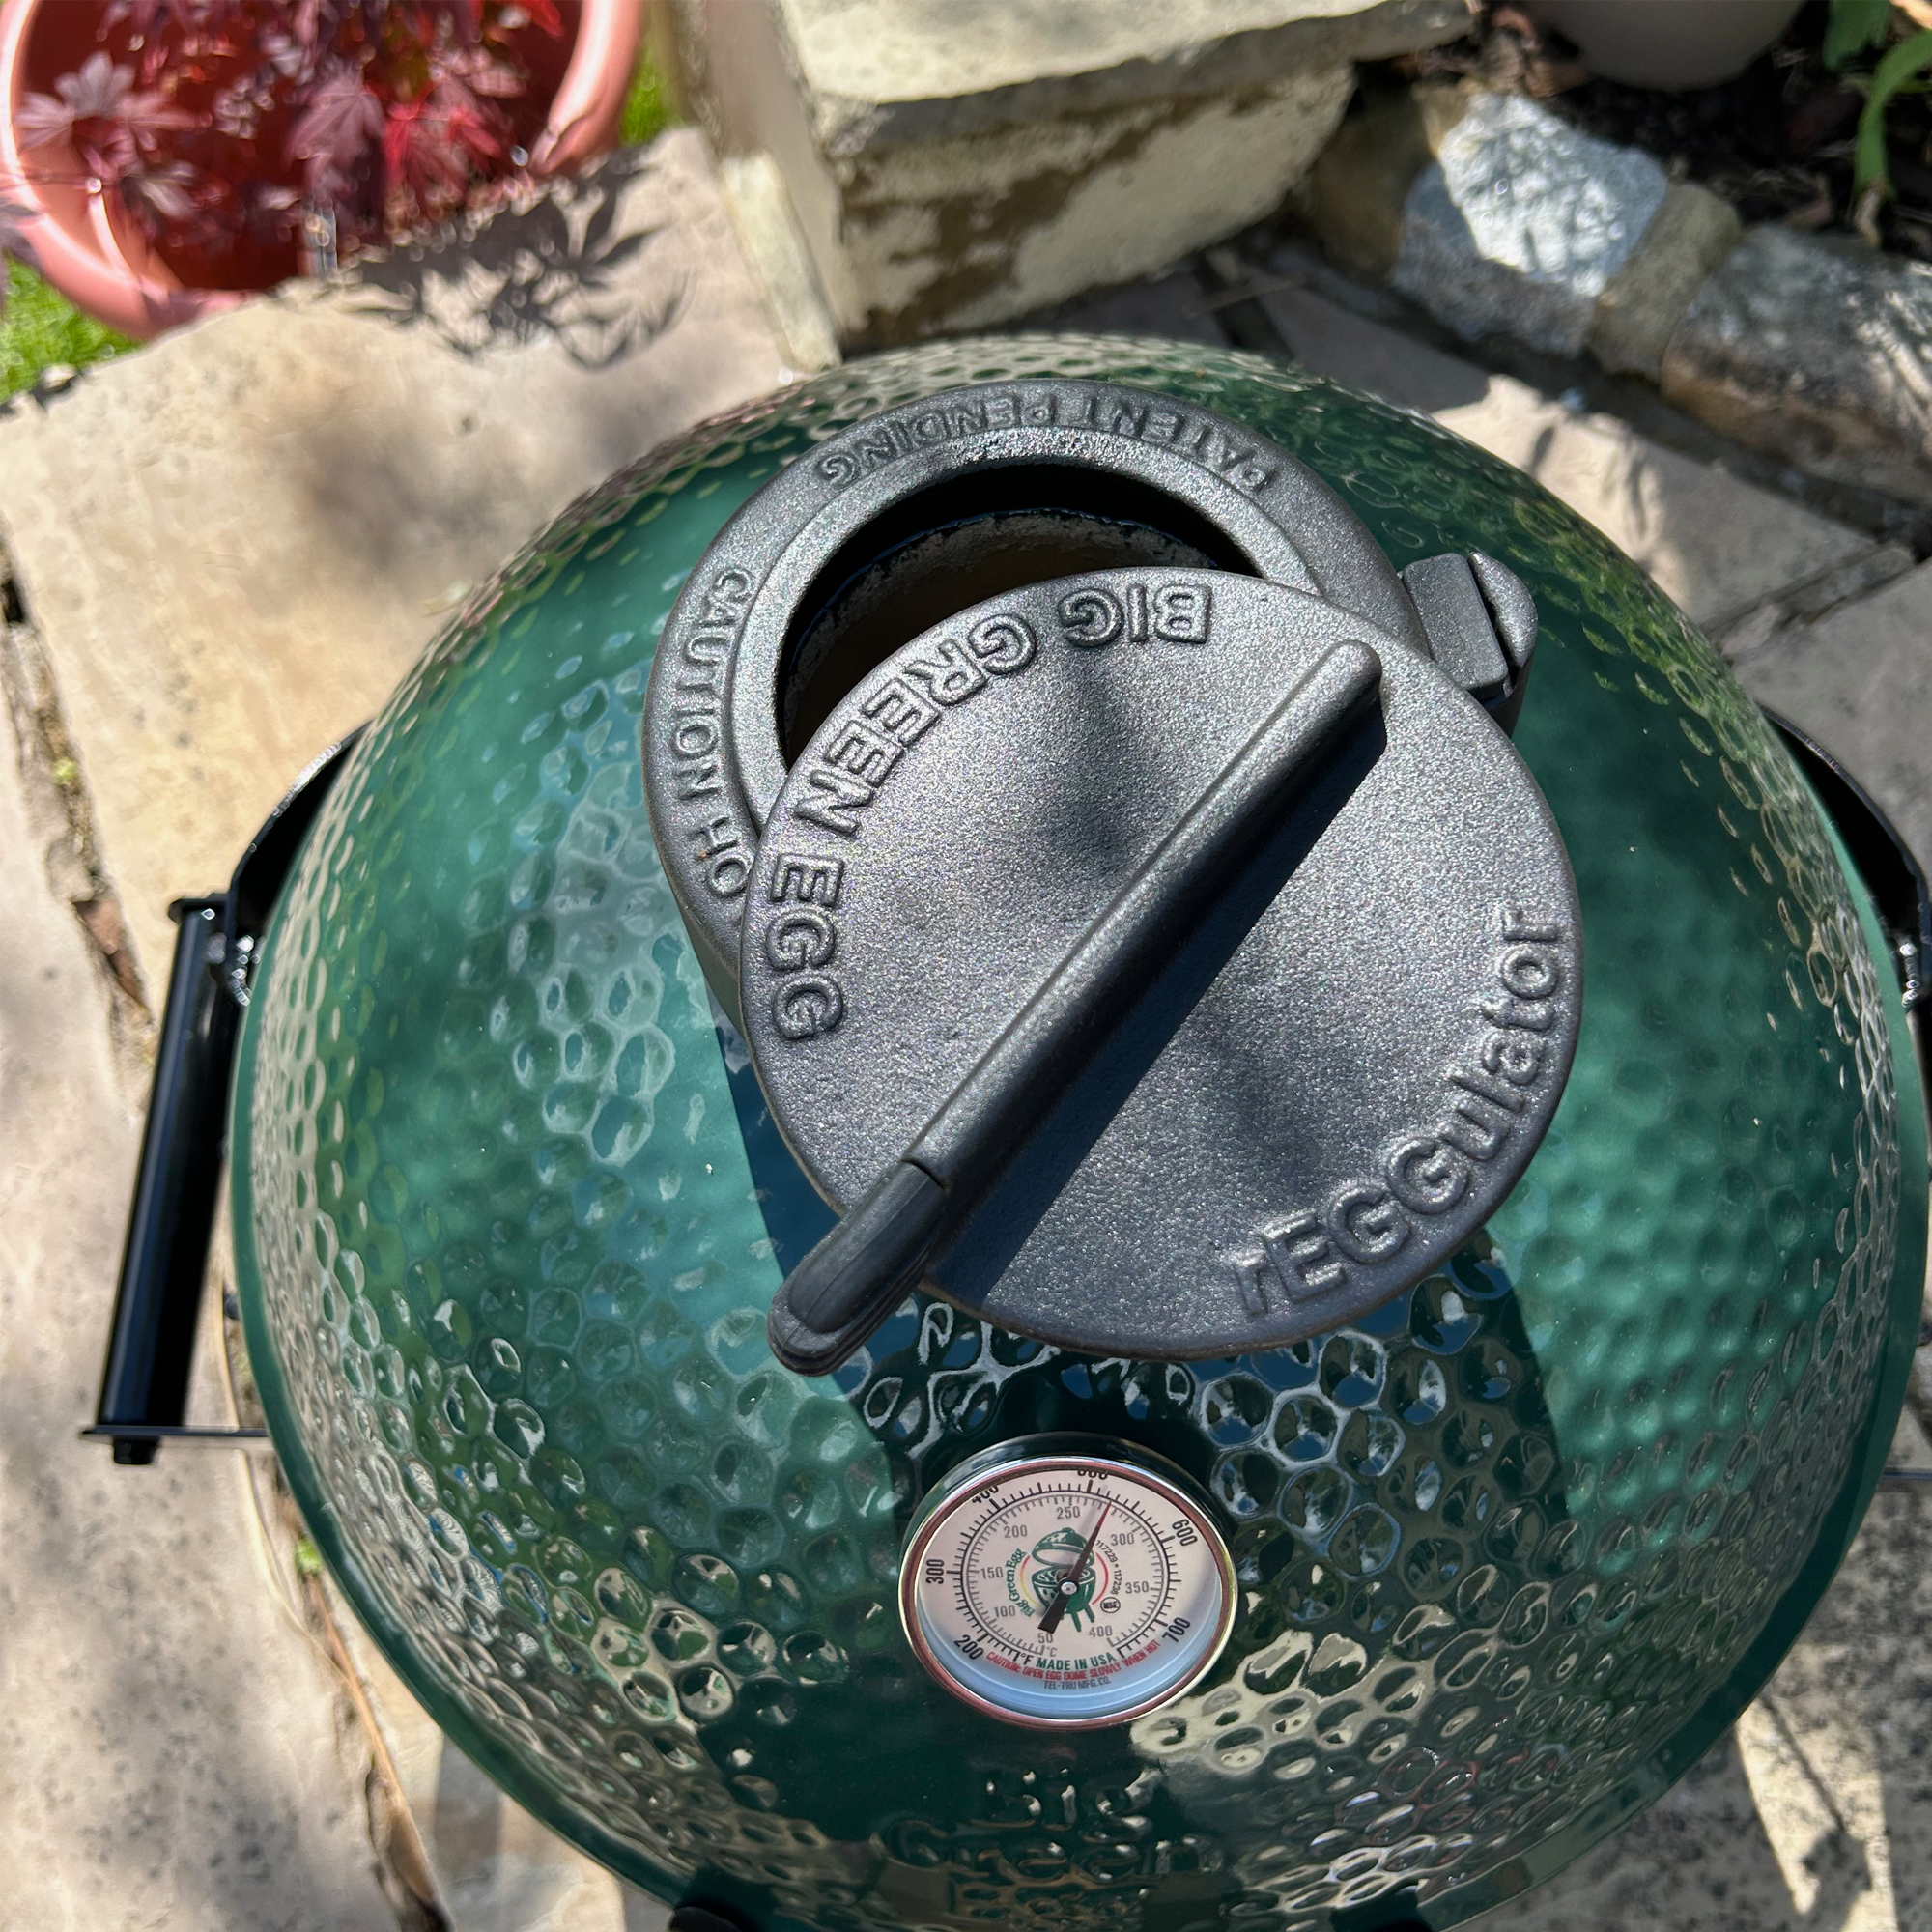
The instruction manual is worth a read through as it explains in detail how to use and light the barbecue. There are a few things to learn, like how to ‘burp’ the Egg as you open it to prevent backdraft. Though this is just a case of opening the lid a little and leaving it a second or two before you open it fully, so it’s not as intimidating as it sounds. And like most barbecues, you’ll need to know how to use the top and bottom vents to control the airflow.
I’d recommend browsing the catalogue of recipes on the Big Green Egg website. It’s useful for inspiration as well as guidance and if you’re nervous about where to start, this’ll help.
Cooking on the Big Green Egg MiniMax
I used the Big Green Egg’s natural oak and hickory lump charcoal as well as the brand's natural firelighters. The charcoal pieces are good and chunky and look way more premium than the bags I usually grab from my local supermarket or petrol station.
To start, I followed the instruction manual and filled it with charcoal to two inches below my cooking surface and then I put two fire lighters on top and lit them. After about 10 minutes the firelighters stopped burning and there were some glowing embers around them. At this point I closed the lid but left both vents fully open. Within just 12 minutes the thermometer hit 200oC so I placed in the cooking grid to preheat for 10 minutes. I must admit I was surprised at just how quickly and easily it got going. My only frustration at this point is that the thermometer seems to be designed for the US market and the bigger numbers are in Fahrenheit, so you have to look at the smaller inner circle of numbers for degrees celsius.
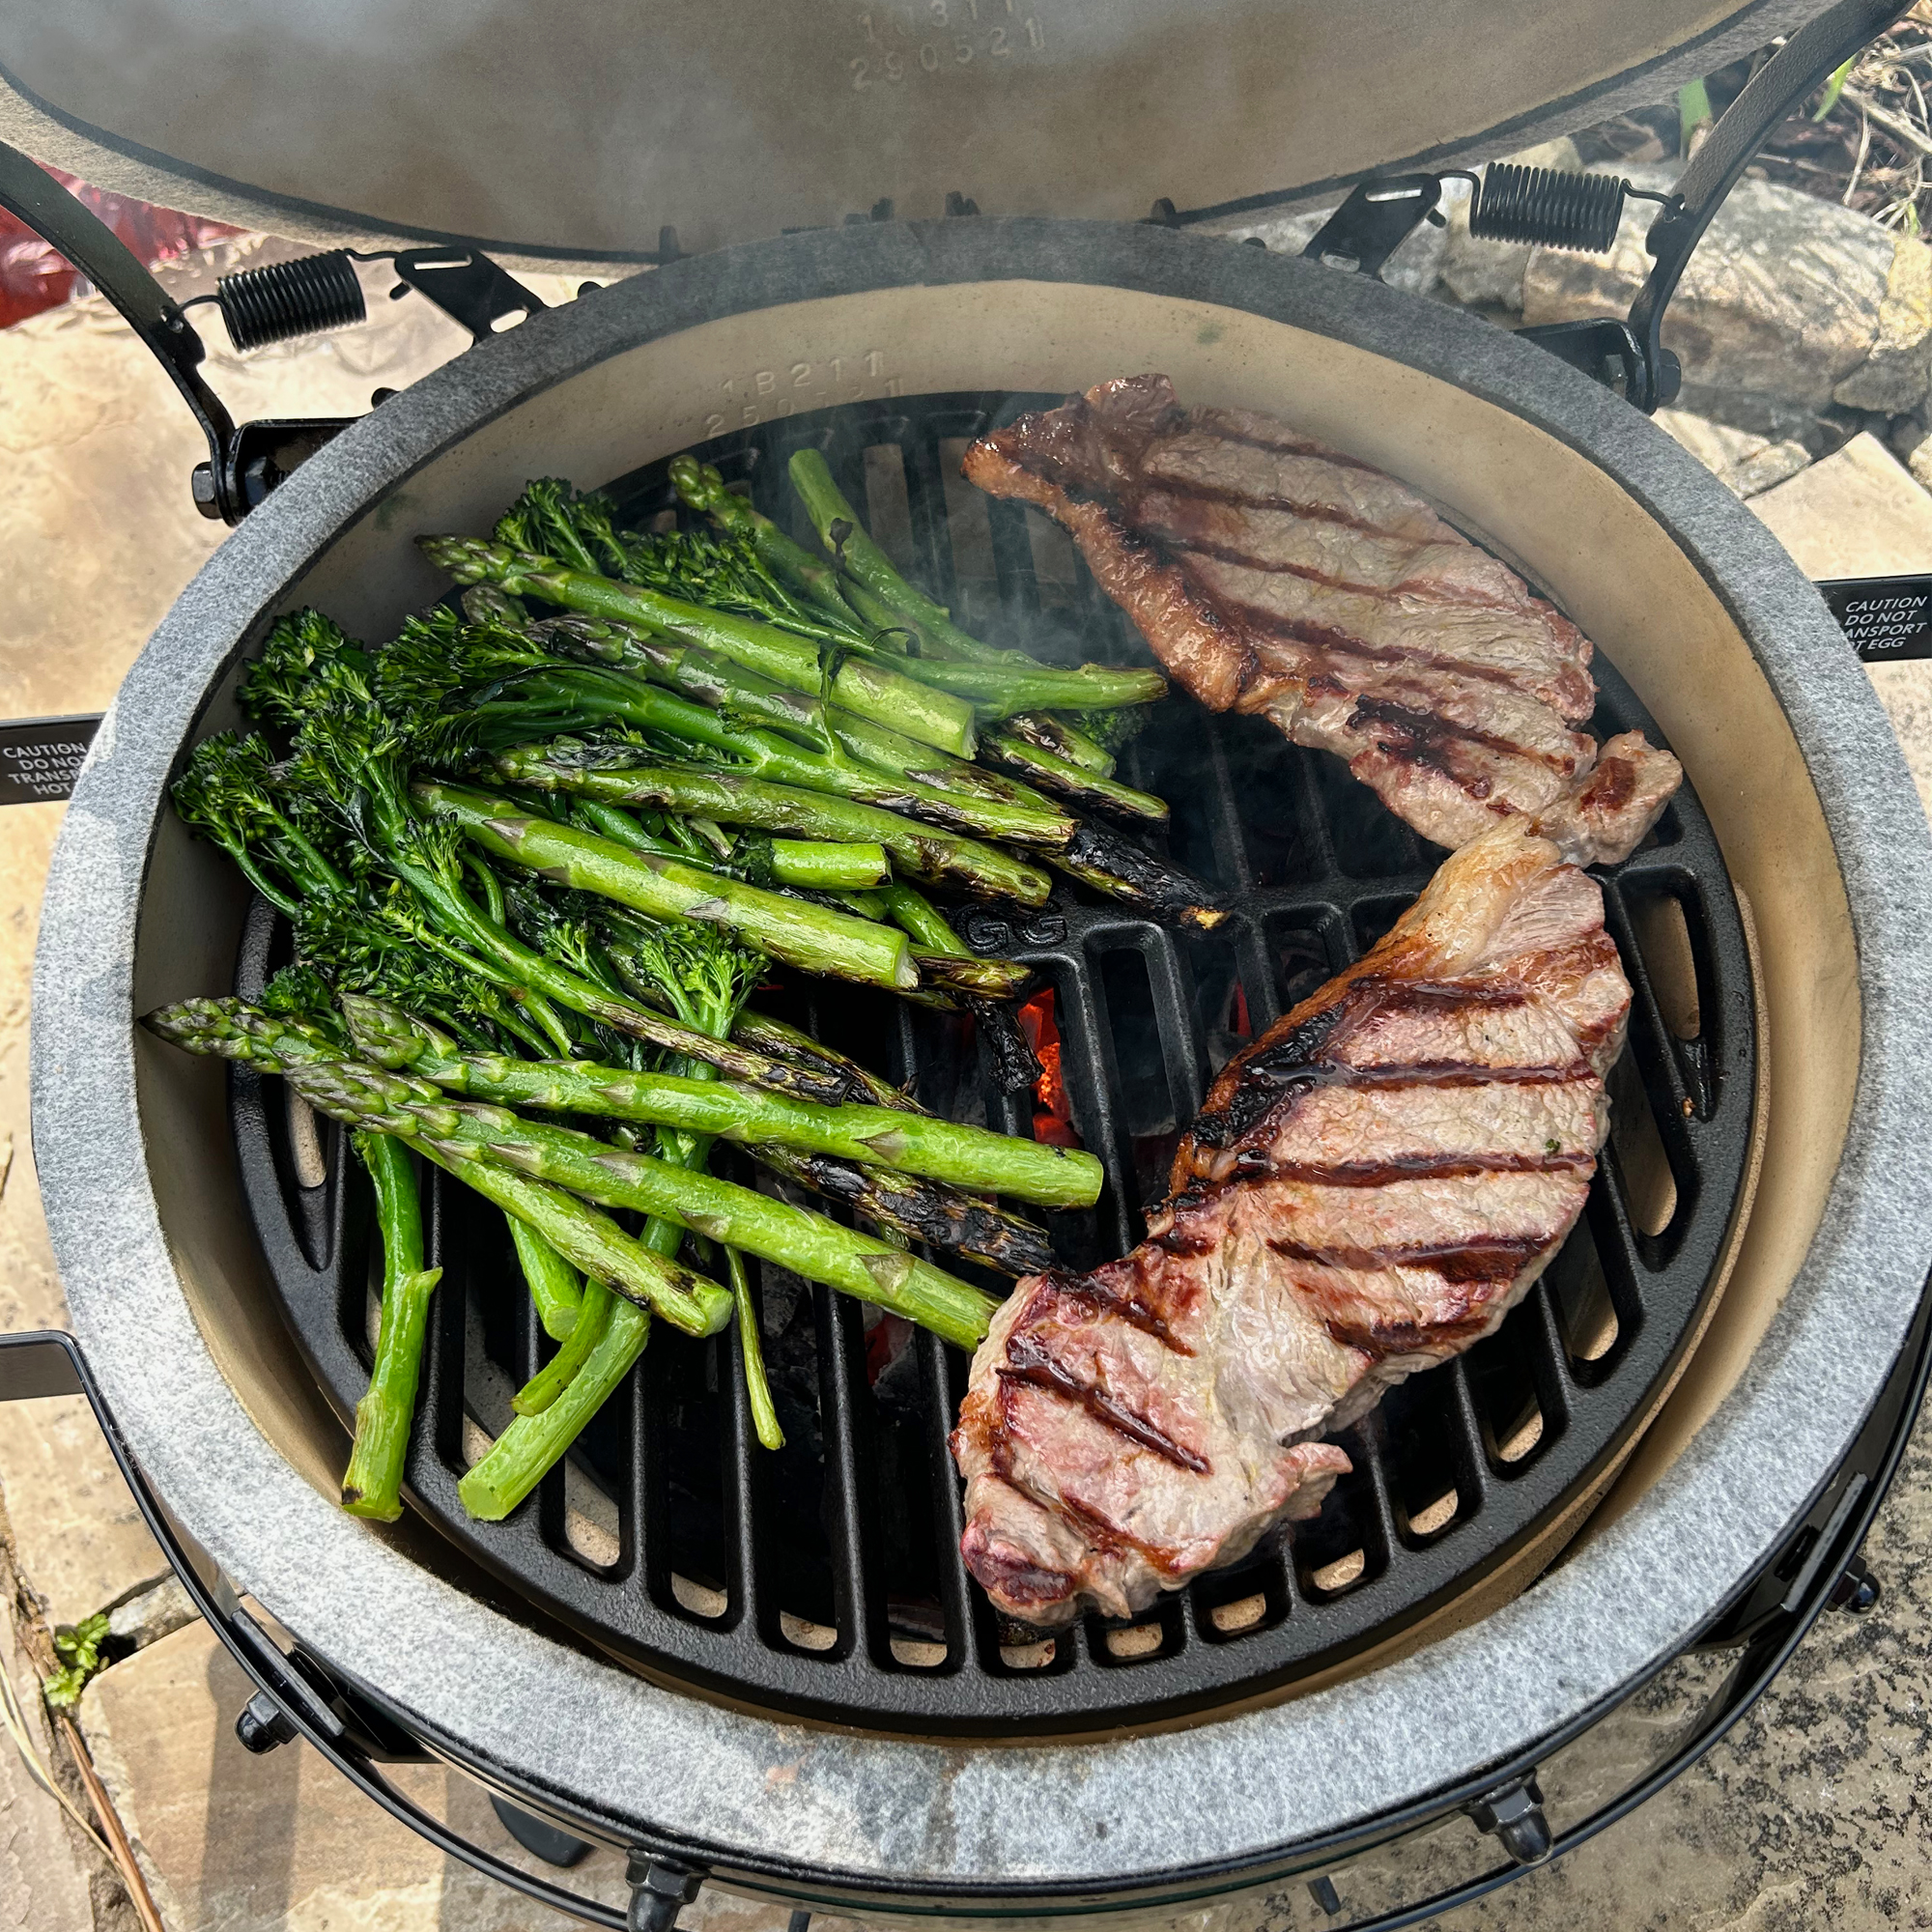
Although it doesn’t come as standard and costs an extra £70, I wanted to try out the cast iron cooking grid for steaks as that’s what the brand recommends. So once it had preheated I added tenderstem broccoli and asparagus to one side and two sirloin steaks to the other side. I closed the lid for three minutes, then turned everything and closed it for a further 3 minutes.
The steaks had defined bar marks and although they were medium-well on the inside, they were super juicy with crisp rendered fat - an impressive achievement in such a short time. I learnt that I’d opt for much thicker steaks next time though, so that it’s easier to achieve a medium rare result, but still with crisp gnarly fat and a charred exterior. The broccoli and asparagus were cooked but nicely crunchy and the depth of smoky flavour was surprising given the short cook time.
After the steaks, there was still plenty of heat in the coals, so I added the convEGGtor part that’s for indirect cooking as well as the cooking grid and when the temperature rose to 200oC I put in a whole chicken. I kept it simple and just put garlic cloves and rosemary on the inside and butter and salt on the skin.
I set a timer for 60 minutes and periodically checked the temperature. If it was over 200oC I nudged the top vent closed a bit and if it was under, I opened it. I found controlling the temperature quite intuitive. The tricky part is stopping yourself from opening the lid to take a peek. You have to trust that under the lid, it’s all cooking as it should. Because as Big Green Egg say “if you’re looking, you’re not cooking”.
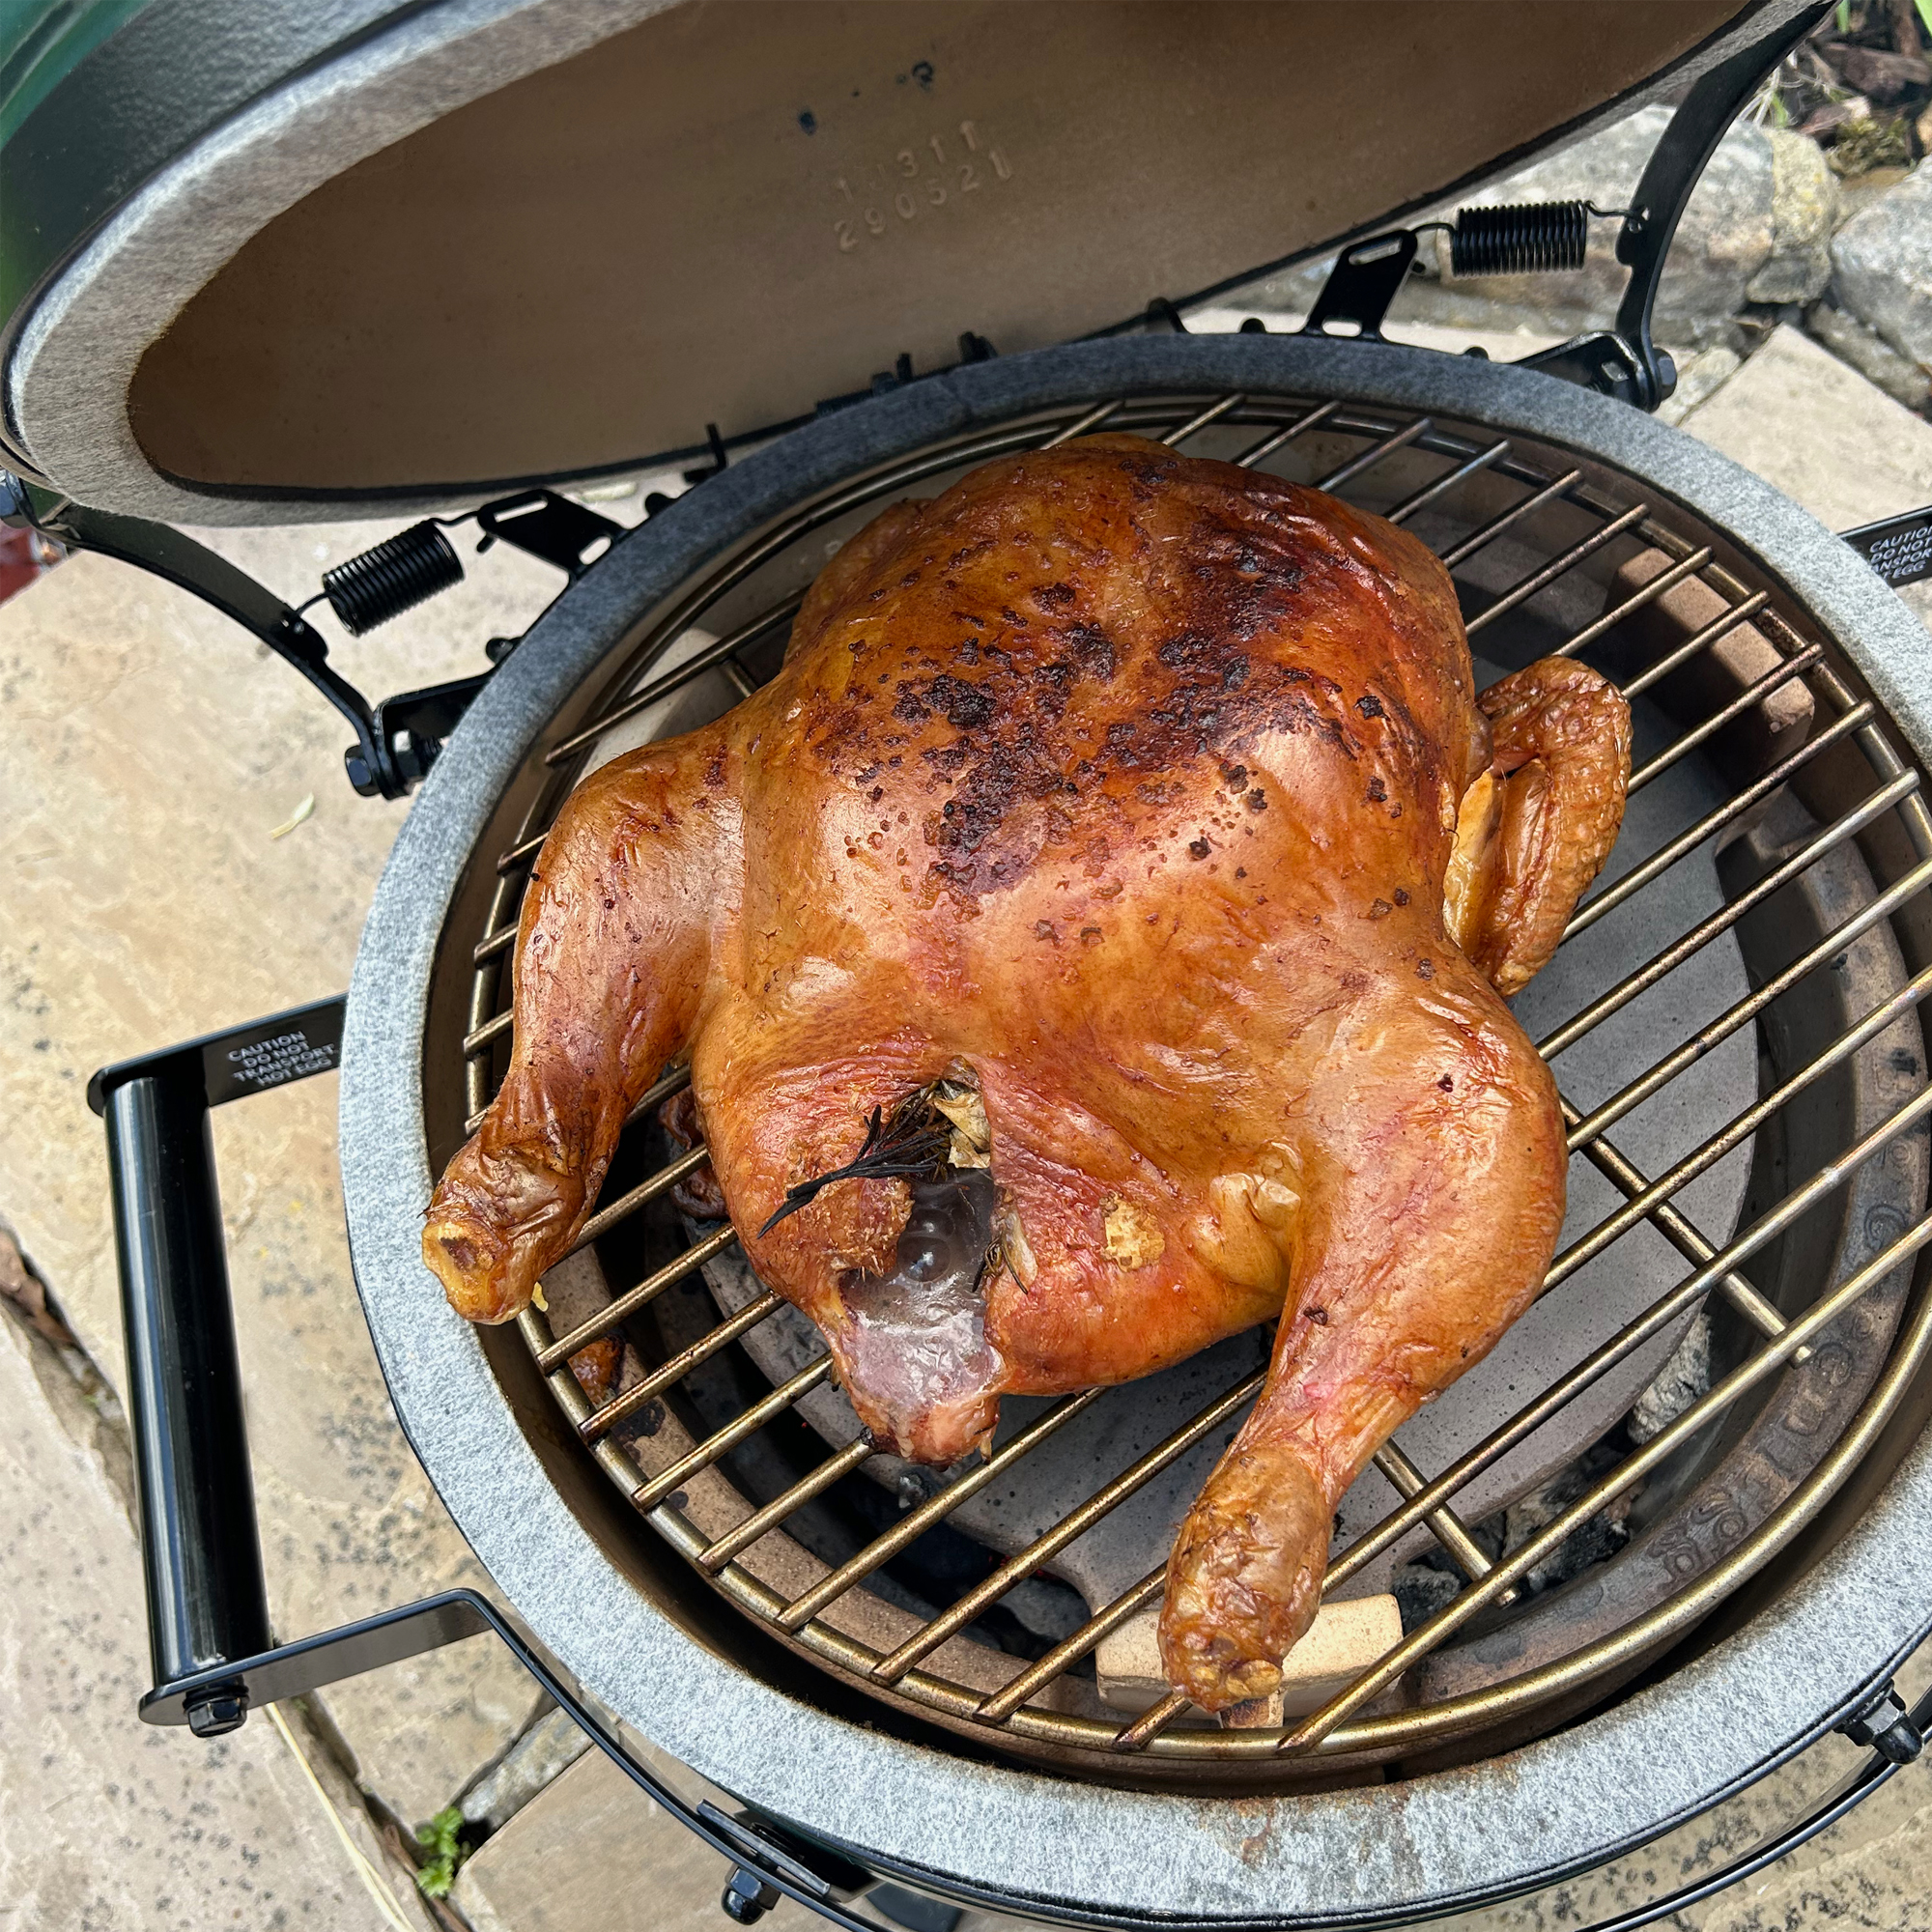
After 45 minutes I did take a look inside just to check it wasn’t burnt to a crisp or dried out. I also quickly poked a digital temperature probe into the chicken to see how far off it was, but I kept the lid open for the minimum possible time.
After 60 minutes I opened it up and the crisp golden chicken looked magnificent. I couldn’t believe how well this had worked, with not a hint of burning or drying out. I’m not sure I could get a chicken to cook and brown so evenly in my ordinary oven. And the meat tasted as good as it looked, juicy and tender, with bags of flavour.
On another day, I tried spicy potatoes, cooked in a cast iron skillet. After lighting the barbecue and setting it up for indirect cooking, I added my skillet to preheat, then I tipped in parboiled new potatoes that I’d tossed in oil and Indian spices, loosely based on this recipe. They took 45 minutes to crisp up and the result was delicious, crisp and smokey.
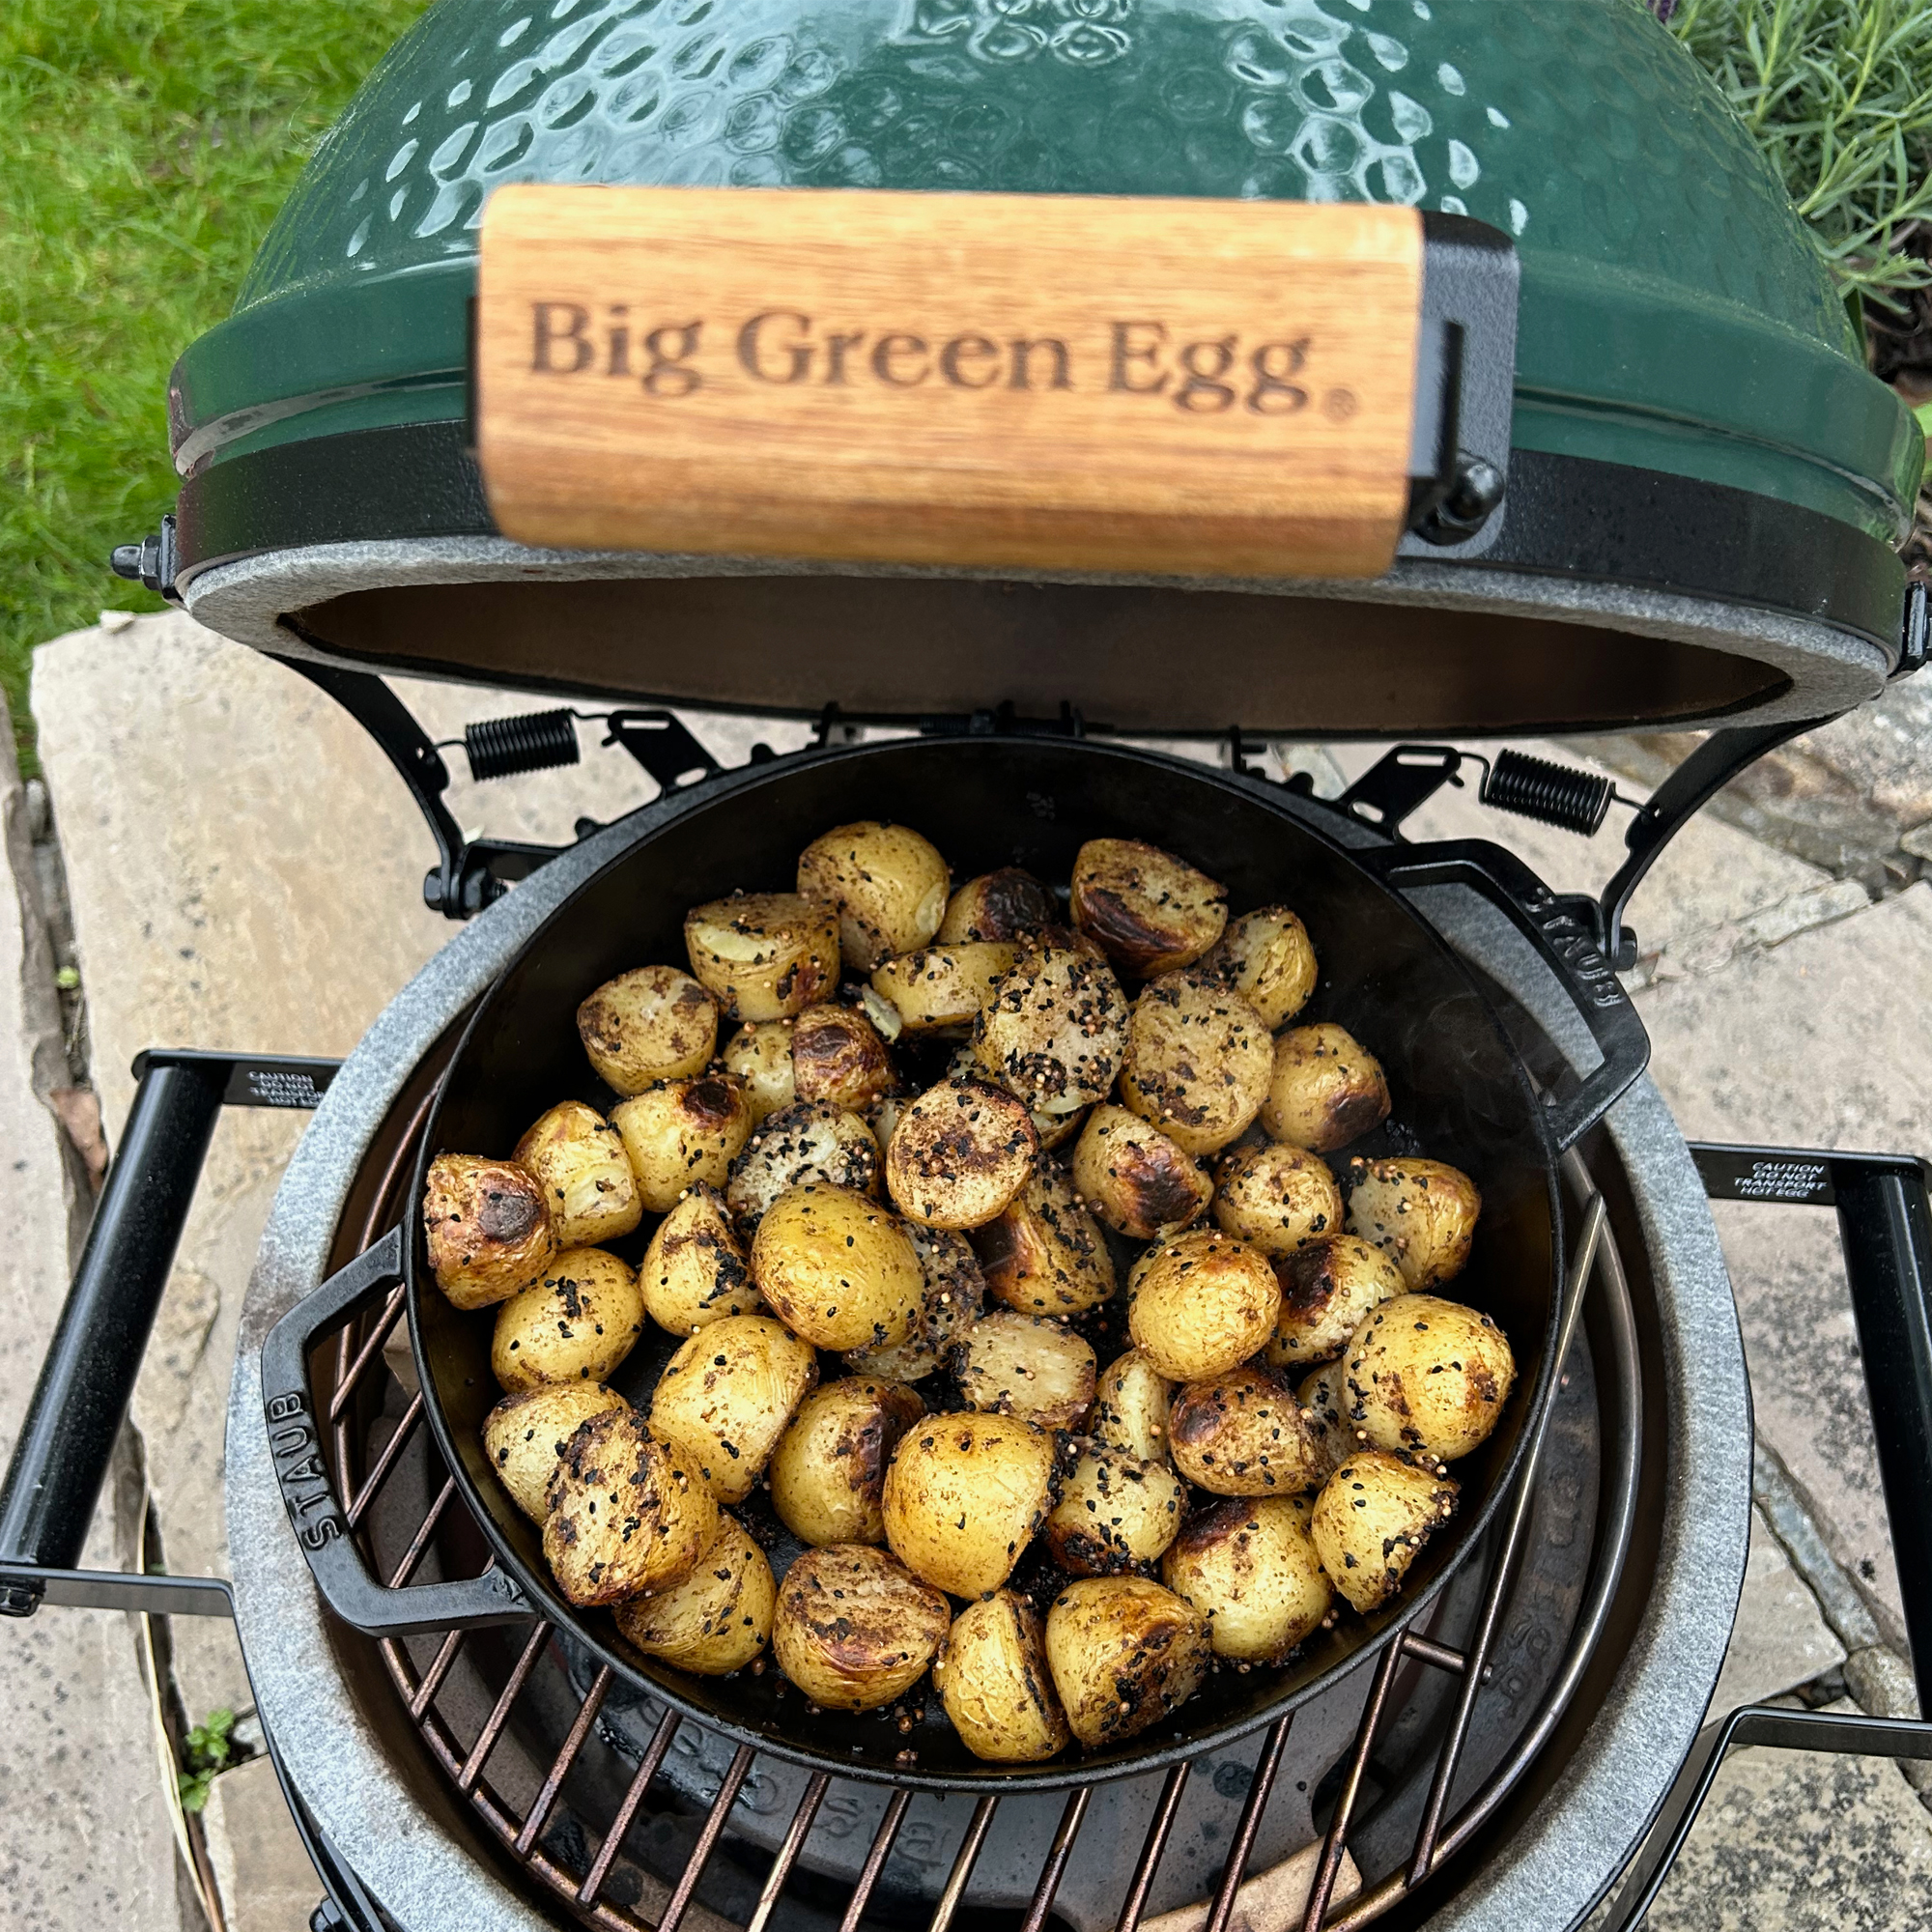
Once the potatoes were done, I put them to one side, removed the convEGGtor part using heat proof gloves and put the cooking grid above the coals. Once it was hot I added spicy paneer and vegetable kebabs and cooked them for 14 minutes, turning a couple of times.

But cooking foods like kebabs that don’t take very long, whilst trying to keep the lid closed as much as possible is tricky, so I did end up with some slightly overcooked pieces. If I did these again, I think I’d get a better, more even result putting all the paneer and vegetable pieces into a skillet instead of on skewers. They were delicious nevertheless.
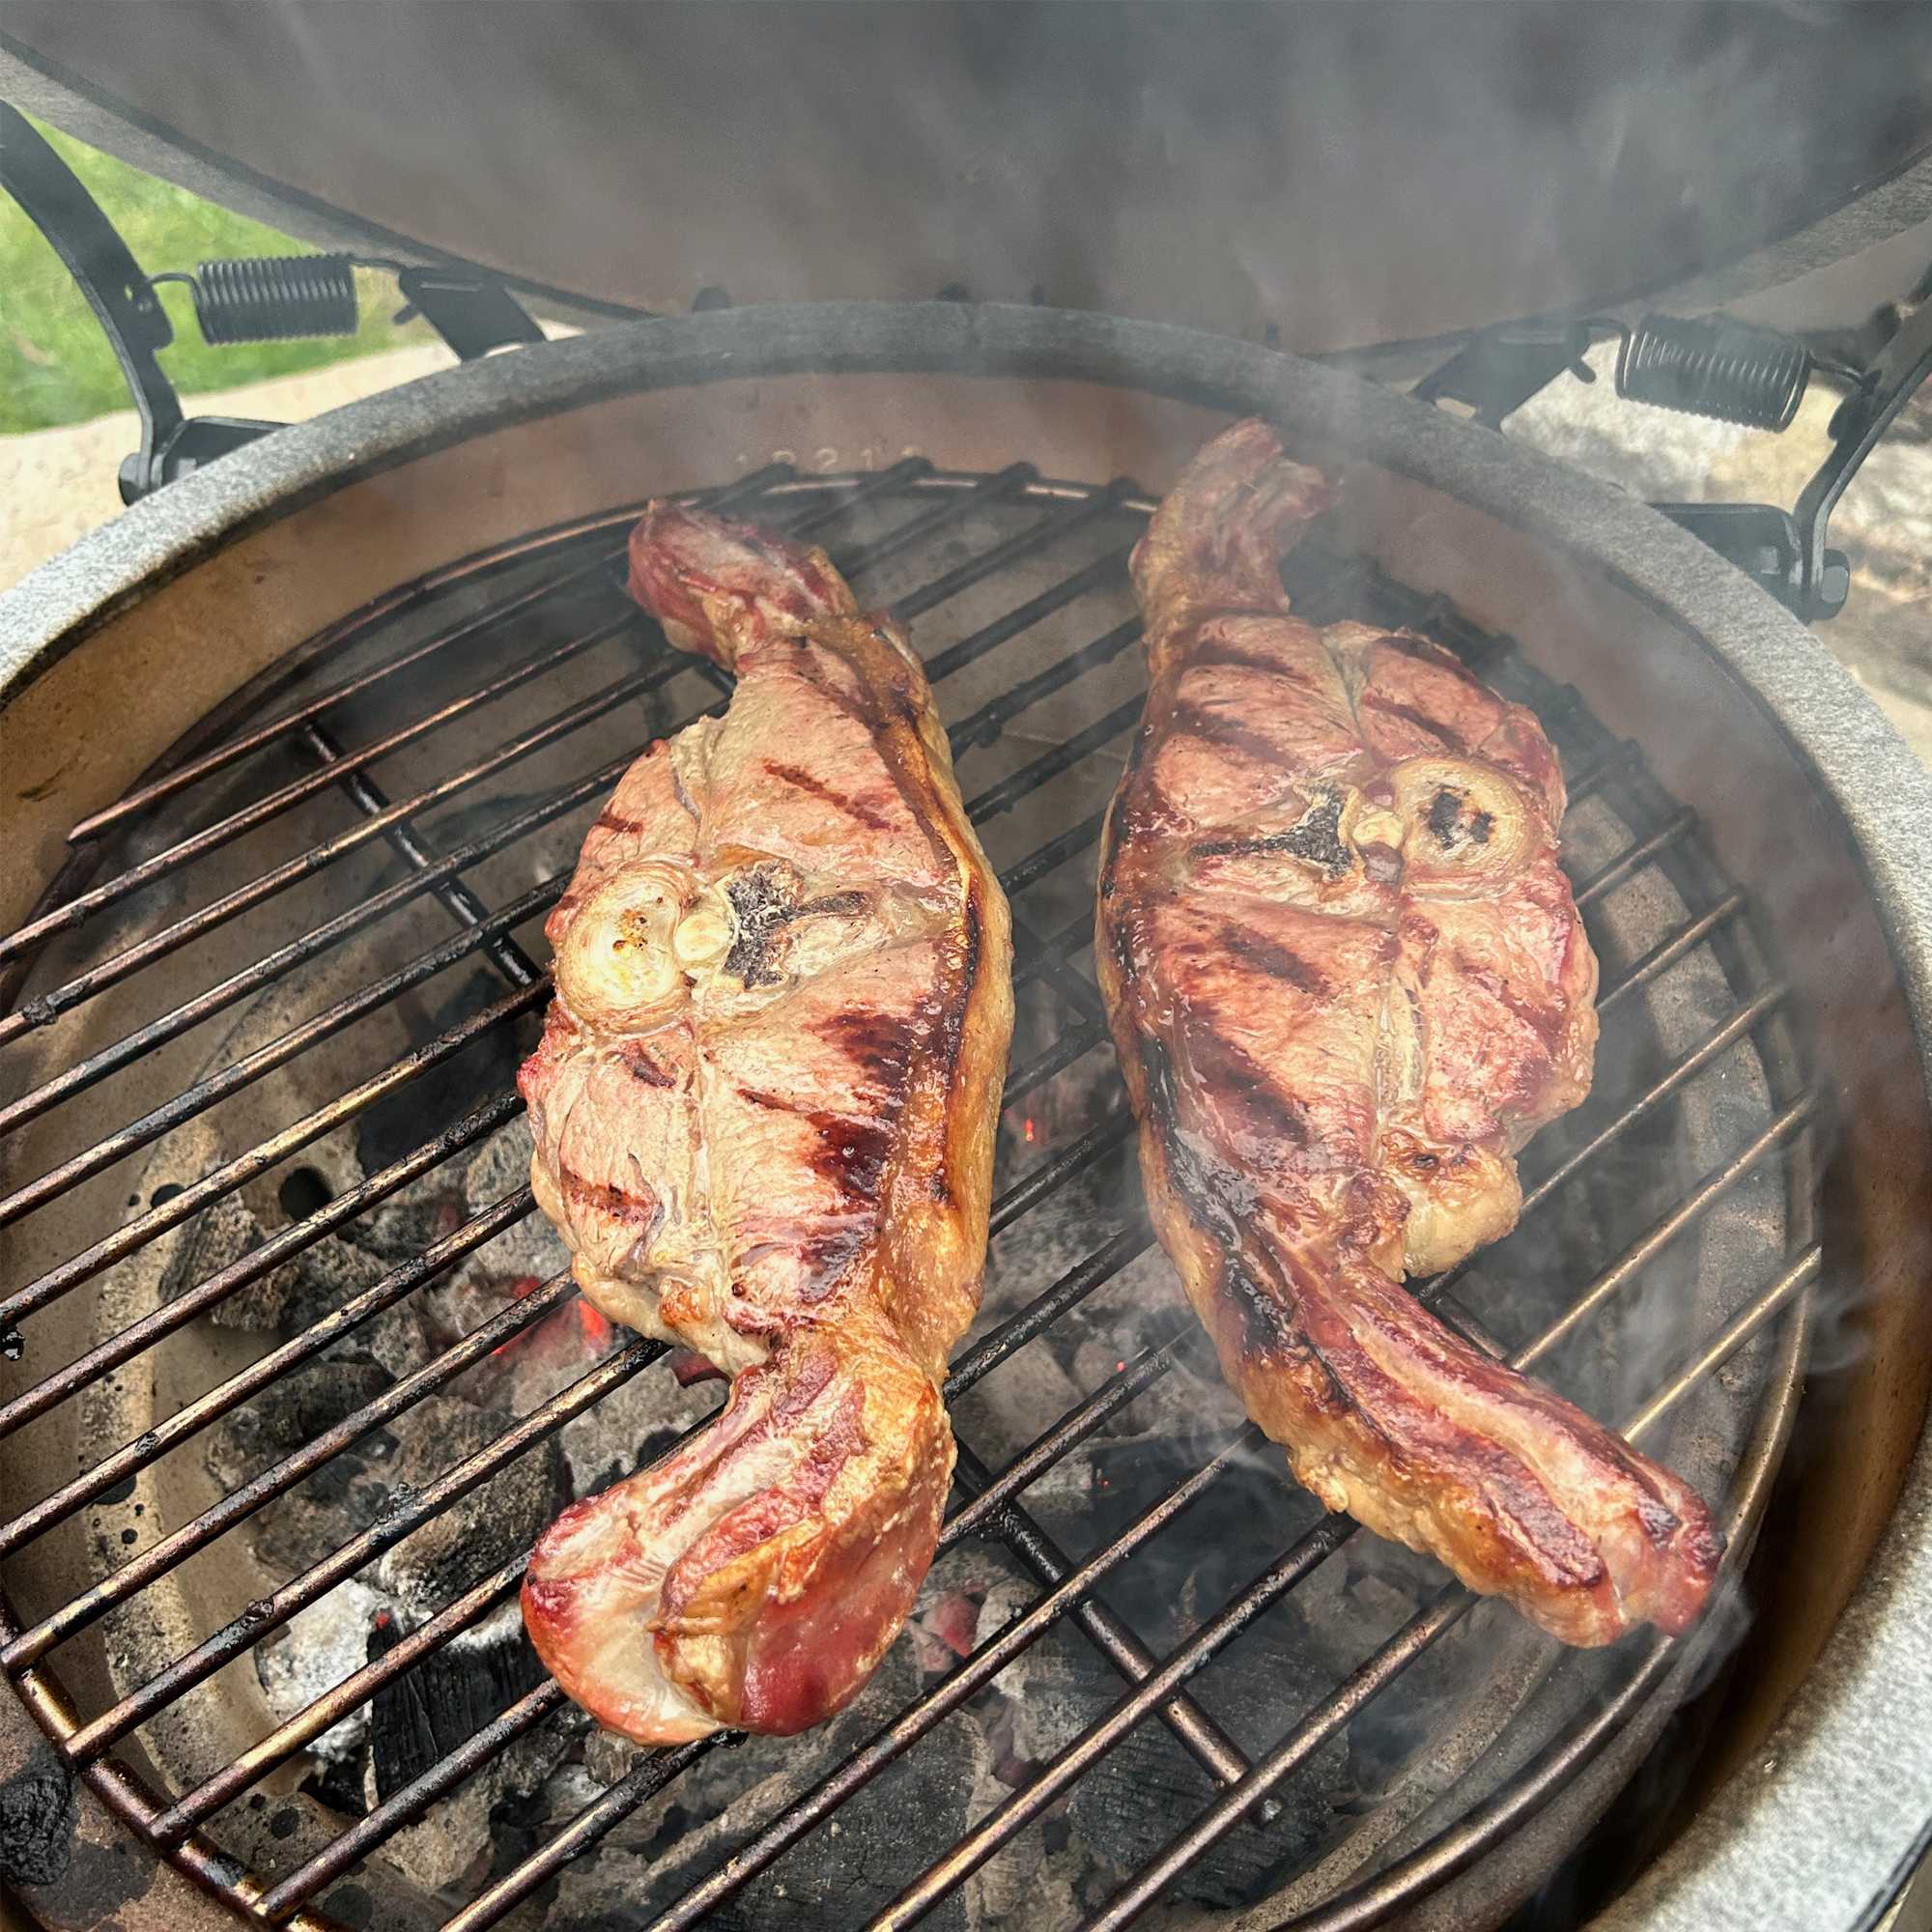
Even after the potatoes and the kebabs, there was still enough heat left to throw two lamb chops onto the cooking grid. I gave them 6 minutes on each side. The chunky fat layer was rendered beautifully and crisped up just how we like it. They were super thick which meant that even after a five minute rest the meat was beautifully blush on the inside.
Cleaning and maintenance:
After cooking mine took around 2 - 3 hours to drop from 200oC to cold. The exterior just needs an occasional wipe with a soft cloth. But like most charcoal barbecues, there’s not much cleaning needed. The majority of the debris and muck will burn off so long as you heat it to a nice to high temperature around 300oC and let it burn for 15-20 minutes.
Before lighting, you need to rake any coals that are left over from last time, so that the ash falls through the fire grate. It can then be removed via the draft door near the bottom. But this is a very small opening, making it tricky if you don’t have the purposely designed ash tool. I didn’t have this and if I owned a Big Green Egg, I’d definitely invest in one. The ash tool is £20 and you poke it in through the lower vent to gather the ash and pull it out to the ash pan. The ash pan is £40, it’s essentially a dustpan so you could get away with using something else. But in the absence of an ash tool I ended up removing the inner parts and scooping out the ash from the inside, which isn’t ideal.
How does it compare to similar BBQs?
If you simply can’t justify the price of the Minimax Big Green Egg, at around £400 the Tower Kamado Maxi Charcoal BBQ is a similar egg style barbecue but it’s half the price. So it does offer a hefty saving, but Tower doesn’t offer the range of accessories, nor does it have the pedigree that you get when you invest in the Big Green Egg brand. Similarly, it doesn’t come with an accessory to block the flames for indirect cooking, which is one of the big reasons to buy this style of barbecue.
The Minimax Big Green Egg is heavy, so if you’re reading this review because you were hoping for something more portable, I’d recommend checking out the Everdure Cube BBQ. This cute and practical charcoal barbecue might not be as versatile as the Egg. But it’s certainly more portable, so is a great choice for camping trips or beach barbecues.
Should you buy the Minimax Big Green Egg?
There’s no getting away from the fact that this is an investment level outdoor cooker. But if you’ve been eyeing up Big Green Egg for some time, this little one is a fantastic gateway into the world of egg cooking. Don’t let the name fool you, it’s still big enough to cook joints of meat and get to grips with this style of cooking for 2-4 people.
There are so many cooking surfaces and accessories you can buy, that you’ll never tire of cooking on a Green Egg. There’s always something new to master, be it baking loaves of sourdough bread to ‘dirty cooking’ directly on the charcoal. Cooking on a Green Egg is next level. I really like it, and if you’re a foodie who loves to experiment, you will too.
About this review, and the reviewer
As part of the commitment to how we test products that we recommend at Ideal Home, Helen tried out this barbecue in April which was fine since Big Green Egg barbecues can be used year-round, even in the rain. She had the barbecue for two weeks on loan and was very sad when it was time to give it back.

After completing a Home Economics degree, Helen went on to work for the Good Housekeeping Institute and has been reviewing home appliances ever since. She lives in a small village in Buckinghamshire in the UK, where she reviews all sorts of home and garden appliances for Ideal Home using her wealth of experience.