Wave Osaka 6-person Rigid Foam hot tub review – tried and tested
A stylish alternative to an inflatable hot tub and without the expense of a static spa – we test out Wave's rigid foam Osaka hot tub
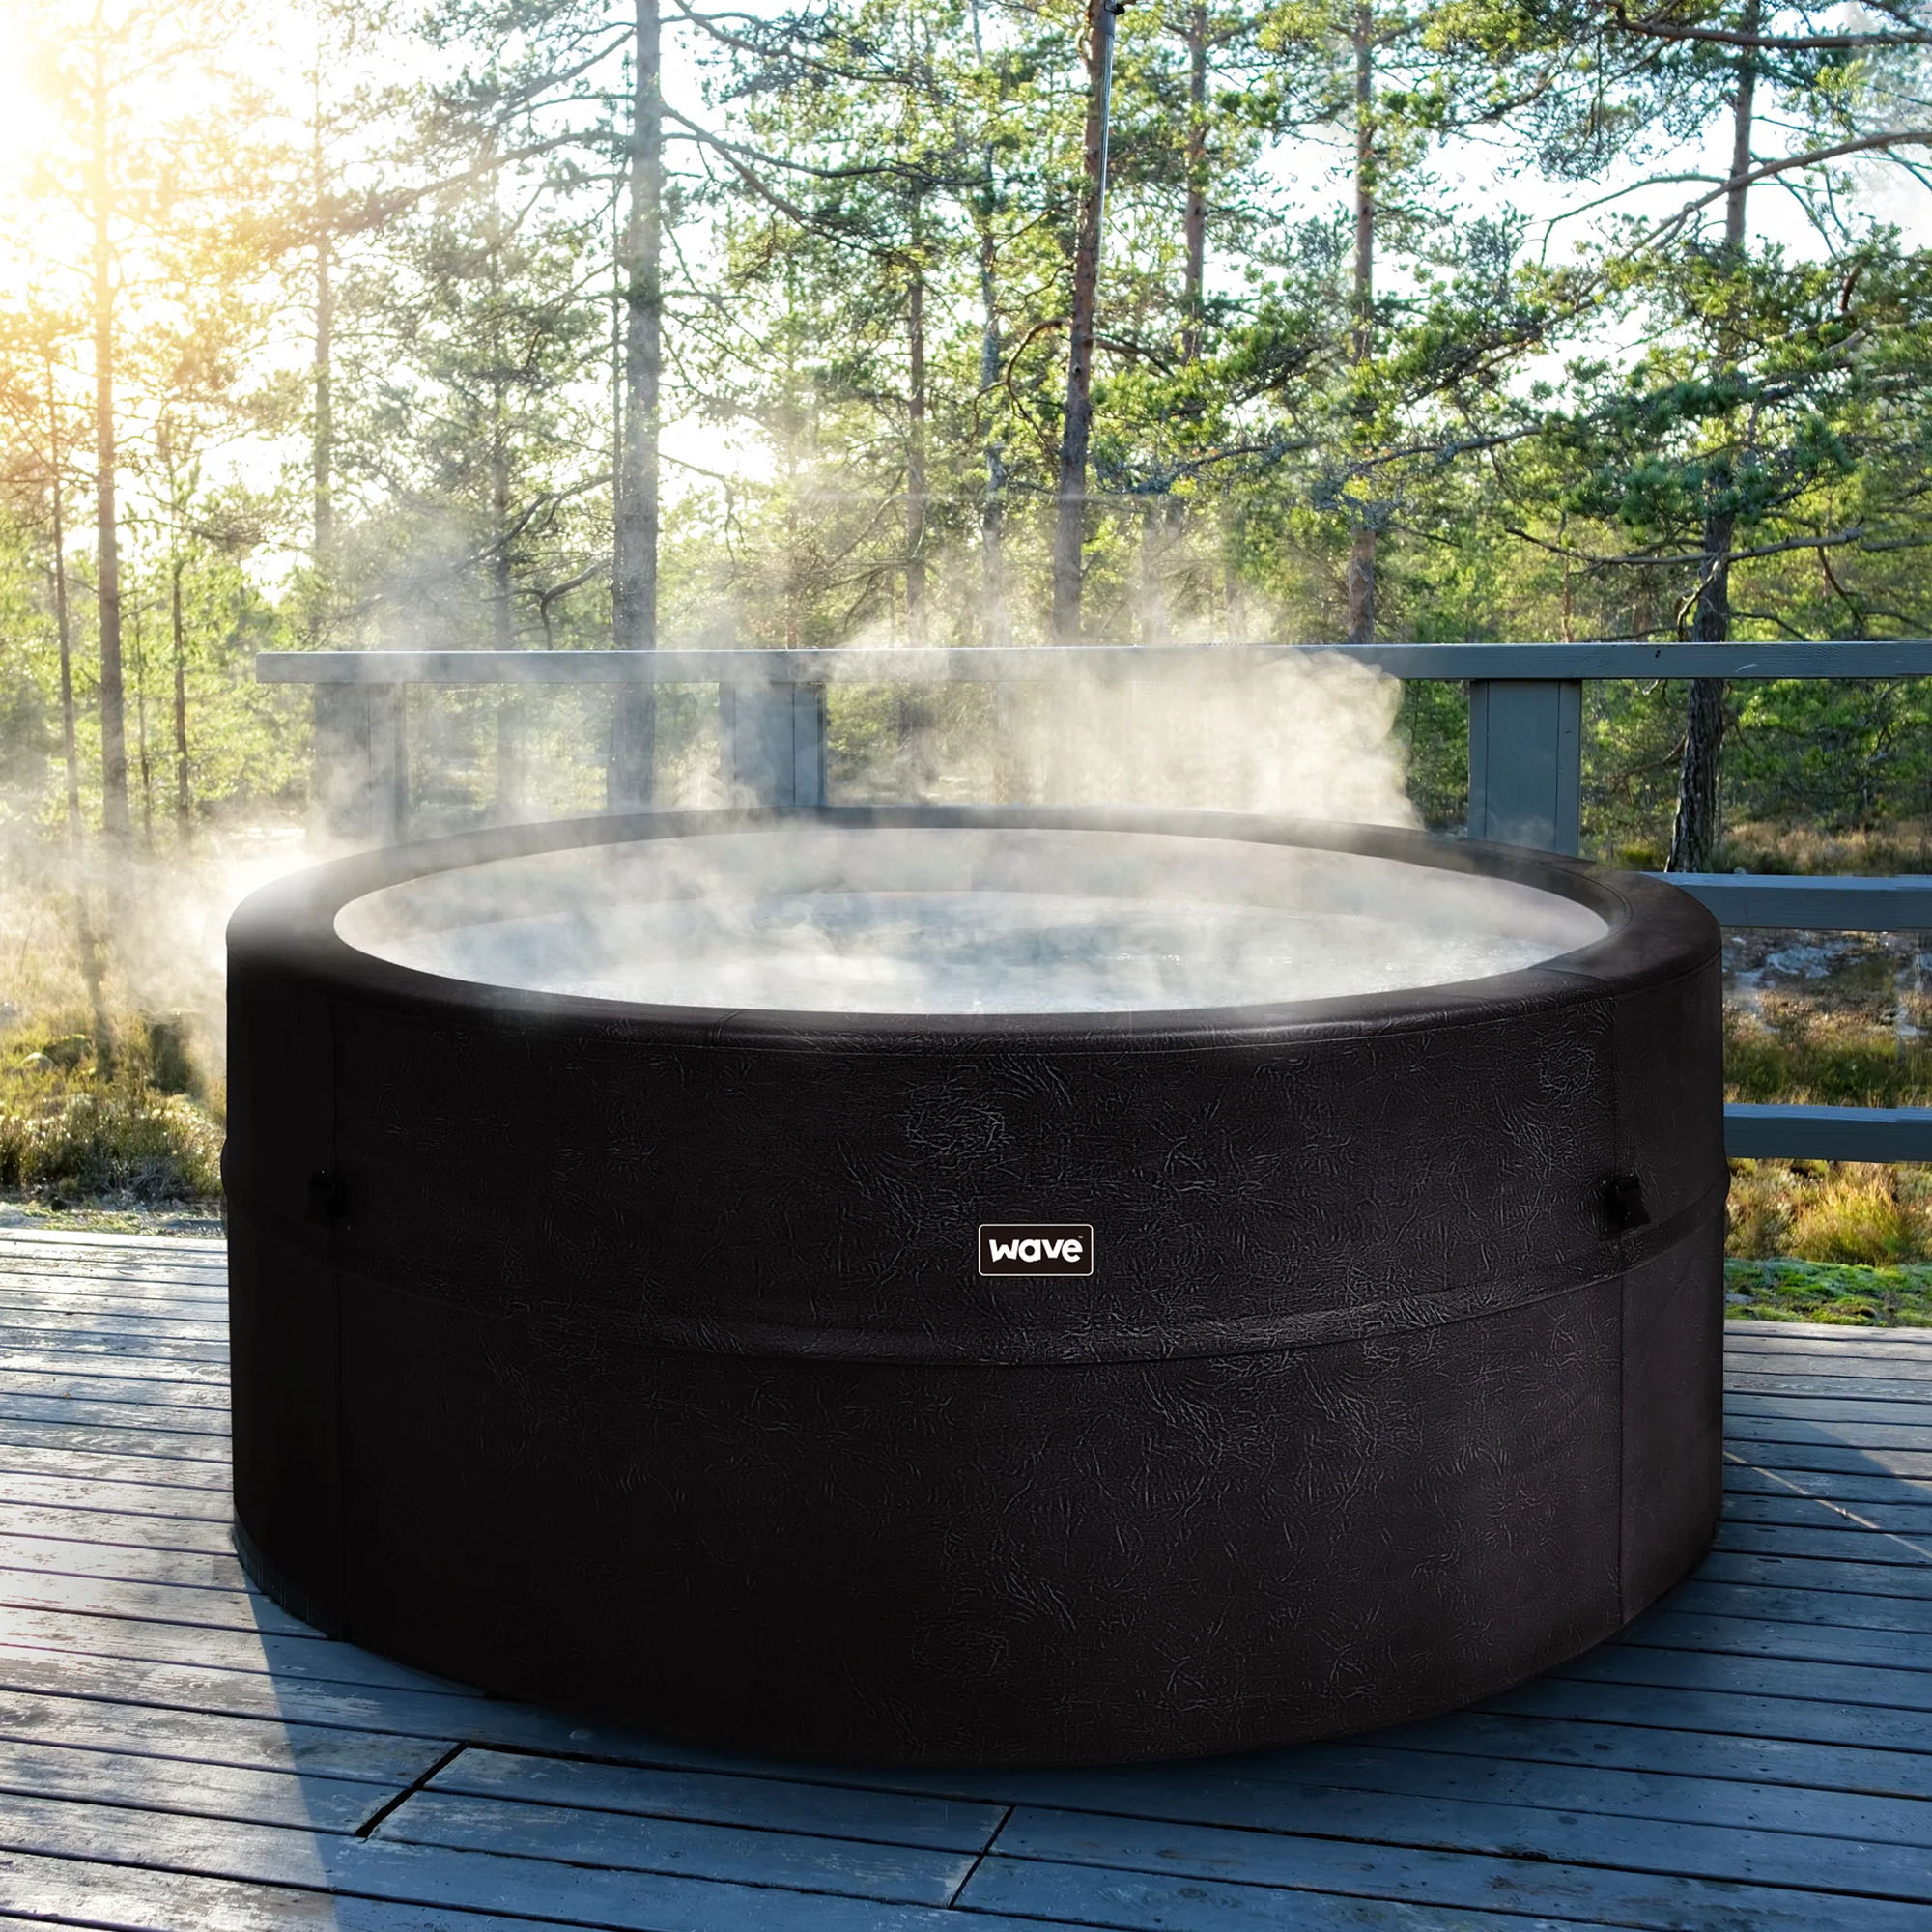
A stylish alternative to an inflatable hot tub and without the expense or installation hassle of a static spa, this rigid foam hot tub is a great all-rounder that's sturdy, thermo-efficient, and easy to use
-
+
Looks stylish
-
+
Sturdy and rigid foam walls
-
+
Comfortable to sit in
-
+
Easy to use
-
+
Easy to maintain
-
+
Thermal-efficient lid helps to maintain the temperature and save energy
-
-
Setup instructions could be clearer
-
-
Drainage hose could be longer
-
-
A little more expensive than most inflatable alternatives
Why you can trust Ideal Home

If you're looking for a hassle-free large hot tub, then you'll want to read this Wave Osaka 6-person Rigid Foam hot tub review. This mid-price-range hot tub is somewhat unique in the hot tub world, with its rigid foam outer a step above the usual inflatable hot tub at the budget end of the scale, but without the commitment, expense, and installation stress of a static resin hot tub.
Instead, Wave's Osaka hot tub is self-assembled using lightweight foam panels that create a rigid outer wall. This is finished with a faux-leather PVC outer that makes the whole thing look far more aesthetically pleasing than the usual 'giant paddling pool' look you get from an inflatable hot tub. It also means that you can still benefit from the portability and have the ability to dismantle and store the hot tub if you don't want it in use all year round.
I love a spa day, so I've been eager to try out some of the best hot tubs on the market to find out if I can recreate that luxury spa experience at home. I recently tested the Lay-Z-Spa Barbados Airjet hot tub, which was brilliantly easy to set up and use, but our family of four found its 669 litre capacity a little too small. I was hopeful the Wave Osaka 6-person Rigid Foam hot tub with its whopping 1200 litre capacity would give us all more room to stretch out.
My two boys (both water babies) were also excited to see if they could practise their swimming in it, and my partner and I were looking forward to some relaxation. Read on to find out how we got on.
Wave Osaka 6-person Rigid Foam hot tub: technical specifications
- Type: Rigid foam
- Seats: Up to 6 adults
- Water capacity: 1200 litres
- Number of air jets: 110
- LED lights: No
- WiFi controls: No
- Power supply: UK 220V-240V
- Maximum temperature: 40°c
- Heat up time: 27 hours (from cold to max temp)
- Outer dimensions: H73cm x 1.8m diameter
- Additional features: Inflatable cover insert and maintenance kit can be purchased separately, or as a bundle
Wave Osaka 6-person hot tub: what the brand says
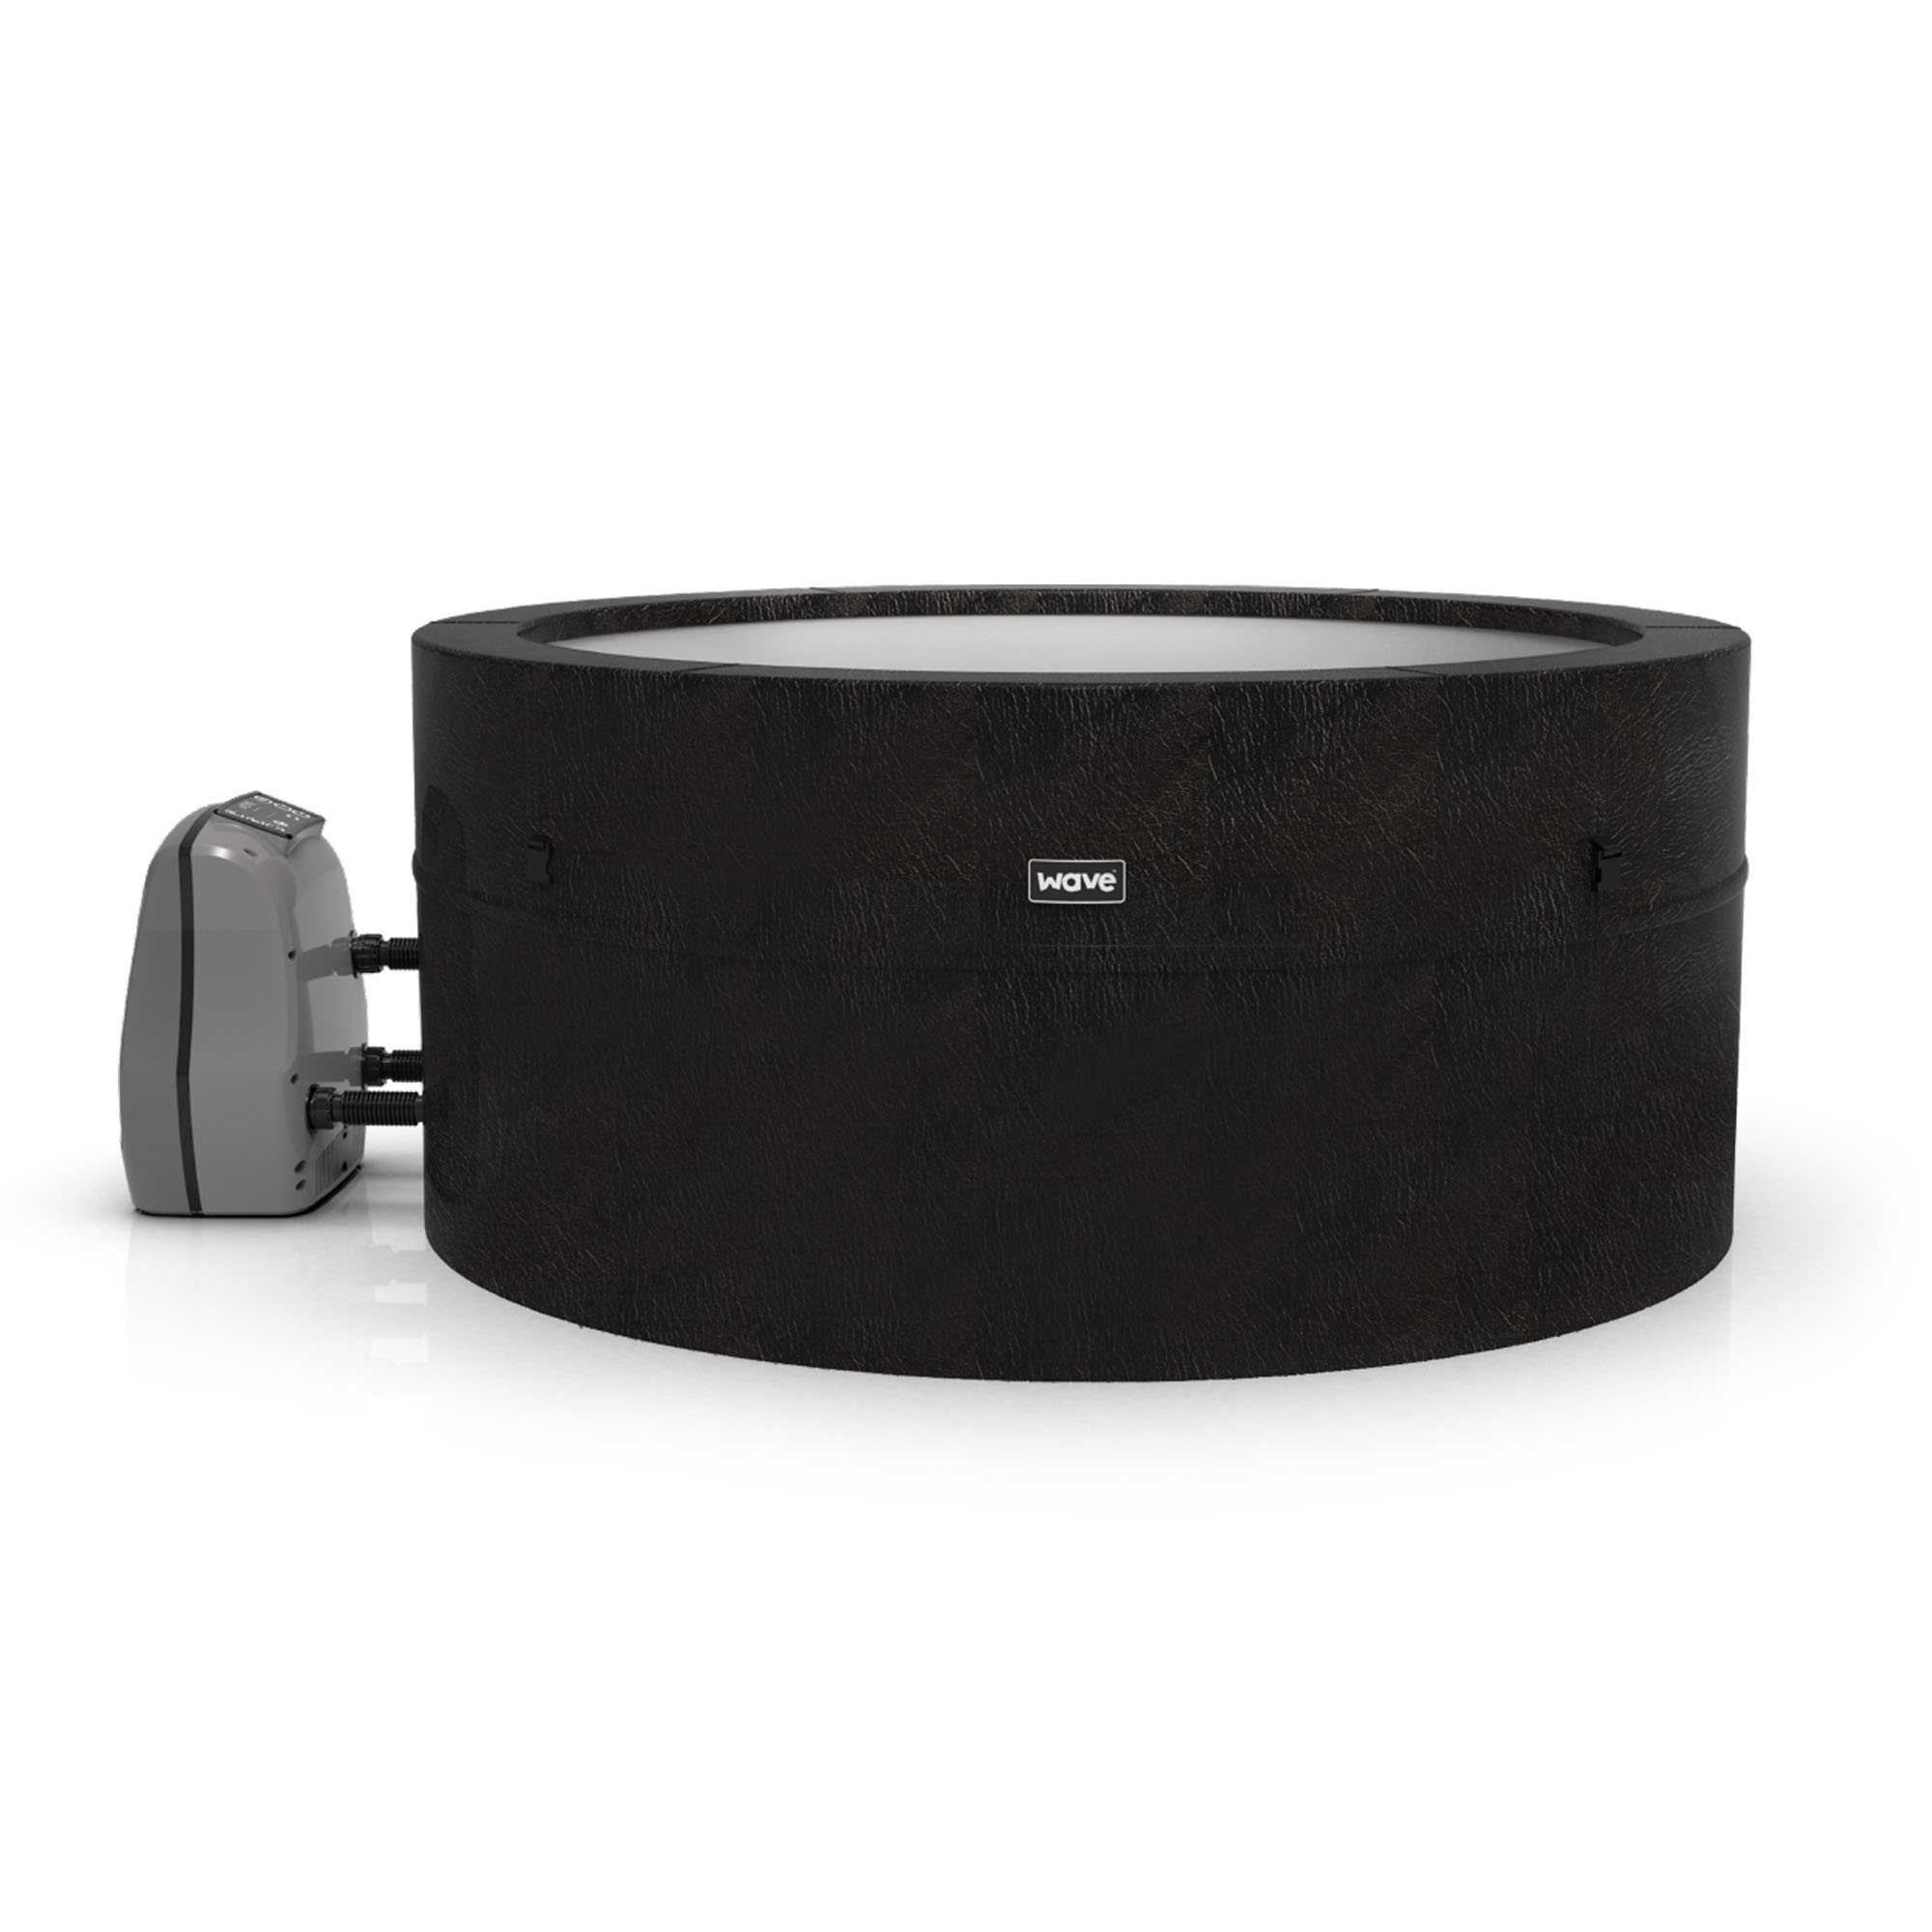
In contrast to the usual inflatable portable hot tubs, the Osaka is made with Wave's insulating PU foam core protected by tough UV-resistant PVC with a faux-leather finish. That means that rather than inflating the hot tub, you self-assemble the spa using the lightweight foam sections.
The brand claims this construction method keeps the heat in for longer, stating 'our foam spas are up to 50% more energy efficient and can be cheaper to run than other portable hot tubs without the hassle and expense of a resin spa. They can easily pack away if you plan on not using it for a period'.
The hot tub is marketed as suitable for year-round use, and comes with 110 airjets 'ready to relax you into a blissful state of unwind'. Needless to say, I was excited to put these claims to the test!
Wave Osaka 6-person hot tub: unboxing
The hot tub came in three separate boxes – two for the hot tub itself and then I was also sent a maintenance kit, in a smaller box.
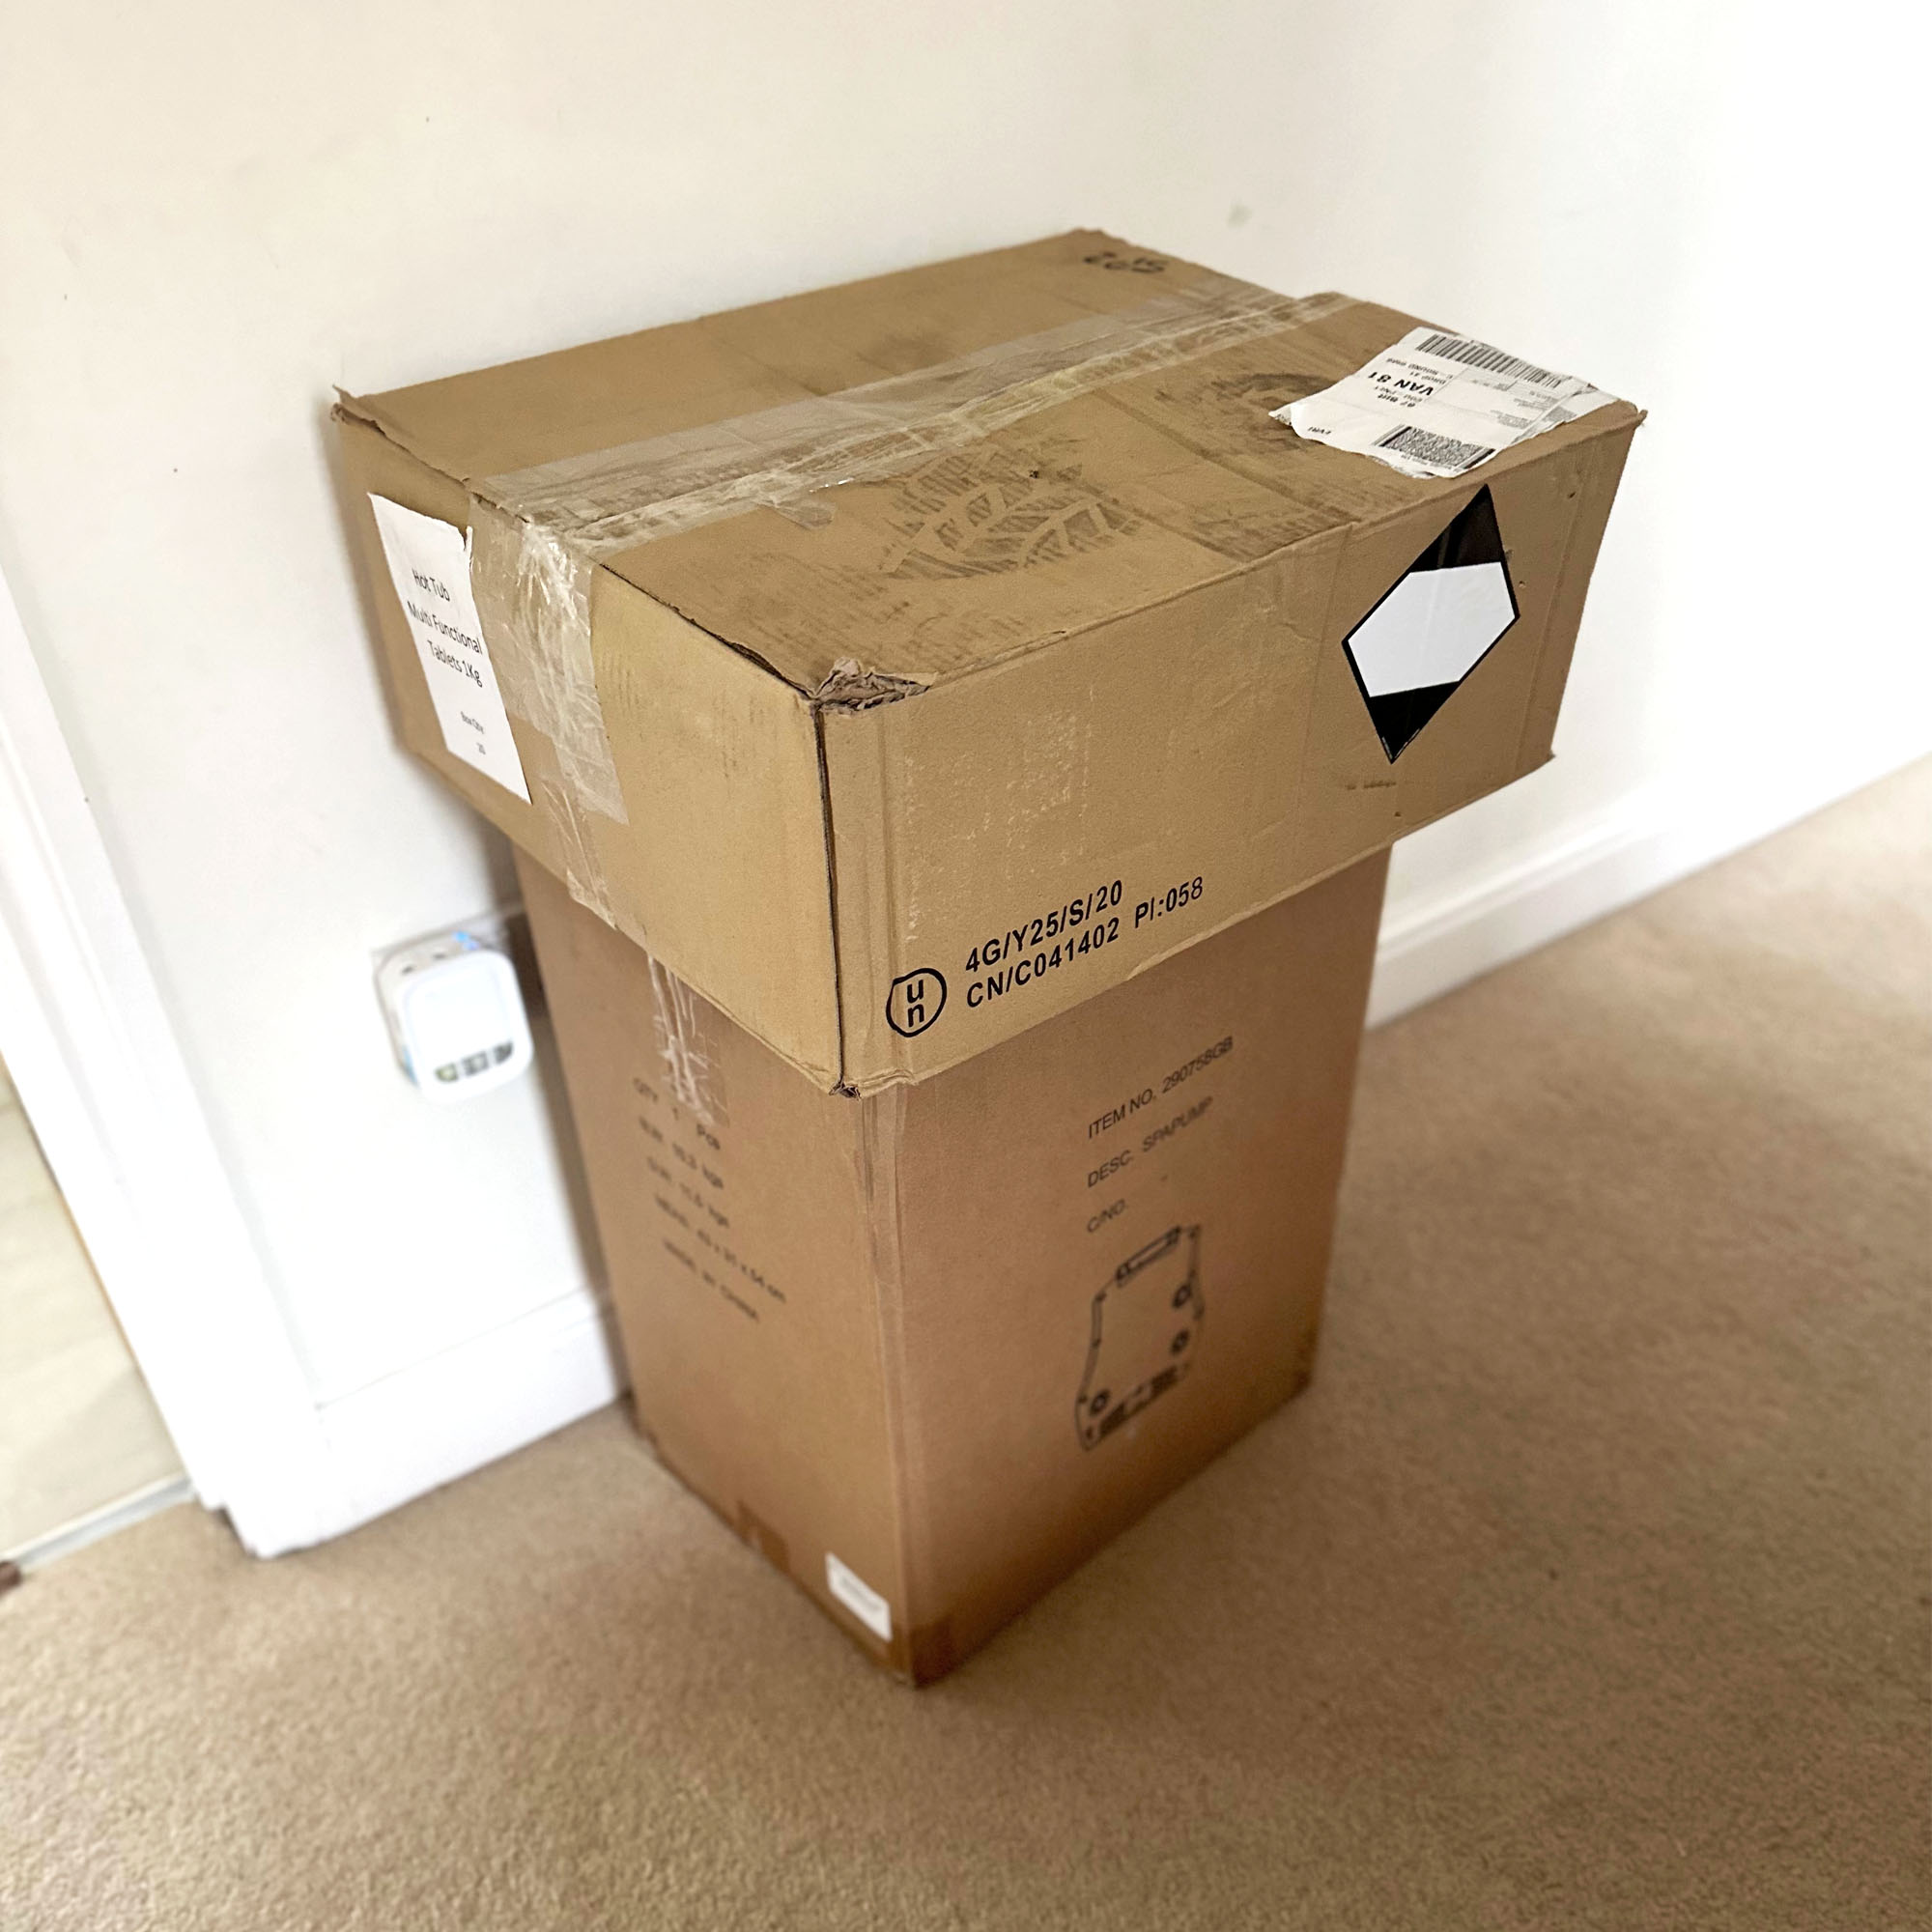
Despite the size of the box, I was surprised that a 6-person hot tub could fit in there, and also that the largest box was so light. The smaller box seemed heavier, but upon opening both boxes, I could see that the foam walls were snugly packed in the larger box and the liners and pump unit were in the smaller. Nice to see that not too much plastic was used in the packaging and the larger box made a great den for the boys afterwards!
Wave Osaka 6-person hot tub: assembly
When it comes to self-assembly, the brand states that you can 'set up and be ready to fill the hot tub with water in less than 5 mins, it’s as easy as that. No tools are required for the assembly of any of our portable hot tubs'.
I was pleased to see that no tools were required for assembly and there were only 14 steps for installation according to the instructions, so I set about building. I quickly read over the safety instructions and then took all of the parts out of the boxes. I soon realised that I had more parts than the instructions listed, but decided I would work out what they were for as I went along.
The first step is site selection. We chose our patio as it’s level, clear of vegetation and next to our outdoor plug socket. Our lounge has French doors that open straight on to that area of patio, so I decided to assemble the hot tub inside, as it requires somewhere flat and it felt like it would be light enough to move outside after assembly.
To make sure the hot tub would fit through the doors and also to see how big it would be, I took the foam walls out of the box and set them up on their own in a circle. Luckily it was the perfect size for the area we had available, so I moved on to the next step, the RCD test.
The RCD (Residual Current Device) test checks that the plug is working correctly to avoid any risk of an electrical shock. The spa mustn't be used if the RCD test fails. You insert the plug into the power outlet, press the ‘reset’ button so the indicator light turns red and then press the ‘test’ button, which should turn the indicator off. You then press ‘reset’ again to turn the light back to red. This was all working fine, so I moved on to assembly.
The instructions for assembly are listed out in steps with pictures for reference. It says that at least one person is needed for installation, then 10 minutes for site preparation and water filling. The first step is to choose a flat and level location, followed by extending the liner out.
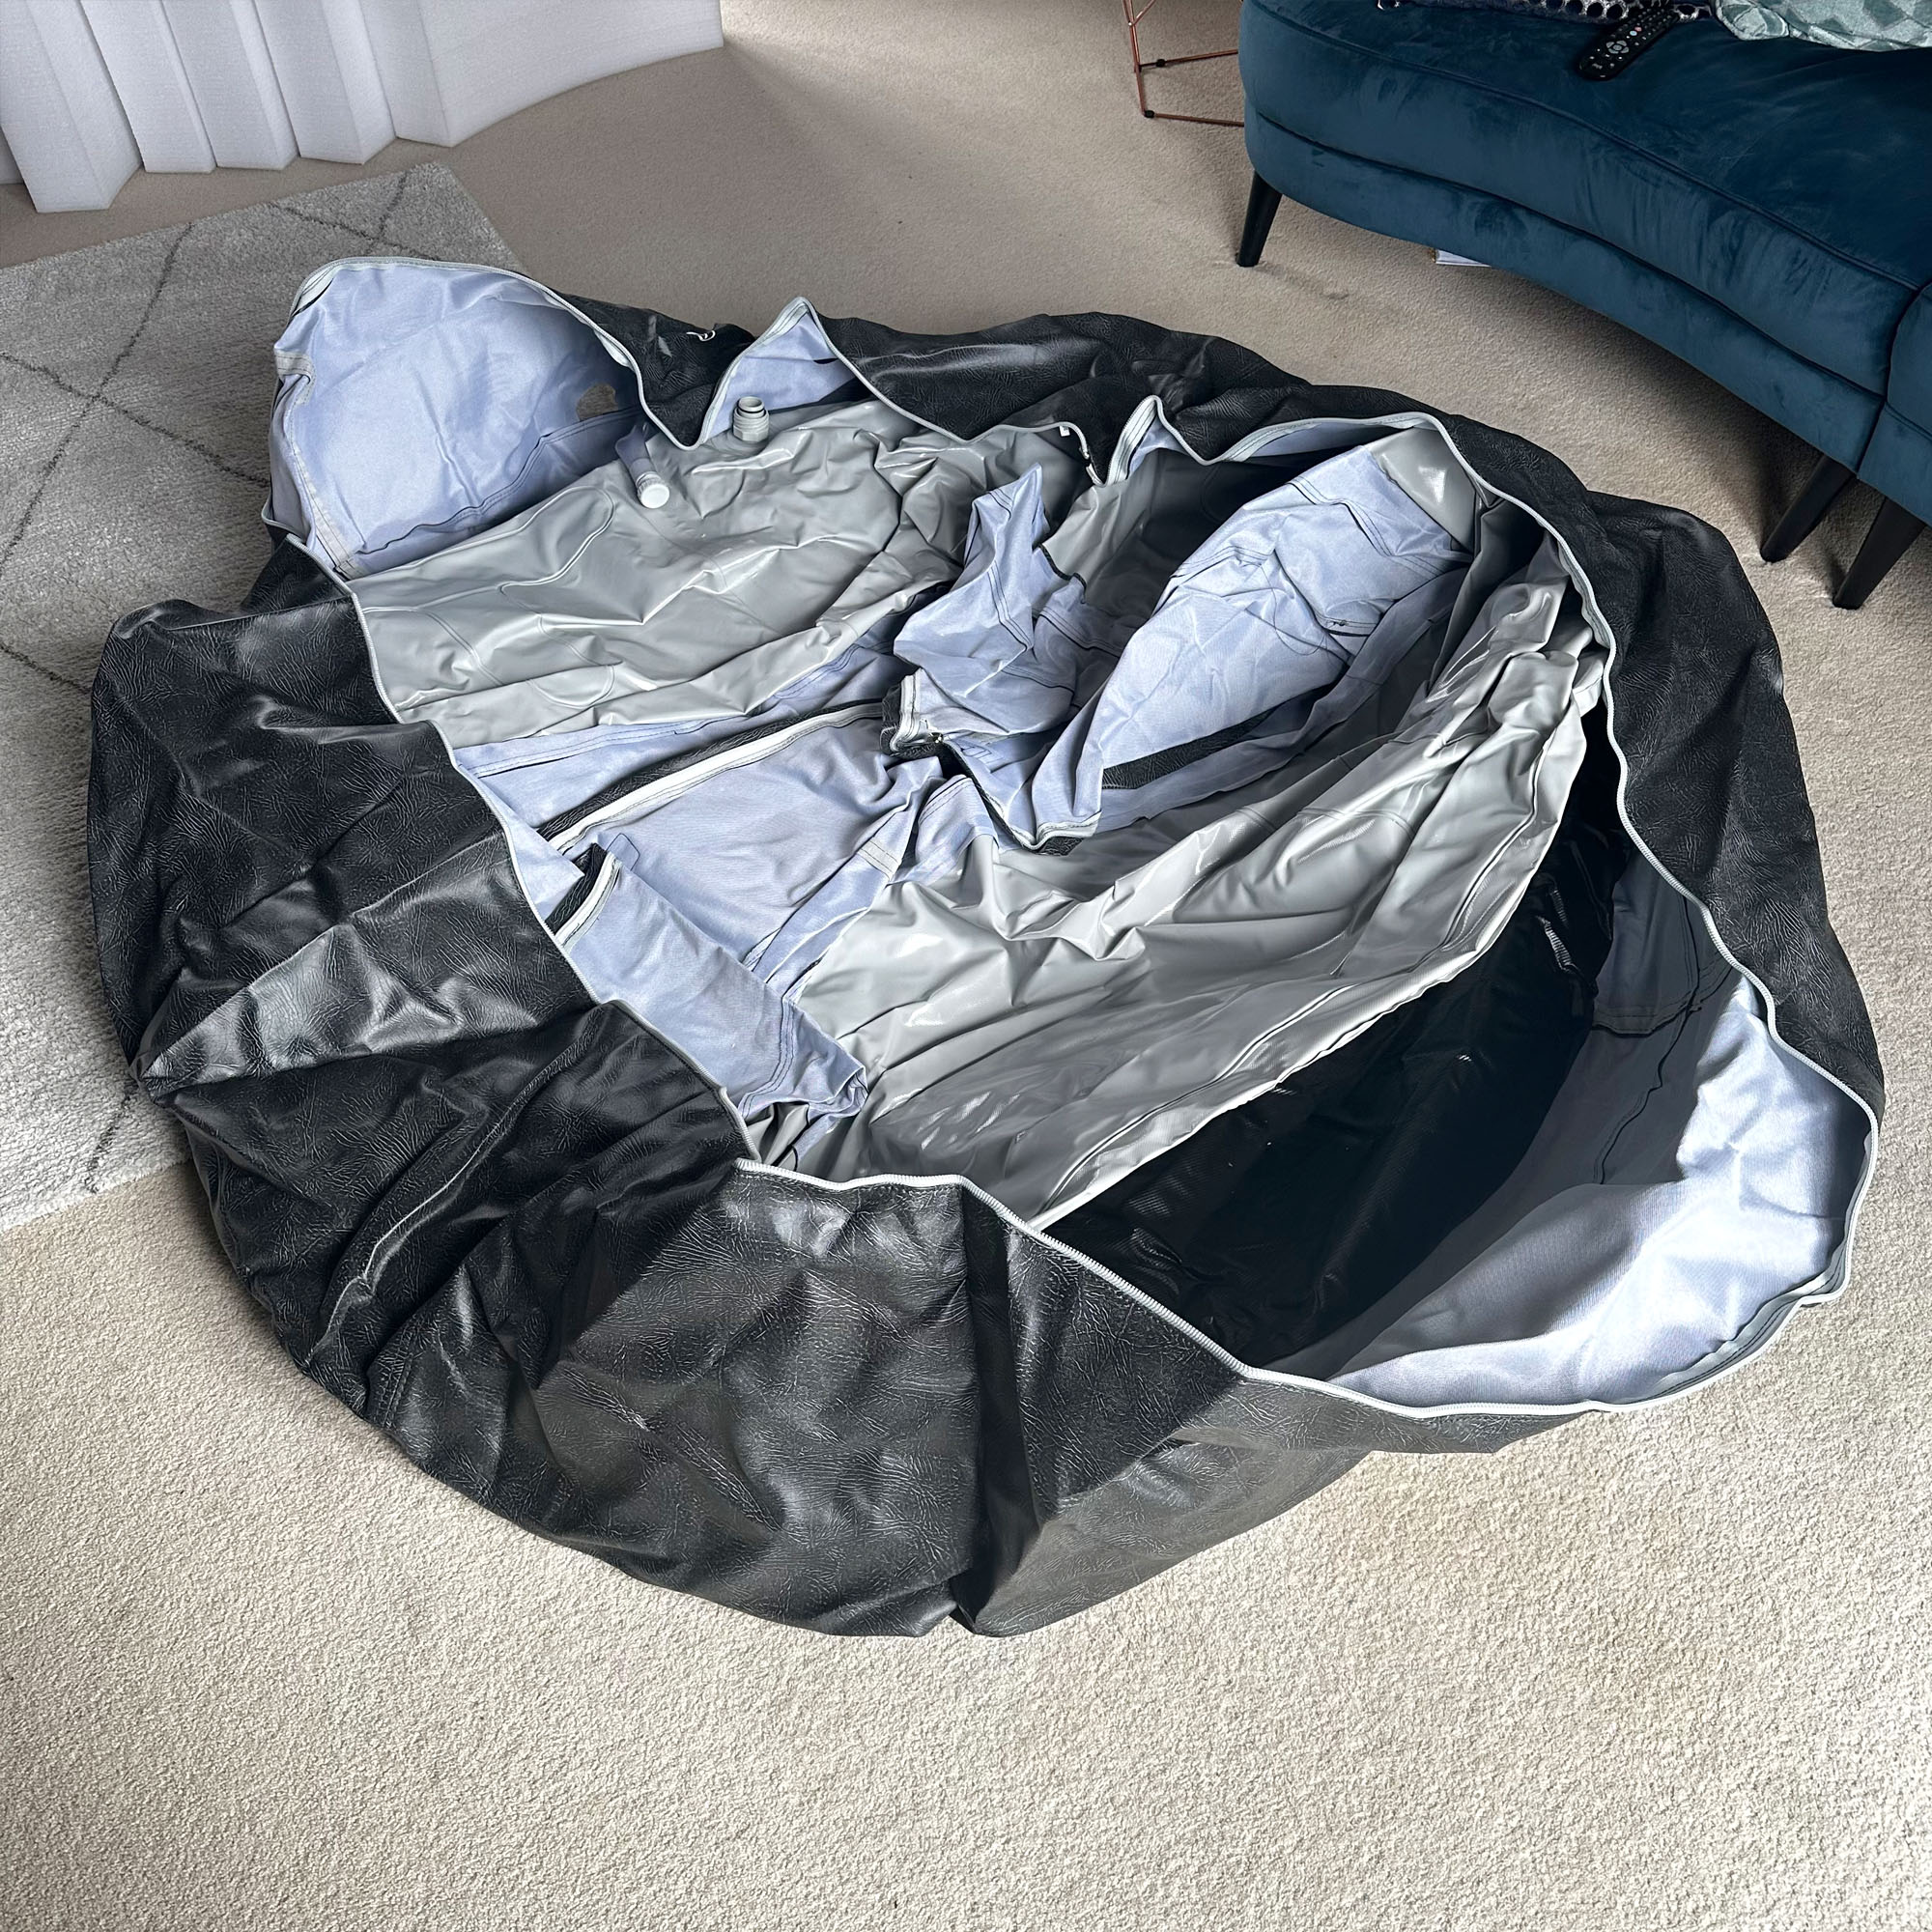
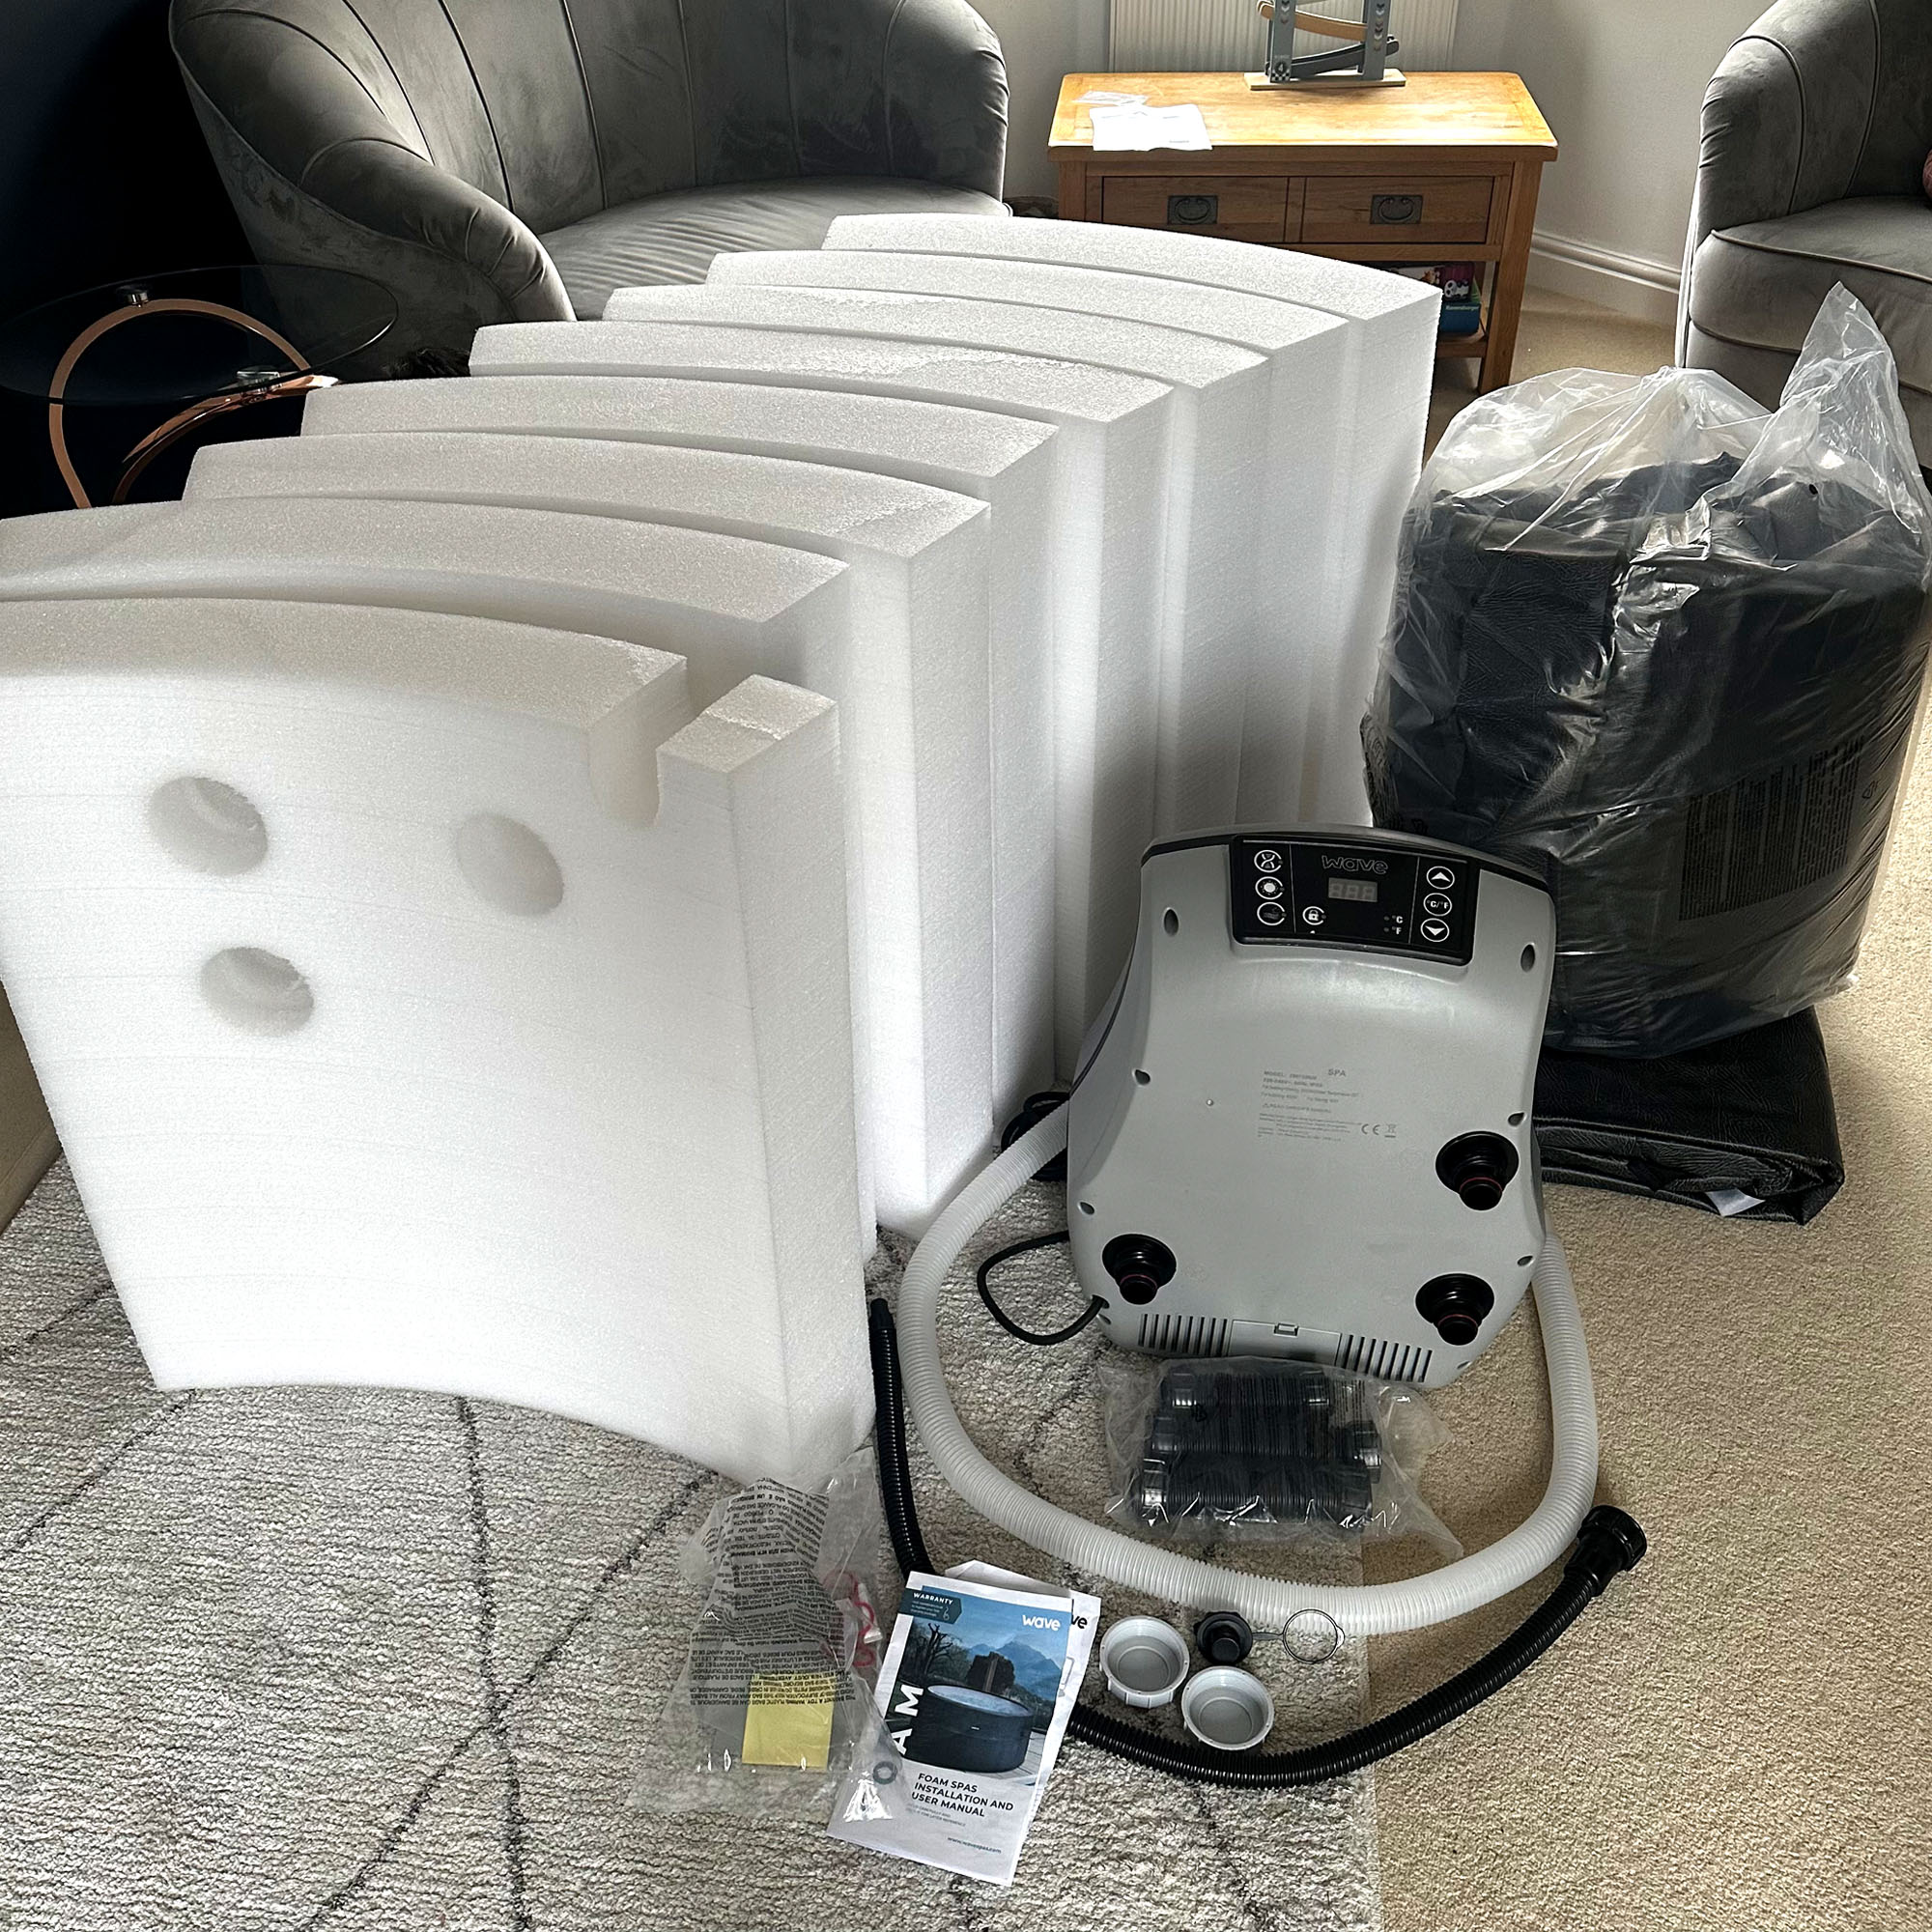
The inner liner is inside the outer and I found this very useful when starting to place the foam walls inside, as it held them in place. There are eight panels, one of which has three holes for the tubes to the power unit. This is the first one to put in, as you have to align the holes in the foam with the holes on the outer liner. You then place the others in to make a perfect round shape.
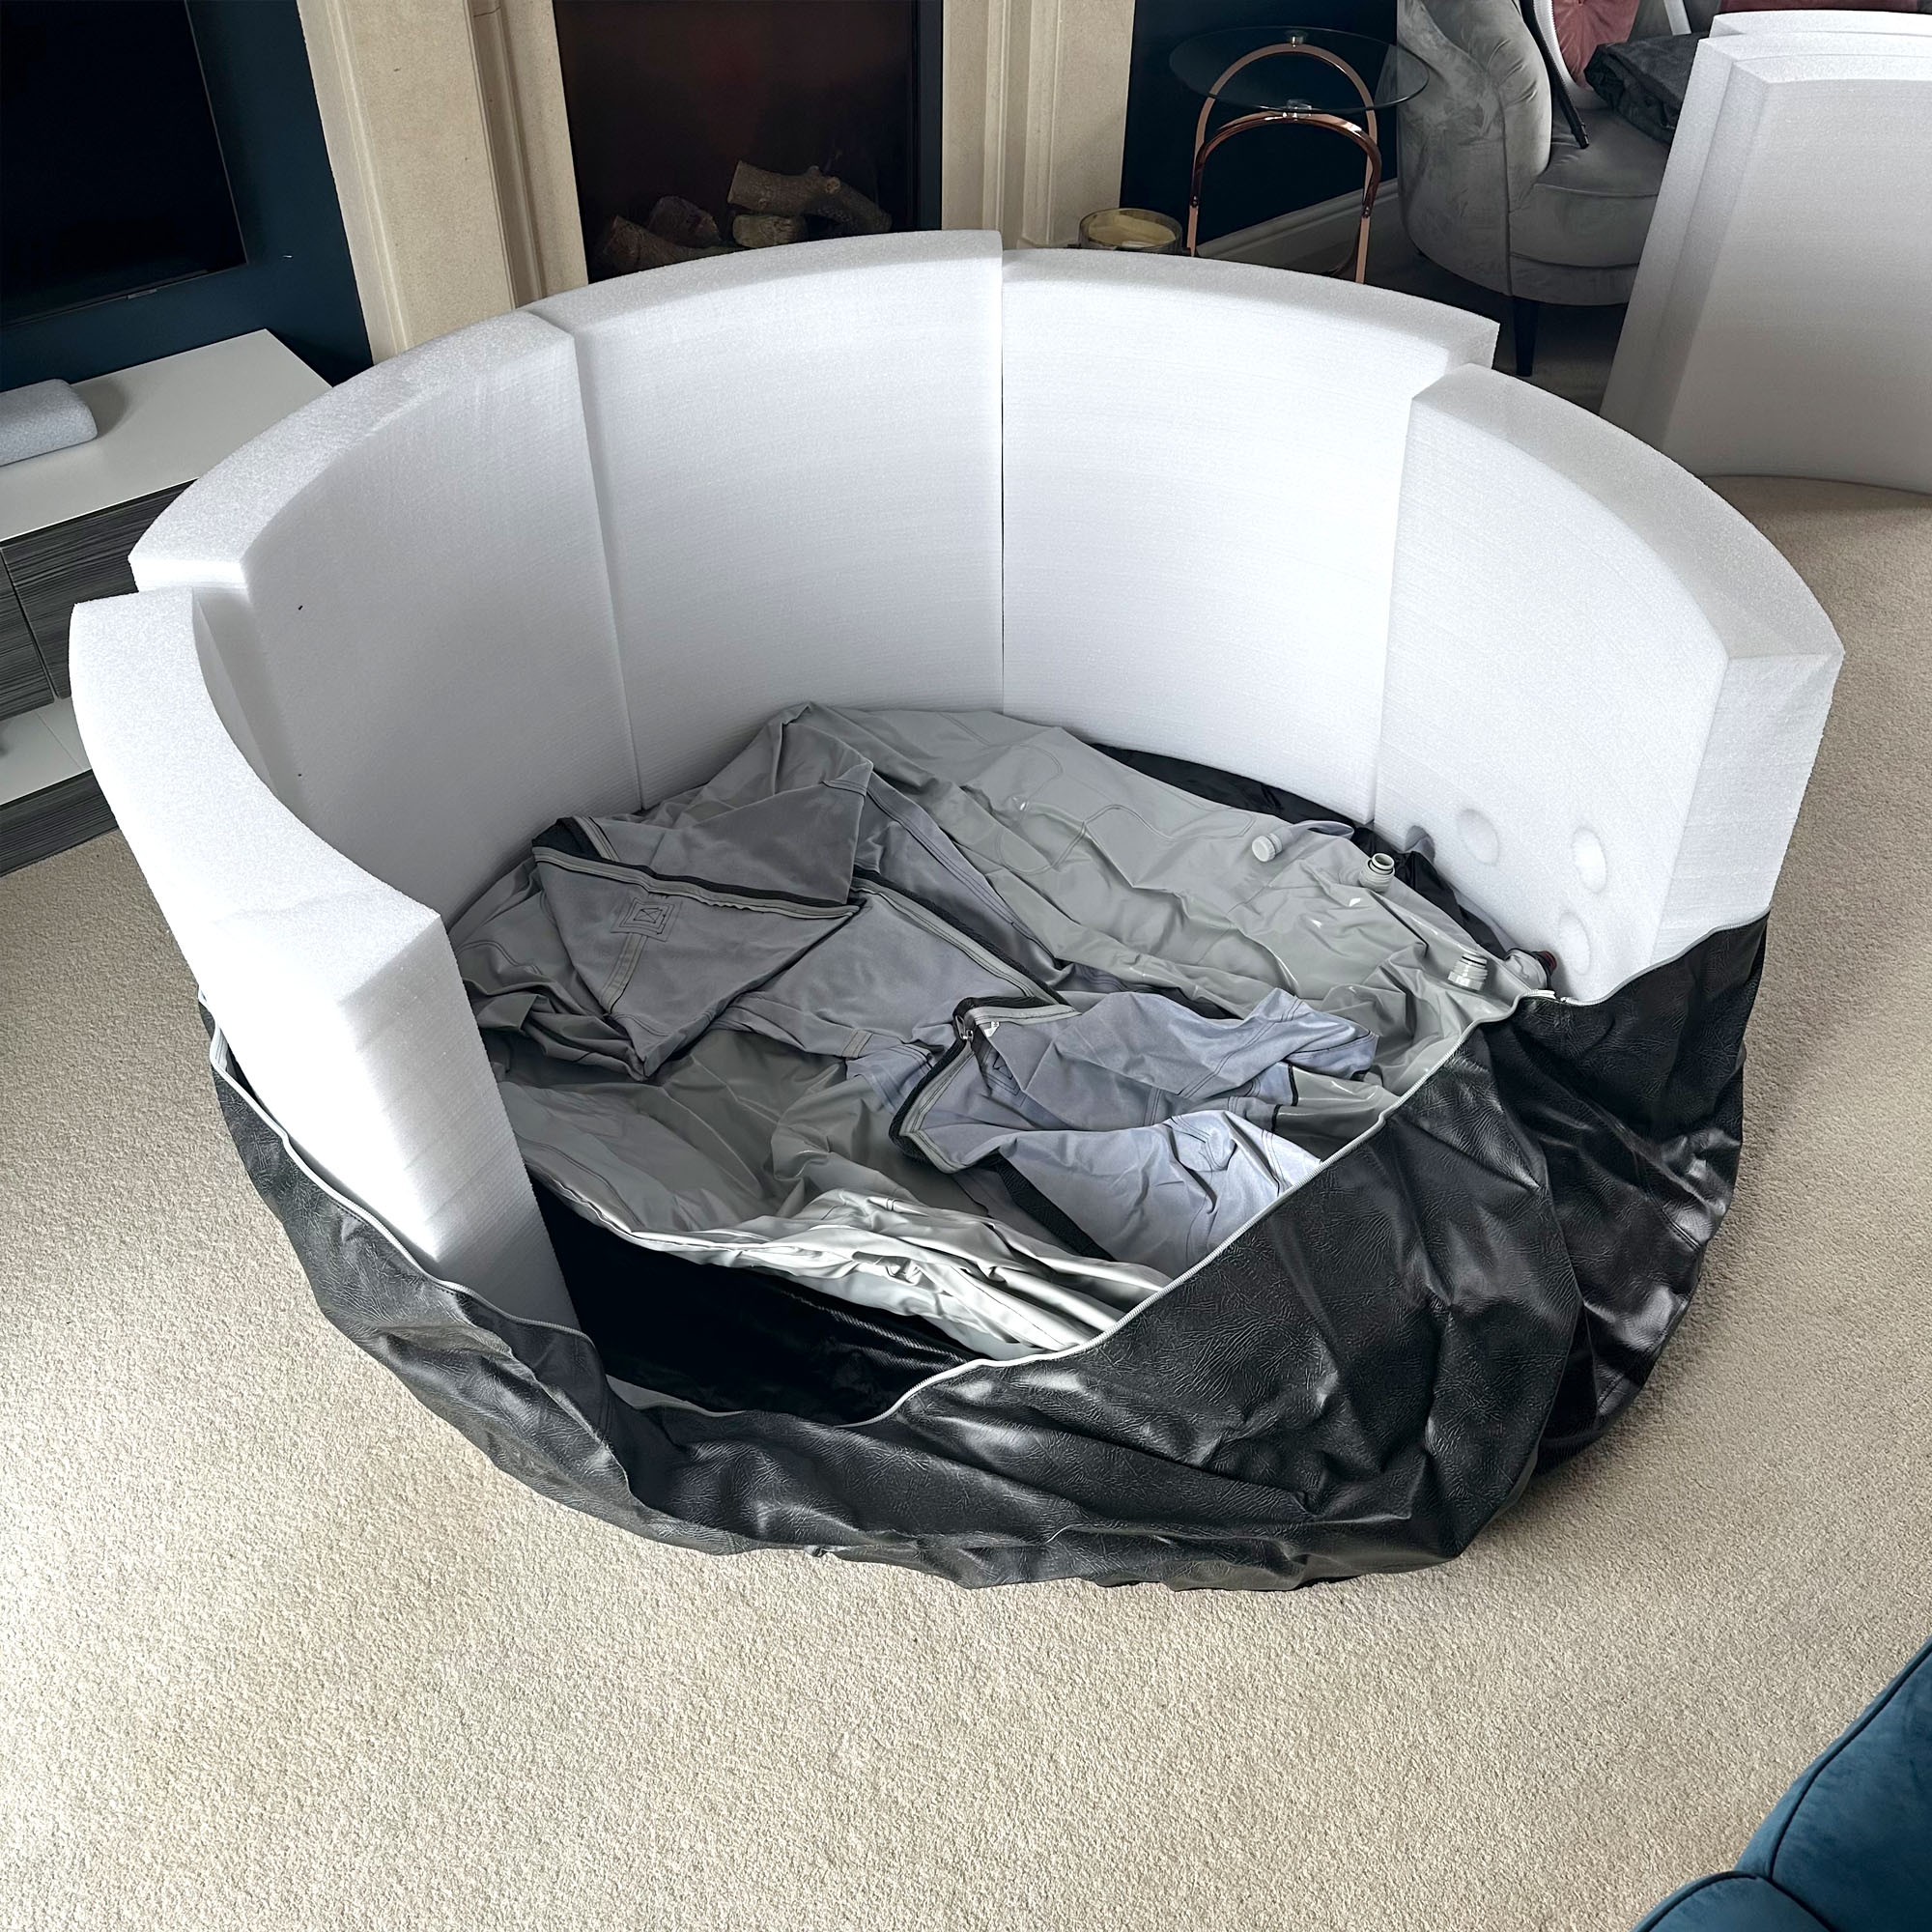
When I got to the last panel, I found that there wasn’t enough space to slot this in. I ended up having to go back round and jiggle the others around to create more room, whilst attempting to keep the first panel in place so the holes were still aligned. I’d made just enough room, but still couldn’t slide the panel in, so ended up having to call on my partner for help.
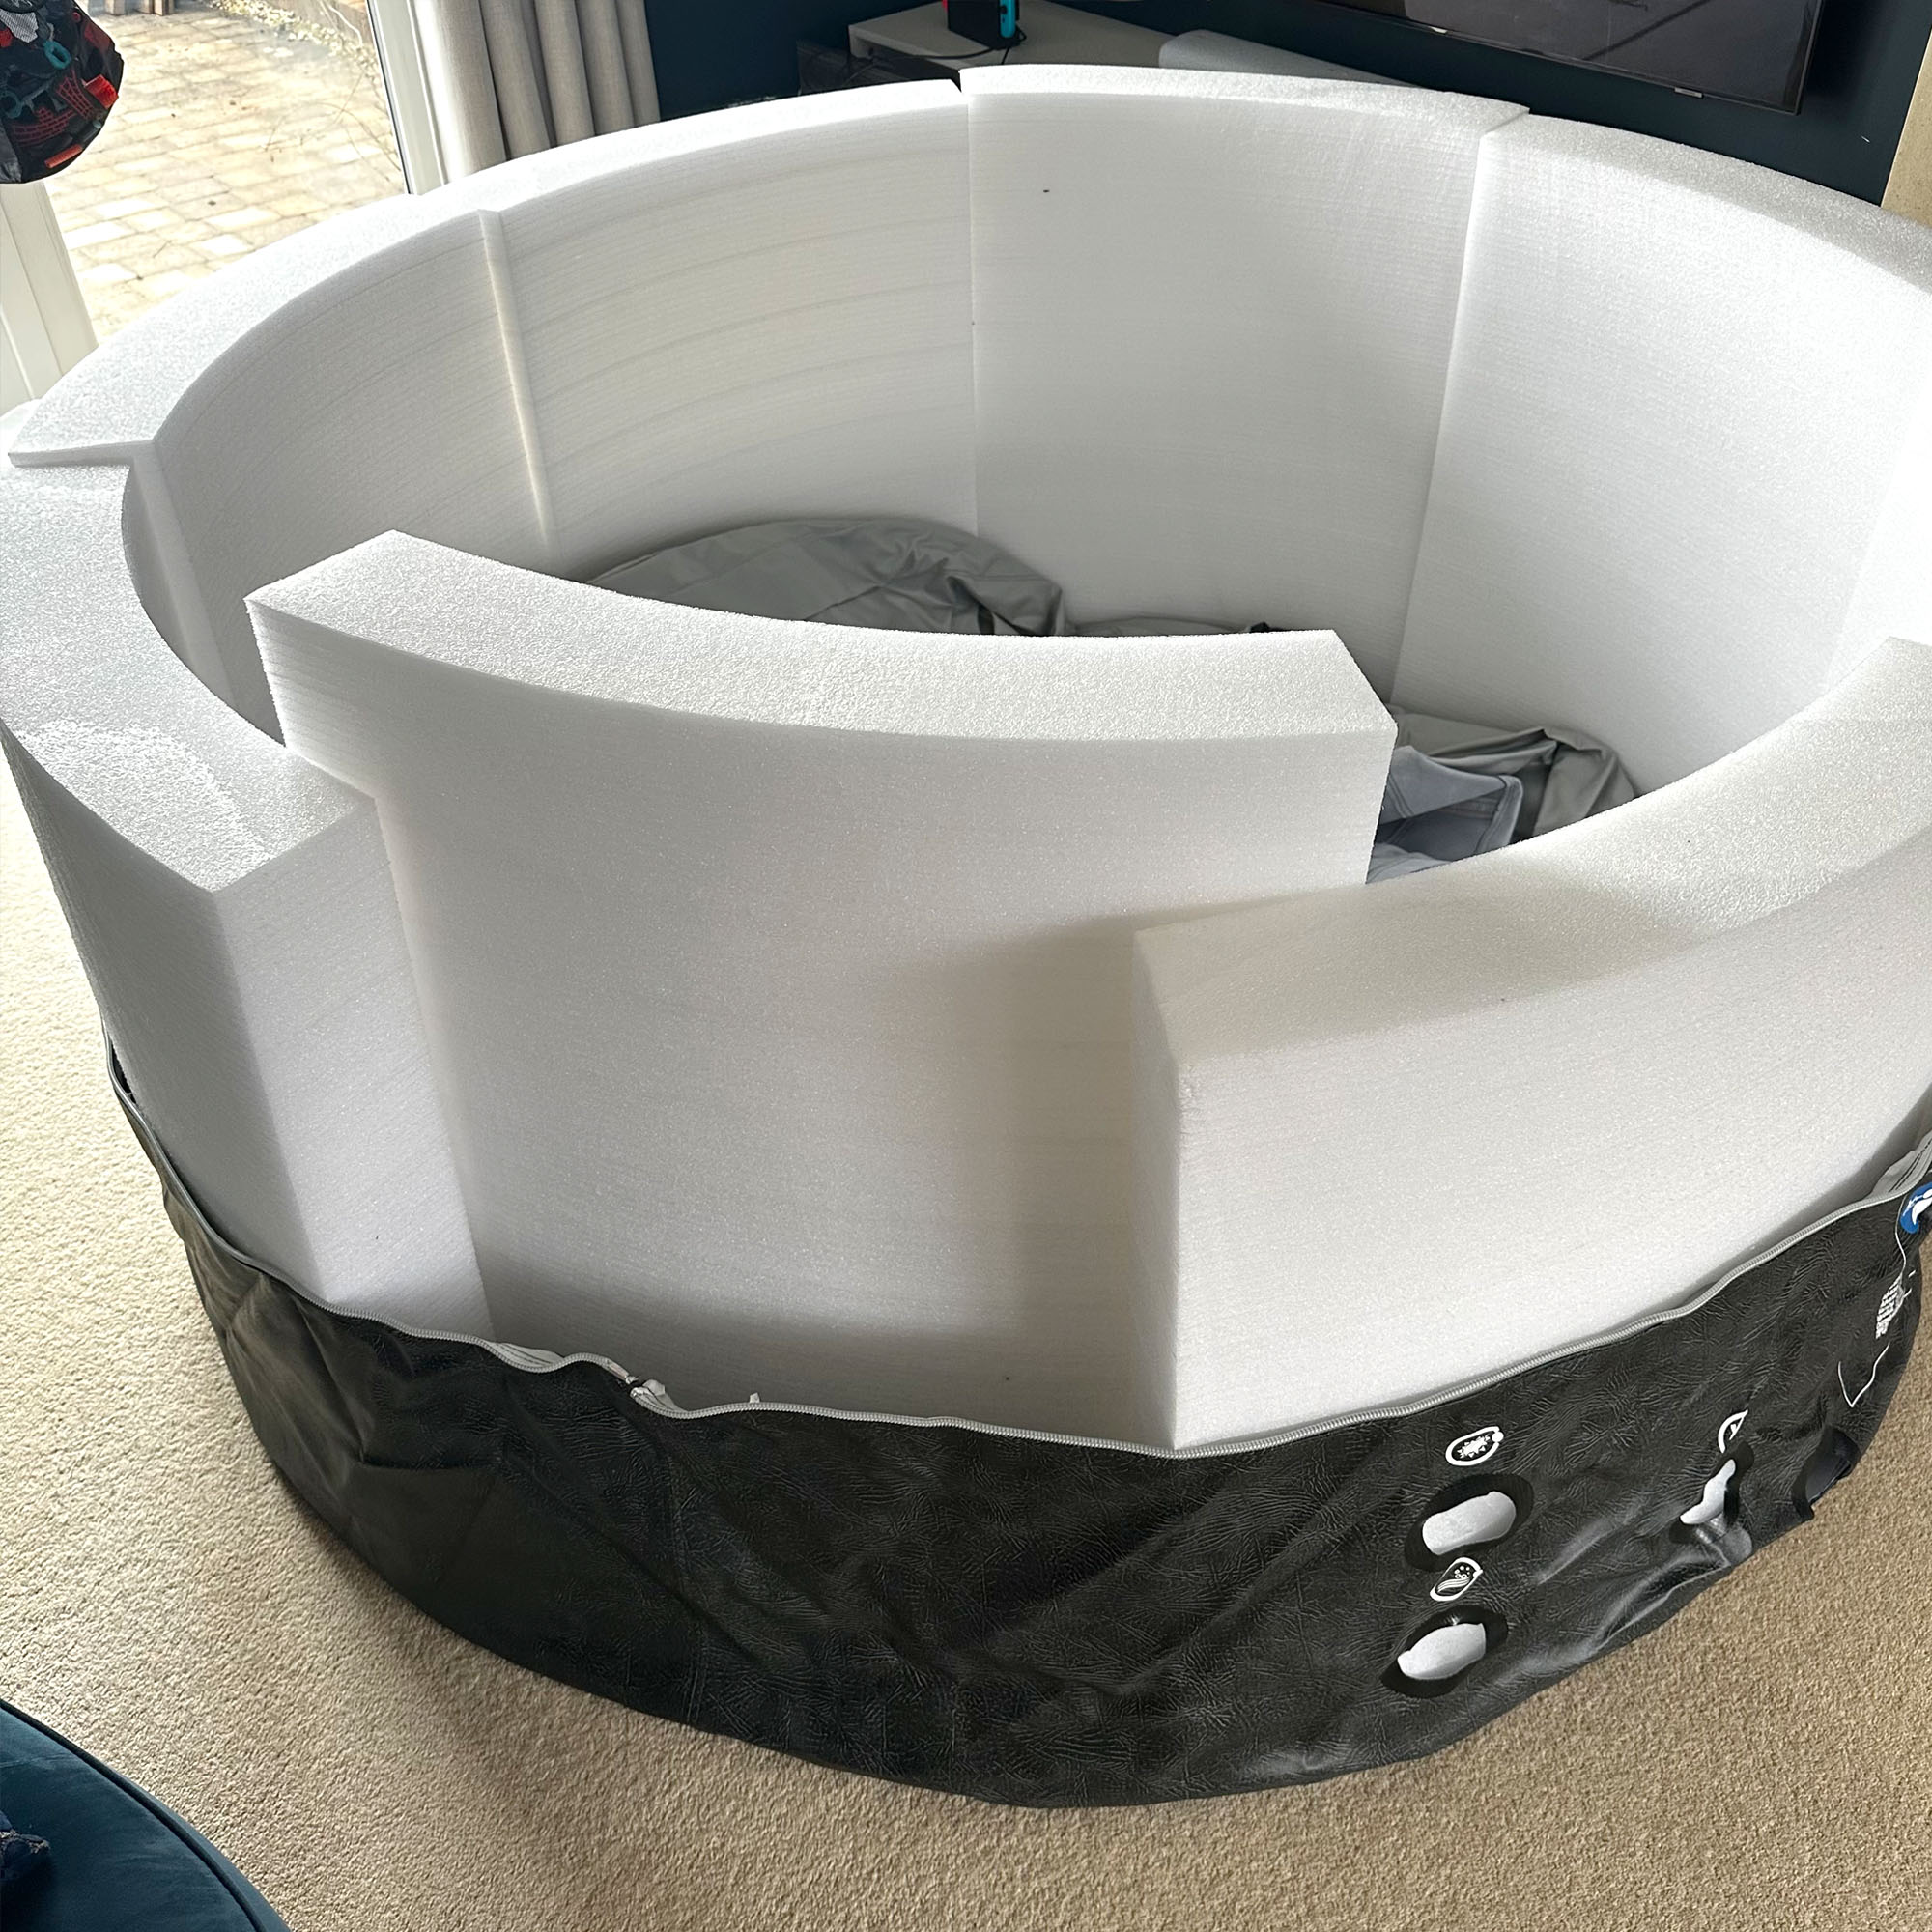
He forced the final panel in so they were snugly squashed together, and then stuck around for the next few steps as I had a feeling I might need his help again.
There are three tubes you have to connect to the inner liner and it’s not inherently clear from the picture which one goes where. I worked it out by looking at how it would align with the pump but then struggled to push each hose onto the liner. My partner ended up doing two of the three as they were difficult to push on.
Once the hoses were on, we could push those through the foam wall and unroll the rest of the inner liner so it lies flat in the bottom, then it comes up over the sides and over the top to meet the outer liner.
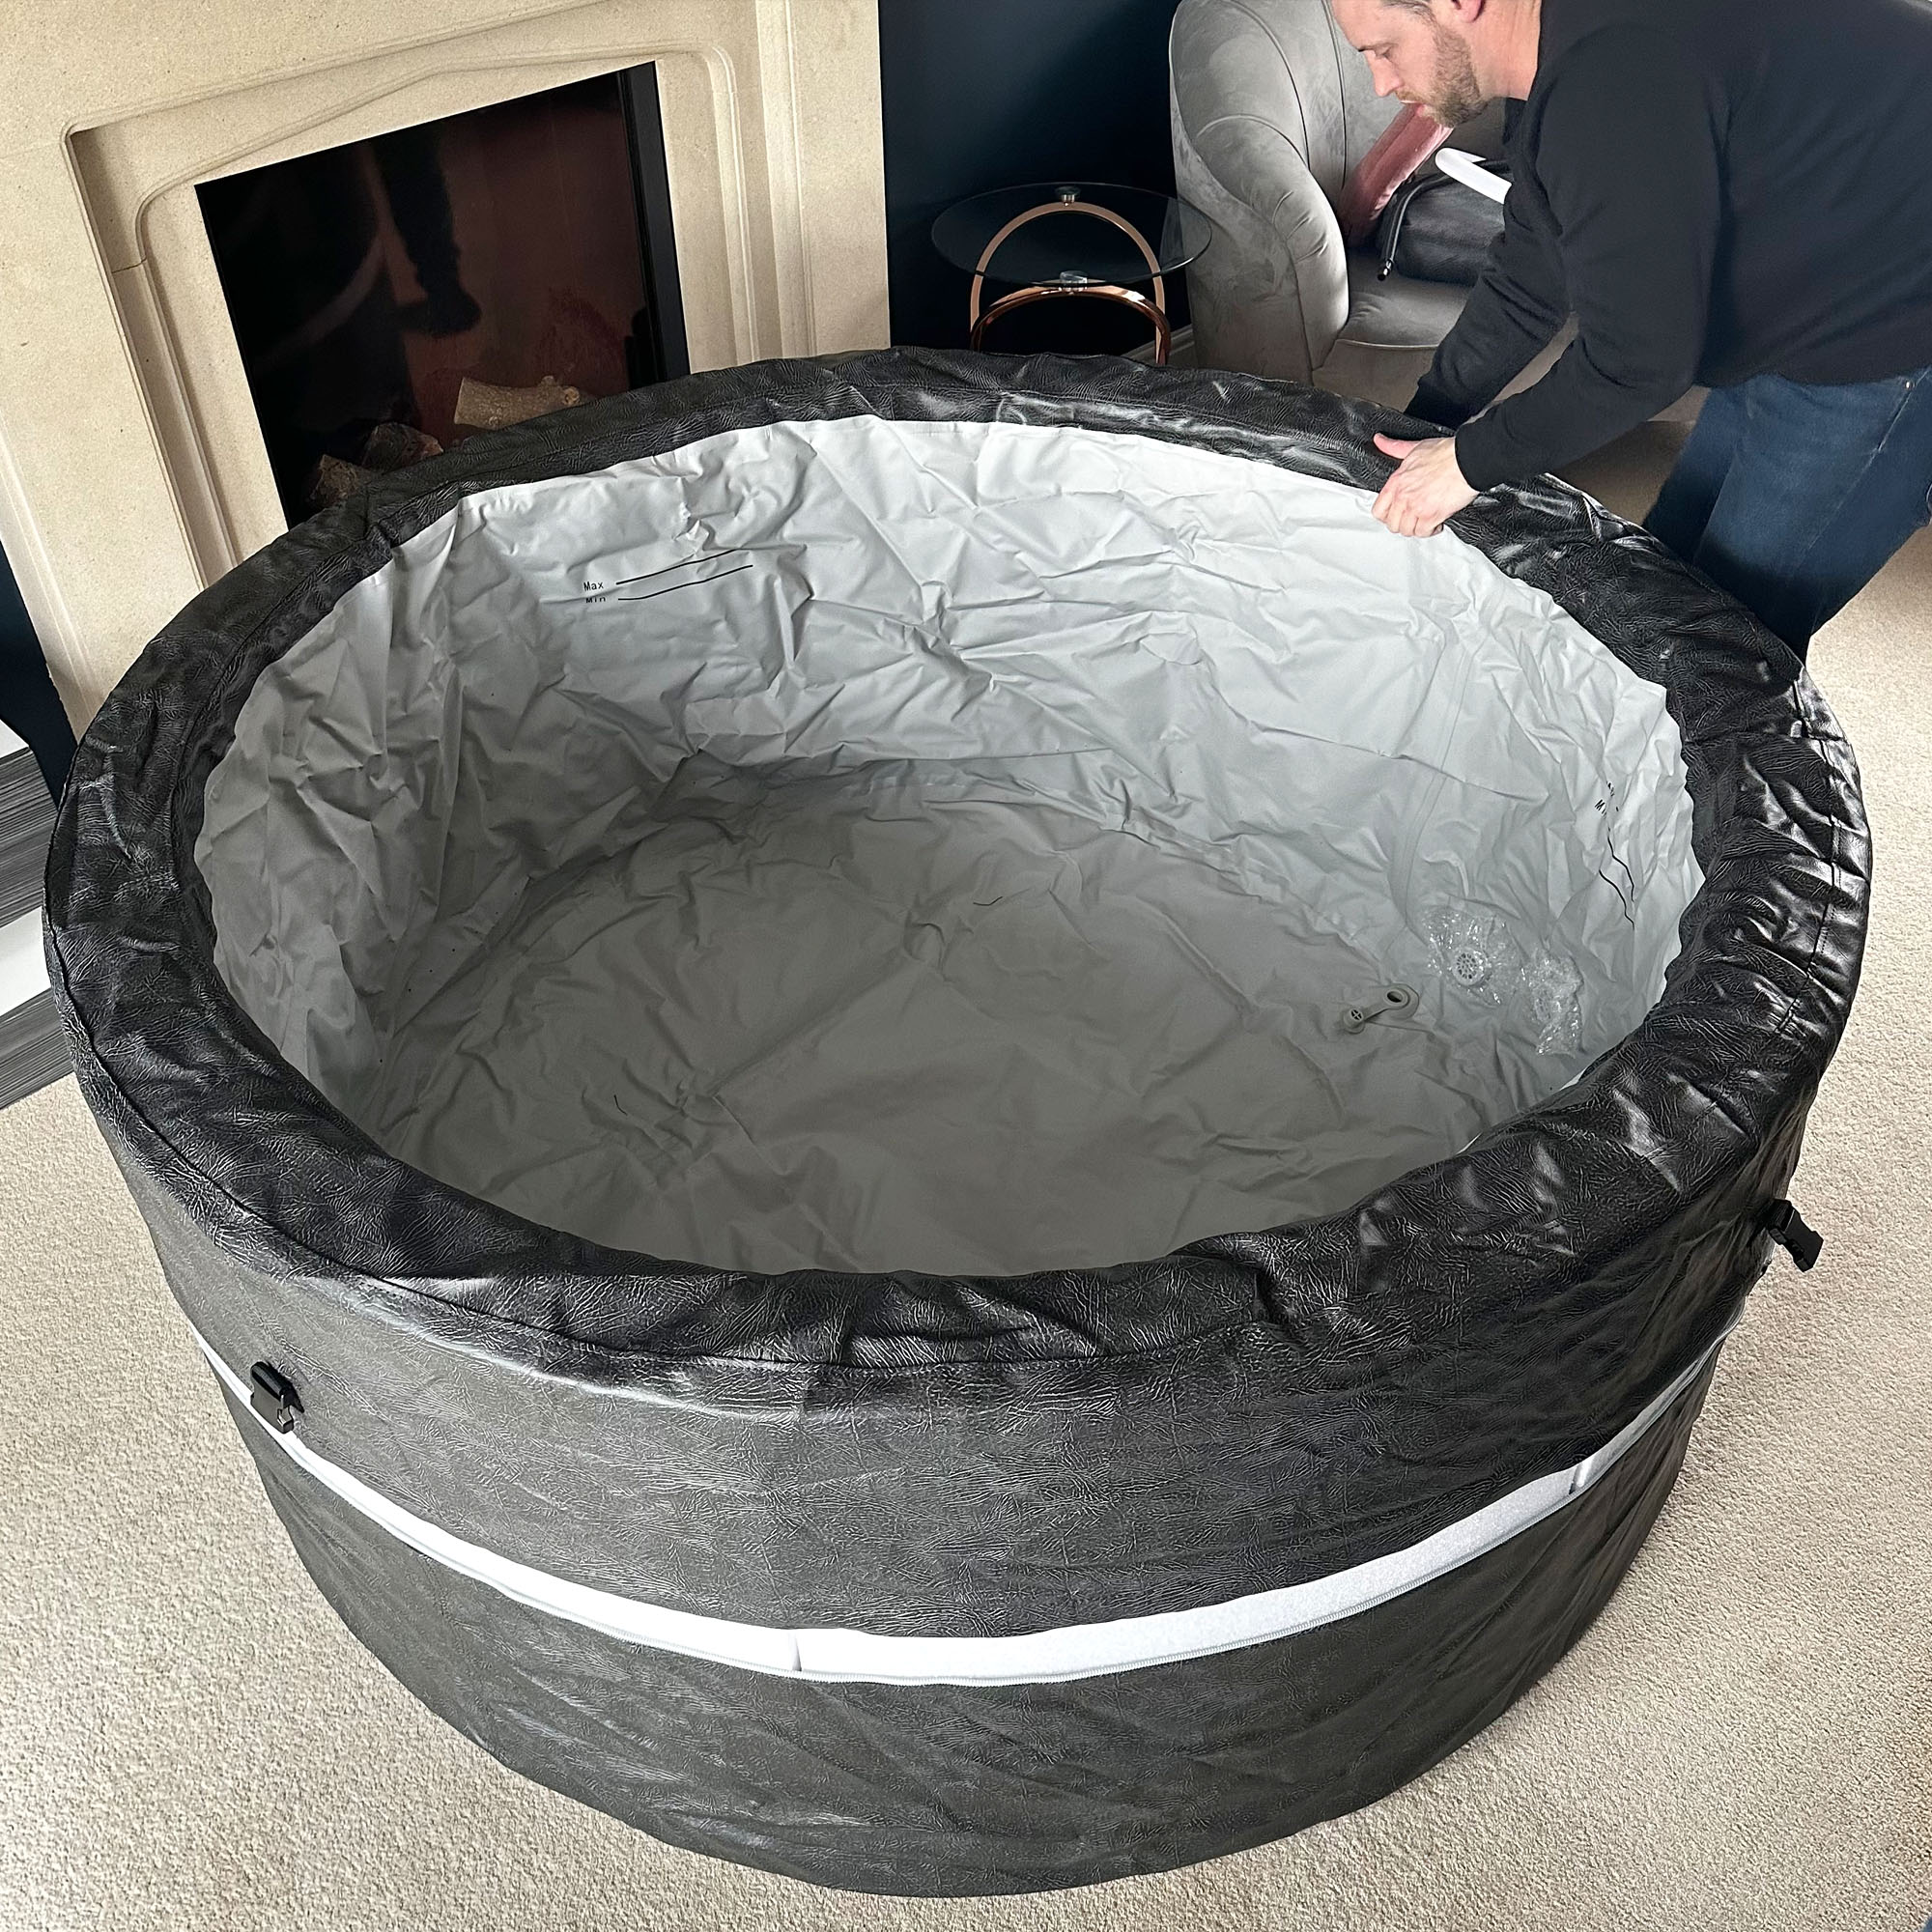
We did this, but then read that the next step was locating where the zippers on the two liners meet. We saw that the zips were about 10cm apart and so we had to fold the liner back from the sides and start again, but this time, starting at the place the zips aligned, connecting them, and then working around. My partner then pushed the foam walls slightly inwards, so I could zip all the way around and seal the foam walls inside of the liners.
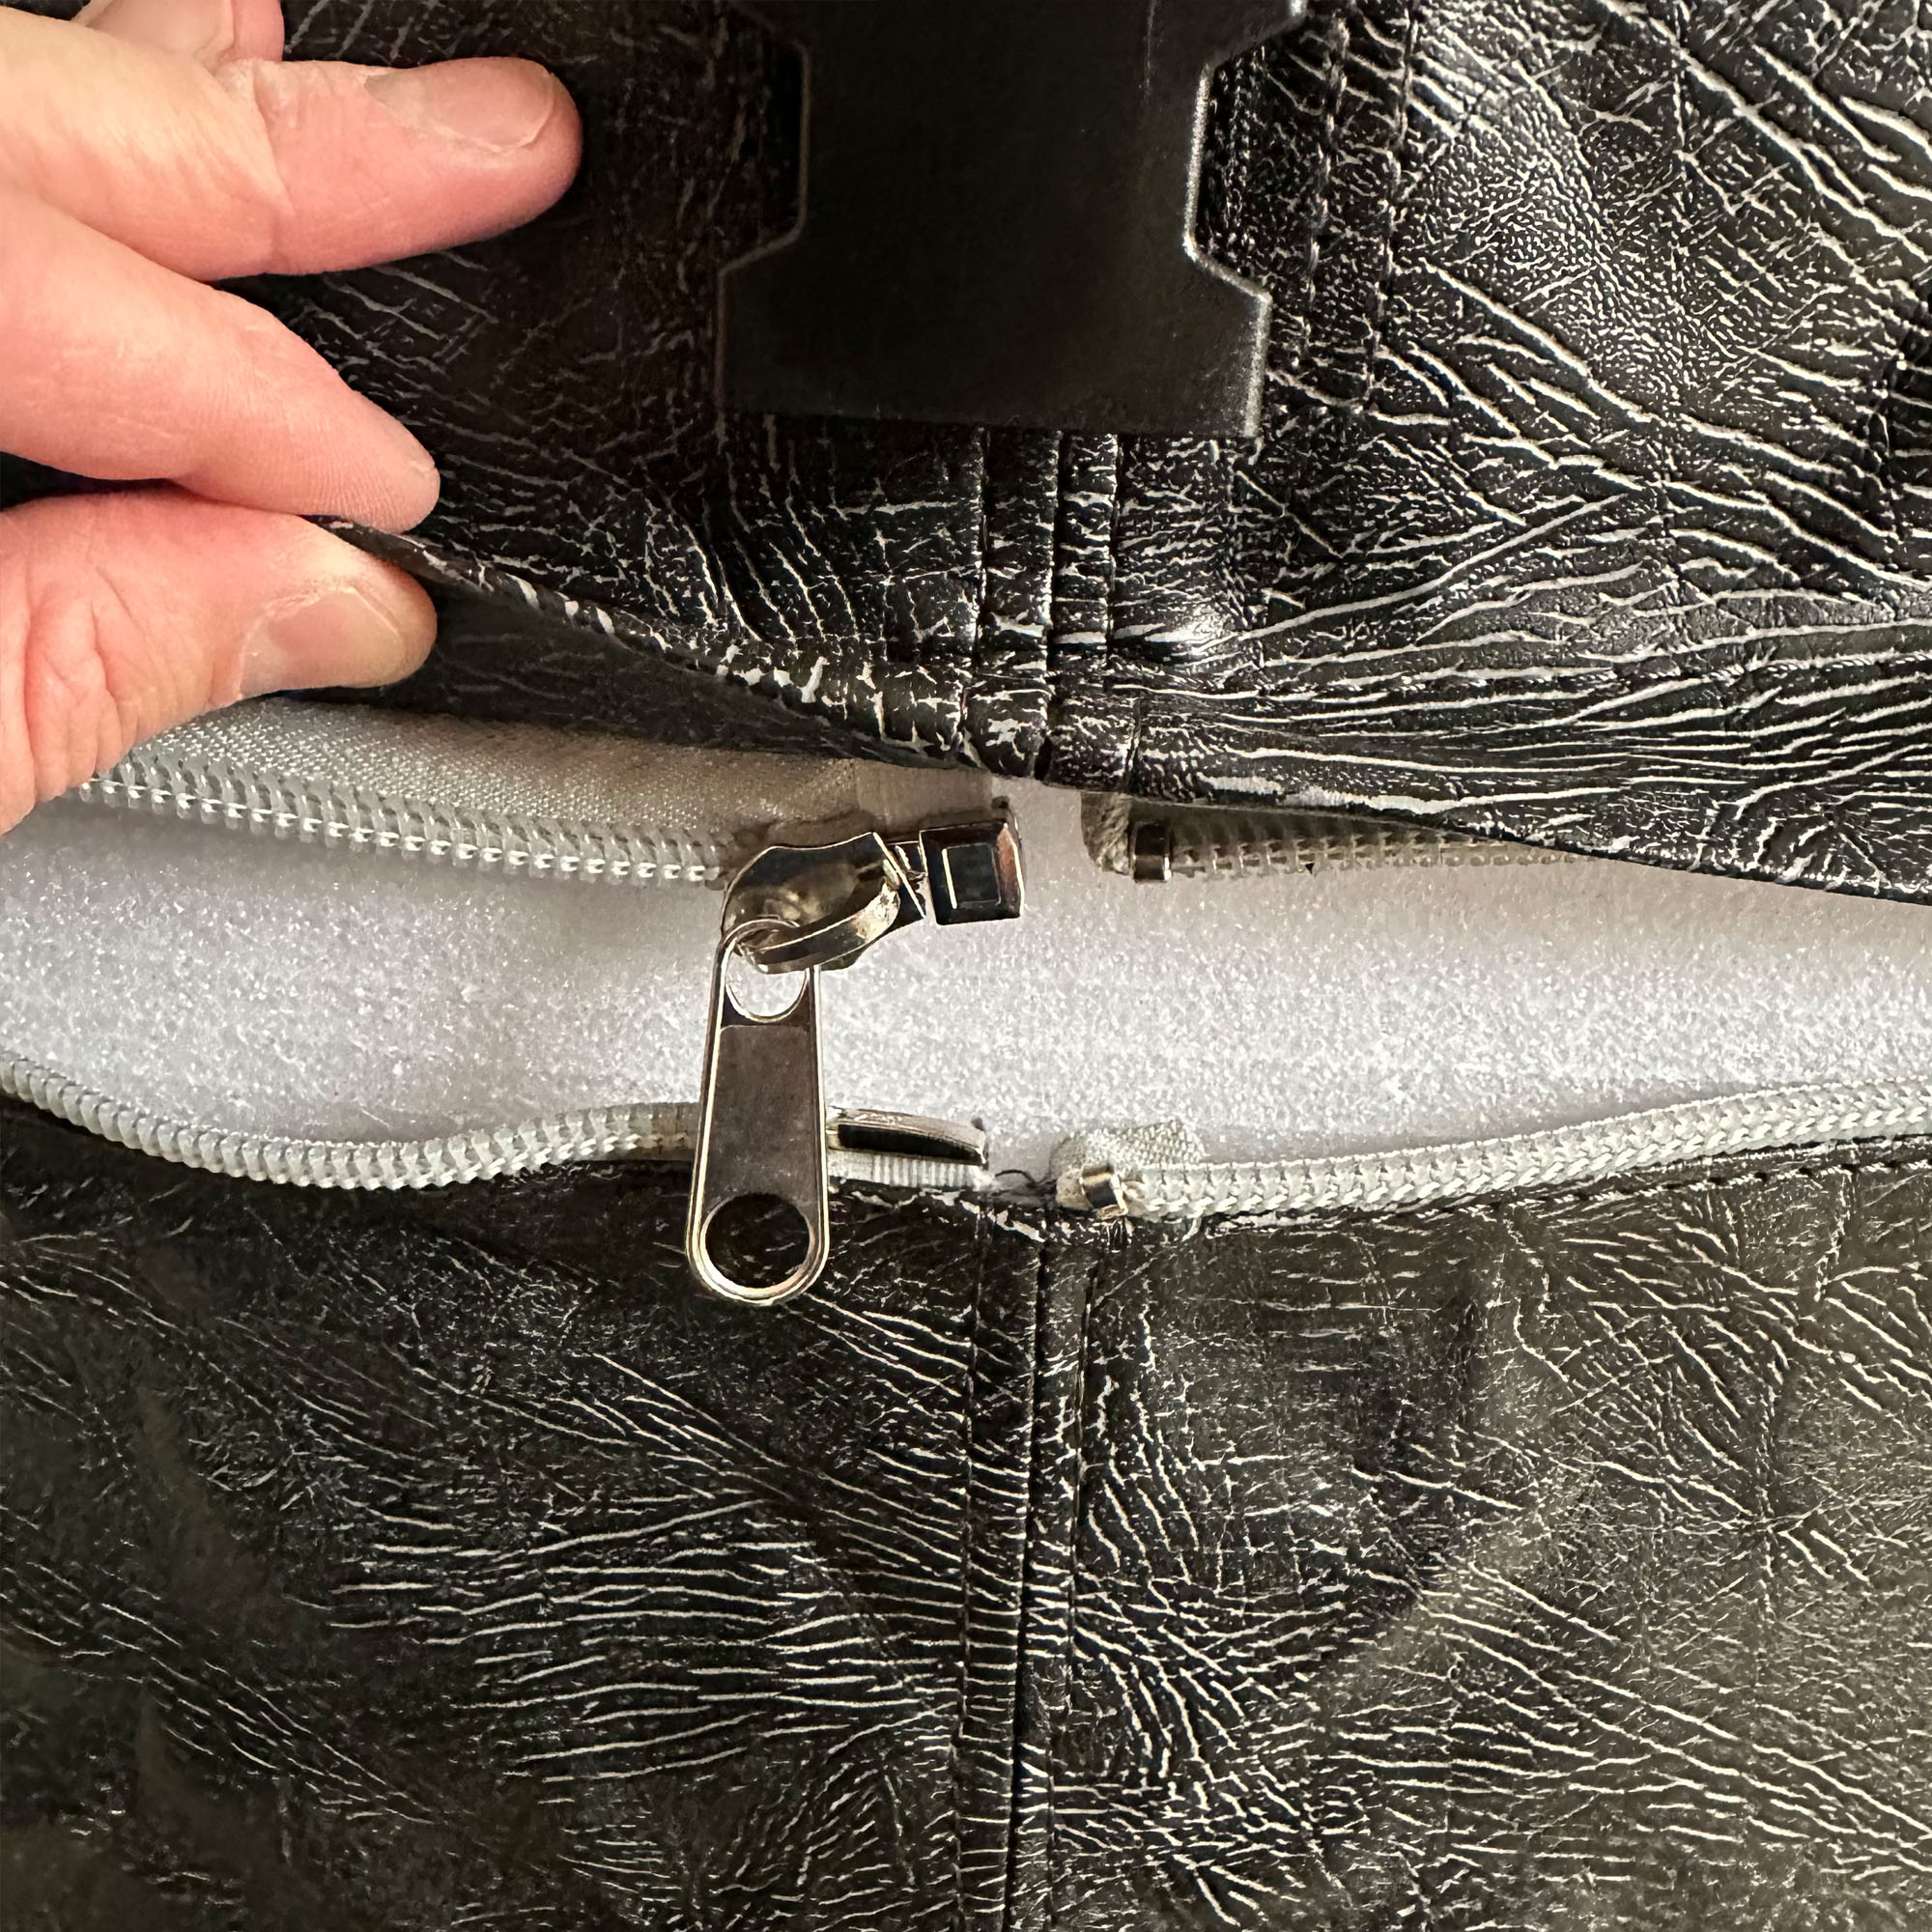
The next step is smoothing the liner around the spa to ensure it’s a good fit, so we moved the spa outside into its final location to do this. It’s surprisingly light and we had no problems moving it. I got into the spa to smooth out the liner and attempted to push the wrinkles out of the base.
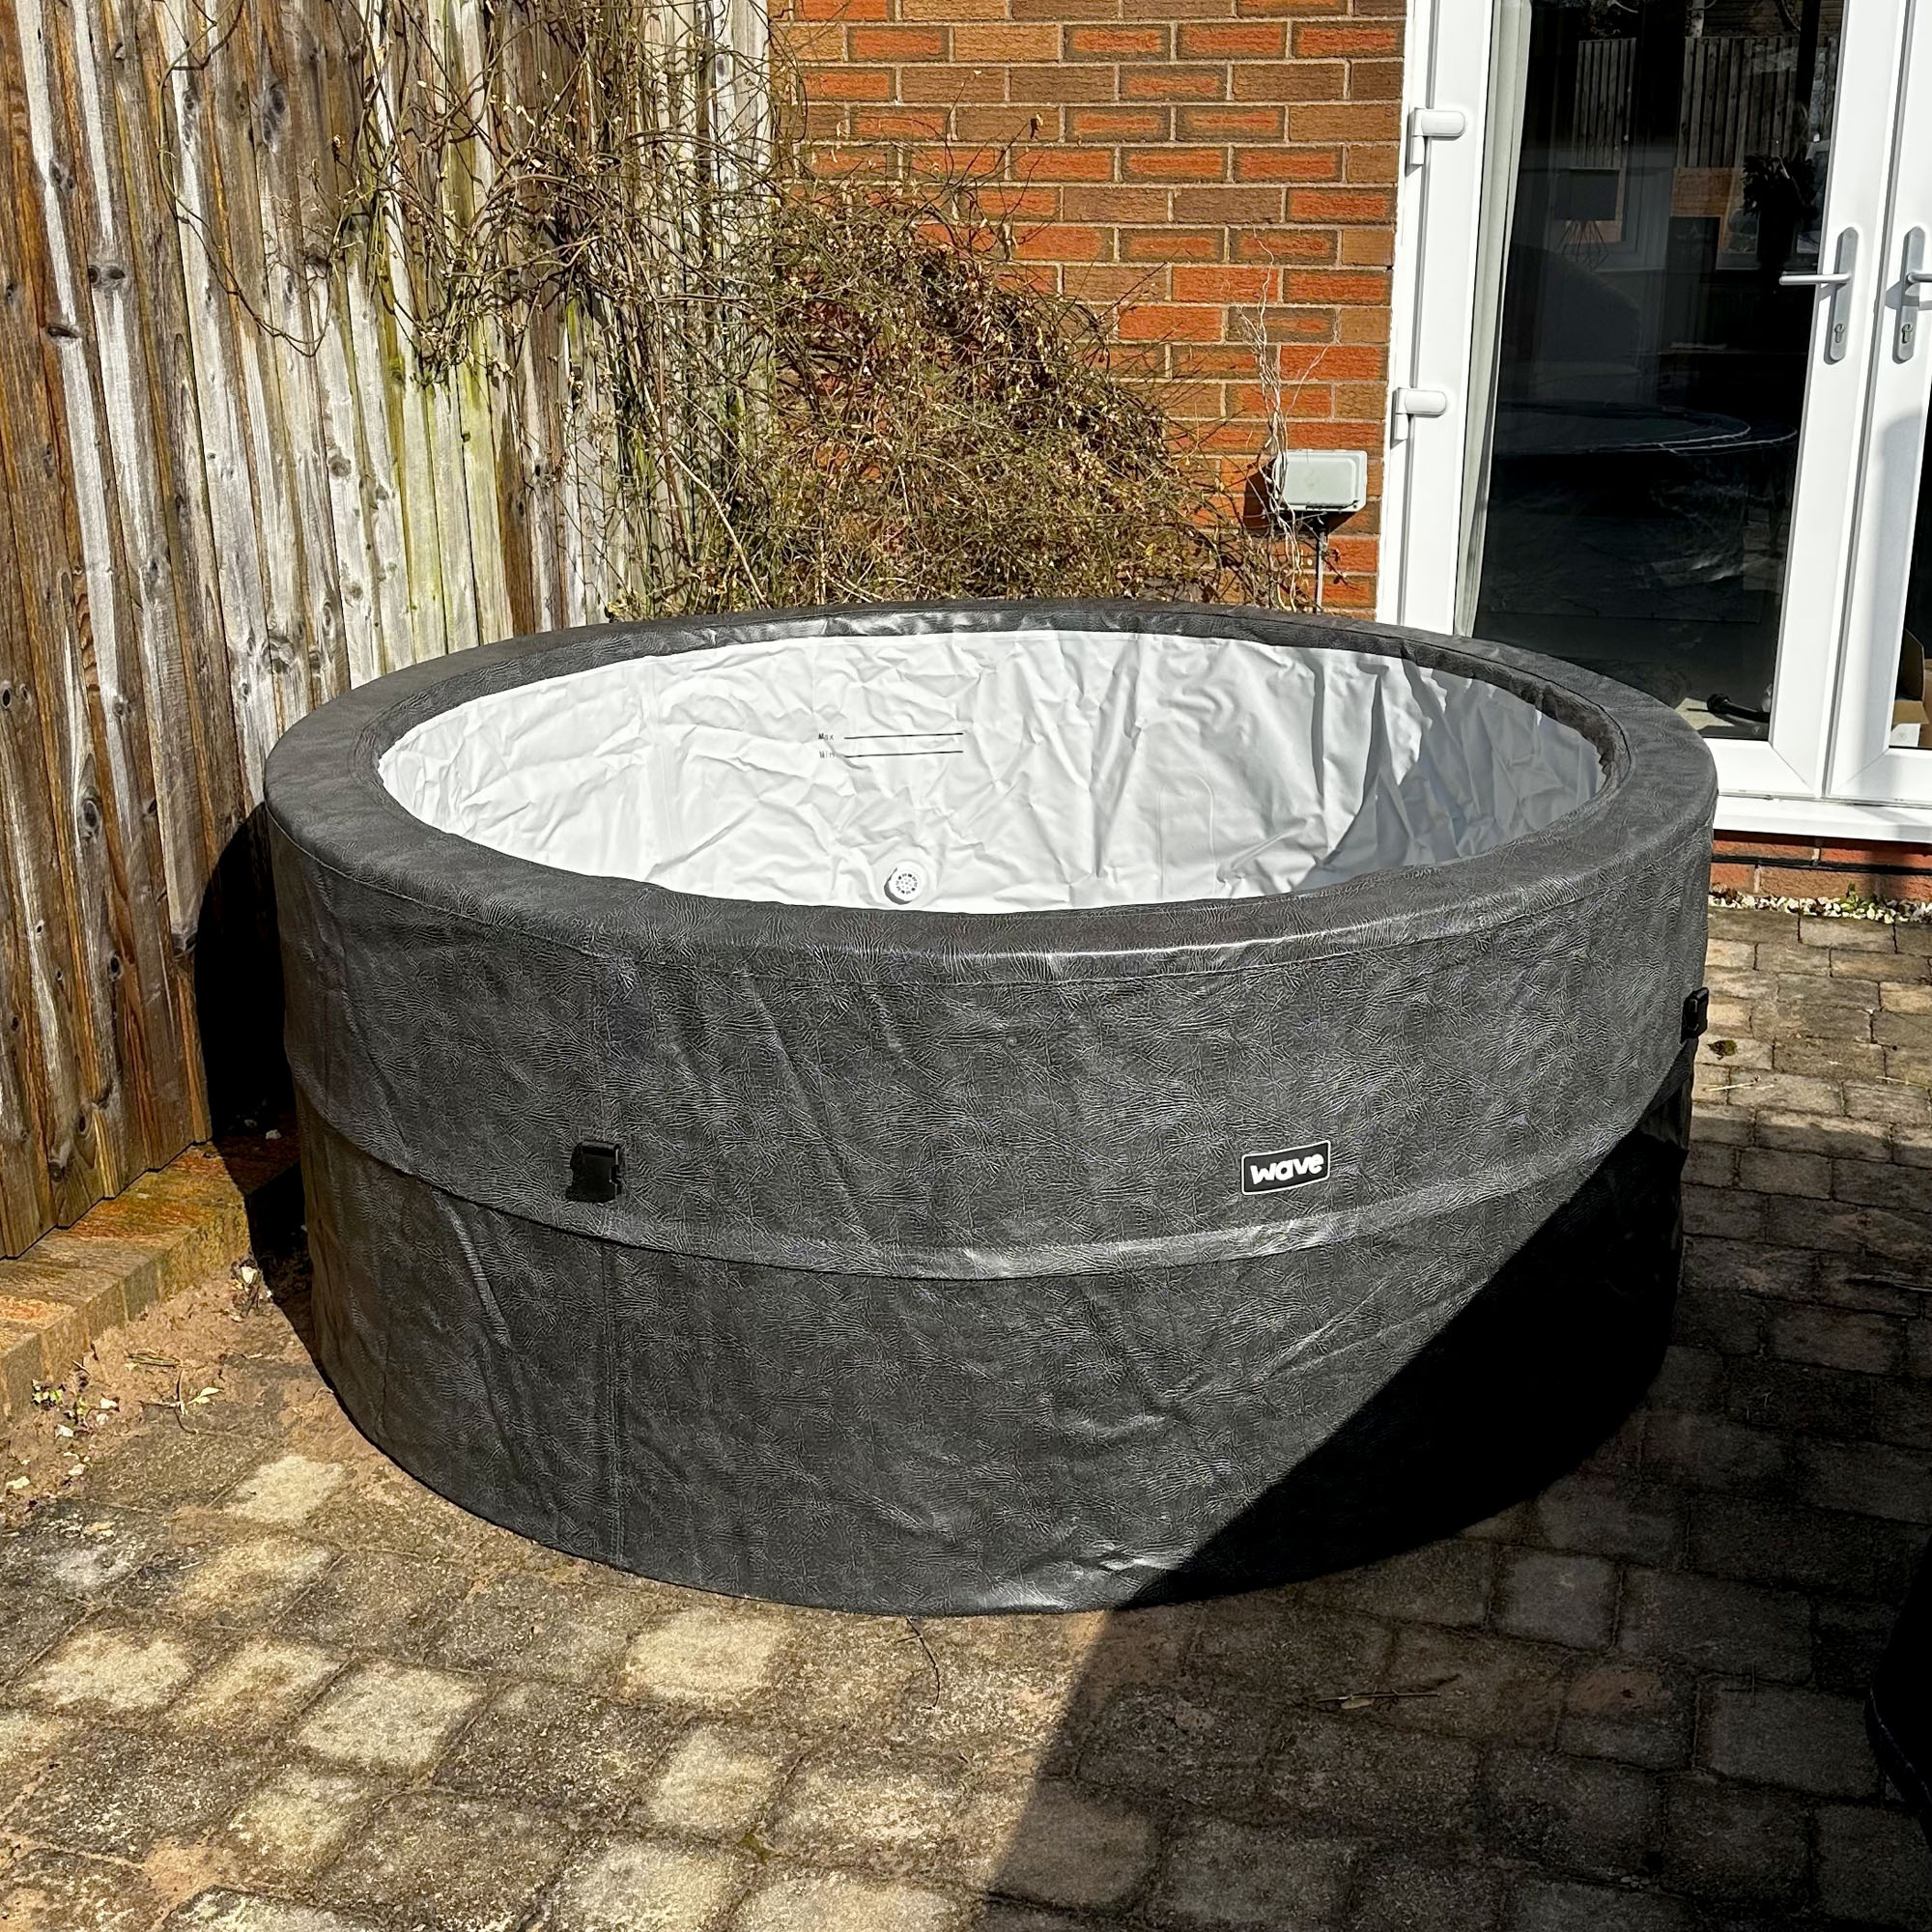
The next step is connecting the unit pump, which again requires a bit of strength, so after a few attempts, I ended up calling on my partner again, who got it secured straight away. Inside the unit is a filter cartridge and a holder. The instructions tell you to insert the cartridge into the holder and then screw the holder onto the suction fitting inside the basin. This is where I hit another snag as there are two suction fittings and the picture does not make it clear which one to use.
I ended up searching for videos on the internet and on Wave’s website, which didn’t help, so I decided to contact Wave. The brand soon emailed me back with the answers I needed, so I was now armed with the knowledge that I needed to put the filter on the bottom outlet and not cover the top one, as otherwise, the water wouldn’t be able to go anywhere.
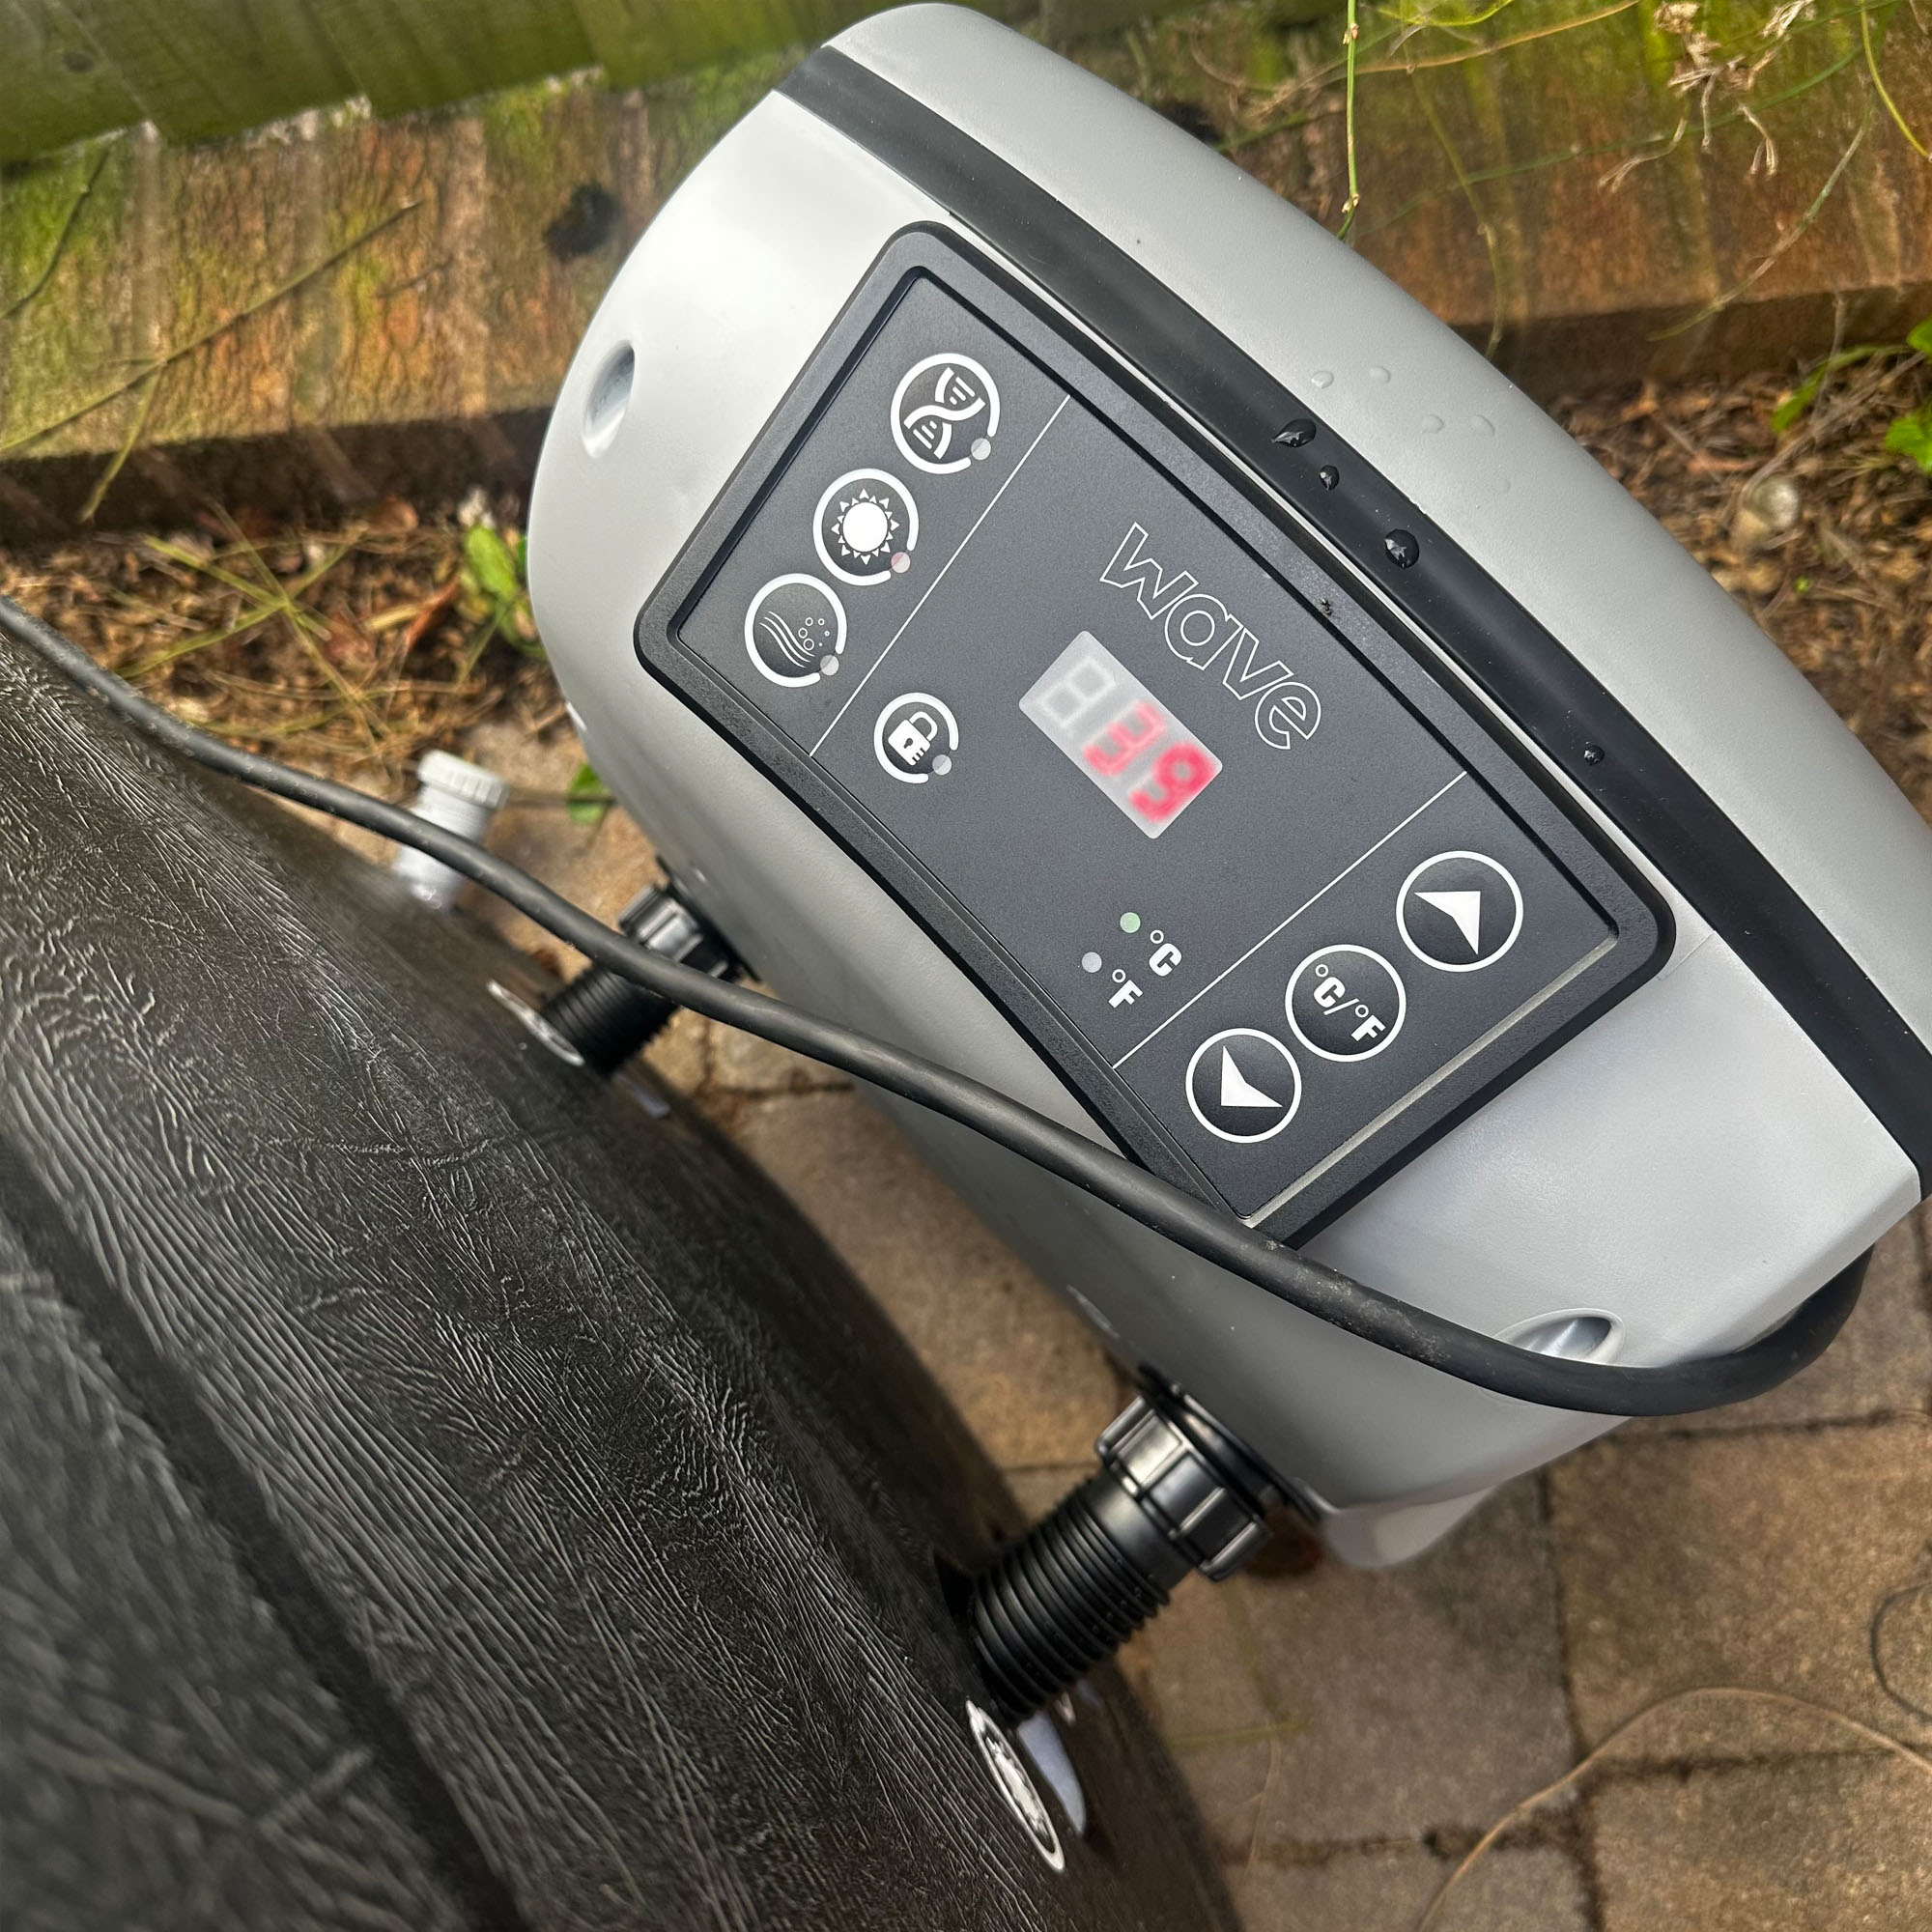
I’d also found a circular, light grey bit of liner which wasn’t listed in the package list, and was informed me that this was part of the cover which could be inflated with air. This part isn't listed in the instructions, but this energy-saving and heat-retaining ‘protective thermal efficient inflatable cover’ is now included as standard with all Wave Osaka hot tubs, as well as the normal clip-on weather protective cover. I inflated the circular part of the lid and then slotted it into place in the top cover liner.
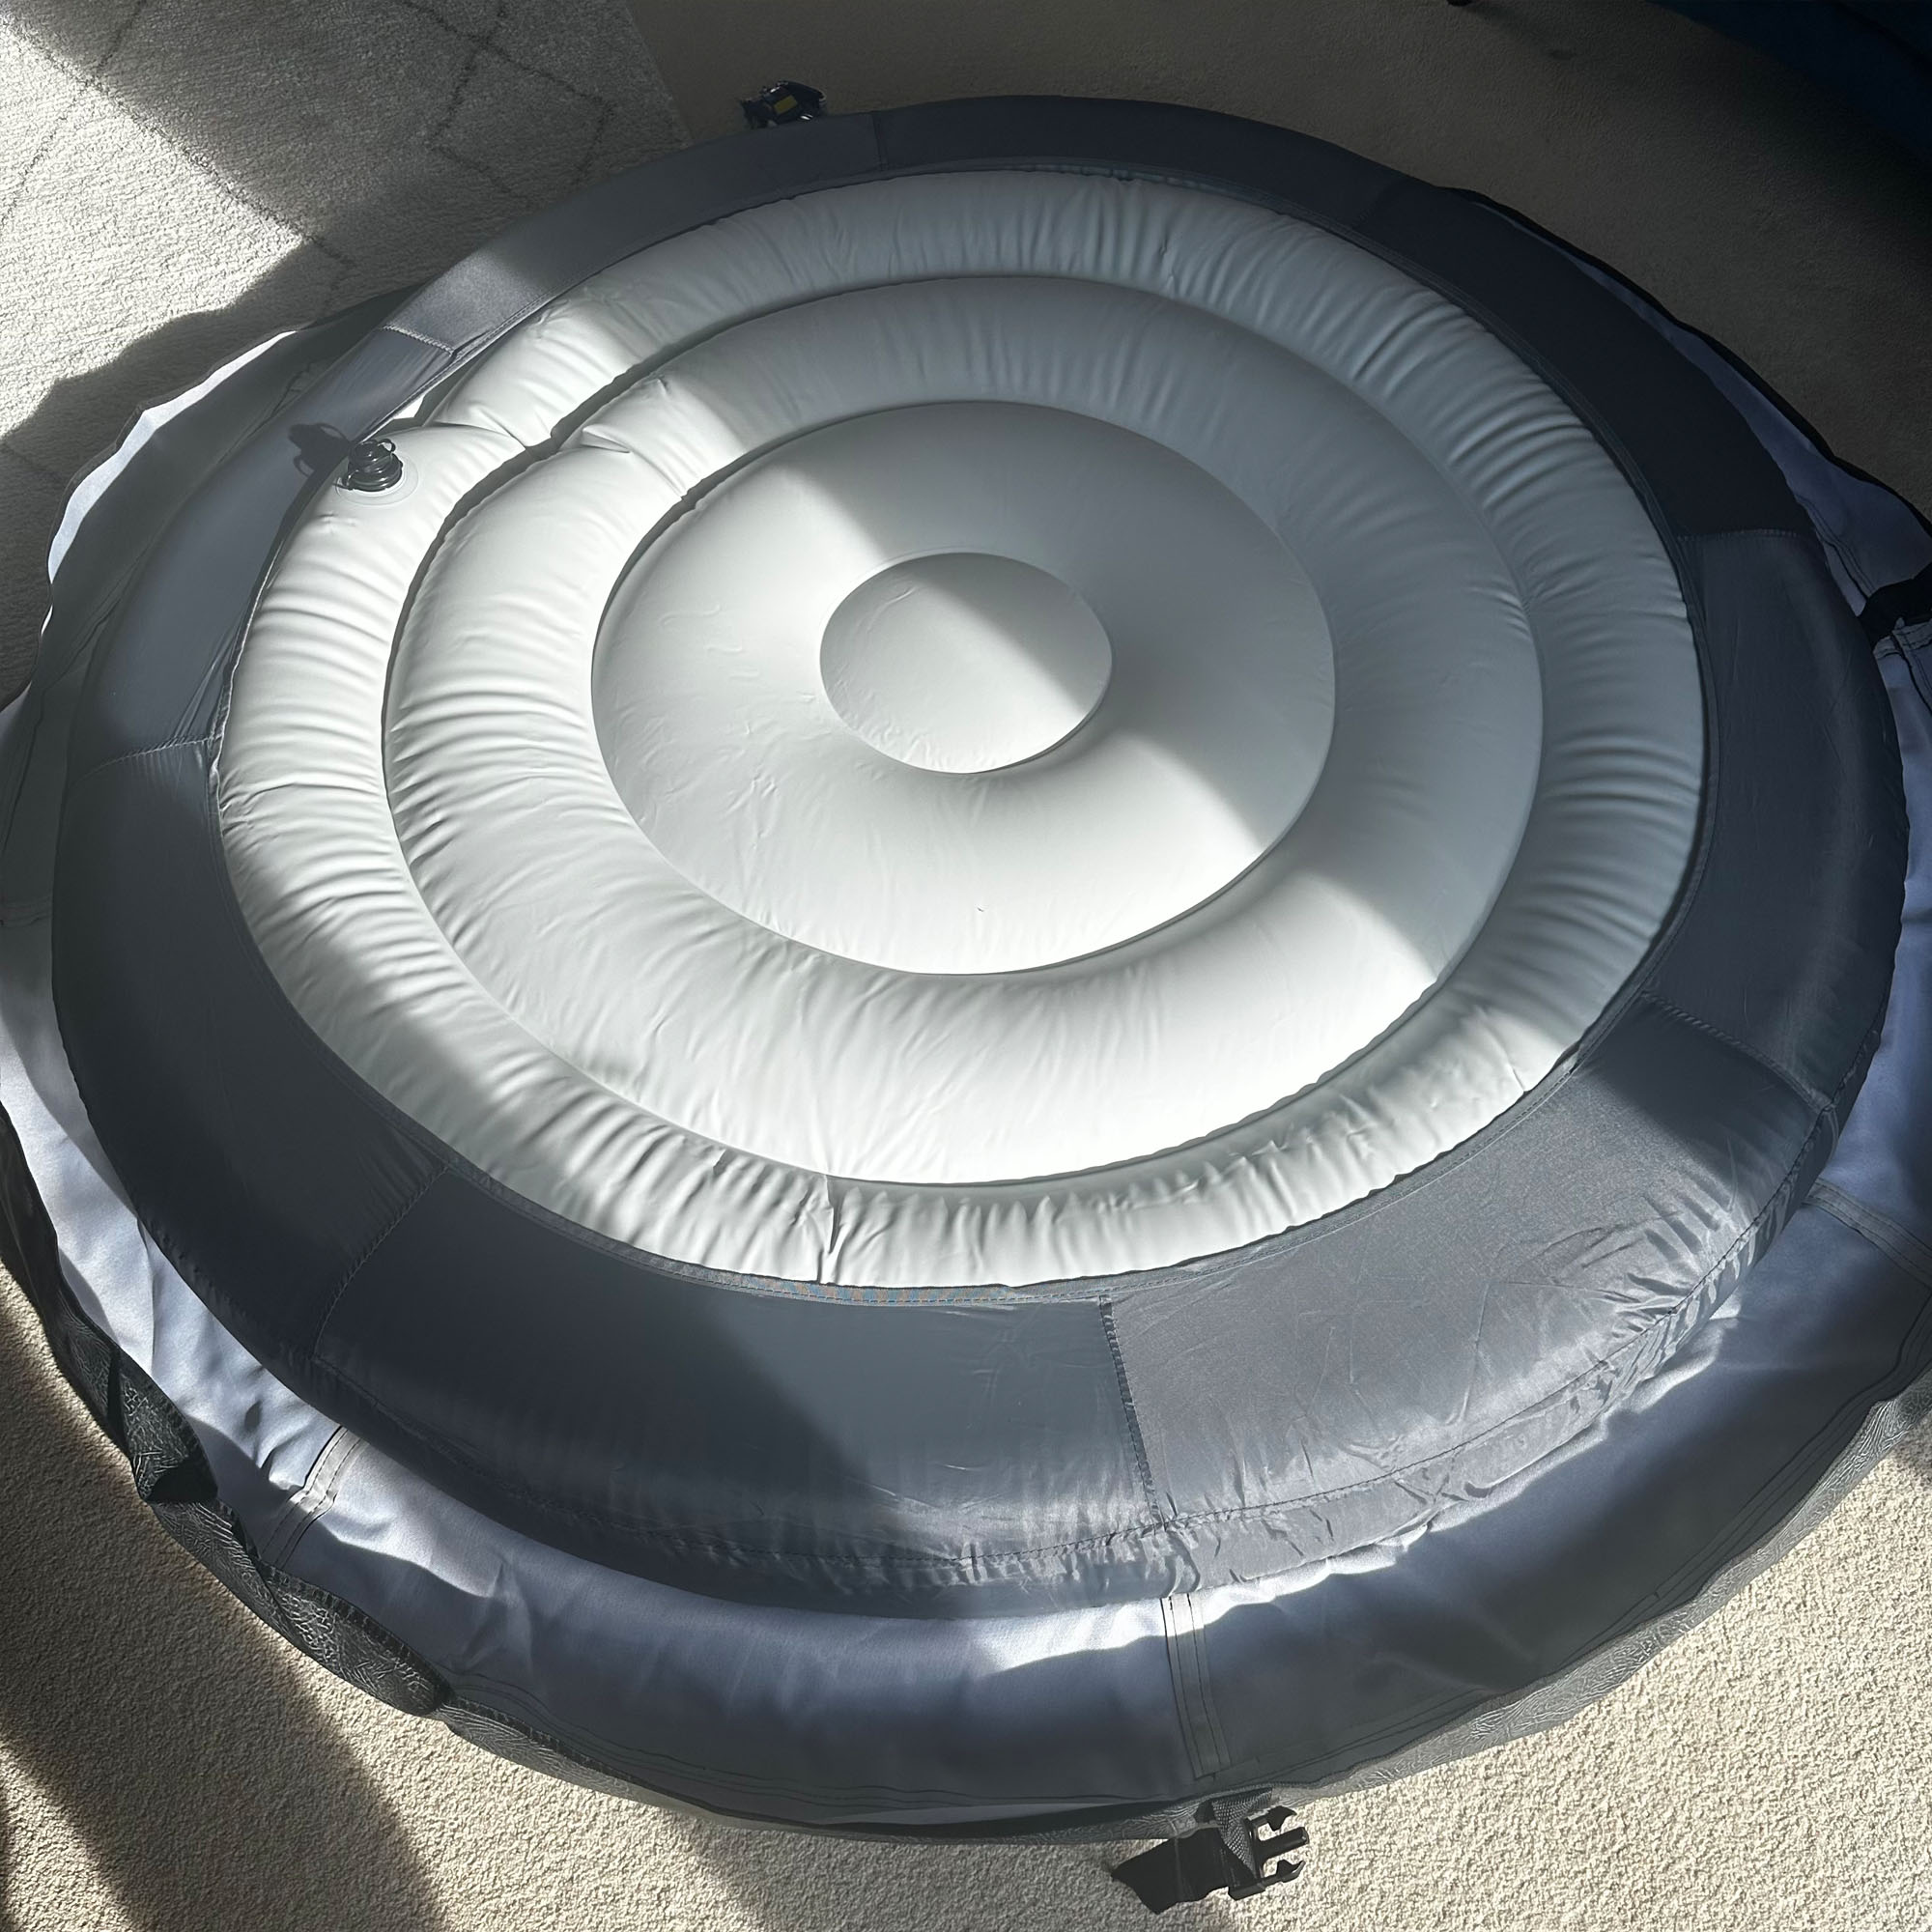
In total, assembly took 40 minutes but it would have been quicker if the two of us had attempted it together from the start.
The final assembly steps are to check the drain plug is closed and then start to fill the spa to the indicated level. But, just as I was about to start filling the hot tub, it started to rain, so decided to wait to fill it until later. I put on the lid which slots easily over the top walls and then clips into place. You can then tighten the buckle straps.
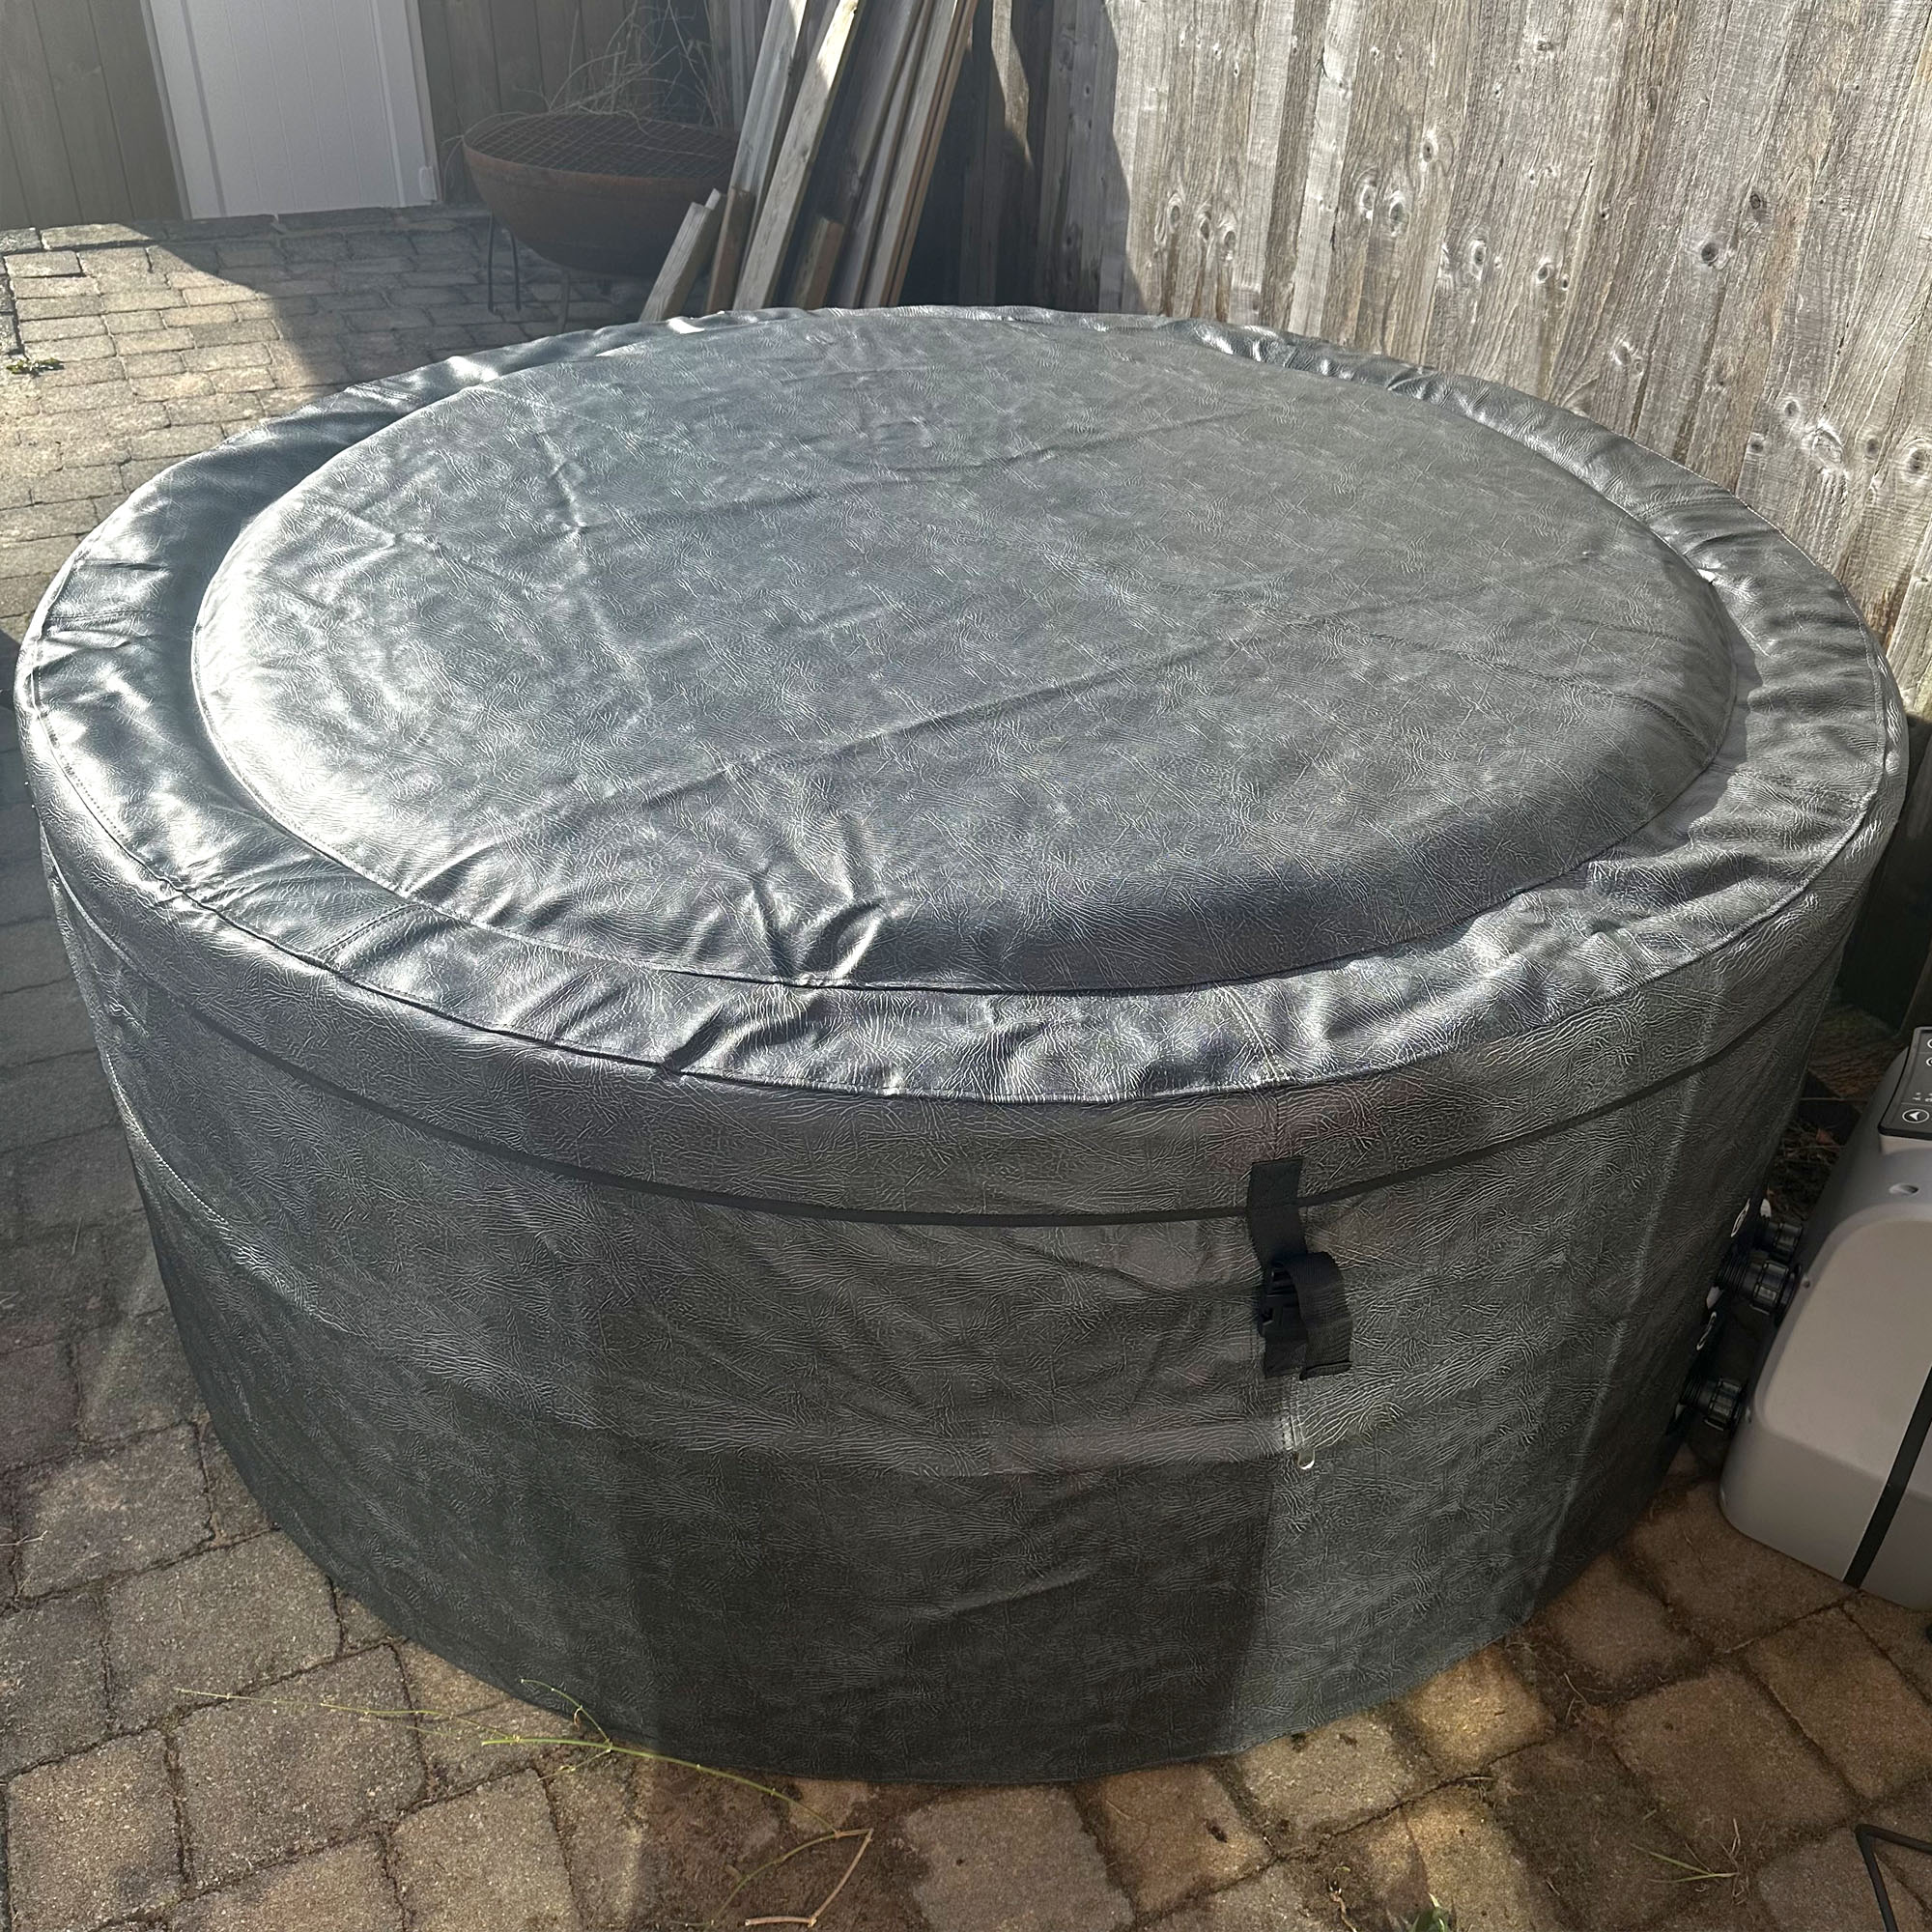
Wave Osaka 6-person hot tub: set-up
Once the weather had improved, I set about filling the hot tub. To do so I just turned the hose on, put it into the tub, then used the lid to hold the hose in place to fill it up, which also helped to prevent any debris or passing insects from falling in. I then left the hot tub to fill up, checking on it regularly, so the water level didn’t exceed the ‘max’ line. It took two hours in total to fill.
Once full, it’s time to turn on the pump unit and start filtering and heating the water. I had read on the reviews and the website that it took over a day to heat the water from cold to 40 degrees. The filtration system starts when you heat the pool, so I turned the heater on and set it to its maximum of 40 degrees.
The morning after, the hot tub had heated up to 31 degrees, so it was nearly ready to use. We went out for the day and by the time we had returned, it was up to a balmy 39 degrees.
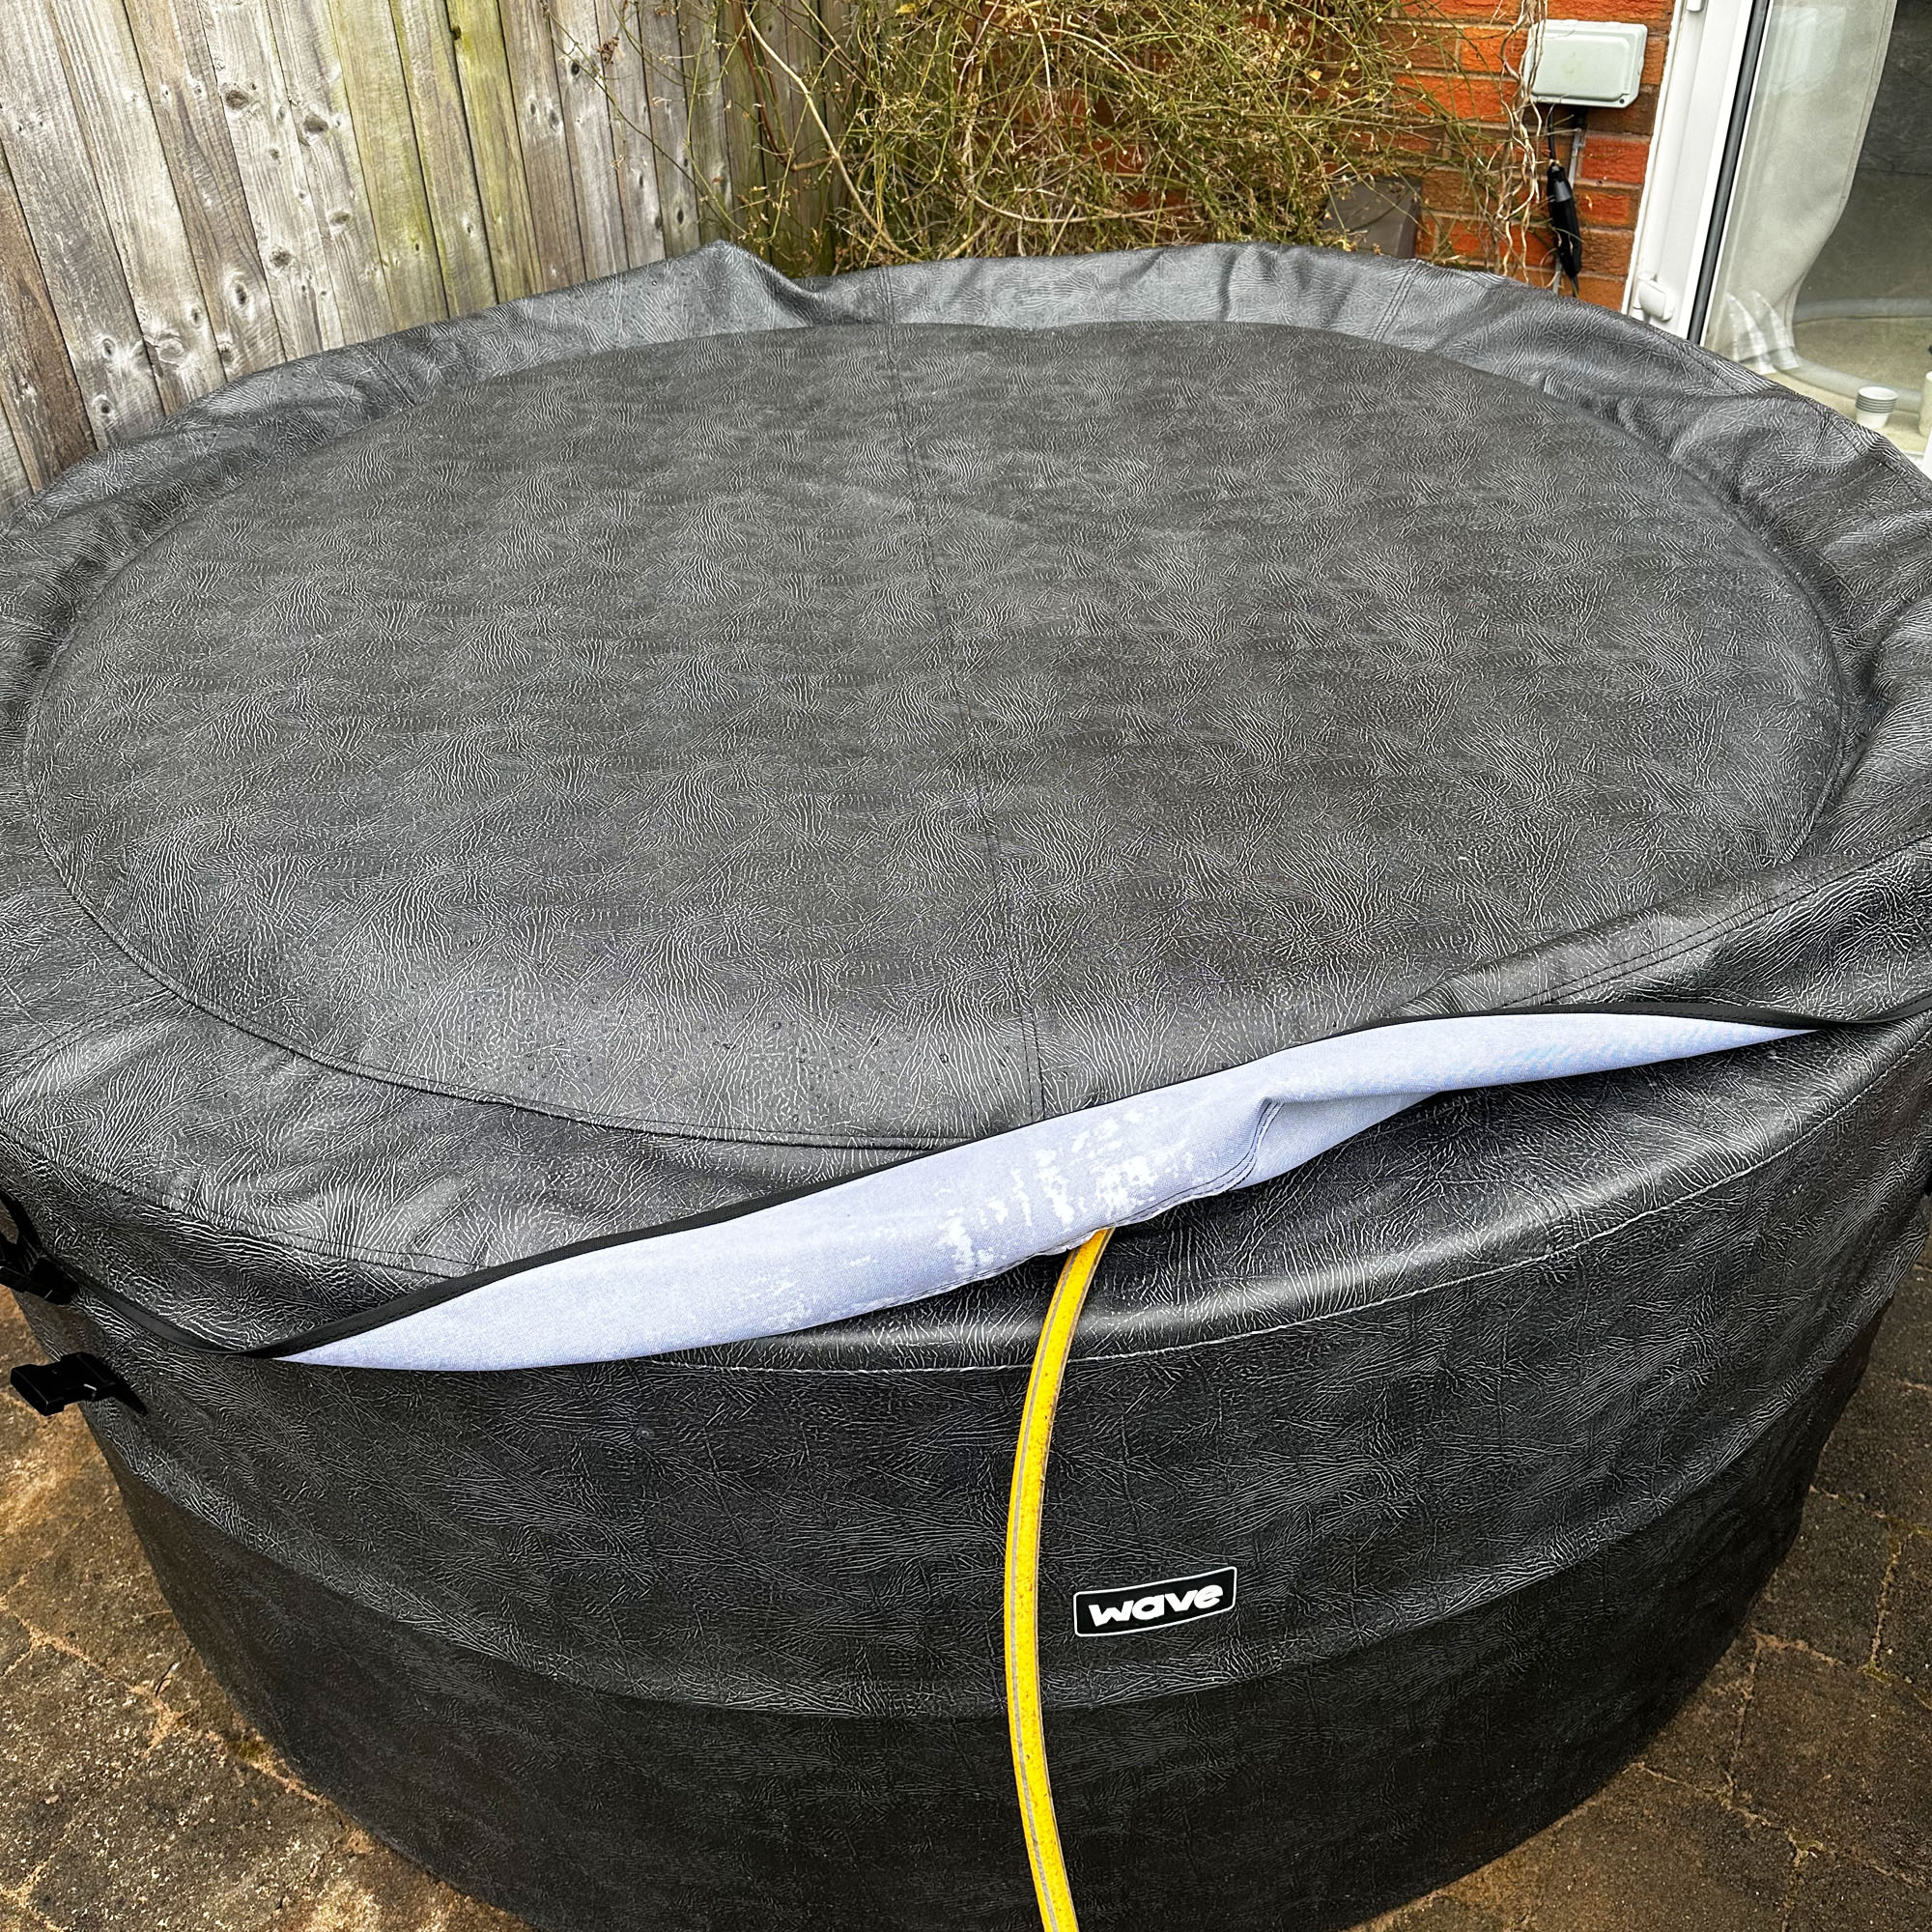
The kids were extremely excited to use the hot tub, so much so that as soon as they got home, they both went upstairs to put their swimming suits on (the older one dressed the younger one!). However, I needed to test the water and I knew I would definitely have to add chlorine.
Wave sent me a maintenance pool and spa starter kit with the pool which included everything I would need to keep the hot tub clean. This included filters, chlorine granules, pH increaser, pH reducer, no foam solution, and test strips.
I'd thoroughly recommend buying a testing kit alongside the hot tub as it means you have everything ready to go once the hot tub is assembled.
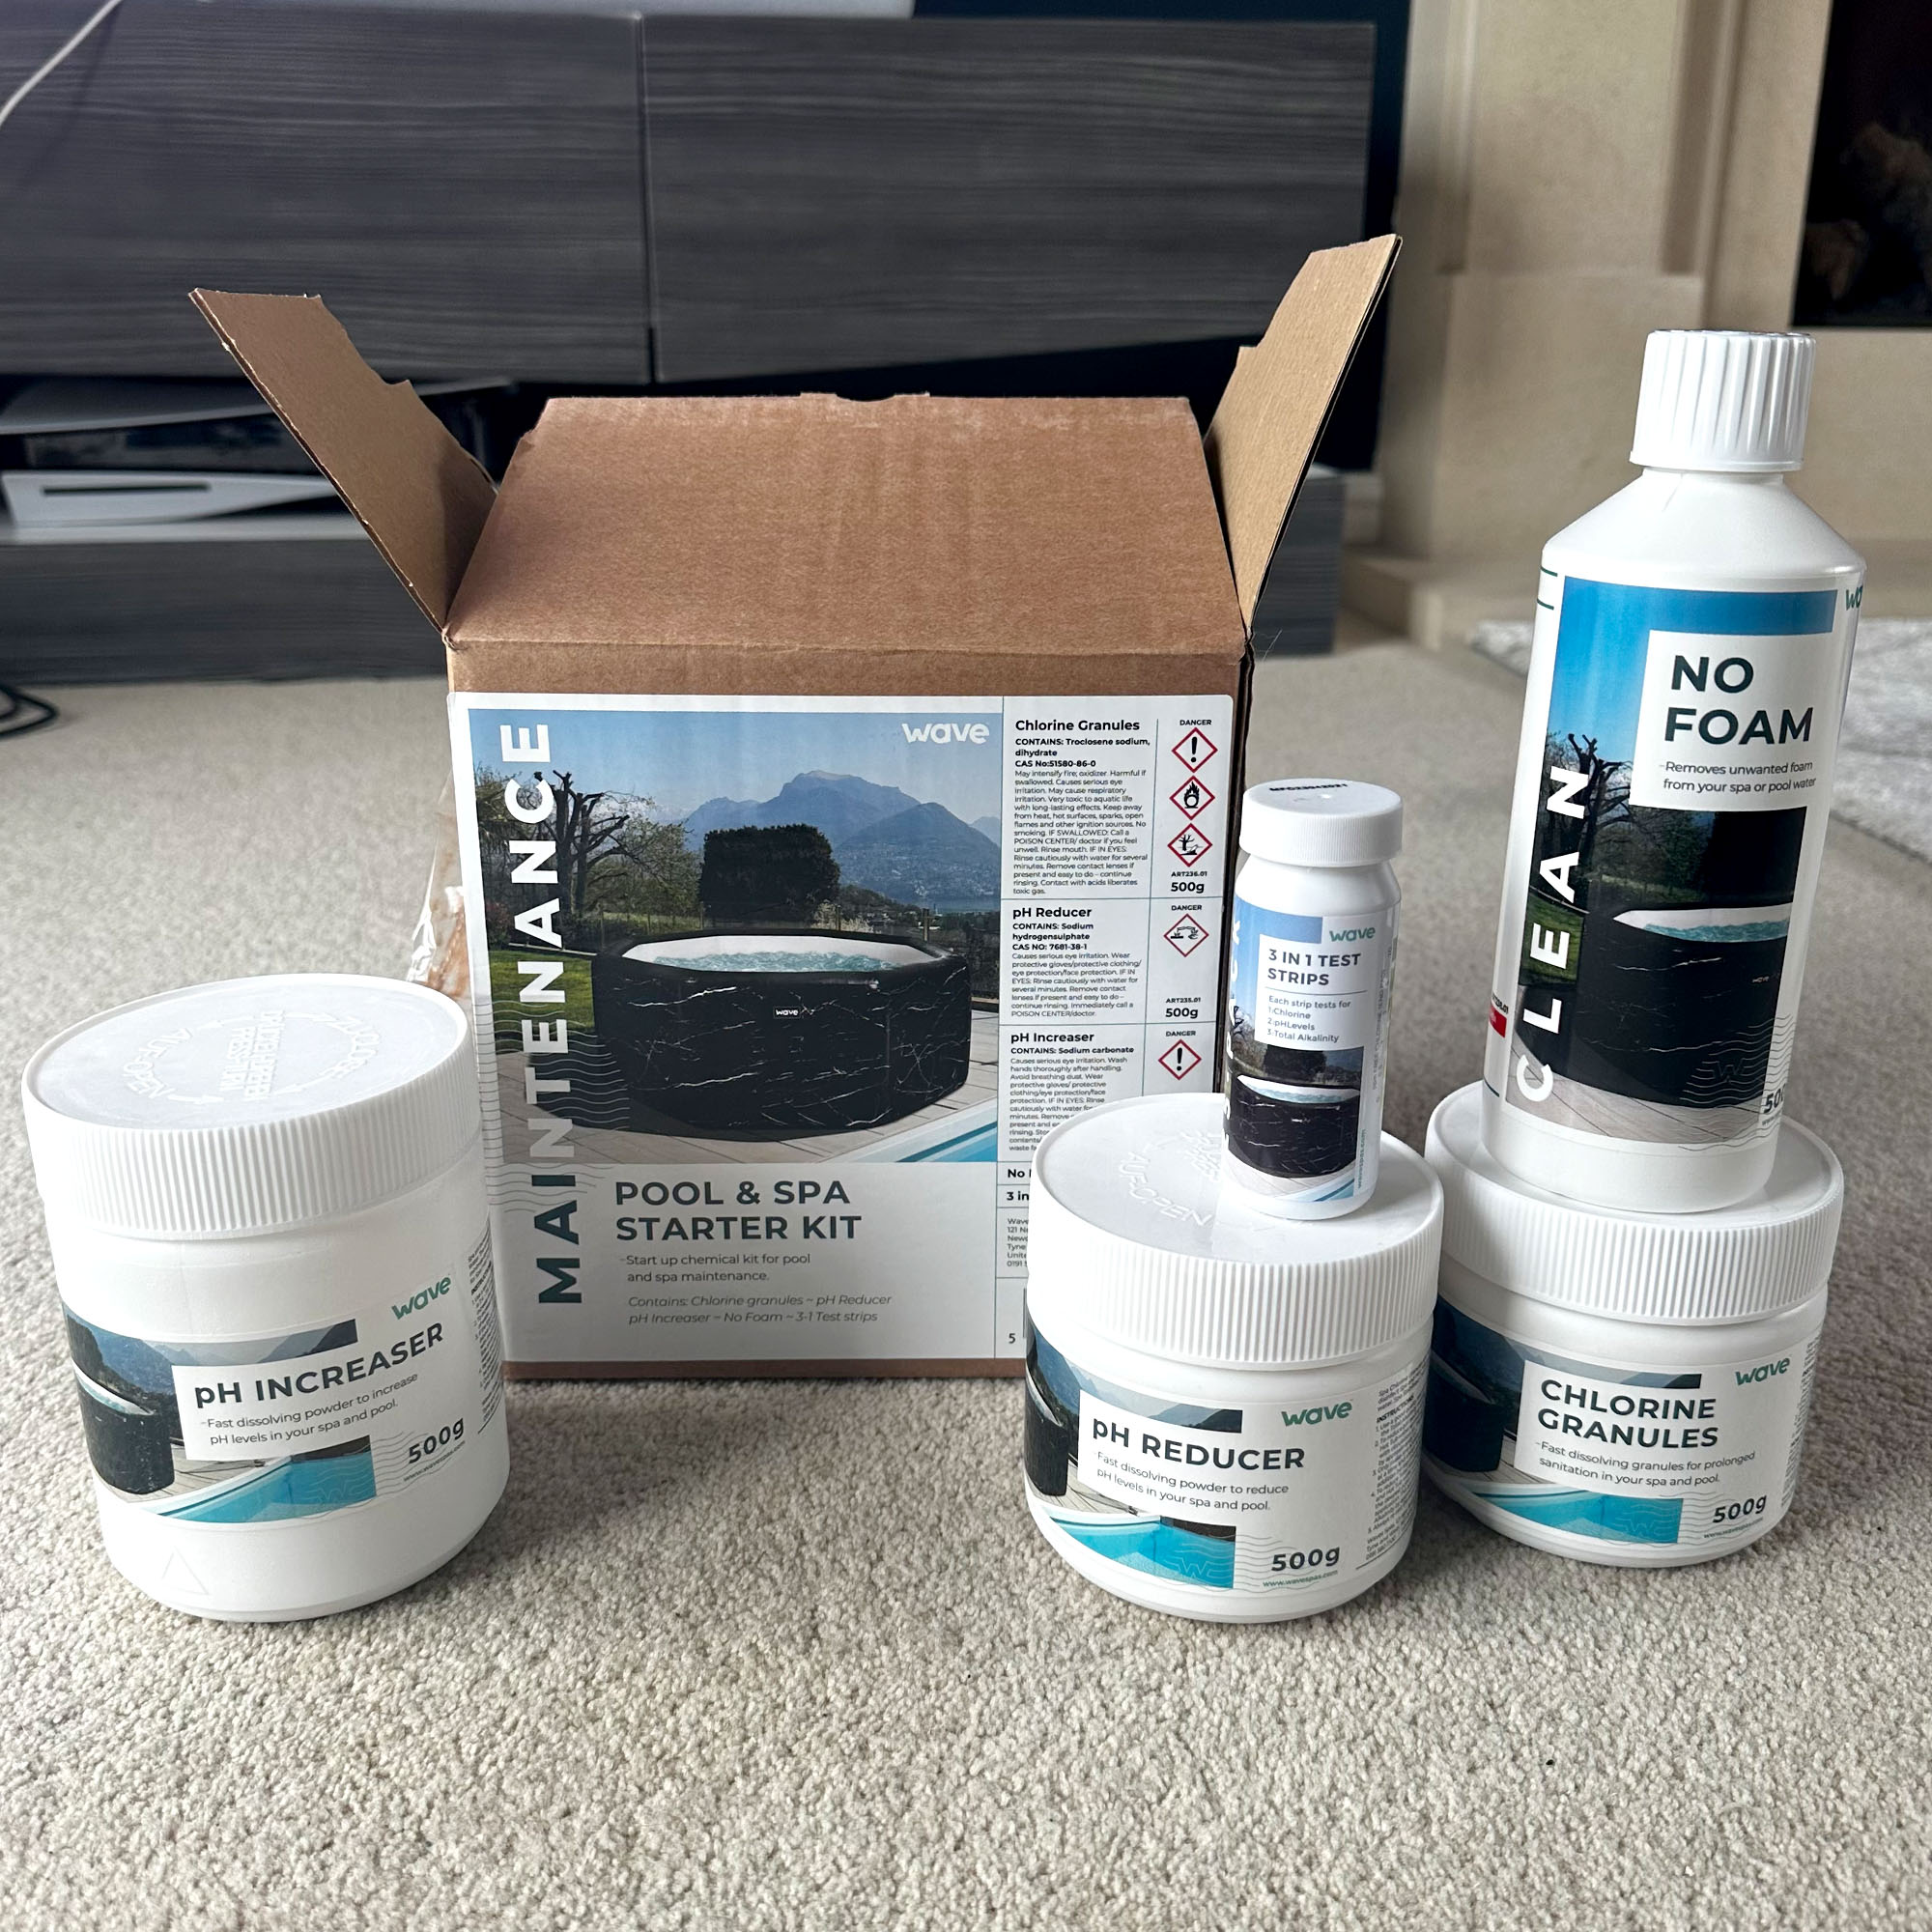
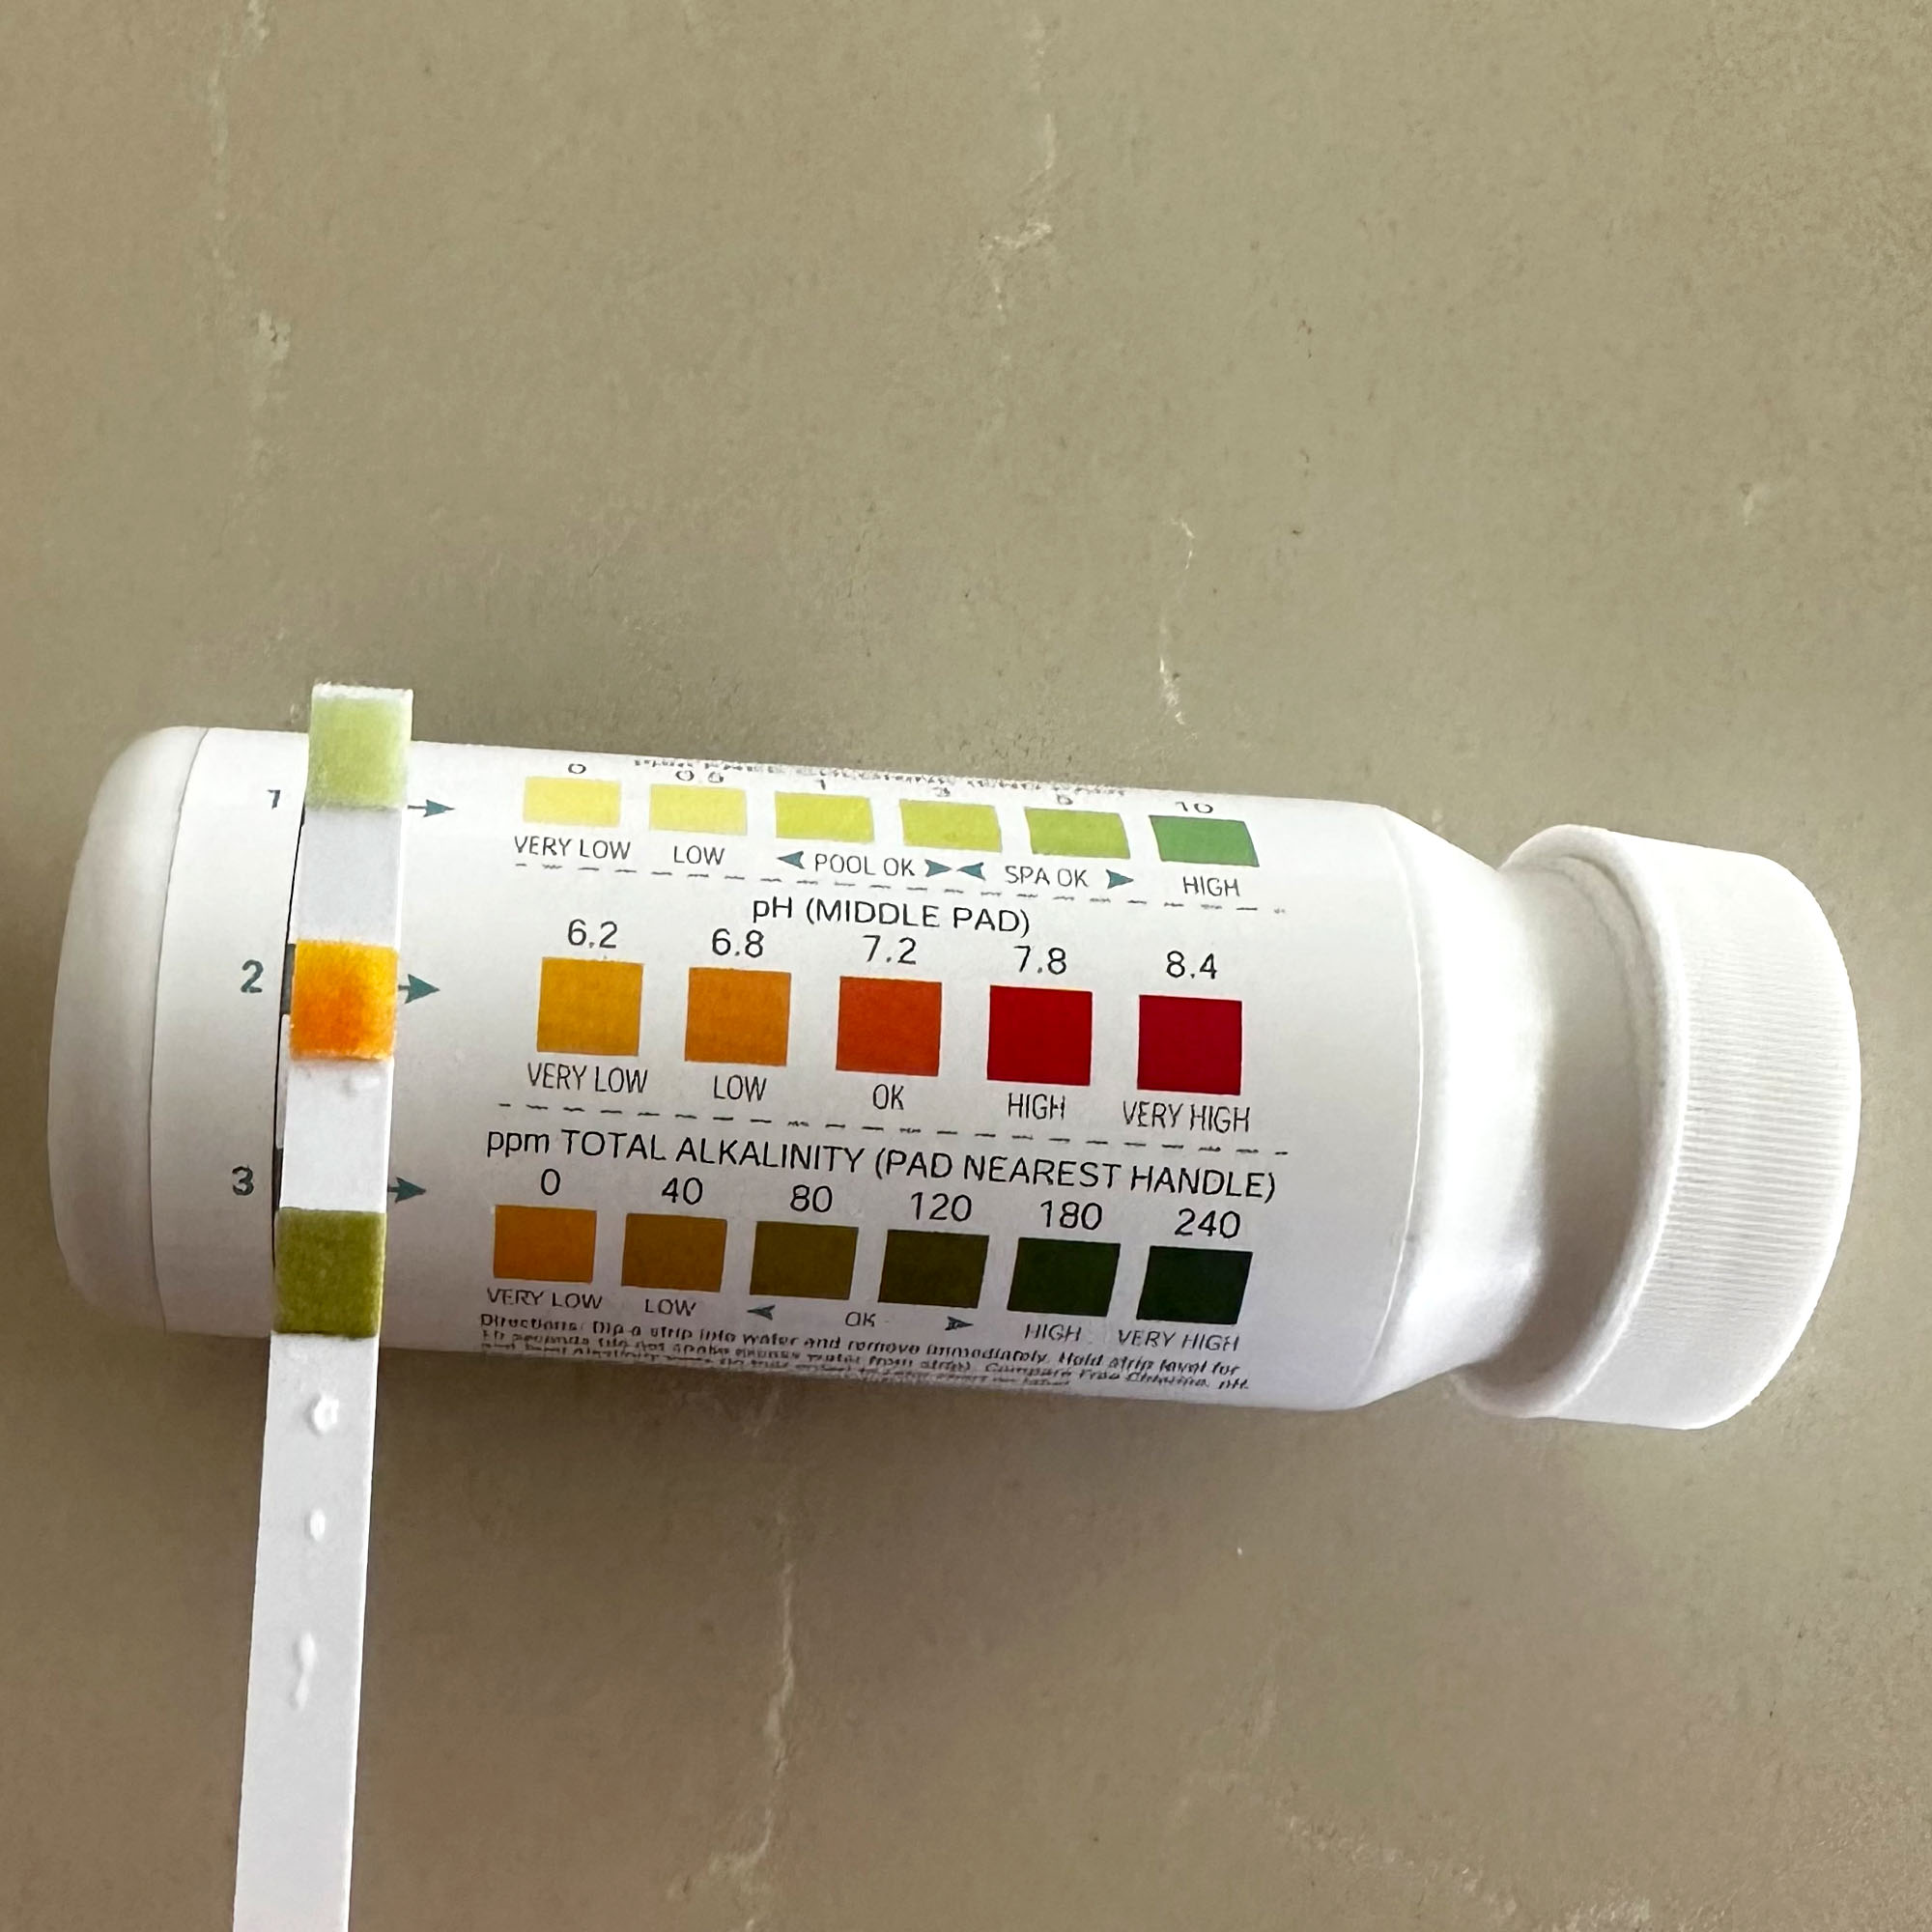
Each tub has instructions on how to use them, so I started with the chlorine. I added about 3g to start with as it says to add 3g for 1500l, so I figured this may be enough and it’s easier to increase the levels than reduce them. After waiting the required 15mins, I tested the water with the test strips. You dip them in quickly and then hold them level for 15 seconds. You can then compare the levels of chlorine, pH, and alkalinity by comparing each pad on the strip, with the scale on the tub for the test strips.
I noted that the chlorine was low, the pH was very low and the alkalinity was fine. So I added some more chlorine granules (you dissolve these in warm water first) and some pH increaser, which you add straight to the water. You have to wait 30 minutes after adding the pH increaser, so when I checked again, I was disappointed that I still needed to adjust the pH, although the chlorine was fine. The boys were getting a little bit restless by now, but I was sure I would get it right the third time, so I got my swimming costume on too, just in case. The third test showed that all the levels were fine, so it was time to jump in!
Wave Osaka 6-person hot tub: use
It was finally time for the fun bit after all of the time spent setting up and adjusting the waters! And I'm happy to report the Wave Osaka hot tub didn't disappoint.
The Wave Osaka hot tub is very easy to use. You take the lid off by unclipping the clasps, hop in, make yourself comfortable, and then if you want to use the jets, just simply press a button to fire them up. The temperature can be adjusted by pressing the temperature button and then using the arrows to turn it up or down. The filter can be turned on and off by the push of a button too.
The jets are fairly powerful, which surprised me, but you have to sit directly in front of them to benefit from the vertical ones. The jets sit all the way around the bottom of the tub, but there are only four spots where the jets extend up the wall.
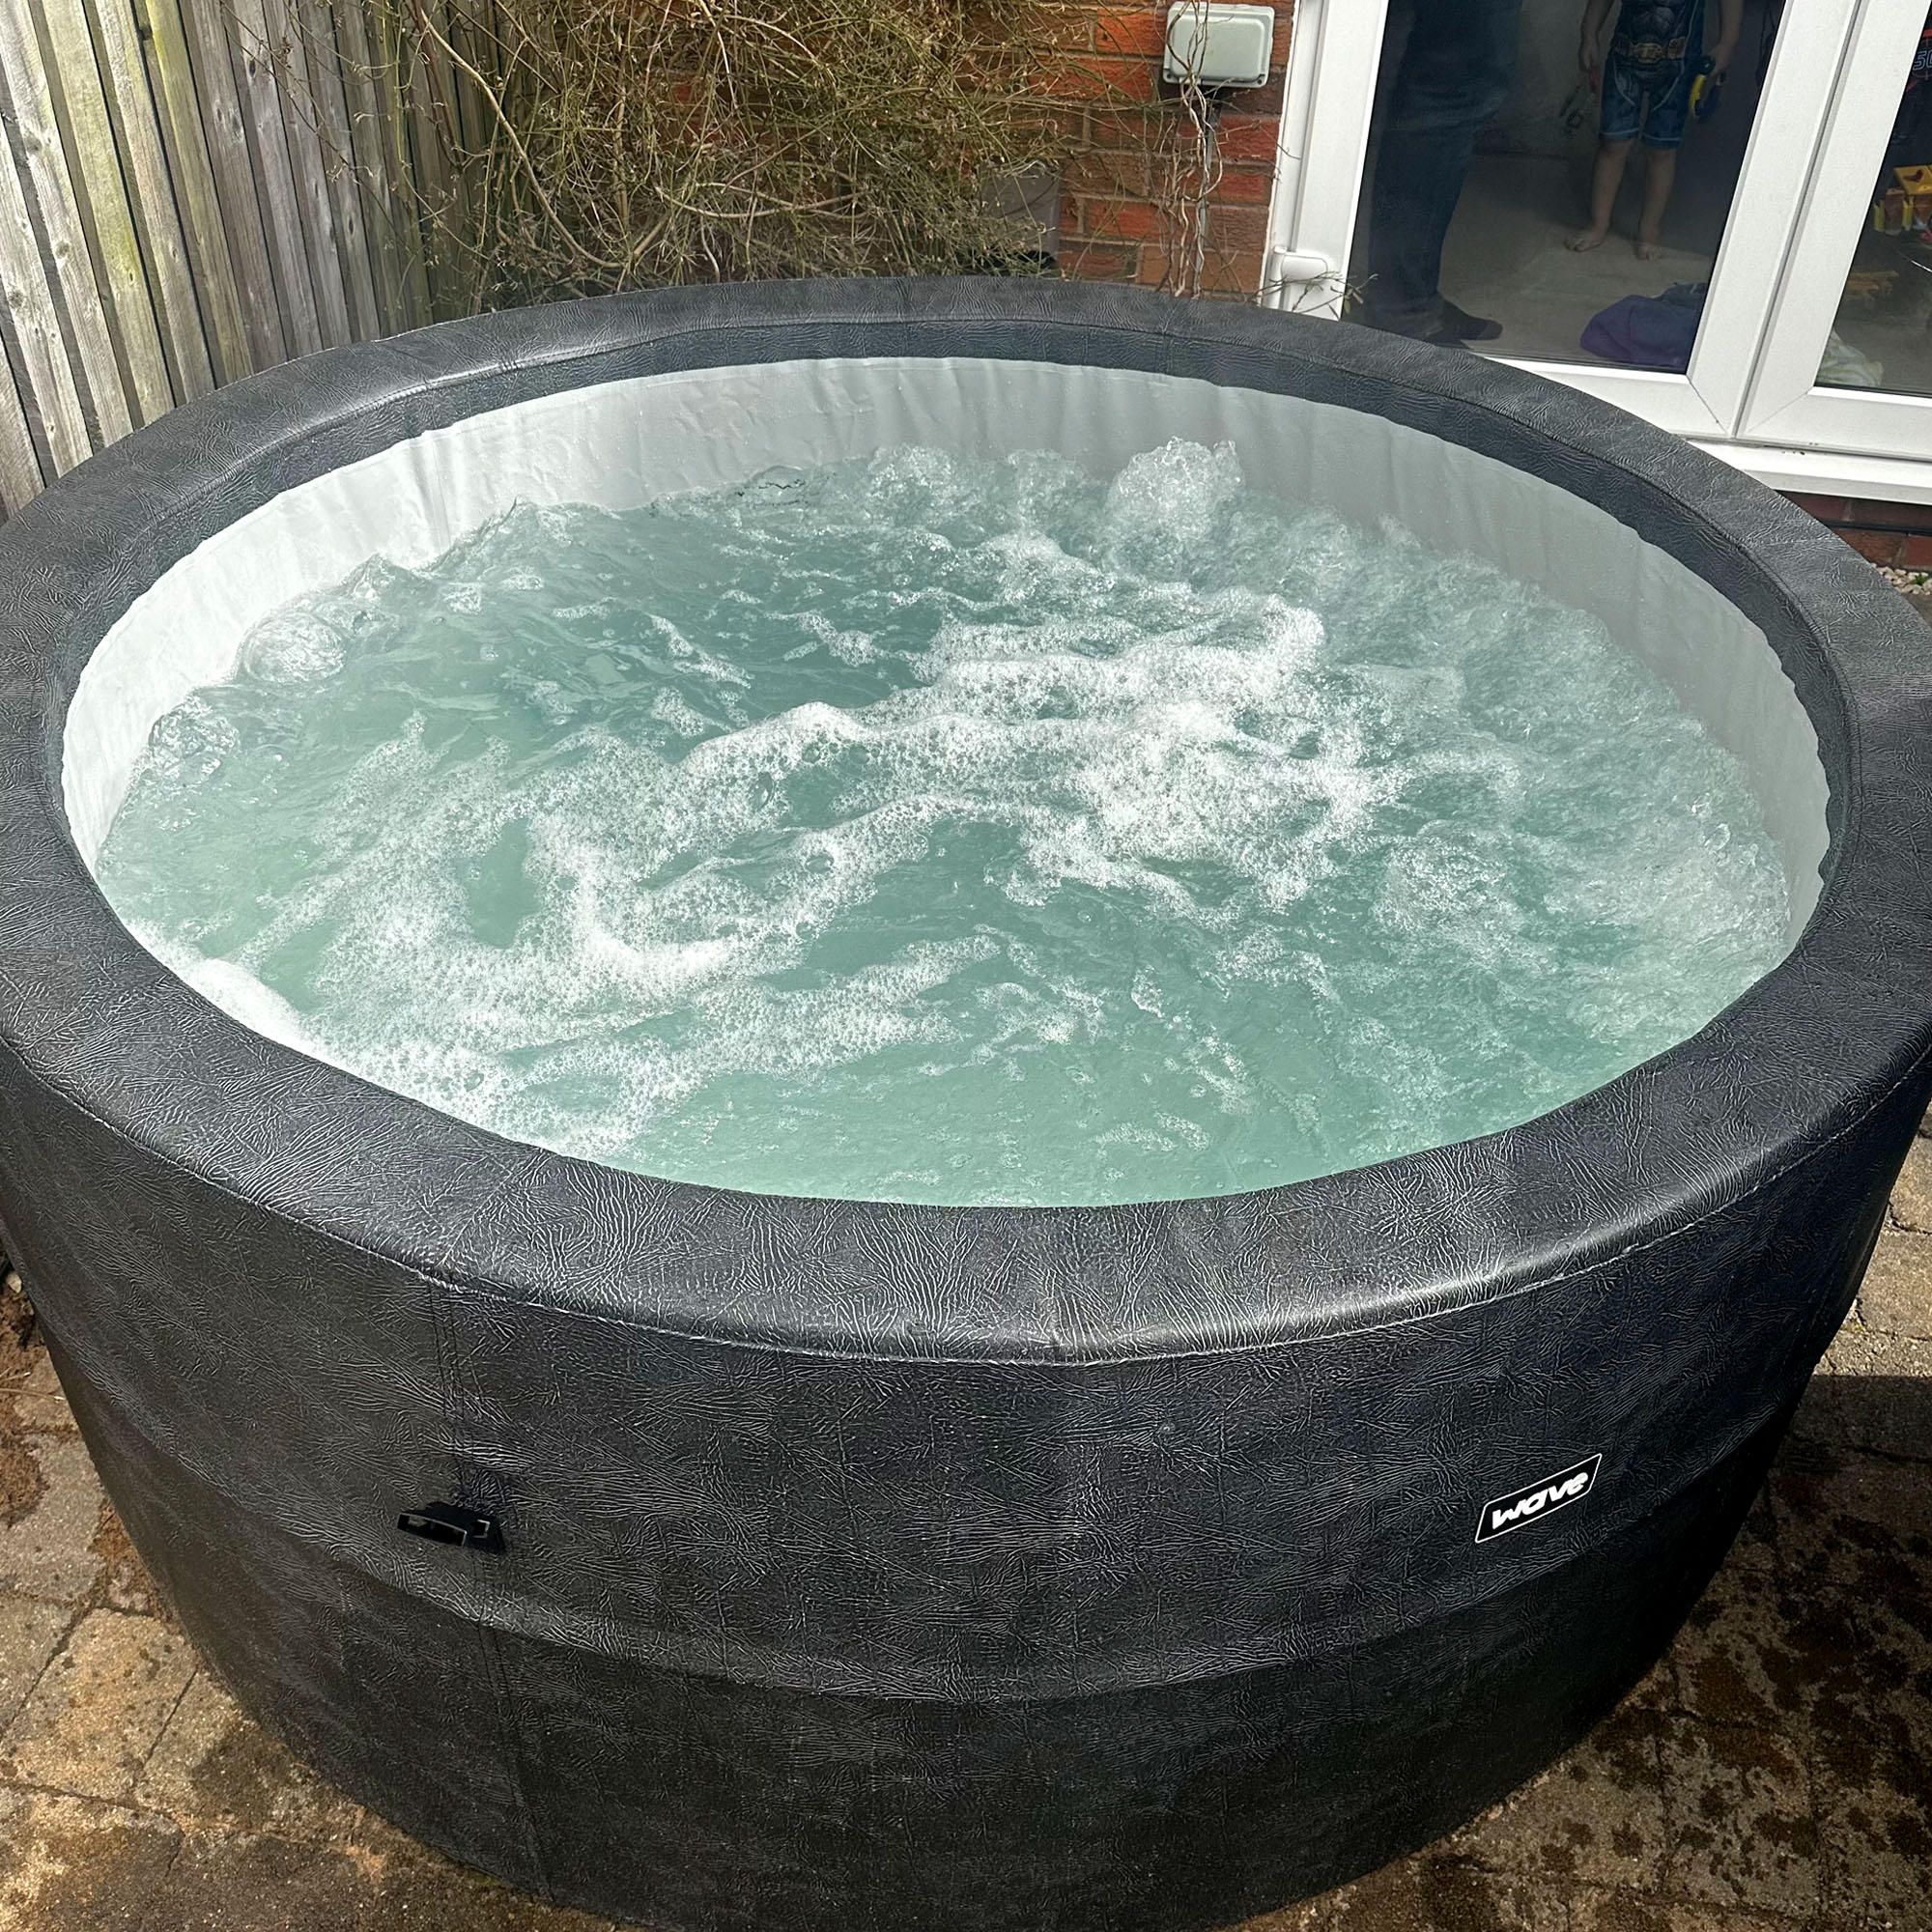
Although the hot tub can seat six people, I think this would be very snug. My partner is 6ft 4, so with both of us in there, plus two active children, I think six adults would be a tight squeeze, and you’d have to be quite comfortable with each other to enjoy the experience. It is however big enough for my 5-year-old to swim around and it was great for practicing his mushroom floats and pencil rolls!
The floor of the hot tub is padded, so it is very comfortable to sit in and I enjoyed lying my head back on the foam wall and floating when it was just me in there. For reference, I am 5ft 4 and I could extend my legs out straight with my head on the wall.
We used the hot tub a total of five times, over the space of a month, at different times of the day and in different weather conditions – some pretty cold. I don’t feel like the hot tub lost that much of its heat when we were in there and the water stayed fairly clear until the end of the month.
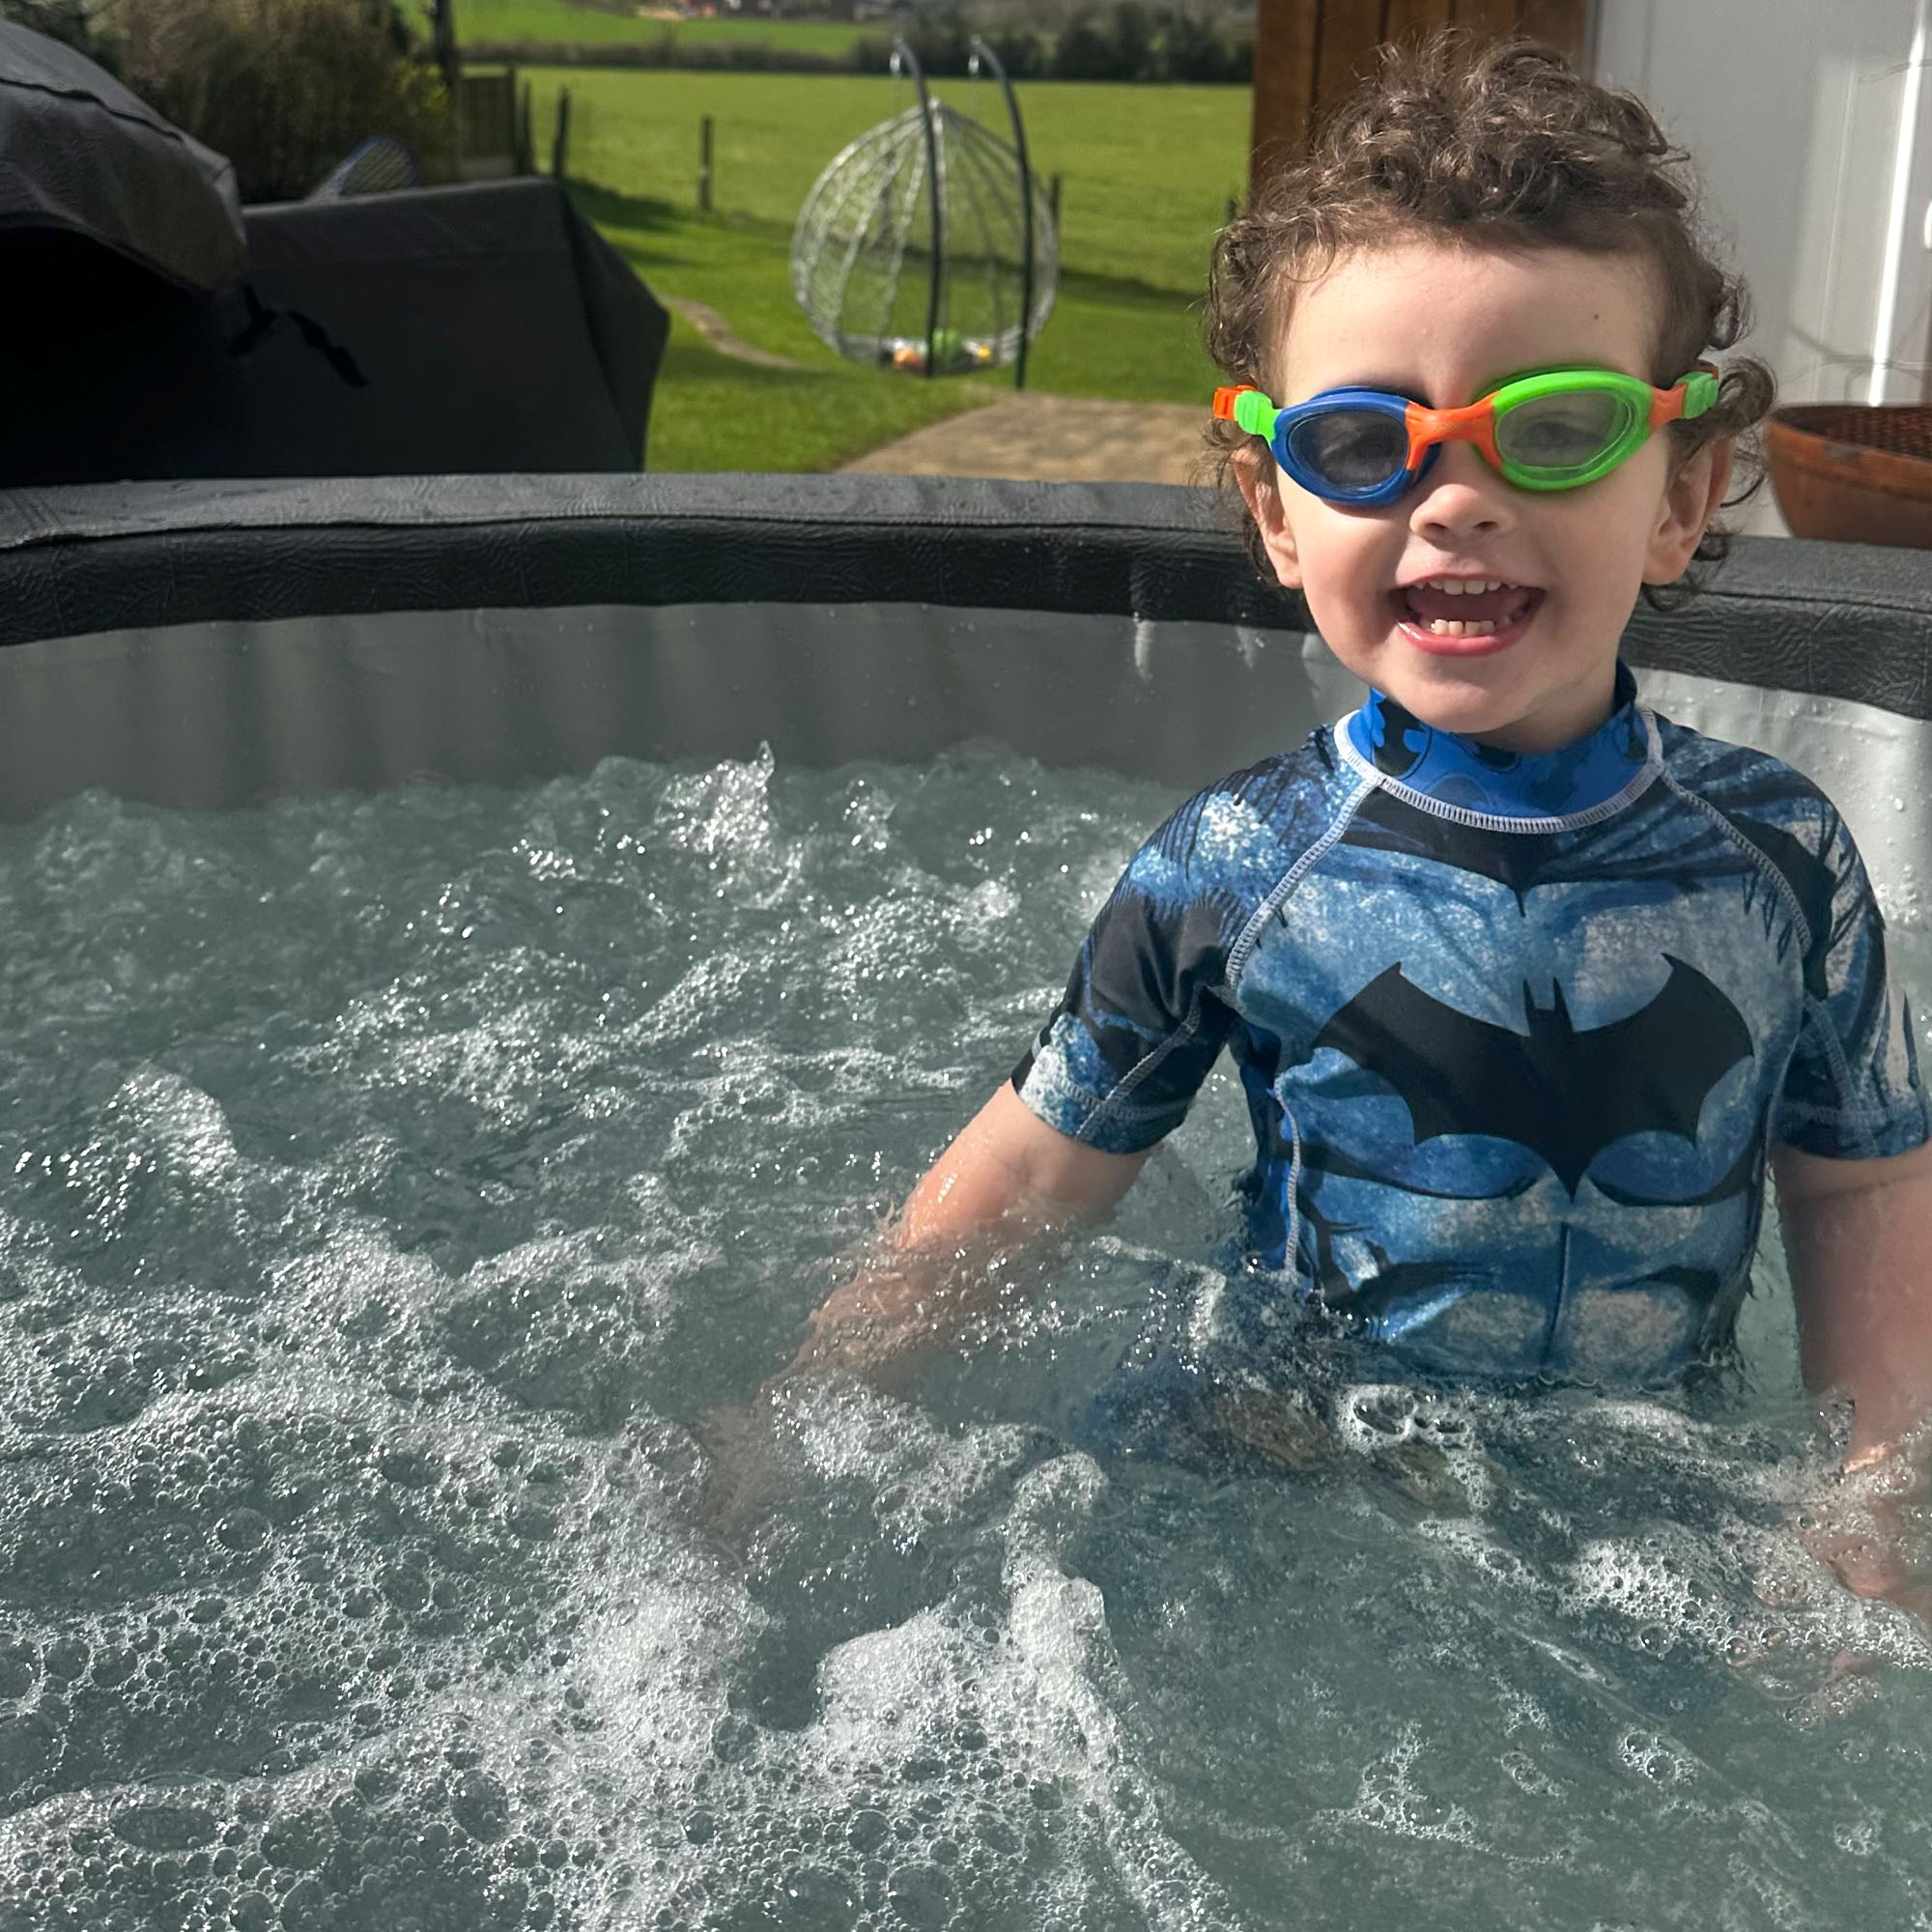
It’s great that the hot tub comes with a lid, as it would be very difficult to keep it clean otherwise. The thermal-efficient inflatable part also helps keep the heat in which is great for saving energy and maintaining the water's temperature. Although you should never leave children around a hot tub unattended, the lid clasps into place at four points and you can then slide a catch on each one as a safety lock, so children can’t take the lid off which offers some extra peace of mind.
The spa also comes with a repair kit and instructions on how to mend holes or punctures. There are also a variety of Wave hot tub accessories you can purchase online to enhance your spa experience. These include drink holders, headrests, seats, robes, sponges, access steps, and even waterproof phone cases!
Wave Osaka 6-person hot tub: energy use
The Wave website helpfully has an FAQ section for each of their products, including how much is costs to run a rigid foam tub. It says the average cost of powering the heater units it £0.23 an hour and it costs £6.21 to heat to the maximum temperature, which they claim is £3.00 less than inflatable hot tubs. The average cost of the bubble function is £0.35 an hour and the cost of maintaining the heat of the tub is is the same as powering the heater units.
They give some hints on how to make the hot tub more economical, such as not constantly using the bubbles and insulating the tub with a Bubble Mat Liner (available separately) and the inflatable cover that comes included.
We found that the cost of our electricity did rise and now we are not running the hot tub, the cost has gone down by £2-£3. It’s hard to judge just how much our electricity has changed as we have recently purchased a hybrid car aswell, so it’s difficult to see if the cost is purely down to the hot tub, or charging the car too.
Wave Osaka 6-person hot tub: cleaning
We made a habit of testing the water each time we used the hot tub. This was a bit of trial and error to start with and I know you can get pre-packaged chlorine tablets from other hot tub companies, but by doing it this way, you can make sure the water quality is always good, to avoid harming your health.
The pump unit tells you when the filter needs to be cleaned and changed. Cleaning is easy enough to do, as you can rinse the filter with a garden hose or in the sink. If the filter remains discoloured, it needs changing. The filter needs cleaning regularly (150 hours max use) and should be changed every 1-2 months.
The instruction manual recommends changing the water every 15 to 30 days, which there's no denying is a bit of a task considering how long it takes to fill and heat up the spa.
To keep on top of water maintenance, you can purchase an active oxygen-based treatment or bromine, which you place in a floating dispenser. We will be purchasing one of these in the hope that we get more than 30 days of clean pool water! However, as the water was looking murky towards the end of the month, we tested out emptying and cleaning the hot tub.
To do this, you connect the drain hose and remove the plug. If the hot tub is close to a drain then you could leave the hose to discharge water directly into your drain, however, we wanted to reuse the water to pour onto the garden. To do this, we used some large bottles my partner has for cleaning our fish tank. We put the end of the hose into each bottle and then took it turns changing the bottles and emptying them – admittedly a bit of a task.
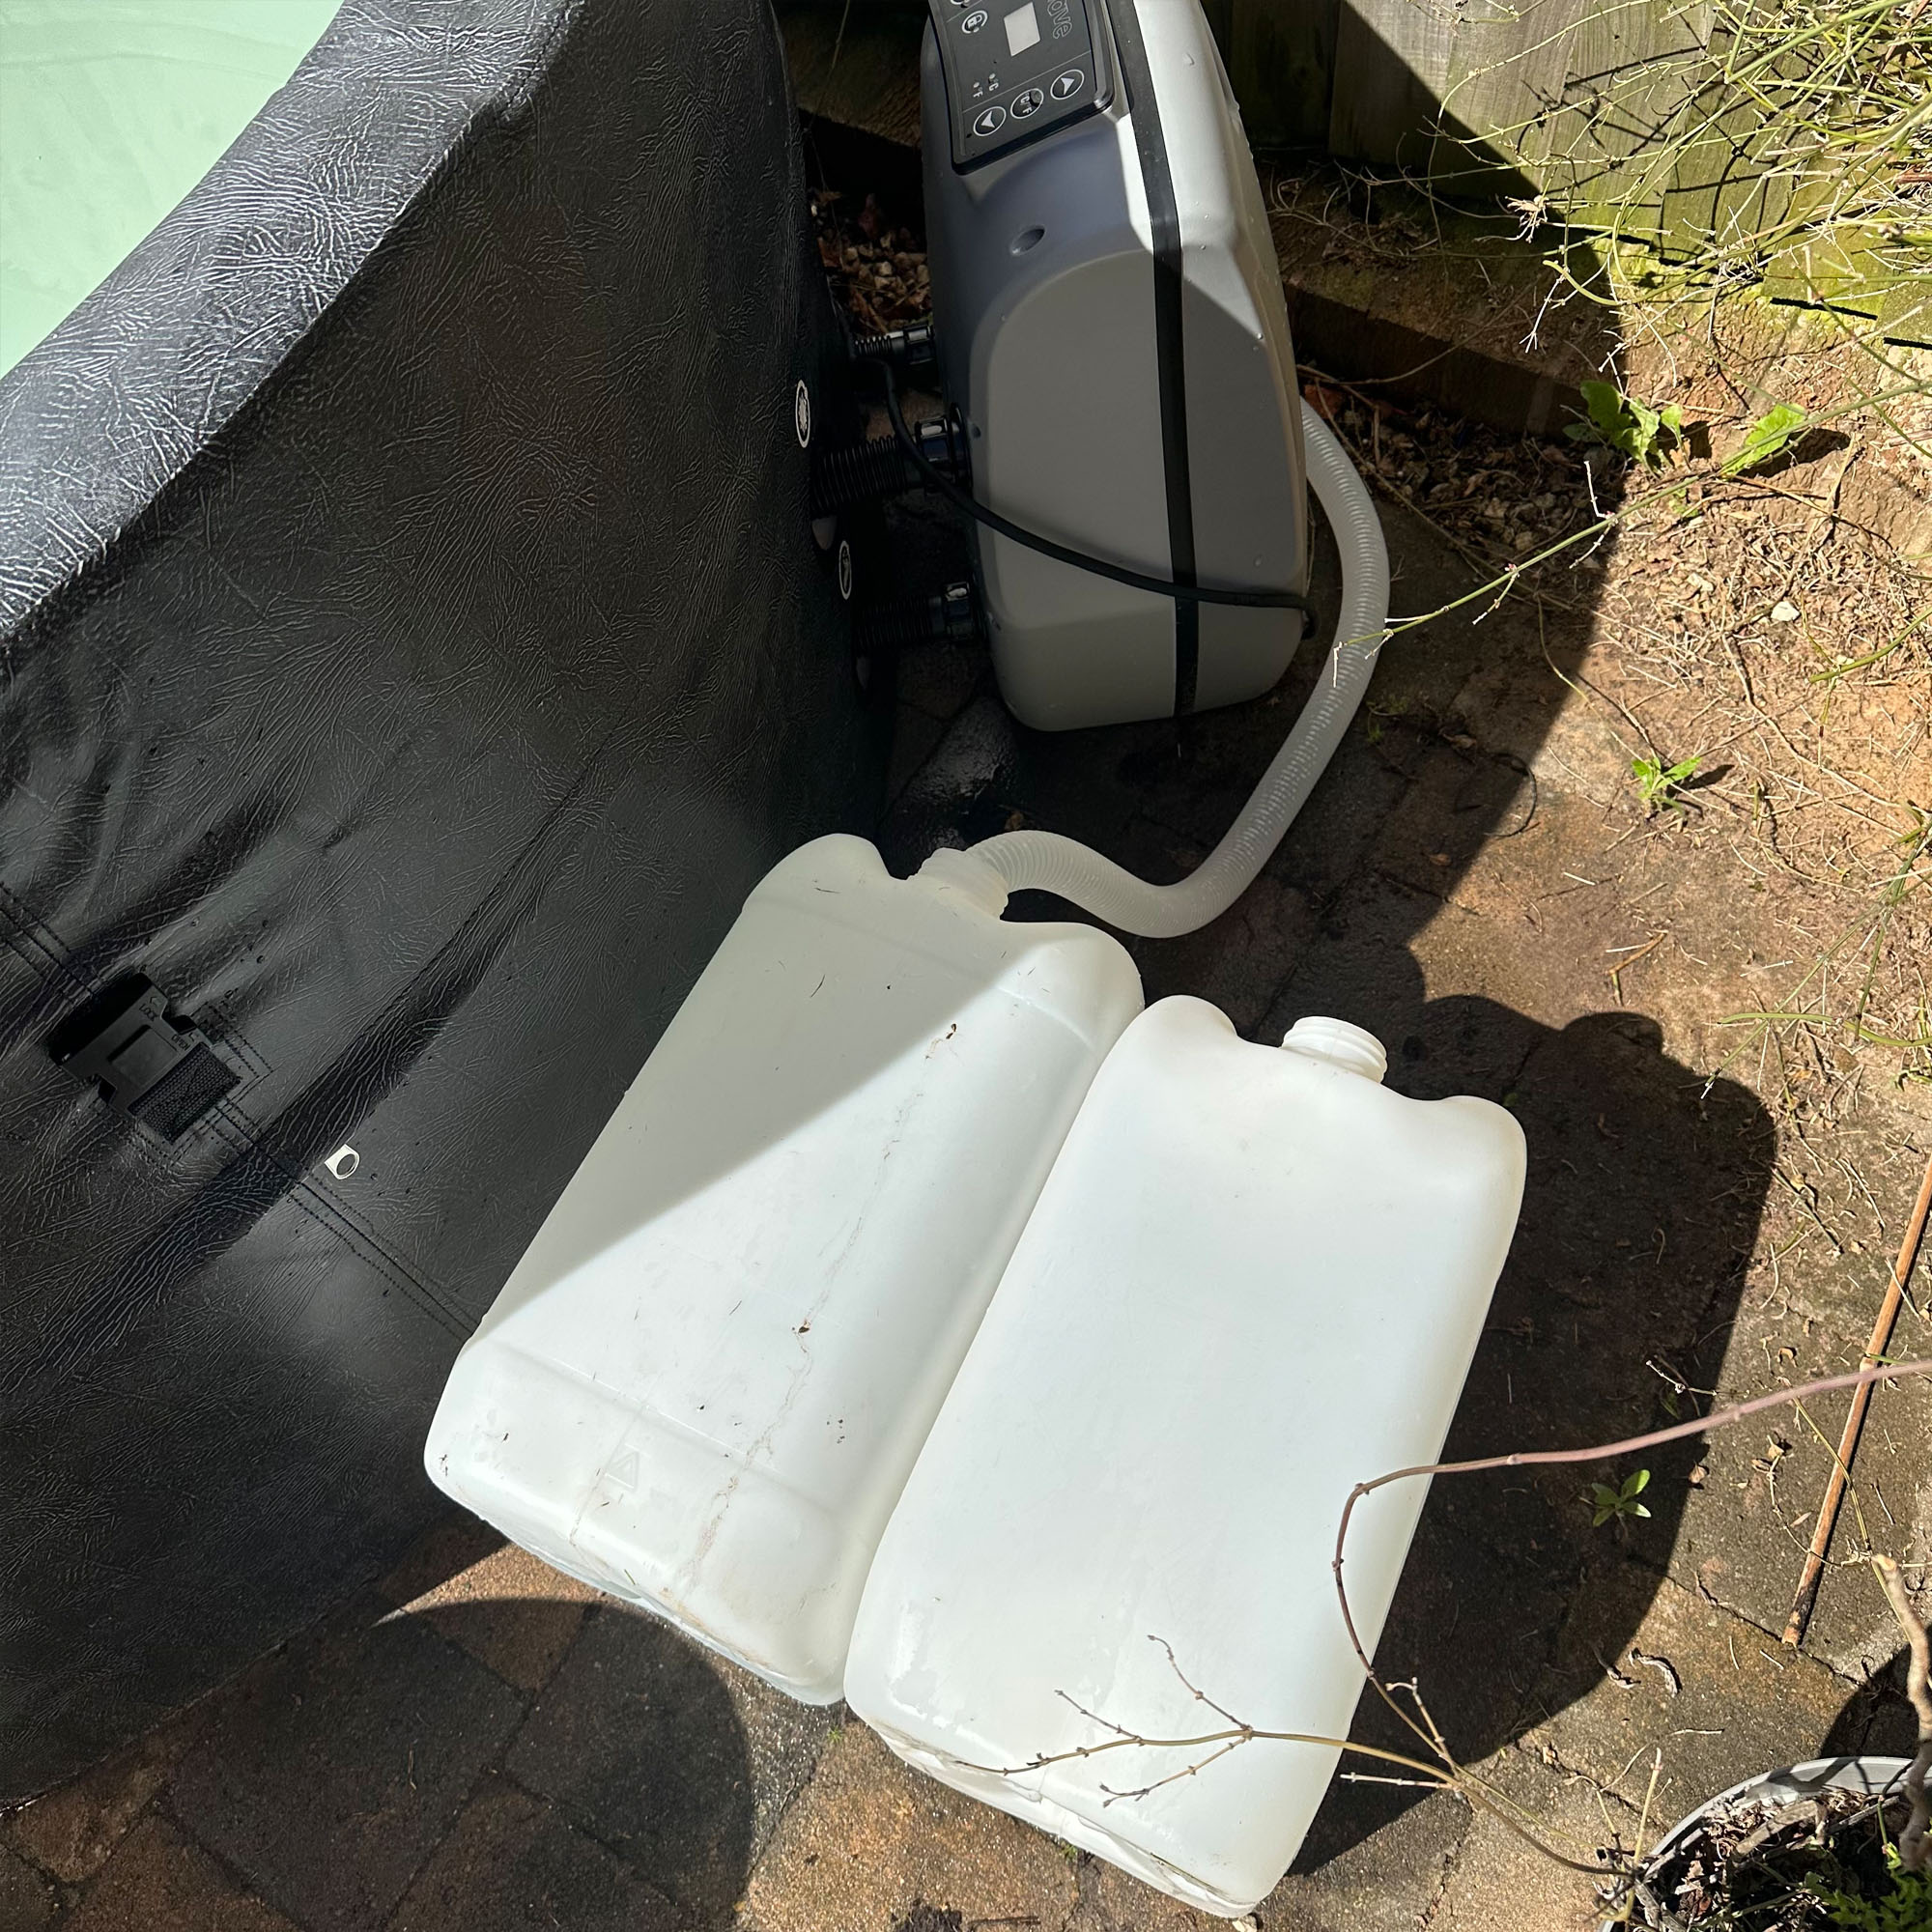
As the water level got lower, we found we had to lie the bottles on their sides so that the drainage hose remained lower than the water level, otherwise, the water won't siphon out. When we got to the final few inches, the water stopped, so we ended up using the siphon pump we have for our fish tank. This left a couple of inches of water in the bottom of the hot tub, which we emptied by tipping the hot tub upside down.
In total, it took 1.5 hours to empty and we felt like we’d had quite the workout! It would be helpful if the drainage hose was longer, as there isn't always a drain close at hand, and it would be good to have the option to empty the water directly onto the flowerbeds or lawn, instead of having to use containers.
Following drainage, I then sprayed the insides with disinfectant as there was a slight tide mark around the top and I cleaned the filter outlets and lid.
Wave Osaka 6-person hot tub: how does it rate online?
On the Wave website and review sites, the hot tub generally rates highly, but it’s mixed on other retailers, scoring an average of 3.8 on Amazon, for example. Those who rate highly comment on how it’s a great alternative to an inflatable, being more durable and sturdy, but also easy to pack away too, so a better solution if you don’t want a permanent hot tub.
Other users comment on in being great for families, the water temperature staying at a good level and that it is very smart and aesthetically pleasing in their gardens.
Those who rate low have had problems with the liner surface ‘flaking’ or being damaged and issues with customer service, although these do seem to be the minority and my own experience was that the customer service was great.
Final verdict: is the Wave Osaka 6-person hot tub worth the investment?
Overall I would definitely recommend the Wave Osaka Rigid Foam hot tub to anyone thinking about purchasing an inflatable tub. Opting for this rigid foam build instead was just as easy to assemble, and offers a sturdier feeling build, that doesn't look like a giant paddling pool in your garden!
It’s great for families – our kids are constantly asking for a quick dip! – and whilst it's not the cheapest hot tub out there, I would say that it's good value for money and the thermal-efficient insulating cover helps to keep energy costs down. I would also recommend purchasing the maintenance kit to save yourself time and hassle buying items separately.
About this review, and the reviewer
The Wave Osaka hot tub was reviewed by contributor Bethan Davis. You can click here to find out more about how we review products on Ideal Home. Bethan works in PR and Events in the tourism industry and lives with her fiancé, two children (Danny and Finn), and two cats. She is always looking for products that will enhance her home life whilst also keeping the kids entertained.

Get the Ideal Home Newsletter
Sign up to our newsletter for style and decor inspiration, house makeovers, project advice and more.
Bethan works in PR and Events in the tourism industry and lives with her fiancé, two children (Danny and Finn), and two cats. When she is not writing or wrangling the kids, Bethan enjoys sports. As well as running when she gets a chance, she is a keen netball player and is chairwoman and founder of her local club which she plays for twice a week. Of course, this means a netball post resides on her patio alongside an outdoor furniture set and kids’ water table. As such, her other areas of expertise are outdoor toys and the best areas to relax in your garden (until the kids find you). She is always looking for products that will enhance her home life, whilst also keeping the kids entertained.
-
 Aldi is launching a £200 day bed with four different features - its sleek design is suited to the whole family
You don't want to miss out on this Specialbuy
By Kezia Reynolds
-
 I've been waiting to try out the Ninja Slushi for months – this is what happened the first time I tried it
The Ninja Slushi is the stuff of dreams for summer entertaining
By Molly Cleary
-
 IKEA has drenched its BILLY bookcase in this year’s ‘it’ colour - but you’ll have to act fast if you want to get your hands on one
I'm obsessed with this gorgeous limited-edition colourway
By Kezia Reynolds