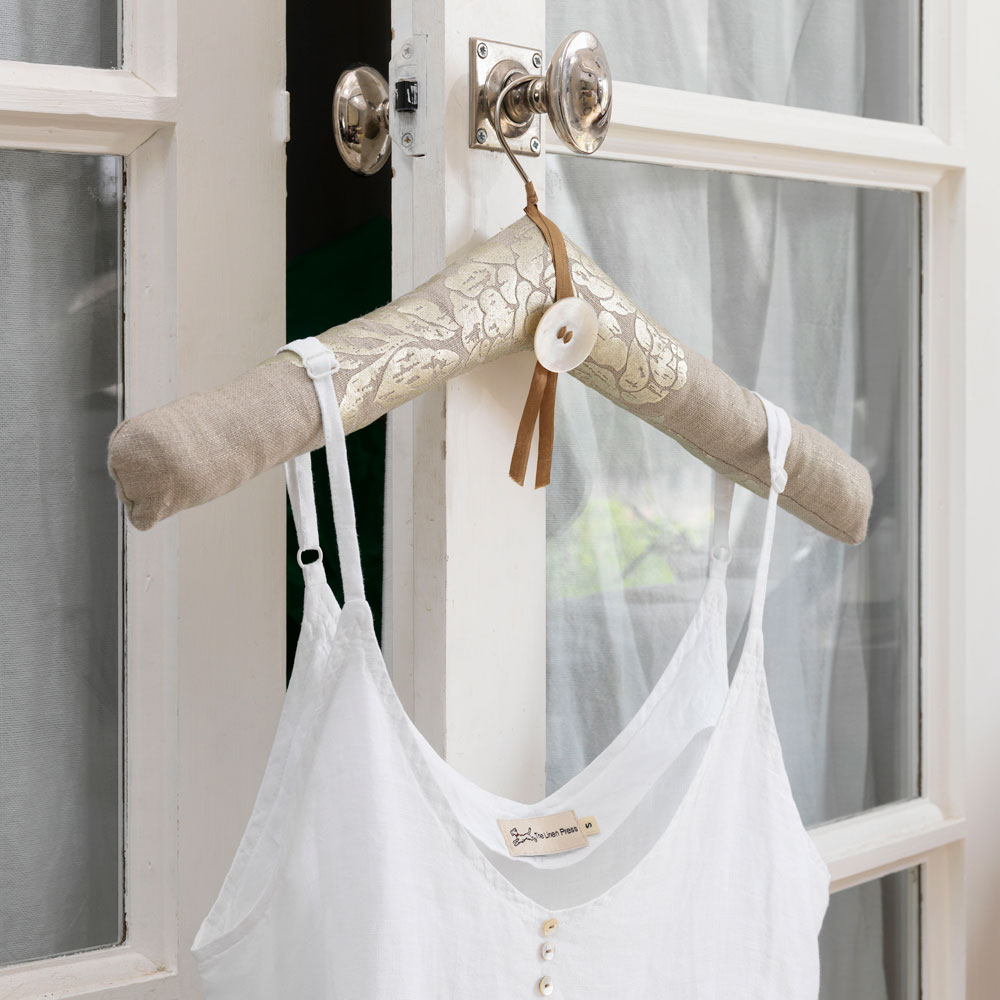
Padded coat hangers – How to make your own with our step by step guide
Padded coat hangers are great for hanging up delicate garments. Get crafty this weekend with our simple step-by-step guide for how to make them yourself.


Want to try your hand at making padded coat hangers? Padded clothes hangers will instantly make your wardrobe look organised.
And on a more practical note, as a wardrobe storage idea, they are great for hanging delicate dresses and blouses to minimise snagging.
Experts at Hangorize explain, 'Fabric hangers include custom types of clothes hangers with fabric wrapping and those which use canvas or other material for padding. Like satin hangers, fabric hangers usually add a layer of padding to prevent damage to clothing. Plus, satin hangers look elegant in your closet.'
We've got an easy DIY project step-by-step to follow so you can make one yourself with minimal faff.
What you'll need for padded coat hangers
- Wooden or plastic coat hanger
- Thick polyester wadding (available at haberdashers)
- Fabric marker pen
- Tacking thread
- Fabric (we used Soubise, ref F5900-02, £65 a metre, Osborne & Little)
- Matching thread
- 20cm of narrow velvet ribbon
- Mother-of-pearl button
Measuring and cutting the fabric
Step 1: Fold the polyester wadding to double thickness, place your coat hanger on top and draw round it using the marker pen, adding 5mm all round. Cut out to give two pieces.
Step 2: Sandwich the hanger between the wadding pieces and tack them together all round, pulling the stitches tight to gather the wadding into shape.
Step 3: To make the cover, lay the padded hanger on a sheet of newspaper and draw around one half stopping at the hook. Add 3cm all round and cut out to make a paper pattern. The cover is made in two halves, joined together once in place.
Step 4: Wrong sides facing, fold your fabric in half, pin the paper pattern on top and draw around it. Flip the pattern and repeat, matching any fabric pattern (see illustration). Cut out your four fabric pieces.
How to stitch on the cover
Step 5: Wrong sides facing, stitch the first pair of fabric pieces all round bar the central edge taking a 2.5cm seam. Clip into the seam allowance around the curved edges and turn through. Repeat to stitch the second pair of fabric pieces.
Step 6: Pull each half of the fabric cover on to the padded hanger, gently working the fabric as you go to ensure a smooth fit. When you get to the centre, turn under the raw edges to create a neat fit around the hook. Slip stitch the two halves of the cover together all round, keeping the stitching as small and neat as possible.
Step 7: Wrap the ribbon around the base of the hook and tie so that if falls over the slip stitched seam. Thread a decorative button on to the ribbon to finish.
Get the Ideal Home Newsletter
Sign up to our newsletter for style and decor inspiration, house makeovers, project advice and more.

Jenny is Senior Digital Editor and joined the team in 2021, working across Ideal Home, Real Homes, Homes & Gardens, Livingetc and Gardeningetc. Since getting on the property ladder, her passion for interior design and gardening has taken on a new lease of life. She loves collecting and salvaging unique items (much to her other half's despair) but sniffing out stylish home bargains is her one true love.
-
 Typhur Dome 2 air fryer review – a glimpse into the future of air frying
The Typhur Dome 2 cooks food brilliantly and has all sorts of benefits, but is it worth the £499 price tag?
By Ellen Manning
-
 In creating their lush multi-use garden, the owners have cleverly futureproofed the space for years to come
With a zone for dining, a veg plot, a relaxing sun trap, and space for quiet contemplation
By Ginevra Benedetti
-
 5 reasons why your grass seed isn’t growing and what you can do to help, according to garden experts
For a lush, green lawn, you have to ensure the conditions are just right
By Kezia Reynolds