How to clean a mop head properly, and when to replace your mop head once and for all
When was the last time you deep-cleaned your mop head?
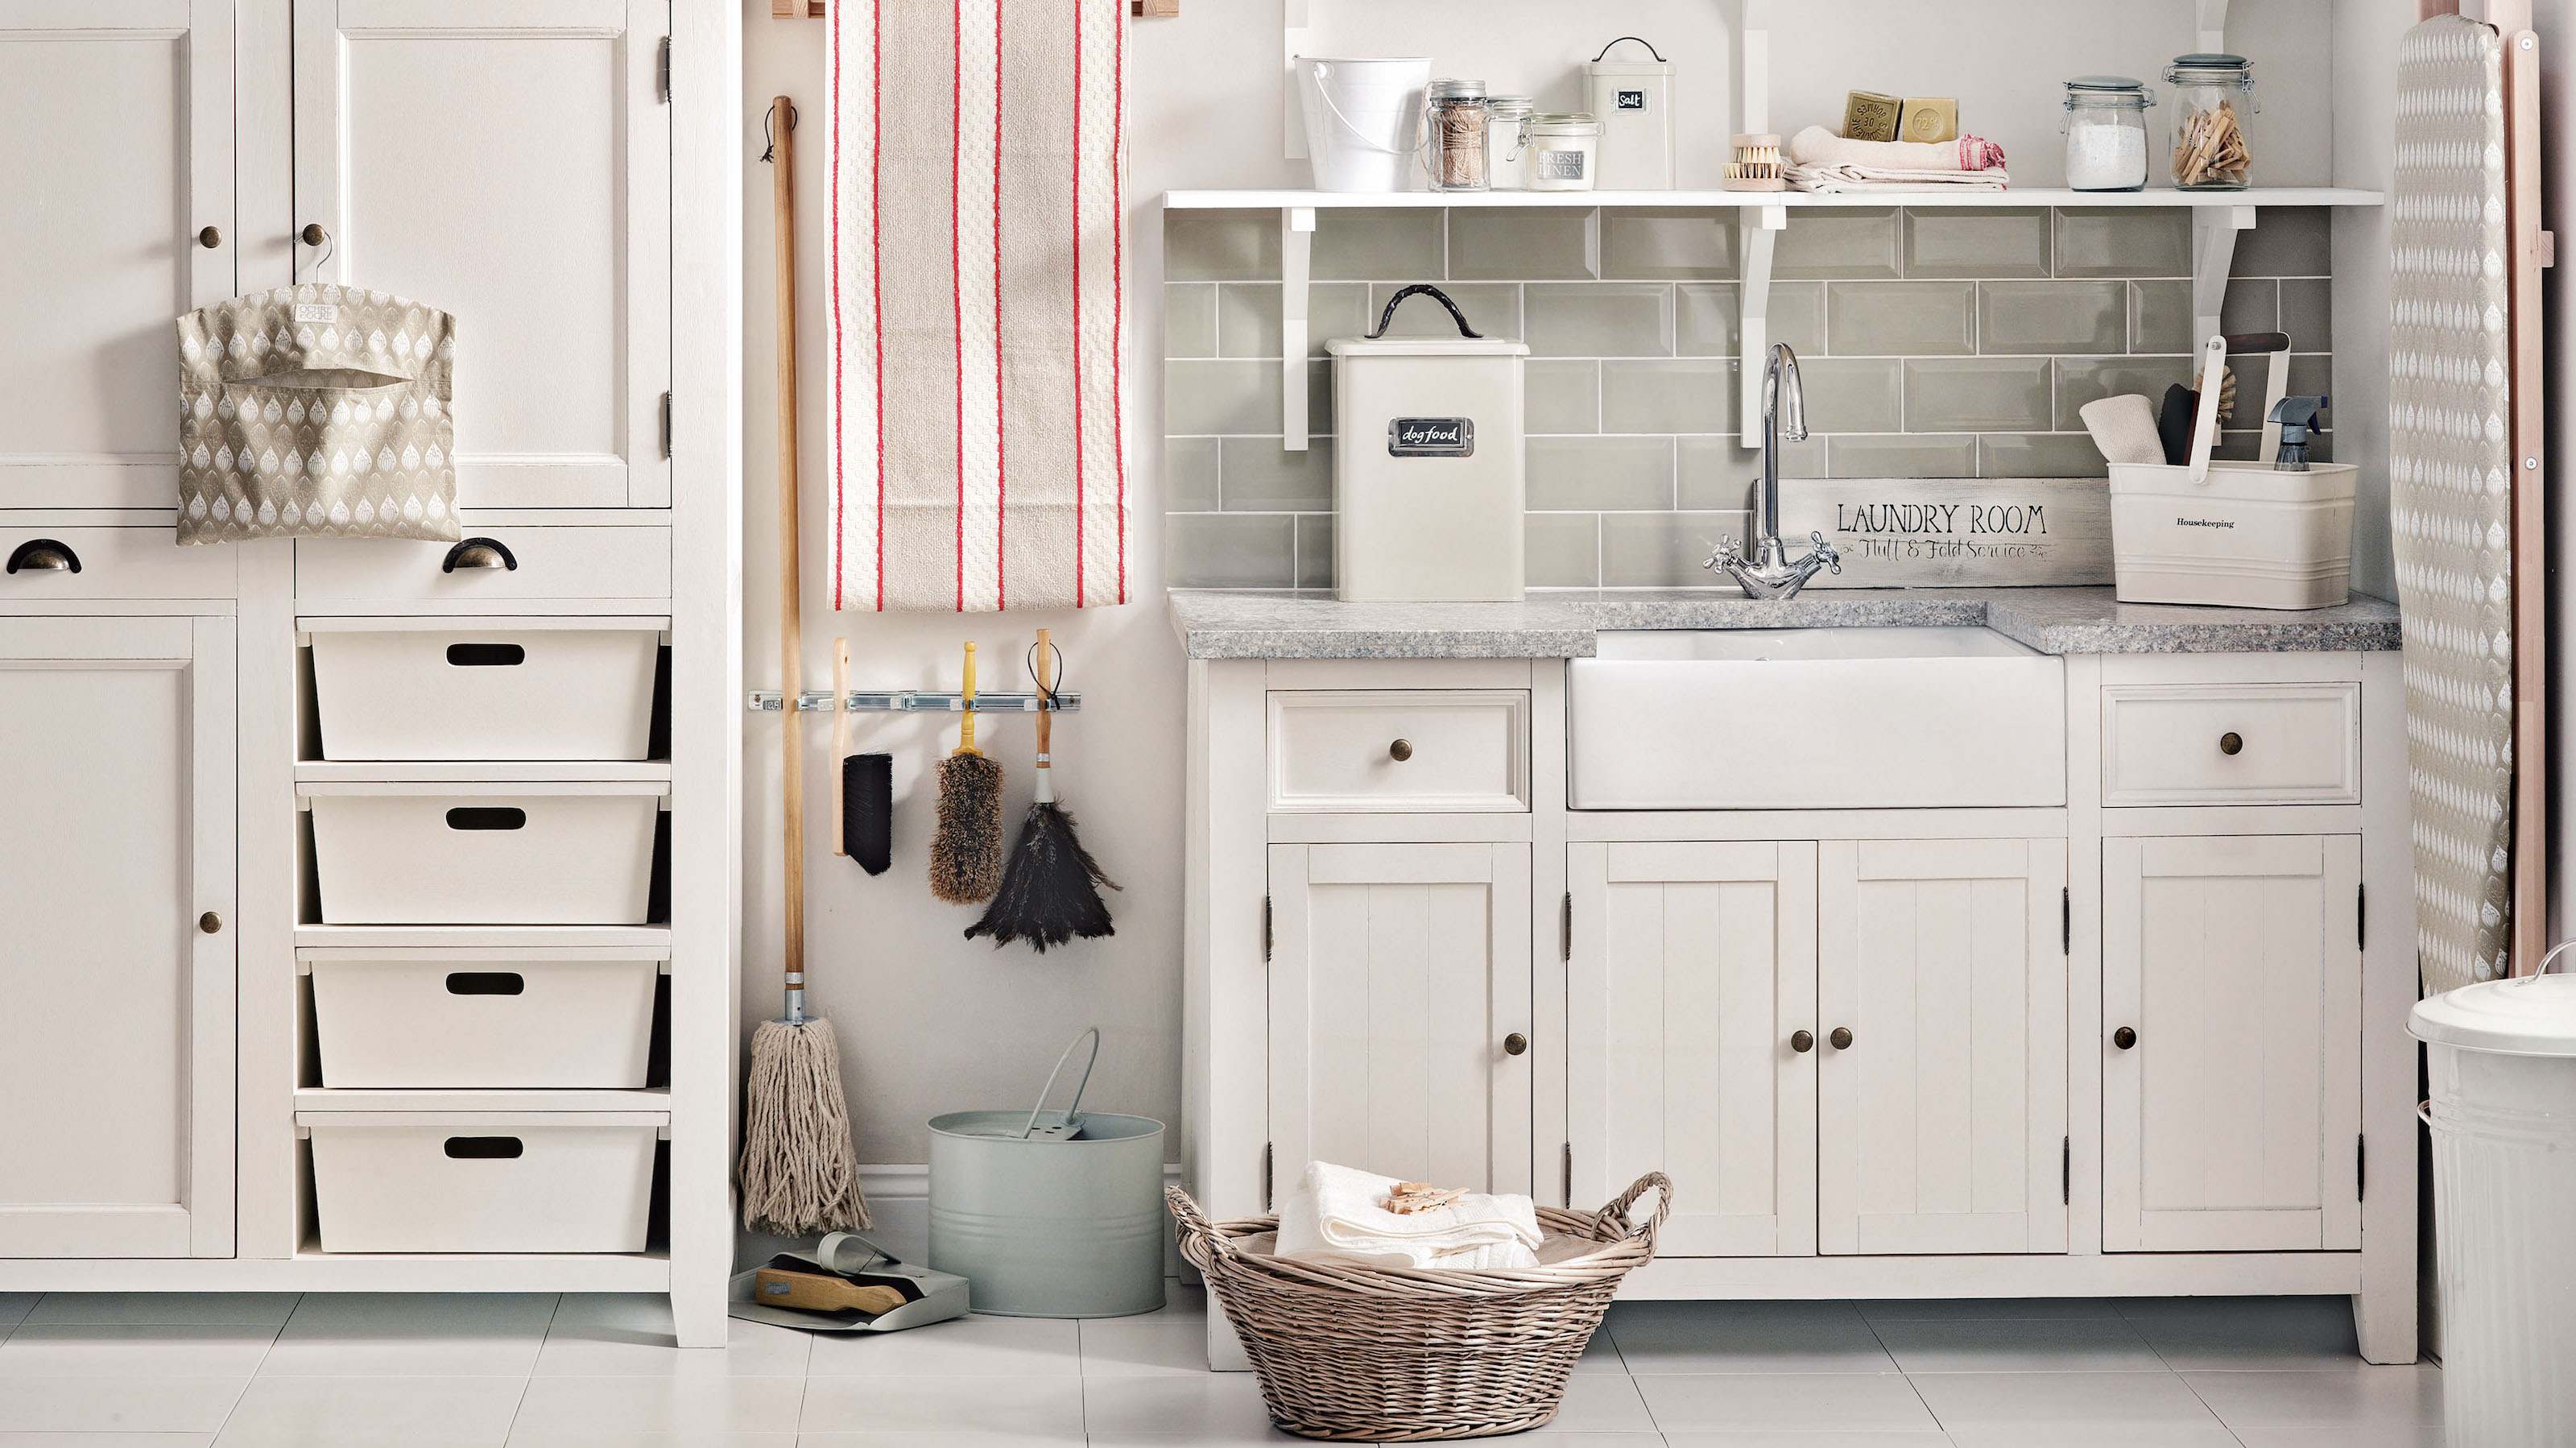

Knowing how to clean a mop head is something everyone who likes to enjoy clean floors should know. Sadly, many people don’t realise just how dirty these mop heads can get.
At Ideal Home, we’ve had the pleasure of testing some of the best mops on the market, and we understand how these mops can revolutionise your cleaning efforts. Whether you want to clean wooden floors or you’re looking to give your dirty bathroom tiles some TLC, a mop can make your life so much easier. But when was the last time you deep-cleaned your mop head?
If you don’t clean your mop head properly, you’ll wipe that dirt and grime elsewhere in your house - and that defeats the object of cleaning your floors in the first place. So, follow this step-by-step guide for a squeaky-clean home.
How to clean a mop head
Cleaning a mop head isn’t a difficult task, but you do need to be careful. Remember to wear gloves when doing this so you can create a barrier between your skin and your chemical cleaners. You should also keep an eye out for signs that your mop head is beyond saving and needs to be replaced.
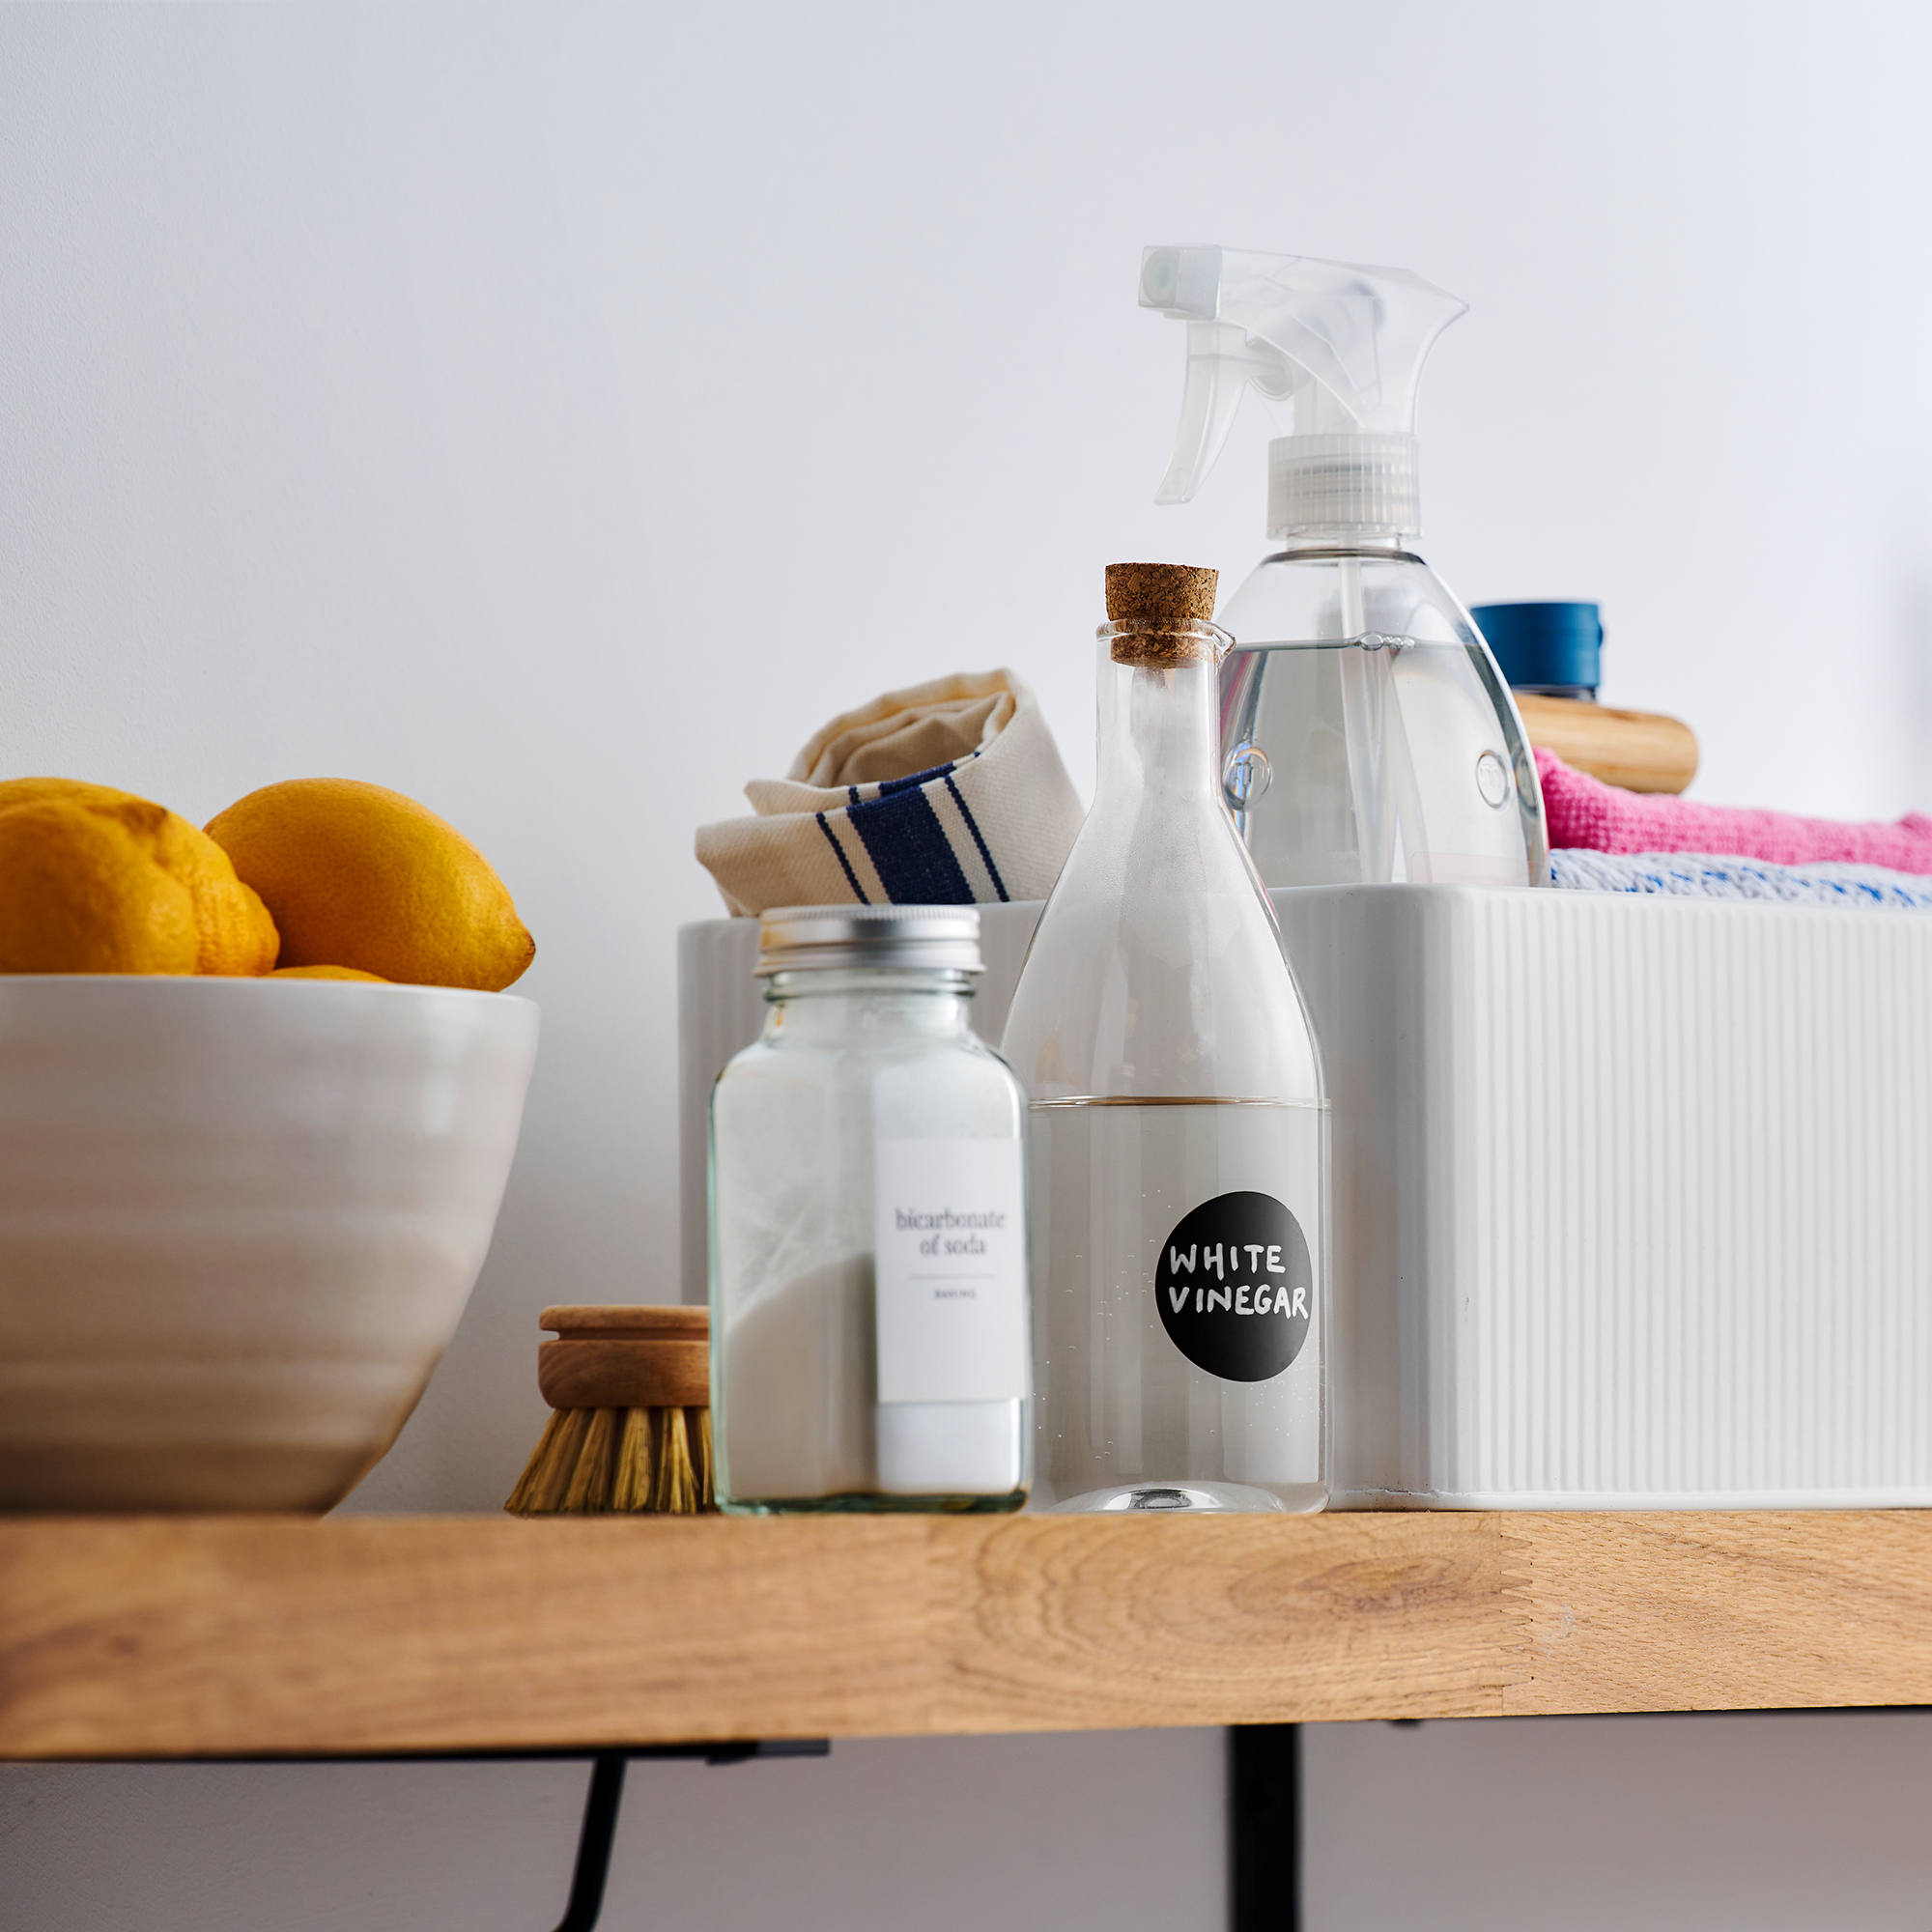
What you’ll need
- Disinfectant
- White vinegar
- Bucket
- Water
Step-by-step
1. Understand the type of mop head you have
‘Maintaining your mop through regular cleaning and knowing when to replace it can ensure that your floors are always clean and hygienic,’ explains Ava Wilson, Chief Editor at Unclutterer.
However, there are so many different types of mops out there, from old-school mops and buckets to modern steam mops. And while it’s handy to have a variety of different mops to use in different areas of the house, it’s important to realise that cleaning these mop heads may have their own specific requirements.
So, before you start cleaning a mop head properly, you need to understand what type of mop head you have. We’ve outlined the most common types below and what this means for your cleaning efforts:
Microfibre mop heads: These mops are perfect for those looking for clean and quick-drying results, and we’re huge fans of microfibre mops at Ideal Home. In fact, this Bamboo Chenille and Microfibre Mop from Dunelm has been dubbed the ‘Best Eco’ mop in our best mops guide. And what we love most about these mop heads is the fact that they are usually removable and easy to shove in the washing machine.
Sponge mop heads: Thicker and tougher, sponge mop heads are great for kitchen tiles and wooden floors. They get into every nook and cranny without being too aggressive, and it’s easy to wring the excess water out, too. However, sponge mop heads are rarely removable or machine washable, so you must follow the steps below to clean a sponge mop head properly.
Cotton mop heads: Old-school mops often have mop heads made from cotton strands, and many people out there swear that these mops are better than modern alternatives. However, these mop heads also come in various different shapes, sizes, and practicalities. Some may be removable, while others won’t be.

If you are going to machine-wash your mop head, Nicola Rodriguez, AKA @essexhousedolly suggests, ‘Throw the head into the washing machine (some use a dishwasher, but I wouldn’t put anything that’s been cleaning a floor in there!) I then put on a rapid wash at 60 using only detergent and a cup of white stain remover.’
But even if your mop head is removable and machine washable, it’s still a good idea to wash it by hand every so often. After all, it’s good practice to clean the things that clean for you.

Ava Wilson, Unclutterer’s Chief Editor with 25 years in cleaning, started with a mop and now leads a team of 20. Merging hands-on experience with management expertise, she transforms cleaning into inspiring lessons. Ava's eco-focused insights make Unclutterer a go-to for sustainable cleaning wisdom.
2. Pre-wash your mop head in warm water
You should always rinse your mop head after every use, but a deep clean requires a little more preparation.
To do this, pre-wash your mop head in warm water and let it soak for around five minutes. You can do this in your sink if you have a removable mop head. If your mop head isn’t removable, pop it in a bucket.
Ava says, ‘This will remove dirt, grime, and cleaning solution. This step also helps prevent the buildup of bacteria and mould.’
You could add some white vinegar to the bucket if you wanted to. This is a good tip for those who use their mop to clean particularly greasy areas of the home, such as the kitchen. The white vinegar will help draw the grease from the mop head.
When the five minutes have elapsed, wring out and rinse the mop head until all of the leftover grease or soapy residue from your cleaning products has gone and the water runs clear.
Ideally, you should then let the mop air dry before moving on to deeper cleaning.
3. Deep clean your mop head with a disinfectant
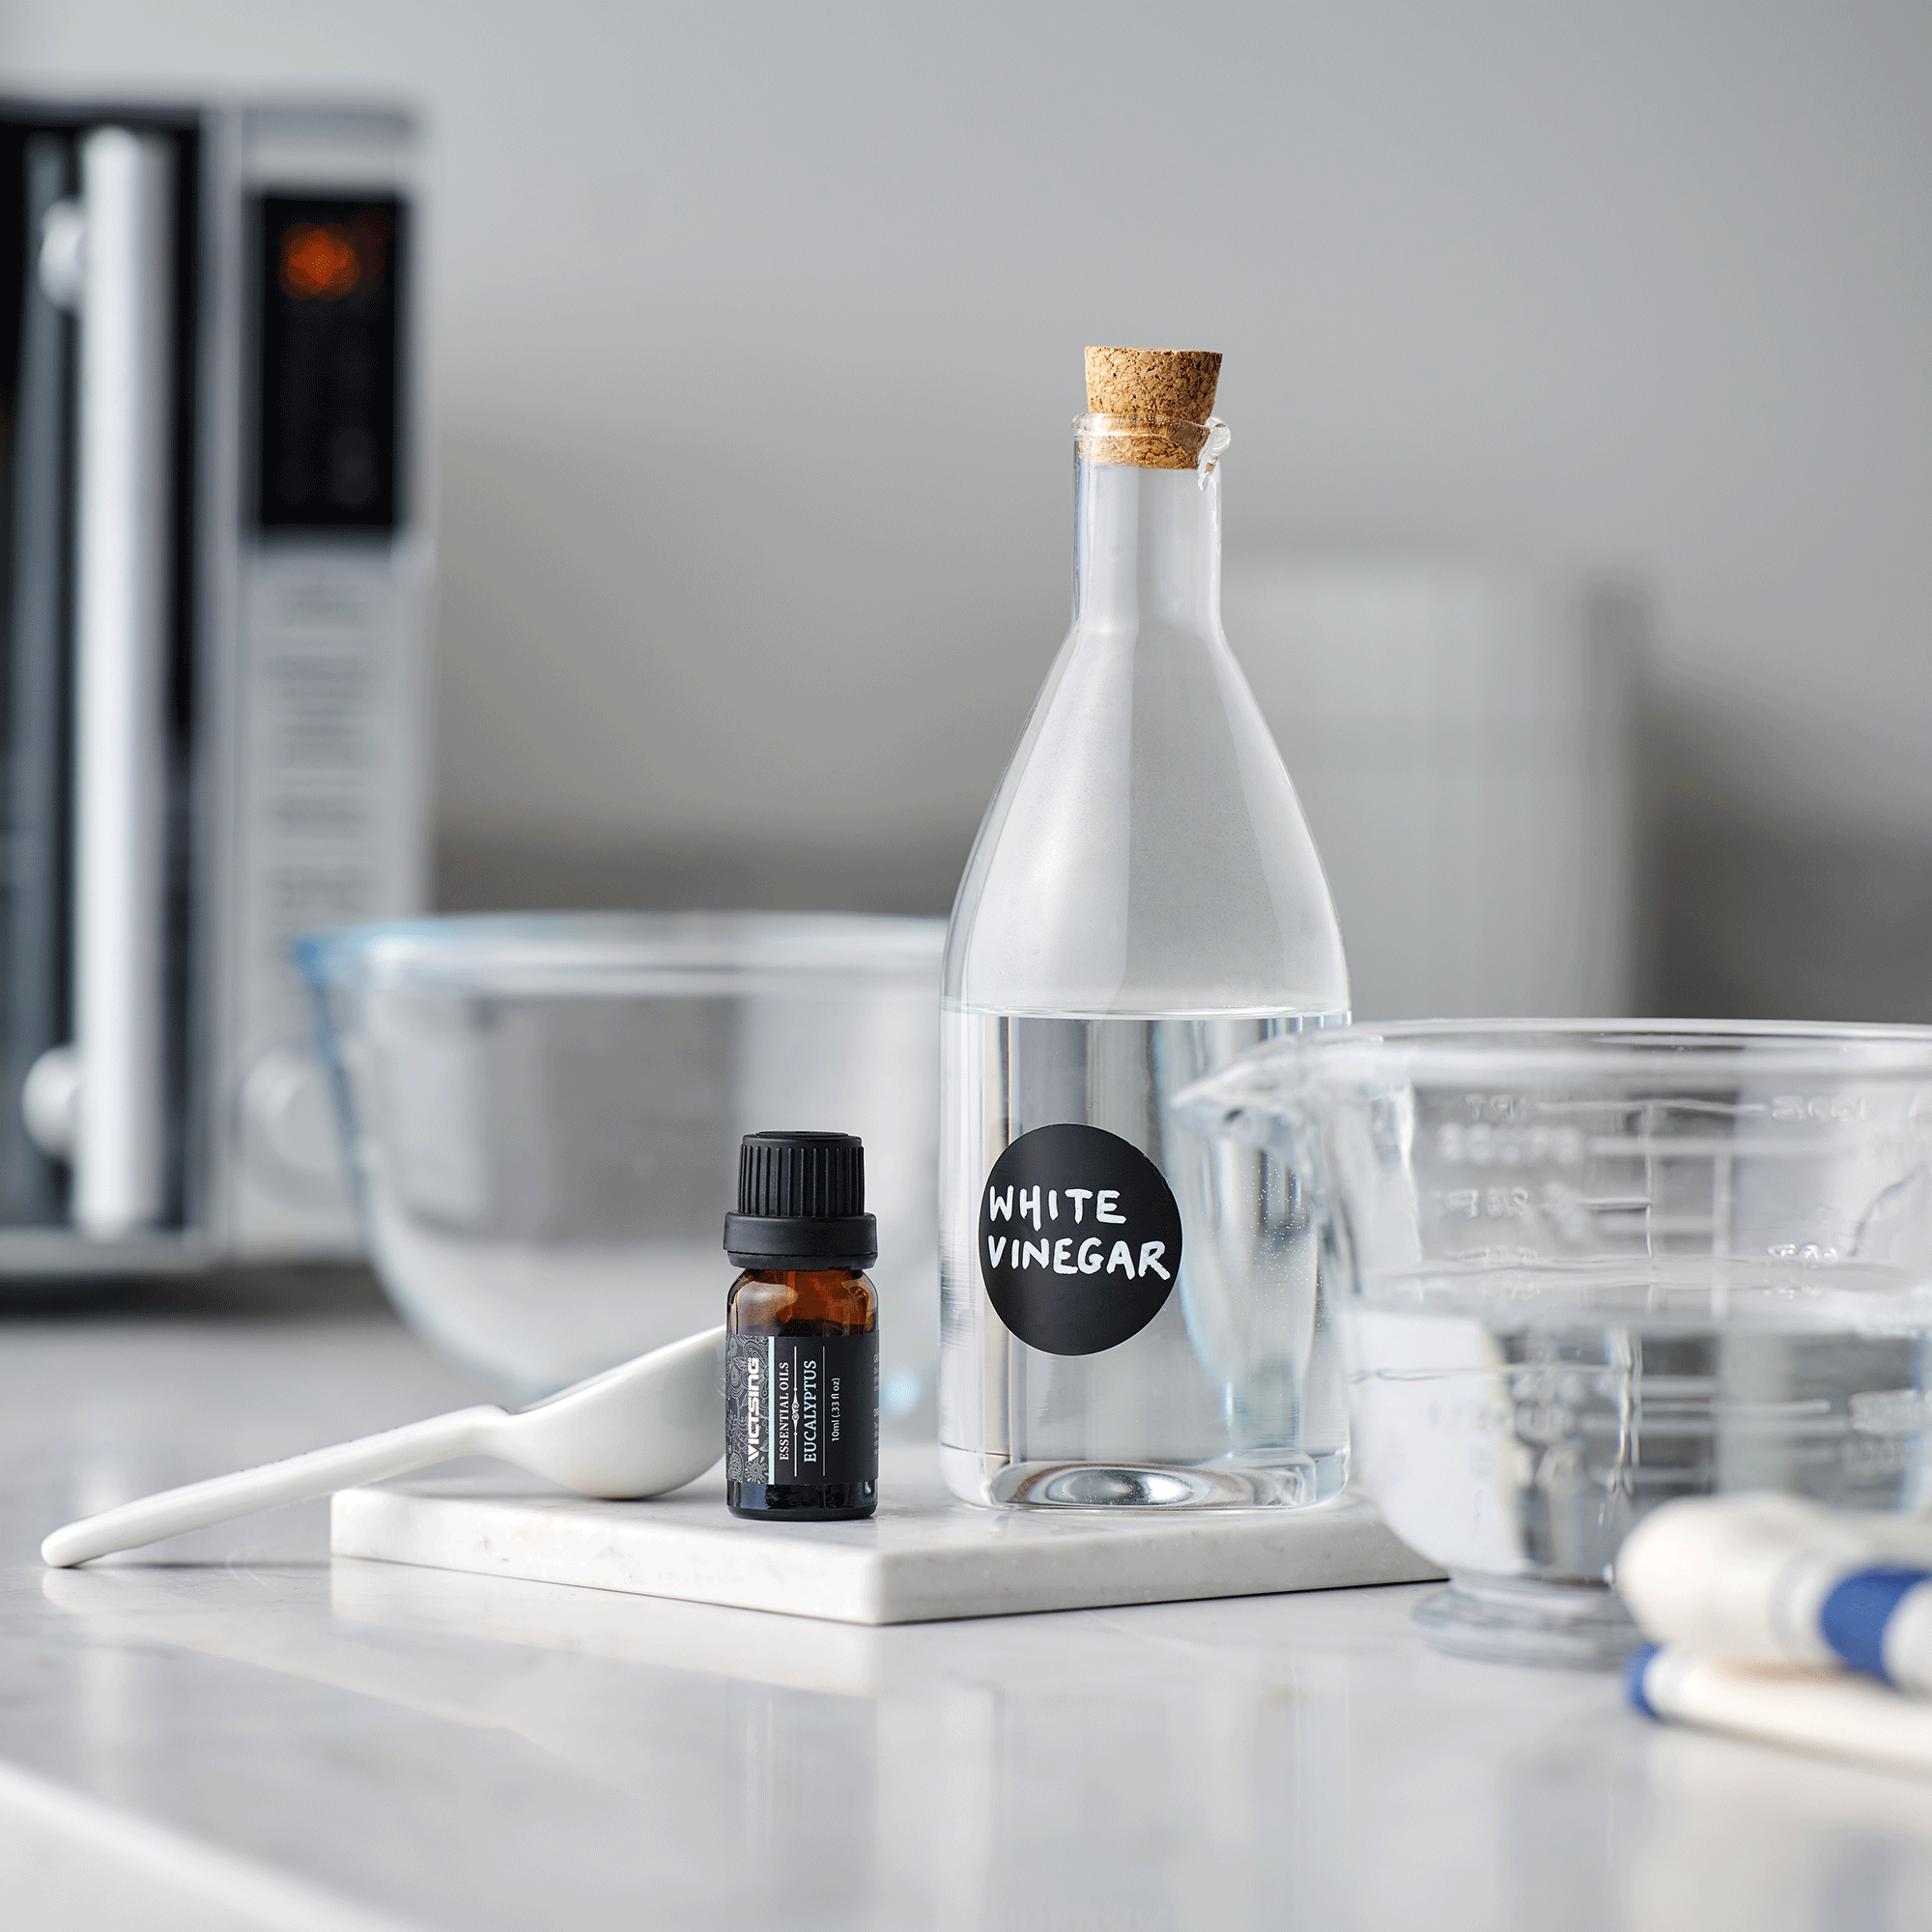
For this next task, you’ll need a tough household cleaner that will offer a deeper clean. Bleach or disinfectant should do the trick.
You should then fill a bucket (this can be the bucket that comes with your mop if you have a mop and bucket set) with a mixture of warm water and your household cleaner. Just make sure that you check the label of the cleaner you’re using to ensure you’re using the right amount.
Next, put the mop head into the bucket until it is fully submerged and leave it to soak. After ten minutes, you can remove the mop head and pour the cleaning solution down the sink.
Finish by filling the bucket with clean, warm water and rinsing the mop head. You could also rinse it under the sink until all of the cleaning residue is removed.
Then, leave your mop head to air dry in a well-ventilated area, and make sure that it’s bone dry before you store it in your cupboard. If you have a removable mop head, you could even hang it up on the washing line.
4. Store your mop head properly
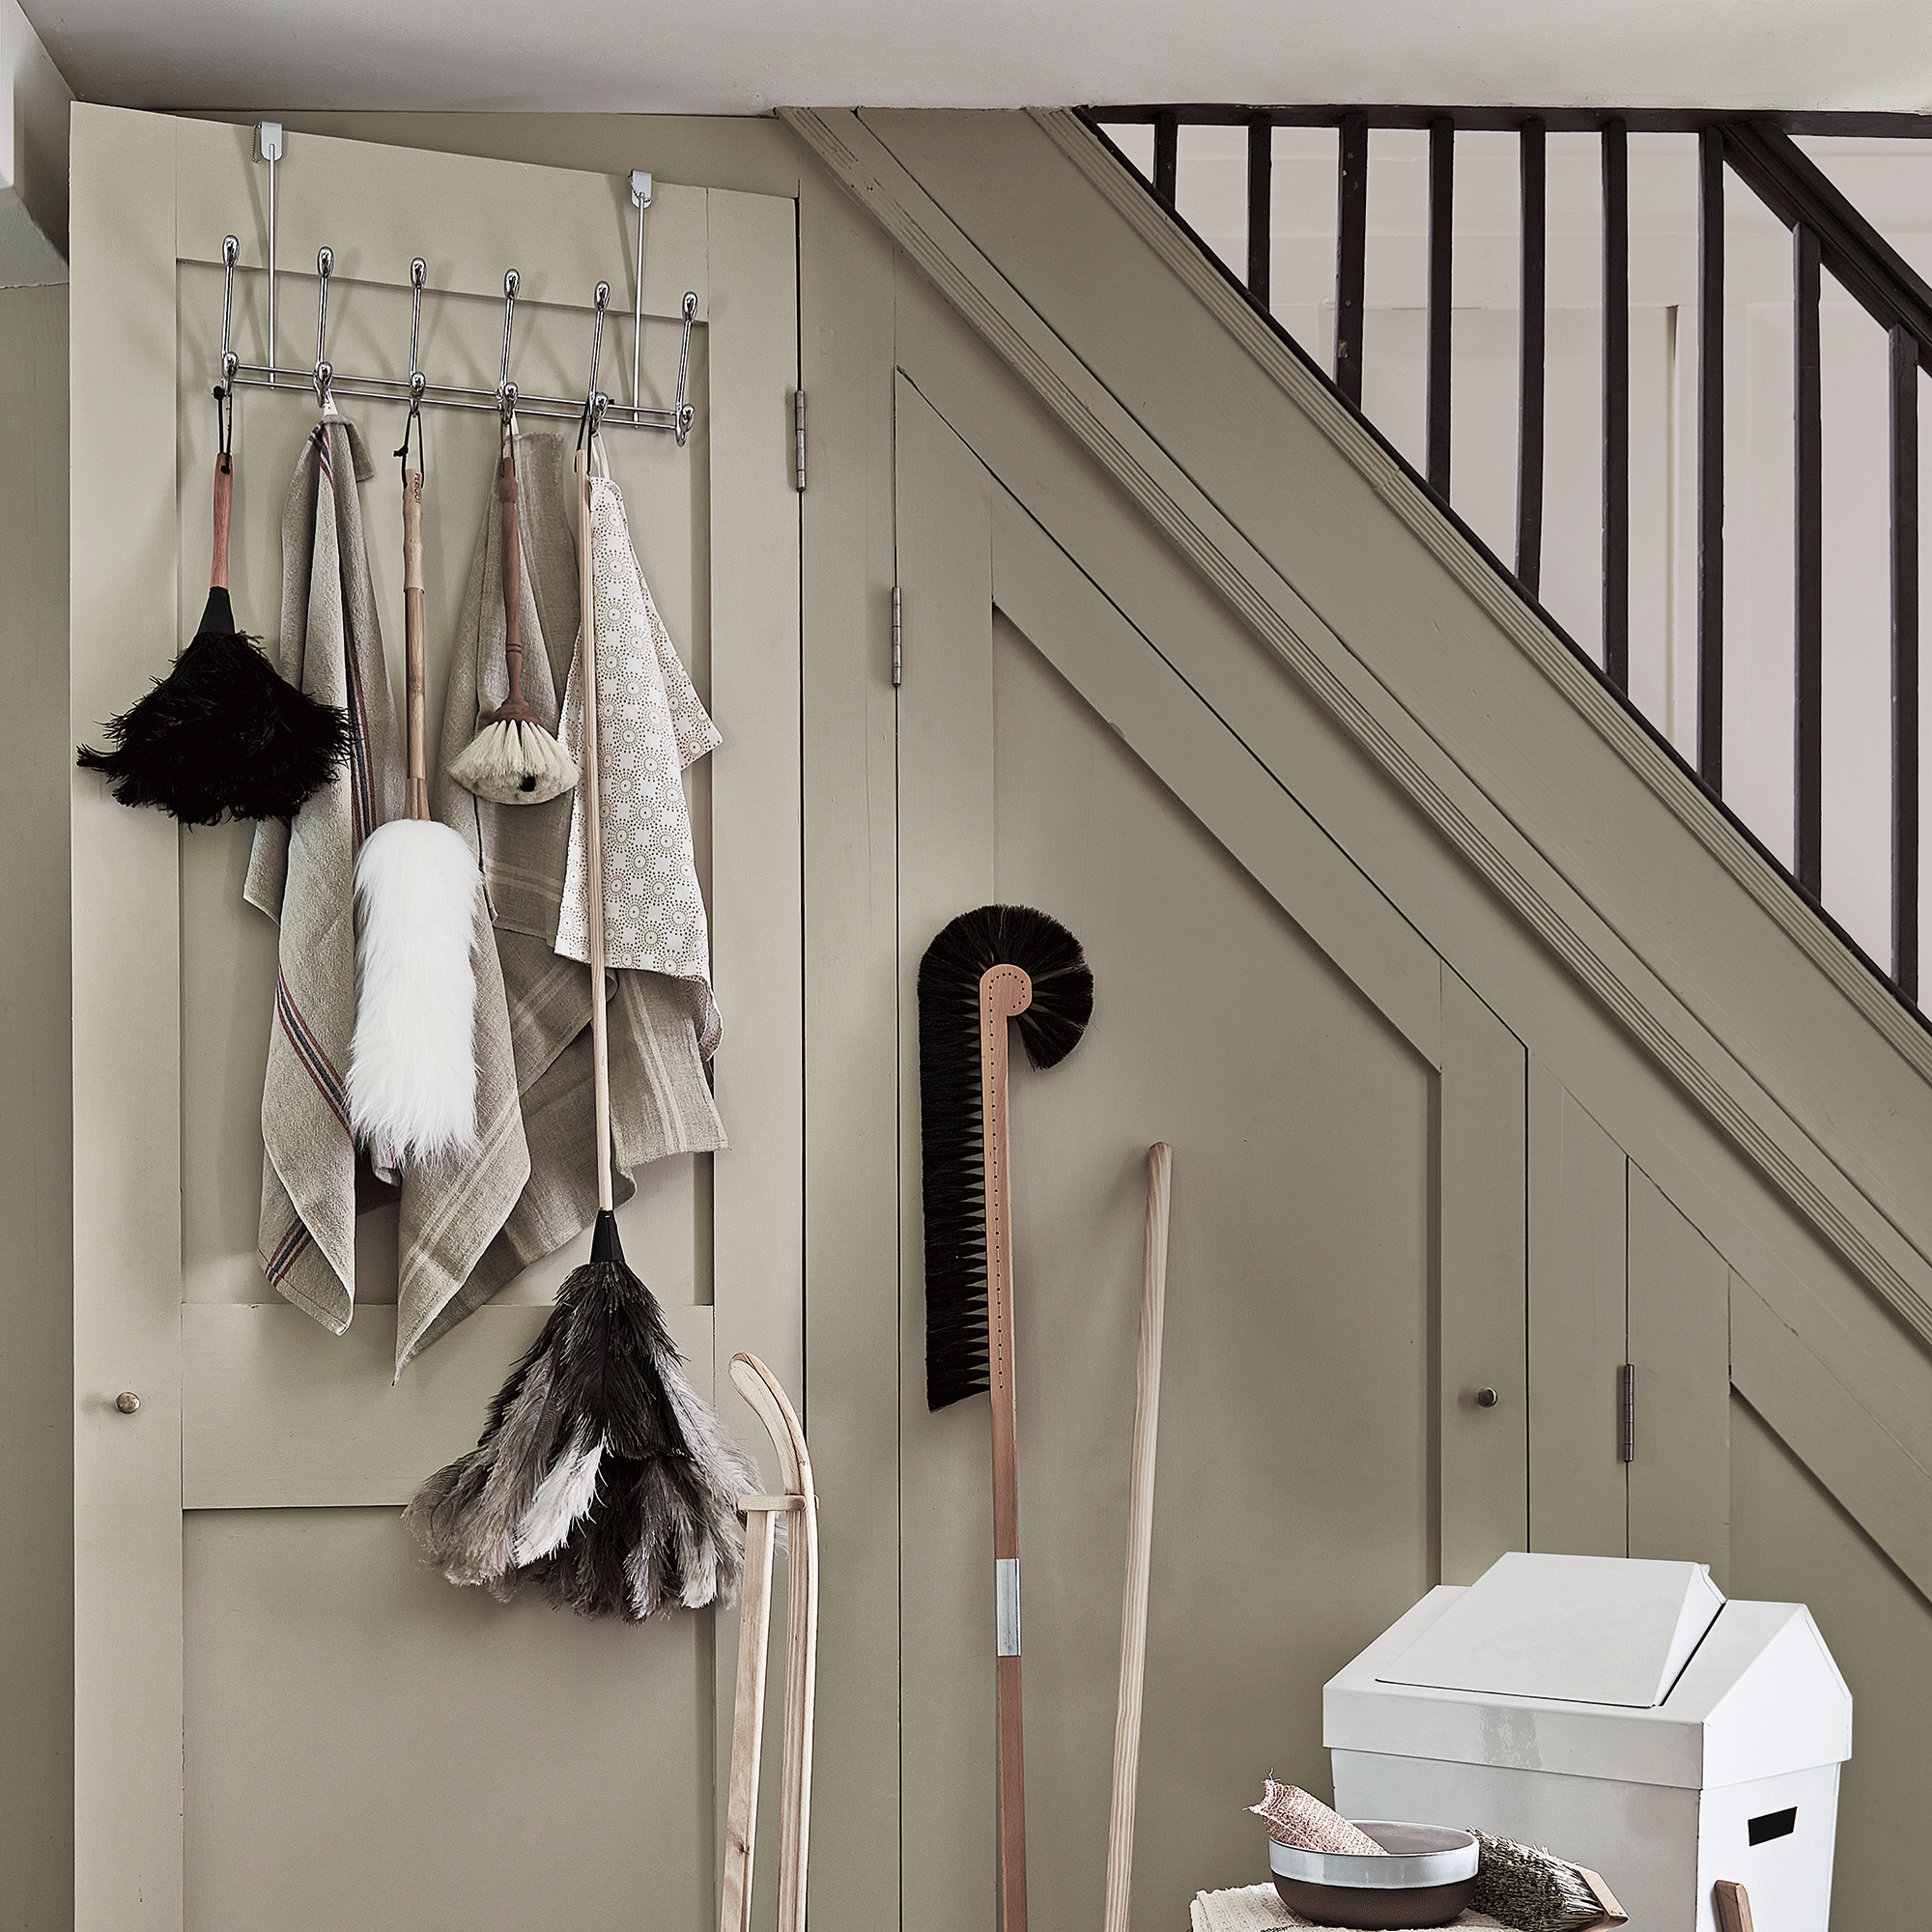
It’s important to keep your mop head as clean as possible, and how you store your mop can have a big impact on this. In fact, you should always try to store your mop heads face up.
This will ensure that your mop head is kept away from any dirty surfaces or dust build-up. It also helps the mop head keep its shape - especially if you have a sponge mop head.
‘Avoid leaving it on the floor or in a bucket, as this can encourage the growth of mould and mildew,’ adds Ava.
Lastly, keep on top of your cleaning efforts. You should aim to clean (i.e. rinse) your mop heads after every use and deep clean your mop head at least once a month.
When should you replace your mop head?
Unfortunately, mop heads aren’t invincible. There’s going to be a time when you need to replace your mop head, but knowing when to do that can be difficult. On the one hand, you don’t want to shell out for replacements. But on the other hand, you don’t want to be cleaning with a sub-standard mop head. That’s why we’ve put together all of the ways you can tell it’s time to replace your mop head:
Consider the type: Just as all mop heads have different cleaning requirements, they also have different replacement requirements. Generally, sponge mop heads should be replaced every two to six months, microfibre mop heads should be replaced every 200 to 300 washes, and cotton mop heads can sometimes last a year before being replaced. Of course, this won’t be exact and will differ from case to case.
Check the specs: When buying a new mop, always check the specifications. These specs will normally tell you how often you should replace the mop head and how you should clean it. For example, the E-Cloth Deep Clean Mop from Amazonclaims that one of its mop heads should last over 300 washes – or three years in total.
Inspect its appearance: Often, the best way to know when you need to replace your mop head is to look at it. Ava says, ‘If the mop head is frayed, torn, or shows signs of significant wear, it's time to replace it. A damaged mop head is less effective at cleaning.’ If you’ve also deep-cleaned the mop head and it's still visibly dirty, it’s time to switch it out for something new.
Give it a smell: If your mop head doesn’t smell, you’re golden. But if you notice it starts to pong, it’s probably time to replace your mop head. ‘If, despite thorough cleaning, the mop head retains a bad smell, it could be a sign of bacterial or mould growth deep within the fibres that cleaning can't remove,’ explains Ava.
FAQs
What is the best way to clean a mop head?
Ideally, you should clean a mop head after every use. But when opting for a deeper clean, soak your mop head in a bucket of warm water and a household cleaner for around 10 minutes.
When that time has elapsed, pour out the dirty water, wring your mop head out, and re-fill your bucket with fresh, warm water.
Rinse the mop head in the fresh water, and then leave it to dry before storing it face-up in your storage cupboard of choice.
How do you keep mop heads from smelling?
One of the best ways to keep your mop head from smelling is to soak it in a mixture of warm water and white vinegar or warm water and baking soda.
Nicola says, ‘Vinegar is a natural deodoriser that can help eliminate unpleasant odours from your mop. Add one cup of white vinegar to a bucket of hot water, and use this mixture to clean your mop head. After cleaning, rinse the mop head with plain water and hang it up to dry.’
However, it’s important to note that these ingredients won’t disinfect your mop head. And as bacteria build-up is usually the cause of bad smells, you should also give your mop head a deep clean every now and then.
How often should mop heads be washed?
In an ideal world, you should wash your mop heads after every use. This will ensure that it stays clean and doesn’t spread germs or dirt around your house. However, if you can’t give your mop head a deep cleaning after every use, you should at least rinse it in warm water.
Then, you can give it a deeper clean once a month - or earlier if you have the time.
Now you know how to clean a mop head properly, it’s time to grab your bucket and get started!
Get the Ideal Home Newsletter
Sign up to our newsletter for style and decor inspiration, house makeovers, project advice and more.

Lauren Bradbury has been the Content Editor for the House Manual section since January 2025 but worked with the team as a freelancer for a year and a half before that. She graduated with a Bachelor’s degree in English and Creative Writing from the University of Chichester in 2016. Then, she dipped her toe into the world of content writing, primarily focusing on home content. After years of agency work, she decided to take the plunge and become a full-time freelancer for online publications, including Real Homes and Ideal Home, before taking on this permanent role. Now, she spends her days searching for the best decluttering and cleaning hacks and creating handy how-to guides for homeowners and renters alike, as well as testing vacuums as part of her role as the Ideal Home Certified Expert in Training on Vacuums, having spent over 110 hours testing different vacuum models to date!
-
 Will a conservatory add value to your home and how can you maximise it?
This is what the pros say
By Amy Reeves
-
 I’ve been looking for a new signature scent for my home and The White Company's new fragrance is the exact summer holiday smell I needed
Santorini smells fresh, summery and sophisticated
By Kezia Reynolds
-
 How to remove algae from garden walls in five steps – and the cleaning product experts rave about for tackling it fast
Experts share their top tips for getting garden walls algae-free
By Katie Sims