How to clean a Shark vacuum cleaner to keep it working at its best for longer
Learn how to clean a Shark vacuum cleaner to make sure your investment continues to work at its best for years to come
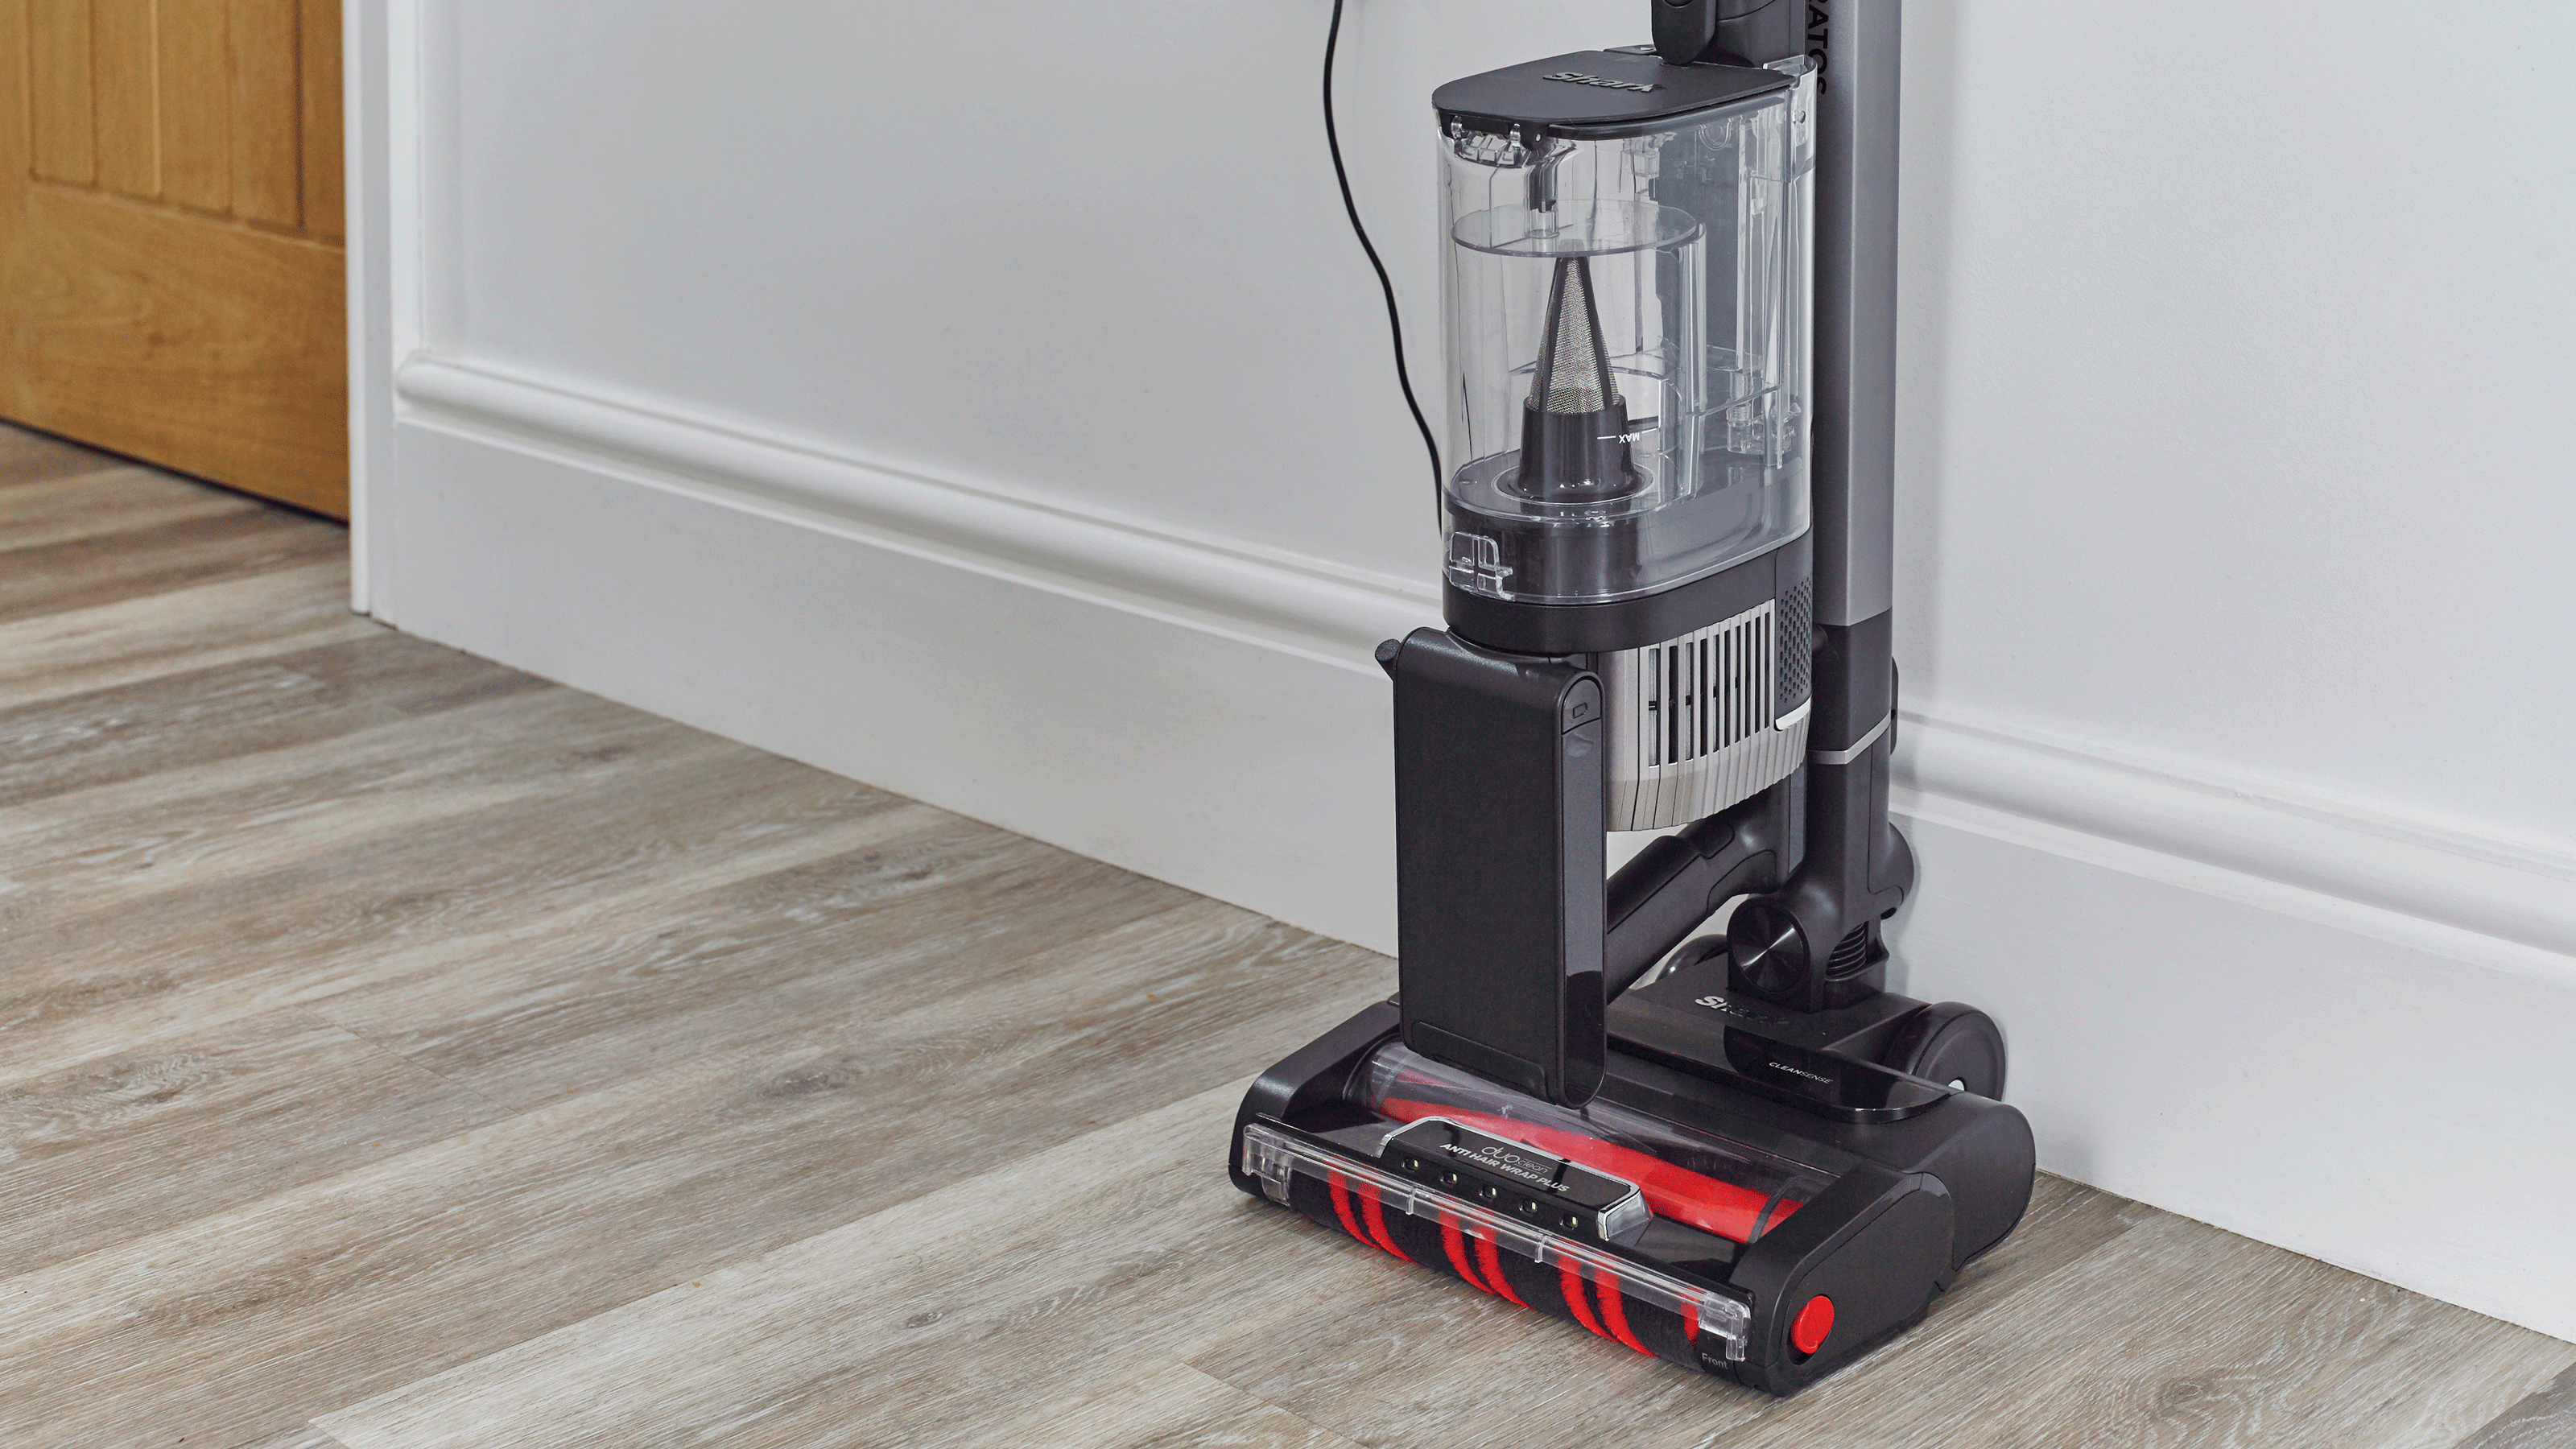

Shark vacuum cleaners are designed to be super-easy to use and simple to maintain. But if you've taken the time to research the best Shark vacuum for you and your home, and invested in your ideal model, then you'll want to do all you can to keep it performing at its best.
Learning how to clean a Shark vacuum isn't going to add hours to your cleaning schedule, but it could extend the lifespan of your vacuum cleaner and ensure it always works as well as you expect. 'Regular maintenance is simple and helps to keep your unit’s suction power optimal,' agree the experts at Shark.
We got the lowdown on how to keep your Shark vacuum cleaner spick and span.
How to clean a Shark vacuum cleaner
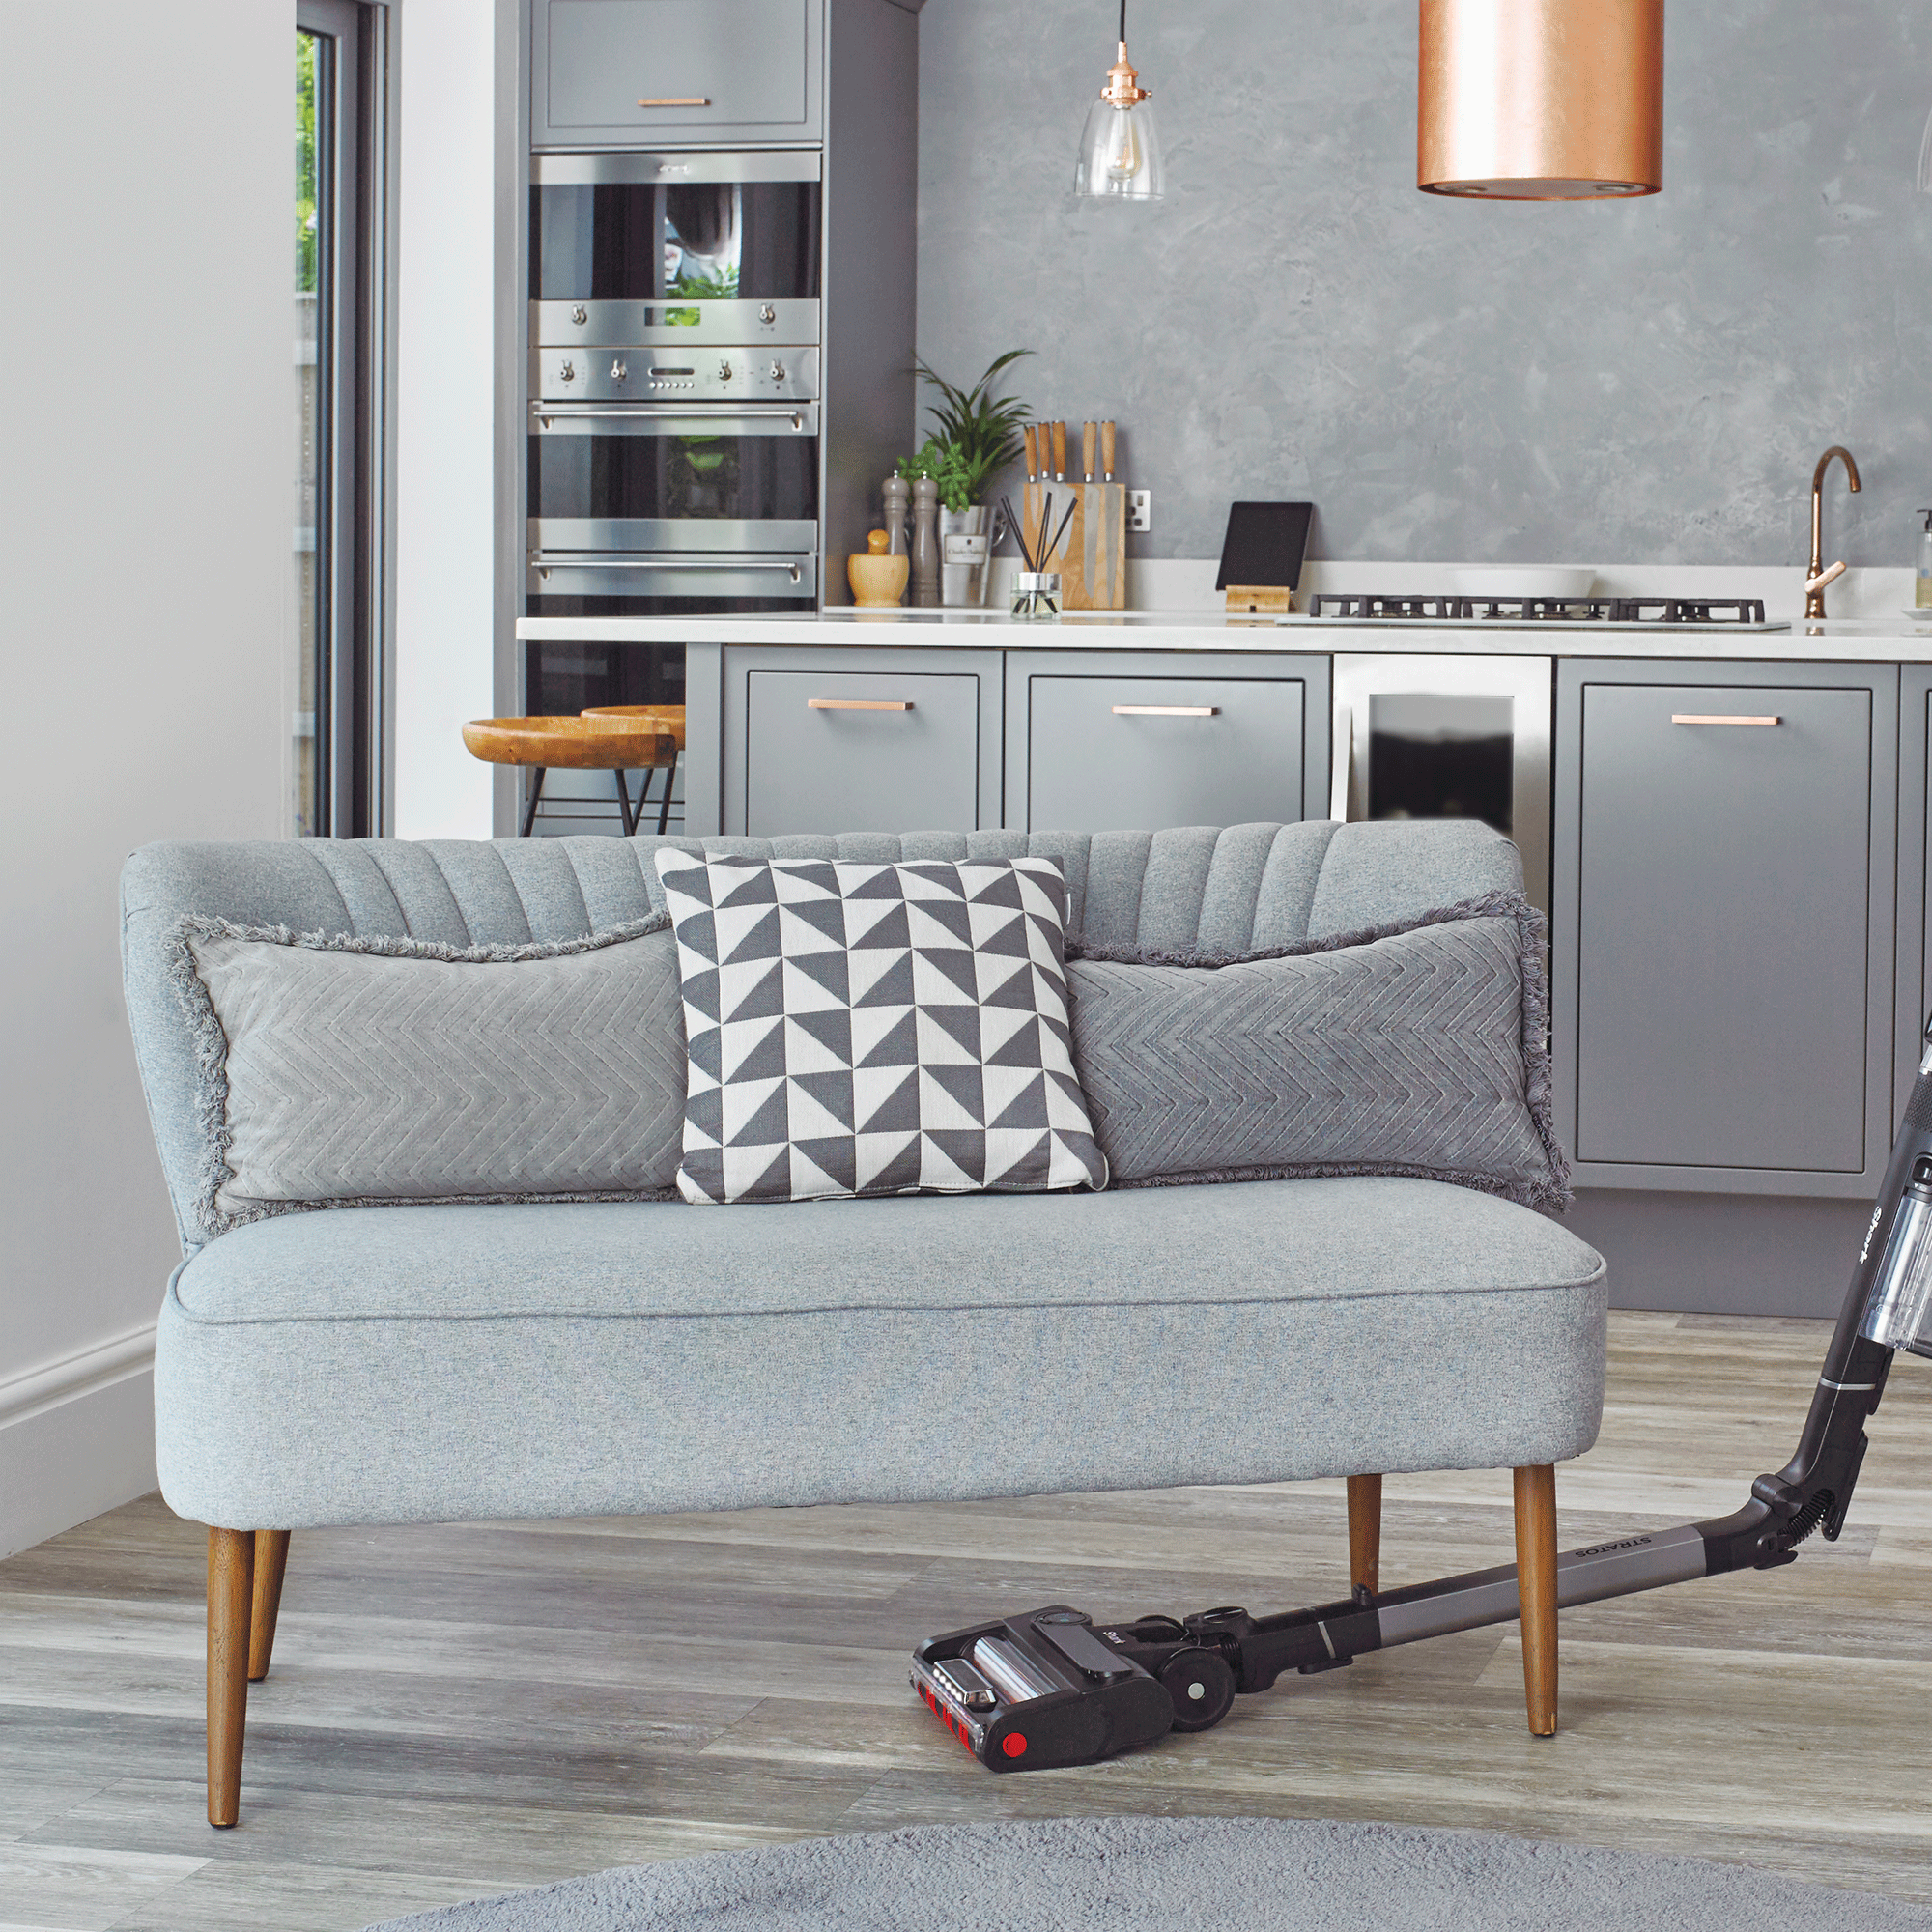
Whether you have a corded or cordless Shark vacuum, a stick cleaner or a cylinder vacuum, each model is easy to keep clean. Other brands offer a range of similar options, so if you're undecided, our best vacuum cleaner guide can help you to decide which make and model is best for you.
To clean your Shark vacuum, you'll need a paper towel or dry fabric towel for wiping the dust cup and brushes; a damp cloth for cleaning away any dust and dirt from the exterior of the Shark vacuum cleaner and the dust cup; and a pair of scissors for cutting away any hair that may be wrapped around the brush.
Plus you'll need access to your sink and water to wash the filters. You may also want to empty the dust cup into a separate bag, rather than your kitchen bin, to keep the dust contained.
1. Switch off your Shark vacuum cleaner
Just as you would with any appliance, you'll want to be sure it's switched off before you start any cleaning and maintenance. If you've chosen one of the best cordless vacuum cleaners, this won't be an issue for you.
Before you start, you may also want to take clean your Shark vacuum where any spilled dust can be cleaned up quickly, and close to a sink or basin so that you can easily wash the filters.
2. Empty the dust cup in your Shark vacuum
Shark's bagless cleaning system means that any dust, dirt and debris vacuumed up from your floors goes into a dust cup. This can then be removed from the main body of your Shark model for emptying. And if you want a hack, there's an easy way to empty a vacuum cleaner without getting dust everywhere.
'Empty the dust cup each time you vacuum and periodically during cleaning, if debris reaches the MAX fill line,' advise the experts at Shark. 'Remove the dust cup using the release button(s), hold it over a bin and press the latch to empty the contents into the bin. Make sure you remove any debris build-up if needed.'
Rather than emptying the dust cup into your kitchen or utility room bin, where there's a risk of dust being released into the air each time you open the waste, you may decide to discard the dust cup into a separate bag to be put straight into your outside bin.
You could return the dust cup directly to the Shark vacuum, but it's worth taking a moment or two every so often to wipe out the dust cup so it looks good as new.
'I empty my Shark vacuum very regularly since it has a fairly small dust capacity, and do a deeper clean every month to keep it in good shape,' says Ideal Home's Ecommerce Editor, Molly Cleary. 'To do this, I clean the inside of the dust cup by first wiping it with a paper towel and then a damp cloth.

Our Ecommerce Editor Molly oversees appliance content at Ideal Home, including vacuums and cleaning. She's tested Shark vacuums in the past, including the Shark CZ500UKT DuoClean & Anti Hair Wrap Bagless Cylinder and the new Shark Stratos. She loves them both, and keeps them at home for ultra-convenient cleaning.
3. Check your Shark vacuum for blockages

Lego pieces, hairgrips, receipts… There are all sorts of things that can be inadvertently sucked up into your vacuum and cause an unexpected blockage. Most of the time you'll notice when a blockage happens, as the suction will reduce, a warning light will go on, and your Shark vacuum may sound different as you use it.
Still, it's worth checking for any full or partial blockages after you've used finishing vacuuming. Do this systematically, checking for blockages in the floorhead, wand, hose and airways.
'If you have an upright vacuum, first remove the handle and check if there is any suction once turned on – if not, there may be an obstruction in the handle or hose,' says the experts at Shark. 'If this section is clear, or if you have a stick vacuum, look through the wand to ensure nothing has become lodged in the pipe. You can also shine a torch into the hose. Finally, check the arm of the floorhead – where you connect the wand – for blockages.'
4. Wash the Shark vacuum filter
The vacuum cleaner’s filters do an important job, removing dust and allergens from the air sucked in by your vacuum. If you don't clean a shark vacuum cleaner filter regularly the filter can become blocked, which can result in poor suction over time.
The filter is particularly important if you have pets and/or allergies, and the best pet hair vacuum cleaners will have an allergy HEPA filter to reduce allergens in your home's carpets and atmosphere.
Checking and cleaning the filters is a simple process. 'Remove the filters, tap off any loose dirt, and hand-wash using just water,' say the experts at Shark. 'Allow the filters to dry completely for 24 hours before reinserting.'
'I check the filters after I've vacuumed and wash them once a month when I do a deep clean of my Shark vacuum,' says Ideal Home's Molly Cleary. 'I make sure to clean the filters by rinsing them in water and leaving them to dry. This can take up to 24 hours, so it's good to have a backup filter for this or know that you'll need to be patient.'
Use Shark discount codes so you can pick up a couple of spare filters so you'll never be caught short.
6. Clean the brush-roll on your Shark vacuum
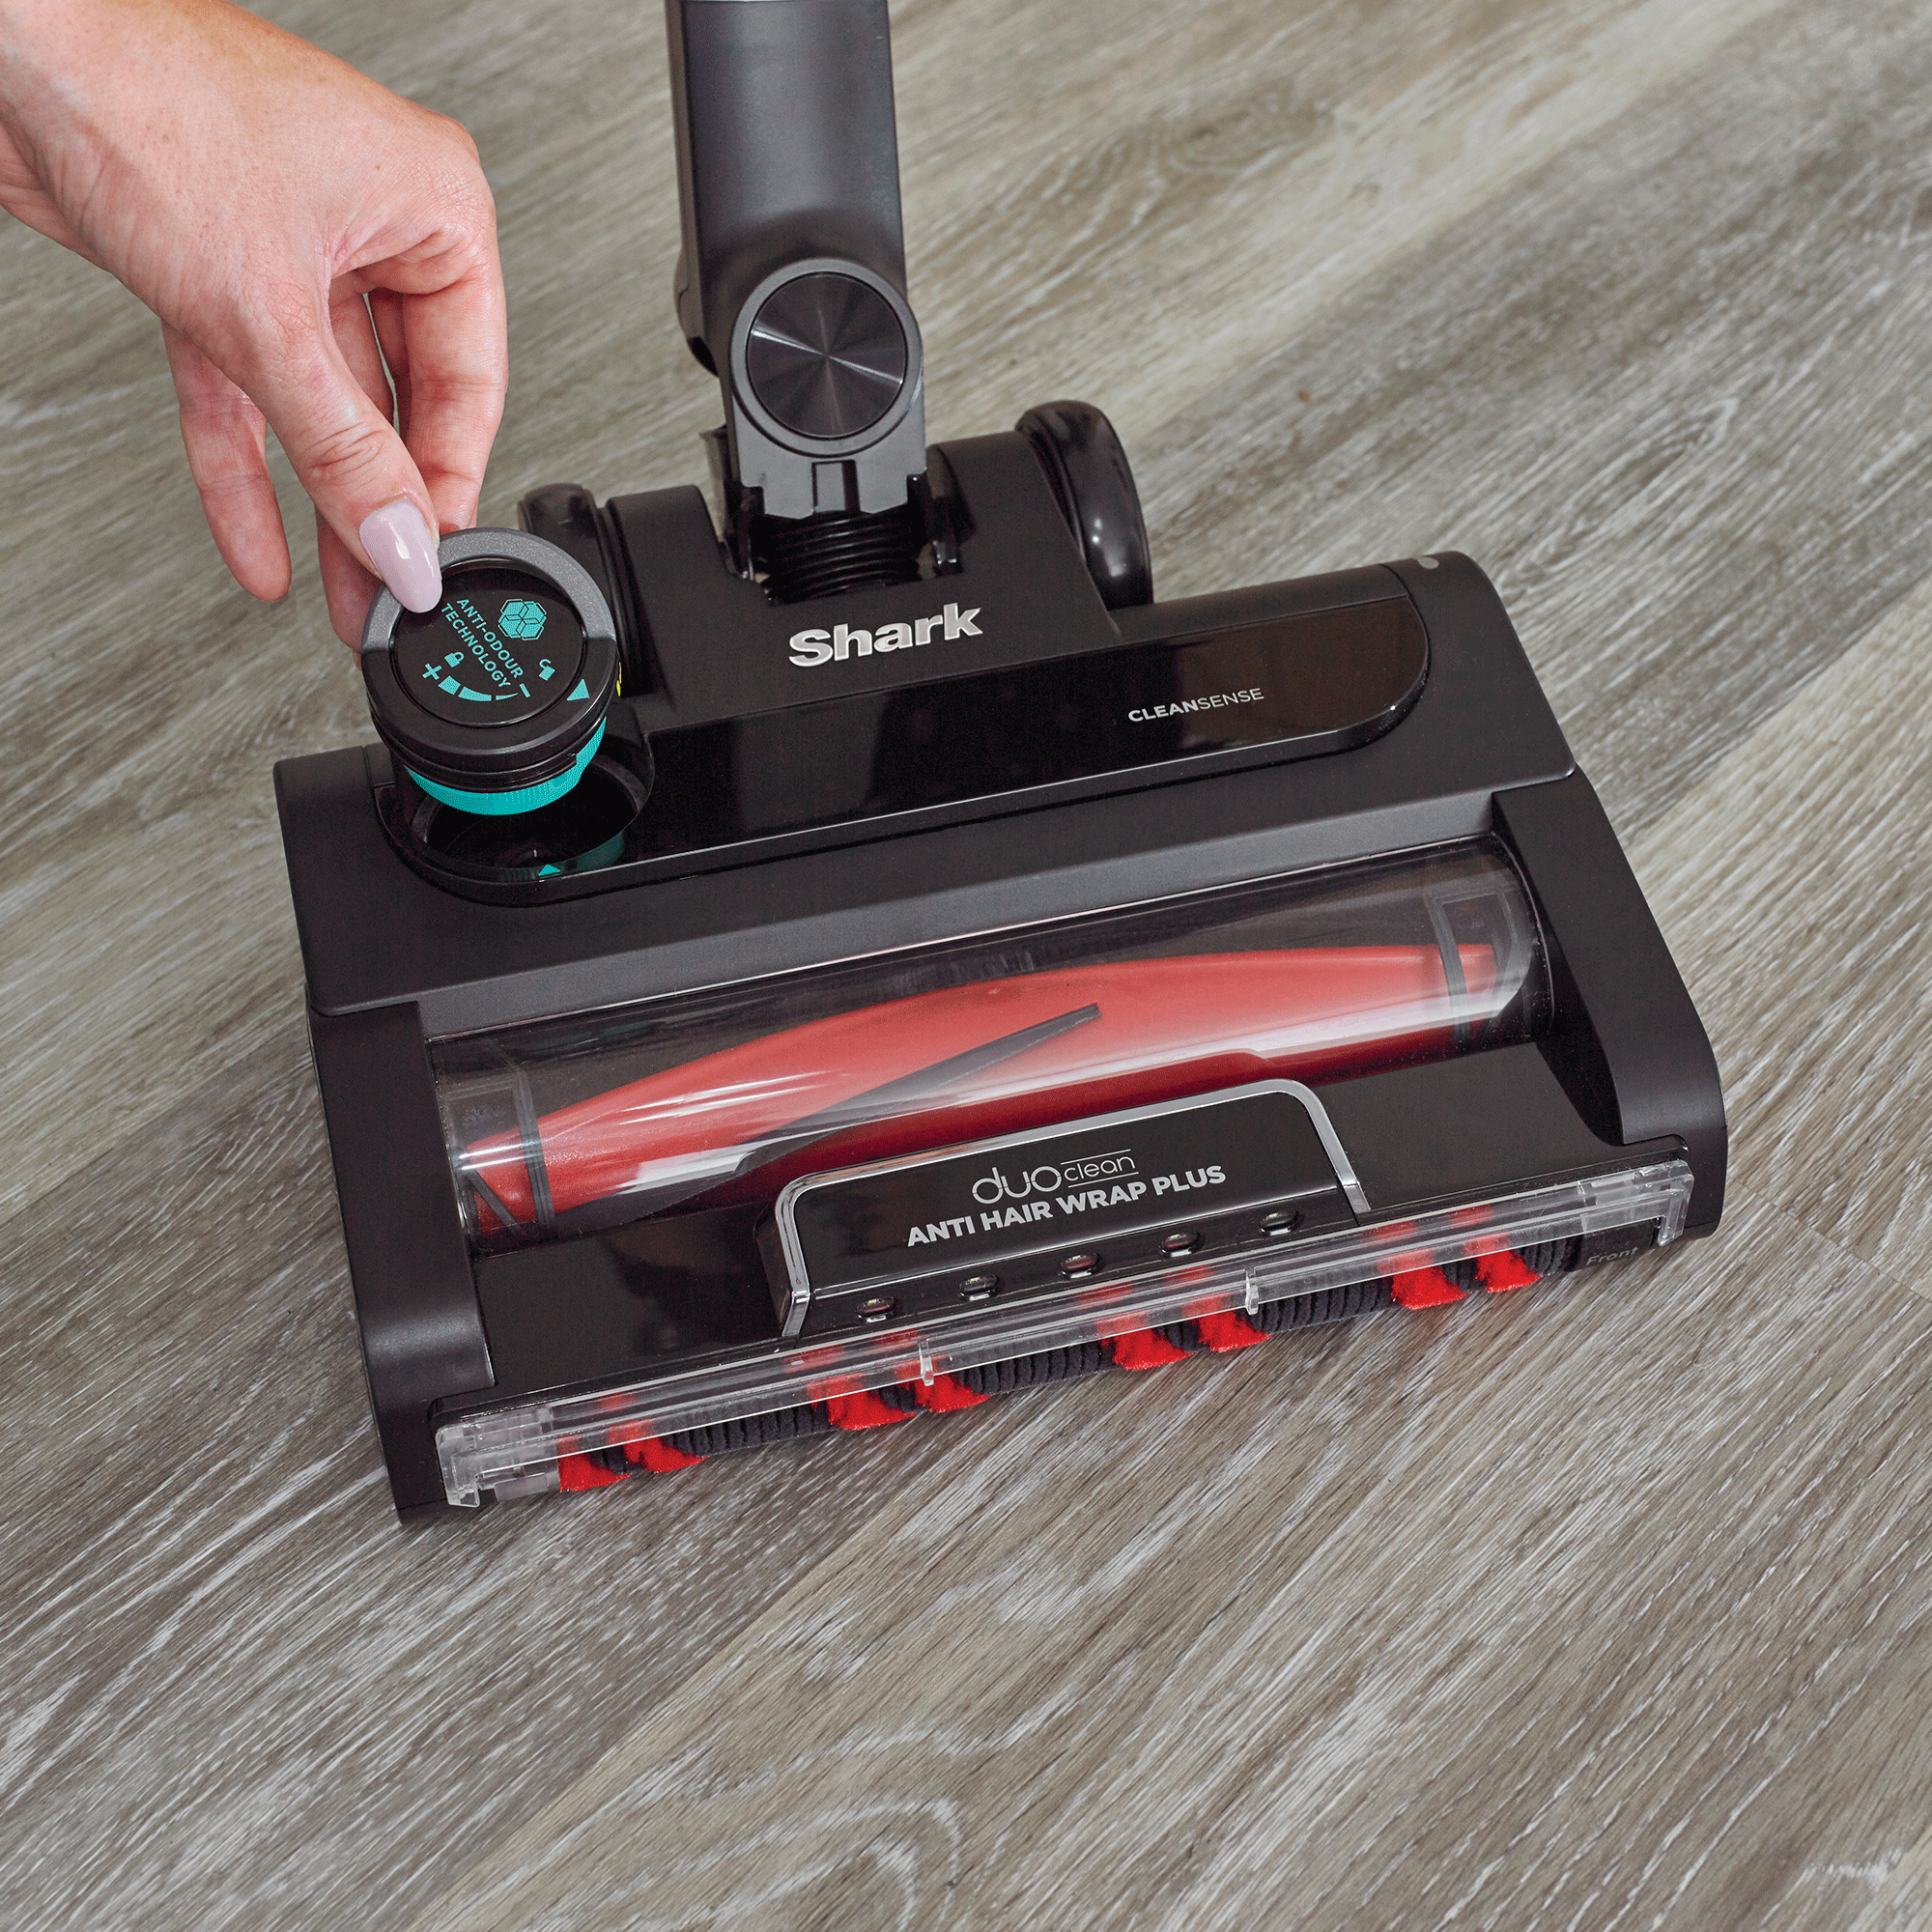
Depending on the model you have chosen, your Shark vacuum cleaner may have either one brush-roll or two brush-rolls in the floorhead.
For floorheads with one brush-roll, the experts at Shark have this advice: 'Detach the floorhead from your vacuum and remove any debris from the bristles. Some models have a removable section of the base for access to the brush-roll. Carefully use scissors within the brush-roll groove to cut away any string, hair, or debris wrapped around the brush-roll.'
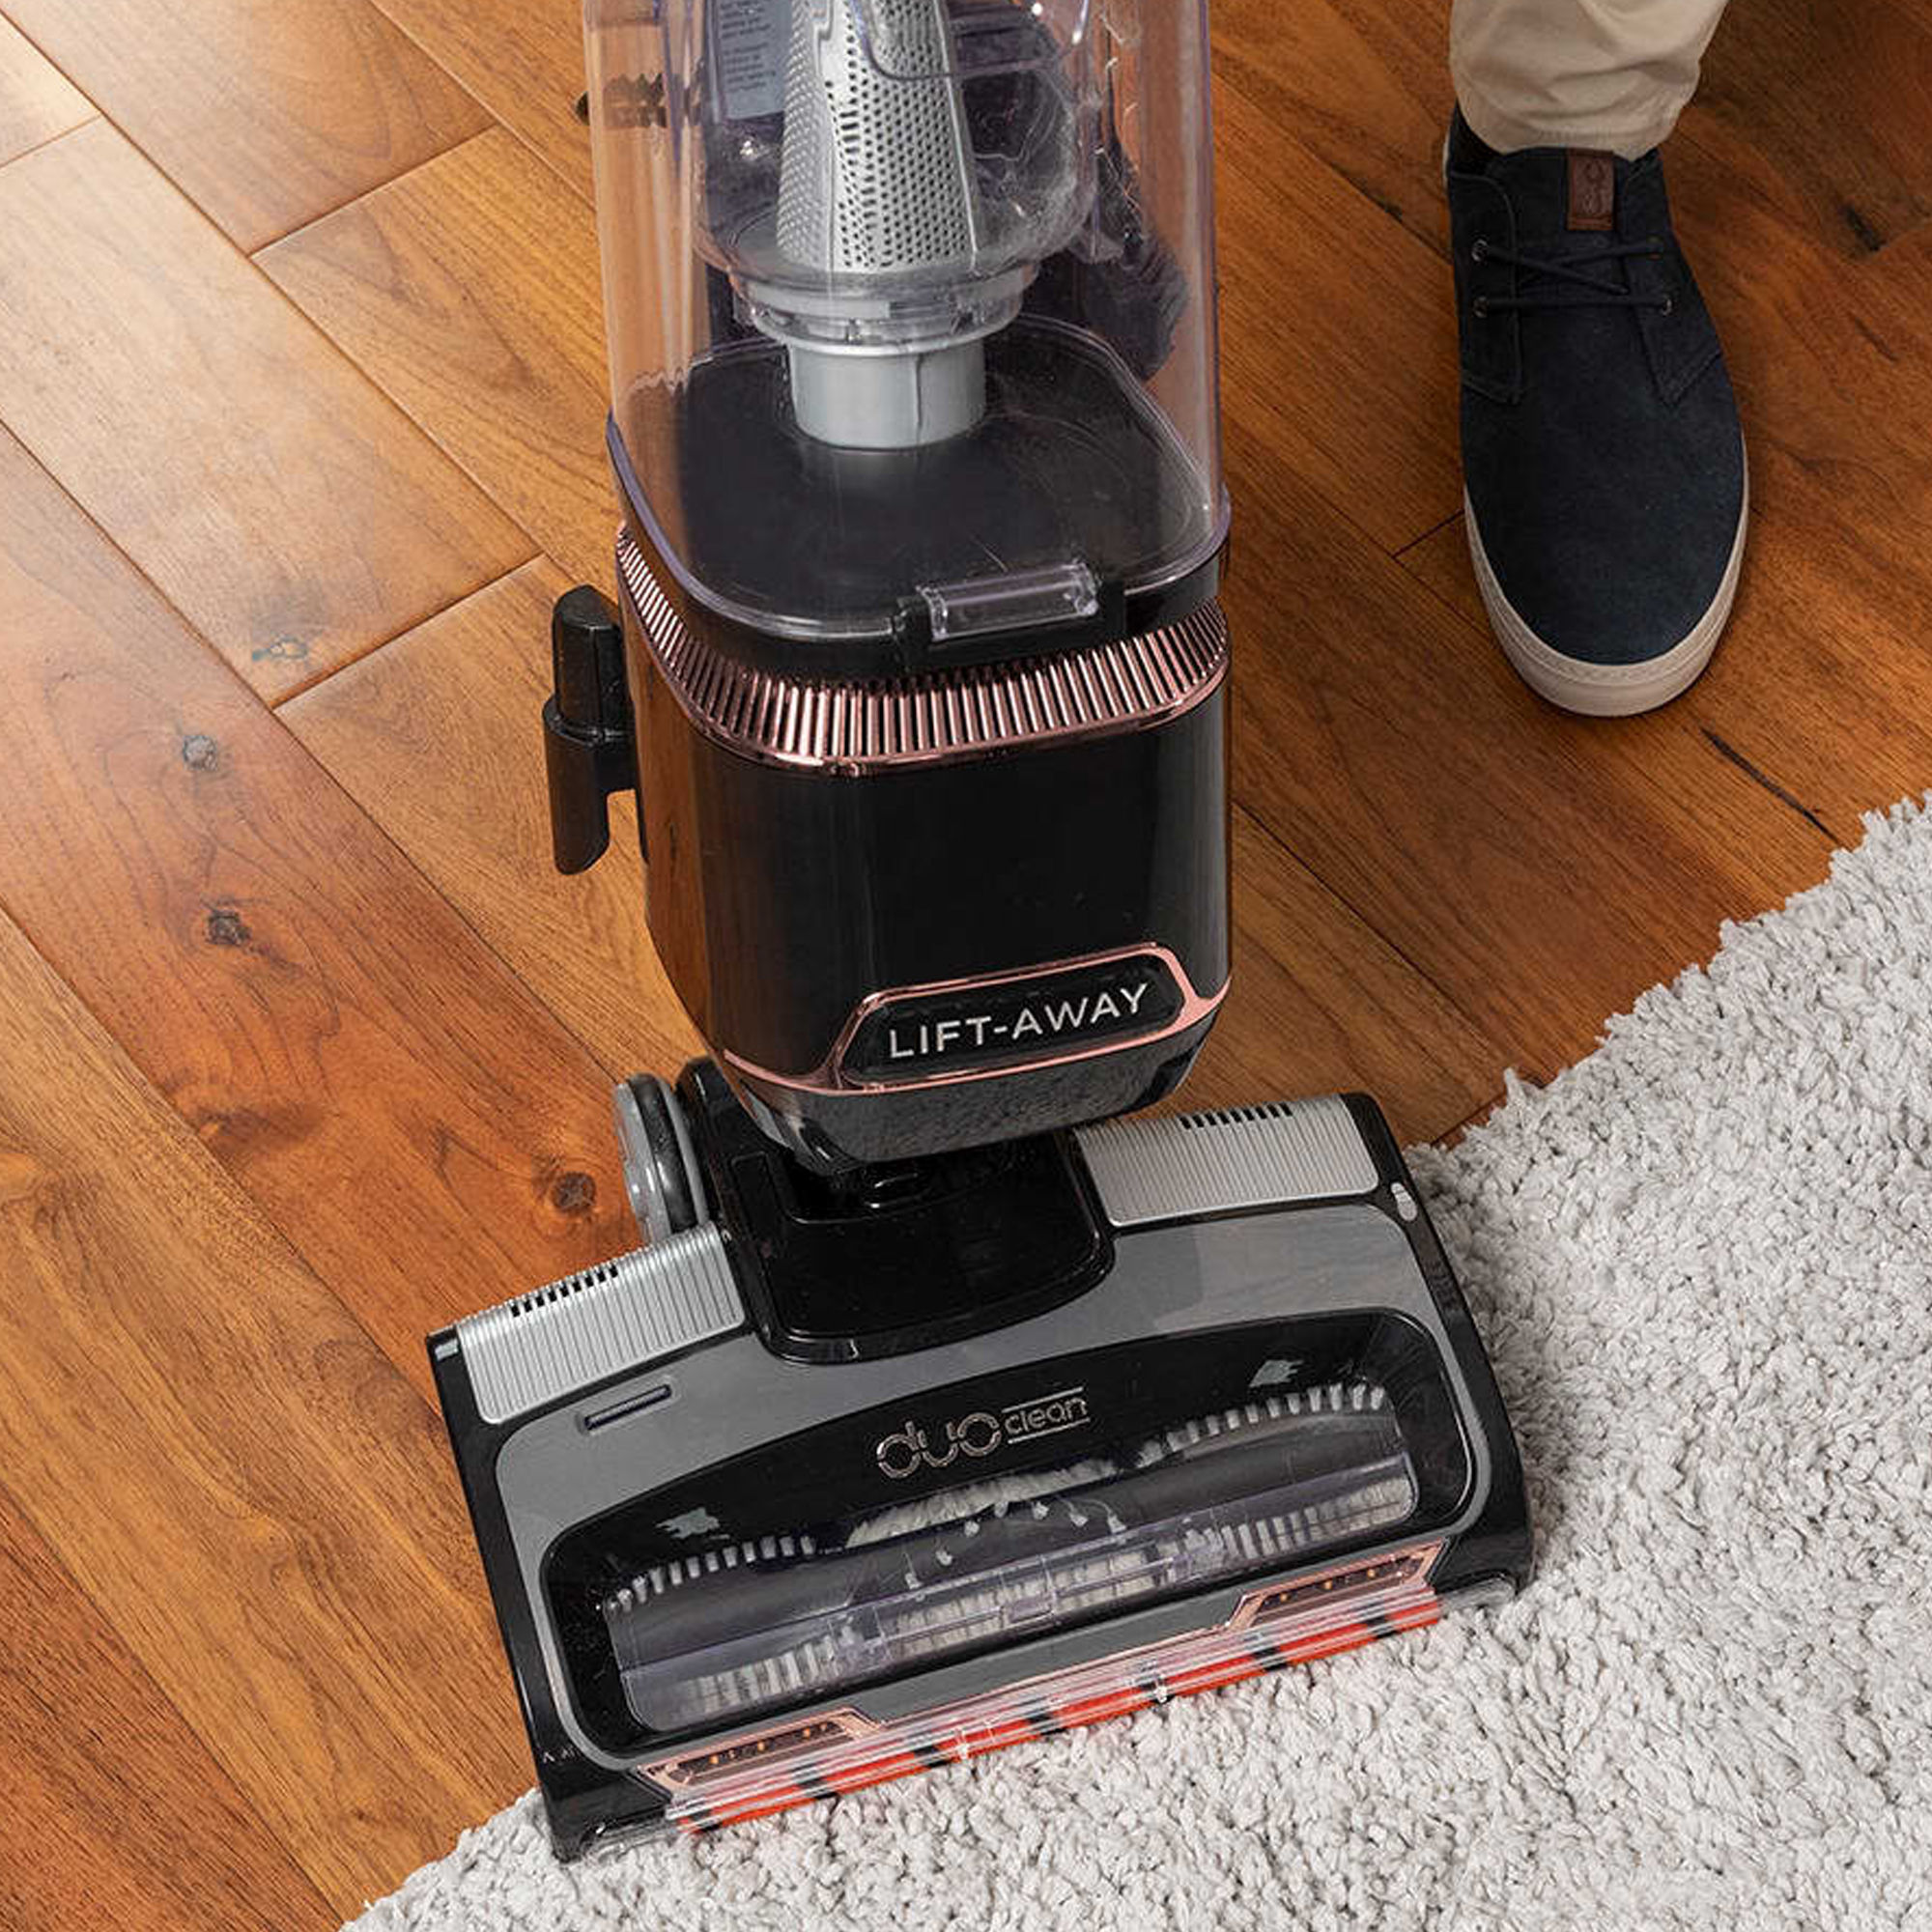
Shark DuoClean vacuums have two brush-rolls – a bristle brush-roll and a soft front roller.
'To clean the bristle brush-roll, remove the cover using the guide in your instruction booklet. Remove any debris and clear away any dirt or blockages,' say the experts at Shark. 'To clean the soft front roller, simply tap off any loose debris, use a dry towel to wipe the brush-roll clean and remove any debris caught in the teeth behind the brush-roll. Hand wash if needed, using only water, and let it air dry completely for at least 24 hours before reinserting.'
7. Remove any hair wrapped around the brush-rolls

As well as general dust and dirt, you may find hair, string, or threads become wrapped around the brush-rolls of some Shark vacuum cleaners. If this is the case, simply cut the hair or string and pull to remove it from the brush-roll.
If you or someone in your family has long hair, you may want to consider a model with Anti Hair Wrap Technology to make cleaning your Shark vacuum easier. Shark’s Anti Hair Wrap Technology actively separates and removes hair from the bristle brush-roll as you clean. A bristle-guard and comb are designed to prevent hair from becoming tightly wrapped around the brush-roll.
This is the option that Ideal Home's Molly Cleary chose. 'Luckily, the Shark I have has Anti-Hair Wrap technology, which means I can skip the worst part of cleaning a vacuum usually – having to cut out hair from the brush-roll,' she says. 'Instead, during my monthly cleaning, I rinse the fluffy brush-roll heads to make sure they're not gathering historic dust and debris that will be harder to get rid of in the future.'
8. Check the sensors on your Shark vacuum are clear
When you're thinking about how to clean a Shark vacuum cleaner, don't forget the sensors built into the machine – a quick wipe with a damp cloth will keep dust from covering these, so they continue to alert you to any issues with your Shark vacuum.
It's a quick tip that Ideal Home's Molly Cleary makes sure to follow when she's cleaning her Shark Vacuum. 'Since I have the new range of Shark vacuum, I make sure to clean the sensors in the vacuum head, so that all of the technology inside keeps working as it should,' she explains.
'If the brush-roll indicator light is solid green when your vacuum is turned on, the motorised brush-rolls are on and working as they should,' explain the experts at Shark. 'If they are solid red, there is a jam in the brush-roll and/or soft roller area, so you will need to turn off your vacuum and remove the blockages. If the light is flashing red, the motorised floorhead is overheating. In this instance, you should turn off your vacuum and wait for it to cool down before continuing with your cleaning.'

How often to clean a Shark vacuum cleaner - signs it needs cleaning
You should do a basic check and clean of your Shark vacuum after each use. This might be as simple as emptying the dust cup, checking the rollers for debris that's stopping them moving, and using a torch to check the hose, airways and wand for blockages.
Once a month, you may want to do a deeper clean, wiping out the dust cup with a damp cloth, removing and washing the rollers, and wiping down the exterior of your Shark vacuum to keep it looking good and to ensure the sensors are clear.
Can you wash the canister on a Shark vacuum?
The experts at Shark don't recommend washing the dust cup on a Shark vacuum. Instead the advice is to use a cloth dampened with water – no soap or other cleaning materials – to clean the inside of the dust cup.
Get the Ideal Home Newsletter
Sign up to our newsletter for style and decor inspiration, house makeovers, project advice and more.

Andrea began her journalism career at Ideal Home and is currently Editor of our sister title, Country Homes & Interiors, which celebrates modern country style. Andrea is passionate about colour and how it can transform both our homes and our sense of wellbeing, and has completed The Power of Colour course with the prestigious KLC School of Design. Andrea's career spans interiors magazines, women's lifestyle titles and newspapers. After her first job at Ideal Home, she moved on to women's magazines, Options and Frank. From there it was on to the launch of Red magazine, where she stayed for 10 years and became Assistant Editor. She then shifted into freelancing, and spent 14 years writing for everyone from The Telegraph to The Sunday Times, Livingetc, Stylist and Woman & Home. She was then offered the job as Editor of Country Homes & Interiors, and now combines that role with writing for idealhome.co.uk.
-
 Wood drenching is the calming new twist on the colour drenching trend – here’s how to make the look work in your home
It’s easier than ever to embrace natural materials
By Maddie Balcombe
-
 Aldi is launching a £200 day bed with four different features - its sleek design is suited to the whole family
You don't want to miss out on this Specialbuy
By Kezia Reynolds
-
 How to set up a drip watering system that saves water and a lot of effort
Keep your plants hydrated (and your water bill down) with this clever garden watering solution
By Natalie Osborn