How to clean a Shark vacuum filter - the essential task to keep your vacuum cleaner in full working order
When was the last time you cleaned your Shark vacuum filter?

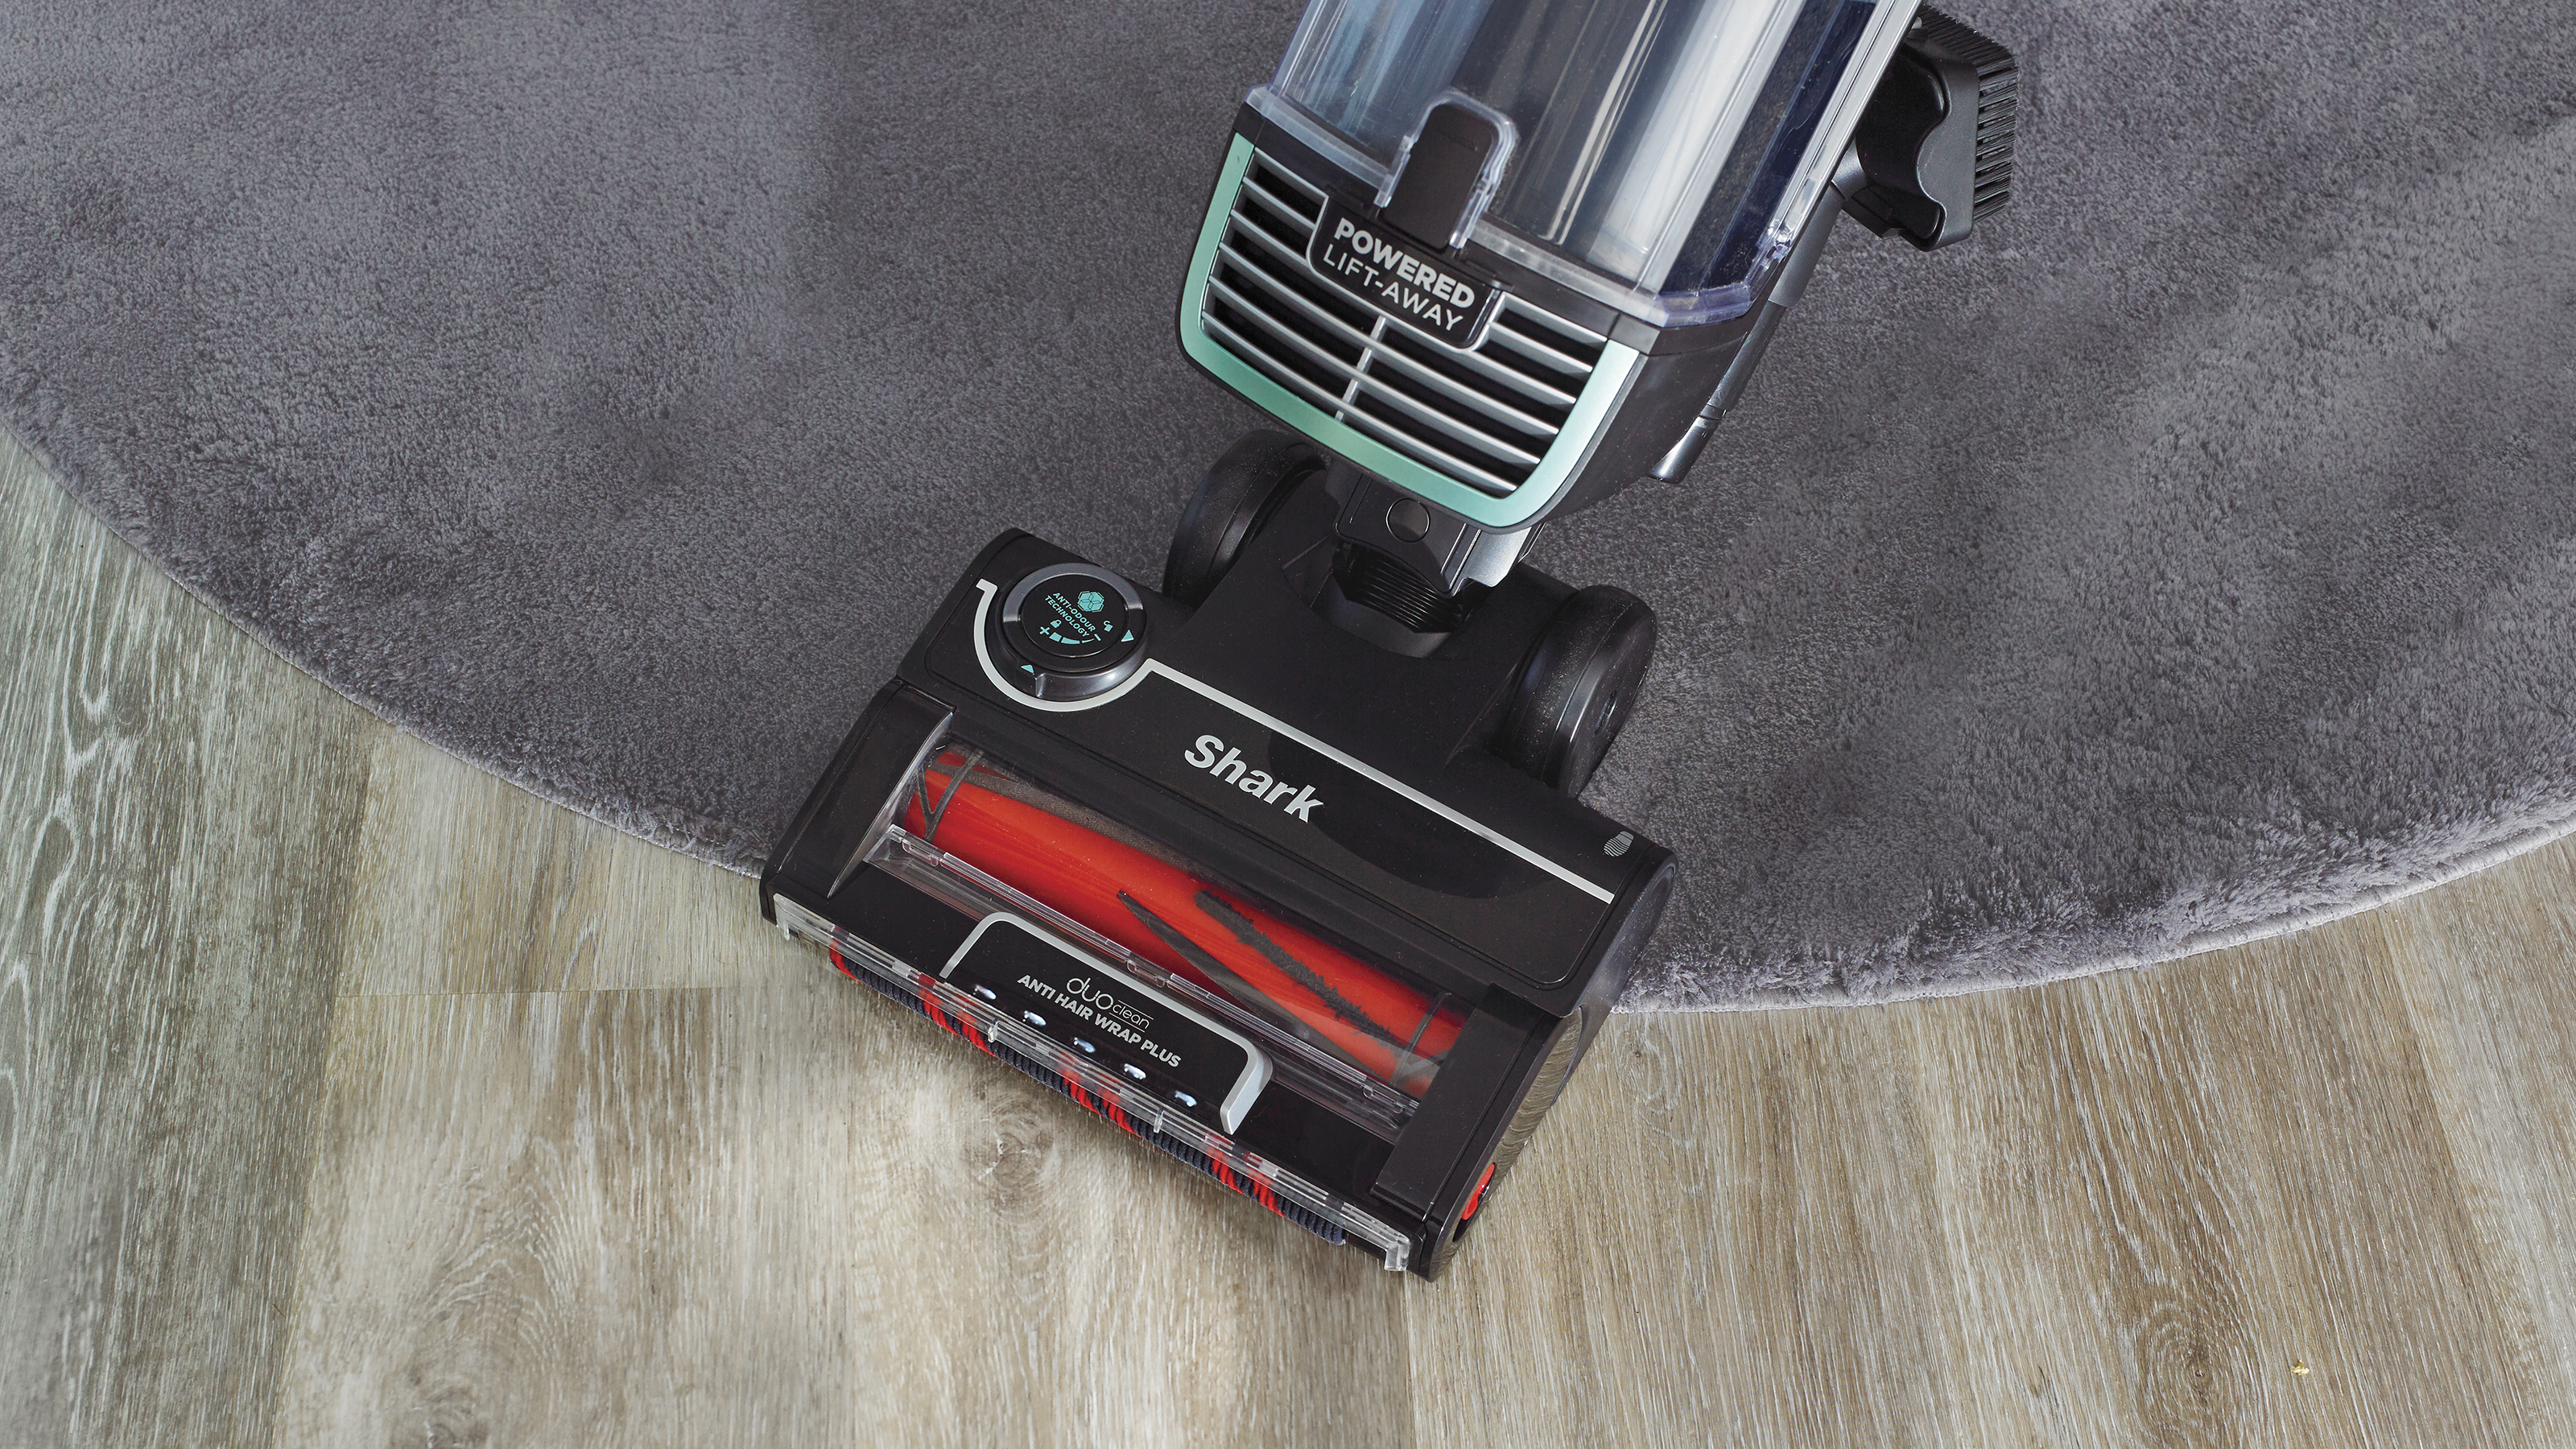
If you’ve gone all out and invested in a Shark vacuum cleaner, you probably want to make sure that it’s living up to its price tag. But to keep it in complete working order, you need to make sure that you know how to clean a Shark vacuum filter.
Shark vacuums are some of the best vacuum cleaners on the market right now. Stylish, smart, and sophisticated, these vacuum cleaners also have the suction power to match. But while you might already know how to clean a Shark vacuum cleaner, cleaning the filters inside your Shark vacuum is a whole different ballgame.
These filters are vital when removing dust and allergens from your home, which is why it’s so important to clean the tools that clean for you. We've done the research and found out how to clean a Shark vacuum filter once to keep your vacuum soldiering away for a long time to come.
How to clean a Shark vacuum filter
‘Your vacuum cleaner’s filters do an important job, removing dust and allergens from the air sucked in by your vacuum. If the dust that they trap isn’t regularly cleaned away, they can become blocked, which can result in poor suction over time,’ explains the Shark website. And as the best Shark vacuums are often celebrated for their suction power, it’s important you follow this step-by-step guide.
What you’ll need
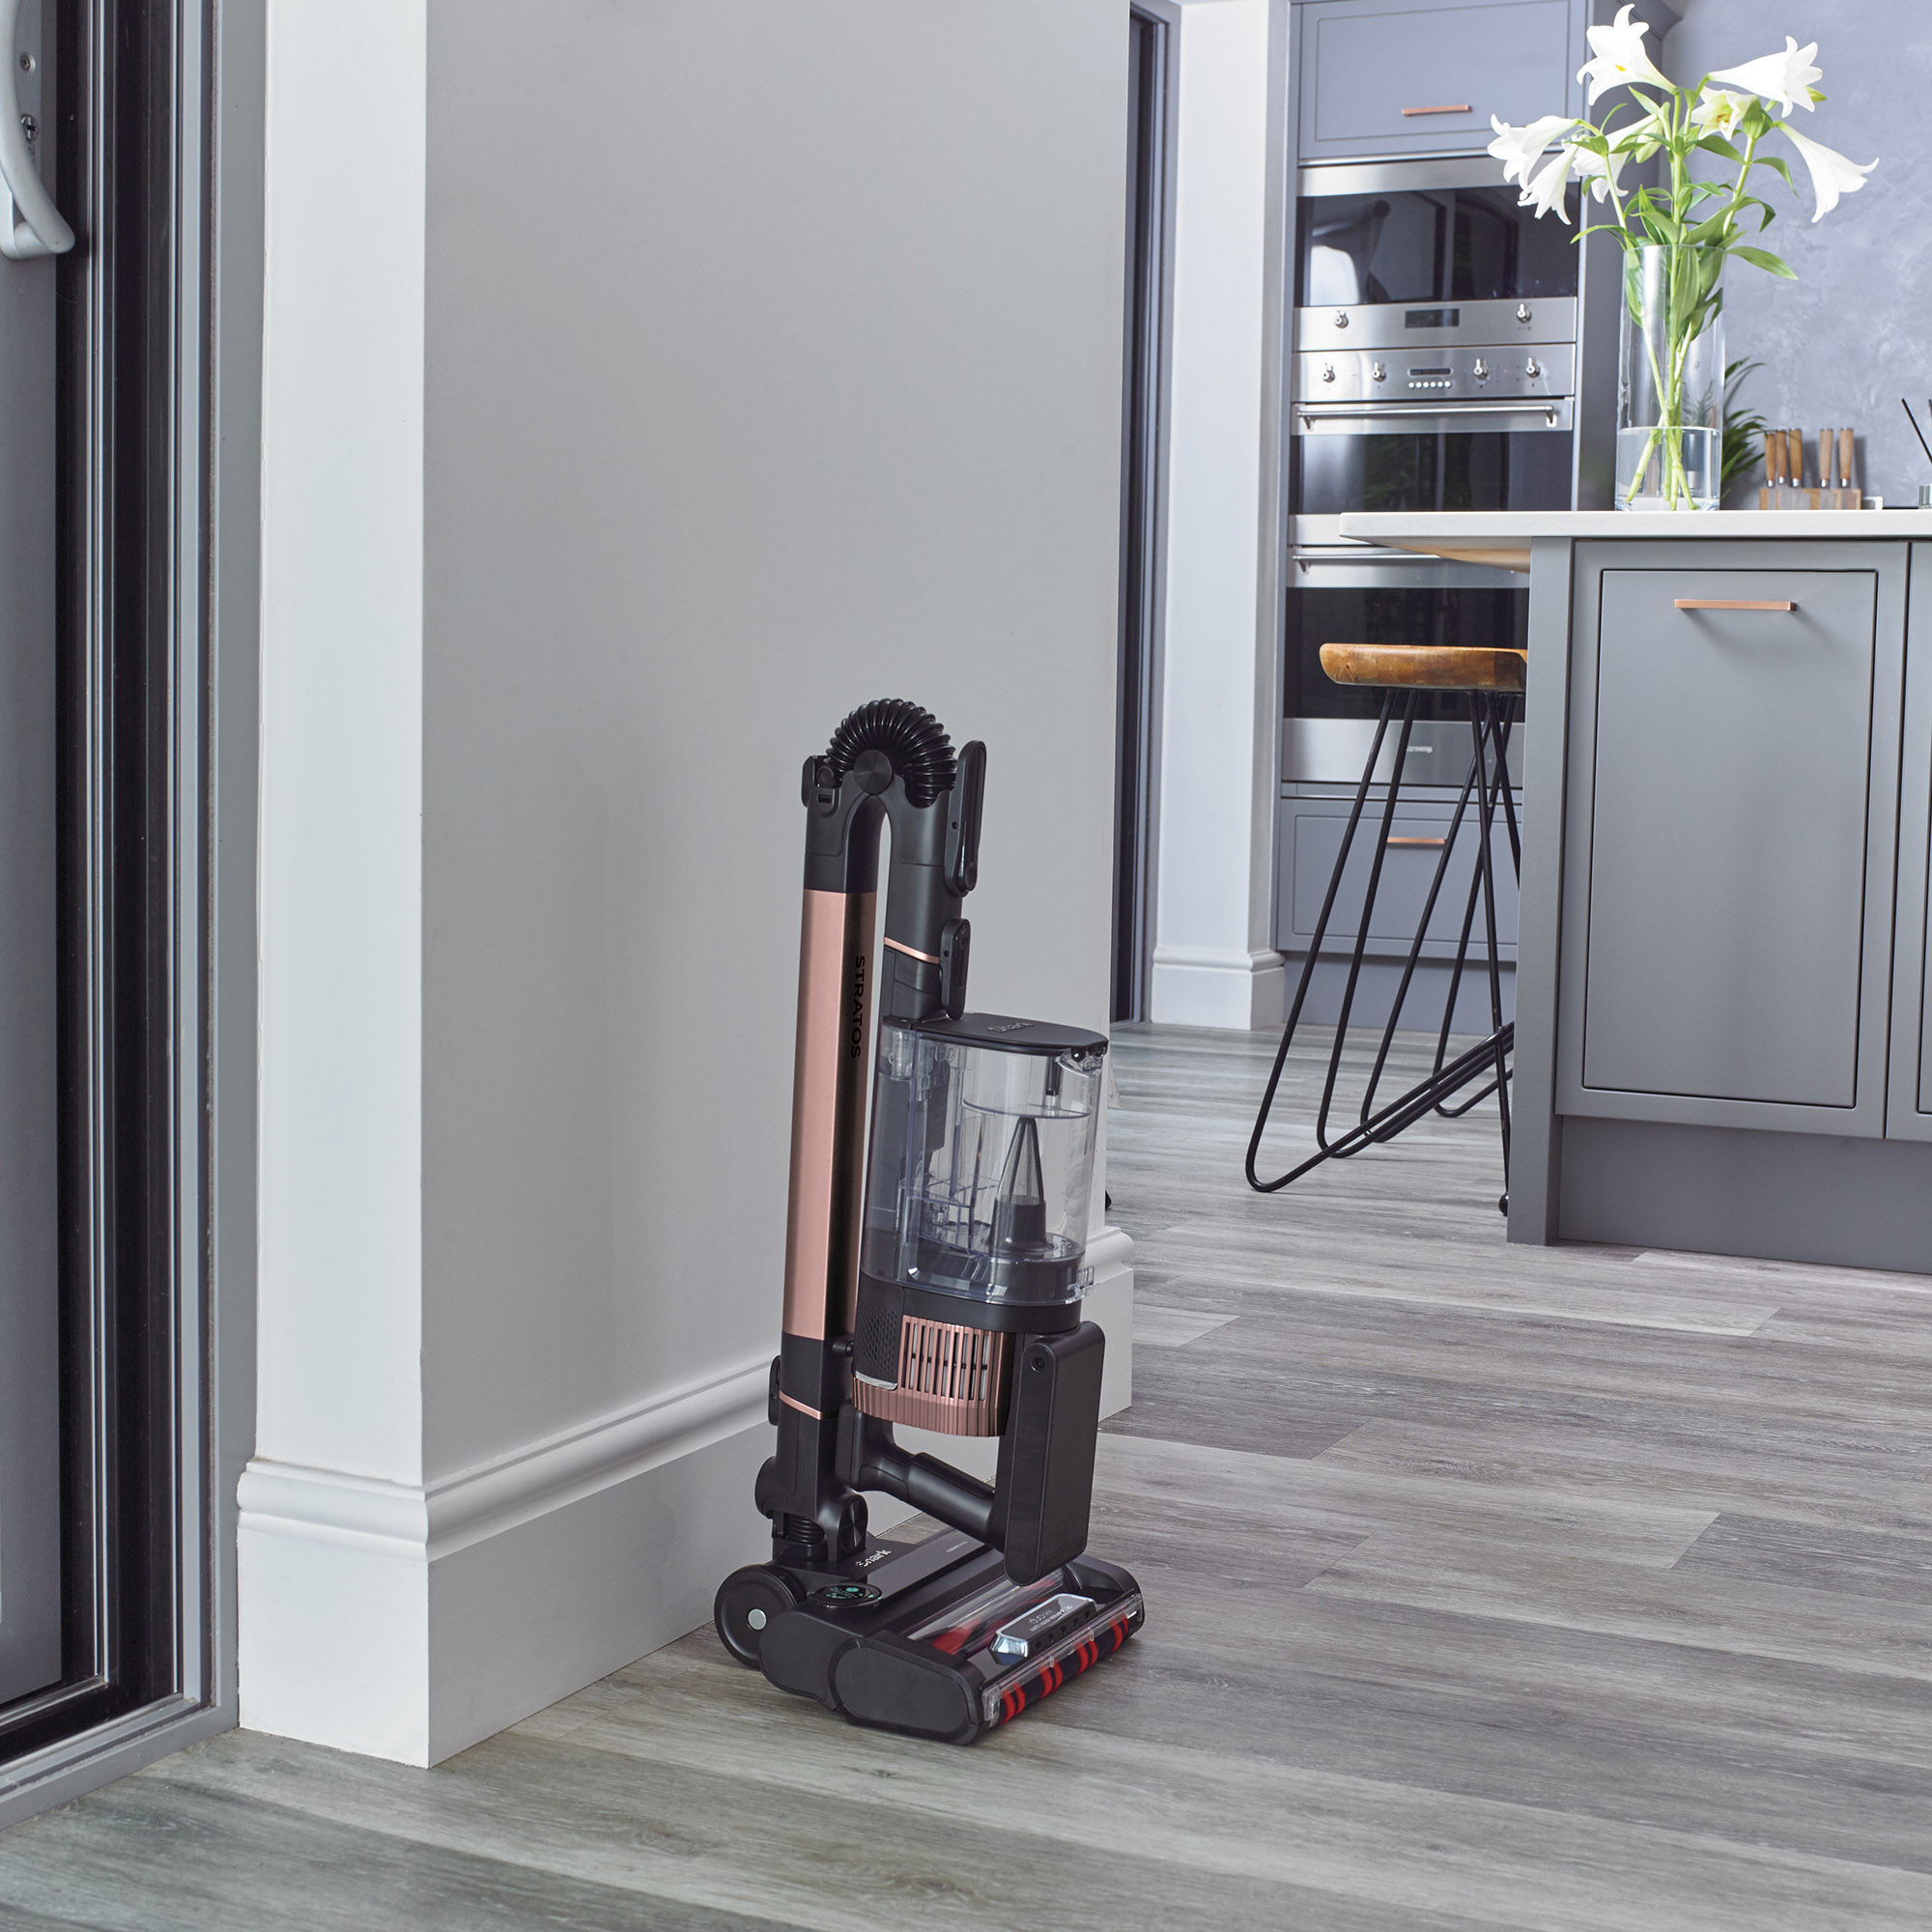
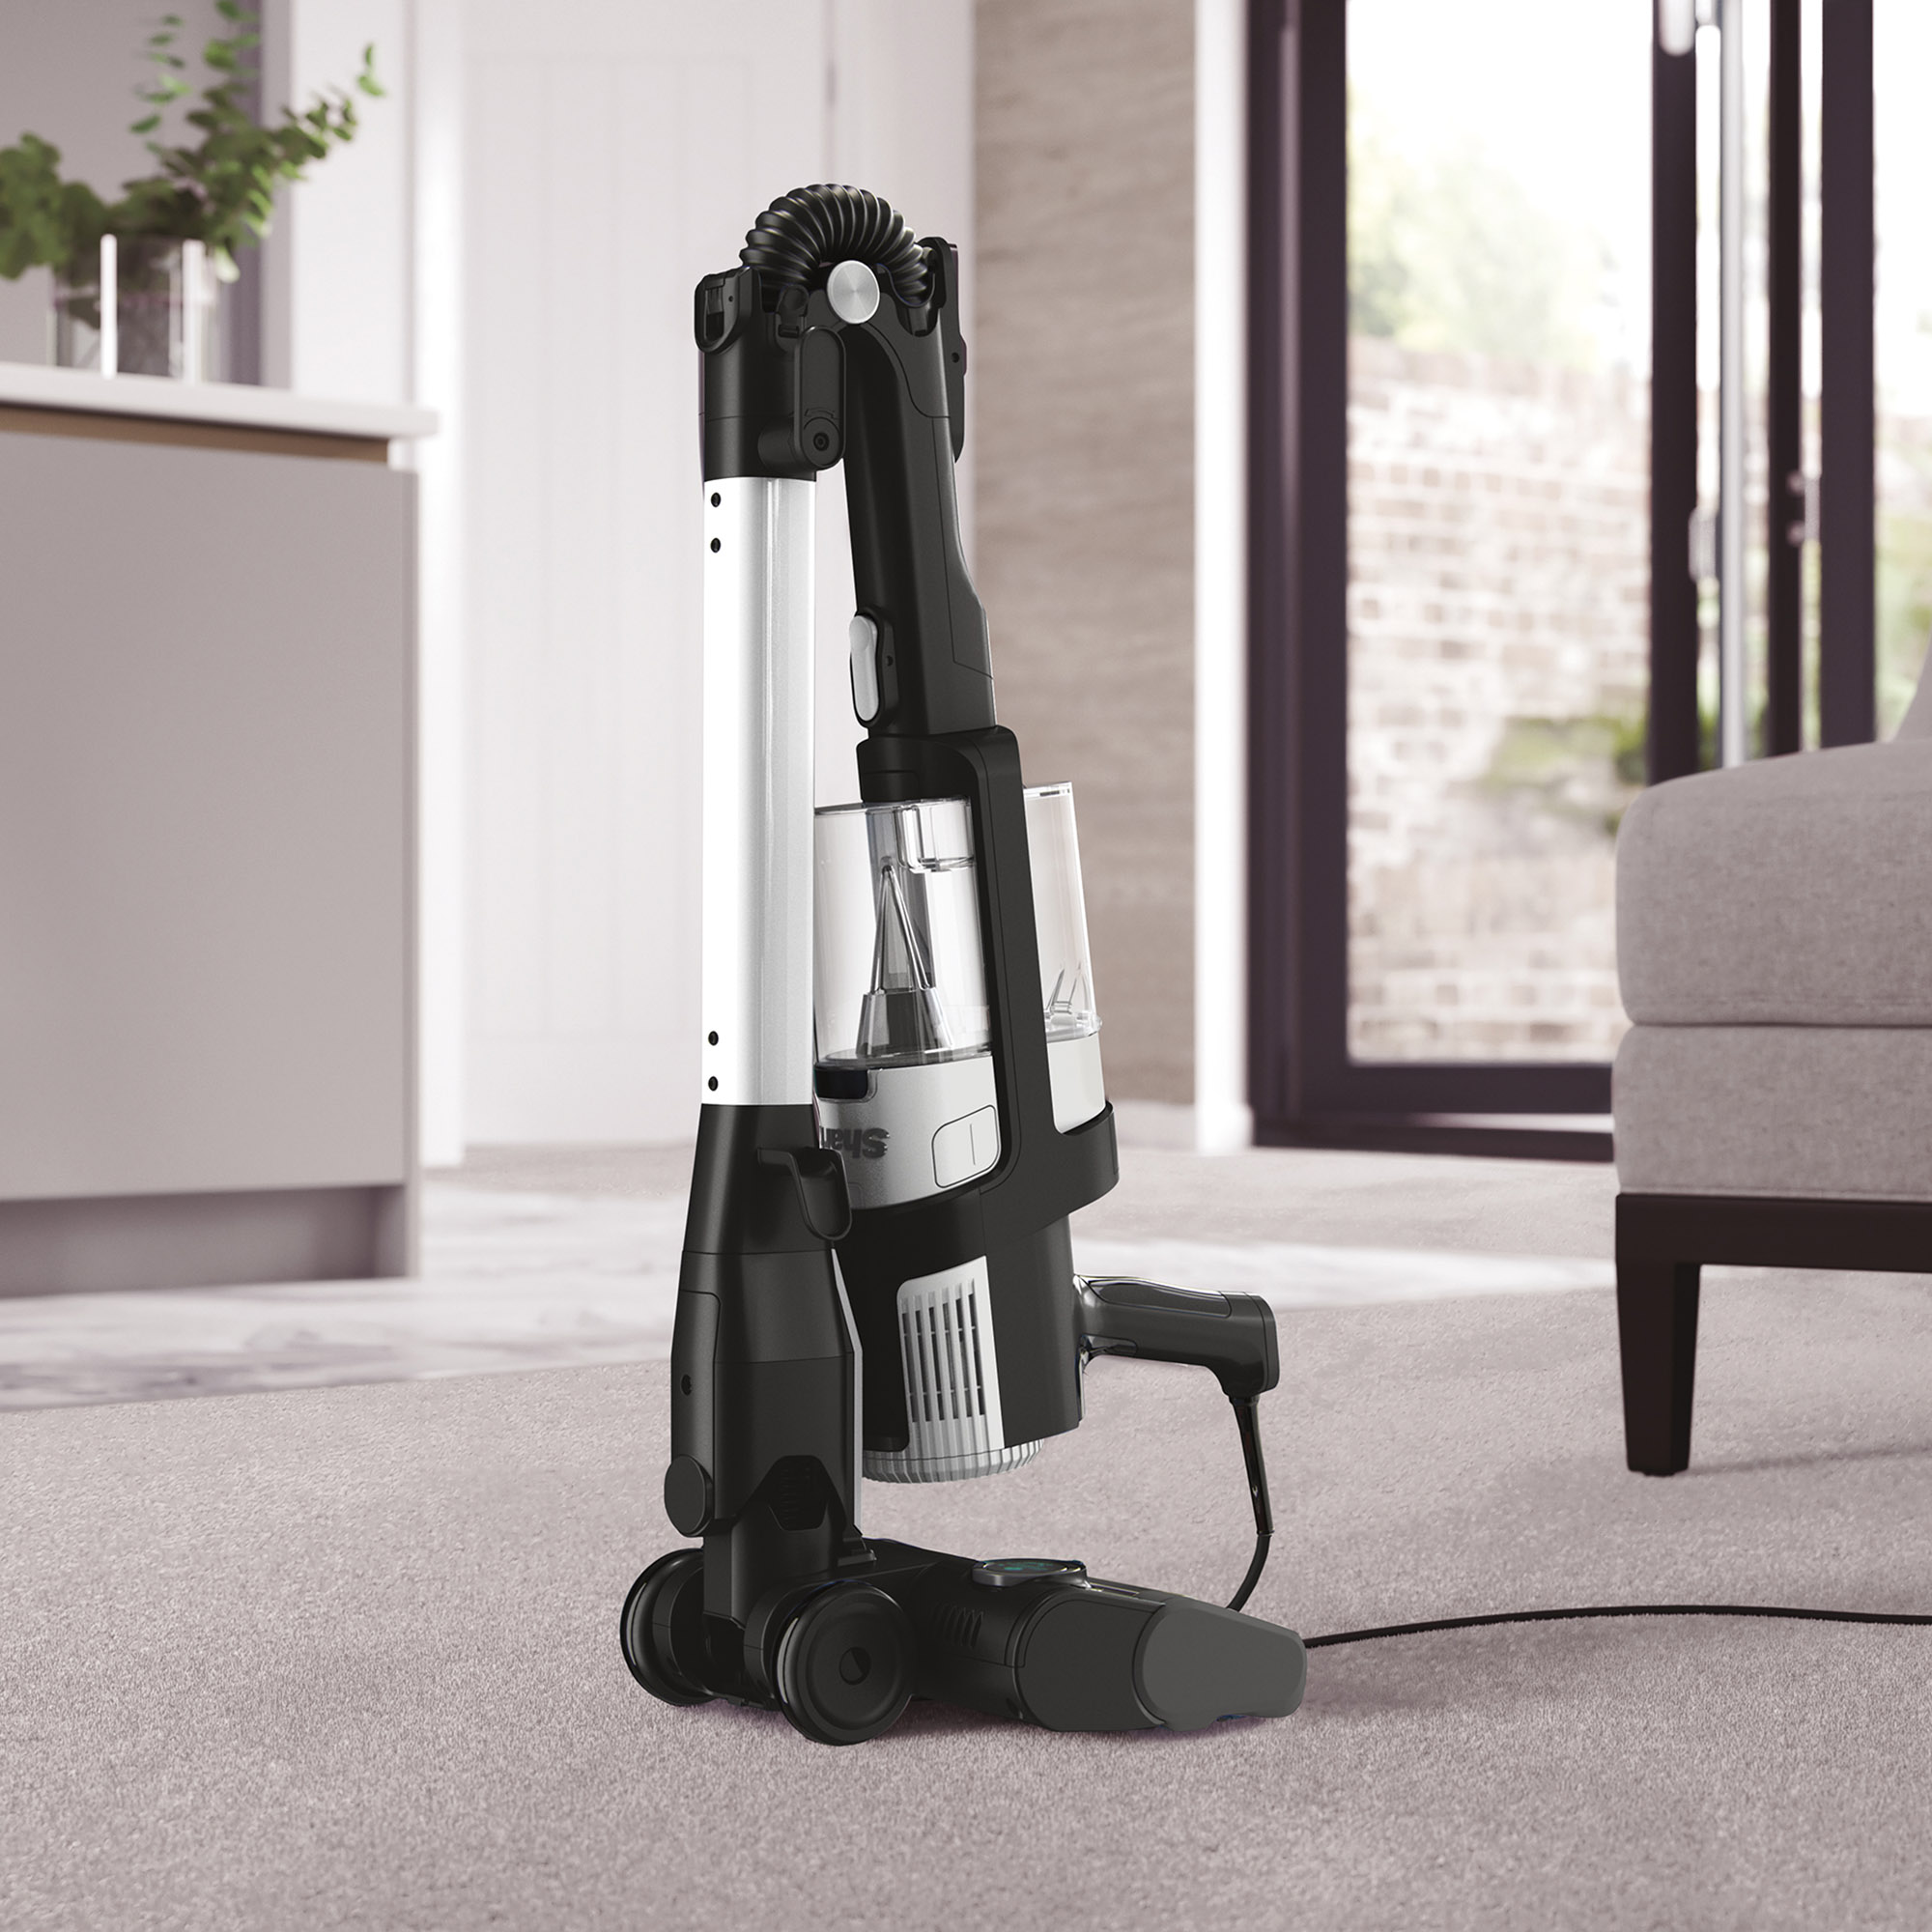
- Your Shark vacuum cleaner (our favourite is the Shark IZ300UK Anti Hair Wrap Cordless Stick Vacuum Cleaner)
- Microfibre cloth
- Water
Step-by-step
1. Unplug or turn off your vacuum
Before you start cleaning your Shark vacuum filter, you should first ensure that it’s safe to continue with this process. This means switching the vacuum off at the socket and then unplugging it.
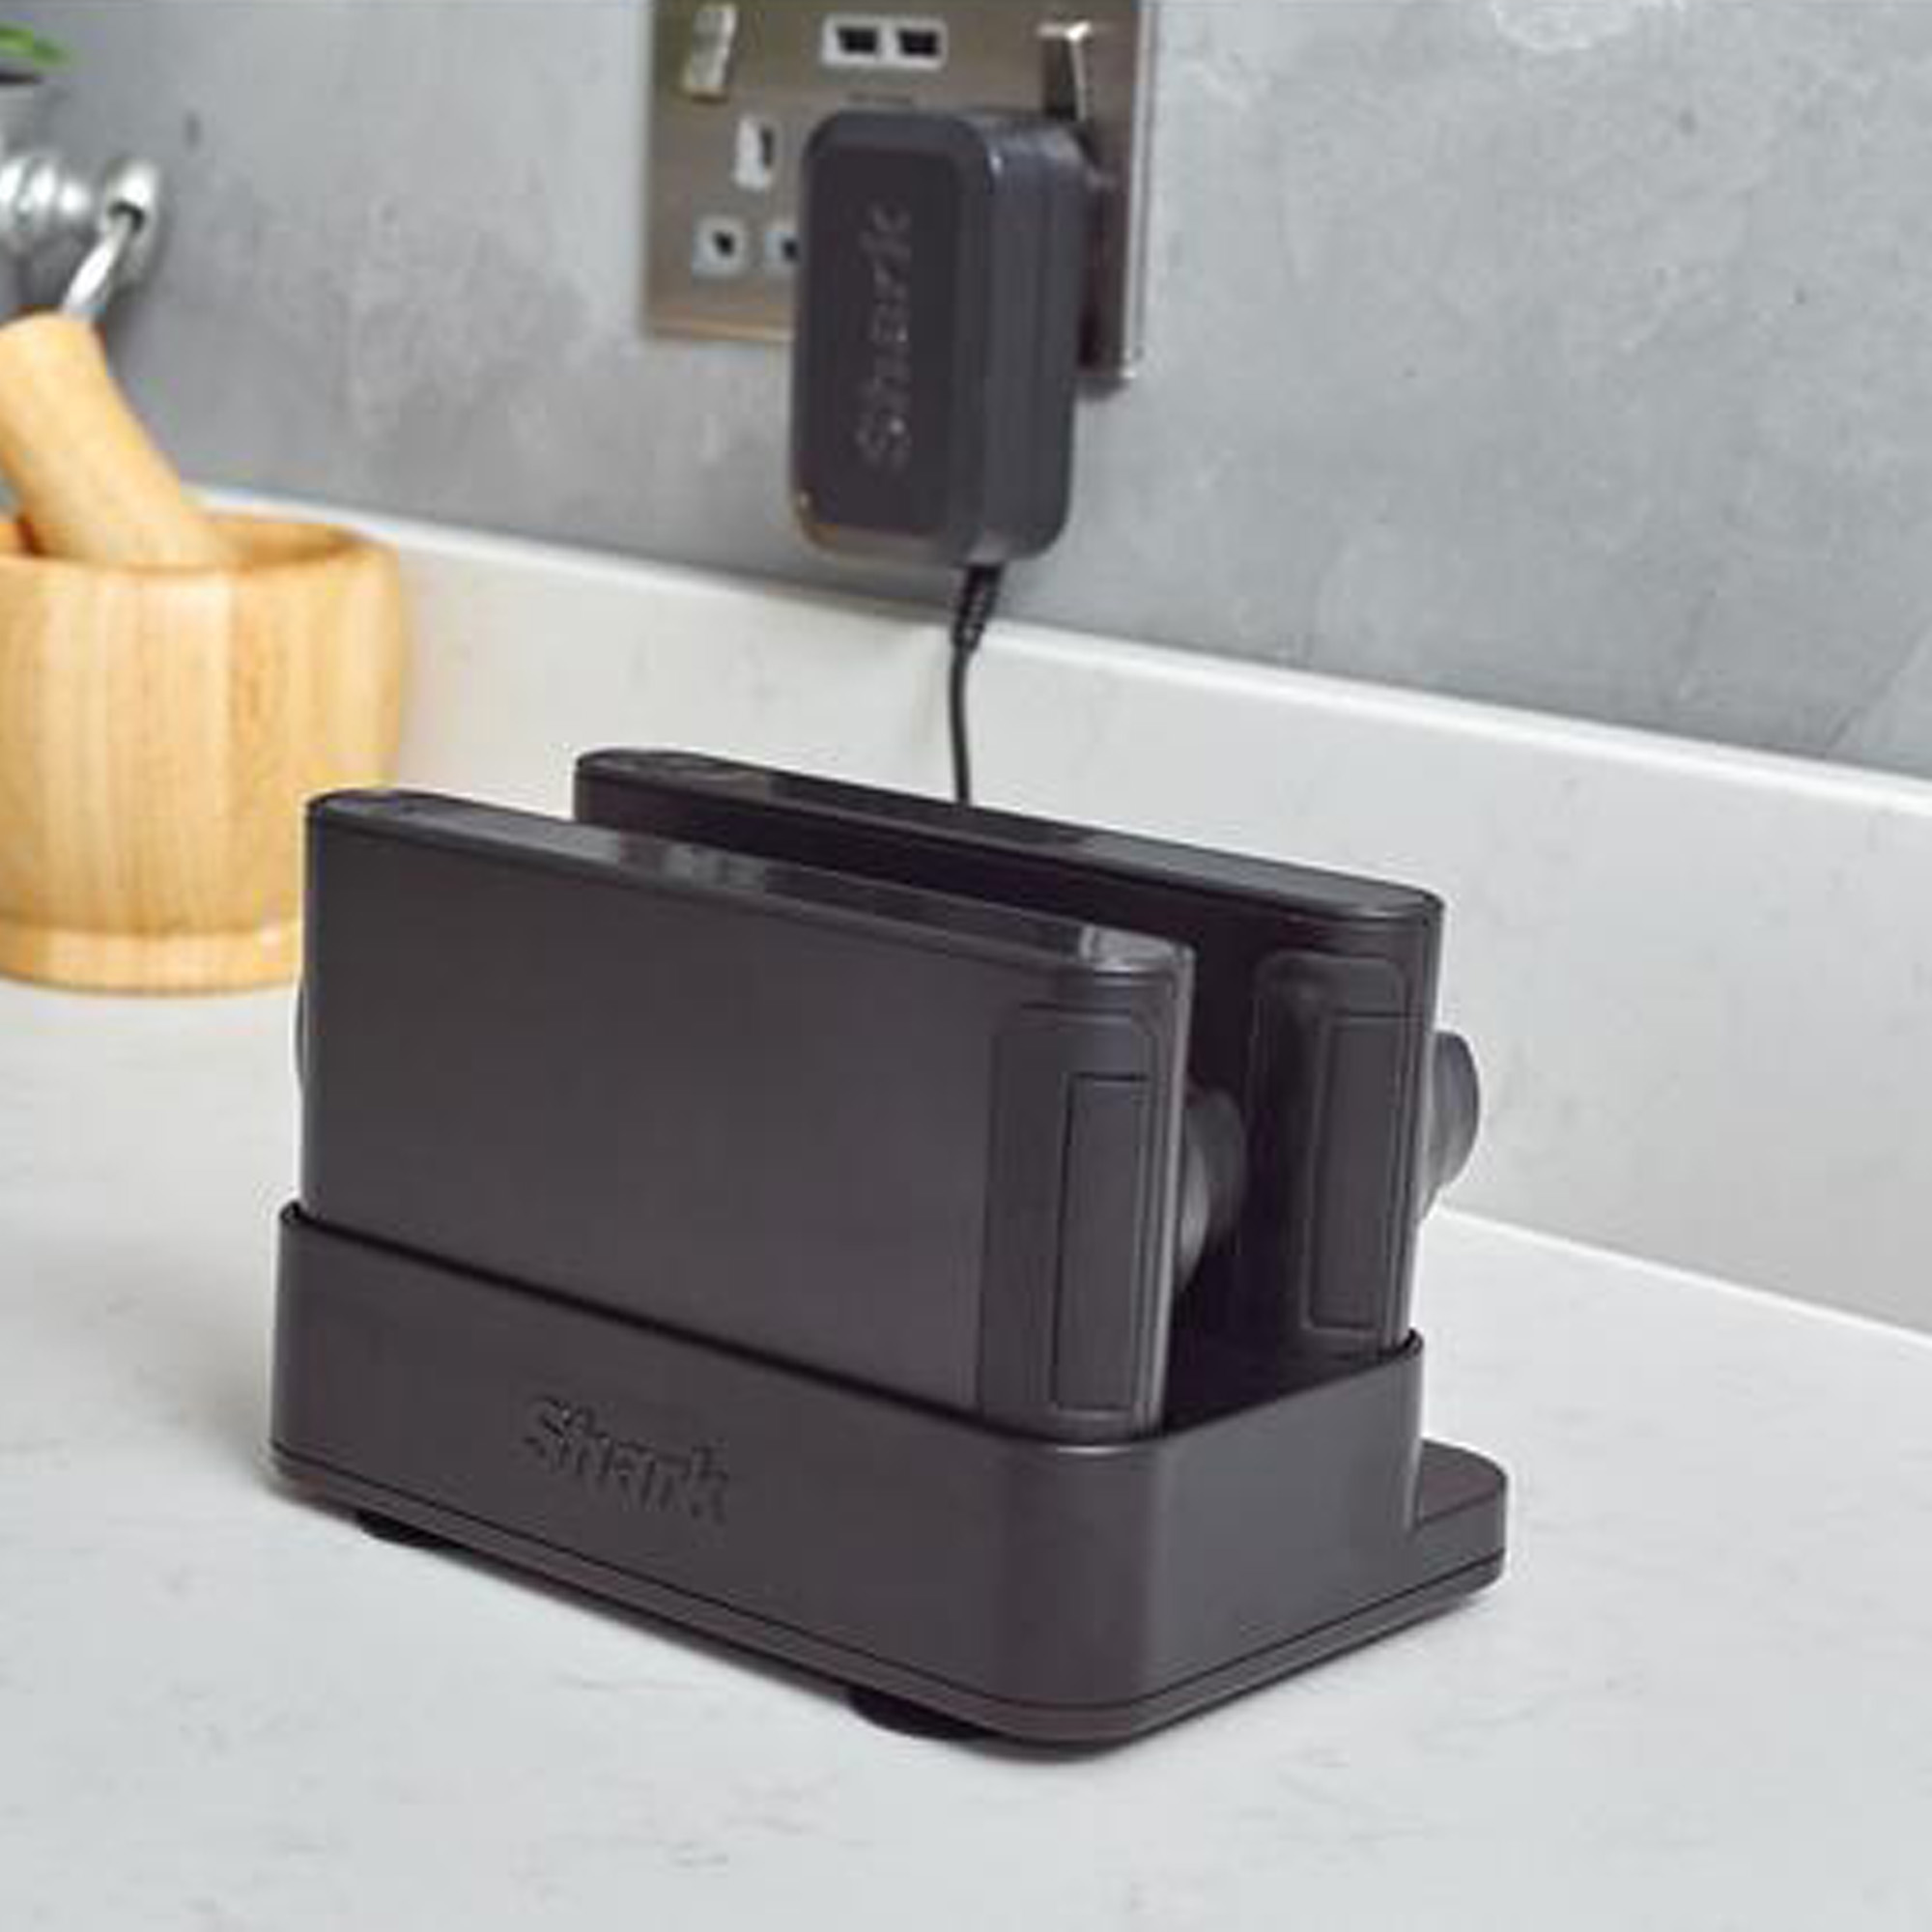
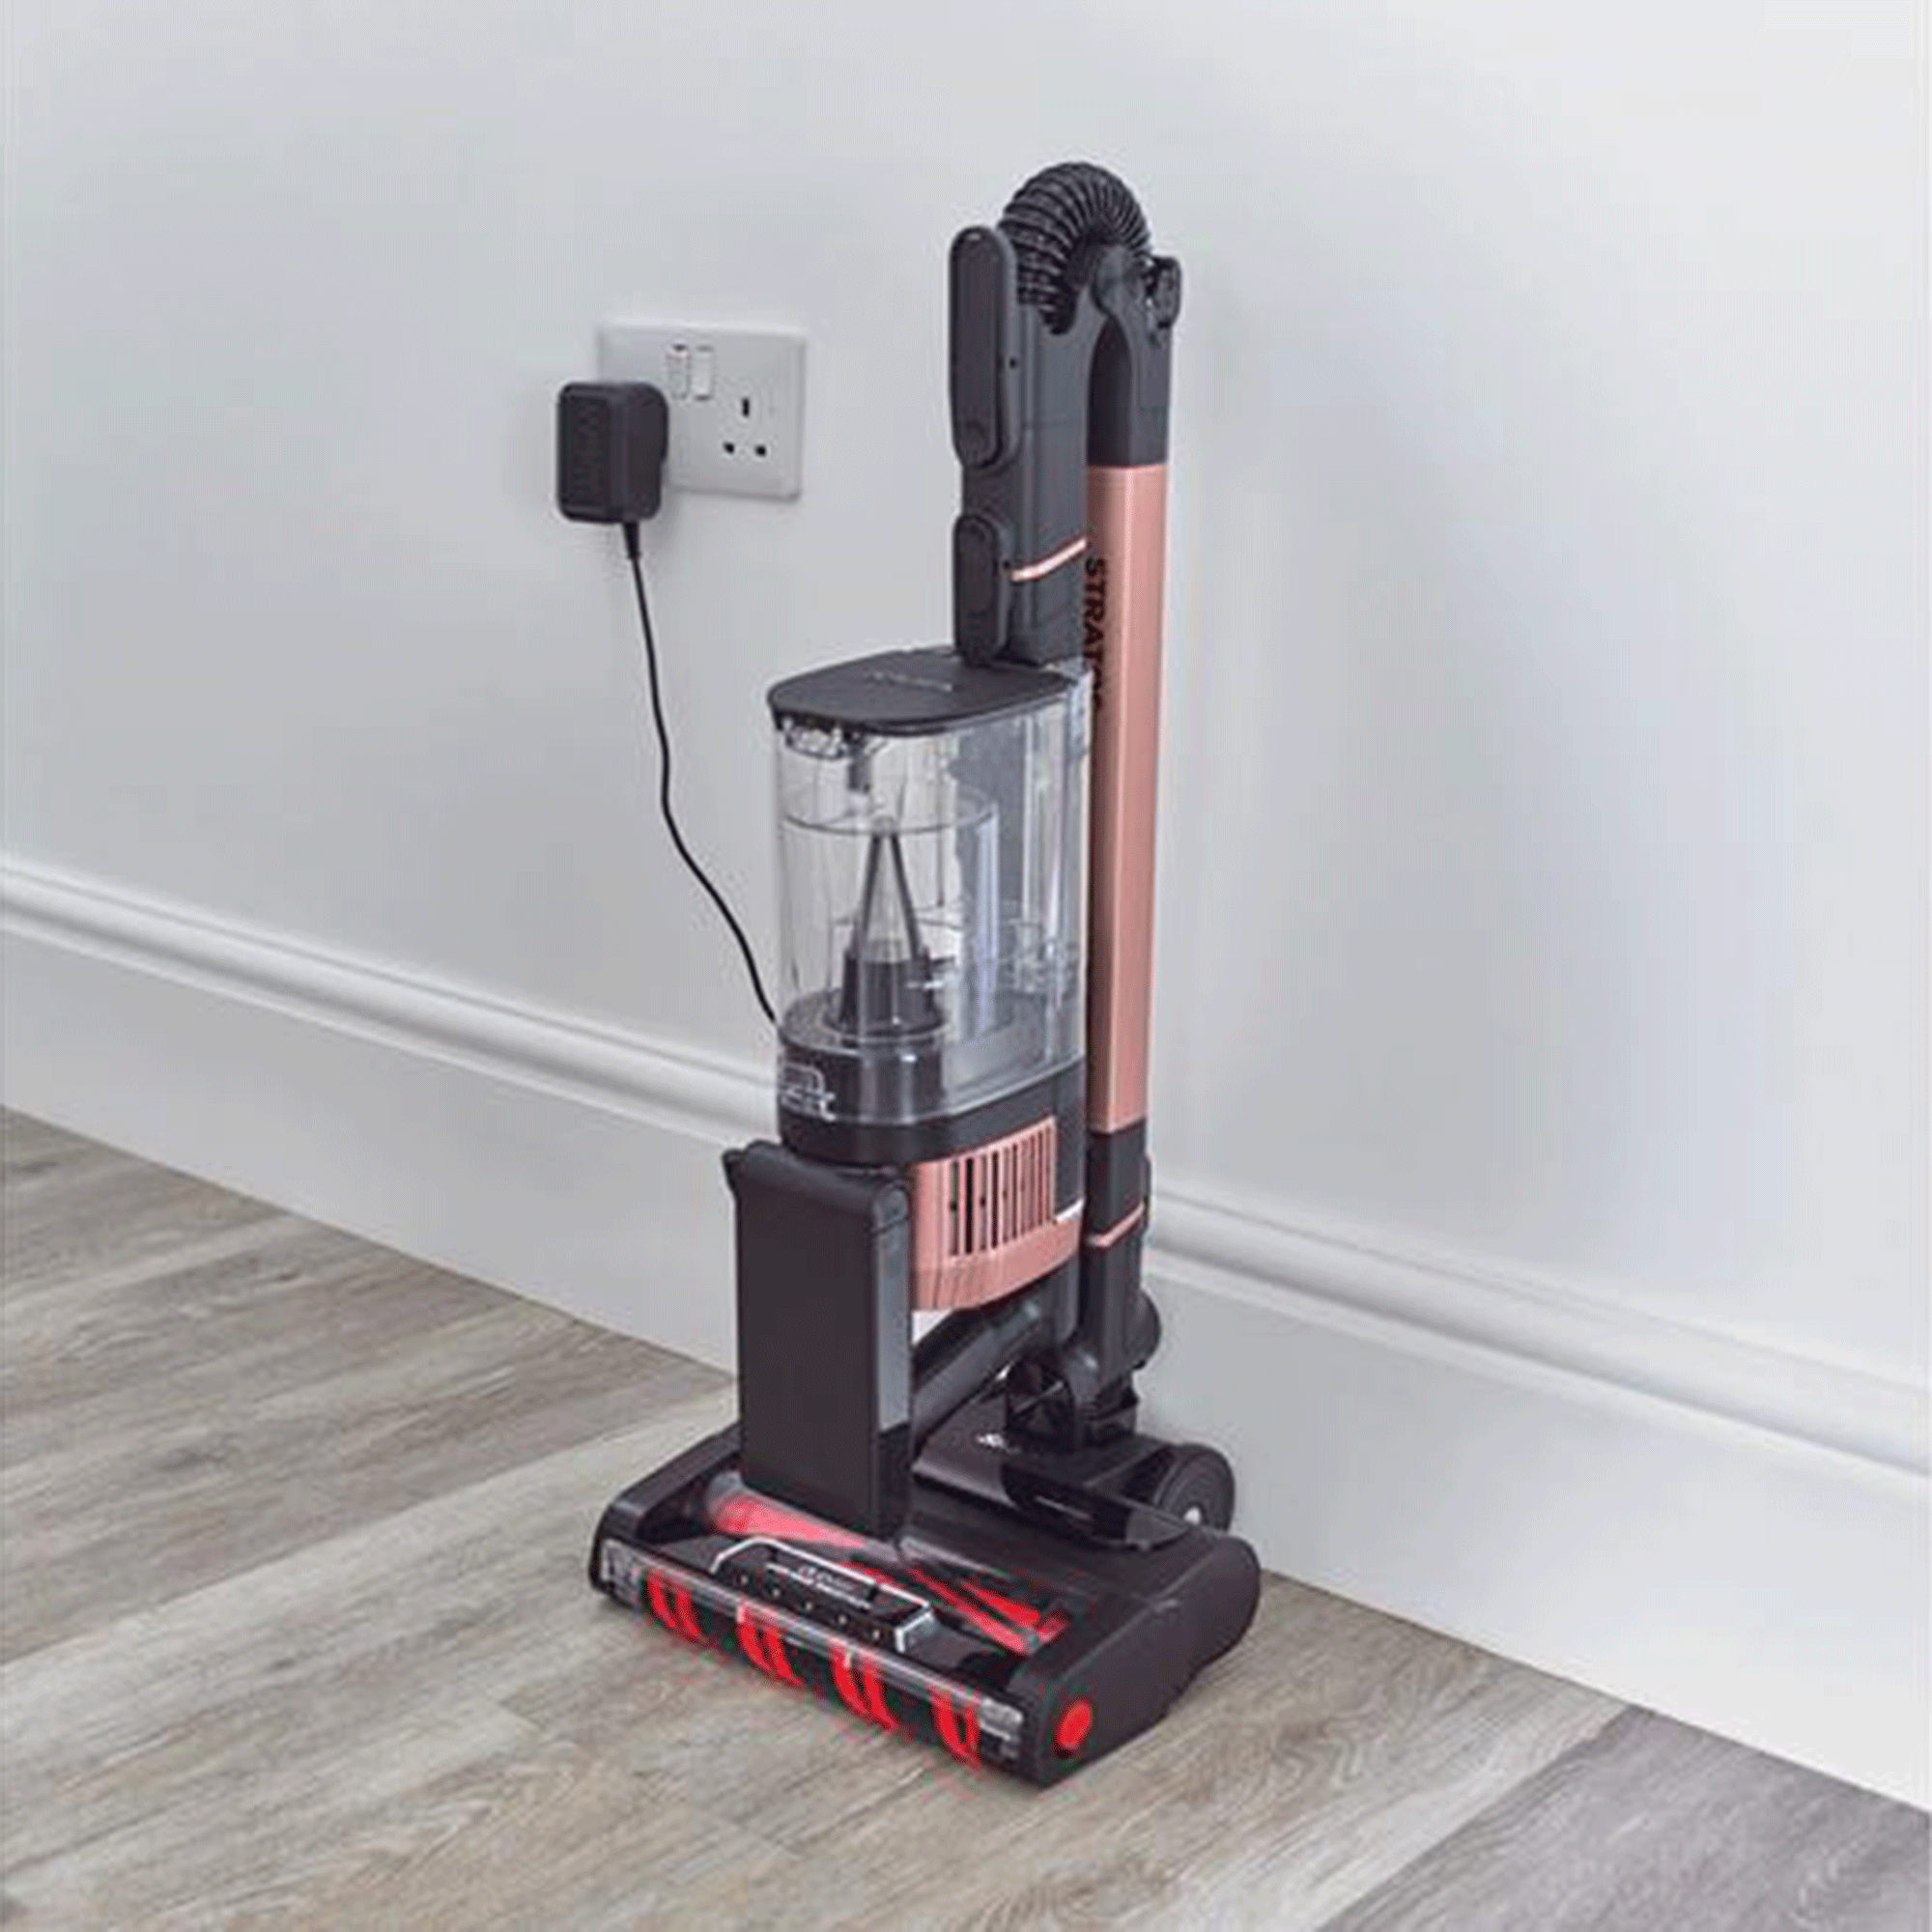
Of course, this step is a little different if you have one of the best cordless vacuum cleaners. In this instance, you should make sure that your Shark is completely turned off. This could also be a great time to remove the battery and pop it on charge.
2. Clean your Shark vacuum cleaner
You know what they say about two birds and one stone, so it makes sense to clean your whole Shark vacuum while you’re also cleaning the Shark vacuum filter.
Sign up to our newsletter for style inspiration, real homes, project and garden advice and shopping know-how
You should focus your cleaning efforts on emptying the dust tank, checking for blockages, cleaning the brush roll, removing any hair, and checking the sensors.
3. Locate the foam filter and rinse
Every Shark vacuum cleaner is different, and this is also true when it comes to the location of your vacuum cleaner’s filters. This is why the brand suggests checking the instruction booklet first to help locate your unit’s removable filters and see how to access them.
First in the filter cleaning lineup should be the foam filter, which is easily recognisable by its flat and generally circular or square shape. Shark has issued some strict instructions to clean these foam filters.
‘Simply tap off loose dirt and then rinse them under a tap. Only use water – do not use soap.’
If you wanted to, you could gently squeeze the foam filter to remove any tough build-up. But if you’re going to do this, you need to be incredibly gentle and make sure you don’t squash or rip the filter in any way.
When the water runs clear, you can stop rinsing.
4. Leave to dry
It’s common sense that water and electricity don’t mix, which is why you should never put a wet filter back into your Shark vacuum cleaner. Instead, you need to make sure that it’s completely dry before inserting it again - and Shark suggests letting it air dry for at least 24 hours.
If you want to speed up the process slightly, you could roll the filter in a microfibre cloth to dry any surface water. Again, you need to be incredibly gentle, which is why air drying is generally considered to be the best option.

5. Locate the post-motor filter and rinse
Next up in the filter cleaning lineup is the post-motor filter, which traps dust and allergens that are picked up during the vacuuming process.
As you can imagine, this filter can become incredibly dirty, and it’s important to clean it regularly to stop these allergens from making their way back into your home.
The exact shape and location of this filter depends on the specific Shark vacuum cleaner you use, but it’s easily recognisable by its pleated filter edge.
To clean it, Shark says, ‘Firstly, remove it from the vacuum – you may also need to remove the filter from a frame, depending on your model. Hand wash with water.’
Once again, you should avoid using anything other than water on these filters, as they’re extremely sensitive and can impact the overall efficiency of your appliance.
6. Leave to dry
Just as you need to leave the foam filter to dry completely before reassembling your Shark vacuum cleaner, you also need to leave the post-motor filter to dry.
Air drying is the best way to do this, and you should also make sure that it’s bone dry before you put it back in your electrical appliance.
7. Repeat as recommended
Cleaning your Shark vacuum filter isn’t the most exciting thing in the world, but it is one of the best ways to ensure that your Shark vacuum continues to run smoothly. In fact, letting dust and debris build up in this filter is a serious safety risk.
Karl Bantleman, Head of Digital at Direct365, says, ‘A filter that's clogged with dust and debris restricts airflow and therefore causes the vacuum to overheat, which could result in the motor failing and in some cases a fire to start.’
Not only that, but it could also affect the efficiency of the vacuum cleaner. ‘Blocked filters can cause the vacuum engine to go into overdrive and therefore the built-in safety features, such as thermal cutouts to become activated, meaning that your vacuum will stop working,’ Karl adds.
So, you should make sure to add this task to your cleaning schedule. But how often should you do this?
The Shark website says, ‘We recommend rinsing your vacuum cleaner’s foam and felt filter kit every month and rinsing the washable post-motor filter once a year. However, this timeline will vary by product, so please check your instruction booklet for more information. You can also tap loose dirt off filters between washes as needed.’
8. Consider buying spares
If you keep on top of cleaning your Shark vacuum filters, you shouldn’t need to replace them. However, you might want to consider a spare if you’re someone who uses their Shark vacuum on a regular basis.
Our E-Commerce Editor and vacuum cleaner expert, Molly Cleary, explains, 'I check the filters after I've vacuumed and wash them once a month when I do a deep clean of my Shark vacuum. I make sure to clean the filters by rinsing them in water and leaving them to dry. This can take up to 24 hours, so it's good to have a backup filter for this or know that you'll need to be patient.'
You can buy these spare or replacement filters directly from Shark, or you can find them elsewhere - like this Leadaybetter 2-pack Upright Vacuum Replacement Filter Set for Shark from Amazon. Just remember that there are different filter kits for different Shark vacuums, so do your research to make sure you’re buying the right ones.
FAQs
Can Shark vacuum filters be washed?
Shark vacuum filters are extremely delicate, which is why rinsing them is your best bet. To clean these filters, simply hold them under a running tap and wait for the water to run clear. Then, you must air dry them completely before inserting them back into your vacuum cleaner.
You should never use cleaning products on these filters, either. Clean water is all you need.
How do you remove and clean a Shark filter?
The exact location of your Shark filters will depend on the model that you have, but there are generally two types of filters you need to clean: the foam filters and the post-motor filter.
The foam filter is usually a circular or square piece of foam, which you can simply pull out and then rinse under a tap. You should then let it air dry for around 24 hours before reassembling your Shark vacuum cleaner.
The post-motor filter is usually bigger and has a pleated edge, but the cleaning instructions are the same as cleaning a foam filter.
If you haven't cleaned the filter of your Shark vacuum cleaner recently, it's time to give it some TLC.

Lauren Bradbury has been the Content Editor for the House Manual section since January 2025 but worked with the team as a freelancer for a year and a half before that. She graduated with a Bachelor’s degree in English and Creative Writing from the University of Chichester in 2016. Then, she dipped her toe into the world of content writing, primarily focusing on home content. After years of agency work, she decided to take the plunge and become a full-time freelancer for online publications, including Real Homes and Ideal Home, before taking on this permanent role. Now, she spends her days searching for the best decluttering and cleaning hacks and creating handy how-to guides for homeowners and renters alike, as well as testing vacuums as part of her role as the Ideal Home Certified Expert in Training on Vacuums, having spent over 110 hours testing different vacuum models to date!