How to clean the rubber seal on a washing machine - this tiny part can leave your clothes with a nasty stench
It may be small, but it’s mighty… and it’s probably well overdue for a clean
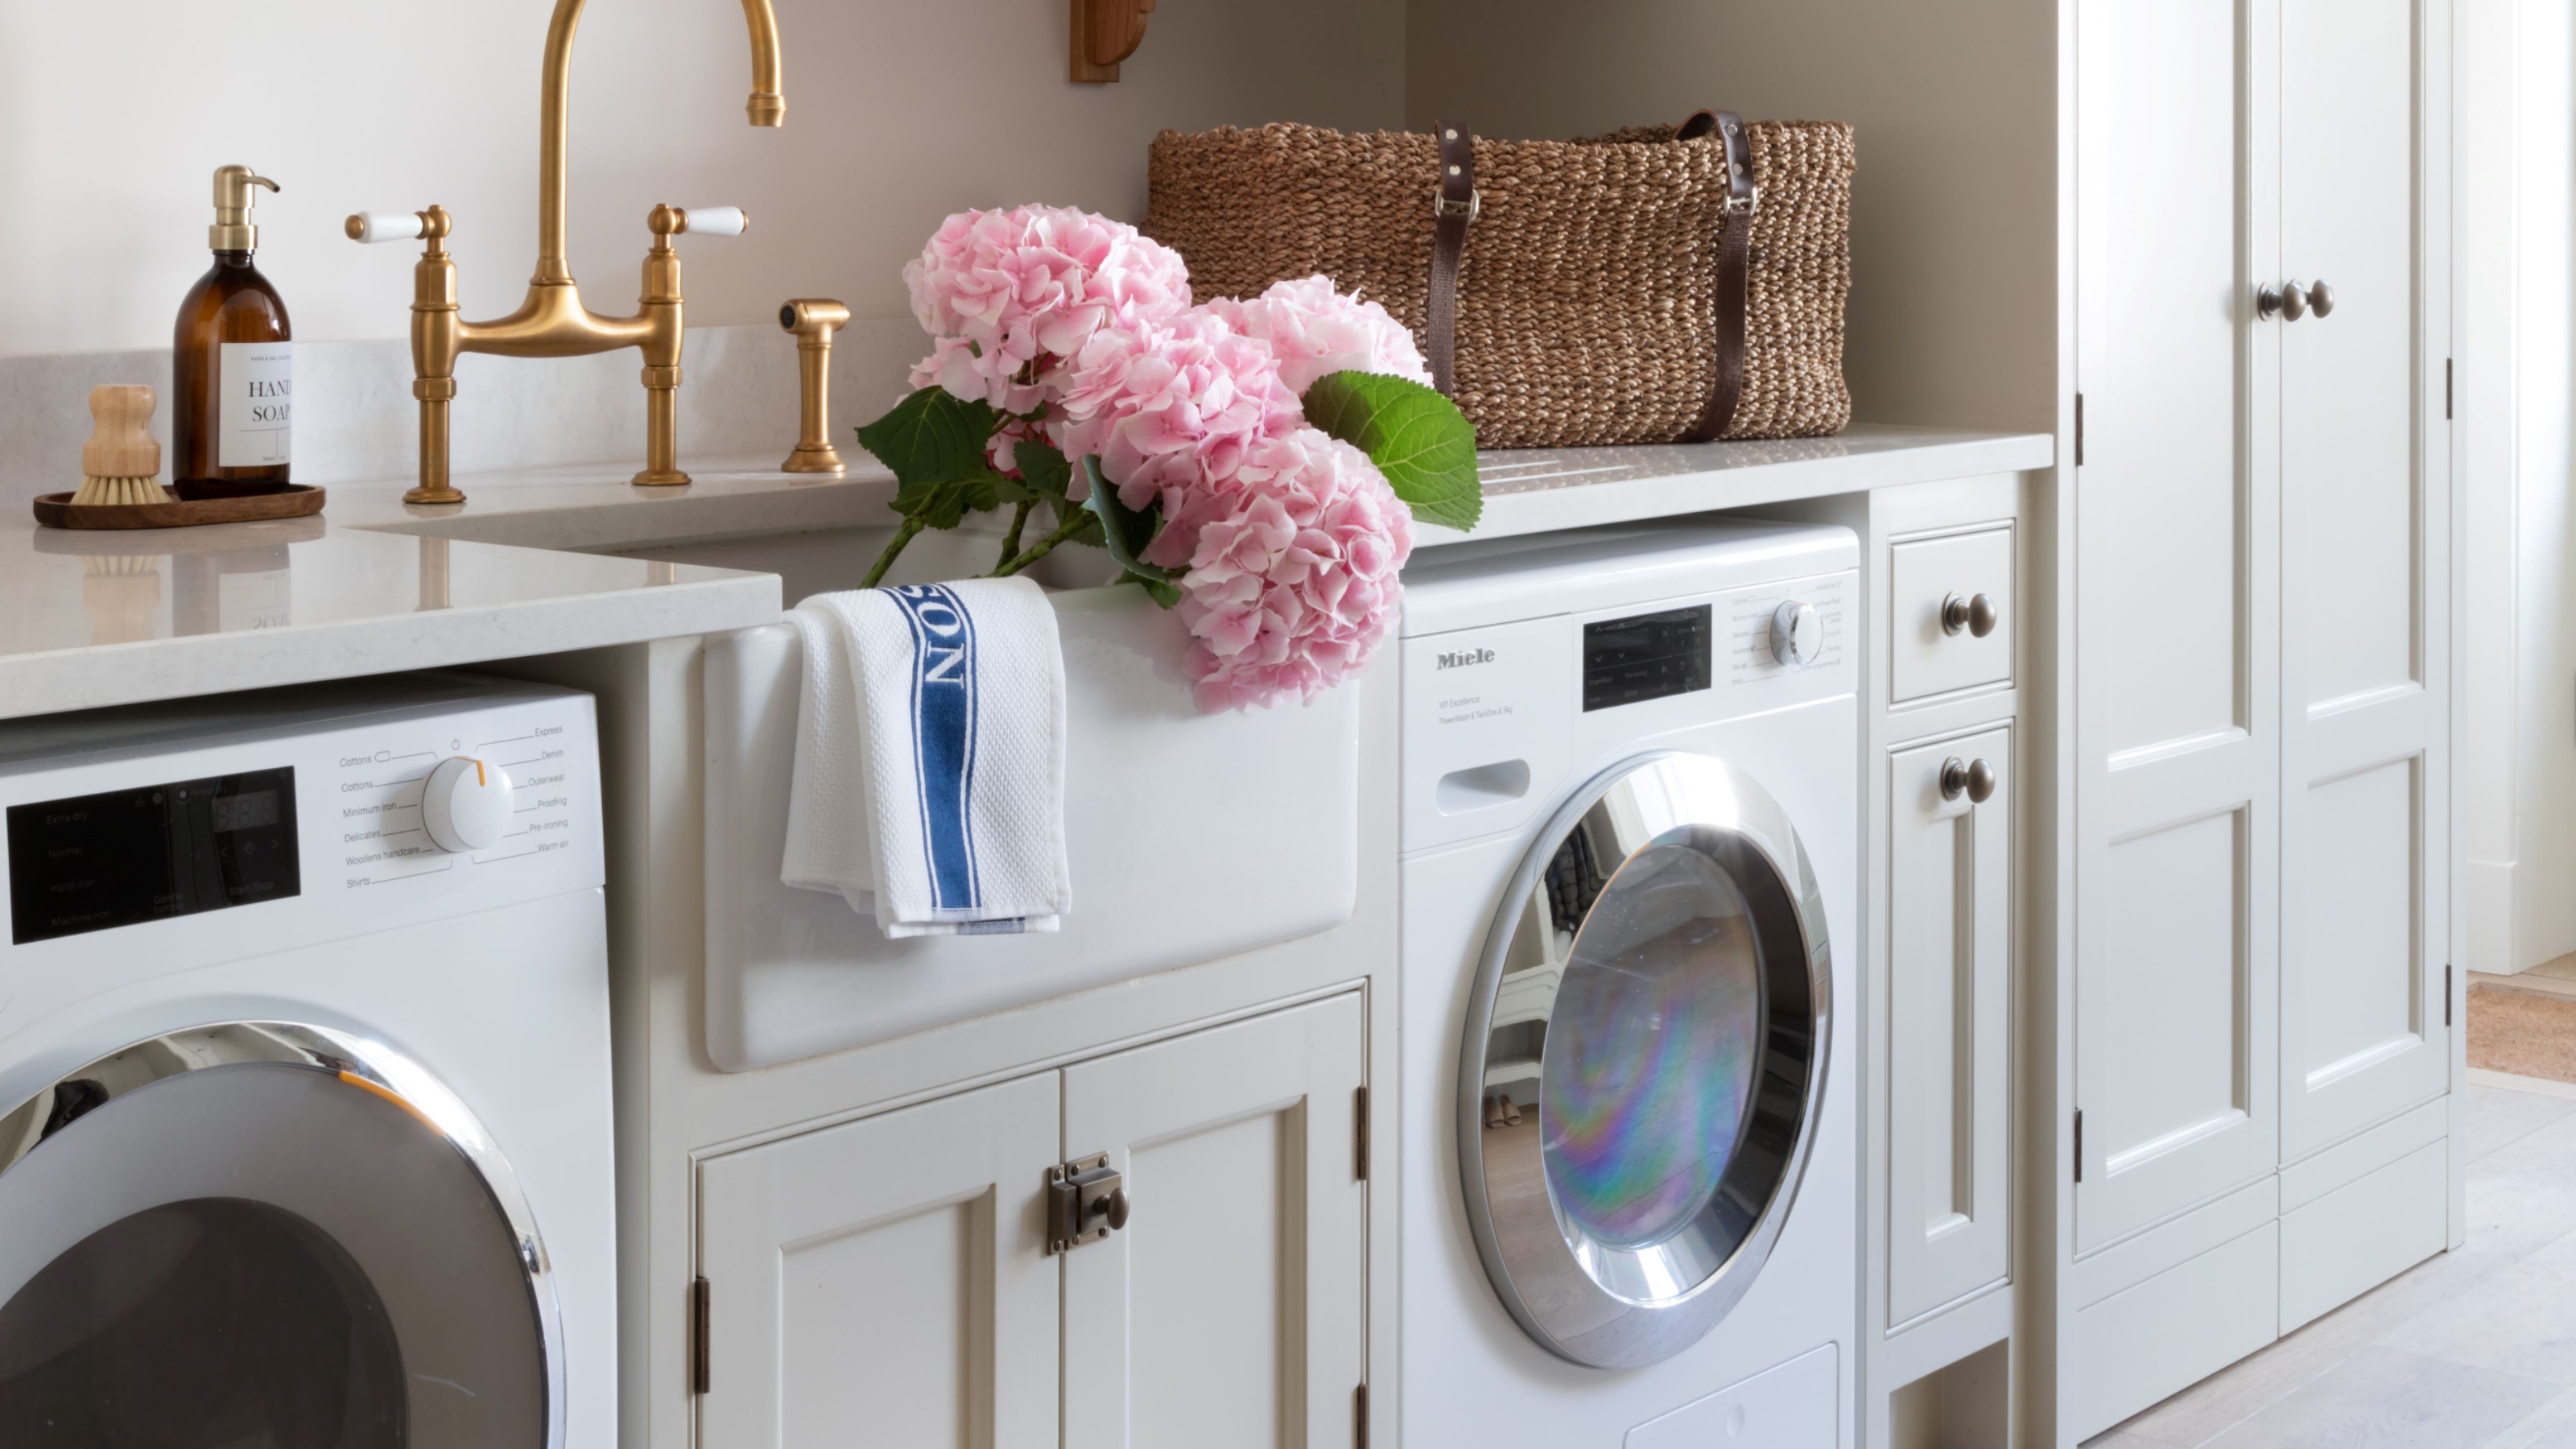

If you’re wondering how to clean the rubber seal on a washing machine, then you’ve come to the right place. Although this tiny component is easy to forget, it can have a big impact on the longevity and efficiency of your washing machine.
Of course, we all know how important it is to clean a washing machine. But what many people fail to realise is that a washing machine is so much more than just the drum, the filter, and the detergent drawer. You also need to take into account the rubber seal on a washing machine, which sits between the door and the drum.
Failing to clean the rubber seal of your washing machine can cause mould and bacteria to build up, and it can ultimately leave your clothes with a nasty stench that even the strongest of Scent Boosters can’t fix. Thankfully, the best cleaning products are on hand to ensure that your rubber seal will be left squeaky clean.
How to clean the rubber seal on a washing machine
‘To keep your washing machine’s seal fresh and mould-free, you need to clean and dry it regularly,’ explains cleaning expert Joyce French from HomeHow.co.uk. But to make sure that you’re cleaning it properly, we’ve put together the ultimate guide on how to clean the rubber seal on a washing machine.
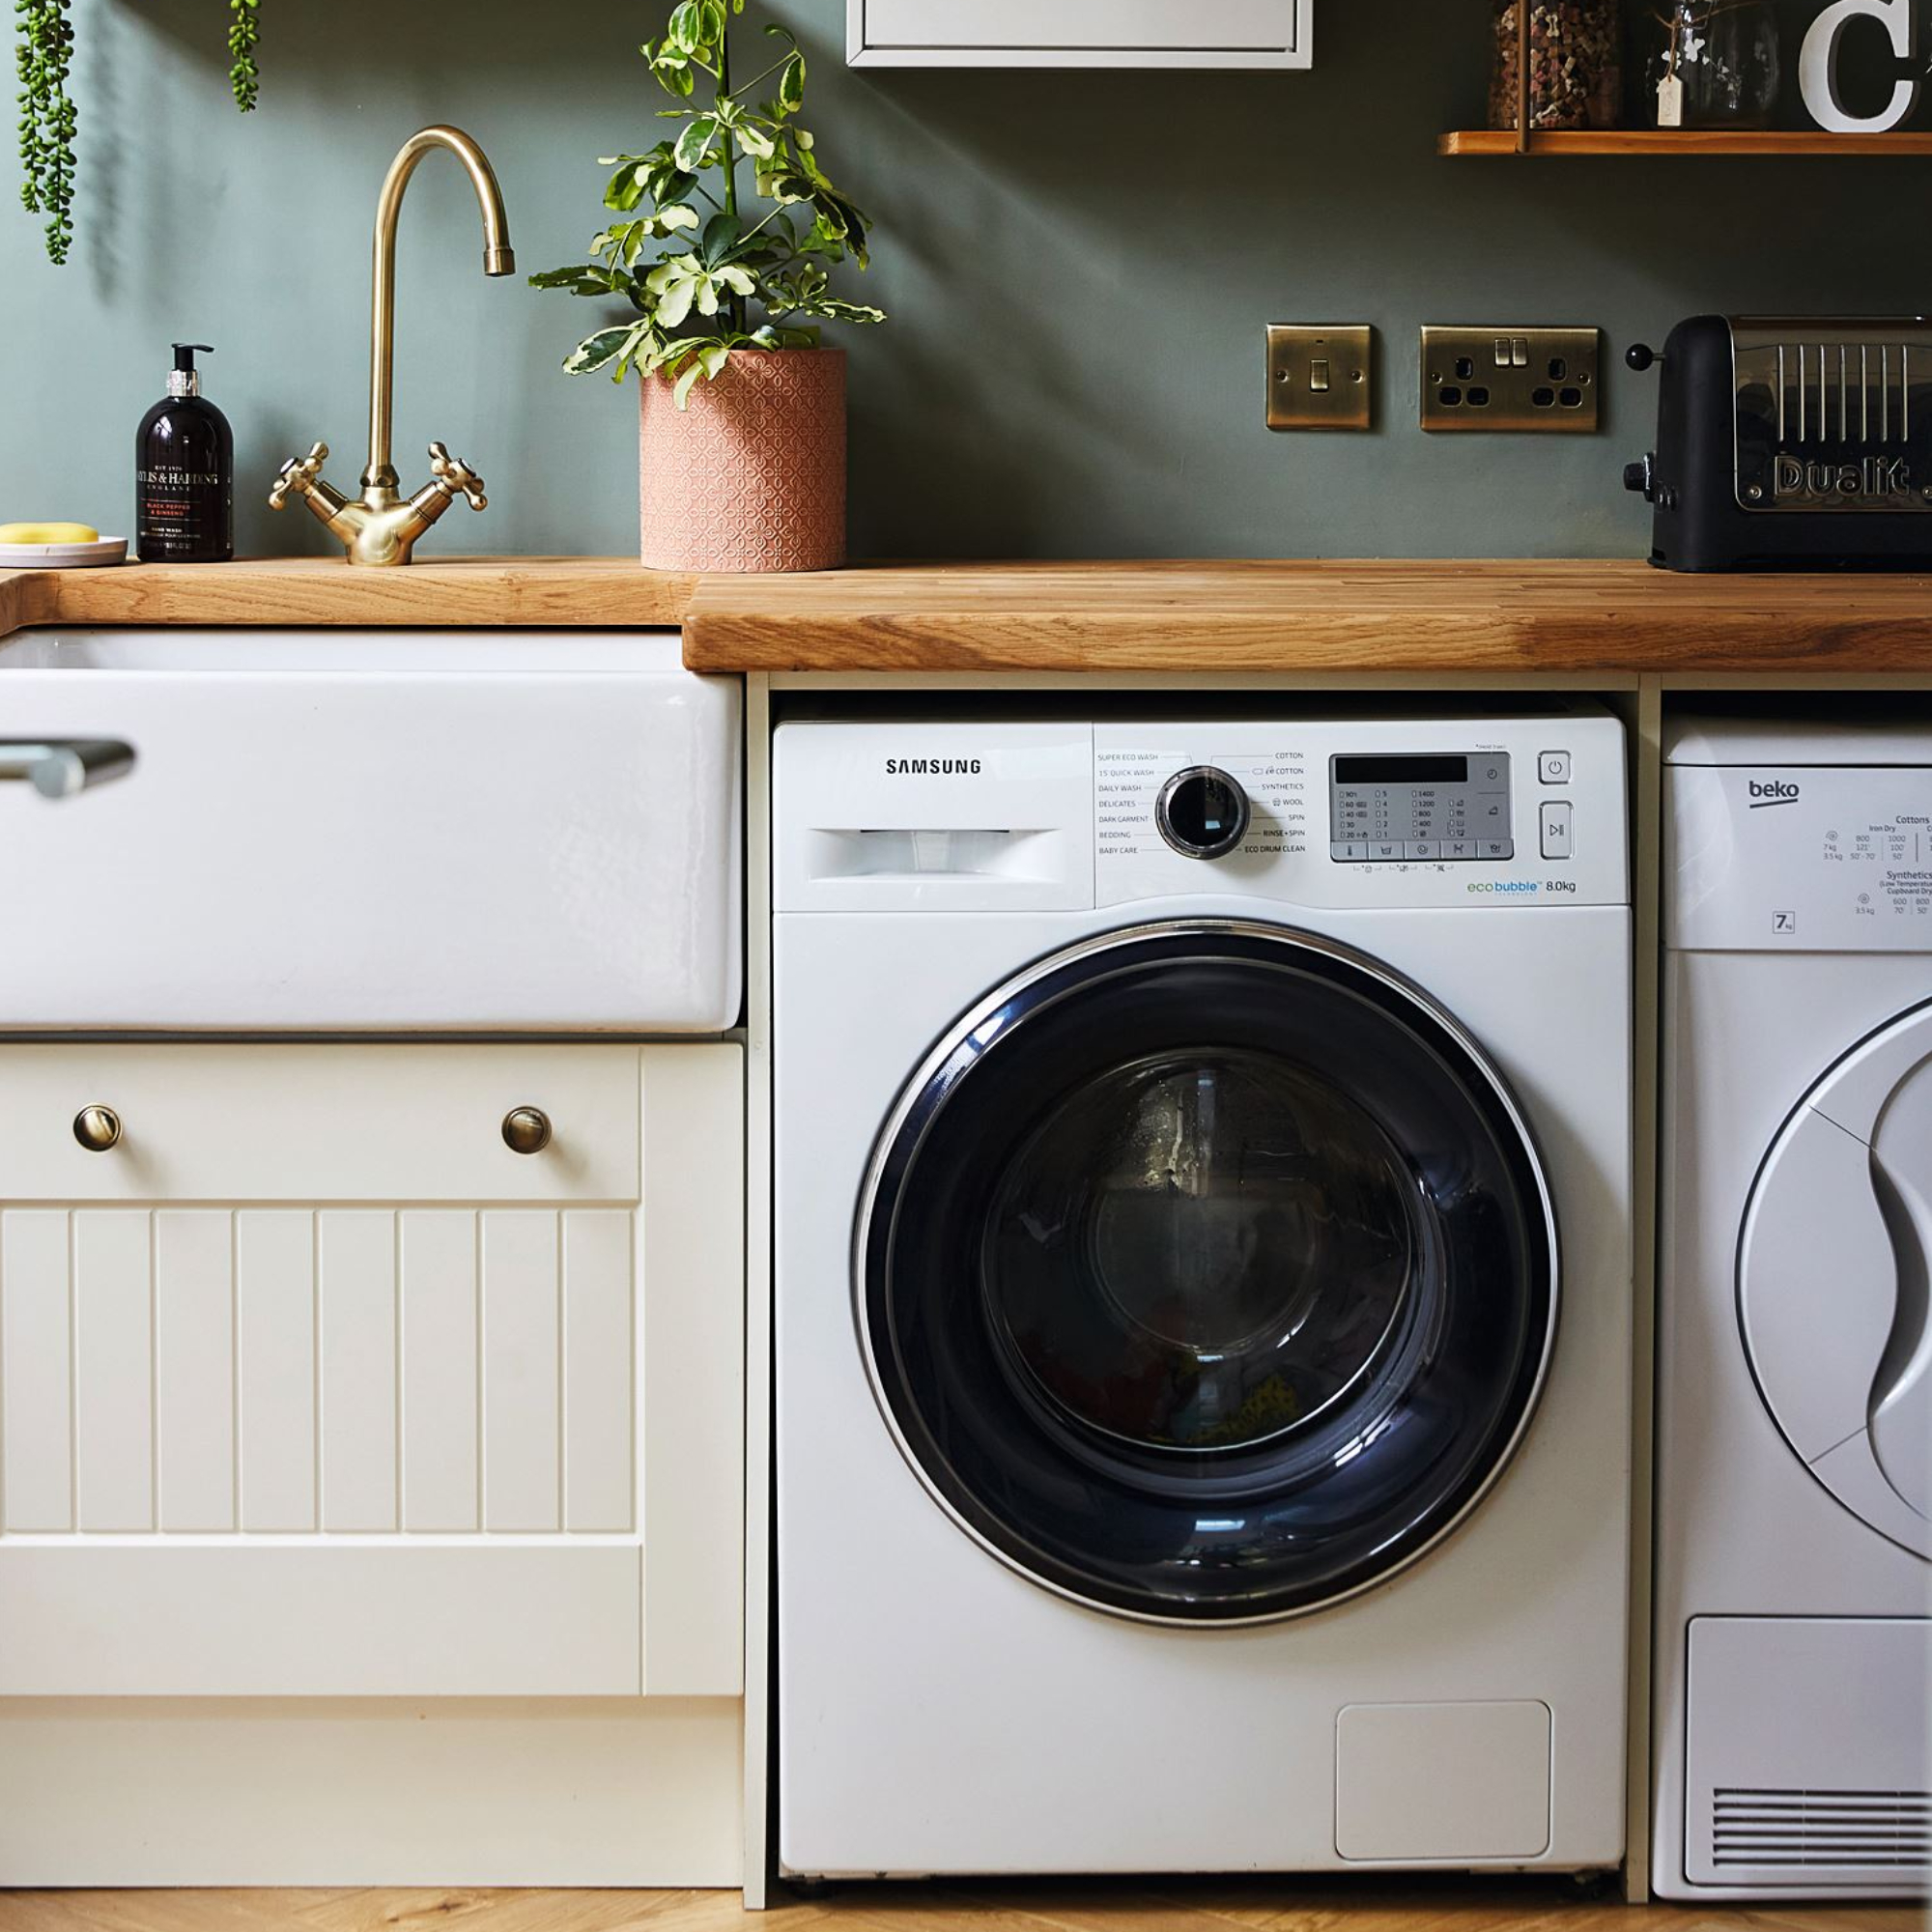
What you’ll need
- Pair of cleaning gloves
- Bucket
- Warm water
- Washing up liquid
- Cloth
- Toothbrush
- Bleach
- Baking soda
Step-by-step
1. Remove any lingering lint
It’s important to keep the rubber seal of your washing machine in place when you’re cleaning it, as trapping any water or cleaning products underneath the seal is a recipe for disaster- and a recipe for festering mould and mildew.
However, it’s always a good idea to pop on some clean gloves and carefully lift up the seal before you start cleaning. That way, you can remove anything that shouldn’t be there, such as any lingering lint - or maybe even a rogue sock that you’ve been missing for the past six months.
Then, carefully push the seal back into place, making sure that there are no gaps.

2. Clean with washing up liquid
When you’re confident that the seal isn’t trapping anything underneath, you can then get started on cleaning it. To do this, grab yourself a bucket and fill it with a mixture of warm water and washing-up liquid.
Then, ‘Carefully wipe around the rubber seals, making sure you do not lift the seals away from the metal. If any dirt remains, use a toothbrush to scrub the surface and wipe it clean with warm water,’ explains Salah Sun, Head of Product Management at Beko.
3. Tackle tougher dirt
If you’ve not cleaned your rubber seal in a while and don’t think that soapy water will cut through the dirt and mould, it might be worth adding an extra step to clean the rubber seal on your washing machine properly.
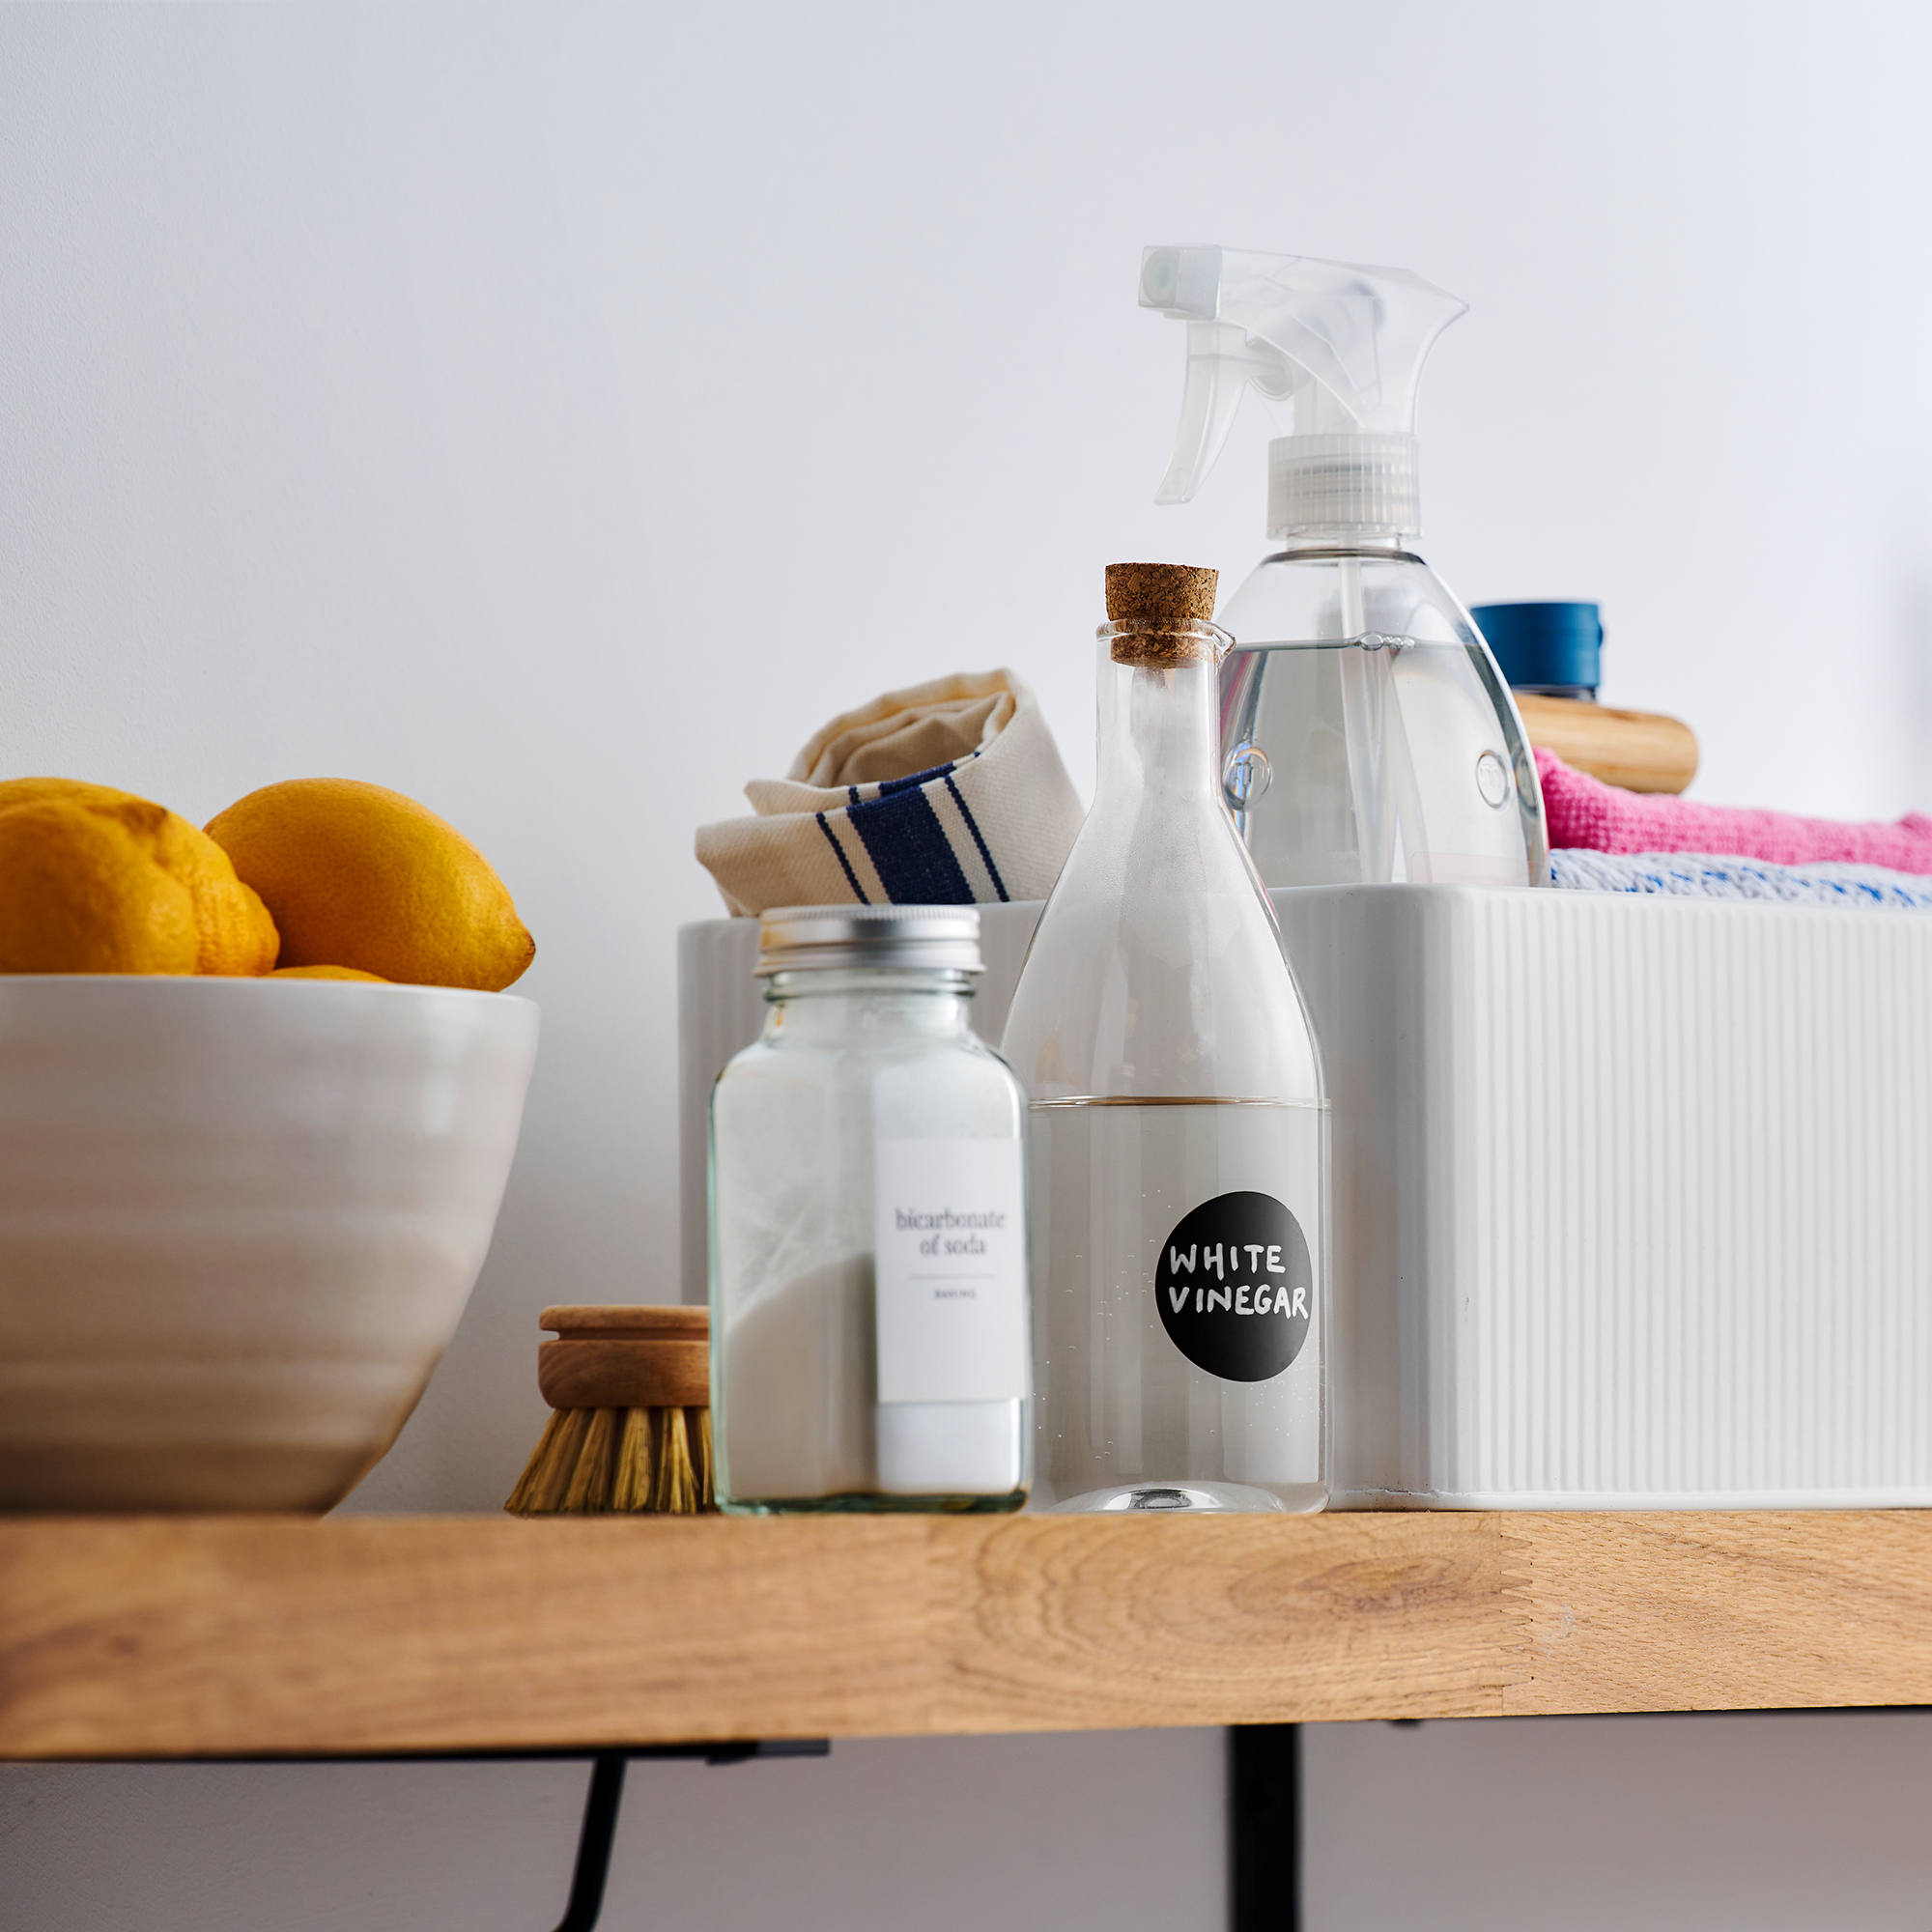
Joyce suggests using equal parts bleach and baking soda for this task. ‘This can be added to the drum or drawer before putting your empty machine on a hot wash. You can also use a specialist seal cleaner to do the job. But always check your manufacturer’s recommendations before using homemade and off-the-shelf cleaners.’
If you don’t want to use bleach, though, you could alternatively use a 1:4 ratio of vinegar and water. And adding this extra step, you also have the added bonus of giving your drum and drawer an extra clean.
4. Leave the door open
Hands up if you close the door of your washing machine as soon as you take out the wet washing? Don’t worry, we’re all guilty of it. But if you want to keep the rubber seal of your washing machine clean (as well as your whole washing machine), experts suggest keeping the door open for a little while once your cycle has finished.
‘Following a load of laundry, make sure to leave the door open to allow air to circulate in the washing machine drum and door,’ explains Salah. ‘If the door is closed, bacteria will fester in the damp, allowing mould and mildew to build up in the rubber seals and other parts of the machine – a problem no one wants!’
Not only that, but Salah has even pointed us in the direction of self-cleaning washing machines that will actually do the hard work for you. These machines use heat to kill bacteria build-up in washing machines, but it’s important to note that these extra cycles might impact how much it costs to run a washing machine.
FAQs
How do you remove black mould from washing machine rubber seal?
Black mould isn’t something you should leave hanging around, especially in your washing machine. It can make your clothes smell and can transfer spores onto your laundry. To remove black mould from a washing machine seal, it’s best to clean it with bleach and baking soda or a mixture of vinegar and water.
These products will not only clean and remove the mould, but they will also kill any lingering bacteria or mould spores that want to stick around.
What can I use to clean the rubber seal on my washing machine?
The easiest way to clean the rubber seal on a washing machine is to use warm water and washing up liquid - but you must make sure that you don’t lift the seal in the process. Getting water or cleaning products underneath the seal can ultimately make a mould or mildew problem even worse.
All you need to do is give your seal a wipe with a clean cloth and this warm, soapy water, using a toothbrush to get into any nooks and crannies. If you feel as though your seal needs a slightly tougher clean, though, you can use bleach and baking soda or water and vinegar.
Make sure you add this task to your regularly cleaning checklist.
Get the Ideal Home Newsletter
Sign up to our newsletter for style and decor inspiration, house makeovers, project advice and more.

Lauren Bradbury has been the Content Editor for the House Manual section since January 2025 but worked with the team as a freelancer for a year and a half before that. She graduated with a Bachelor’s degree in English and Creative Writing from the University of Chichester in 2016. Then, she dipped her toe into the world of content writing, primarily focusing on home content. After years of agency work, she decided to take the plunge and become a full-time freelancer for online publications, including Real Homes and Ideal Home, before taking on this permanent role. Now, she spends her days searching for the best decluttering and cleaning hacks and creating handy how-to guides for homeowners and renters alike, as well as testing vacuums as part of her role as the Ideal Home Certified Expert in Training on Vacuums, having spent over 110 hours testing different vacuum models to date!
-
 My go-to Ninja coffee machine is on sale for Easter weekend
It makes coffee shop quality achievable at home
By Molly Cleary
-
 When to plant out annual flowering plants for vibrant, colourful garden borders – and give them the best start, according to experts
Not sure when to plant out annual flowering plants? We've got you covered...
By Kayleigh Dray
-
 I'm a kitchen decor editor and didn't like this tableware trend - until I saw H&M Home's designer-look plates
They made it easy to justify a new crockery set
By Holly Cockburn