How to degrease a kitchen splashback - follow these steps once, and you may never have to do it again
Your kitchen splashback will look better than ever

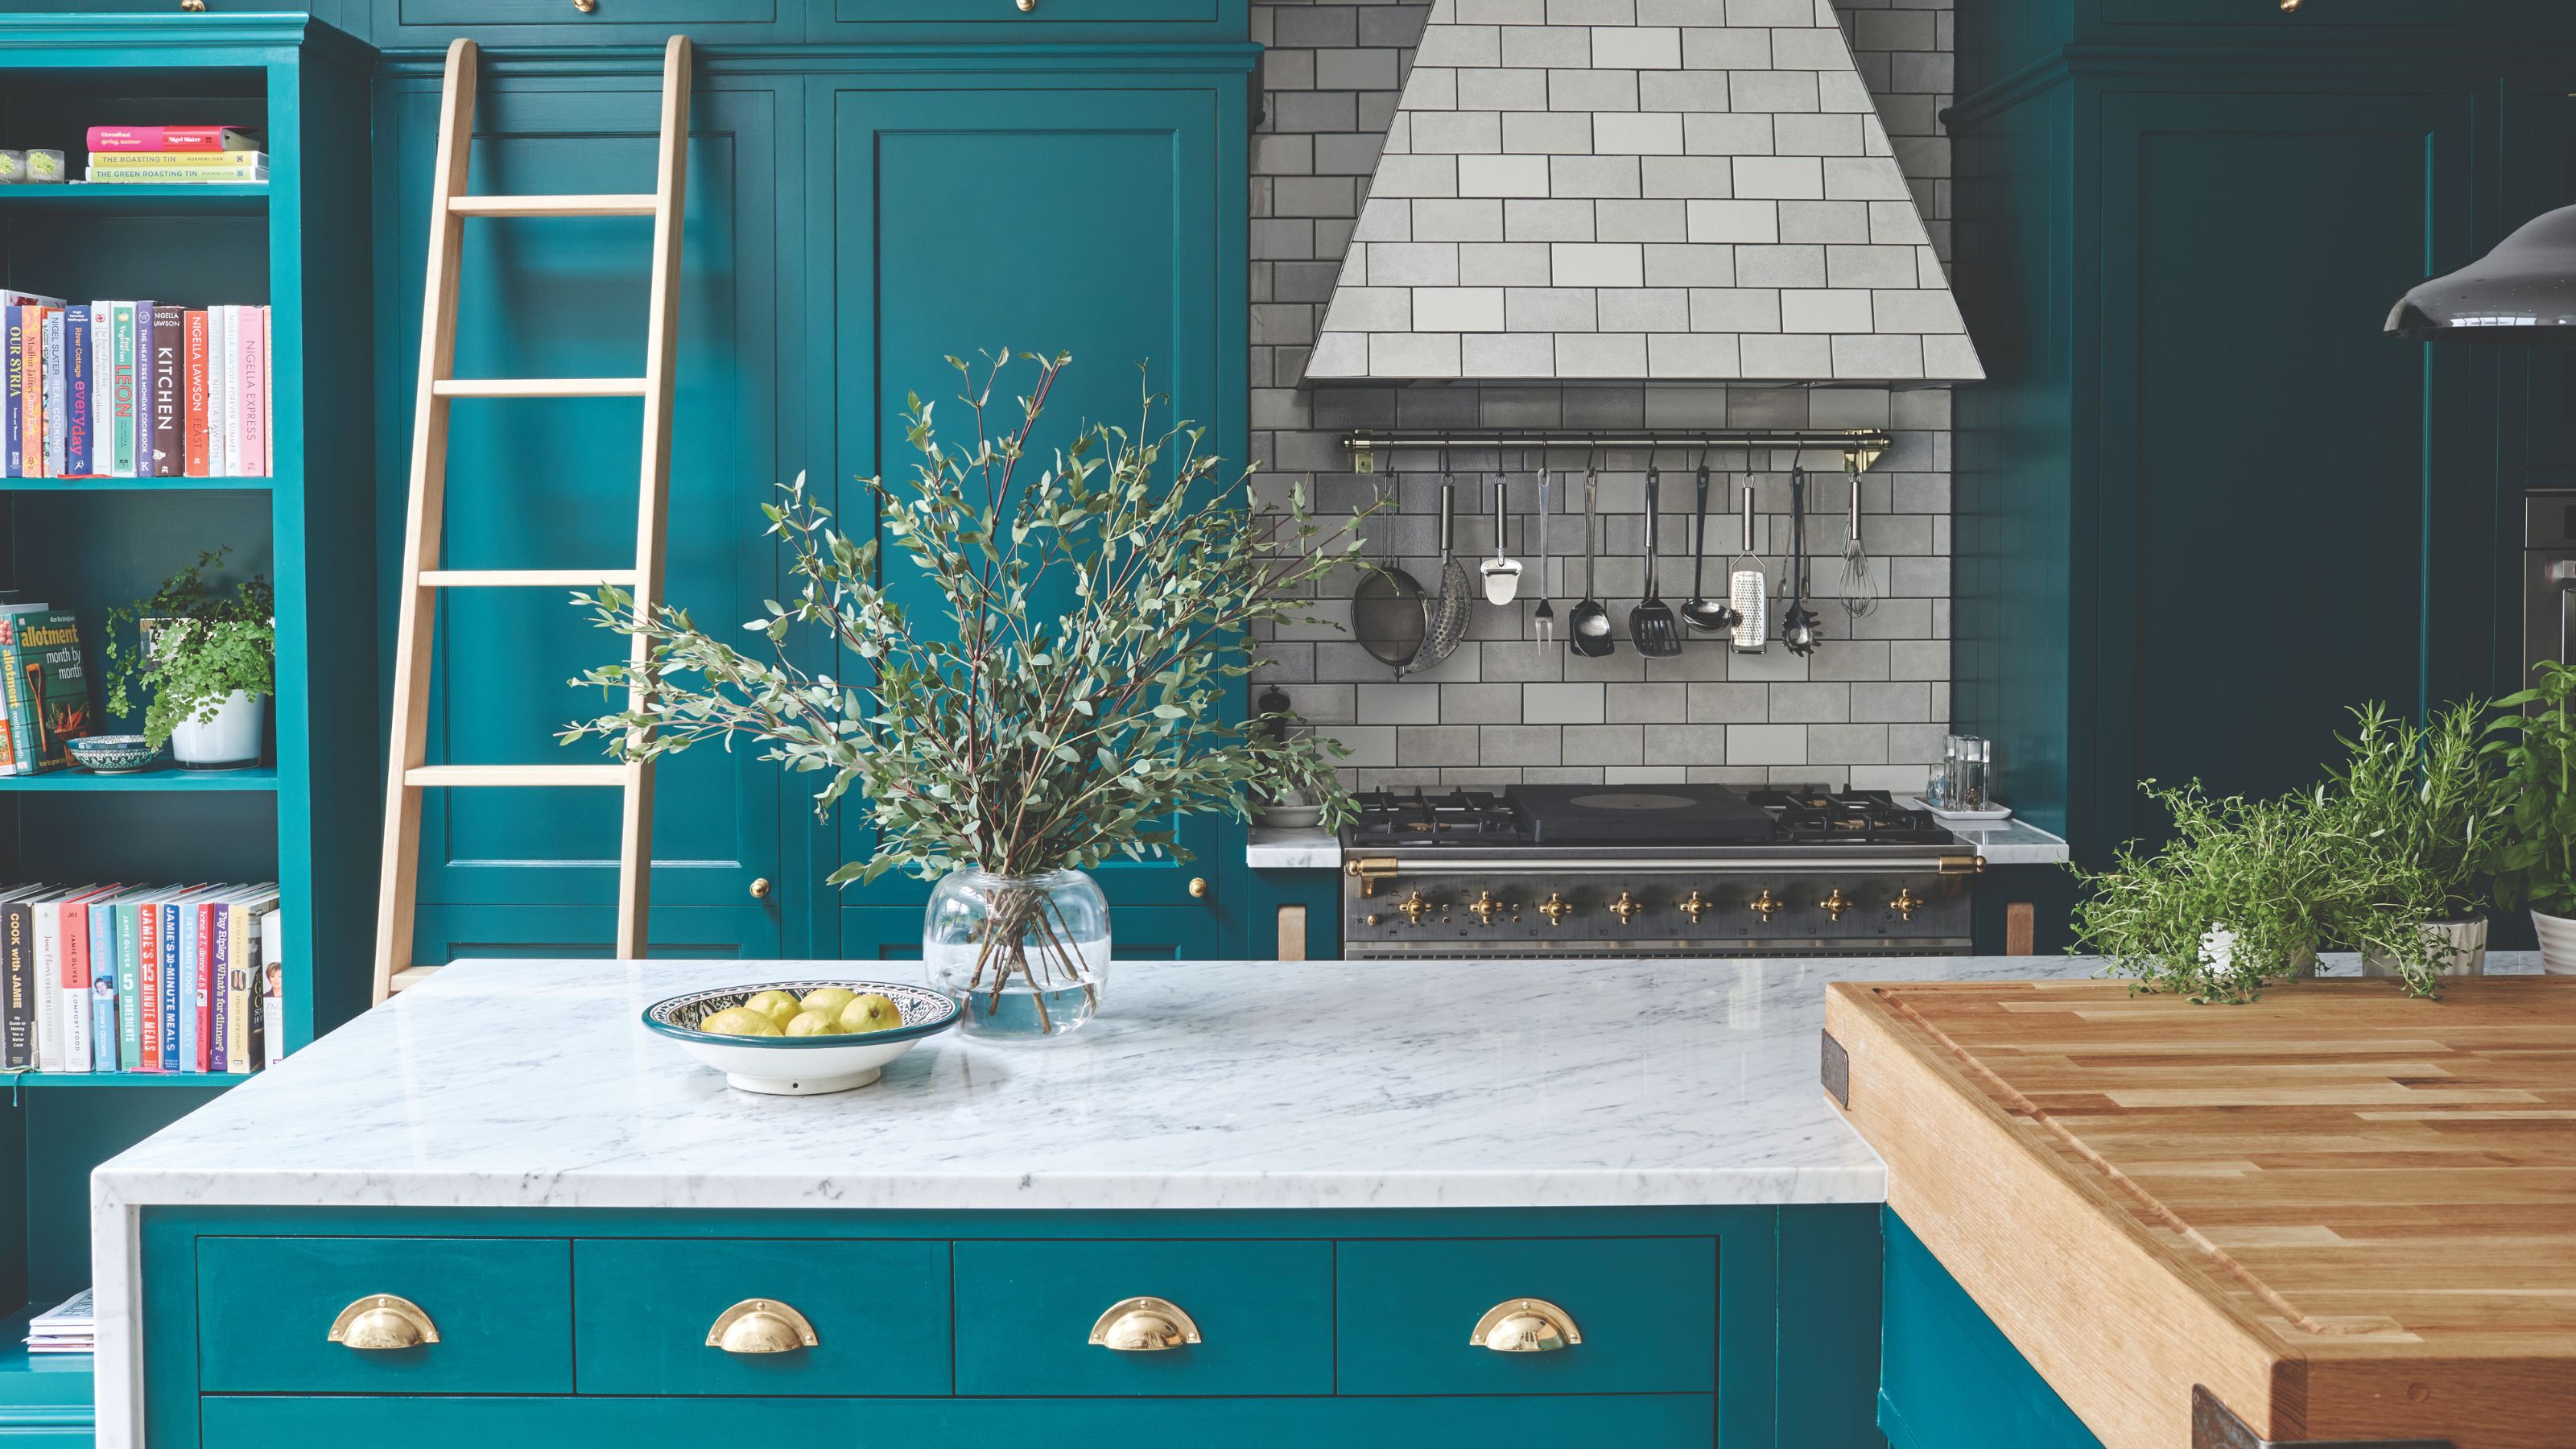
Unless you exclusively eat microwave meals or have your local takeaway on speed dial, knowing how to degrease a kitchen splashback is something everyone needs to know. After all, a few splatters of oil and food are all it takes to create a layer of grime behind your hob.
Cleaning this area of your kitchen is also vital in ensuring that your splashback ideas remain a stylish focal point, merging aesthetics with practicality. And while you can always give your splashback a wipe-down when you’re cleaning the kitchen, it’s not the same as removing the grease from it.
In fact, cleaning with the wrong products and/or using the wrong method can actually spread the grease around and make things worse. That’s why we’ve put together the ultimate step-by-step guide on how to degrease a kitchen splashback so you can do this once… and hopefully never have to repeat it again.
What you'll need
Step-by-step
1. Choose your cleaning solution

While you’d typically use a neutral cleaner to clean other areas of your home, this type of cleaner won’t help when trying to get rid of acidic grease on your splashback.
That’s why Lauren Daly, an eco-conscious cleaning company owner and founder of Natrie, says, ‘The golden rule for degreasing is that you need to use an alkaline product. The more alkaline, the better, so choose something high up on the pH scale.’ Lauren uses professional-grade products herself and states that ‘Clover - Viro-Sol (which you can buy on Amazon) is what we would use on bad grease on a cleaning job. It's amazing!’
However, you need to consider the material of your kitchen splashback, as certain products may damage softer materials such as natural stone or brick. In fact, Lauren suggests testing the surface for compatibility first - especially if you have an aluminium backsplash that may react to an alkaline product.
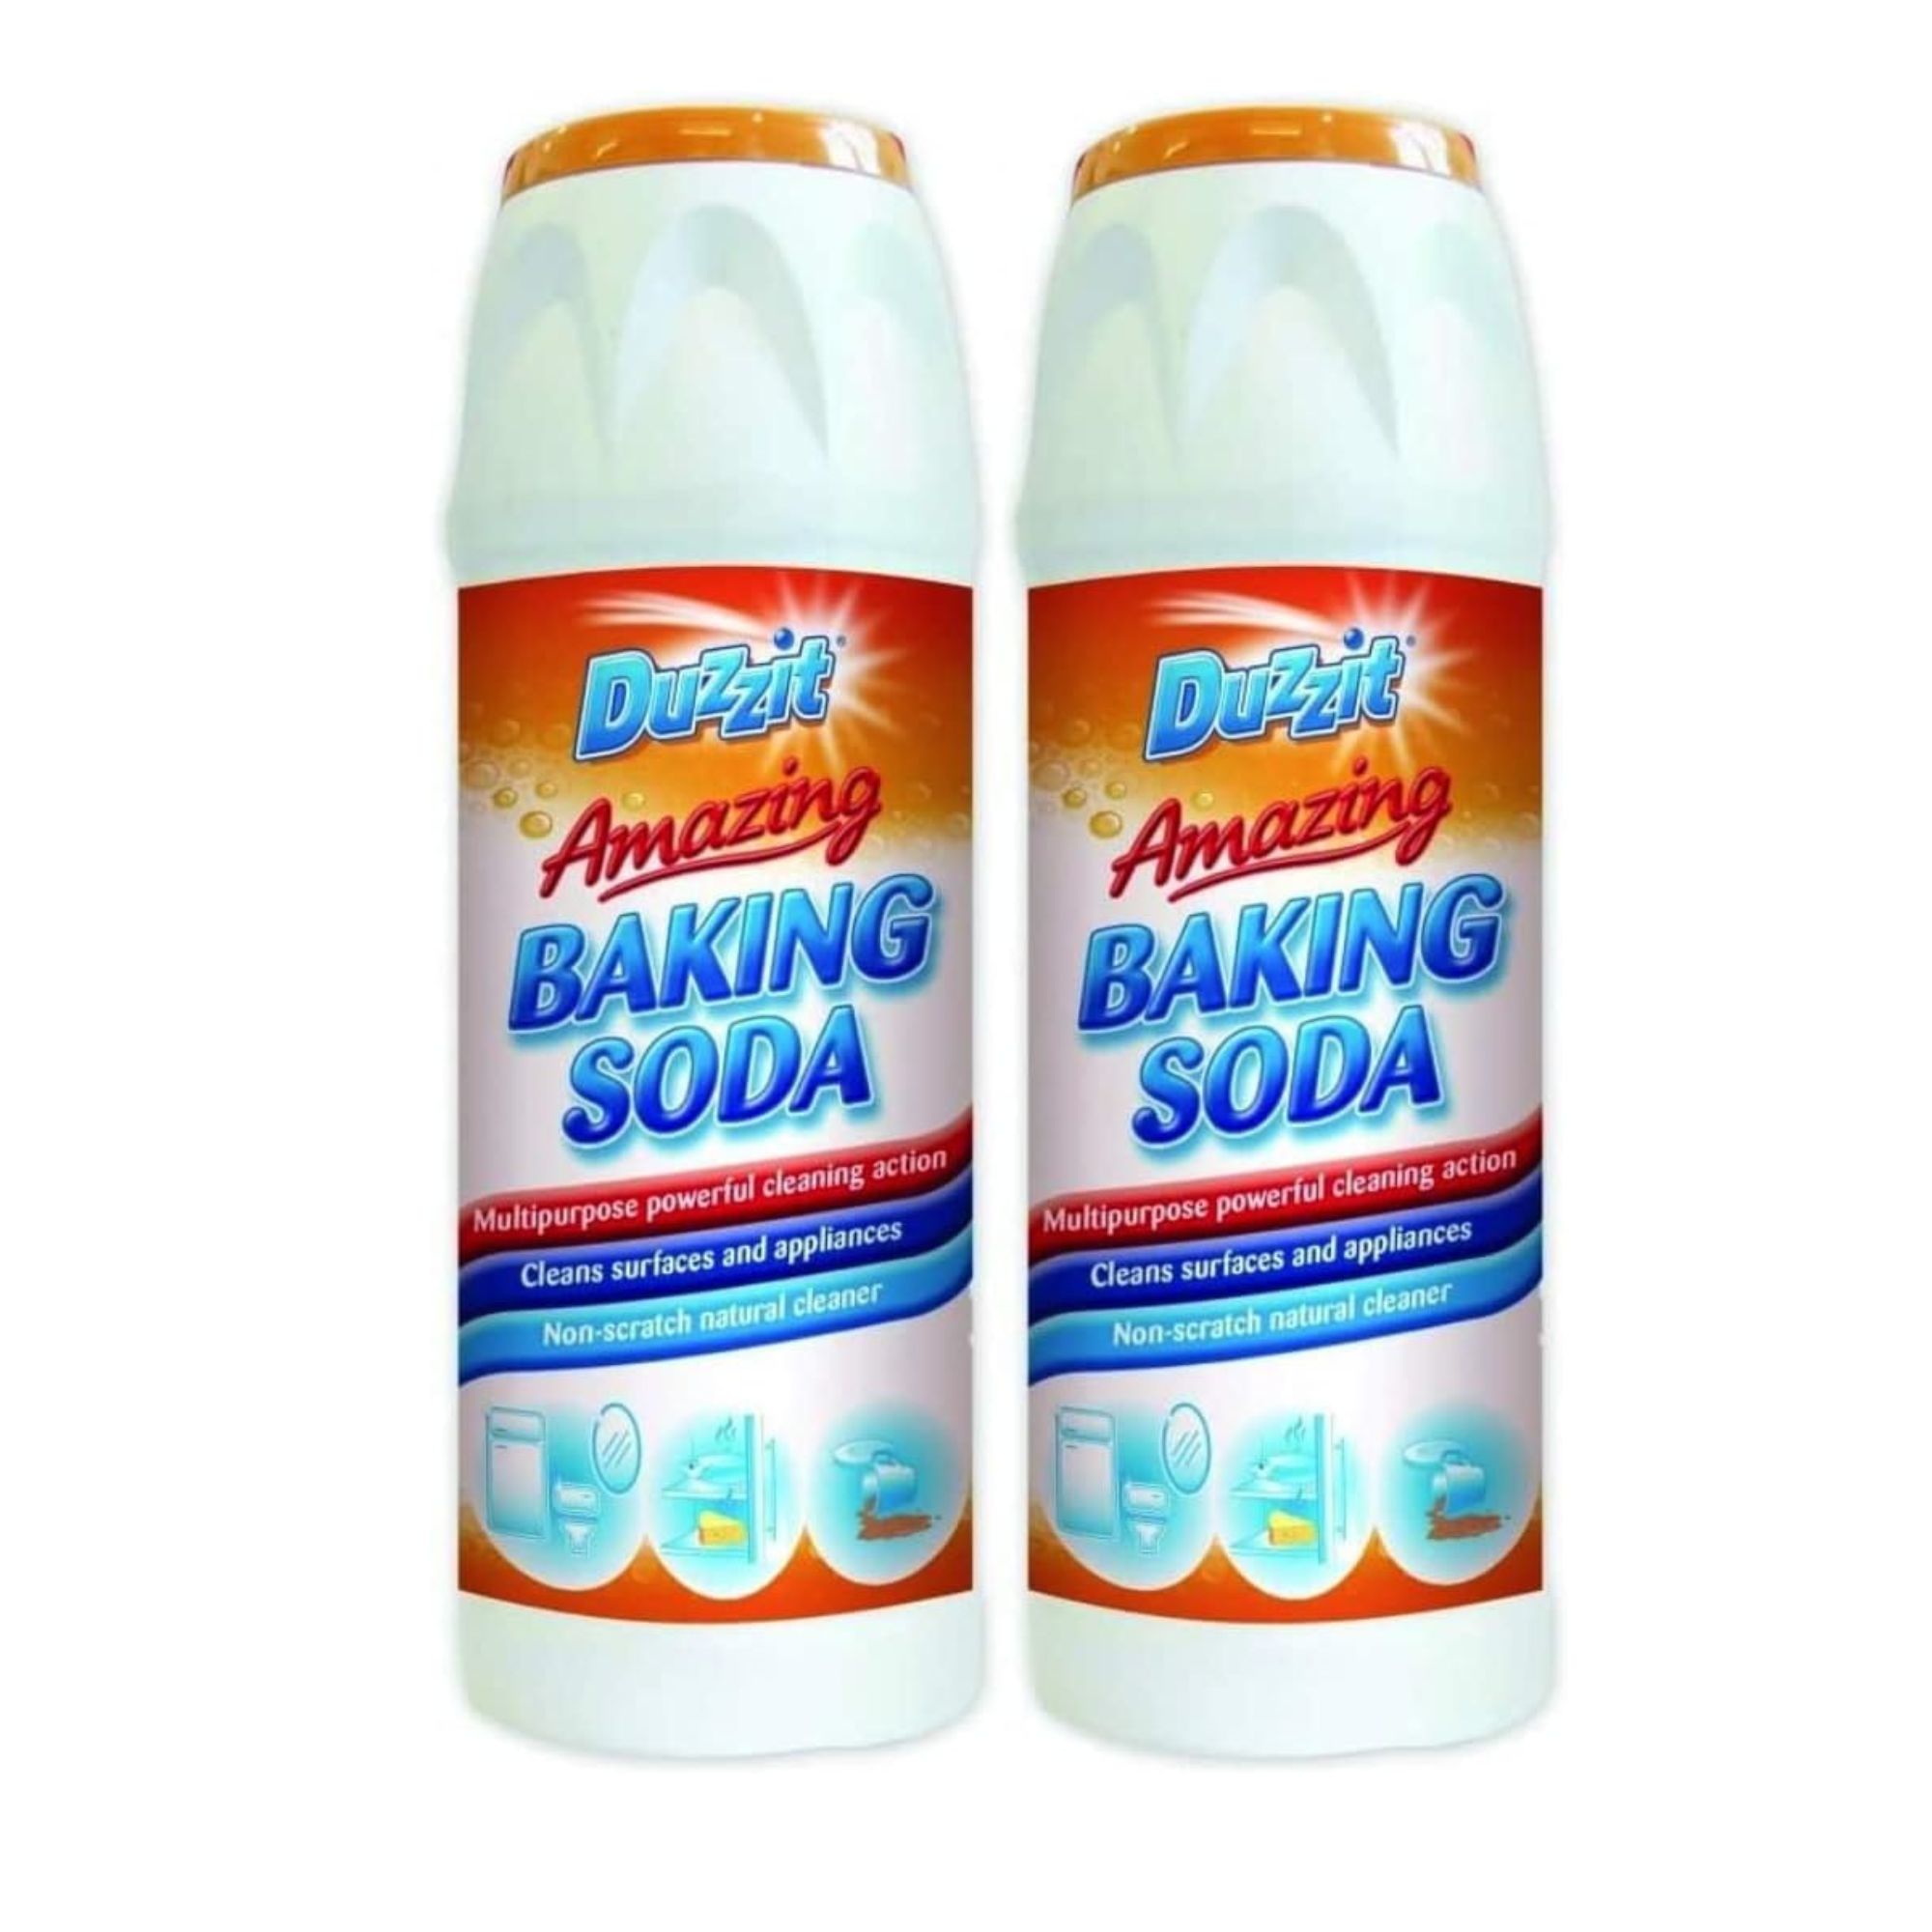
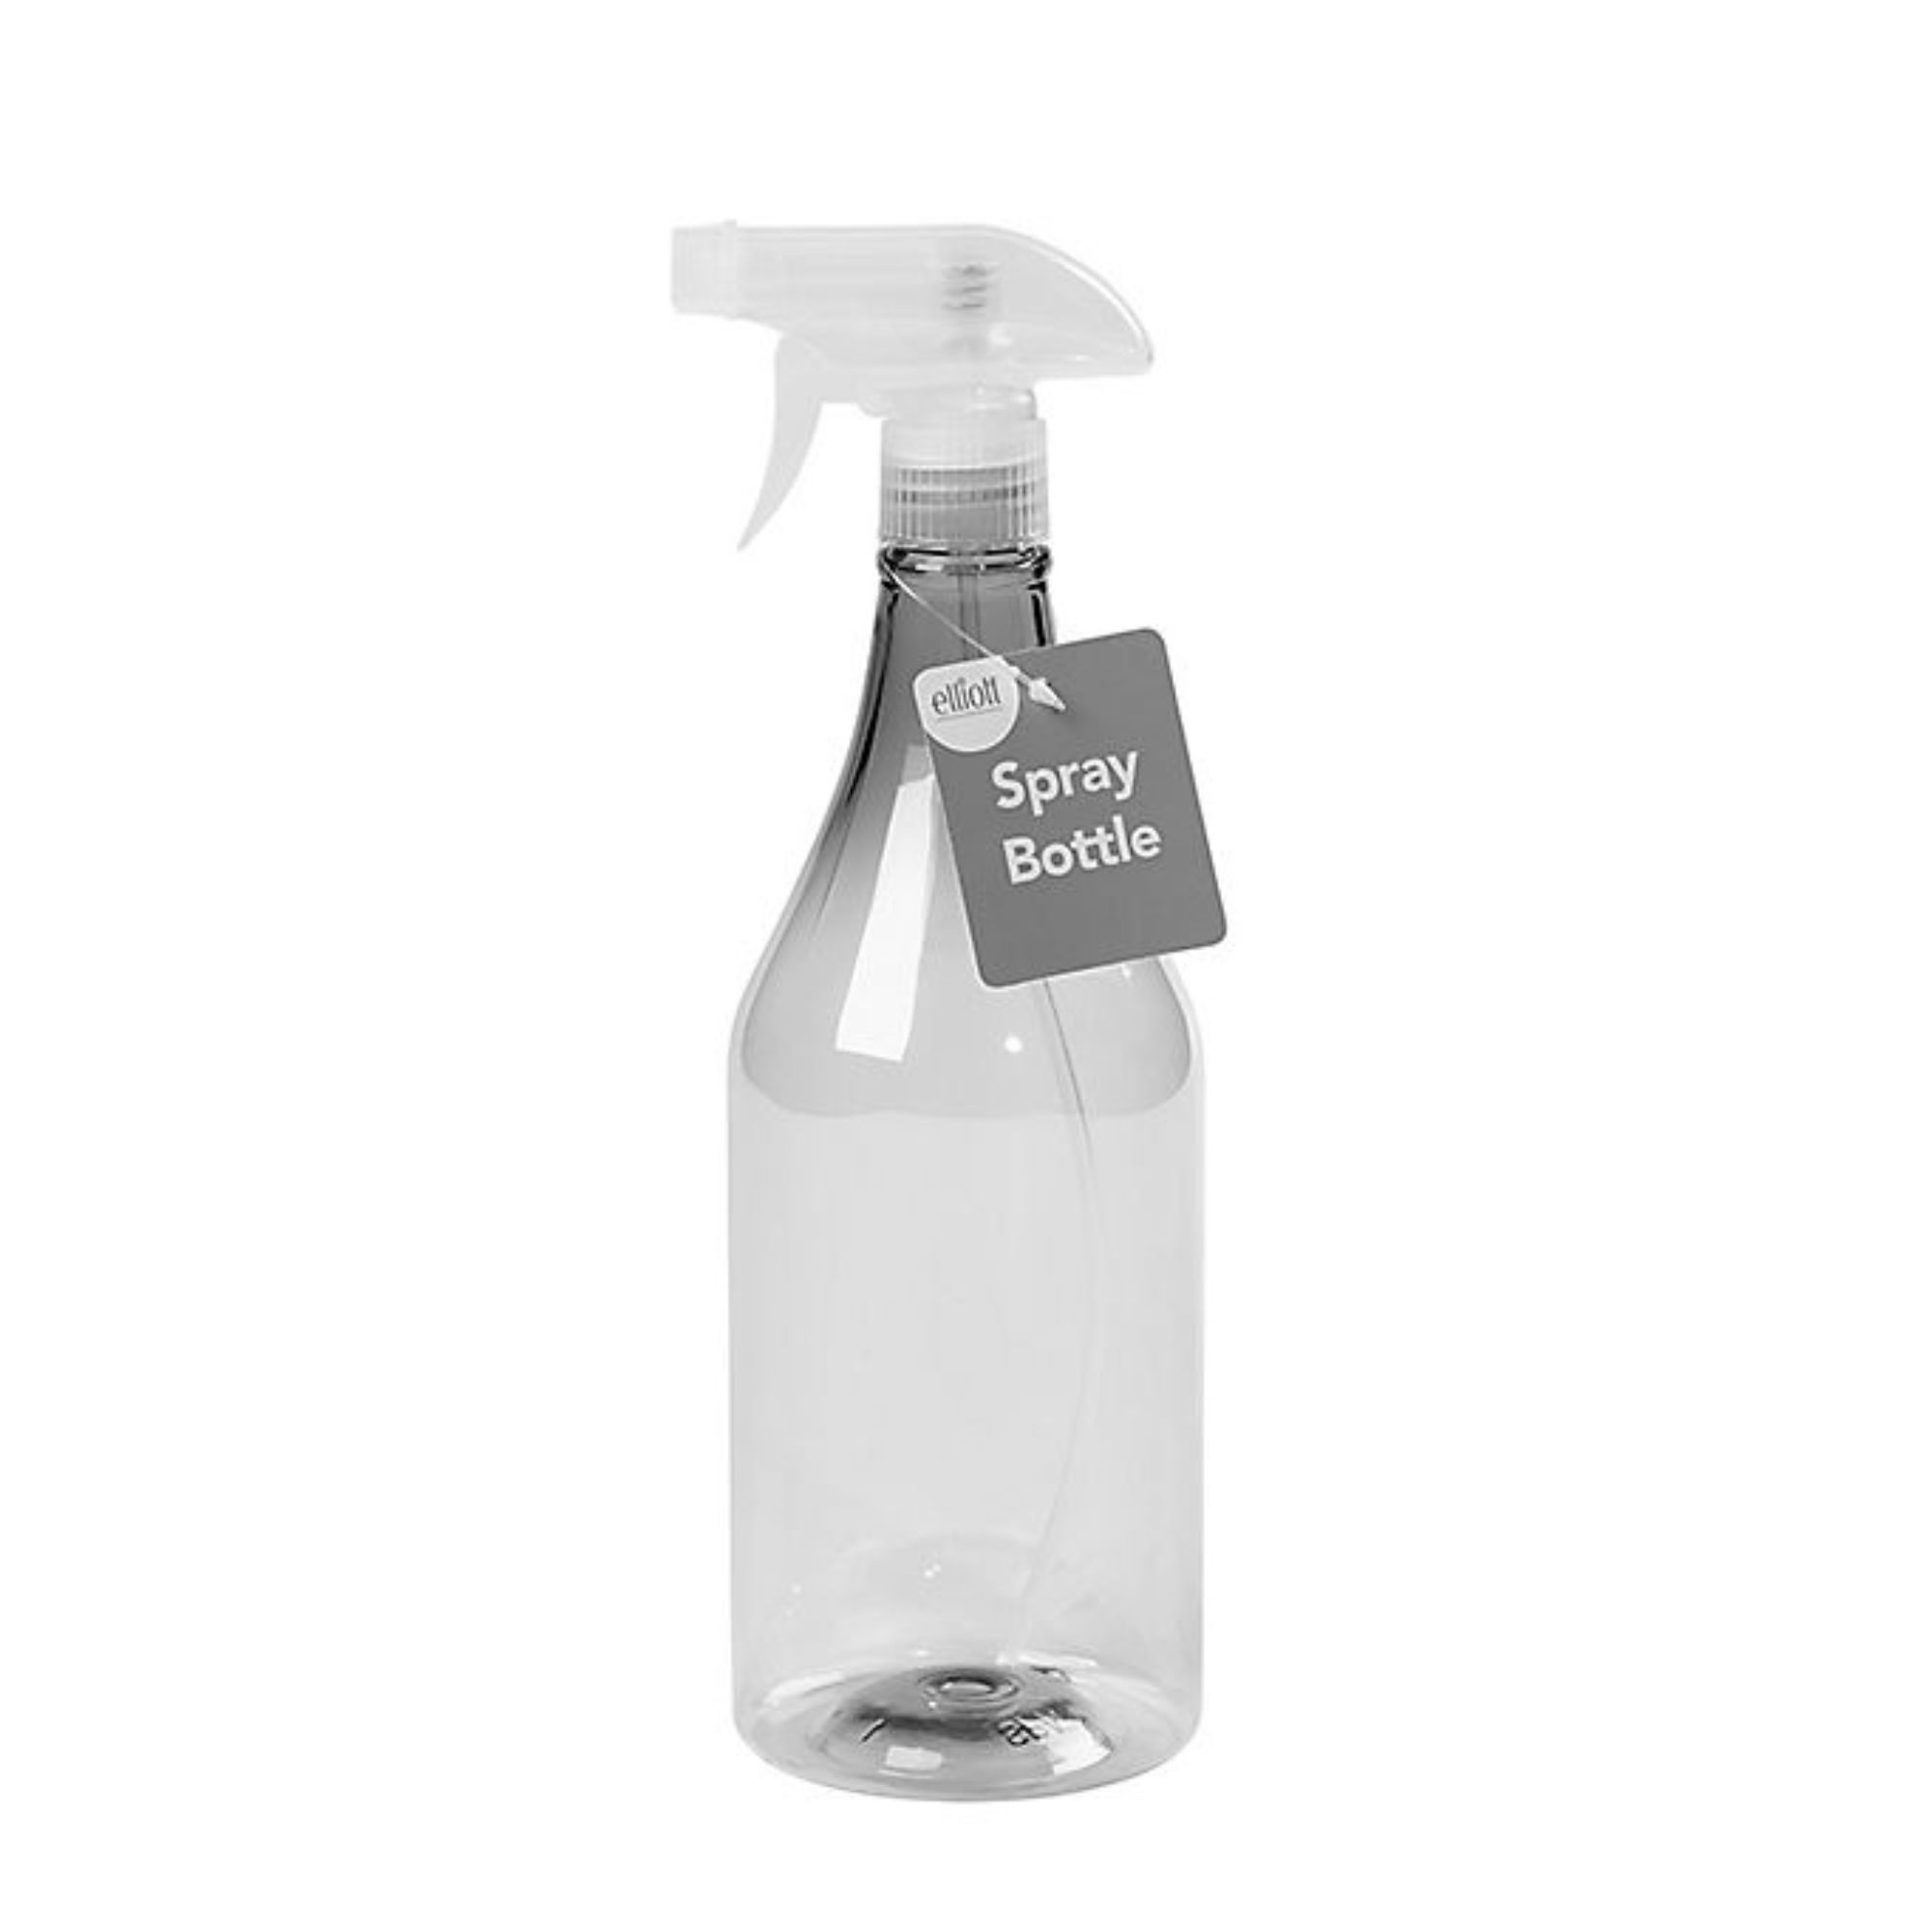
If you want to make your own natural solution, Lauren would advise using a mixture of washing-up liquid and bicarbonate of soda. She says, ‘Just mix 1-2 tablespoons of bicarb in a spray bottle with warm water and a dash of (eco) washing-up liquid.’
Sign up to our newsletter for style inspiration, real homes, project and garden advice and shopping know-how
2. Spray the cleaning solution
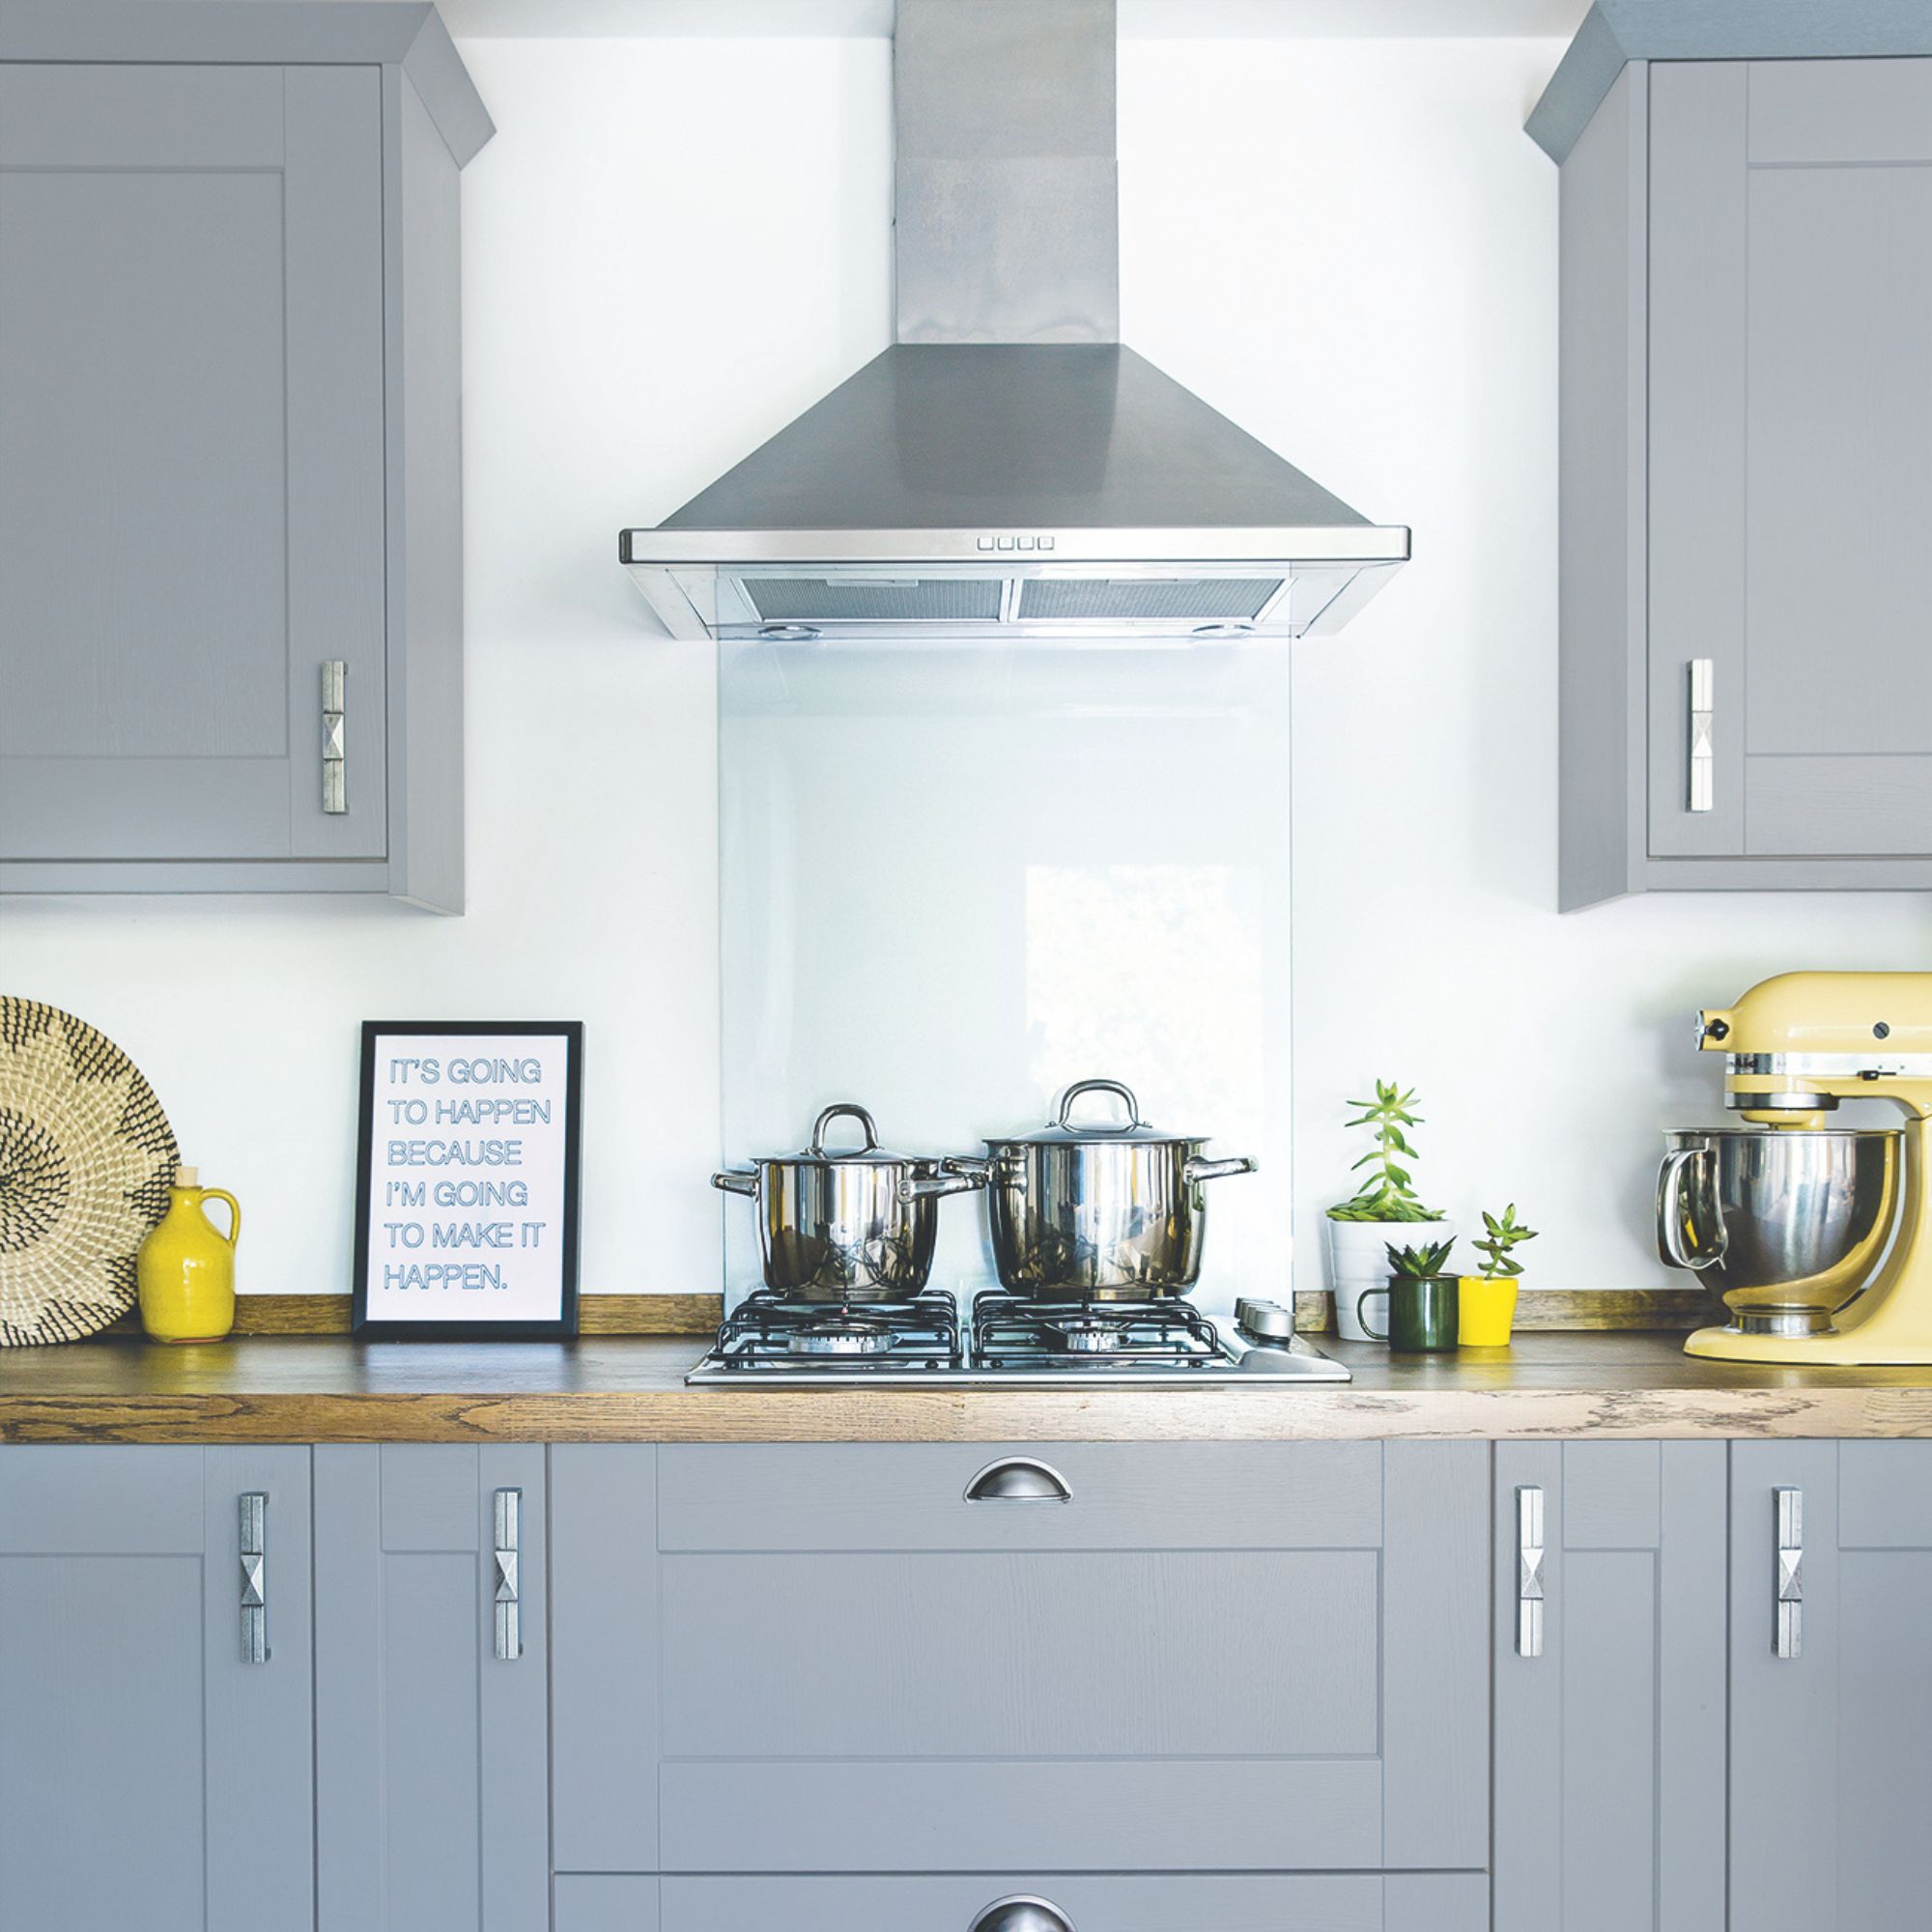
Once you’ve decided which cleaning solution you want to use, you can then use it to banish the grease from your splashback. Experts would advise against using a cloth to apply the cleaning solution, though. Instead, you should spray it onto the surface instead.
‘For splashbacks that are only lightly greasy, the easiest way is to fill a reusable spray bottle and spray this over the area,’ explains Laura Harnett, founder of eco cleaning brand, Seep.
Lauren then adds, ‘Then let it sit for as long as you can. At least 5 minutes... maybe 10.’ You could even do a 10-minute declutter while you’re waiting to pass the time.
3. Clean in a zig-zag pattern
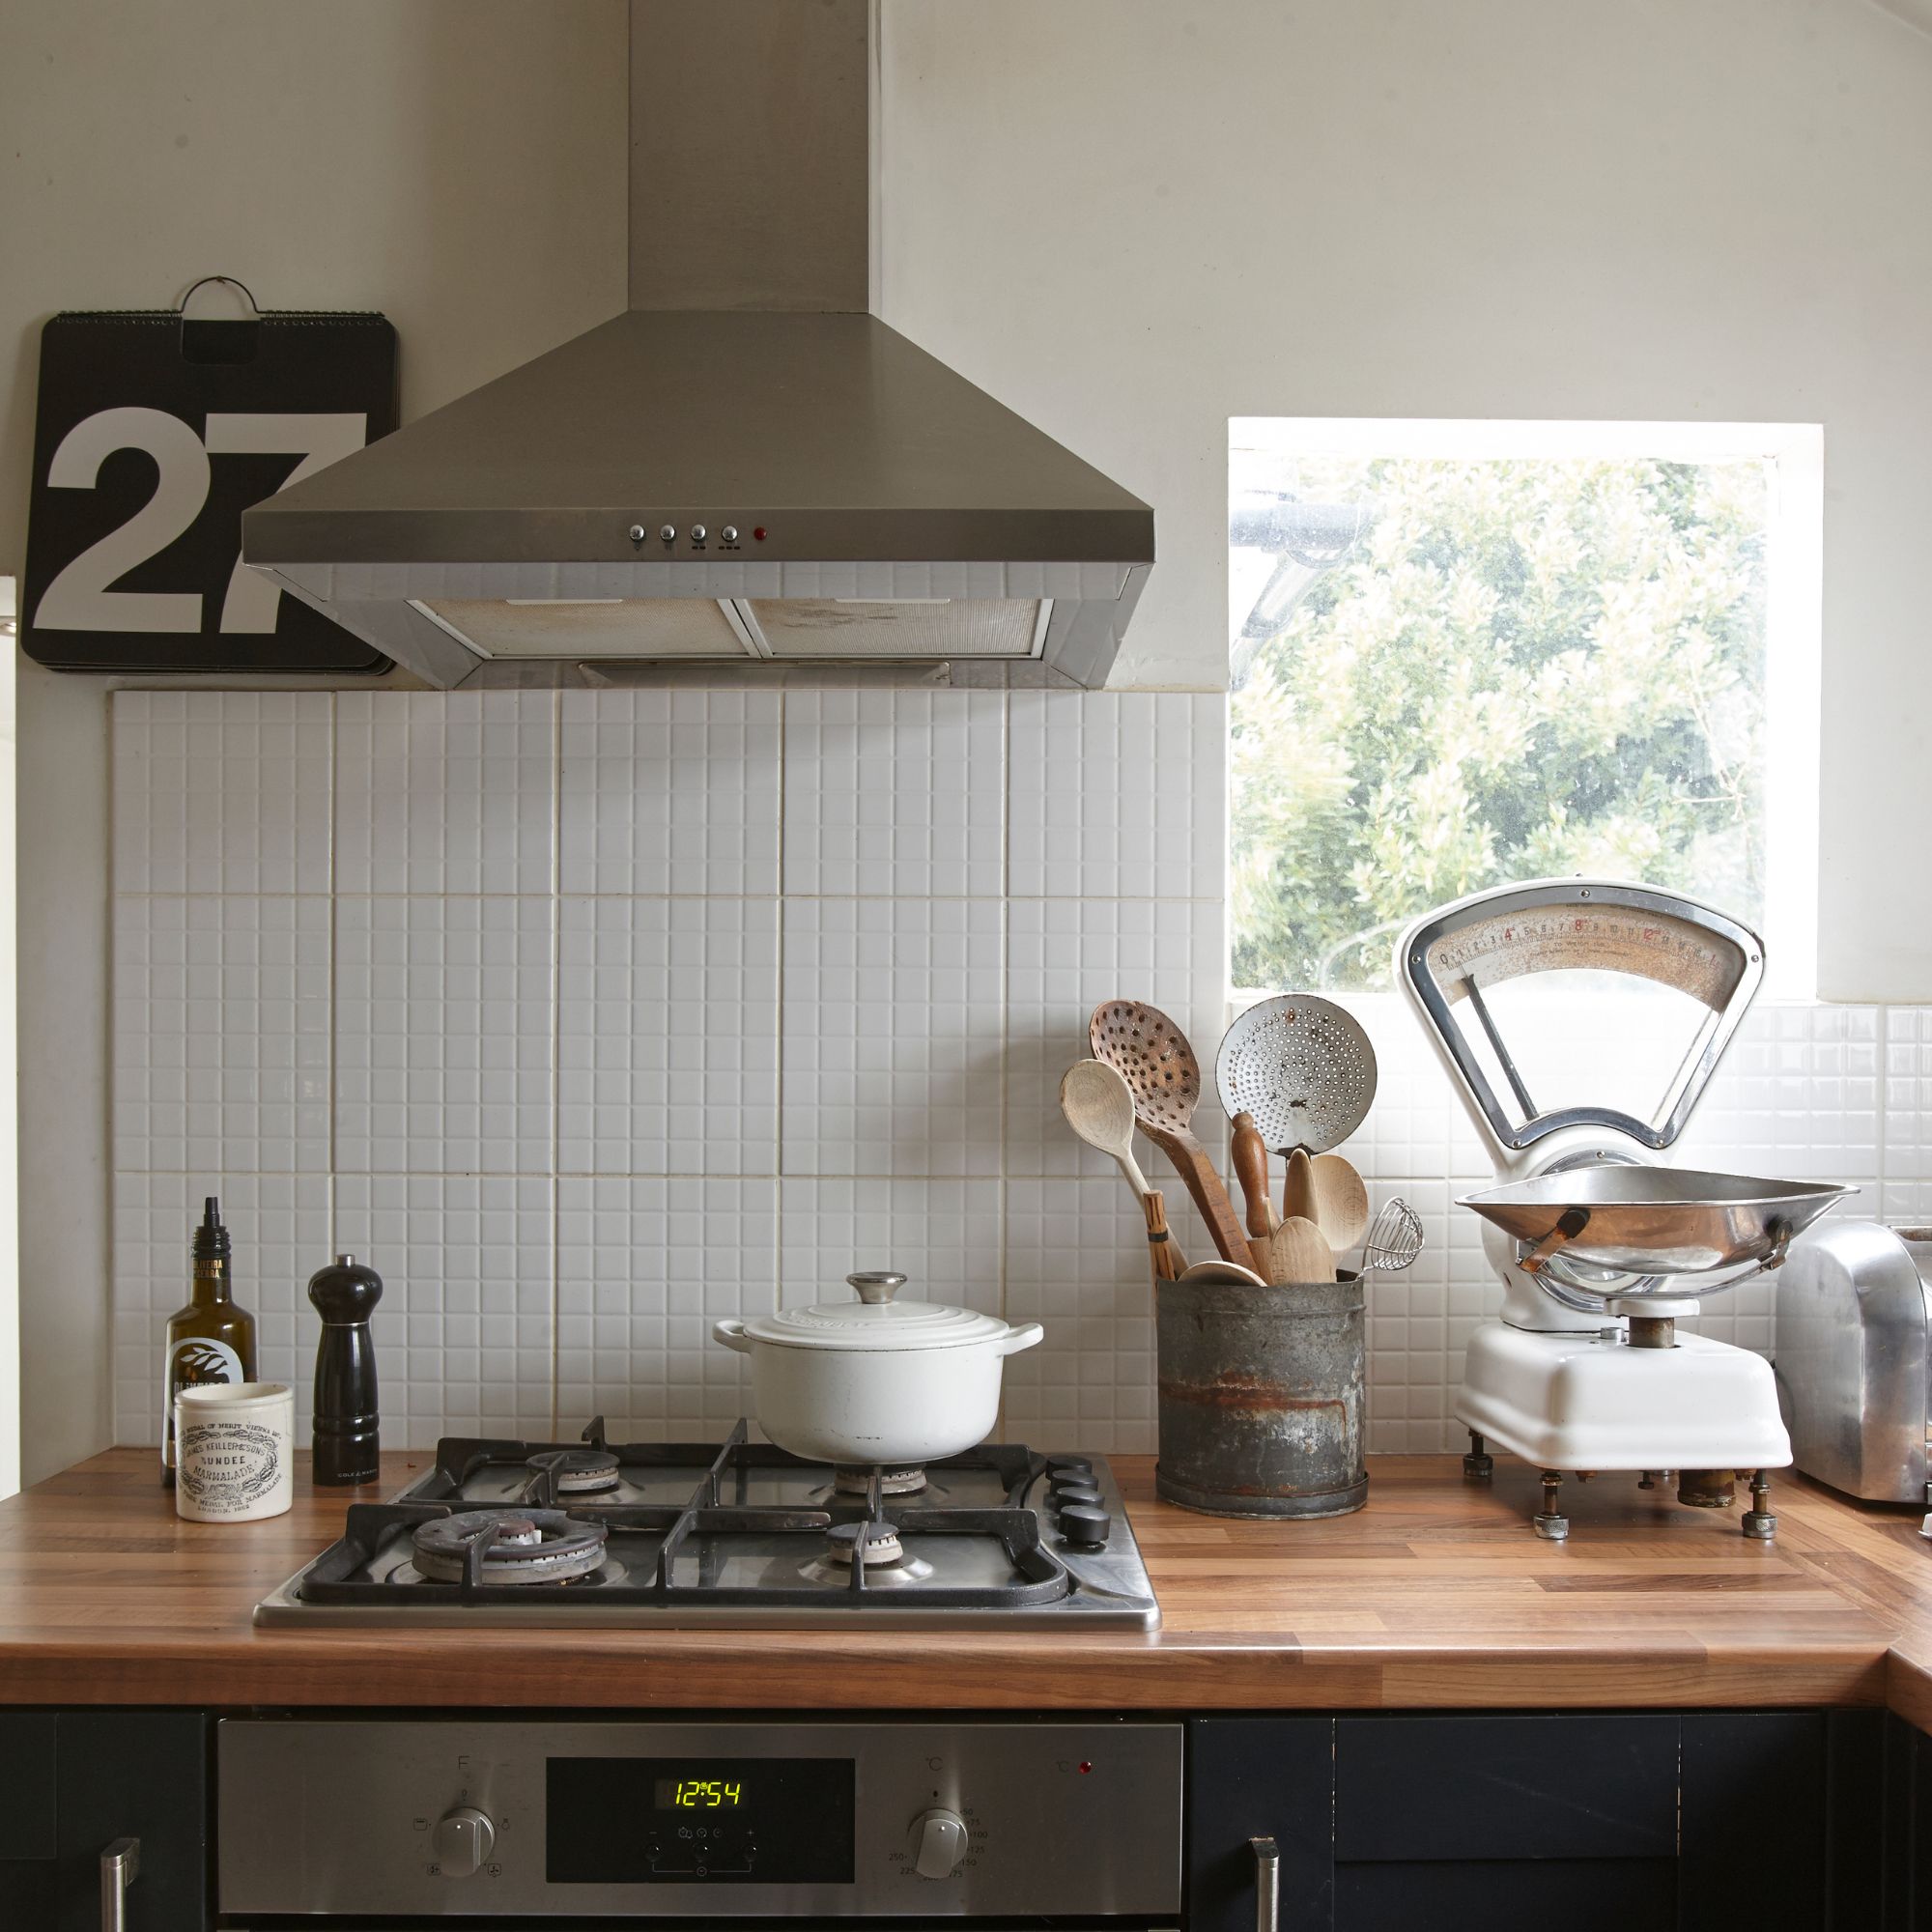
Leaving the cleaning solution to sit on the greasy surface should give it time to really break down the grease. But there’s a technique to wiping this cleaning solution - and, ultimately, the grease - from the splashback.
After degreasing multiple splashbacks over the years, Lauren has found that wiping in a zig-zag pattern is your best bet to really banish the grease. She adds, ‘Then up and down. You may need to repeat.’
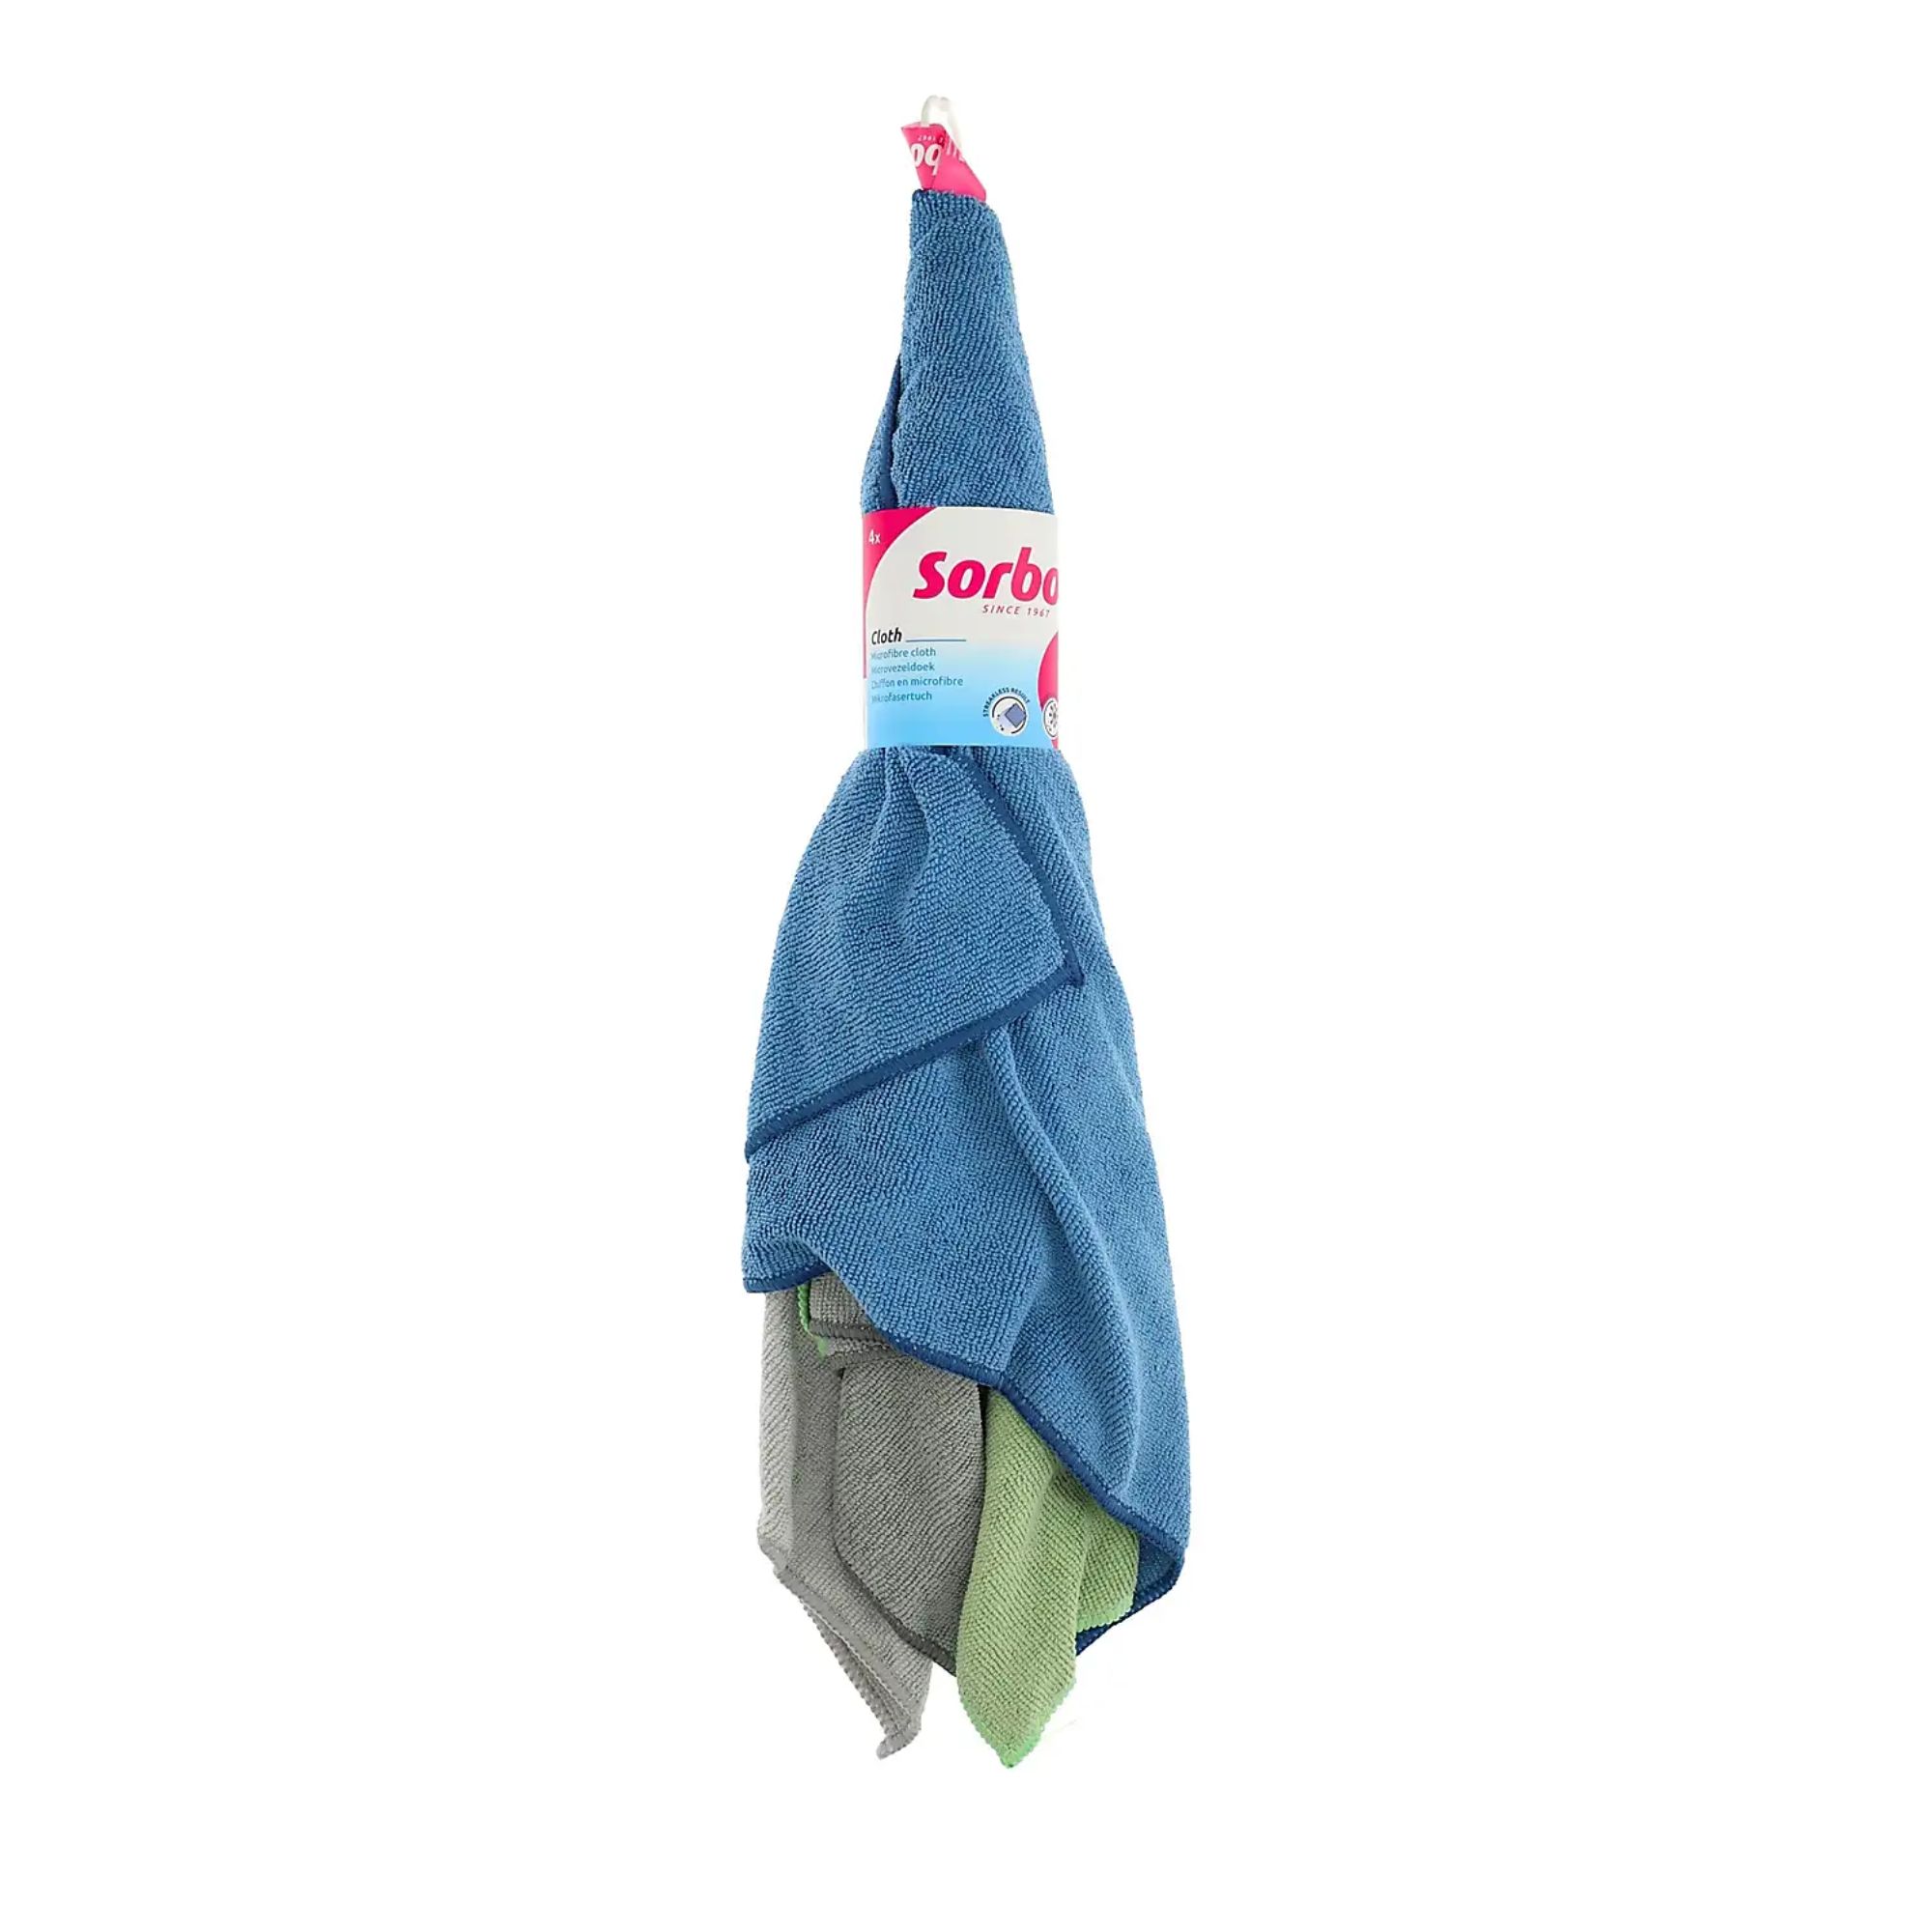
Just make sure you use a soft sponge or cloth for this step, as you don’t want to use anything too abrasive that could potentially scratch your splashback.
4. Tackle thicker grease
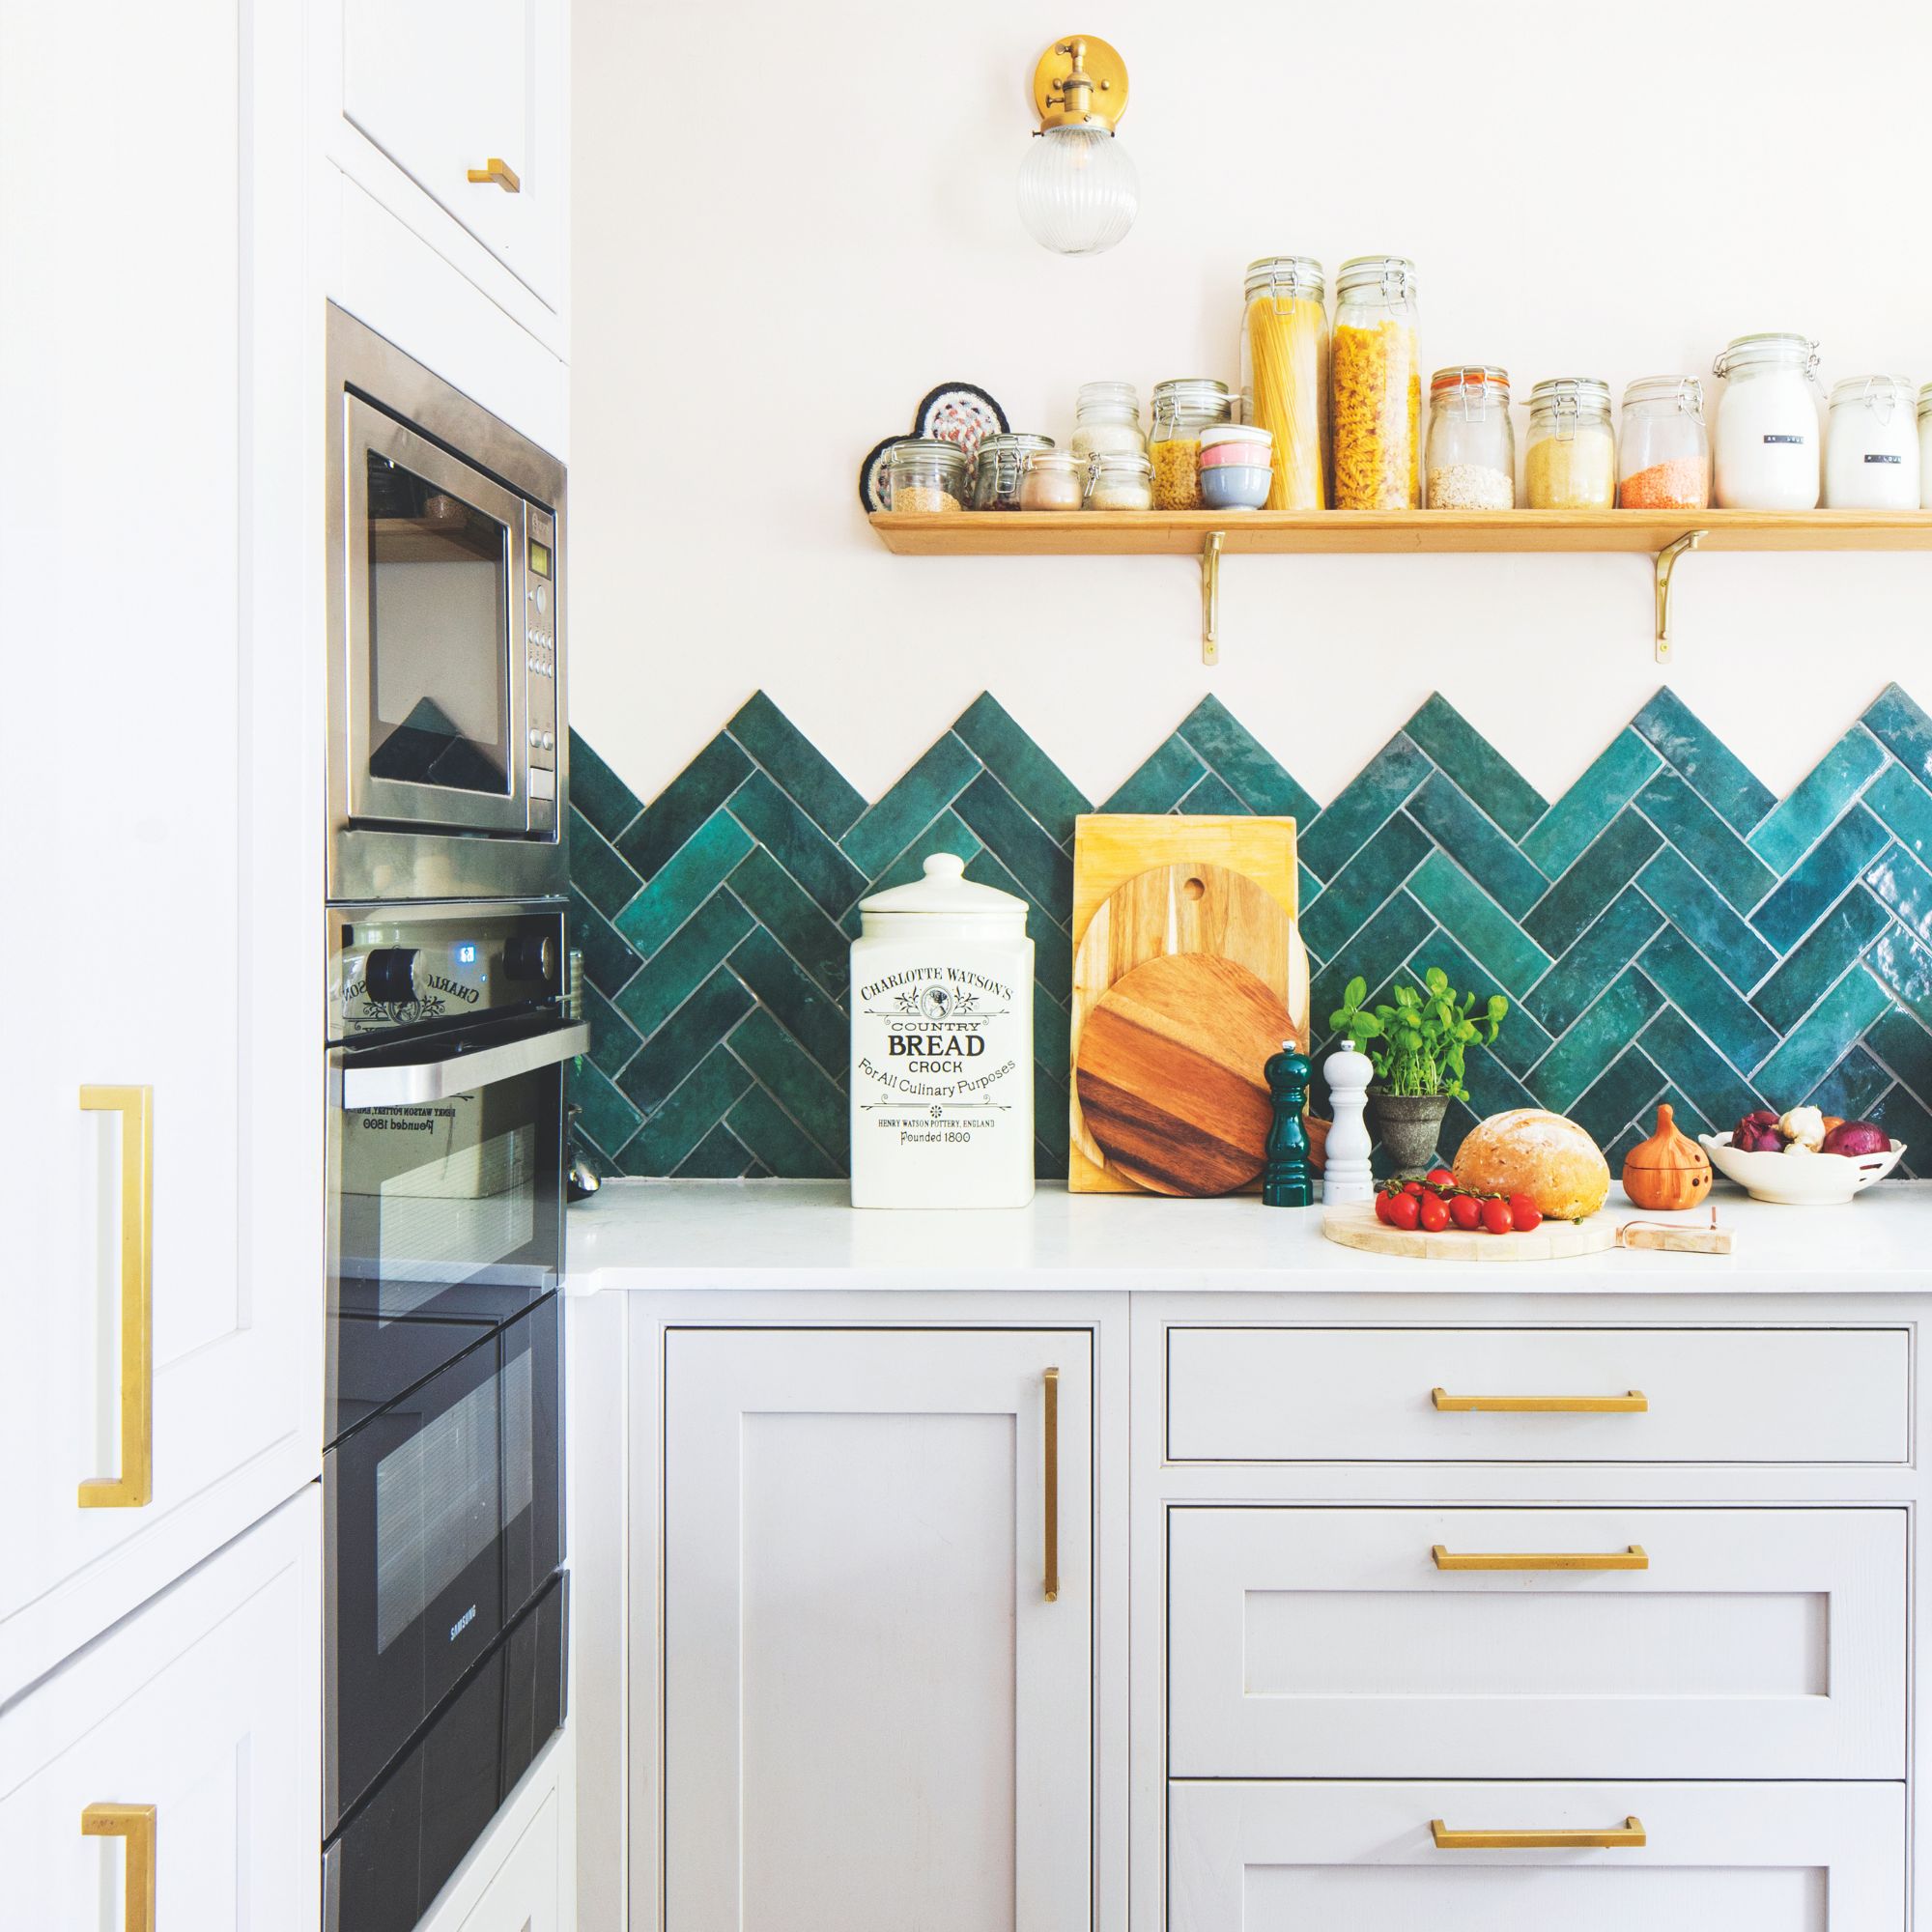
If you have particularly thick grease on your splashback, you may need to pull out the big guns and use a paste rather than a spray.
Laura advises, ‘Mix a paste using baking soda and water. Gently scrub in a circular motion using a cloth, rinse the cloth and wipe down with a damp cloth to remove any residue.’
But if you don’t have baking soda, you could also use a product you’d normally use with one of the best coffee machines.
‘An alternative to baking soda is to use coffee grounds,’ says Laura. ‘These need to be applied to a cloth or sponge, then rubbed into the greasy area in a circular motion. The coffee reacts with the grease and will dissolve it quickly. Finish by wiping with a soft cloth and warm water to remove any residue.’
5. Spray with multi-surface cleaner

While the above steps may be enough to degrease a kitchen splashback on its own, you could also add another step - and this is something that Lauren has added to her splashback degreasing routine.
She told us, ‘Then once finished, I would spray with a normal multi-surface cleaner.’ This will ensure that the splashback is not only rid of grease, but also free from any other germs or bacteria.
Of course, you may also need to spend a few minutes cleaning your grout if you have a tiled splashback.
6. Buff with a clean cloth
No matter whether you have a glass, stainless steel, or tiled splashback, you can then finish by buffing the whole thing with a clean, dry cloth. This will not only remove any lingering moisture and avoid streaking, but it will also leave your degreased kitchen splashback with a perfect shine.
7. Repeat when necessary
The above steps shouldn’t add too much time or effort to your cleaning schedule, but it’s essential that you maintain the splashback's cleanliness. Over time, grease build-up can lead to discolouration and bacteria growth - and it’ll take you longer to degrease it each time.
So, aim to clean off any obvious food splatters after every meal and put aside some time for a deeper clean at least once a week. This will keep it in good shape, and you may not have to degrease your kitchen splashback ever again… as long as you keep to the schedule.
FAQs
How to degrease kitchen walls?
Most kitchen walls are painted, and grease will easily stick to the paint. However, there are a few natural cleaning products you can use to degrease kitchen walls.
The most effective solution is to use a mixture of white vinegar and bicarbonate of soda. This will not only remove the grease from kitchen walls, but it will also restore the natural paint colour. Bicarb can be abrasive, though, so make sure you don’t clean too aggressively.
If you want to use something a bit gentler to clean grease off kitchen walls, you can use a simple solution of washing-up liquid and warm water. Then, just wipe them down and dry them off.
Why are my kitchen walls greasy?
Every time you cook with oil on a hob or even in your oven, the oil will splatter out of the pan and into the surrounding area. And while a splashback is designed to catch a lot of this grease, it can also make your kitchen walls greasy.
There’s not a lot you can do to prevent this from happening if you continue using oil, but you can clean your walls as soon as possible if you notice oil splatter in their direction.

Lauren Bradbury has been the Content Editor for the House Manual section since January 2025 but worked with the team as a freelancer for a year and a half before that. She graduated with a Bachelor’s degree in English and Creative Writing from the University of Chichester in 2016. Then, she dipped her toe into the world of content writing, primarily focusing on home content. After years of agency work, she decided to take the plunge and become a full-time freelancer for online publications, including Real Homes and Ideal Home, before taking on this permanent role. Now, she spends her days searching for the best decluttering and cleaning hacks and creating handy how-to guides for homeowners and renters alike, as well as testing vacuums as part of her role as the Ideal Home Certified Expert in Training on Vacuums, having spent over 110 hours testing different vacuum models to date!
