How to remove frame marks from a wall – the experts reveal their top tips
If you’ve ever removed a mirror, painting or hanging print to be met by a discoloured patch or wall or a mark, here’s what to do


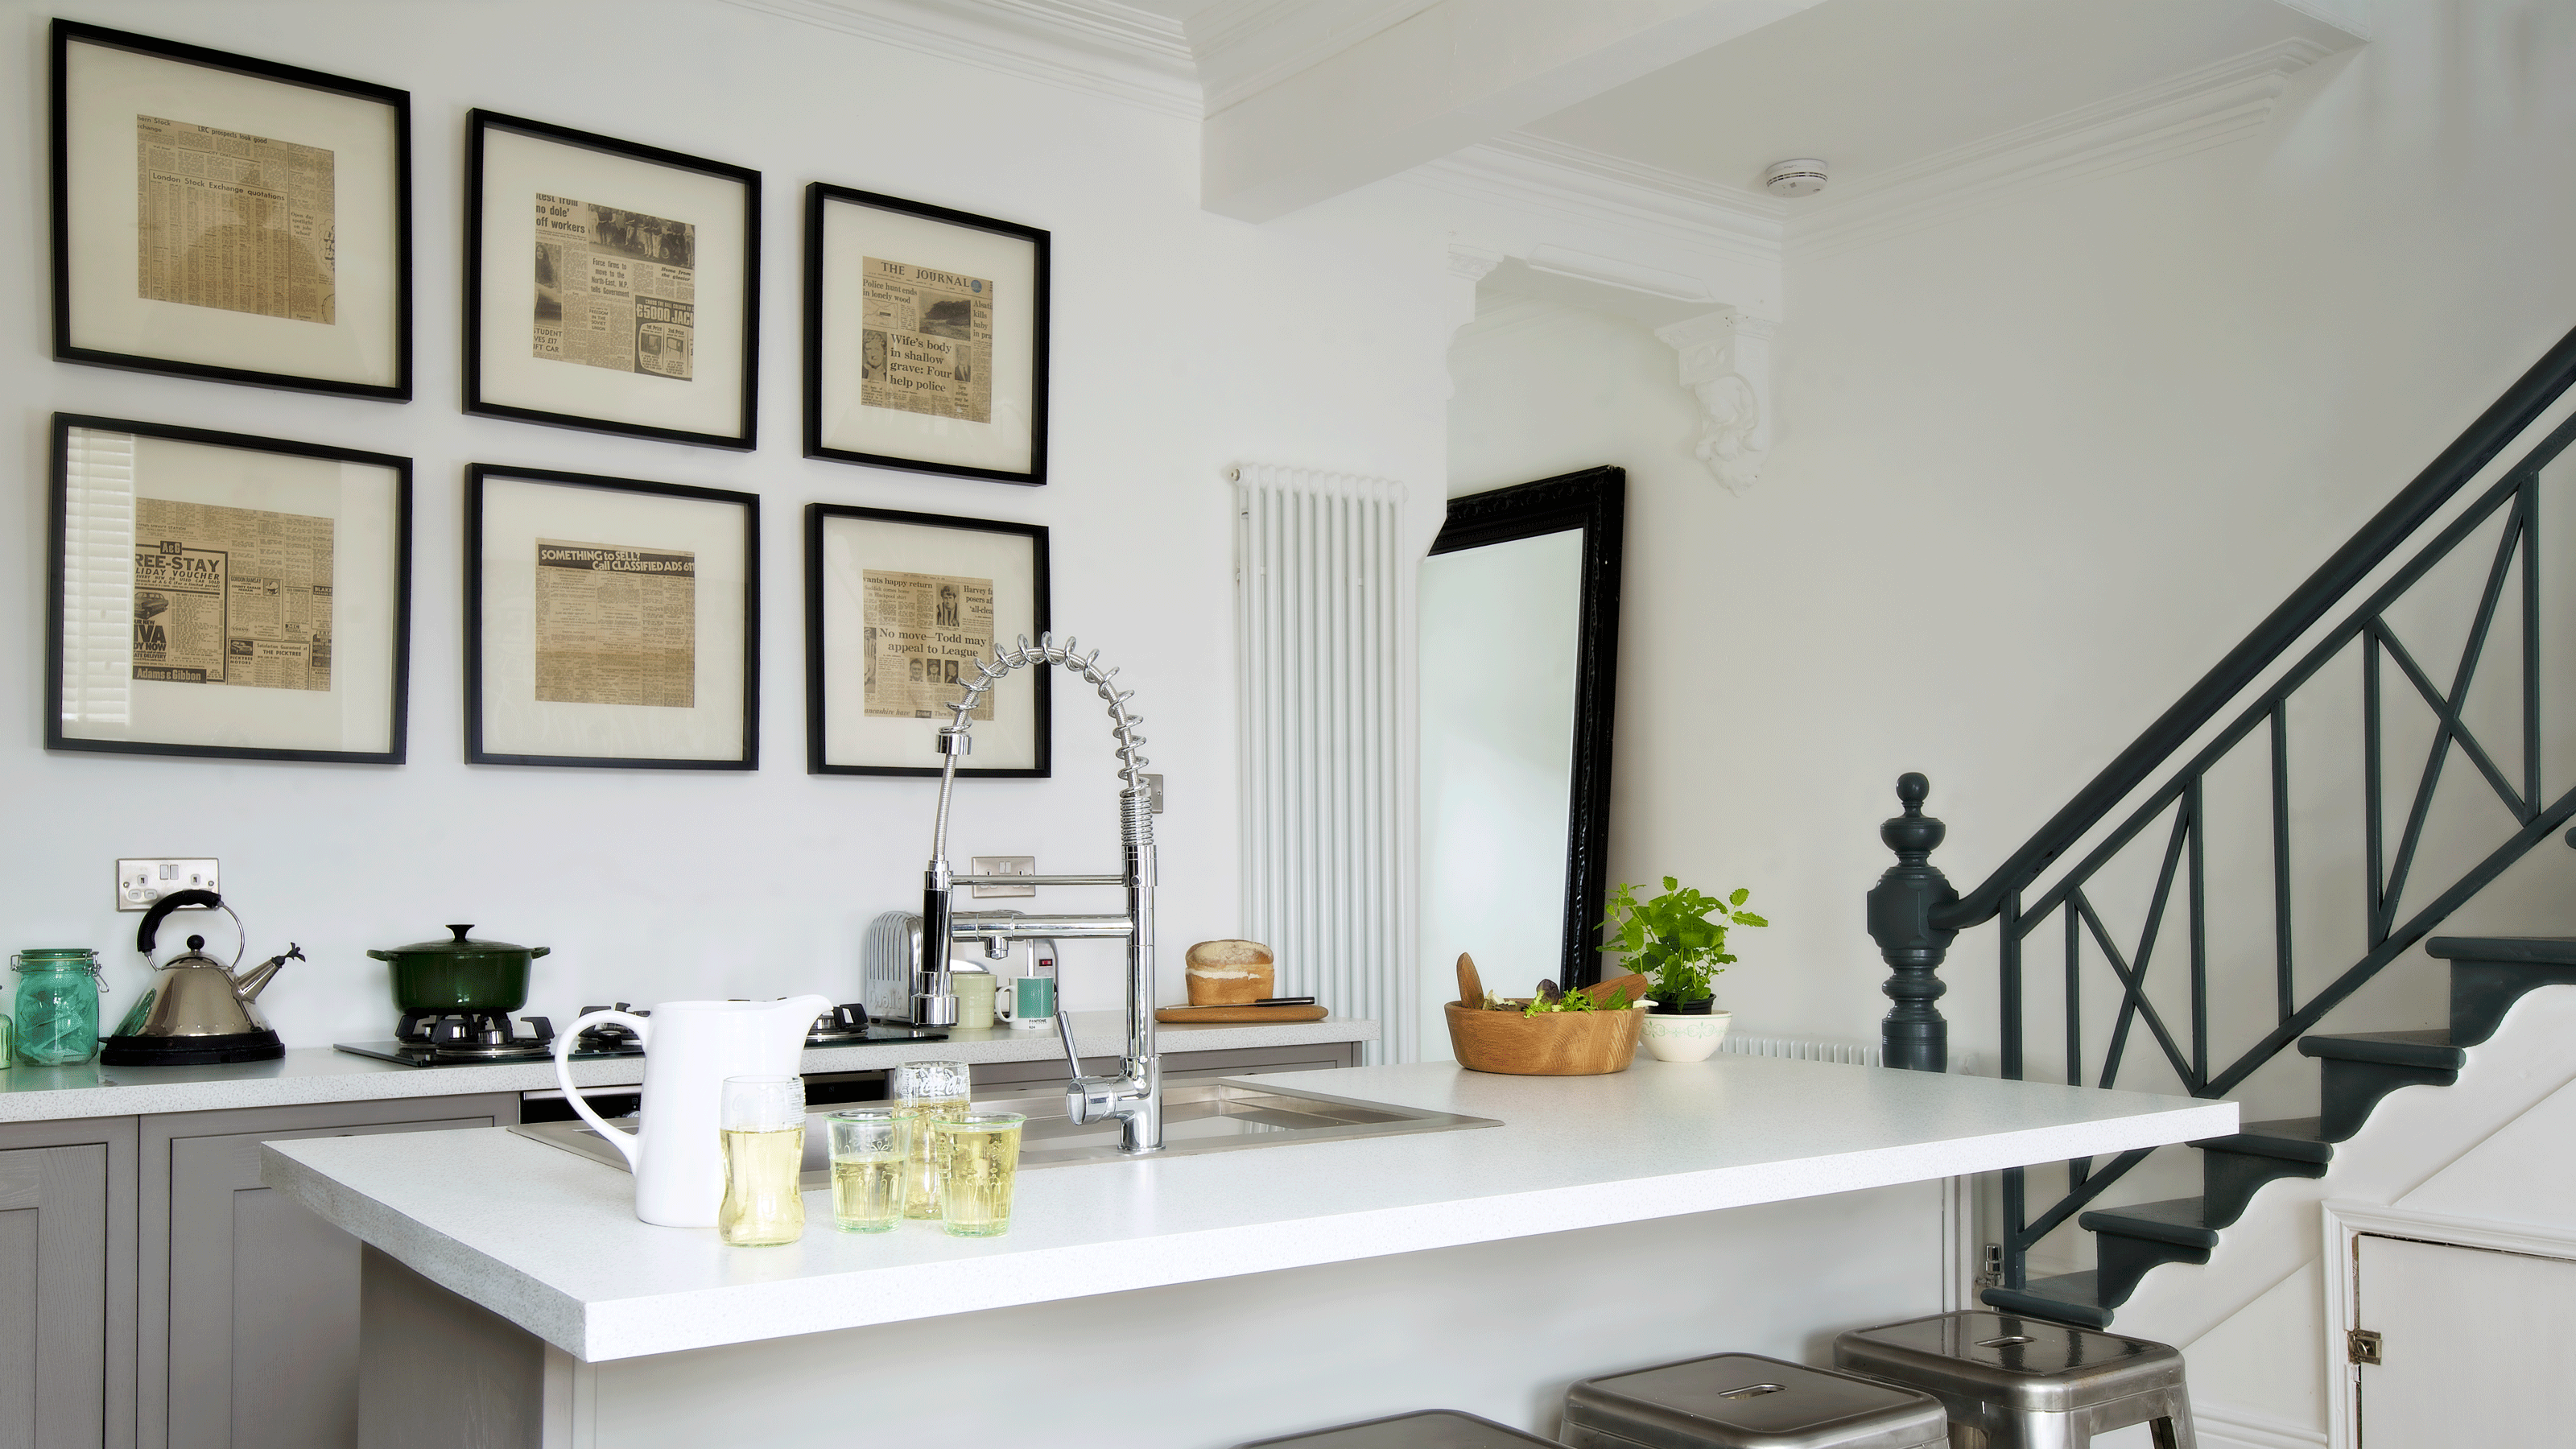
Many of us will have hung some artwork or maybe even a few mirrors throughout our homes. And if you rent you may have even taken the additional precaution of using a command strip to arrange your gallery wall ideas, since you usually can’t make any holes in the walls.
But even taking that extra step can still leave you with a very visible issue when you go to move or change your wall hangings around. And that is the marks that are left behind by frames.
‘Often hanging frames can leave behind discolouration marks visible when the frame is removed from the wall,’ asserts Melody Maison’s interior expert Anna Elkington.
‘There are two main reasons why removing a frame or other hanging from your wall can leave behind a slightly lighter or darker mark,’ says Tim Warren, DIY expert at Adkwik. ‘If the wall is in an area where it is exposed to a lot of sunlight, UV light may have discoloured the uncovered areas of the wall, causing paint to become lighter or darker.’

Alternatively, ‘the area where the wall hanging was located is a clean spot on the wall, as unlike the uncovered parts of the wall it has not been exposed to dirt and dust,’ suggests Tim.
So, while dirt naturally accumulates over time, often in a way that isn’t noticeable until you go to take down your wall hanging. But either way, both leave you with some kind of mark on your wall.
How to remove frame marks from a wall
So, how do you go about removing these marks without causing any further discolouration or damage to the wall? Well, the experts are sharing their top tips as well as a step-by-step guide to deal with the common problem.
What you’ll need
- A gentle dish soap or mild all purpose cleaner
- Two soft sponges or microfibre cloths – one damp and one dry
- Paint primer and paint
What to do if the mark has been caused by dirt or debris
Whether the mark has been caused by UV damage or an accumulation of debris or dirt, you’ll want to start by dusting the wall before you go on to remove the marks. Take a dry cloth or sponge and gently dust the area.
If the mark appears to be because the surrounding area has gotten a bit dirty or dusty, while the wall under the frame has remained dust-free, ‘mix a small amount of mild detergent with warm water and lightly dampen a clean cloth. Gently clean the marked area with the cloth, being careful not to scrub too hard or saturate the wall,’ says Tim.
‘Remember to always test any cleaning solution or paint on a small, inconspicuous area before applying it to a larger, more visible area,’ warns William Byrne, DIY Expert from ADA Fastfix.

‘Once you’ve cleaned the area, wipe it down again to clean any leftover soap that’s still on the wall,’ suggests Myles Robinson from CompareBoilerQuotes.co.uk. Then take your dry cloth and pat the area clean.
‘Leave this patch to dry and assess the area to see if there is any improvement in discolouration,’ Anna advises. Check to see if this has removed the mark, either slightly or completely. ‘There is a chance that the cleaning you’ve just done has helped to get rid of the mark and the wall is back to a mark-free state,’ says Myles. But if it isn’t, it’s time to move onto the next step.

What to do if the mark has been caused by UV damage
If cleaning the wall hasn’t removed the mark, it is likely that the mark has been caused by a lack of UV exposure, or sunlight. Because the sun has essentially bleached the paint on the rest of the wall, even if only slightly, when you remove your frame you will notice a different shade – the original one – underneath.
If this is the case, ‘the best solution is to repaint the wall,’ according to Tim. ‘You could try to repaint just the affected area if you still have some of the original paint left, however it is likely it will still be a different colour.’
‘For the best results, wash the walls completely and allow them to dry, then prepare them with a primer before finally painting,’ Tim recommends.
‘Try feathering the edges of the touch up area so that it blends with the rest of the wall. And wait until the paint is dried completely before you decide whether it blends in with the wall or if it needs another coat of paint,’ Myles concludes.

If you are a renter and you're not sure what paint the landlord used initially you can try colour-matching it as you would when fixing chipped paint on furniture. The easiest way to do this without having to guess what colour it was with paint swatches is to chip off a small piece of the wall in a hidden area and take this to your local colour-matching service like Valspar at B&Q. You will need the sample to be 0.5cm minimum to colour match. Once you have your paint sample you can fill in with poly filler and paint over it.
Alternatively, if chipping into a wall makes you nervous you can try a photo colour match. Just ensure you have taken a picture of the wall in good light to make the match as accurate as possible.
Get the Ideal Home Newsletter
Sign up to our newsletter for style and decor inspiration, house makeovers, project advice and more.

Ellis Cochrane has been a Freelance Contributor for Ideal Home since 2023. Ellis has been writing about homes, interiors and gardens for four years now, with her also contributing to House Beautiful, Country Living, Expert Reviews, Real Homes and Stylist.
-
 Should an air fryer be on display in a kitchen or hidden away? This is why I always keep my small appliances on the worktop
Are you on team display or neatly hidden away? Share your opinion in the comments
By Rebecca Knight
-
 Experts warn that these 5 mopping mistakes are making your floors dirtier — and damaging your floors in the process
This is how to keep them clean and avoid costly damage
By Lauren Bradbury
-
 Move over, fences – dead hedges are the wild and wonderful alternative your garden will love and they're easier to build than you'd think
The perfect eco-friendly solution for small gardens
By Kayleigh Dray