The ultimate kitchen spring cleaning checklist – experts share 13 steps for a proper deep clean
Check these chores off to keep your kitchen in tip top condition
Jenny McFarlane
- 1. Start with a good declutter
- 2. Spruce up the sink
- 3. Deal with the dishwasher
- 4. Disinfect bins
- 5. Give grout a going over
- 6. Wipe down cabinets inside and out
- 6. Descale the coffee machine
- 7. Clean the oven
- 8. Steam clean the microwave
- 9. Freshen up the fridge
- 10. Steam clean the floors
- 11. Refresh key kitchen appliances
- 12. Utensils and cutlery drawers
- 13. Check off commonly missed areas
- FAQs
While a quick wipe-down might suffice on a day-to-day basis, there will undoubtedly be areas overlooked, so familiarising yourself with an ultimate spring cleaning checklist – and actually sticking to it – is well worth the effort.
As the heart of the home, our kitchens tend to get the brunt of household chaos; from food prep and family meals to seasonal soirees, weekend craft sessions, and perhaps even a few dog dinners, too, there’s a lot going on, meaning things can get pretty dirty, pretty quickly.
Enter the big spring cleaning checklist. After all, kitchen ideas are never as stylish as when they’re fresh and sparkling, and maintaining good hygiene is a must, too.
‘Kitchens can harbour a range of bacteria, dirt and out-of-date food, so it’s important to designate time to thoroughly clean and disinfect every once in a while to ensure it remains a hygienic space for prepping and eating meals,' says Anna Elkington, founder of Melody Maison.
Let’s face it, carrying out an ultimate kitchen spring clean is probably not high on your list of favourite cleaning jobs, and we’re not here to convince you that it should be.
However, we are here to tell you not to put it off – it needs to be done. To help, we’ve put together a comprehensive checklist, including handy spring cleaning hacks and tricks from those in the know. Tick them off one by one to guarantee gleaming results. Just make sure to play by the rules of successful spring cleaning.
‘Before you get going with your deep clean, make a to-do list. You’re more likely to avoid feelings of overwhelm if you’ve written down your jobs in order of priority. Ensure your cleaning caddy is well-stocked too – there’s nothing worse than having to run out to the shops mid-clean!’ advise Francesca Turner, home hygiene hub director at Zoflora.
Sign up to our newsletter for style inspiration, real homes, project and garden advice and shopping know-how
Now you’re in a position to tackle the tough spots. Spritz down any dirt-laden areas – think mouldy grouting and greasy cabinet fronts as well as the sink, oven and fridge shelves – with the appropriate cleaner. Whether you’re using all-natural solutions (when trying to swerve cleaning products that can be harmful) or the best store-bought cleaning products, you’re guaranteed better results if you allow them time to work. Get on with other cleaning chores, then come back to them a bit later.
When it comes to dusting and wiping down surfaces, work from the top down so that dirt and dust doesn’t resettle on surfaces you’ve already cleaned. Mopping and vacuuming floors should be the very last thing on your list.
1. Start with a good declutter

Making time for a thorough declutter should be part of any spring cleaning routine, but particularly so in a kitchen – you don’t really want out-of-date food hanging about, and the more ‘stuff’ you’ve got, the more opportunities there are for bacteria to build.
Over time, the contents of your kitchen cupboards, drawers and fridge can become cluttered, and a spring clean is the perfect opportunity to clear out items you no longer need. Assign into the following categories; most used, sometimes used and rarely used.
Be harsh – if you rarely reach for an item, or if it’s gone past its sell-by, throw it away, or give it to someone who will make use of it,' says Anna Elkington.
2. Spruce up the sink
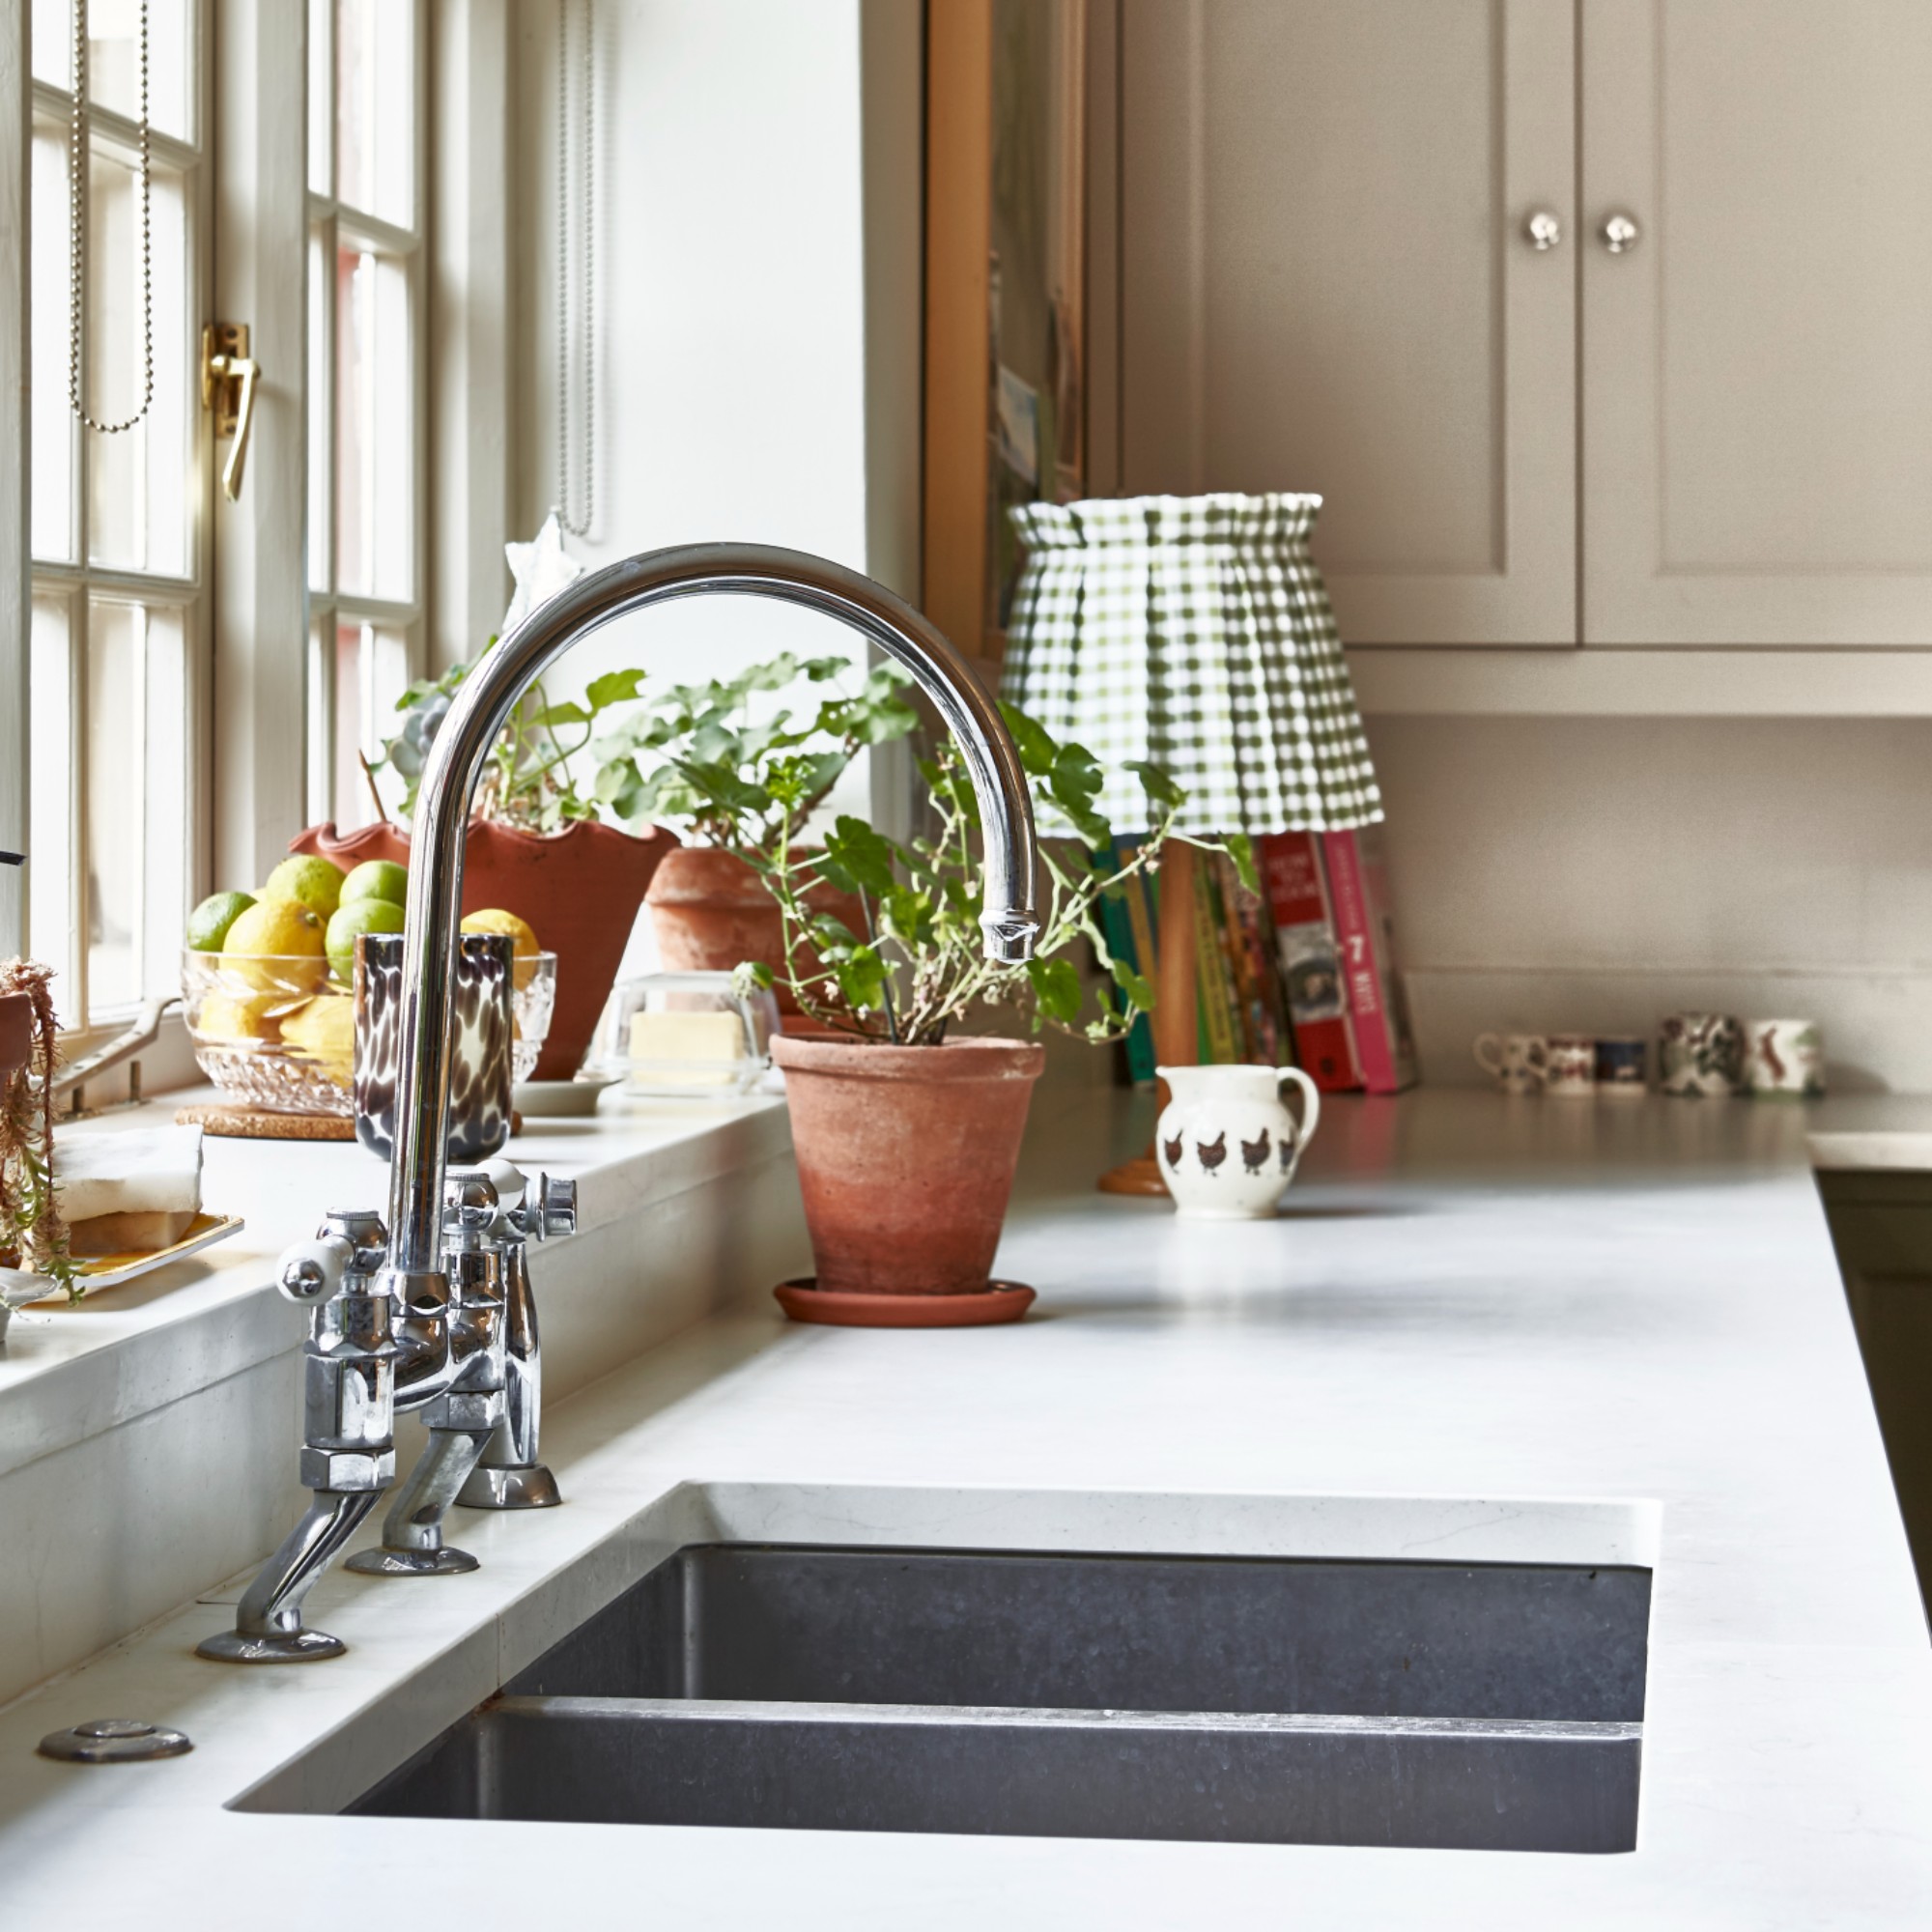
Cleaning a sink is likely part of your daily routine, but you’ll need to go a little deeper on occasion if you want to keep stains and grime from building up. How you go about this will depend on what material your sink is made from, so do a bit of research first, but a mixture of mild washing-up liquid and warm water is generally safe to use.
Plugs, taps and other fixtures benefit from a similar treatment – anything more abrasive could cause damage to the finish. ‘If you have an instant hot tap, be sure to include filter maintenance on your to-do list as well,' recommends Michael Sammon, Managing Director at Wodar.
One of the most commonly missed areas of your kitchen that you’re forgetting to clean is actually down the plughole. Unscrew and give it a good scrub with washing-up liquid, then chuck some bicarb of soda and vinegar down there to help with the smells.
3. Deal with the dishwasher
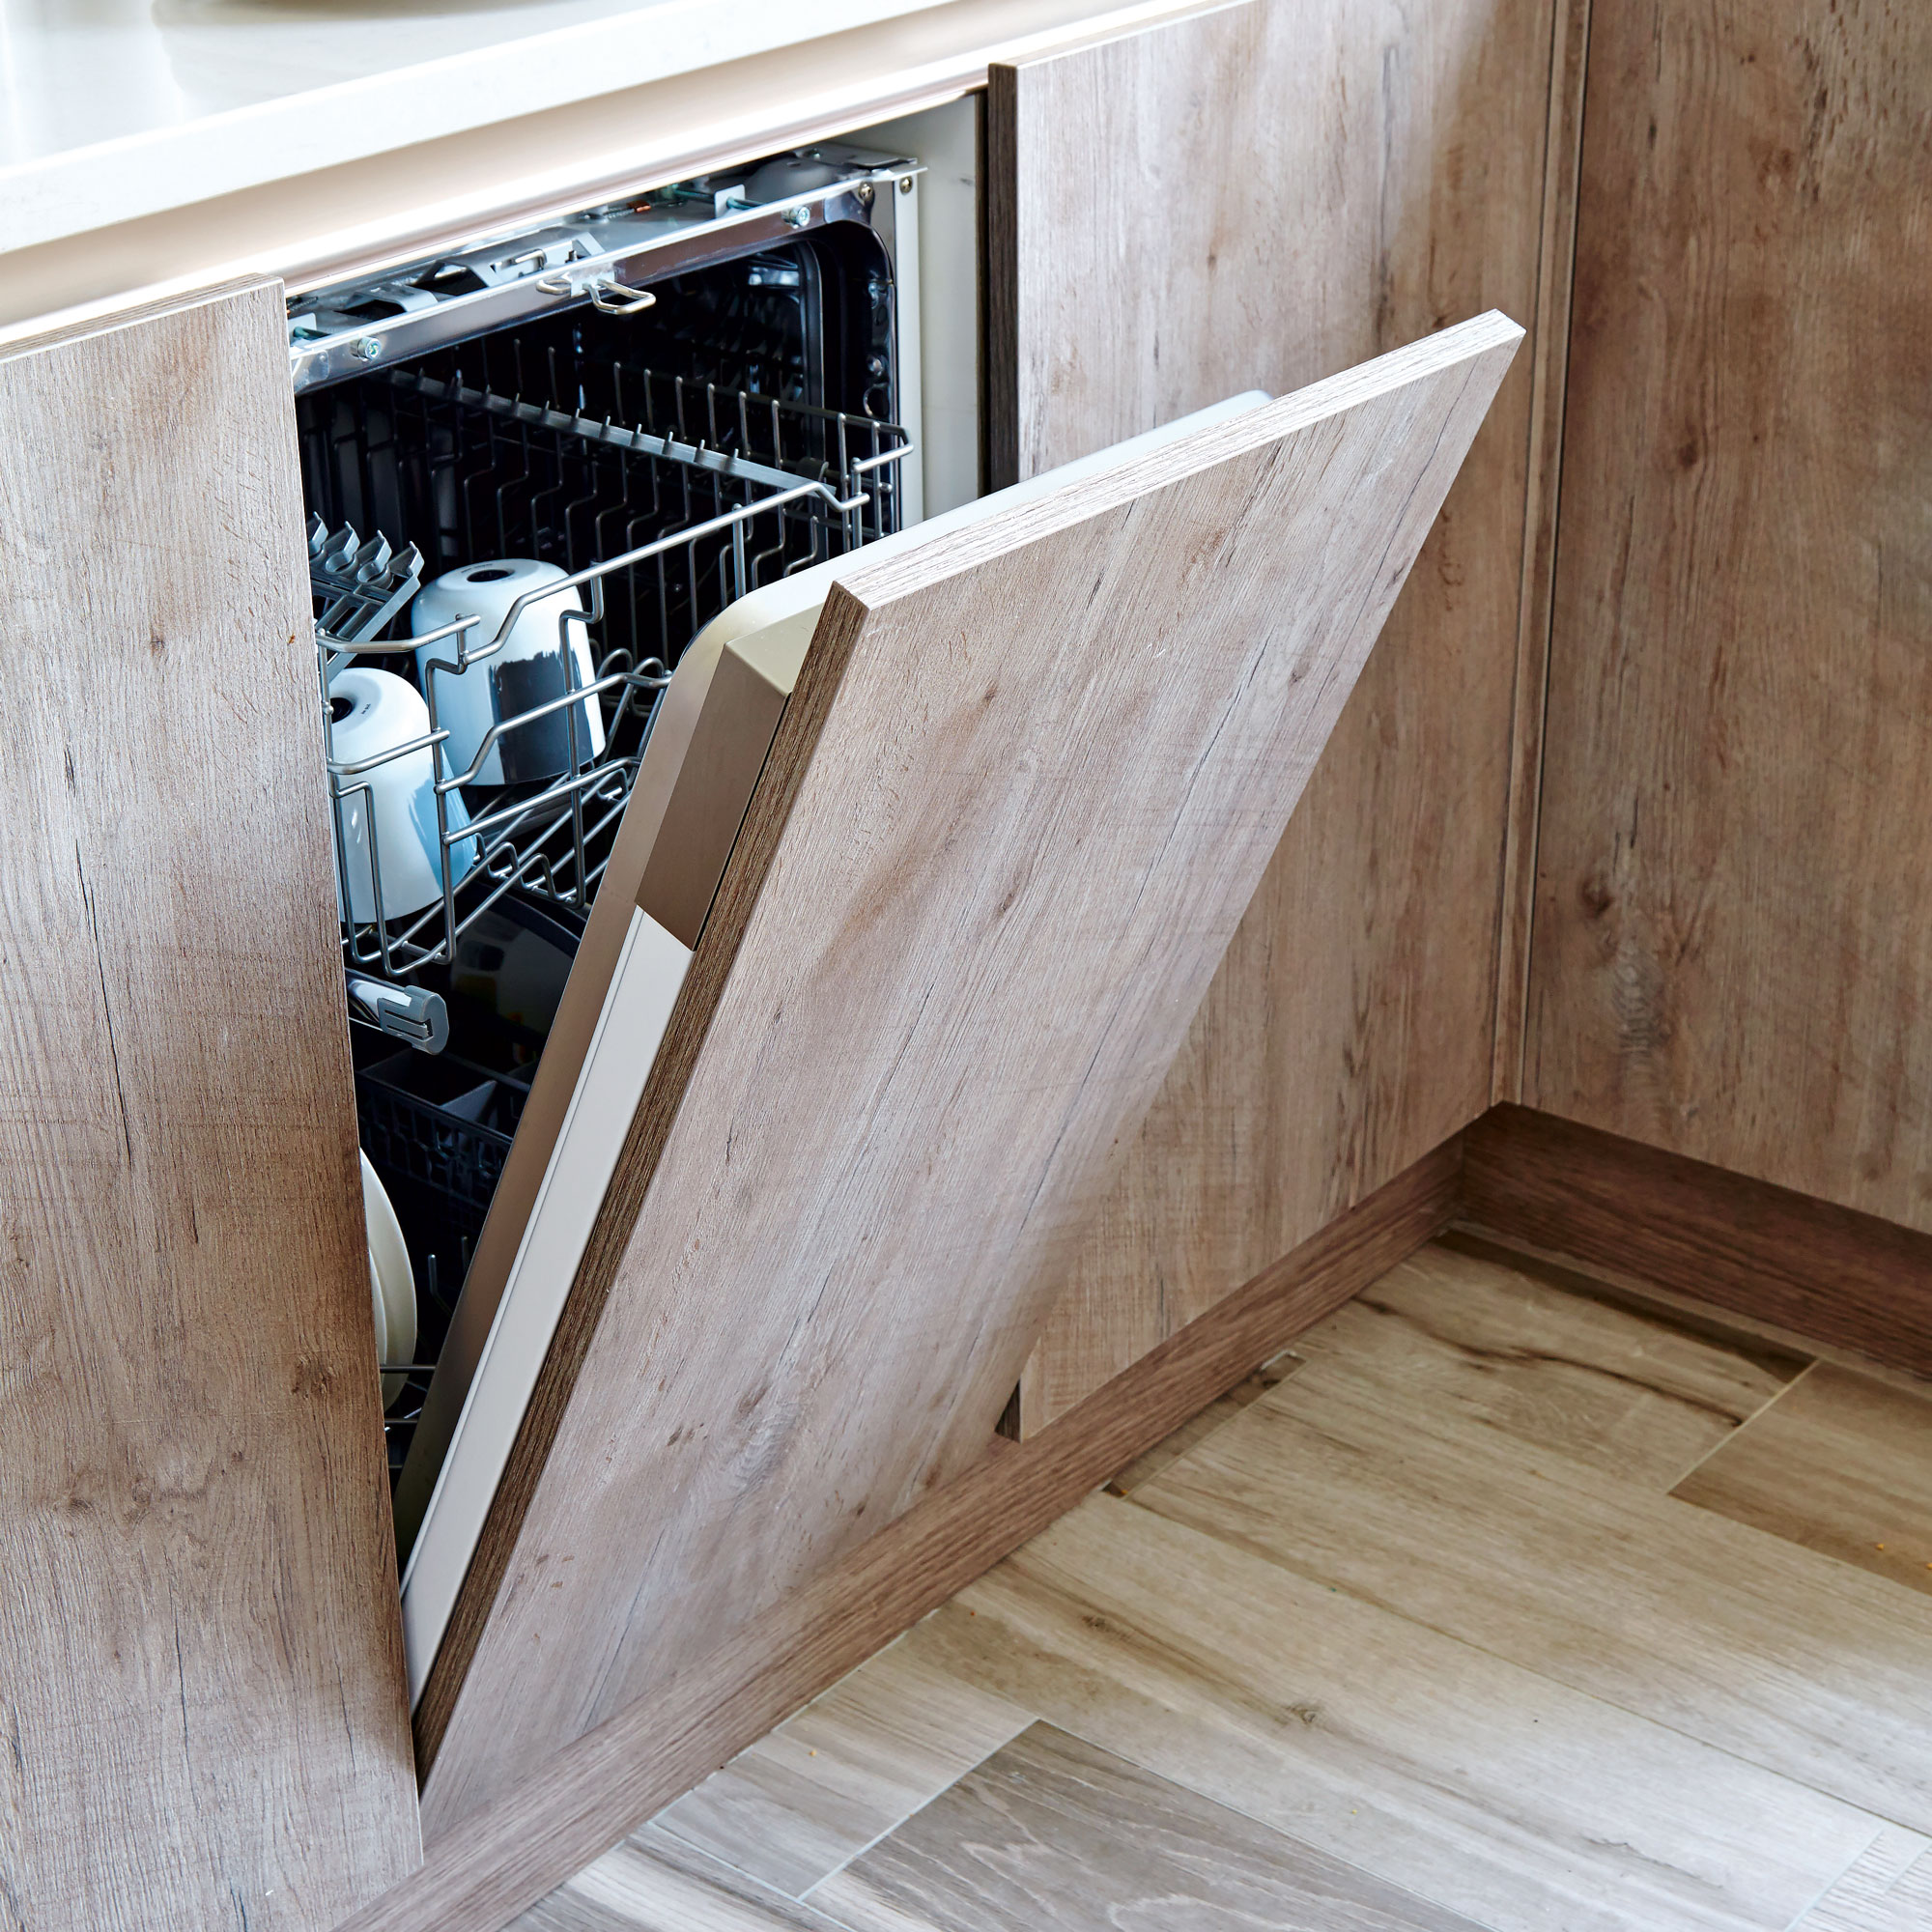
While they do a great job of cleaning your dishes, dishwashers are not so great at cleaning themselves, unfortunately. If left too long, old food, limescale and undissolved detergent can build up, which results in those dishes not coming out quite so clean anymore. The good news is, once you know how to clean a dishwasher, it’s actually pretty painless.
‘Even dishwashers need a spa day, so remove the trays and baskets and get to work with a sponge or toothbrush. A toothpick is useful for removing food from the spray arm, too. You can use detergent or vinegar, but the important thing is to sponge everything thoroughly, including the door seals.'
'Don’t forget to rinse the filter, too. A clever little hack is to finish off by adding a glass of white vinegar and running a hot cycle – that should break down any remaining grime,' say the experts at Currys.
Doing this every few months or so, along with rinsing plates before you put them in, should keep things in good working order.
4. Disinfect bins

Cleaning expert and trained counsellor, Alice Lynch, runs her own property services business in London, Lynch Property Services. Business owner and expert in the industry for nearly 14 years, Alice has serviced thousands of rental properties all over London. She manages the cleaning, inventories, gas and electric.
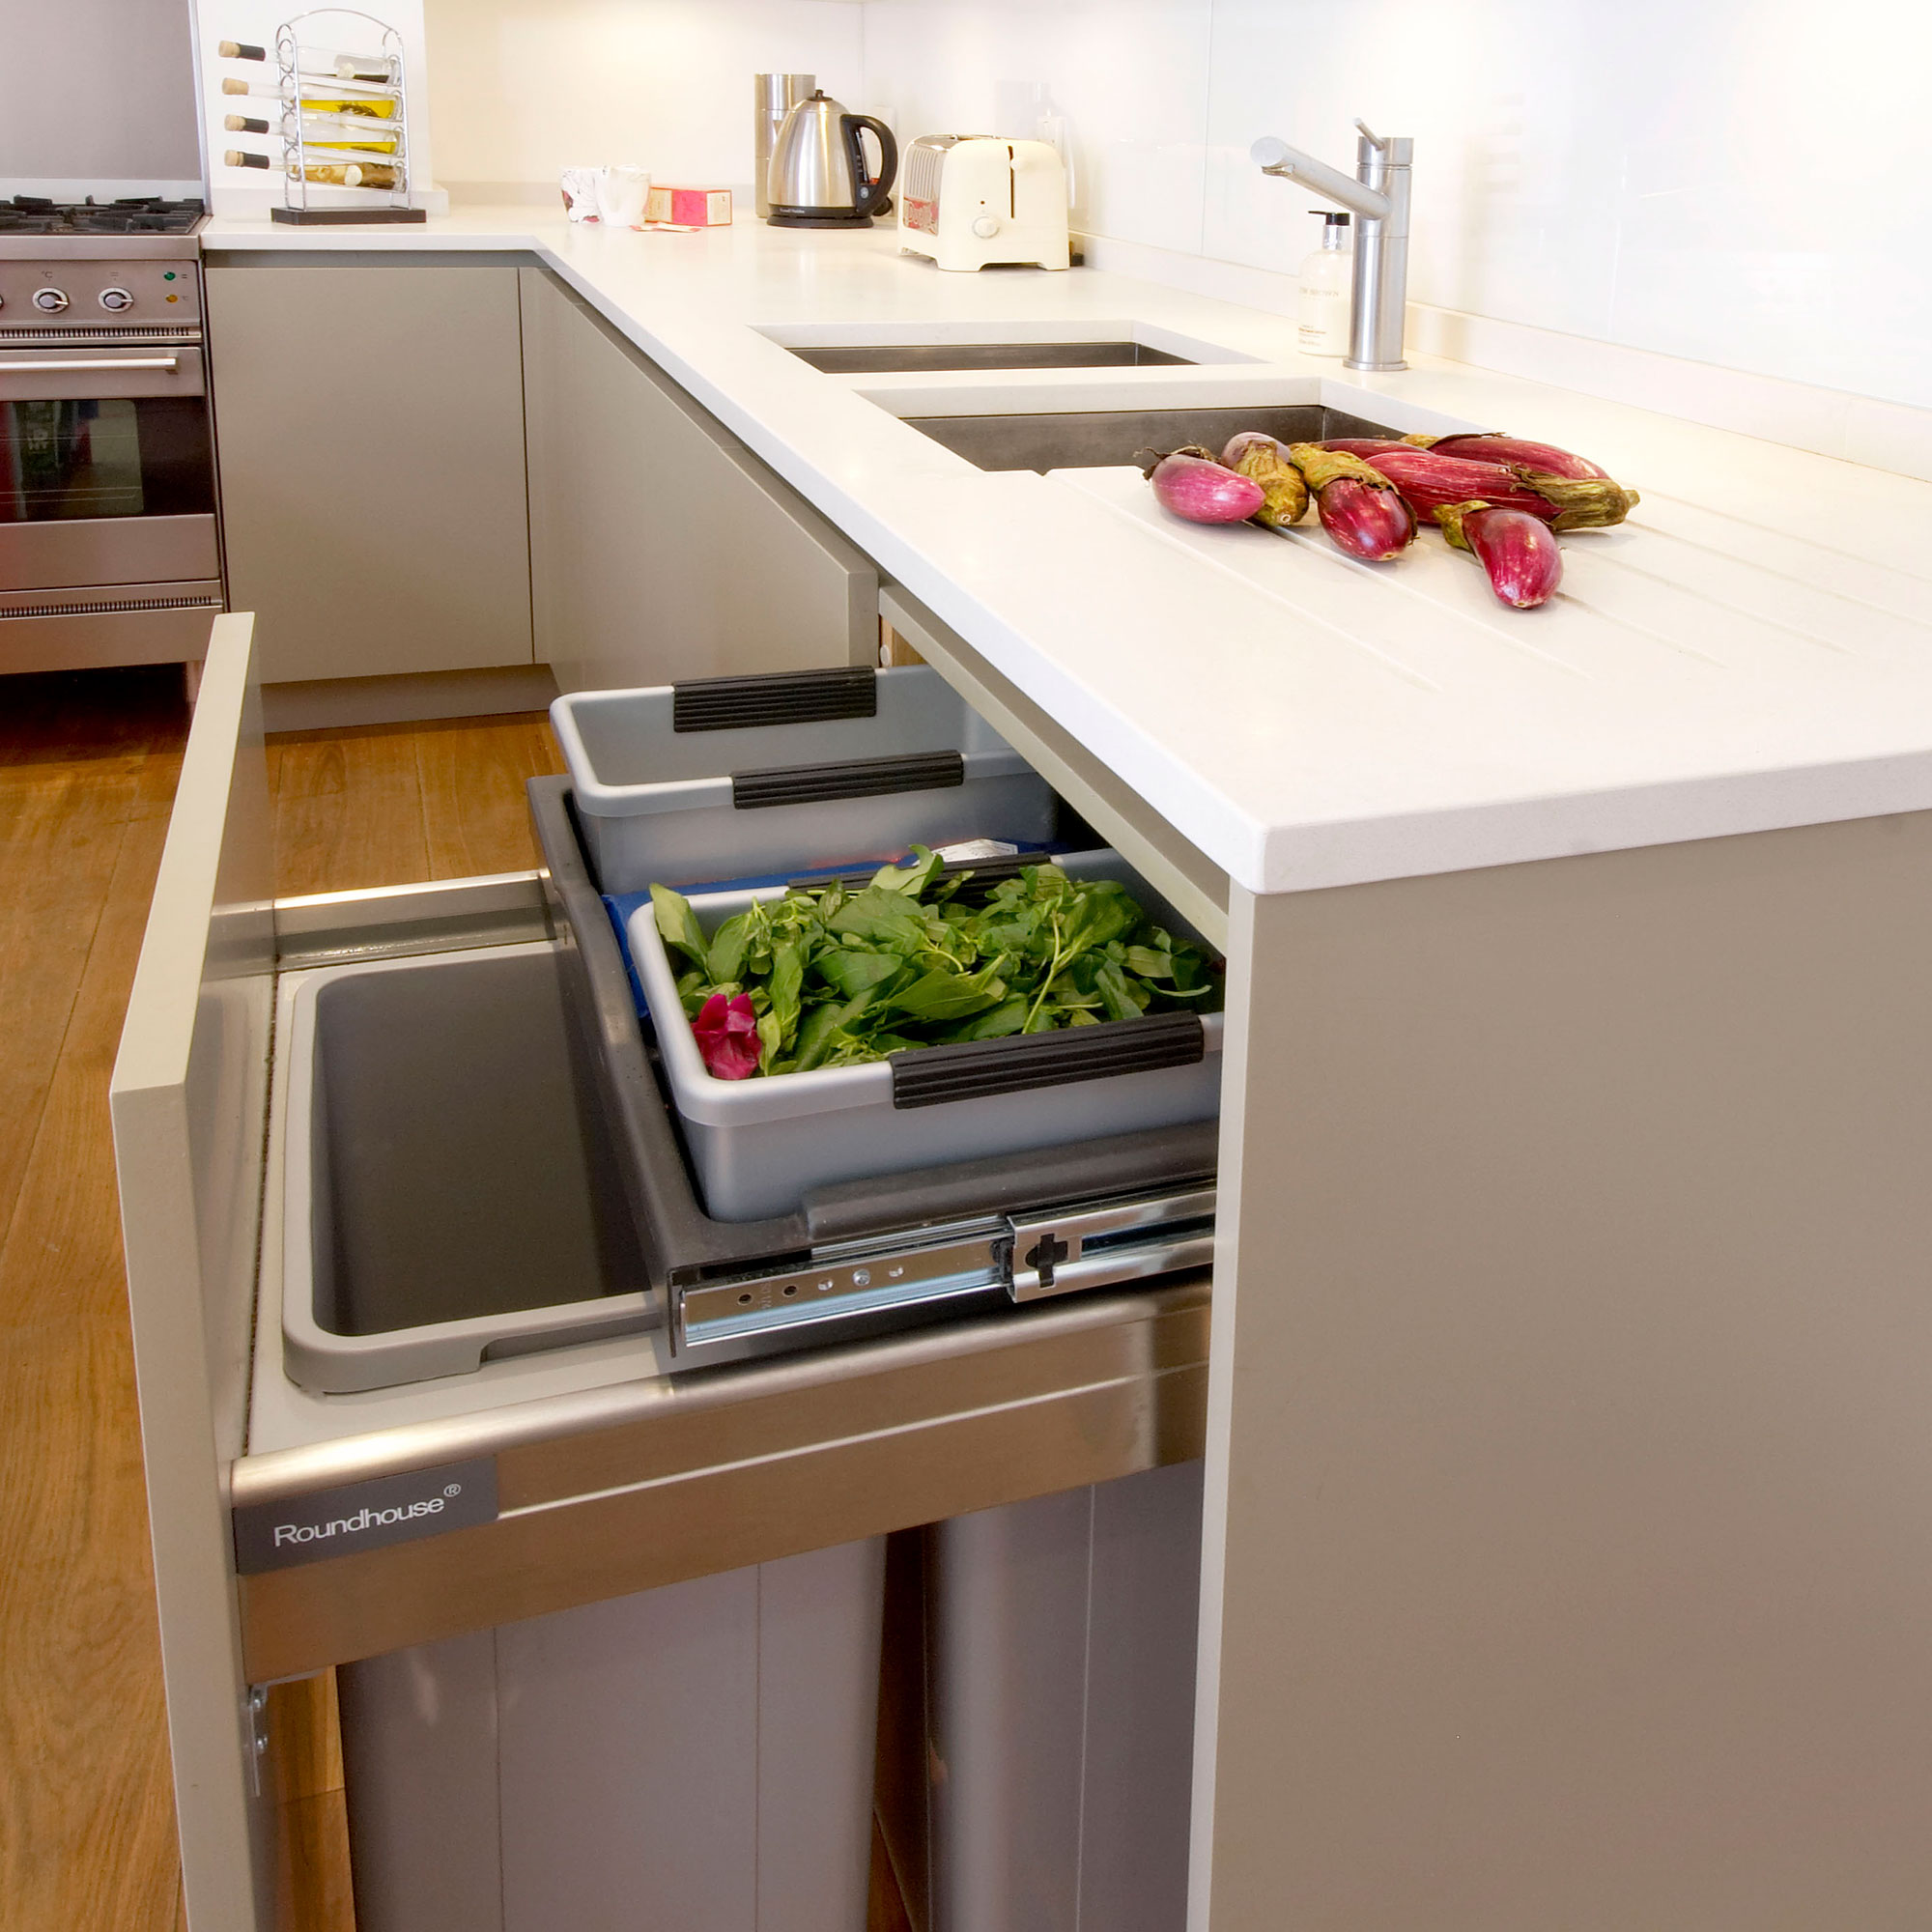
You may well be taking the bags out, but we bet you’re not cleaning your kitchen bin as often as experts say you should be. For ultimate hygiene, the experts recommend a rinse down twice a week, but we appreciate that’s not always feasible. It’s fine to tackle odours and stains as and when, as long as you’re disinfecting them thoroughly during your kitchen spring clean. Don’t forget your food caddie and recycling bins, too.
I’d recommend popping on a pair of Marigold Longer Bathroom Gloves (available at Amazon)’, says cleaning expert Lindsay Turford @dazlincleaning. ‘Even though these gloves are designed for bathroom cleaning, the extra-long cuffs are perfect for protecting your arms from yucky stuff as you reach into the bin’.
A final tip from the UK’s Queen of Clean, Mrs Hinch @mrshinchhome, is to line the bottom of your bin bag with a piece of kitchen roll doused in scented disinfectant, to help keep odors at bay.
5. Give grout a going over

Spritzing down kitchen tiles is one thing, but when undertaking a deep clean, you’ll need to understand how to clean grout properly if you want them looking as good as new. The humble toothbrush is your best friend here; use it to remove that top layer of mould and mildew.
A whitening toothpaste can sometimes be enough, but if you’re struggling to uncover your grout’s original sheen, chemical-based cleaners may be required.
6. Wipe down cabinets inside and out

Grubby cabinets can really bring a sleek-looking kitchen down, particularly on sunny days; there’s no hiding those greasy fingerprint marks! Wiping down the fronts every couple of weeks should help with build-up, but you’ll want to factor in a deeper clean every other month to tackle thicker layers of dirt and grime – both inside and out.
To clean kitchen cabinets thoroughly, Remove everything from inside first, including any organisers you’re using, and give everything a good once over with a handheld vac to clear crumbs and other debris. Wipe down the shelves and sides with a microfibre cloth dipped in warm, soapy water and allow to dry before you start putting things back.
If you’re housing ingredients, take the opportunity to remove any items past their sell-by. The same process can be used for cleaning kitchen drawers, too.
6. Descale the coffee machine

Even the best coffee machine will fail to deliver if you don’t keep on top of cleaning it properly. A quick wipe down isn’t enough, you’ll need to look after the parts you can’t see, too, if you want to ensure a great-tasting brew.
While there’s specific descaling cleaners available, you can achieve just as great a result cleaning with denture tablets – yes really. Simply fill the reservoir with water, drop in a tab or two and run a cycle. Discard the water and run through again to rinse away any loose limescale.
When cleaning a coffee machine – or any small appliance for that matter – always check the care manual thoroughly beforehand. Some manufacturers warn against using certain cleaning products and you don’t want to do anything that might invalidate your warranty.
7. Clean the oven

Arguably the most-used appliance in your kitchen, knowing how to clean an oven and hob properly is a priority. It may be gross, but putting it off will only make things harder in the long run, and if you try our handy hack, it’s actually easier than you might think – no scrubbing required.
‘Place a slice of fresh lemon into one and a half cups of water in an oven-proof bowl, then place into a 250-degree oven for 20 minutes. Turn the heat off and let the water cool slightly before wiping the floor, walls and racks with a cloth or sponge dipped in the hot lemon water until they shine,' says Rebecca Knight, Digital Deputy Editor of Ideal Home.
A deep clean means tackling the extractor fan, too as Steve Horner, kitchen hygiene expert at Cladding Monkey explains.
'Your hood extractor fan will likely have a grate on it that can be removed and washed. Over time, this grate will accumulate a decent amount of grease and grime, so it's good to have a proper clean down of these during a kitchen spring clean to ensure that your hood extractor fan continues to be able to do its job properly.'
Wash all the removable parts in water and fairy liquid solution (avoid getting too much water into the mechanisms) then wipe down the outside and dry. If your oven isn’t built in, be sure to clean underneath it – the same goes for your fridge, dishwasher and washing machine if it’s located in the kitchen.
8. Steam clean the microwave
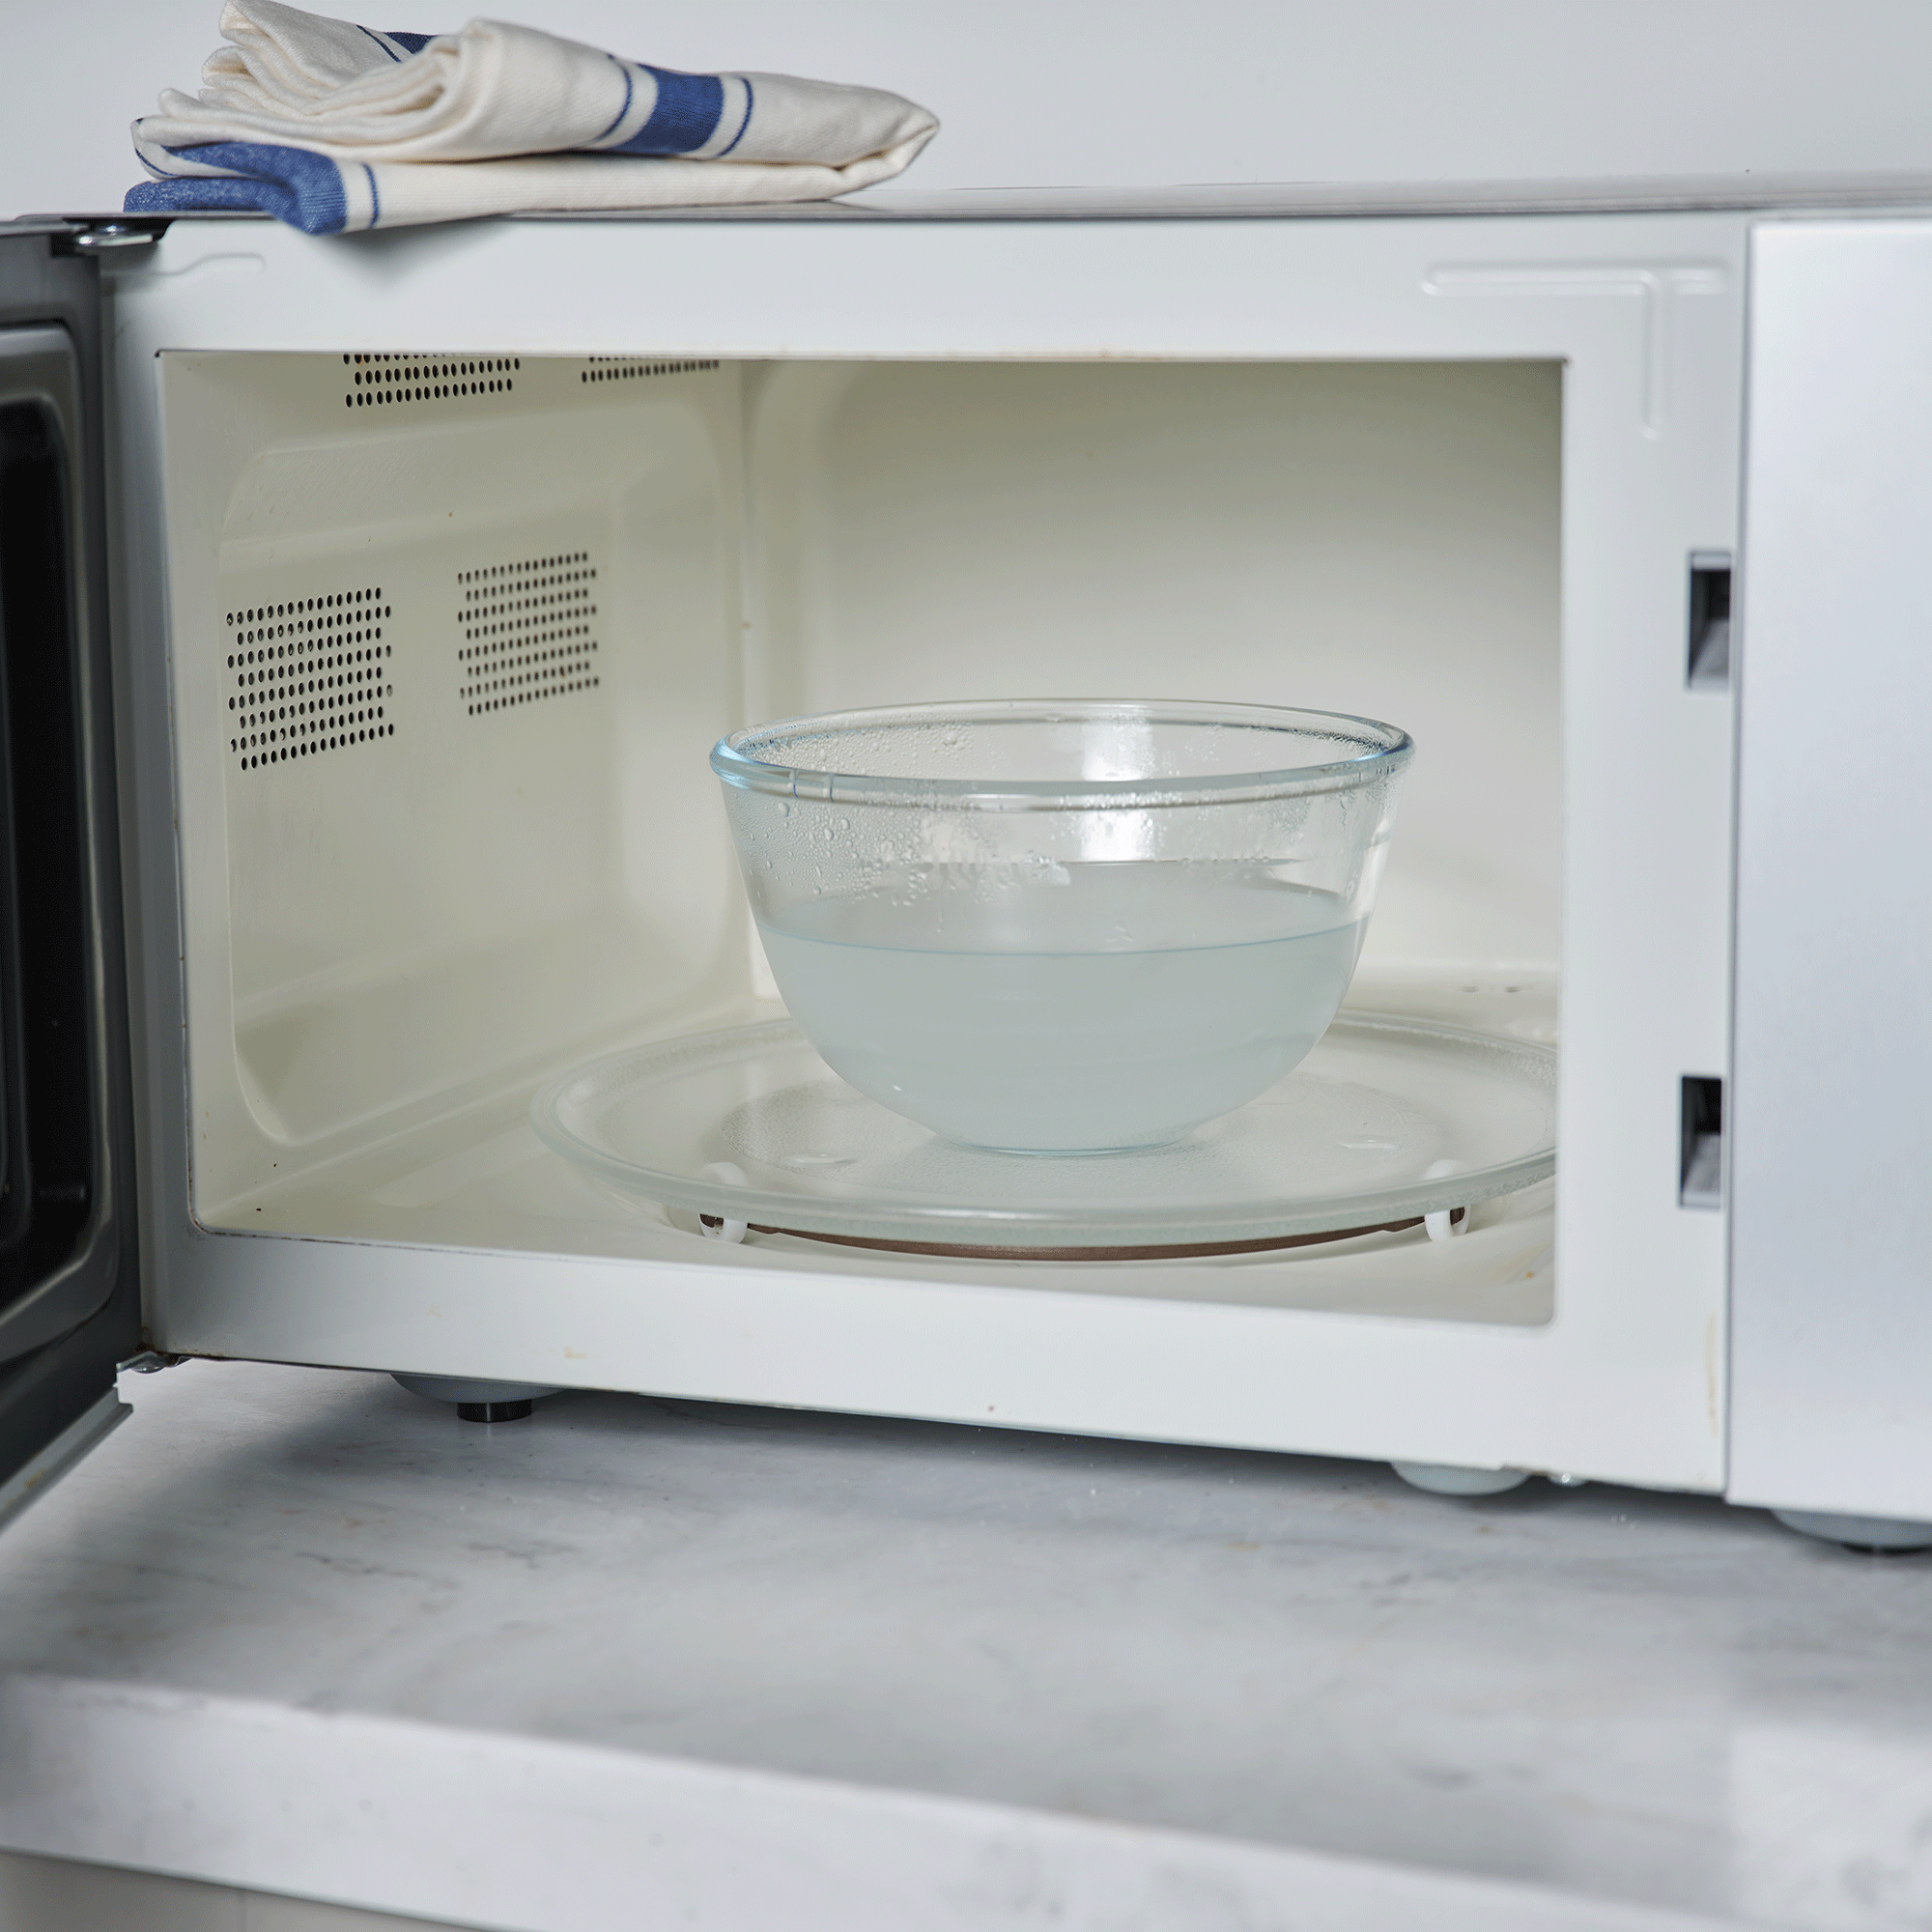
When was the last time you cleaned your microwave? Probably longer ago than you’d like to admit. Often overlooked, the microwave needs a fairly regular refresh to keep it in tip-top condition, so introduce it into your spring clean routine – it’s quick and easy to do.
‘Pour a 50/50 mix of white vinegar and water into a bowl and cover with cling film. Stab a few holes in the top and turn the microwave on for five minutes. Grab a microfibre cloth and wipe down – the dirt should come away easily now,' advises Lindsay.
Or you could grab an Angry Mama microwave cleaner on Amazon. Just add vinegar and water, turn the microwave on for 5 - 7 minutes and wipe down.
9. Freshen up the fridge

If your fridge is starting to smell a little ‘off’, it’s probably time to familiarise yourself with how to clean a fridge freezer. Start by taking everything out and checking the sell-by; only keep items that are within date and you know you’re going to eat, anything else can be discarded or passed on to somebody else.
If you're winding up with a lot of waste, now might be a good opportunity to establish a better organisation system going forwards – positioning items with closer expiry dates towards the front of the shelf so they get eaten first is easy, and really works, too.
Before putting items back, give the shelves and interior walls a good wipe down to ensure there’s no bacteria lurking. It’s a good idea to use natural cleaners (such as this one, available at Lakeland) in the kitchen in general, but particularly in the fridge, to avoid anything nasty coming into contact with things you’re going to eat. Bicarb soda is great for removing stubborn spillages, while a 50:50 solution of vinegar and water should get shot of lingering smells.
And don't forget the top of your fridge where things get super dusty. 'Whilst cleaning inside of your fridge and your fridge doors are often on people’s spring cleaning list, the top of the fridge is often forgotten, meaning dust, dirt and grease can build up without us realising!' explains Bio-D’s sustainability, NPD and regulatory manager, Heather Nixon.
'Thankfully, it is easy to clean. Use warm water mixed with washing-up liquid and give it a scrub using a microfibre cloth. An all-purpose sanitiser can also work wonders.'
10. Steam clean the floors

Should you mop or steam mop? Mopping tiled floors is a fairly standard kitchen cleaning task, but a good steam clean every now and then will ensure you get rid of dirt and bacteria. As well as disinfecting thoroughly, the heat from the steam means you’ll find your floors shining and drying quickly, without the need for harmful chemicals – handy if you have pets or little ones.
Before you waste time researching the best steam cleaners, it’s important to consider what type of floor you have; they aren’t recommended for all.
‘If you’re dealing with wood or wood-effect flooring, you’ll want to avoid steam cleaners really, as they can cause warping. A microfibre dust mop is a great alternative – use it dry alongside a concentrated cleaning solution to avoid soaking the floors,' says Johanna Constantinou, brand director at Tapi.
Regardless of the type of kitchen floor you’re dealing with, the most worthy investment in our opinion is one of the best cordless vacuum cleaners. While they may not be as powerful as plug-in versions, their convenient and lightweight design makes it easy to get into those harder-to-reach areas where crumbs and debris like to congregate.
11. Refresh key kitchen appliances
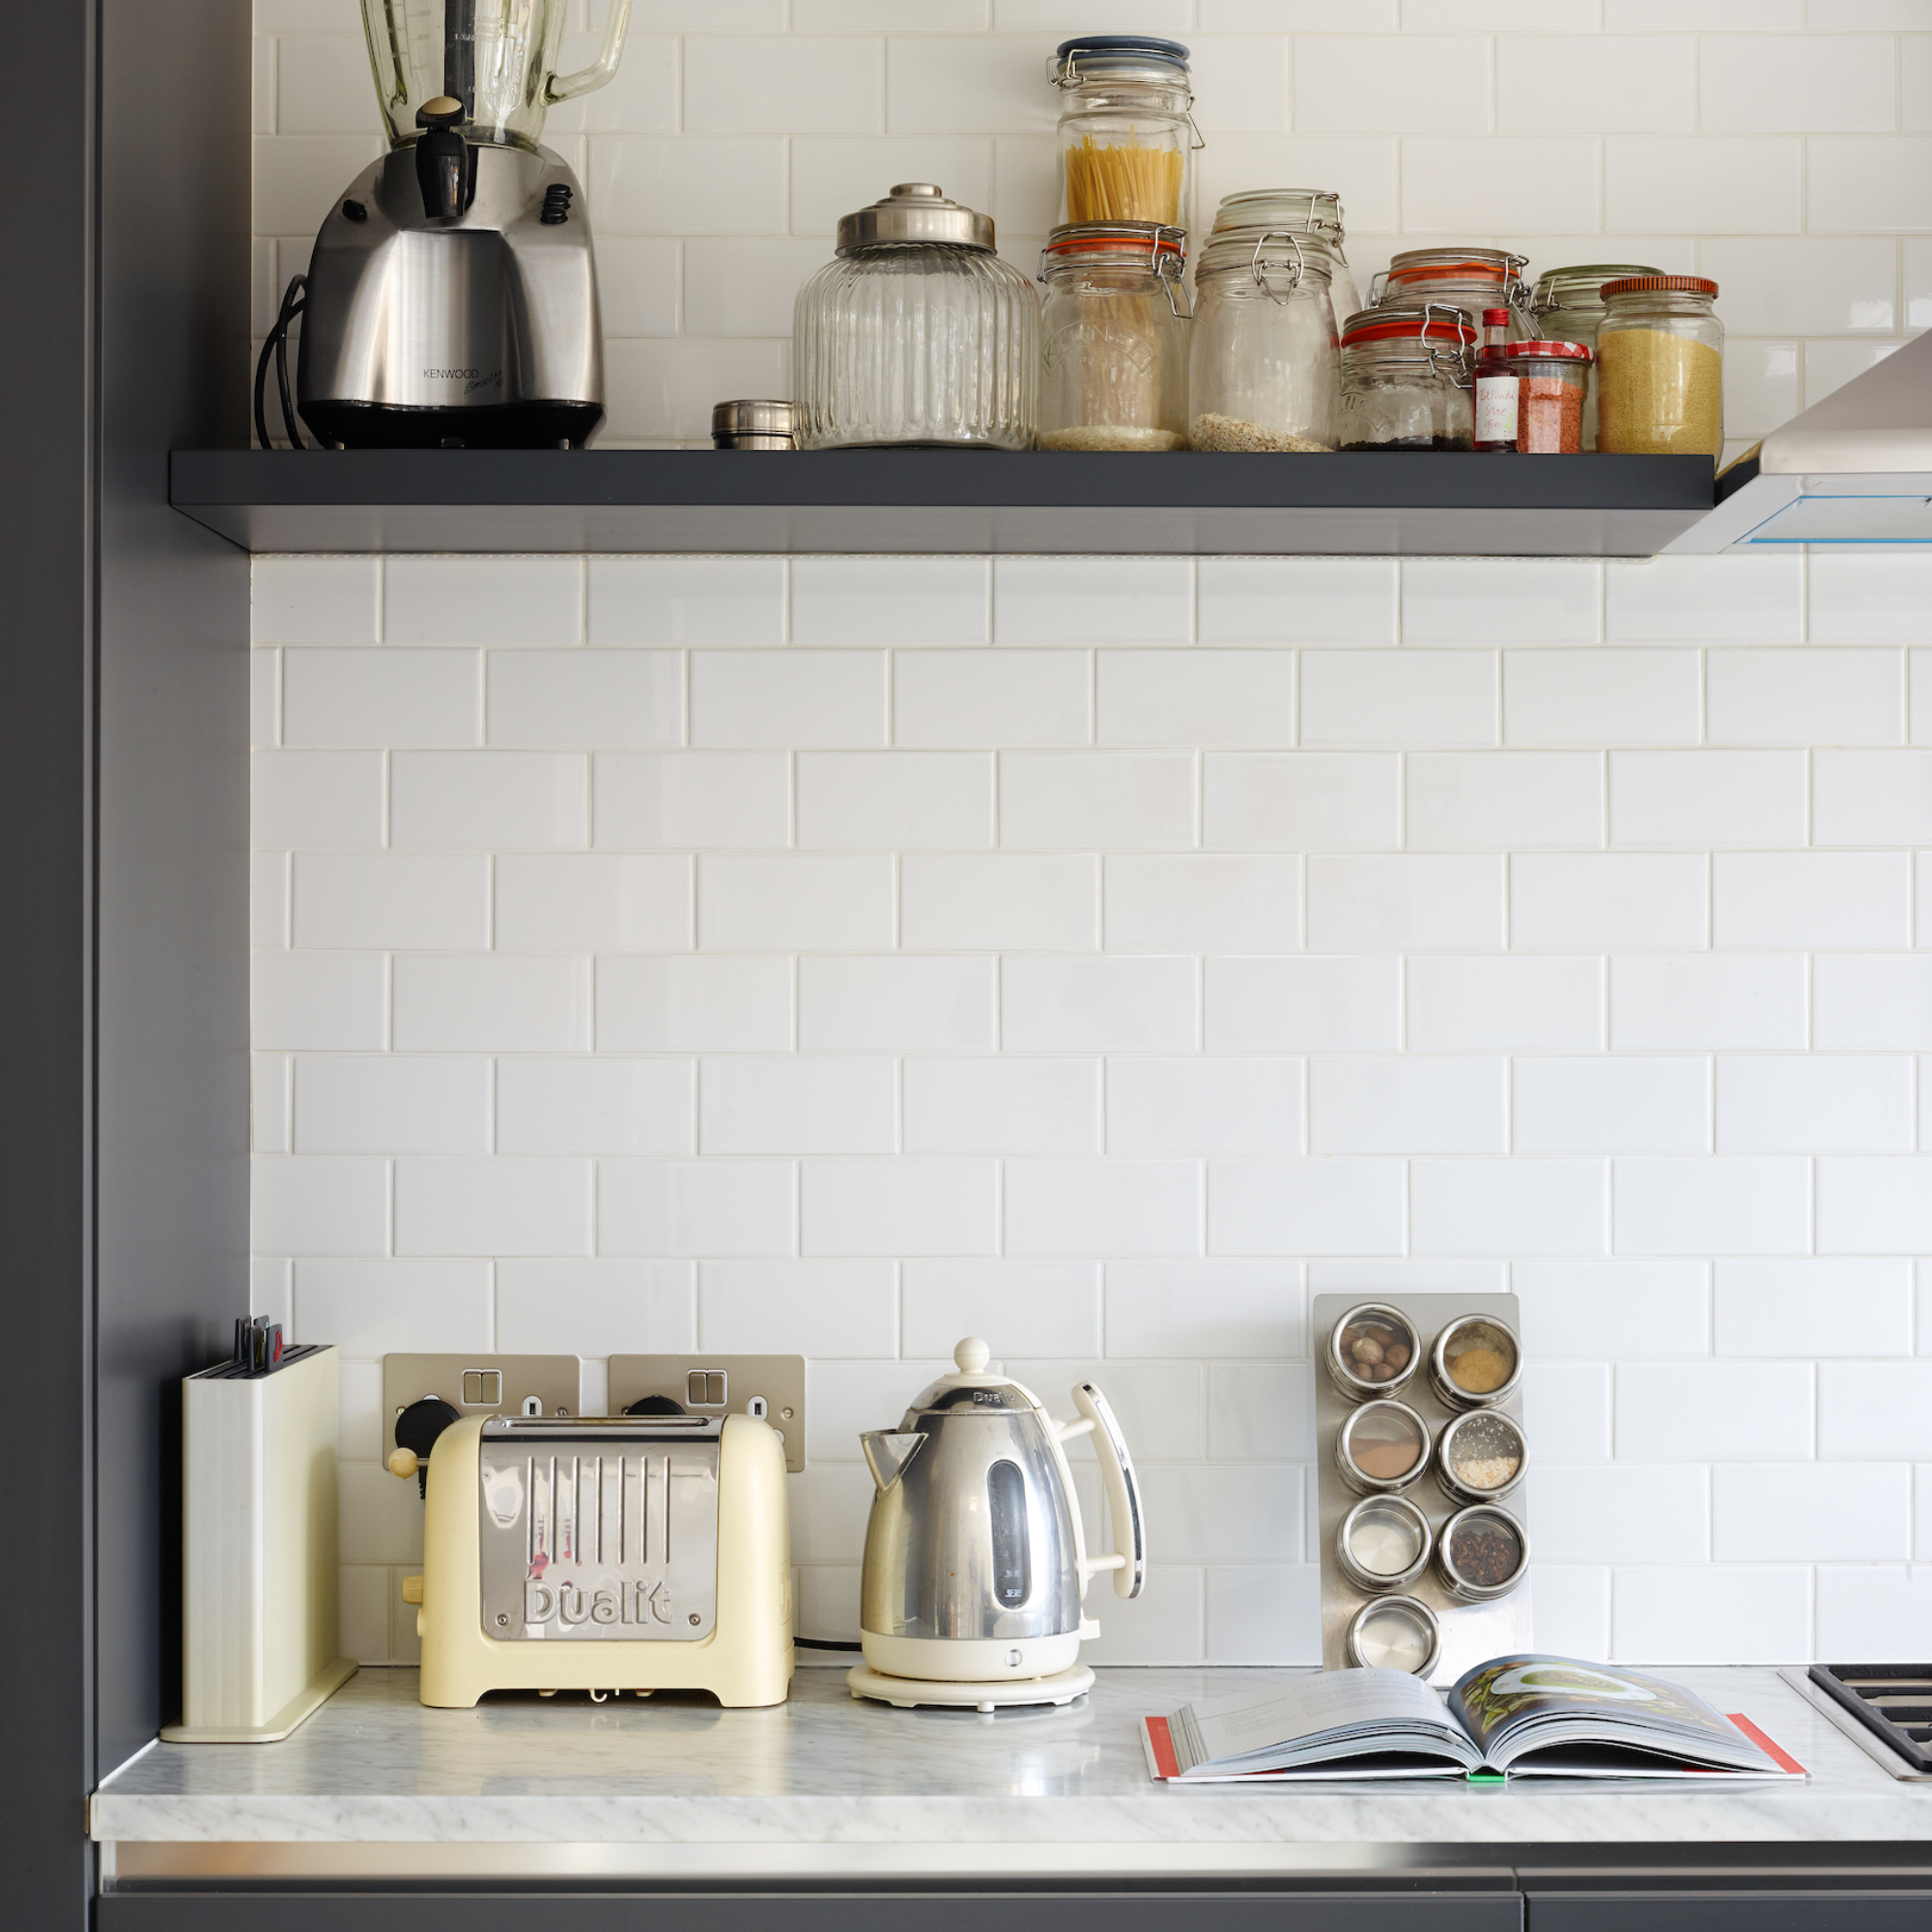
Gwill Snook, AO.com’s appliance expert says it's worth giving your appliances a quick clean using everyday household items.
'Spring cleaning is the ideal opportunity to give your home the once over and what better place to start than with the appliances that do all the heavy lifting?' says Gwill.
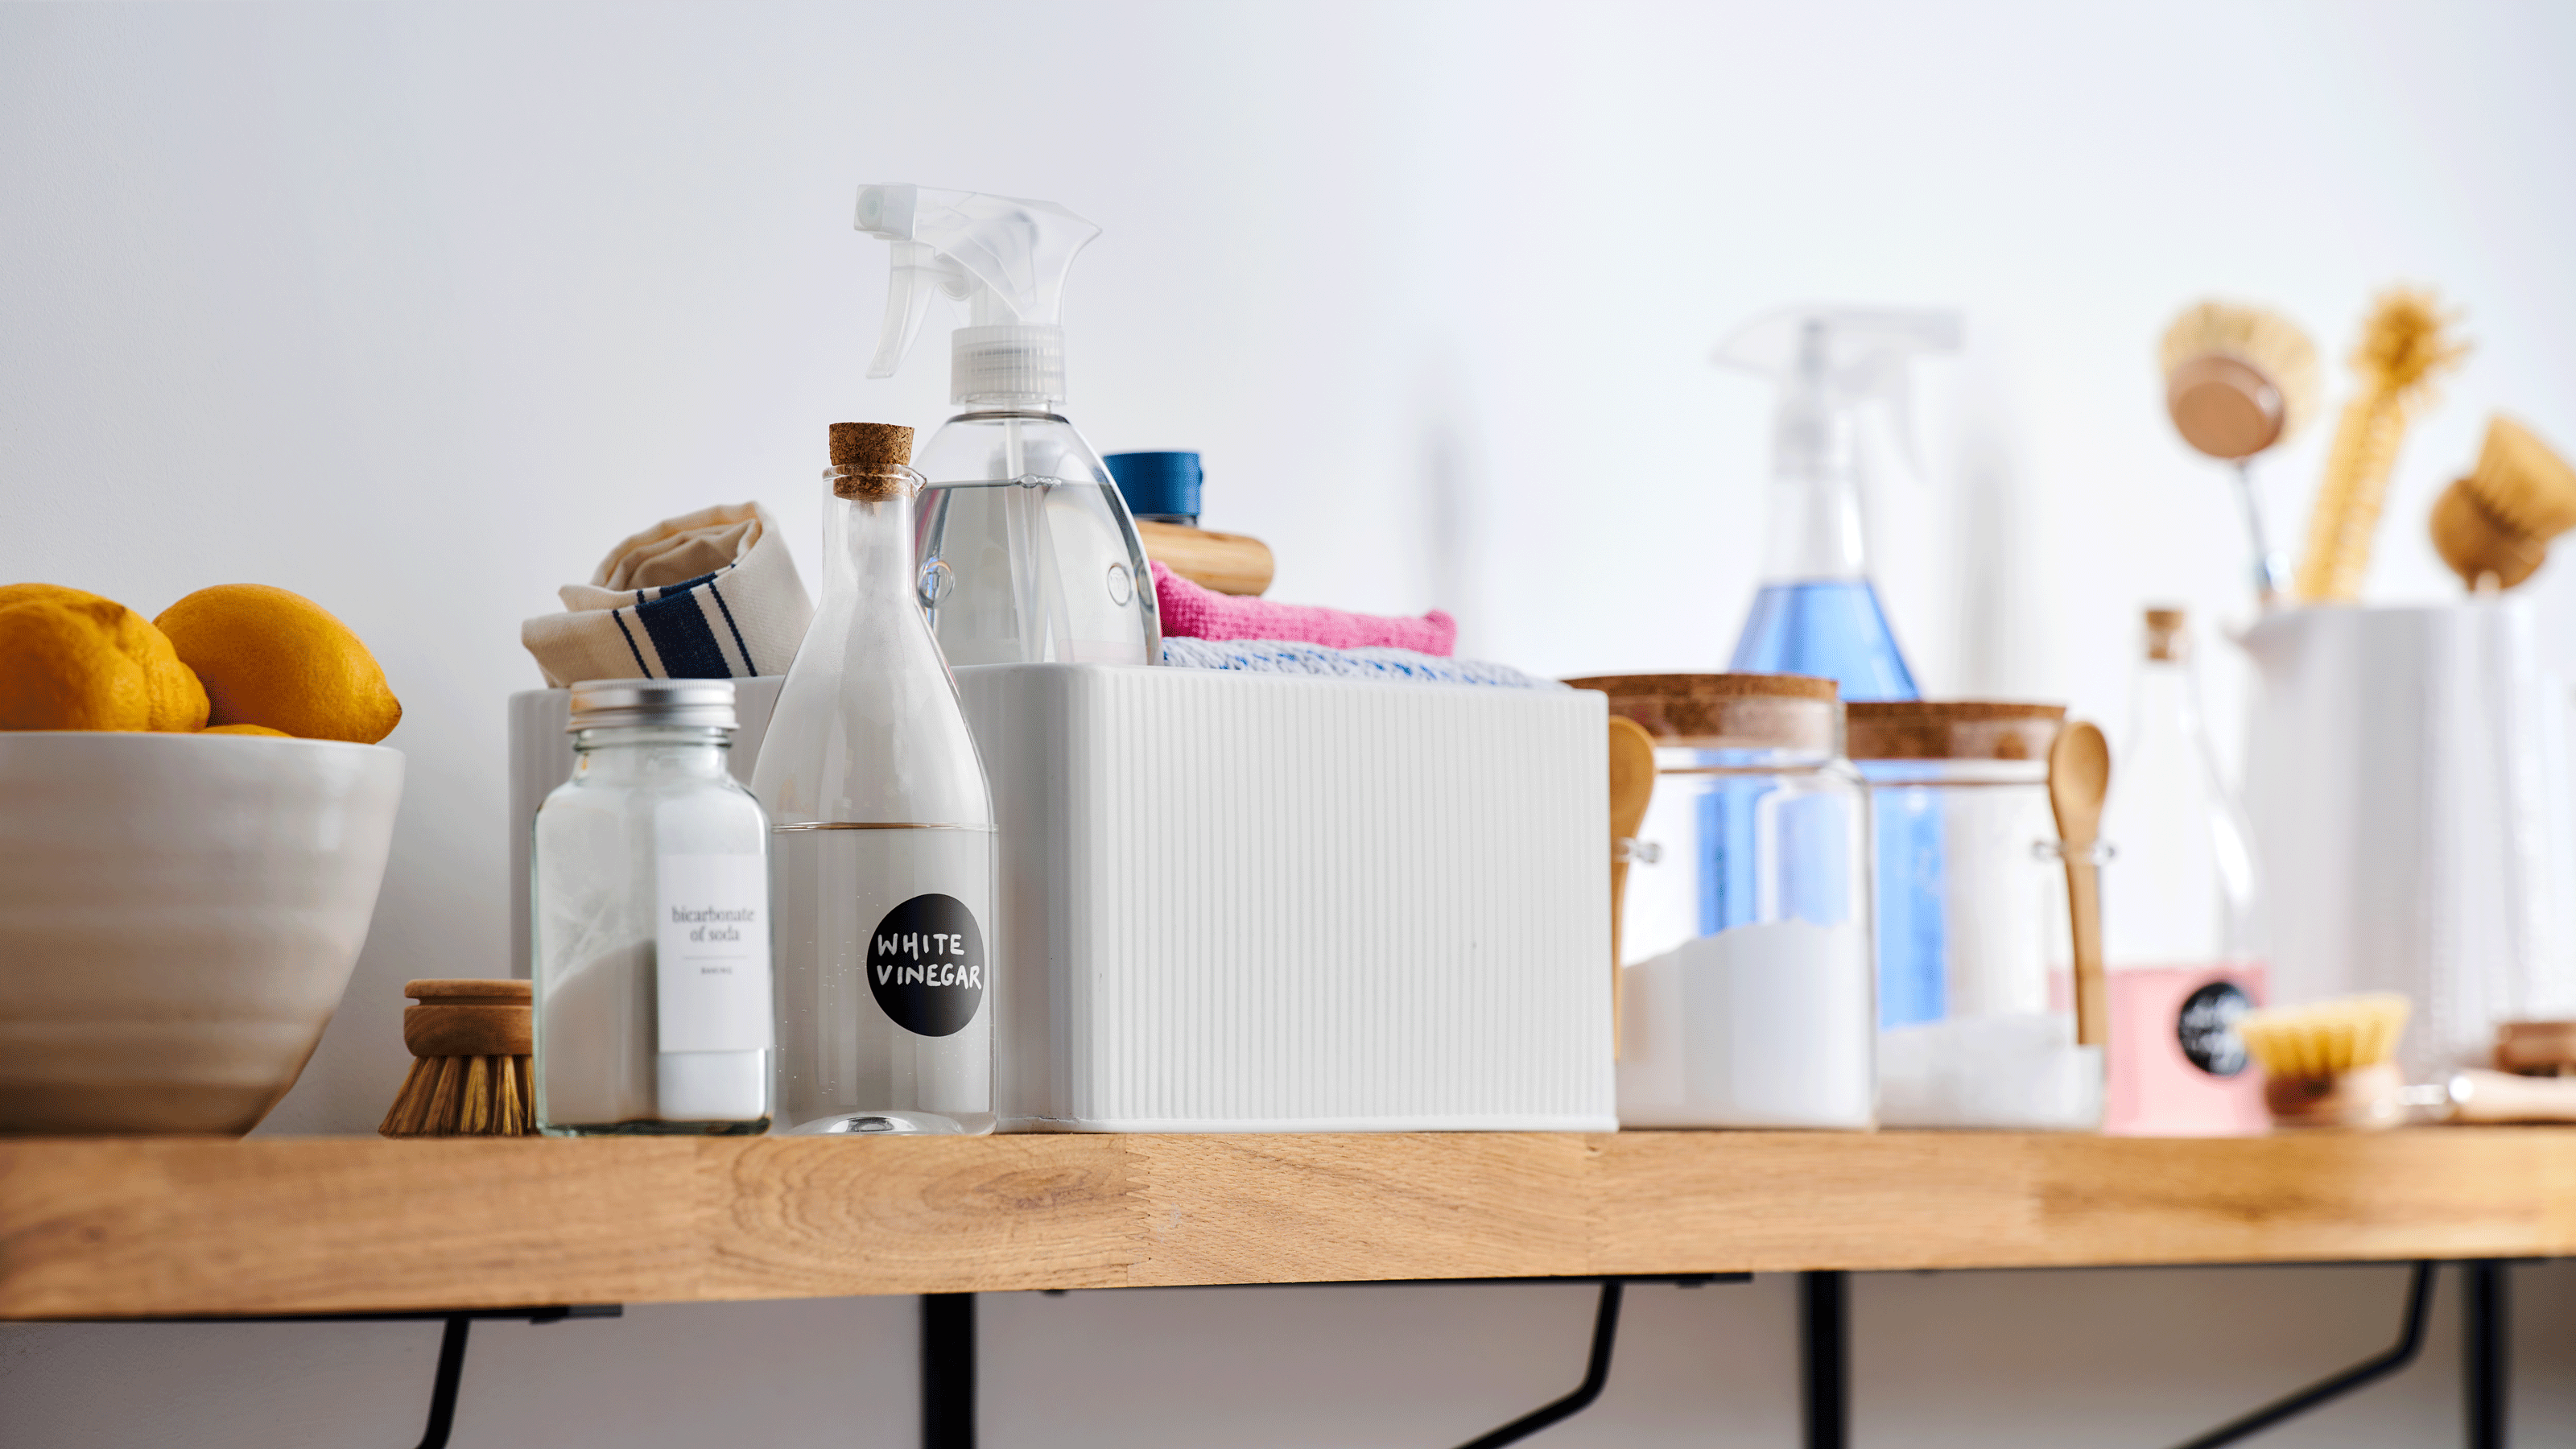
'For the most part, all you’ll need is vinegar, bicarbonate of soda, water, soap, an old toothbrush, a microfibre cloth, appliance-friendly bowls and a lemon.'
He's provided a handy run-through of the kitchen appliances to give a good going over.
- Washing machine: 'Your washing machine is probably the easiest appliance to begin with. Pop two glasses of vinegar into your detergent drawer and run this on a hot setting. The cycle will deep clean your machine without you having to lift a finger. Once completed, run a hot water cycle to remove any residual vinegar from your washing machine.'
- Tumble dryer: 'Your tumble dryer is a bit more fiddly but still easy thanks to vinegar. Use a vinegar/ water mix to wipe clean any stains on the drum and use a microfibre cloth to wipe down any areas like the door seal, or raised ridges where lint can collect. Finally, give your vacuum a whirl to hoover up any lint from your dryer’s filter.'
- Electronic devices: 'Did you know, devices like your mobile phone are often overlooked yet sometimes carry the most germs? Use spring cleaning to tackle this by wiping with a microfibre cloth and leave this to air dry for about five minutes. You should also use the same method on things like your TV remote and computer mouse – other overlooked devices.'
- Vacuum cleaner: 'Your vacuum cleaner deserves as much TLC as you can provide between cleans. To do so, take apart your vacuum and wipe down every nook and cranny with a damp cloth. Pay special attention to the overlooked bristles and pull any hair, debris or dust free before reassembling your vacuum.'
- Toaster: 'Decrumbing your toaster should be a priority this spring and it's straightforward to do. Turn your toaster upside down and shake free the loose crumbs or remove the crumb tray if this is an option. Then, you can use an old toothbrush to loosen crumbs from those hard-to-reach spots and be sure to wipe down your toaster’s exterior with a damp cloth.'
- Kettle: 'Descaling your kettle is another quick win to help complete the kitchen appliance spring clean. Fill your kettle halfway with an equal solution of water and vinegar. Bring this to boil and allow this to sit overnight to break down any limescale. In the morning, rinse your kettle thoroughly to remove any lingering vinegar.'

Gwil is AO.com's heated laundry and dishwasher expert with more than seven years experience, and holds a particular interest in heat pump tumble dryers.
12. Utensils and cutlery drawers
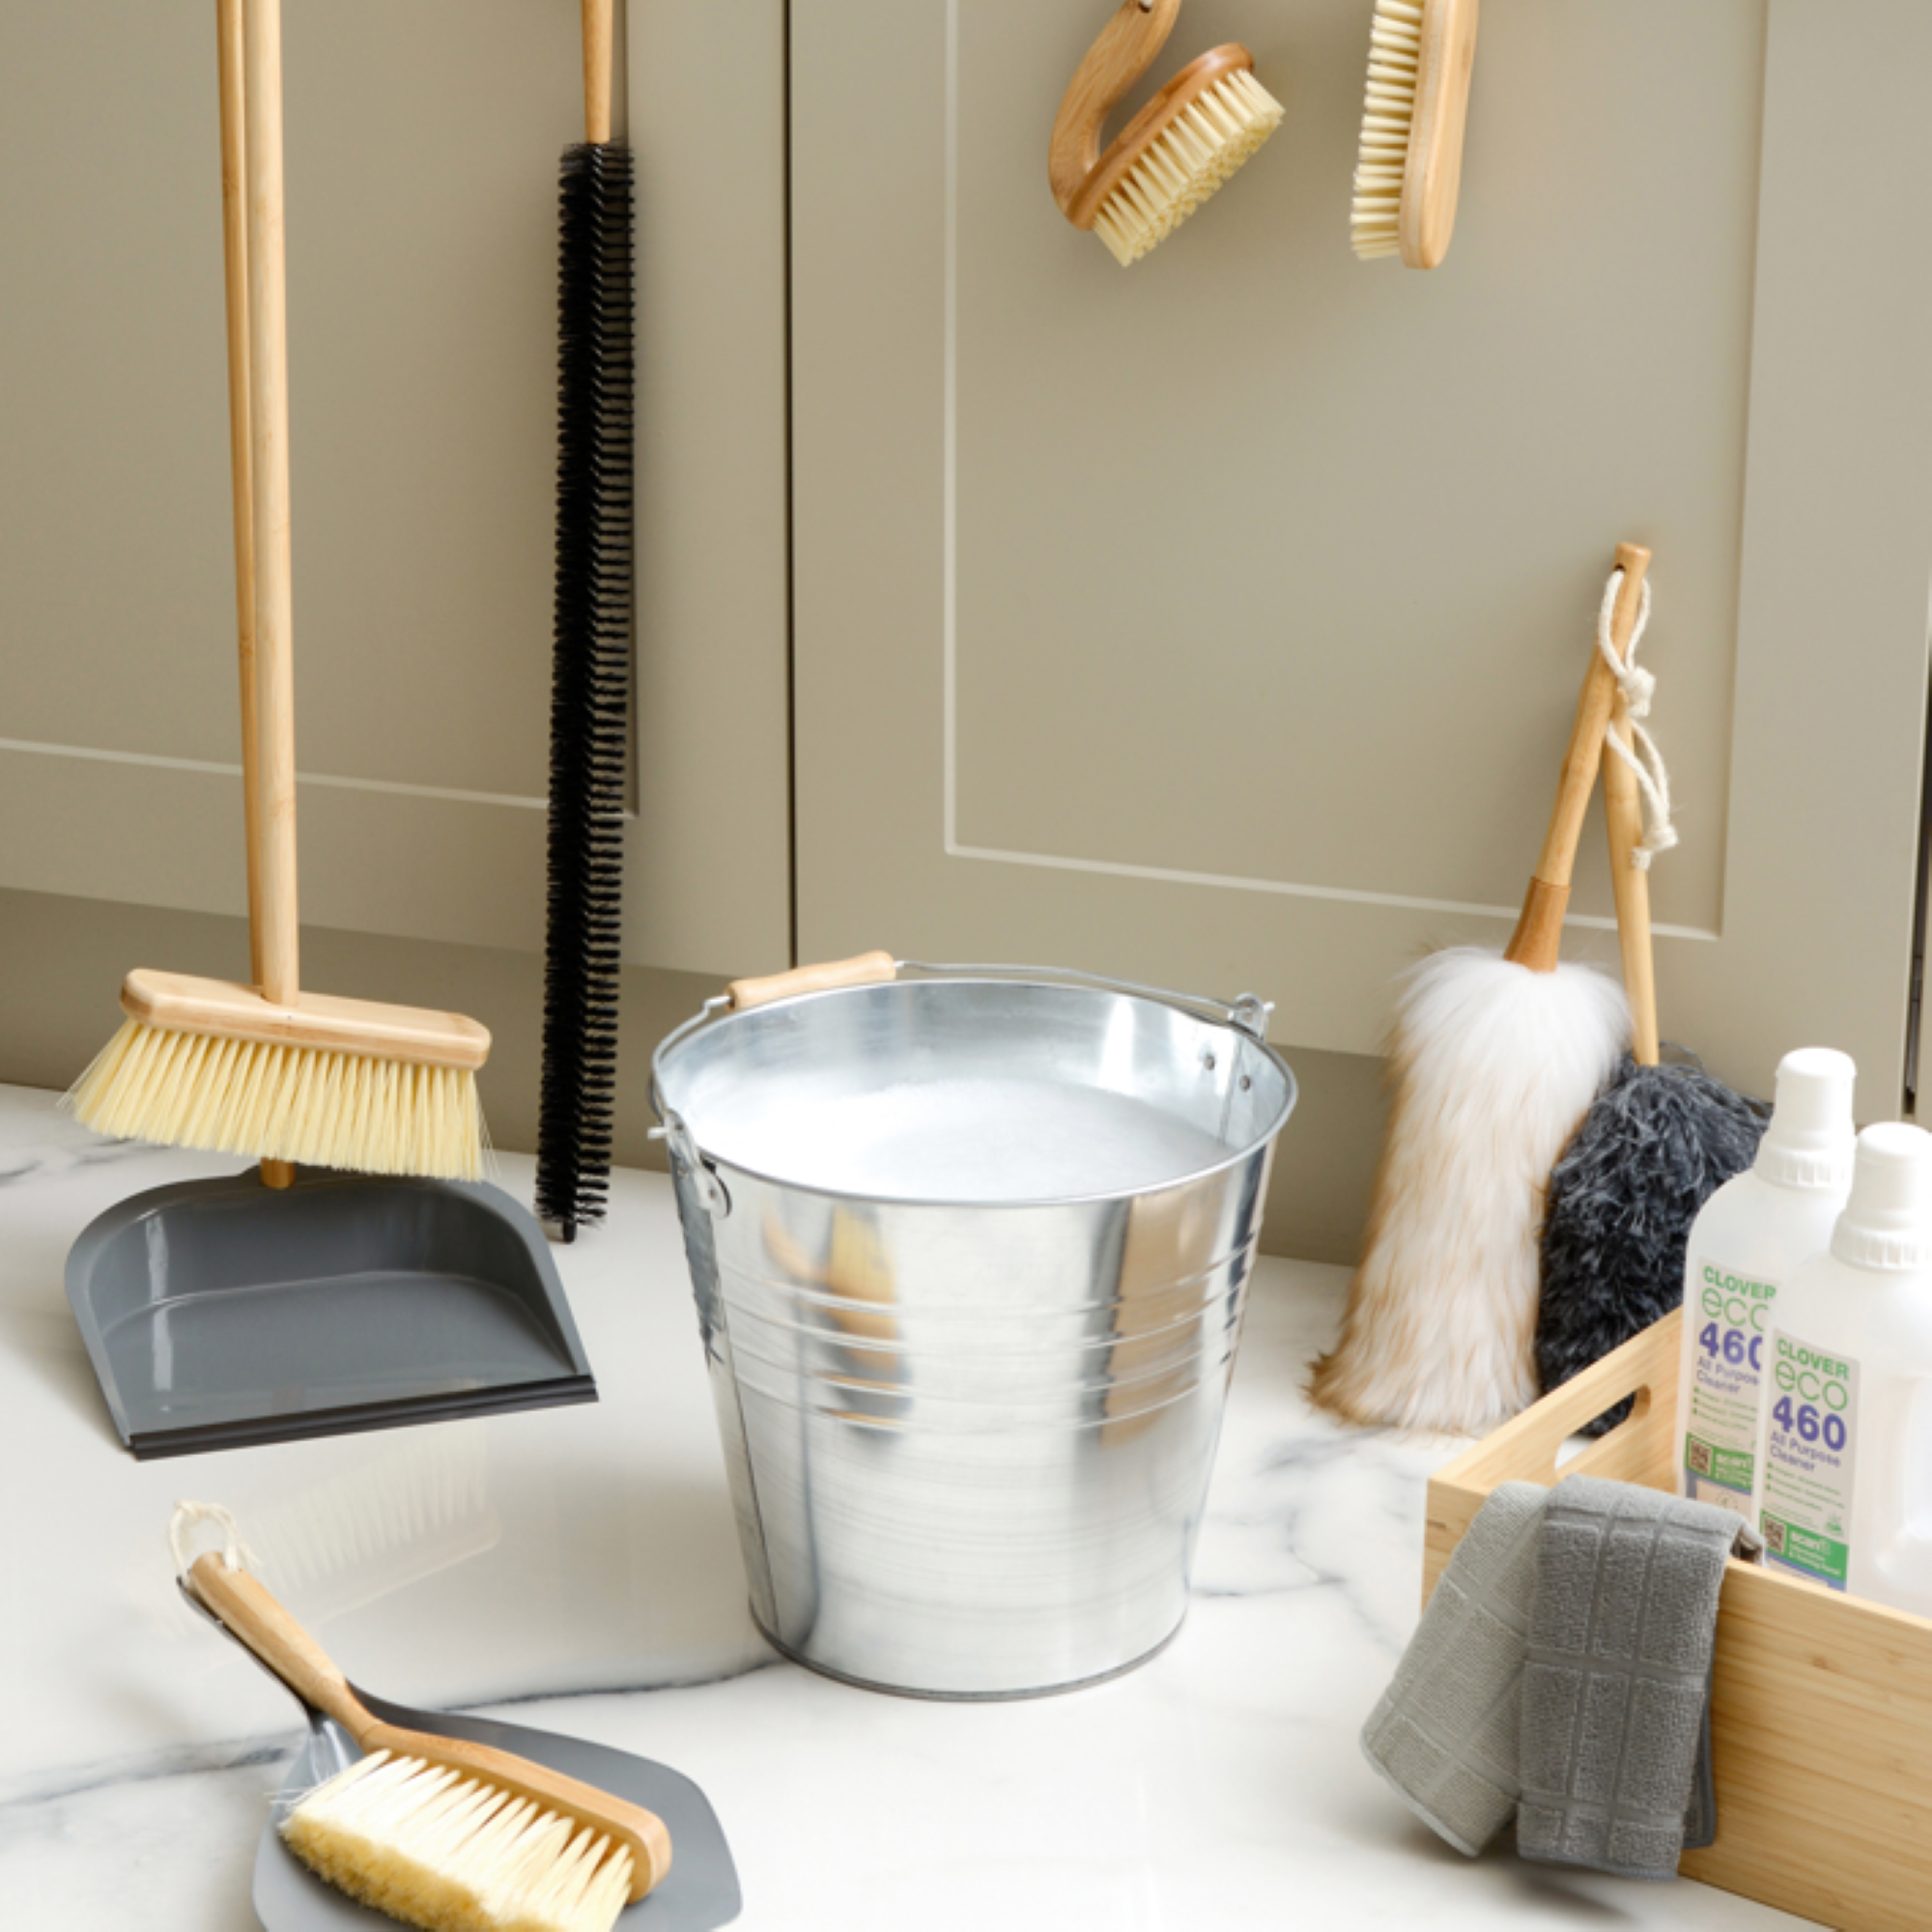
Don't overlook the contents of well-used cupboards and drawers. One drawer that gets a lot of use is your cutlery drawer.
Senior kitchen designer Rachel Davis at Harvey Jones explains, 'Giving utensil and cutlery inserts a regular wipe down to remove any unwanted crumbs or debris will go a long way to keeping your kitchen clean.''
'Personally, I use a dryer sheet as I find the dust sticks right to it and it leaves a lovely fresh scent behind. Dryer sheets are also great for soaking up grime from dirty pots, and I use them to wipe down almost any shiny surface!' These dryer sheets from Clean People at Amazon smell incredible.
13. Check off commonly missed areas
When it comes to kitchen cleaning, it’s easy to focus on the obvious – worktops, sinks, and the hob – but some of the dirtiest spots are the ones we often overlook.
Alice Lynch, cleaning expert and owner of Lynch Property Services advises us on the most commonly missed areas when cleaning a kitchen.
- 'Above the Cupboards: 'Dust and grease build up on top of kitchen cupboards. This is an often-missed area that can accumulate significant grime.'
- Underneath Cupboards & Units: 'The undersides of wall cupboards often catch splashes from cooking but are rarely cleaned. A quick wipe-down prevents long-term build-up.'
- Fridge door seals: 'Crumbs and residue get trapped in the grooves of fridge seals. Wipe them down with a mild cleaner and use a soft brush to get into the grooves.'
- Oven glass panels: 'Some oven doors allow you to remove the inner glass panel to clean between the layers where liquid drips in. Be careful when doing this, as the glass can be fragile and may shatter if unsupported.'
- Kickboards (Plinths): 'The boards at the base of your cabinets collect dust, spills, and sometimes pet hair. A quick wipe before cleaning the floors last will tackle this.'
- Protecting surrounding areas: 'When using oven cleaners, always protect surrounding surfaces, including stainless steel trims and flooring, as some oven cleaning chemicals can cause permanent marks if they drip.'
- Spice and seasoning jars: 'This is one area that's very commonly forgotten about when cleaning the kitchen. Although you might wash your hands in between touching different foods, chances are there are a couple of times where you've accidentally touched spice and seasoning jars after food without washing your hands,' adds Steve Horner, kitchen hygiene expert at Cladding Monkey. 'This transfers germs and bacteria to the jars, as well as makes them physically dirty with markings etc. I recommend cleaning your spice and seasoning jars during a kitchen spring cleaning session.'
- Handles and light switches: 'Similar to spice and seasoning jars, cupboard handles, appliance handles, light switches and other frequently used touchpoints are often forgotten about when cleaning. Use an antibacterial spray to clean these and try and keep on top of cleaning them to avoid the spread of bacteria and germs,' suggests Steve.
- Backsplashes: 'It's a backsplash's job to protect walls and collect grime and residue when cooking. While antibacterial hygiene backsplashes are the best option for kitchens, backsplashes can come in a variety of different forms so need to be cleaned regularly and in the correct way,' explains Steve.
FAQs
In what order should you clean a kitchen?
We asked Zoflora's Home hygiene hub director, Francesca Turner for her advice on what order to clean your kitchen.
'When it comes to cleaning a kitchen, it’s always best to declutter before you start spraying down surfaces. Ensure that countertops are clear of chopping boards, pans, and utensils, and that any ingredients are stored away. Start loading any used dishes into the sink so these can be washed up, dried and put away as your next step.'
'Once surfaces are clear, spray down all countertops and cabinetry to remove grease and grime. Wipe down appliances, such as the microwave, kettle and air fryer, to remove any food splatters.'
'As with any cleaning task, we recommend working from top to bottom. Once your worktops are clear and clean, brush or hoover any debris from the floor before mopping. A regular kitchen deep clean will encourage you to target areas that often go overlooked, such as the inside of your cabinetry, door handles, skirting boards, or the kitchen bin!'
What do you clean first when spring cleaning?
Ironically, the first thing to do when spring cleaning is not to clean anything.
‘Start by tidying and decluttering before getting stuck into the actual cleaning – it’s impossible to deep clean around mess,' advises cleaning expert Sue Caldwell of Clean Living International. Clearing countertops and surfaces will give you a good view of what needs doing, and you’ll be able to get into dirty corners and crevices that otherwise stay hidden’.
When spring cleaning, experts advise starting at the top and working down ceiling fans, the tops of cabinets, sinks and surfaces, and so on. Whilst this rule still applies when cleaning a kitchen, the very first thing you should do is spray down your oven, sink, microwave and any other appliances with your cleaner of choice, so you can leave them to sit. ‘This provides time for the grime and dirt to break down, meaning a quicker clean and less elbow grease required’, says Anna.
What is the difference between spring cleaning and general cleaning?
The key difference between a general clean and a spring clean is that, with the latter, you can focus on areas that you don’t usually get around to doing – the tops of cabinets, or inside appliances, for example’, says Ryan Calvert, product expert at Hiatt Hardware.
It may be called ‘spring’ cleaning, but don’t take it literally – a deeper clean should be carried out at least once every couple of months, alongside your general day-to-day cleaning, to ensure your kitchen stays in tip top condition.
What is the fastest way to clean a dirty kitchen?
We asked Alice Lynch cleaning expert and owner of Lynch Property Services for her advice on how to clean a kitchen fast.
'If speed is the priority, efficiency is key. Here’s how to clean a dirty kitchen quickly without cutting corners,' says Alice.
- 'Pre-treat problem areas first – Apply oven cleaner, degreaser, or limescale remover at the beginning so they work while you clean elsewhere.
- Work in sections – Tackle one cupboard, appliance, or worktop area at a time to stay focused.
- Use the right tools – A microfibre cloth lifts dirt better than regular cloths, and non-scratch scourers help with stubborn grime. An electric scrubber is a great investment for deep cleaning sinks and worktops.
- Invest in quality products & tools – The better the tools, the less effort required. Professional cleaning products make the job much easier and give better results.
- Polish surfaces for a streak-free finish – The key difference between professional and domestic cleaning is attention to detail (corners, edges and the hard to reach areas) —use a high-quality glass and stainless steel cleaner for a perfect finish.
'To get that professional finish, use professional-grade products and follow expert techniques: work top to bottom, clockwise, and always polish for a streak-free shine,' adds Alice.
So there you have it, your ultimate kitchen spring cleaning checklist. Now you can check off any other spots you've missed during your spring clean.
- Jenny McFarlaneSenior Digital Editor