How to mop every type of floor the right way — a foolproof 5-step process for squeaky-clean floors every time
How to master the ultimate mopping technique
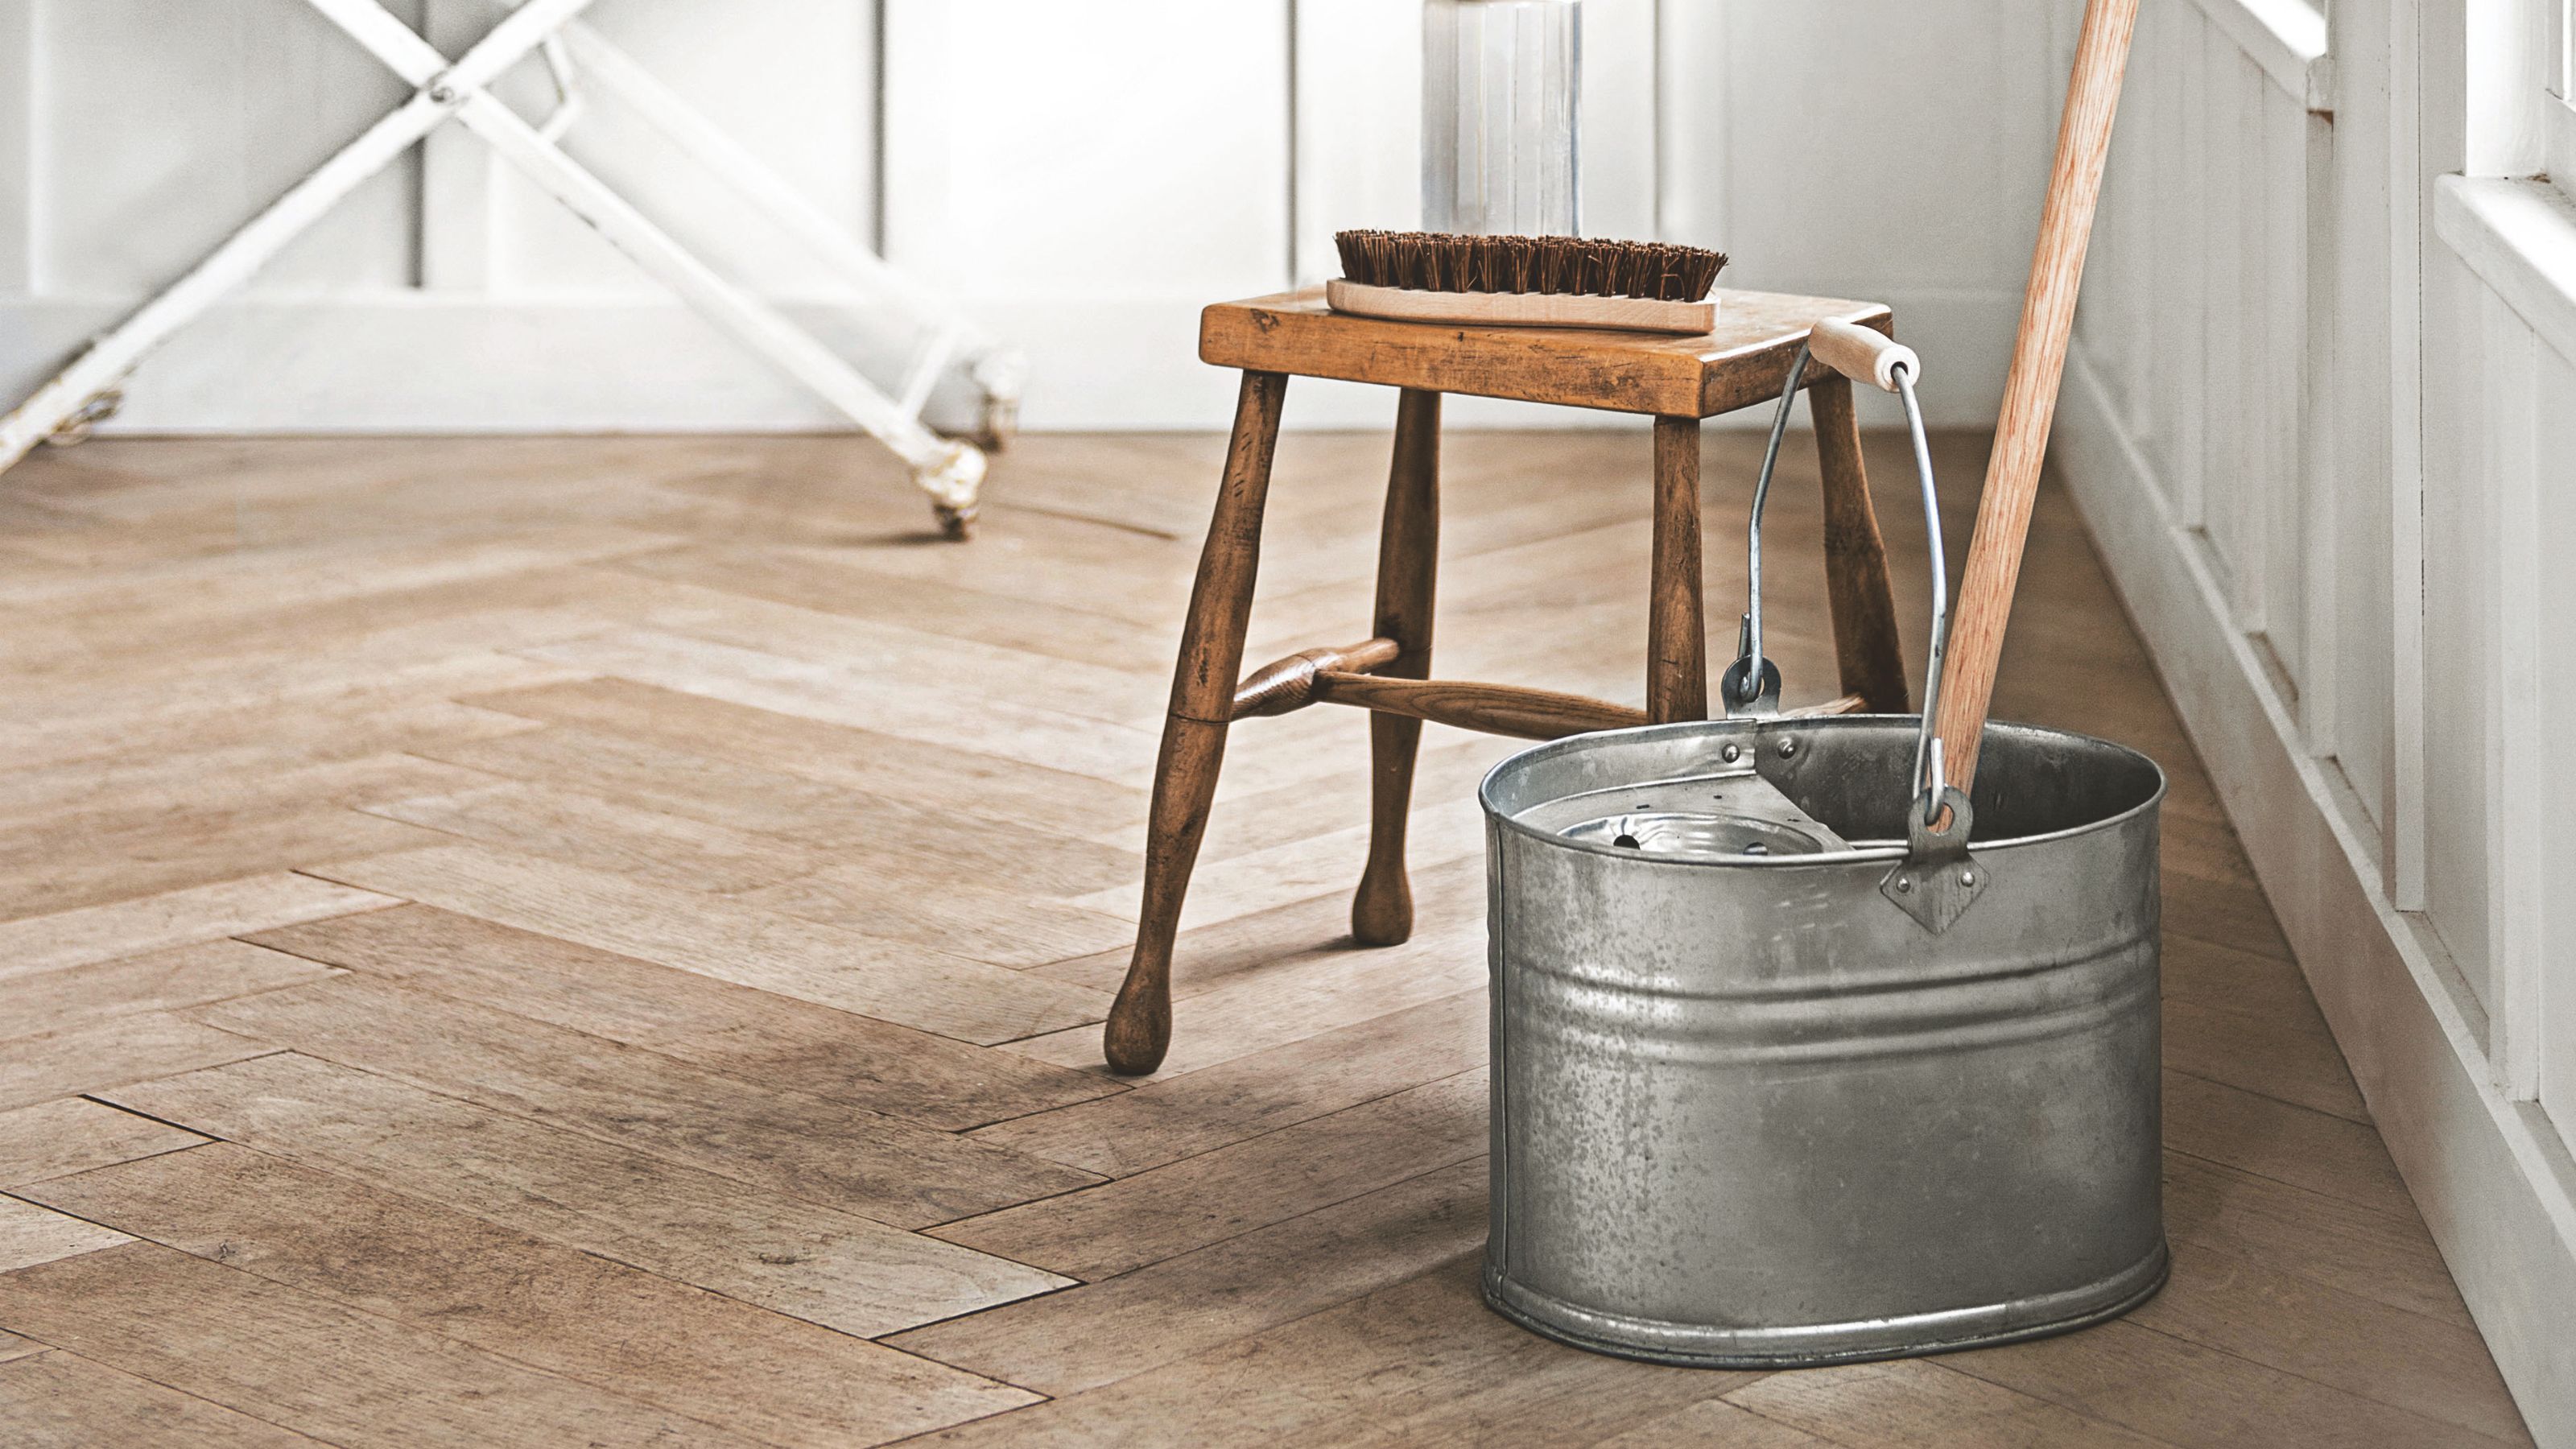

Mopping may seem like a simple task, but the reality is that poor technique can lead to flooring problems and even irreparable damage. That’s why it’s so important to know how to mop every type of floor the right way.
Yes, the best mops are a must-have cleaning product if you have hard flooring anywhere in your house. However, most people have a variety of flooring ideas in their homes - from laminate and vinyl to wooden and tiled floors - and different flooring types require different products, techniques, and attention to prevent issues later down the line.
As Clare Bolland, cleaning expert from Vileda explains, ‘A clean floor can really transform a home, making it feel fresh and inviting. By adapting your cleaning approach depending on your floor type, you can avoid any damage and ensure a sparkling clean every time.’ So, this is how to mop every type of floor the right way.
What you'll need
- Vacuum cleaner - like this Shark Stratos Cordless Vacuum from QVC
- Mop - like this Minky Spritz & Spin Spray Mop from Argos
- Floor cleaning solution - like this Miniml Eco Floor Cleaner from Amazon
Step-by-step
1. Give your floors a vacuum first
If you want to nail how to mop, you first need to realise that mopping alone won’t give you debris-free, squeaky-clean floors. Instead, you need to do some prep - and you’ll need to grab one of the best vacuum cleaners to help you.
This is echoed by Clare, who says, ‘Skipping the prep can be tempting when in a rush but will save you time in the long run. Get rid of debris, dust and hair first with a quick sweep or vacuum so that you’re not spreading any excess dirt around when you mop.’
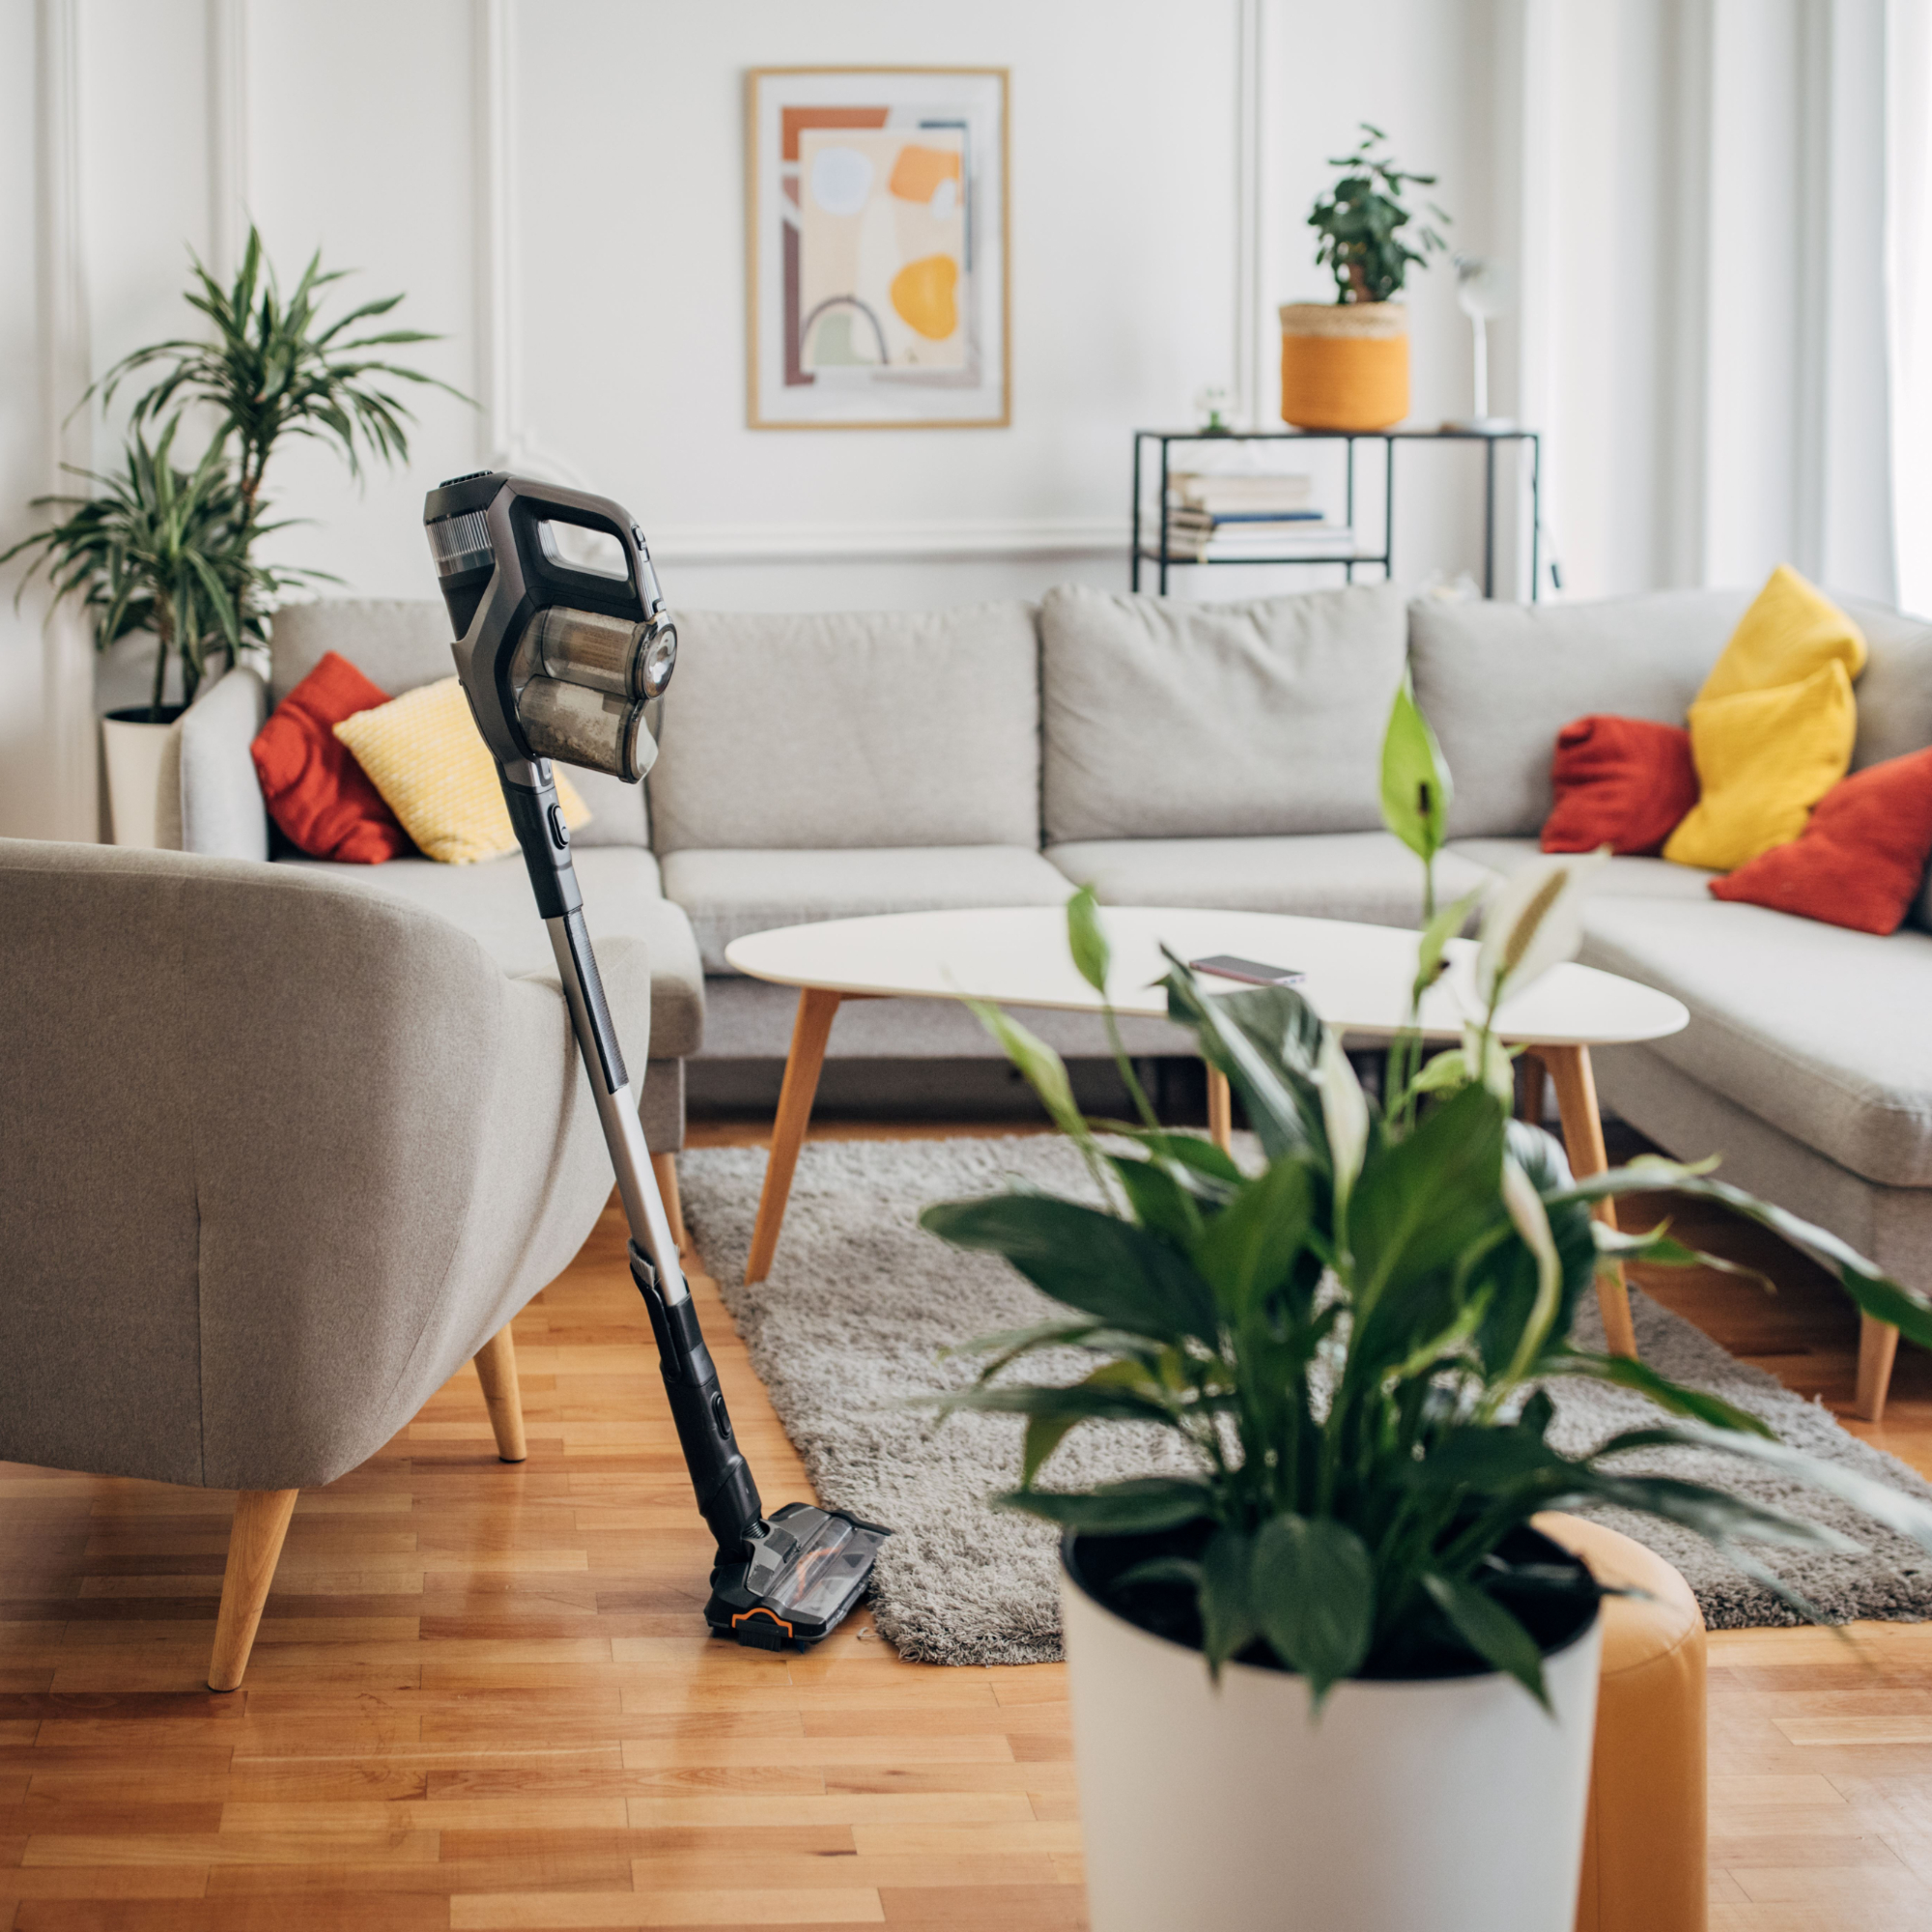
Of course, you don’t want to spread excess dirt around when you mop because it’ll ultimately take you longer to clean, but there’s another reason why you should remove larger debris before you start mopping, too.
Minky’s Floorcare Product Category Manager, Louise Garvey, explains, ‘Dirt, dust, and debris can scratch the floor when wet, which could damage the finish, especially on hardwood or tile floors.’ And if you’re in a time crunch, it’s well worth swotting up on the many ways you can use a vacuum cleaner more effectively so you can get to mopping your floors quicker.
Get the Ideal Home Newsletter
Sign up to our newsletter for style and decor inspiration, house makeovers, project advice and more.
2. Choose the right mop for the job
One thing I’ve learned after testing dozens of mops is that different mops suit different floor types, cleaning requirements, and even personality types. That’s why, if you want to know how to mop every type of floor the right way, you also need to choose the right mop for the job.
The main types of mops include the spray mop, a traditional microfibre mop and bucket set, spin mops, sponge mops, and the best steam mops. According to Louise, spray mops are ‘perfect for in-between cleans, simply grab and go without having to fill a bucket.’ Because of this, microfibre spray mops suit 99.9% of people.
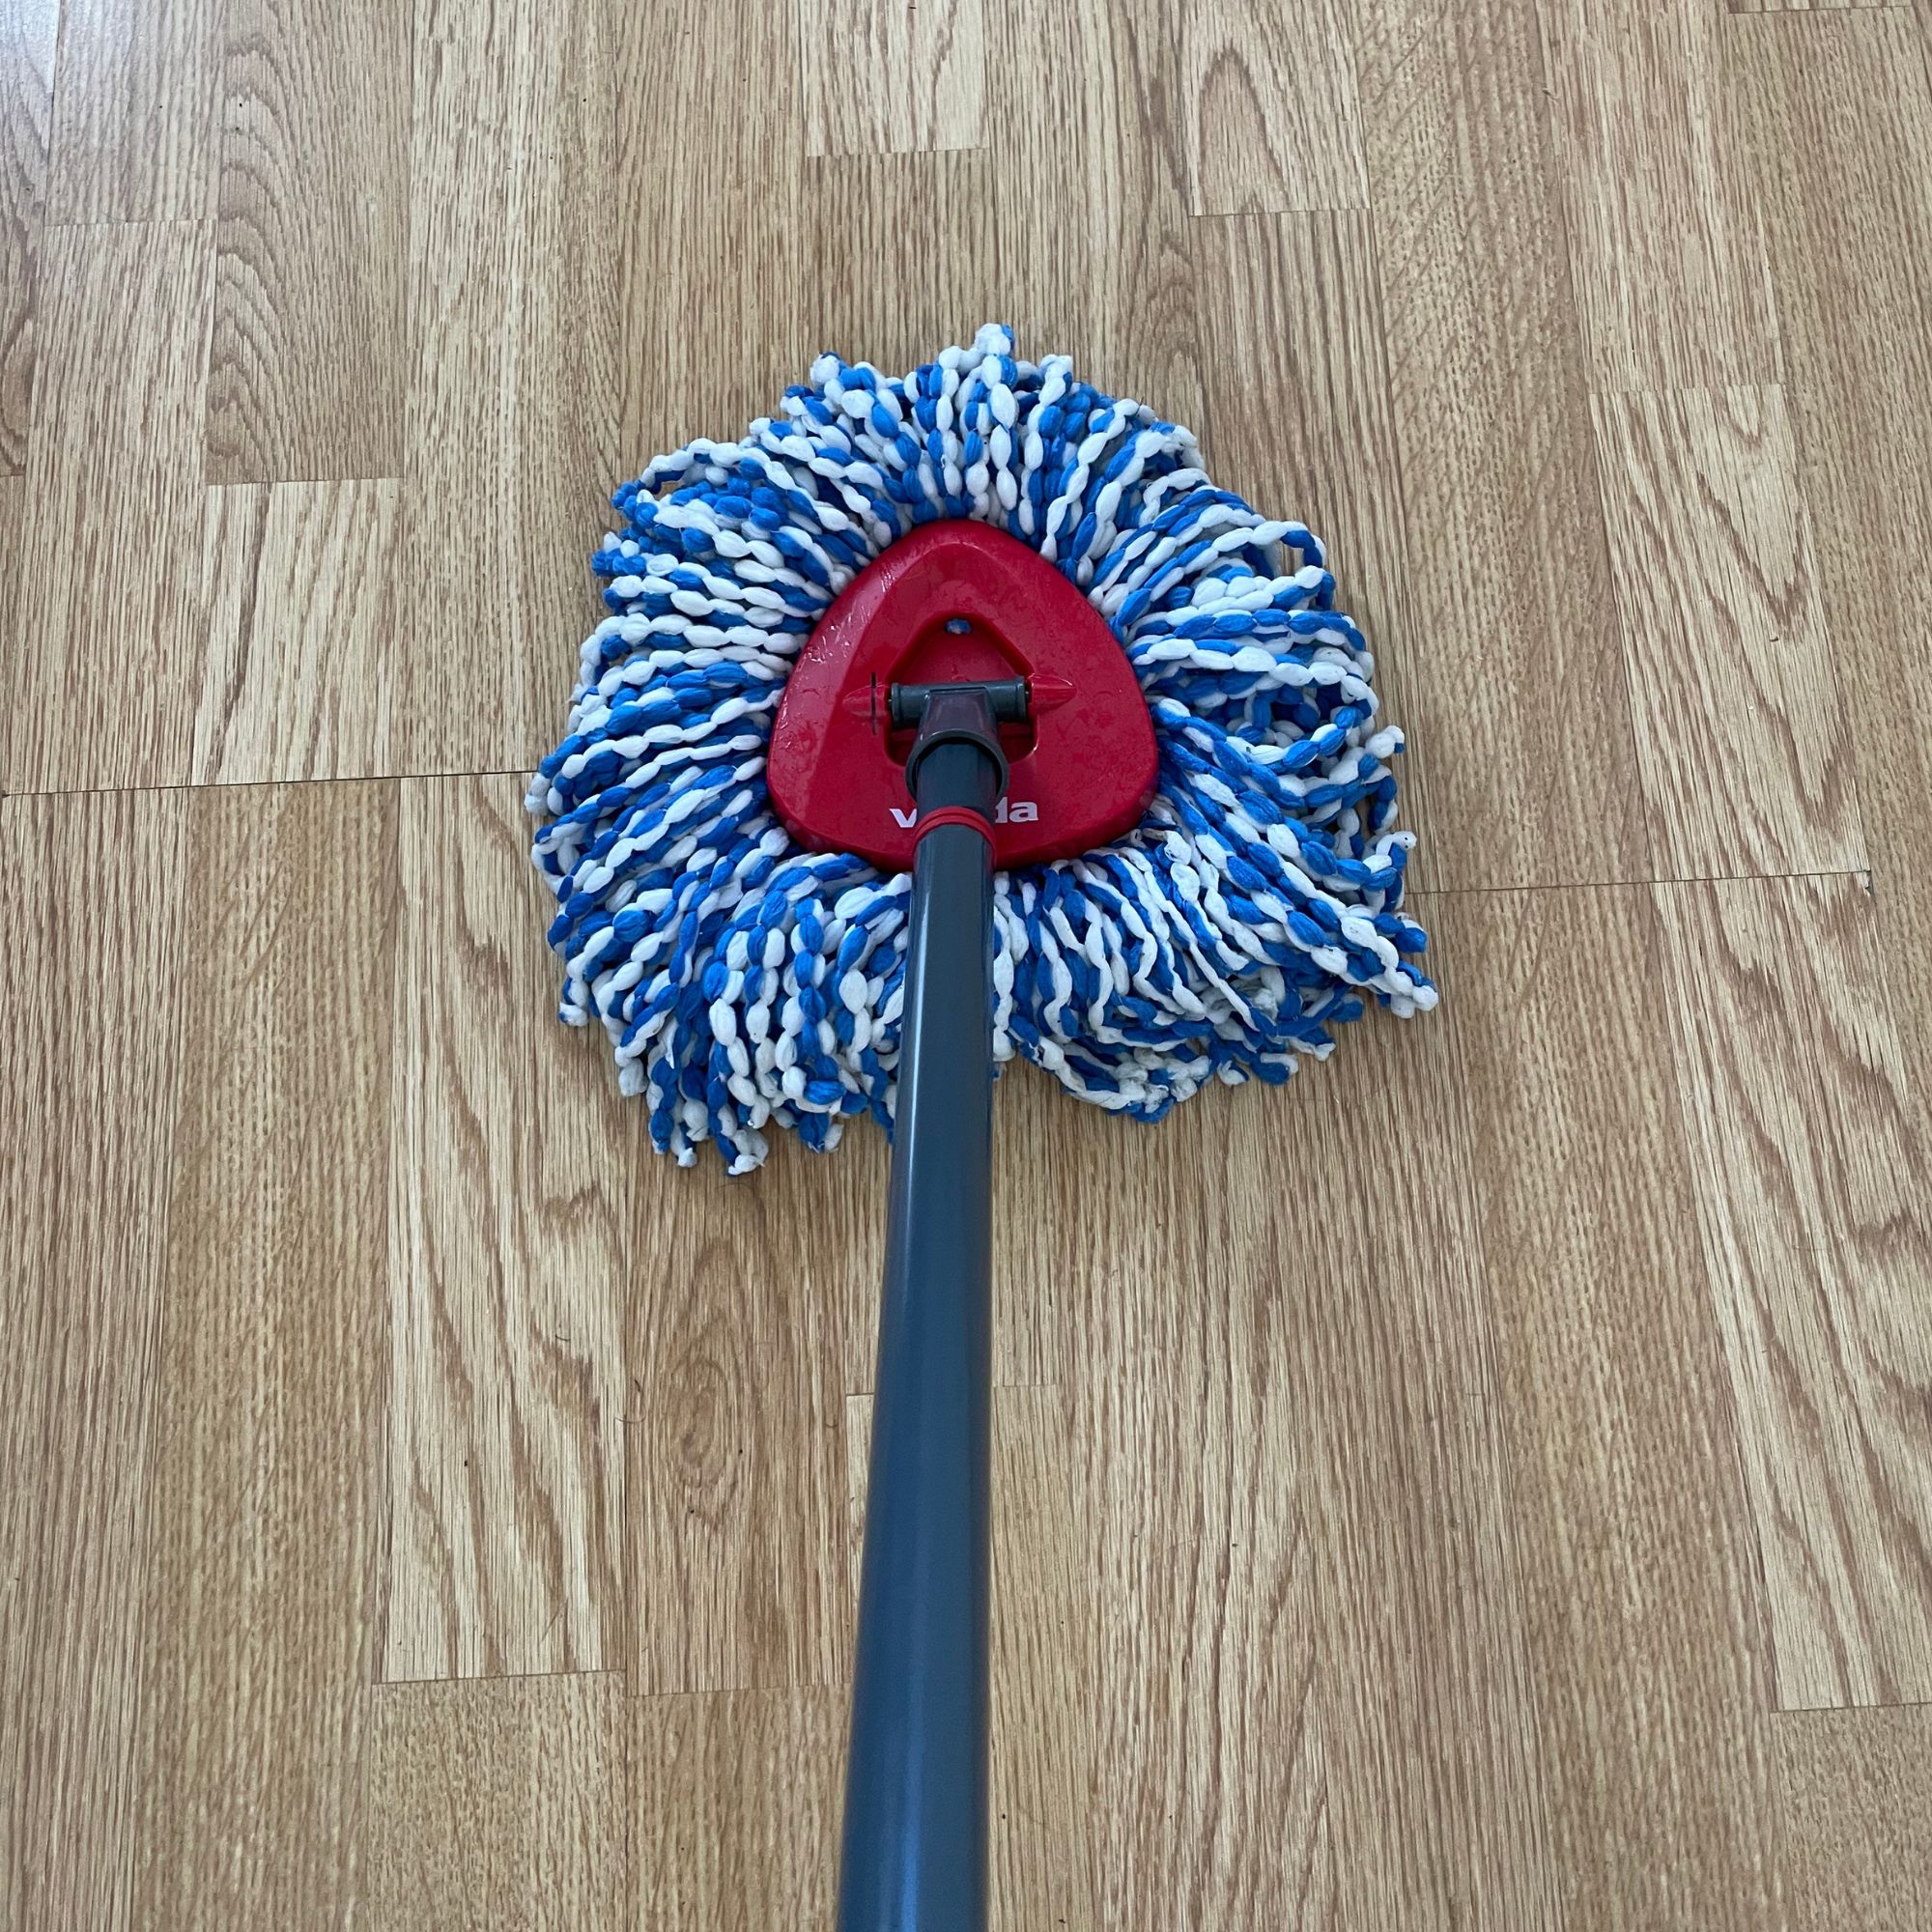
She also adds that traditional mop and bucket sets are ‘great for most floor types, they can capture dirt and dust effectively without leaving streaks.’ This is largely because you can often control how much water you use on your floors, which will prevent soaking - especially if it’s a mop or bucket with spin functionalities.
Steam mops are a little trickier as there’s a big difference between steam mopping vs regular mopping, and those with wooden floors or large areas of carpet may find that it’s not possible to use a steam mop as they’re some of the things you shouldn’t clean with a steam cleaner.
3. Choose the right cleaning solution
There are so many different floor cleaning solutions out there, including many that are ready to buy. I really love using this rhubarb-flavoured Method Floor Cleaner from Amazon as it’s both plant-based and effective. But it’s important to note that floor cleaners aren’t universal, with some only being suitable for certain flooring types.
Because of this, it’s important to research any cleaning solution you want to buy to ensure it’s safe to use on the flooring types in your home. And if you can’t be 100% sure, it’s always best to test it on an inconspicuous area of your floors first.
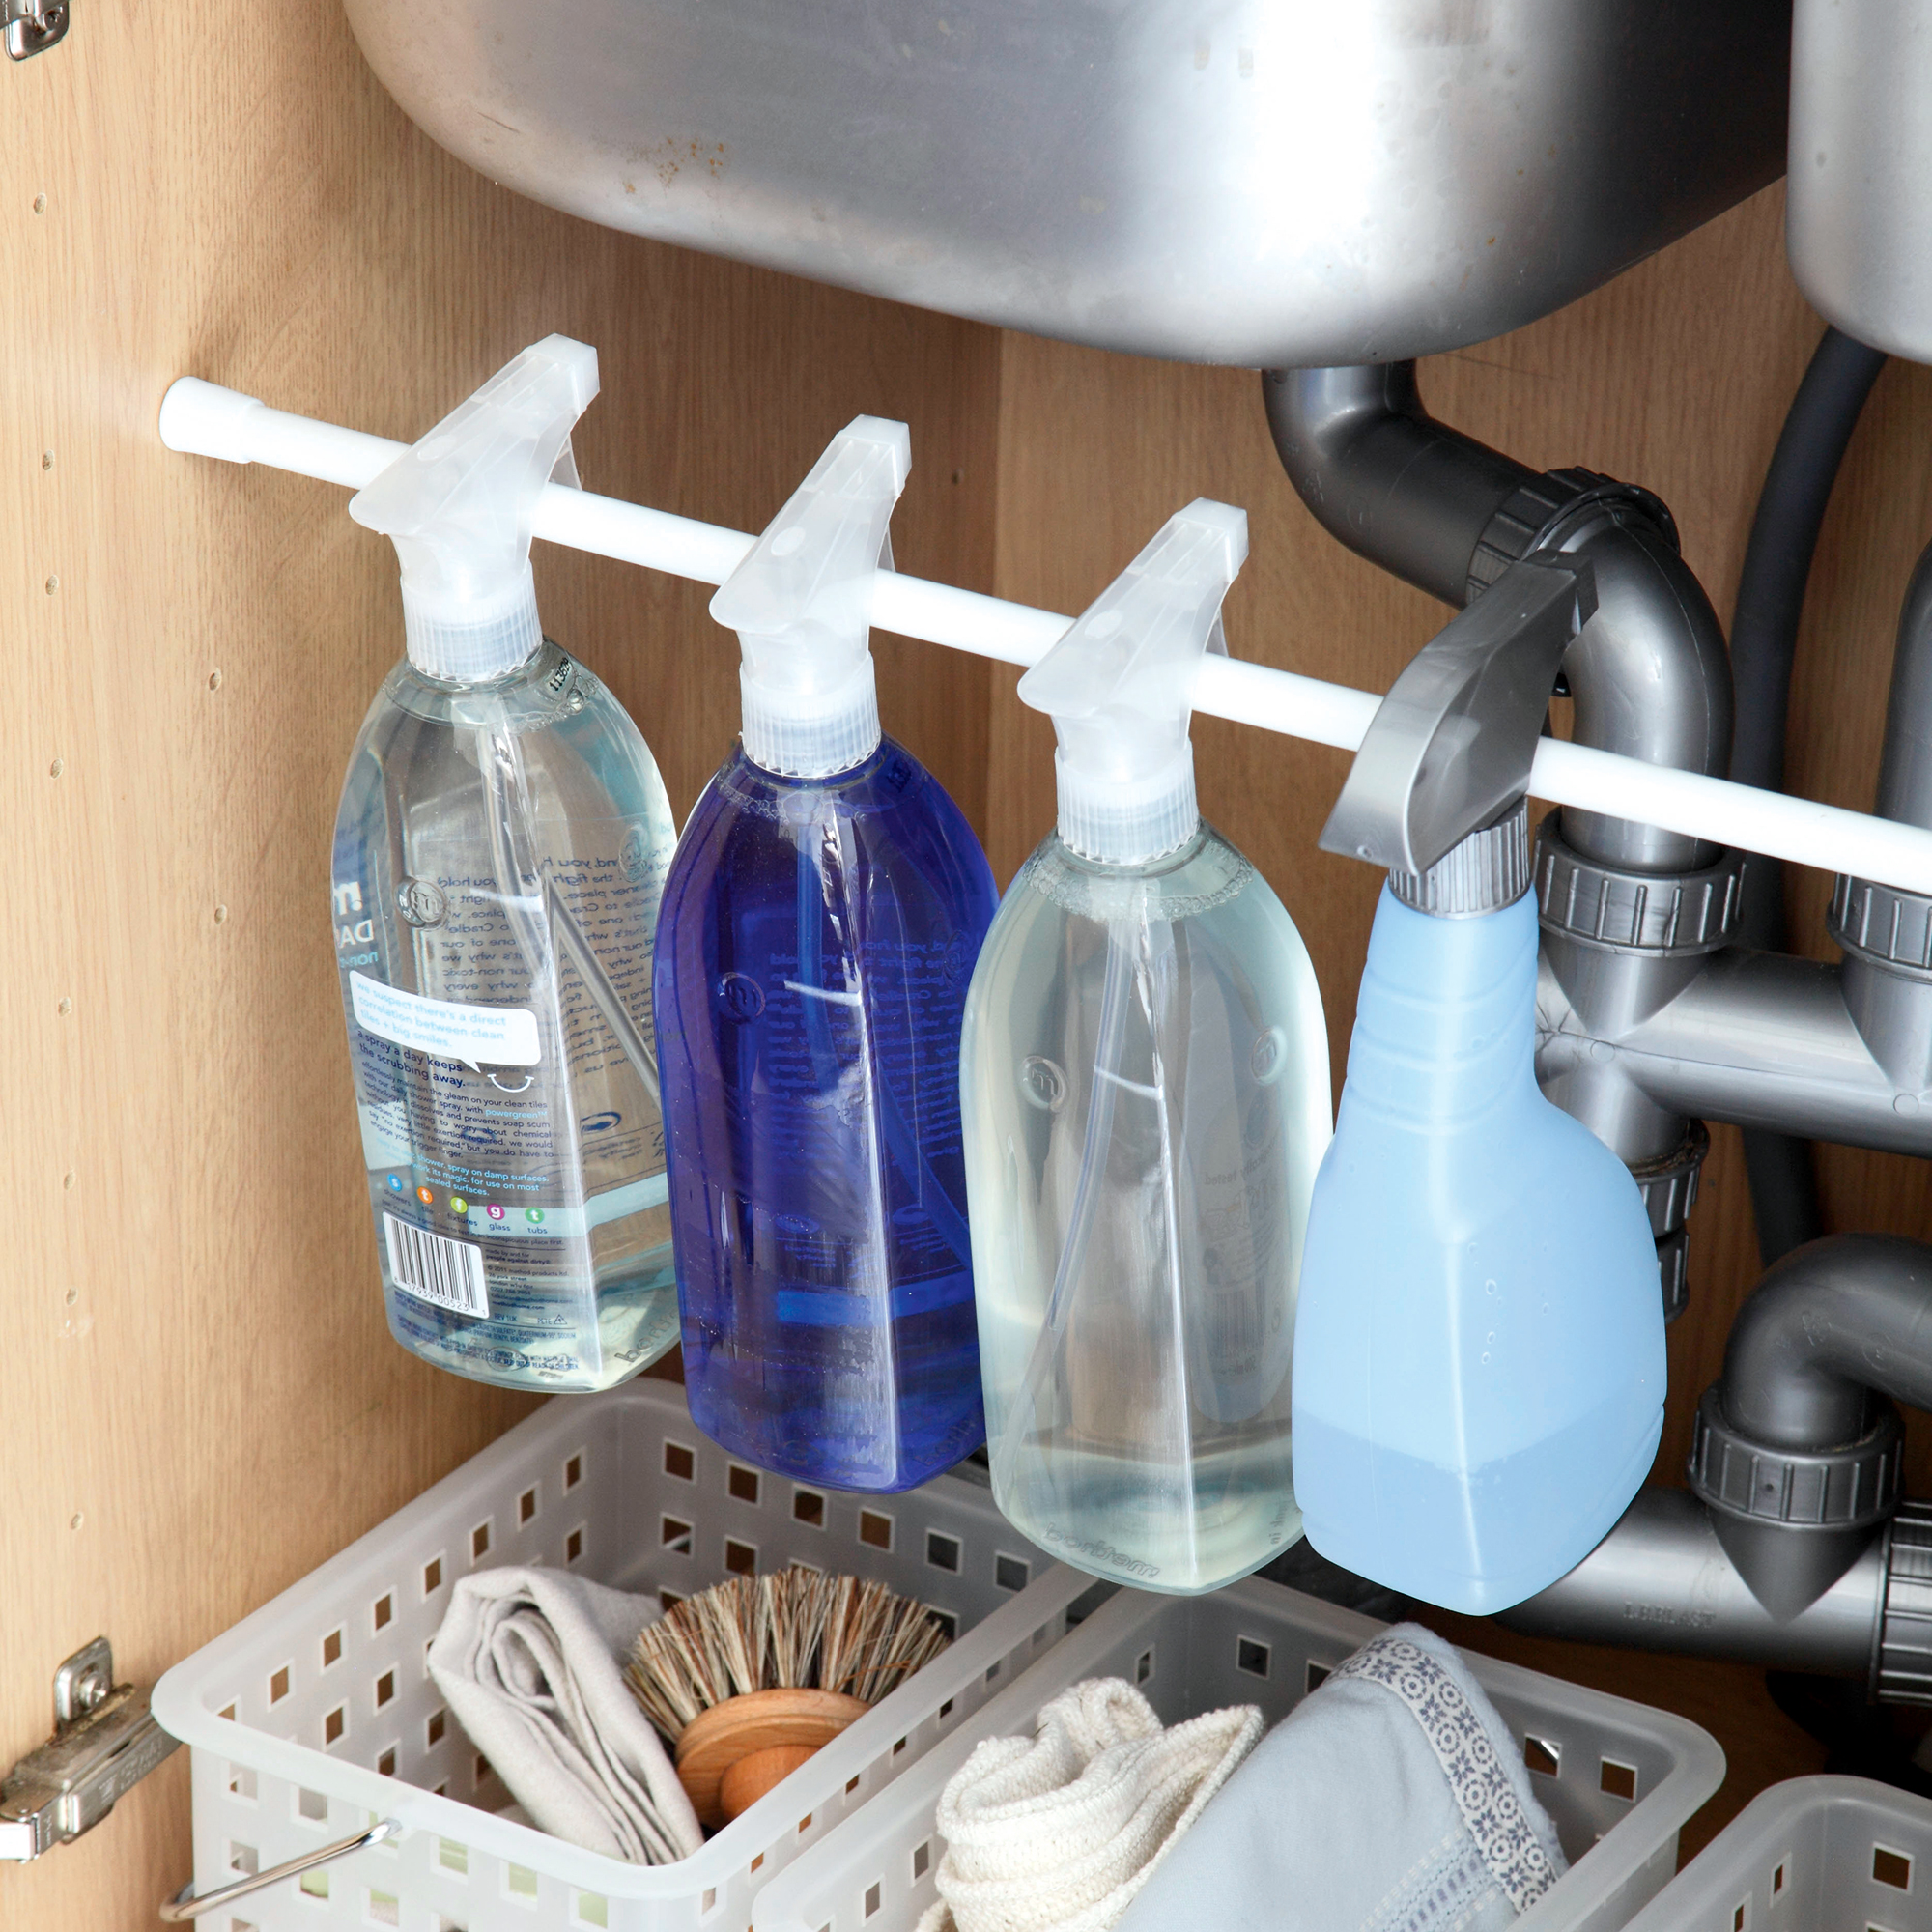
Alternatively, you could make your own DIY mopping solution - but once again, you need to be sure that it’s safe to use on your floors. For most floors, a combination of water, washing-up liquid, and white vinegar will work a treat.
Just note that cleaning with white vinegar isn’t advised for natural stone flooring, so you’ll need to remove that if you have it in your home.
4. Master your mopping technique
Just as there’s a specific technique when vacuuming, there’s also a particular technique when mopping. Clare explains, ‘Start in a corner and work your way backwards, so you’re not walking on the wet areas. Overlapping strokes are your friend here as they ensure you don’t miss any spots.’
She adds, ‘A mistake people often make is pressing down too hard when mopping. Instead, let the mop do the work; applying too much pressure can actually push dirt around or damage delicate floors.’
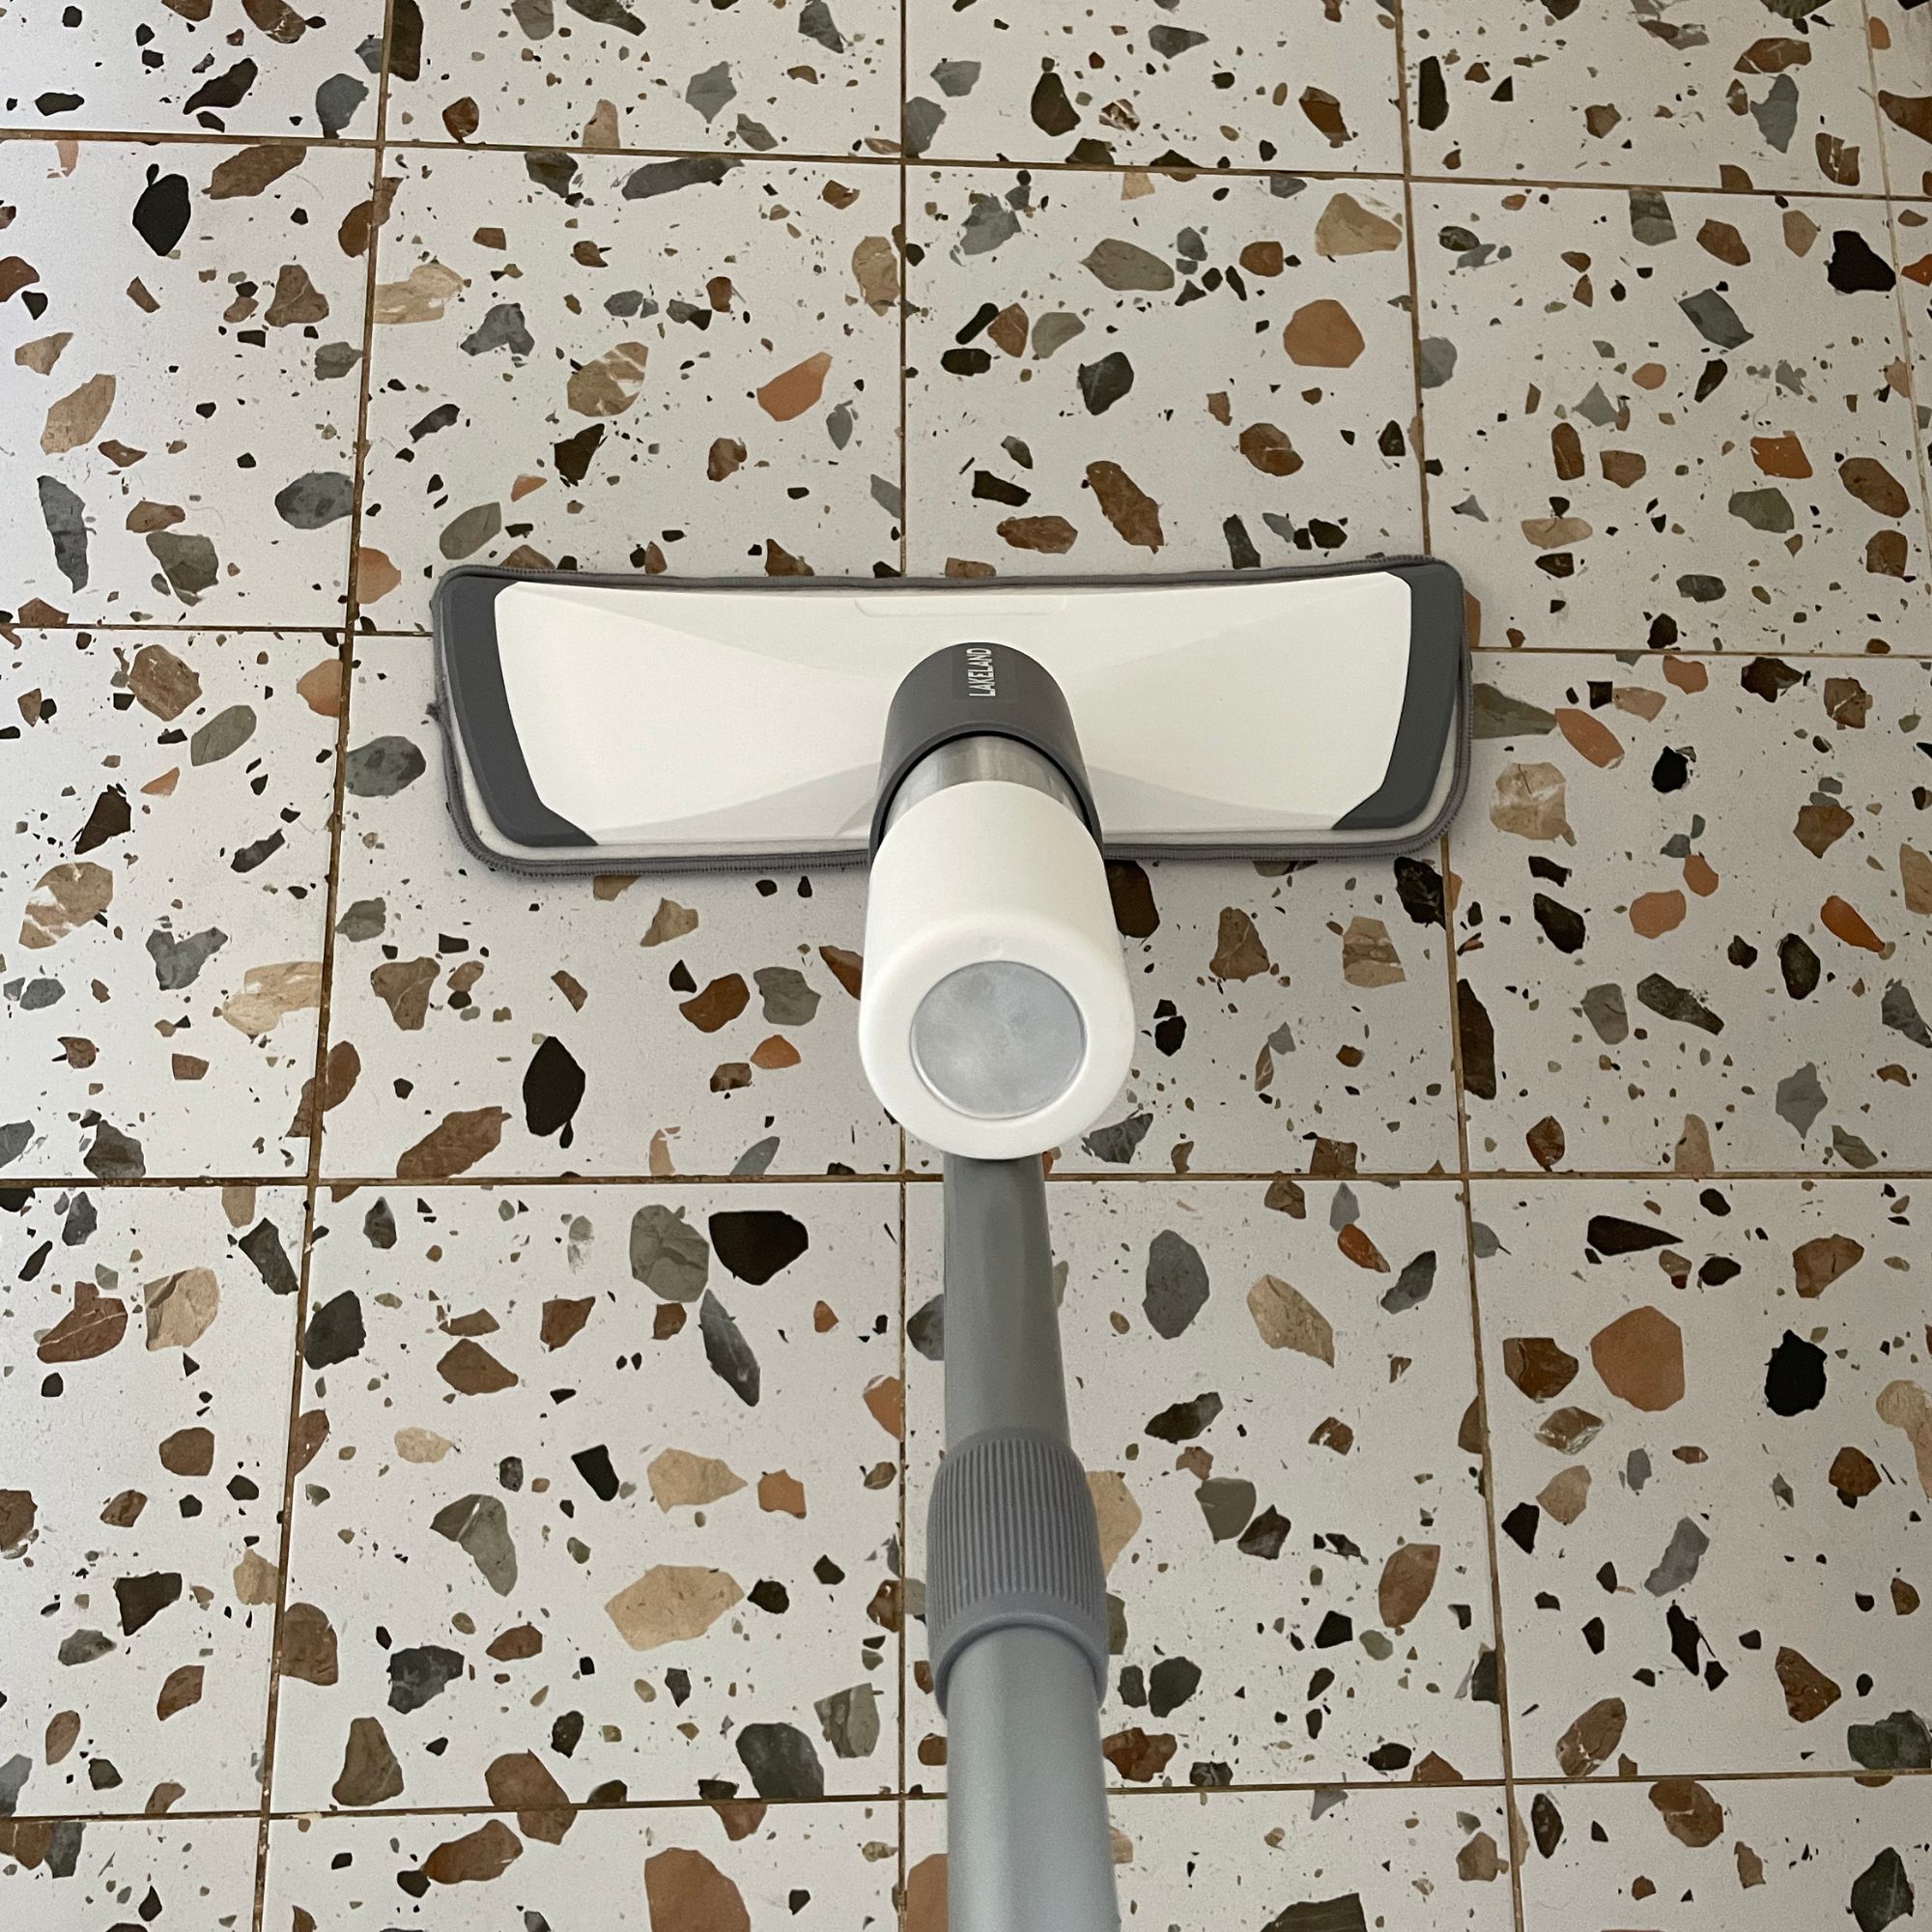
So, maintain a light, even pressure if you want to master how to mop every type of floor the right way. And if you’re mopping hardwood floors, Claire also suggests mopping with the grain rather than against it, as this will prevent unwanted water penetration that could lead to warping or even mould growth.
Even if you don’t have wooden floors, it’s always a good idea to minimise the amount of water and cleaning solution you’re using so you don’t saturate your floors. Just make sure you’re rinsing the mop regularly so you’re keeping it as clean as possible.
5. Let your floors air dry
When you’ve completed the above steps, all you have to do is wait for your floors to dry. And while you may feel inclined to grab a cloth and wipe them dry so you can walk over them once again, this is the worst thing you could do.
Clare advises, ‘Once you’ve mopped, let your floors air dry and open the windows to help speed up the process.’ This shouldn’t take long and will ensure your floors stay as clean as possible.
The best mops to shop now
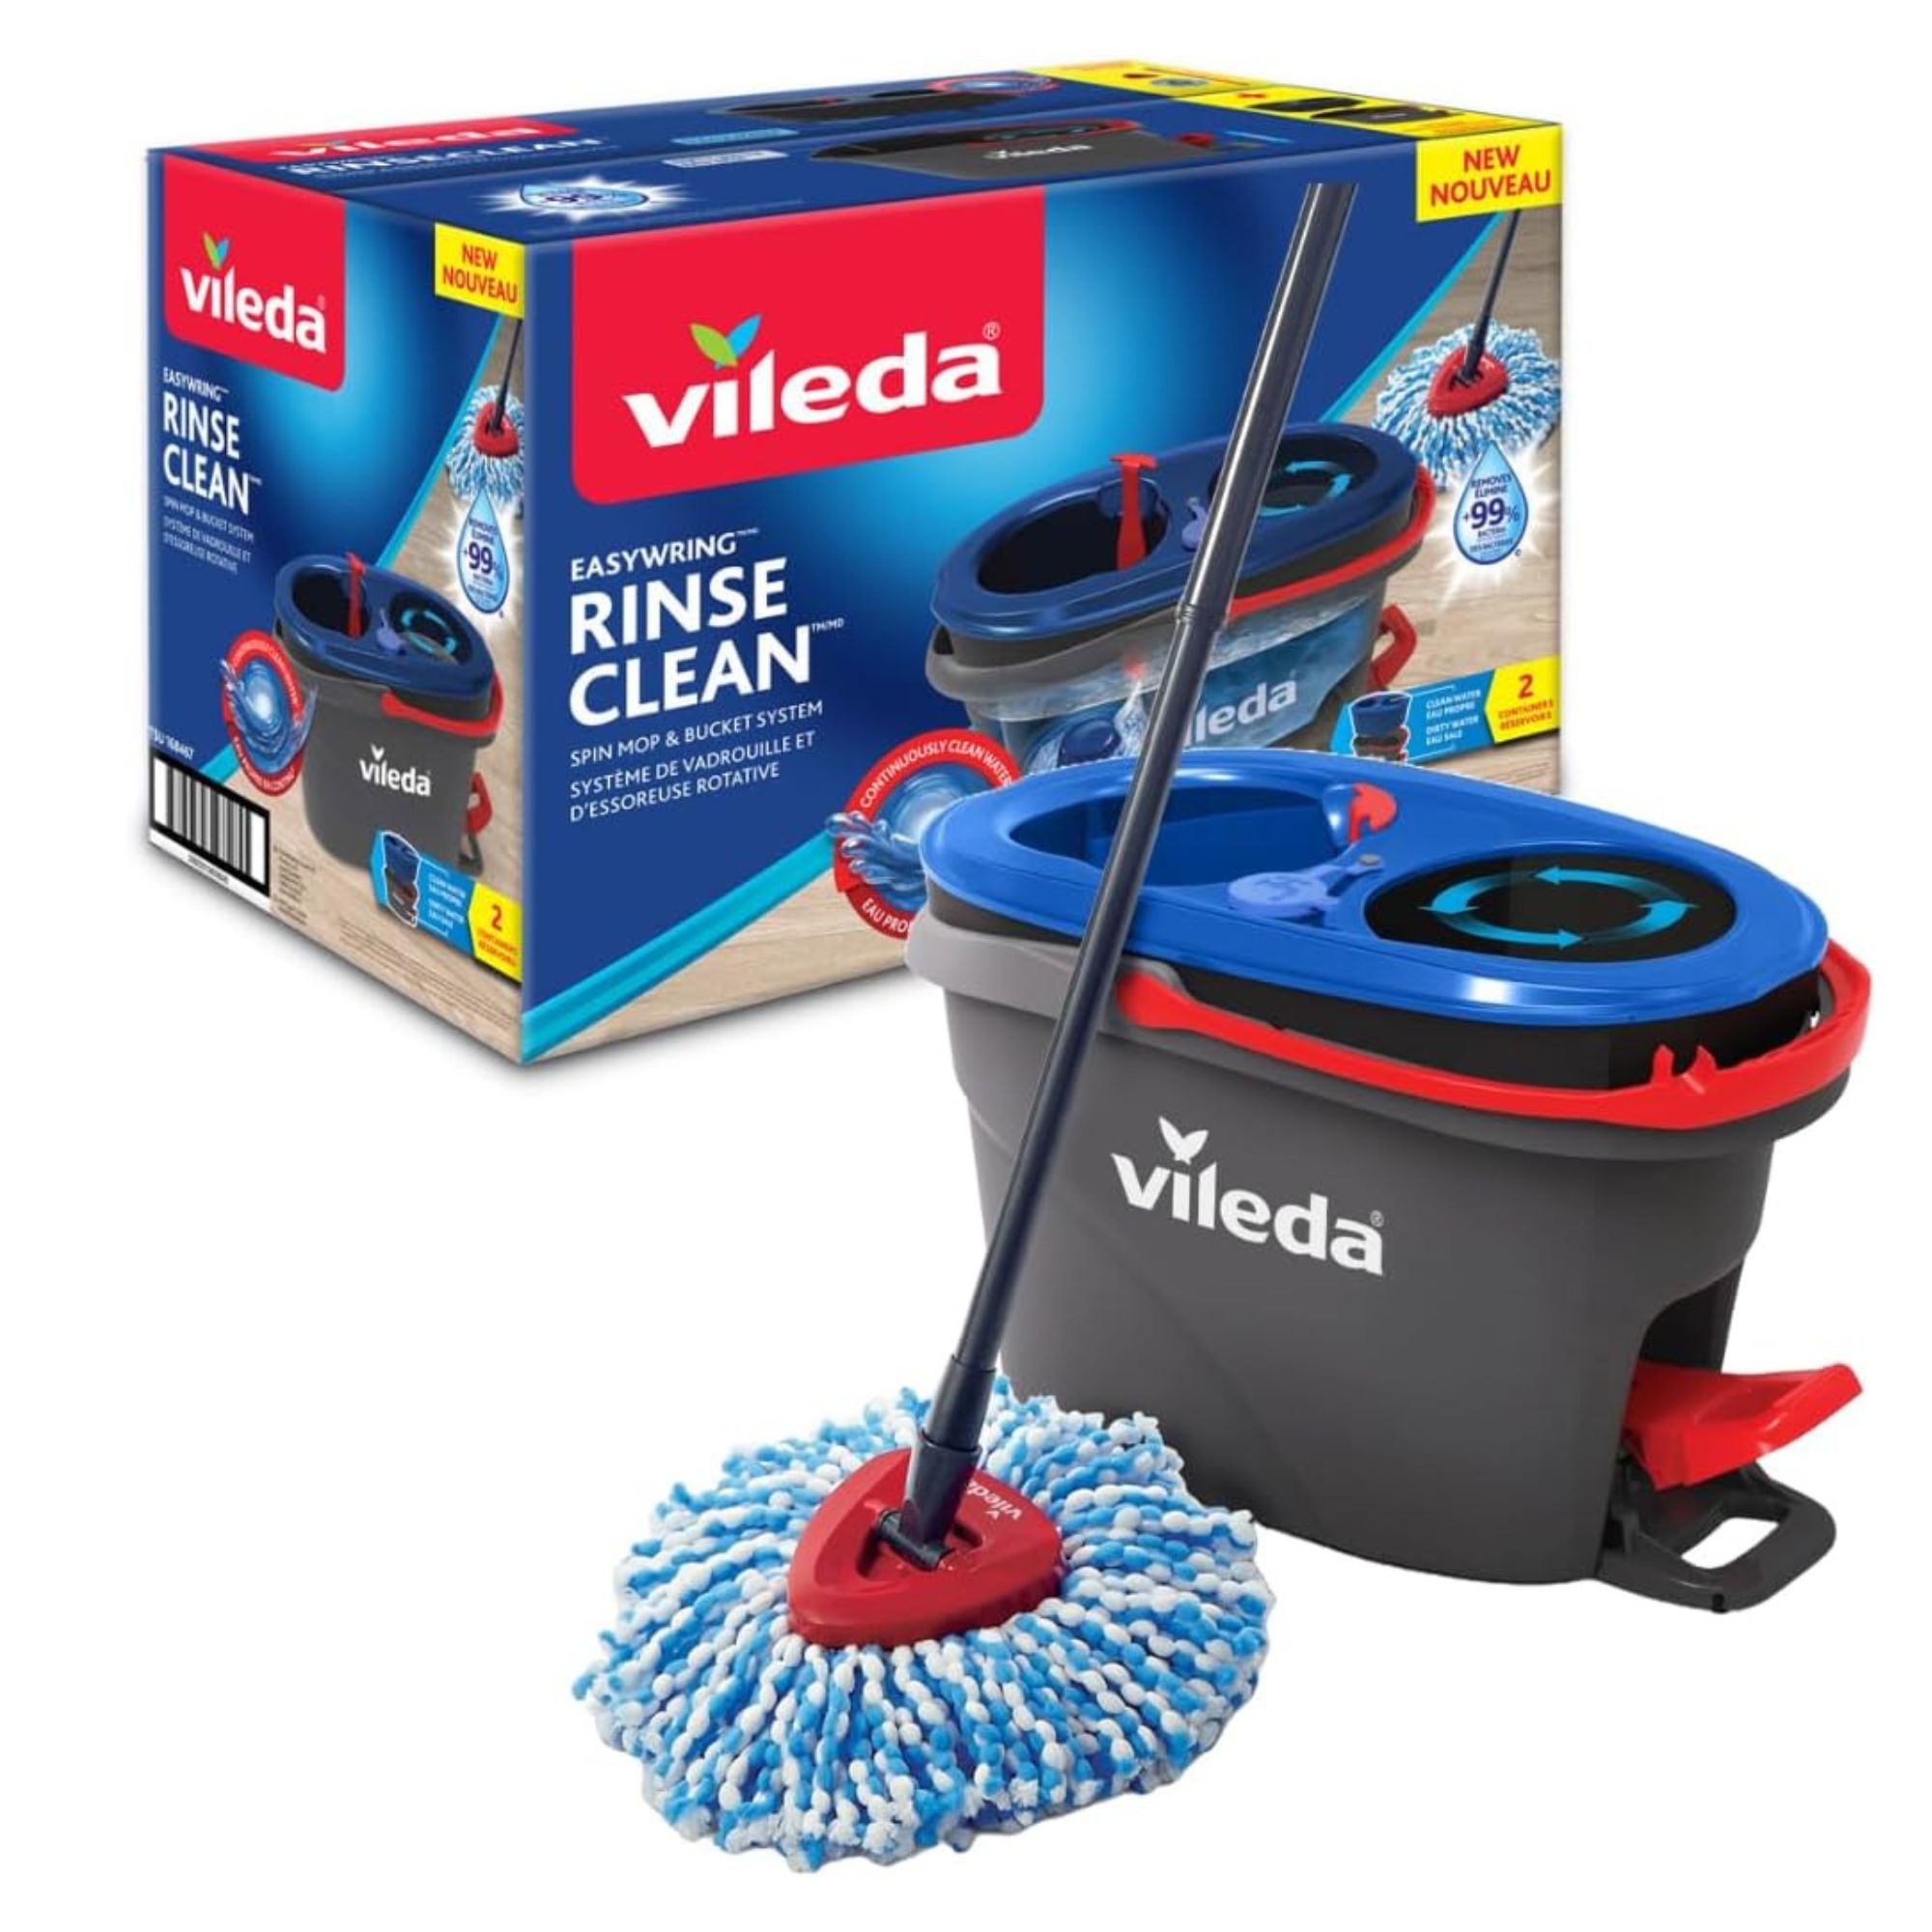
If you want to ensure that you're always mopping your floors with clean water, this mop and bucket set offers dual chambers that separate the clean water from the dirty water.
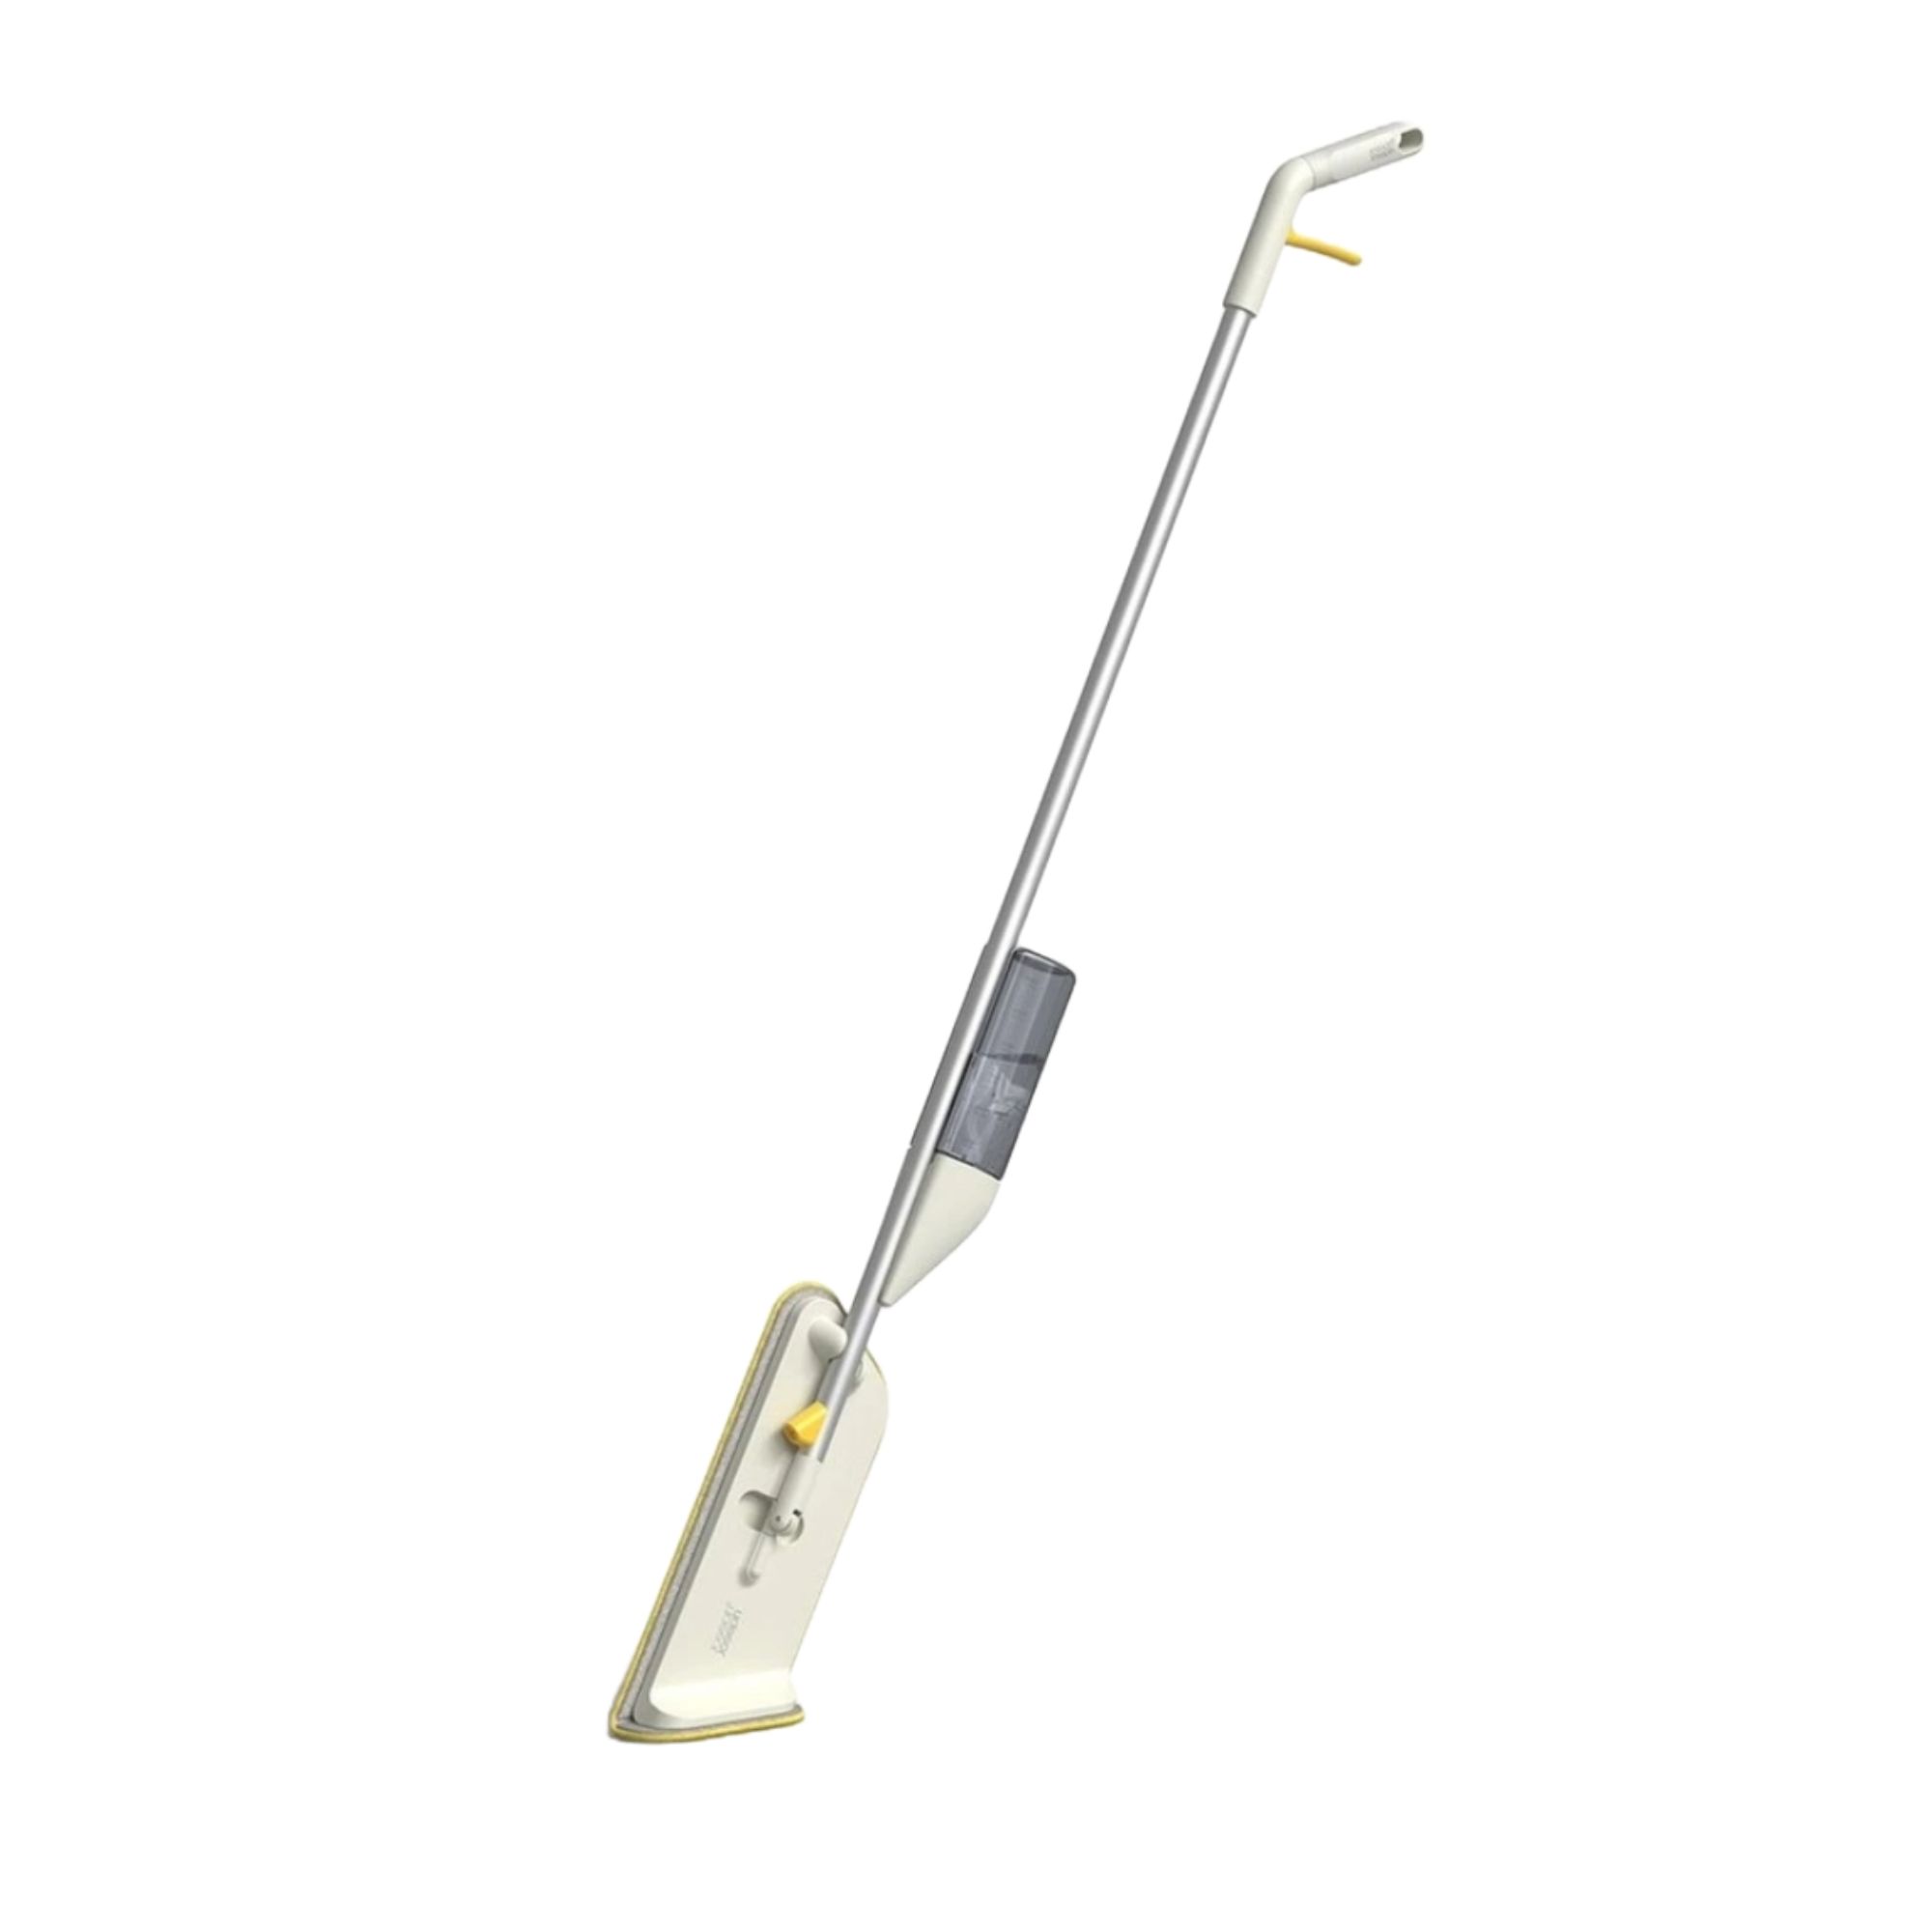
Stubborn stains on your floors? This Joseph Joseph mop comes with a dedicated scrubber for tougher grime. Its space-saving design makes it ideal for those with limited storage, too.
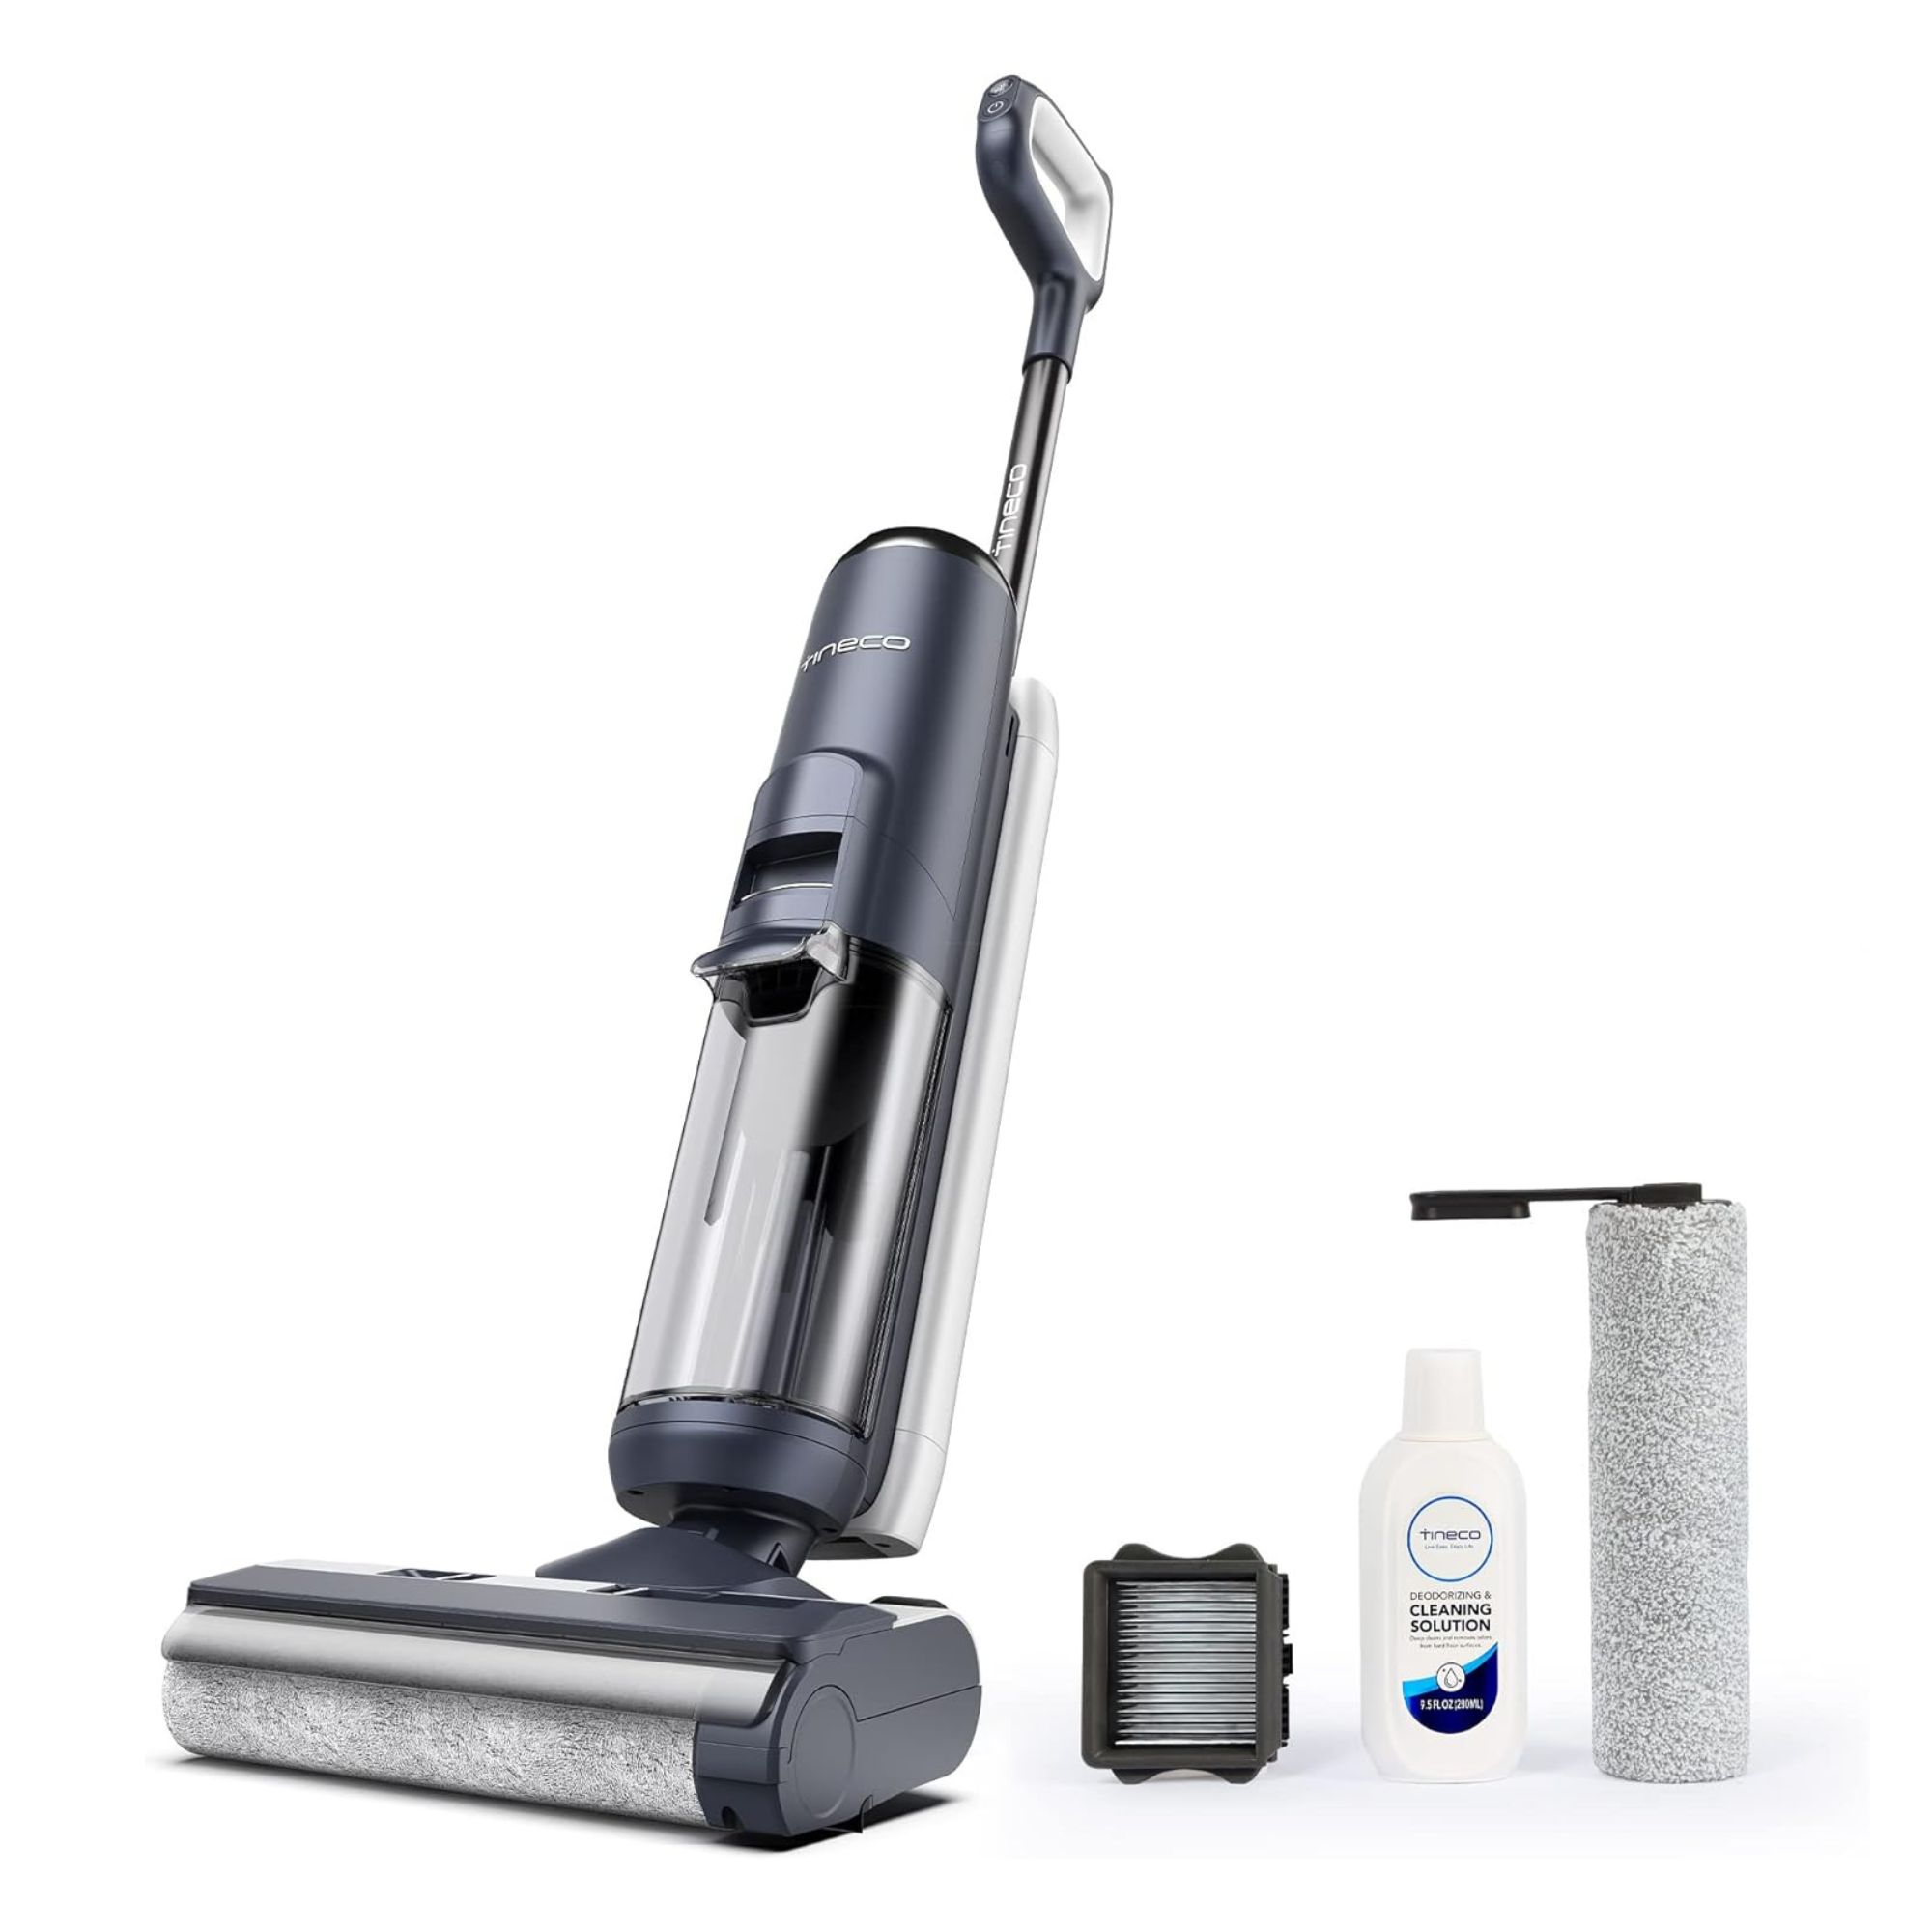
If you don't have the time or energy to mop your floors, a smart mop is a great alternative. This particular model adapts its water flow and roller speed to the cleanliness of your floors.
FAQs
What is the most common mistake when mopping floors?
There are many mistakes people make when mopping floors. These include:
- Not vacuuming first so that large debris is just pushed around, potentially scratching floors in the process.
- Using too much water that can damage or warp many hard flooring types, including wooden floors and laminate.
- Using too much chemical-based floor cleaner, especially if it’s not an appropriate cleaner for your type of flooring.
- Using a dirty mop to clean the entire house. Rinsing the mop regularly will offer a better clean.
Should the floor be wet after mopping?
Ideally, you should avoid getting your floors too saturated during mopping. Although they will undoubtedly become wet during the mopping process, they should only really be damp by the time you’ve finished and should air dry within 10-15 minutes - or maybe even less.
If this isn’t the case, this is a sure sign that you’ve used too much water and should use less next time.
Is it OK to mop floor with just water?
If you just want to give your floors a light cleaning, mopping with just water is doable. However, it’s important to note that water won’t kill any germs and probably won’t tackle any tougher stains, debris, or grime. Because of this, most experts would suggest using a cleaning solution - whether shop-bought or made at home - to mop your floors.
Have you been mopping your floors the right way? Hopefully, now you know the proper technique, your floors will be cleaner than ever!

Lauren Bradbury has been the Content Editor for the House Manual section since January 2025 but worked with the team as a freelancer for a year and a half before that. She graduated with a Bachelor’s degree in English and Creative Writing from the University of Chichester in 2016. Then, she dipped her toe into the world of content writing, primarily focusing on home content. After years of agency work, she decided to take the plunge and become a full-time freelancer for online publications, including Real Homes and Ideal Home, before taking on this permanent role. Now, she spends her days searching for the best decluttering and cleaning hacks and creating handy how-to guides for homeowners and renters alike, as well as testing vacuums as part of her role as the Ideal Home Certified Expert in Training on Vacuums, having spent over 110 hours testing different vacuum models to date!
You must confirm your public display name before commenting
Please logout and then login again, you will then be prompted to enter your display name.
-
 Should your doormat go inside or outside the front door? According to experts I've been getting it wrong for years
Experts reveal the best spot for a a doormat based on your preferences and where you live
By Sara Hesikova
-
 How much to spend on a lawn mower – the ideal price range for small, medium and large gardens
I checked in with home improvement experts to find out
By Sophie King
-
 IKEA has just launched a massive 96 new products - but these are the only pieces you need to pay attention to
The classic STOCKHOLM collection just got even better
By Kezia Reynolds